
Ever stumbled upon a well-designed SharePoint site and wondered how it was created?
The secret might just be the SharePoint Lookbook, a hidden gem in the SharePoint universe that is transforming digital workplaces one template at a time.
SharePoint Lookbook is a visual showcase of SharePoint site designs and templates. It’s a tool provided by Microsoft that offers a variety of templates that can be utilized to create professional and aesthetically pleasing SharePoint sites with ease.

But, there is more to it.
In this article, we’ll dive into the SharePoint Look Book, guiding you through its usage and customization options.
Read on; we will show you how to set up your account and navigate the rich template library that is the Lookbook!
What is SharePoint Look Book?
Before we go further, it’s a good idea to understand what the SharePoint Lookbook is at its core. To put it simply, it’s a resource aimed at helping users create SharePoint sites with ease and efficiency.
But what makes it a go-to tool for many SharePoint users?
SharePoint Lookbook is a collection of templates and design examples that users can utilize to build their SharePoint sites.

These templates are more than just visual aids; they are functional setups that can be implemented quickly, offering a straightforward way to create professional-looking sites.
Here are some of Lookbook’s core features:
- Variety of templates: It offers a wide range of templates catering to different organizational needs.
- Customizable designs: It allows site owners to customize the site and personalize the look and feel of their site template to align with their brand identity.
- Responsive designs: SharePoint Look Book templates are responsive and offer a great user experience and site structure on various devices with robust site permissions.
Whether it’s setting up a corporate intranet or a project management hub, Lookbook has templates to suit different requirements, making it a versatile tool in the SharePoint ecosystem.
In the next section, we’ll explore how to use the SharePoint Lookbook to your advantage.
Stay tuned to learn how to navigate this tool and make the most of the templates it offers to build a SharePoint site that meets your objectives.
Steps to Install a SharePoint LookBook
Navigating the SharePoint Lookbook is a straightforward process, and getting started is even simpler.
In this section, we’ll break down the process into easy-to-follow steps, guiding you on how to use Lookbook to find and implement the perfect design for your SharePoint tenant.
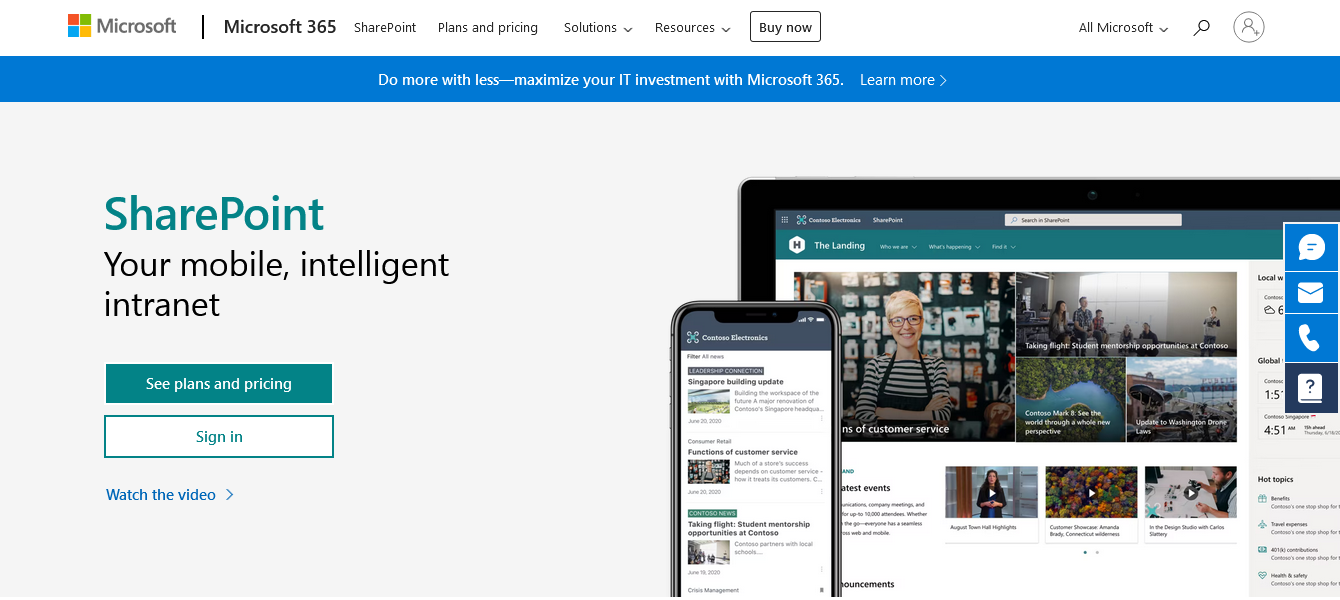
Step 1: Visit the SharePoint Lookbook Website
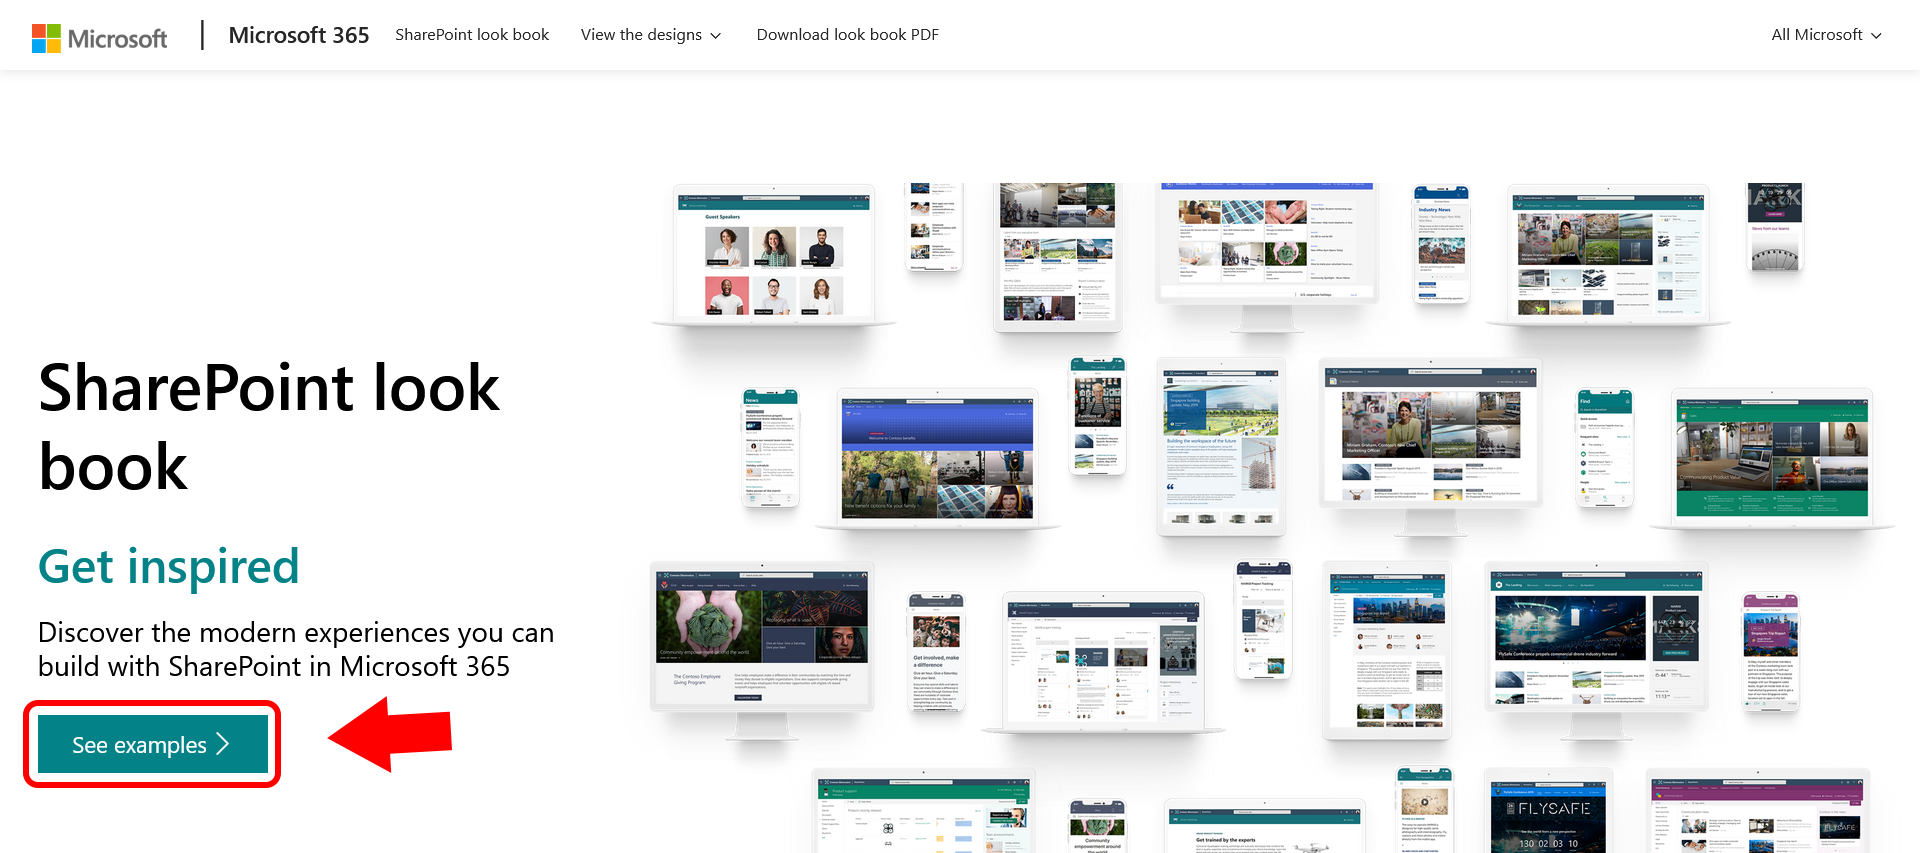
Begin by visiting the SharePoint Lookbook website. This is your starting point and gateway to a variety of templates that can give your SharePoint site a professional and sleek look.
Please note that you must have the correct administrative privileges before you can access SharePoint Look Book, meaning you need to be a SharePoint admin or Office 365 admin.
If you’re not an admin, then contact someone in your organization with global admin access and ask for permission to create new sites.
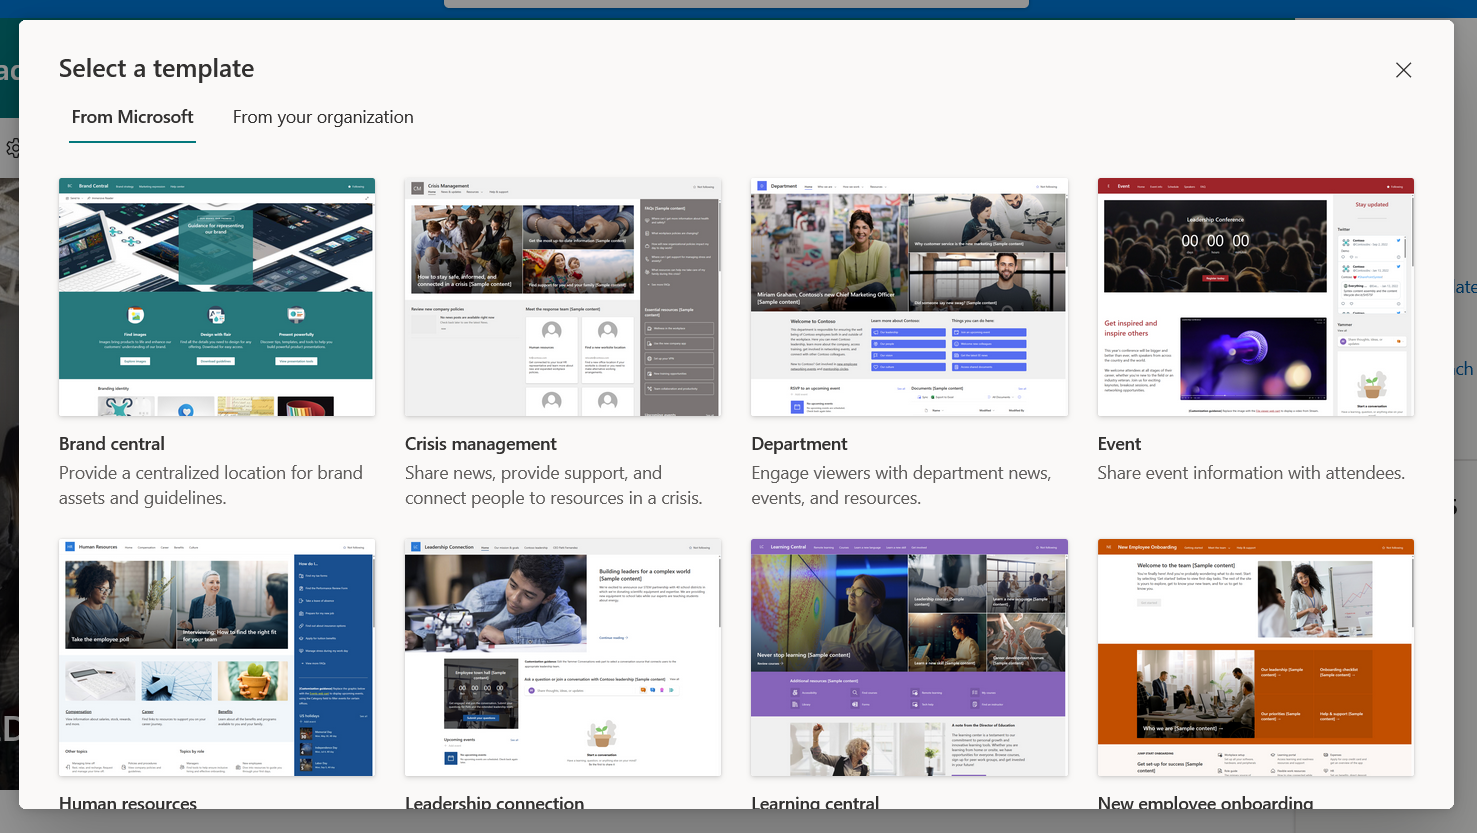
Step 2: Explore the Templates
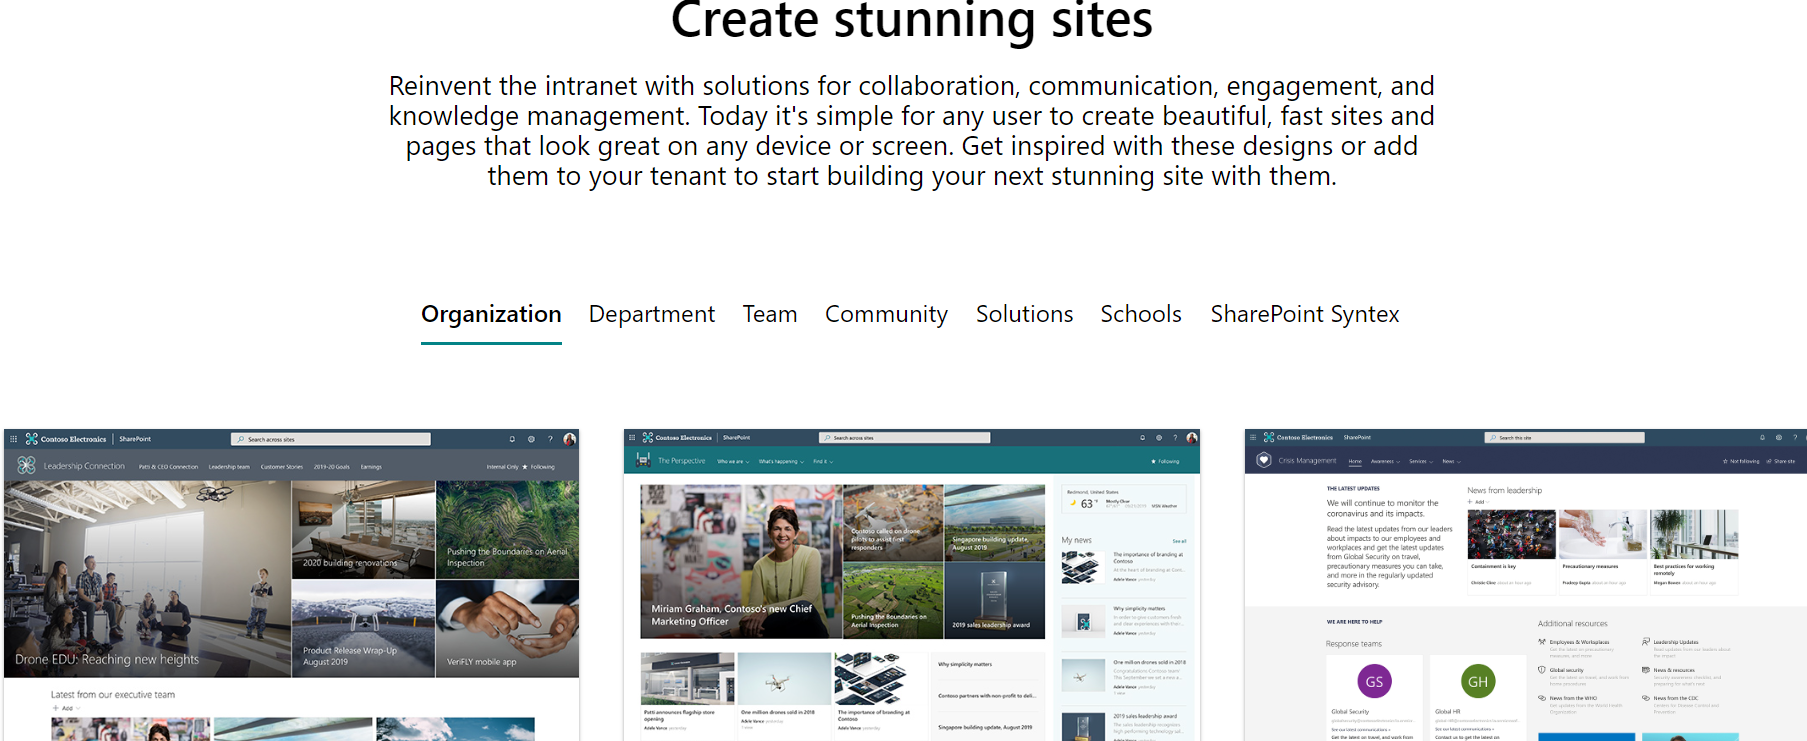
On the next screen, you’ll see multiple categories of templates showcasing SharePoint design capabilities for different purposes, including:
- Organization: Templates designed for overarching organizational needs, such as company intranets or communication sites that serve as a central hub for employees. Often include features like news, updates, and essential resources.
- Department: These downloadable templates are tailored for specific departmental uses like HR, sales, or marketing. They often contain specialized web parts or tools relevant to the department’s tasks.
- Team: Created for small to medium-sized team collaborations, these templates offer site features like project tracking, document sharing, and team announcements.
- Community: These Look Book templates are ideal for interest-based or organizational community groups. These templates might include discussion boards, event calendars, and social features to enhance engagement.
- Solutions: Focused on solving specific business challenges, such as contract management, employee onboarding, or training sites. They include specialized tools and workflows to streamline tasks.
- Schools: Crafted for educational institutions, these templates offer features like class announcements, assignment tracking, and resource sharing to enhance the educational experience.
- SharePoint Syntex: These templates are designed to work with Syntex, a Microsoft service aimed at automating content management using AI. They often include features for tagging, categorizing, and managing documents more efficiently.
These categories are aimed at providing you with a wide range of templates suitable for various types of intranet sites, including employee onboarding, information sharing, and more.
Click on a category tab to explore the templates and find an intranet site that matches your needs.
While browsing through the templates, you can view details like design elements, web parts used, and content included. You can also view several sample pages.
This information should help you quickly see the pros and cons of each template and help you decide whether your chosen template fits your requirements and can adapt to your organization’s needs.

Step 3: Add the Lookbook Template to Your Tenant
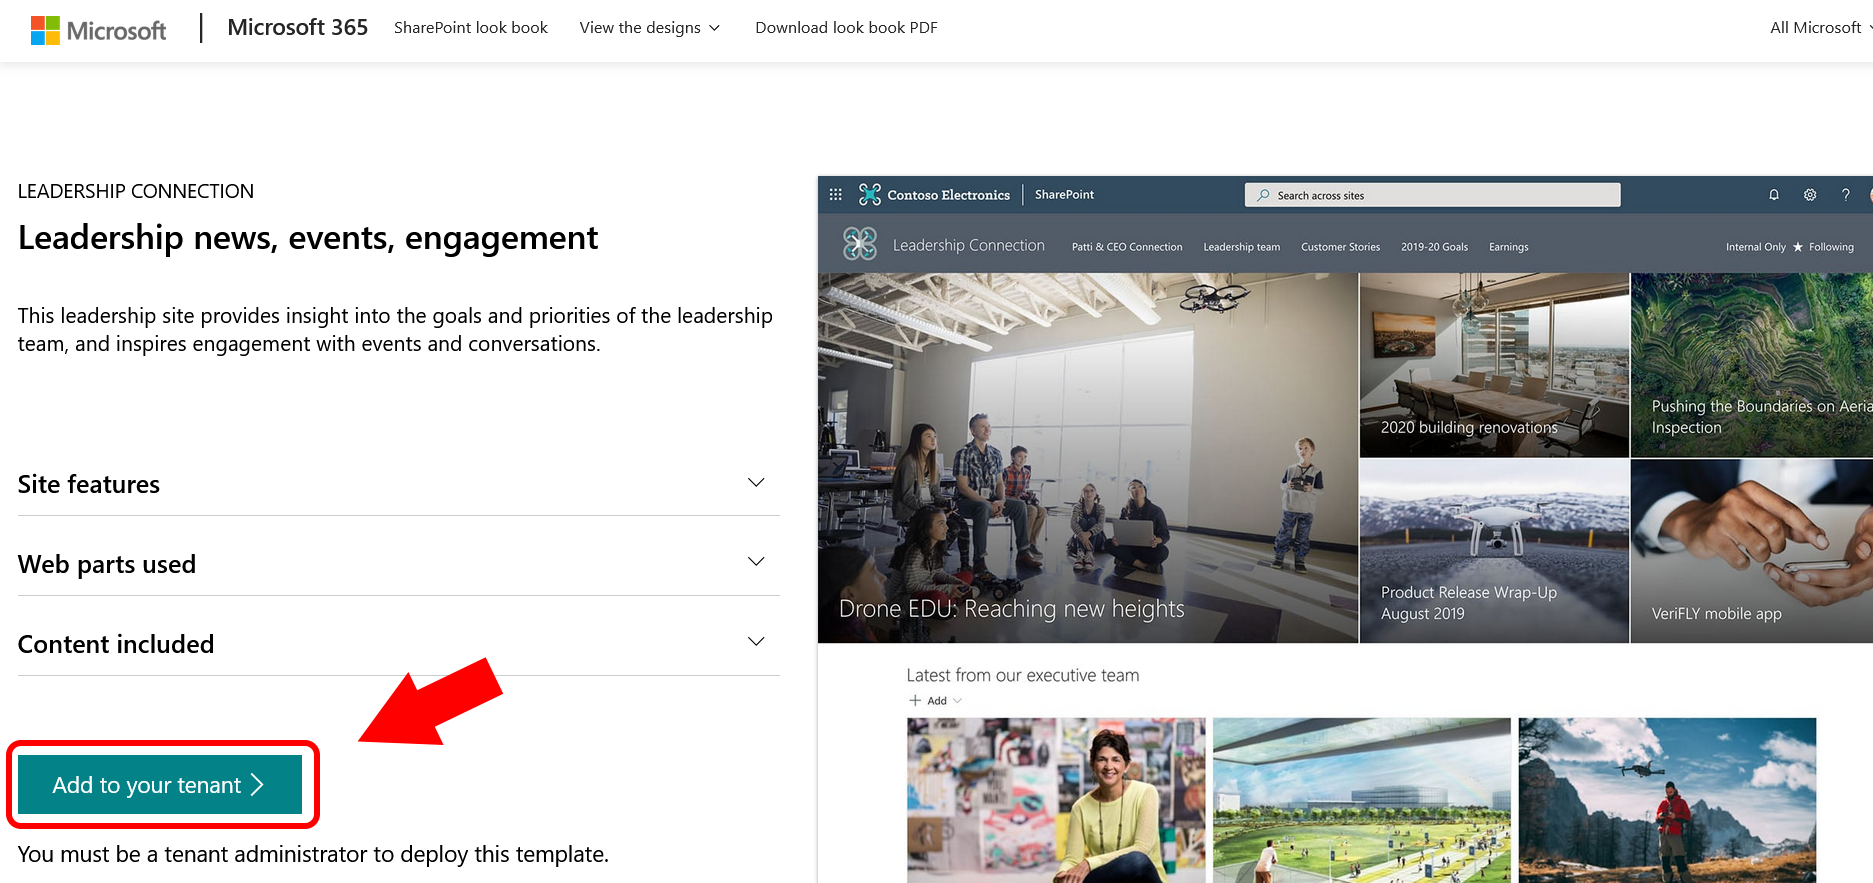
When you are ready to proceed with a template you like, click Add to your tenant to add it to your organization’s SharePoint. This is the first step in bringing your new Lookbook to life!
Step 4: Provision the Template
After adding the template to your tenant, the next critical step is provisioning it to your SharePoint environment. Provisioning is essentially setting up your chosen template on your organization’s SharePoint.
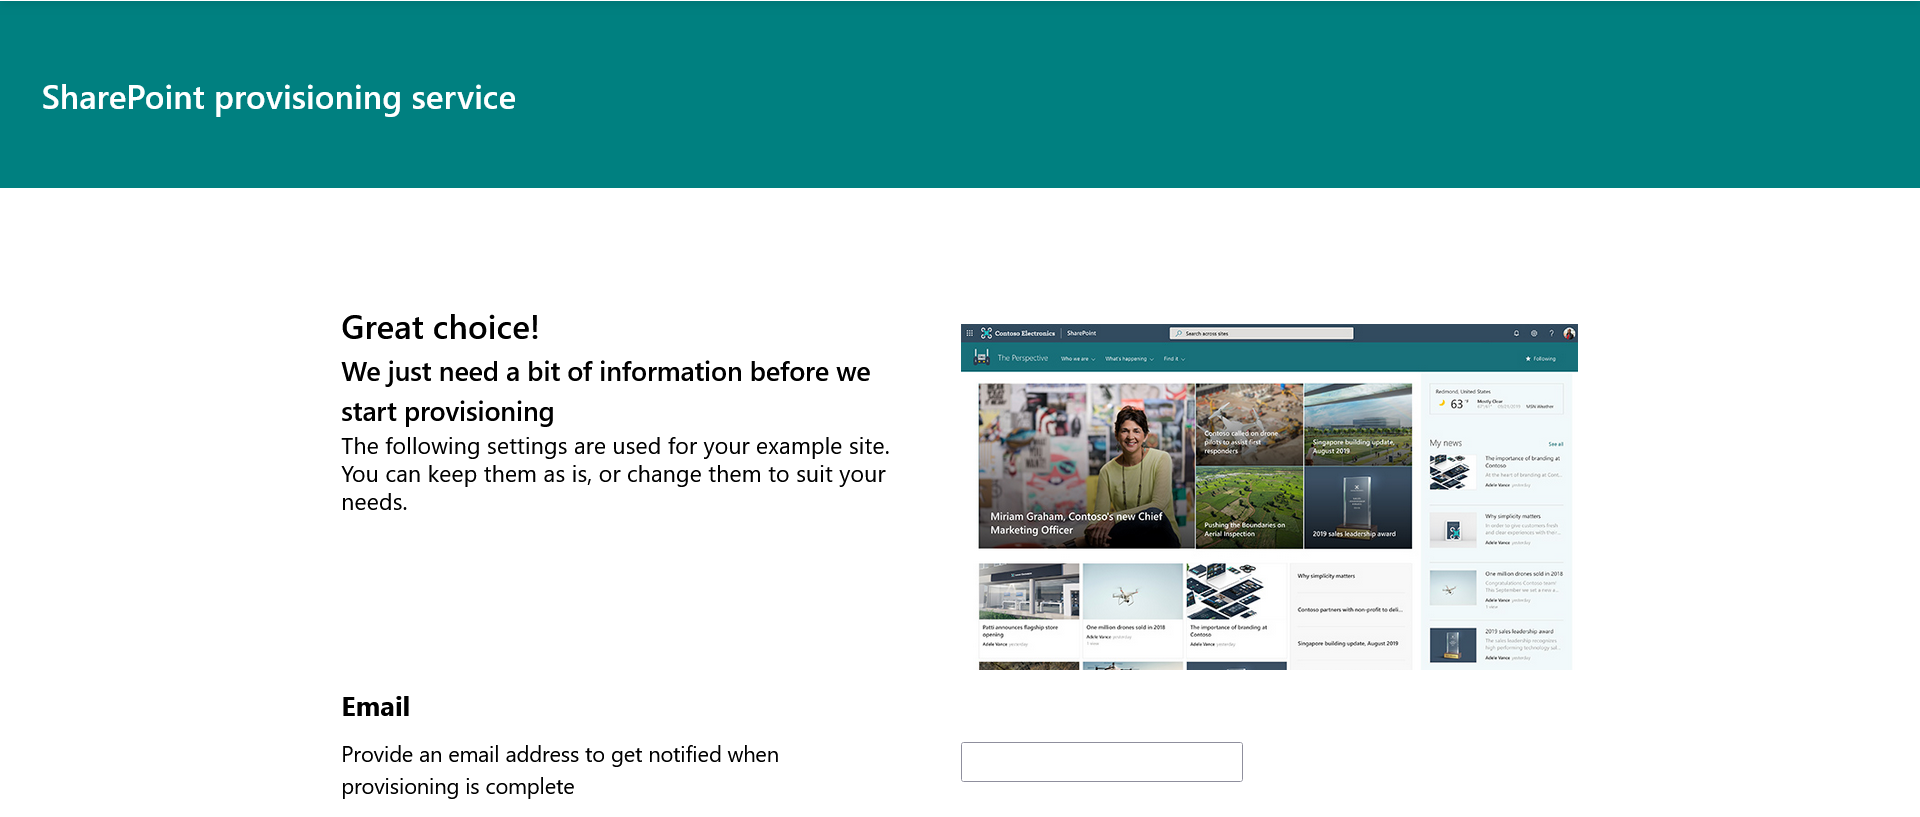
To provision your site, you must provide an email address, site title, and site URL, as shown below.
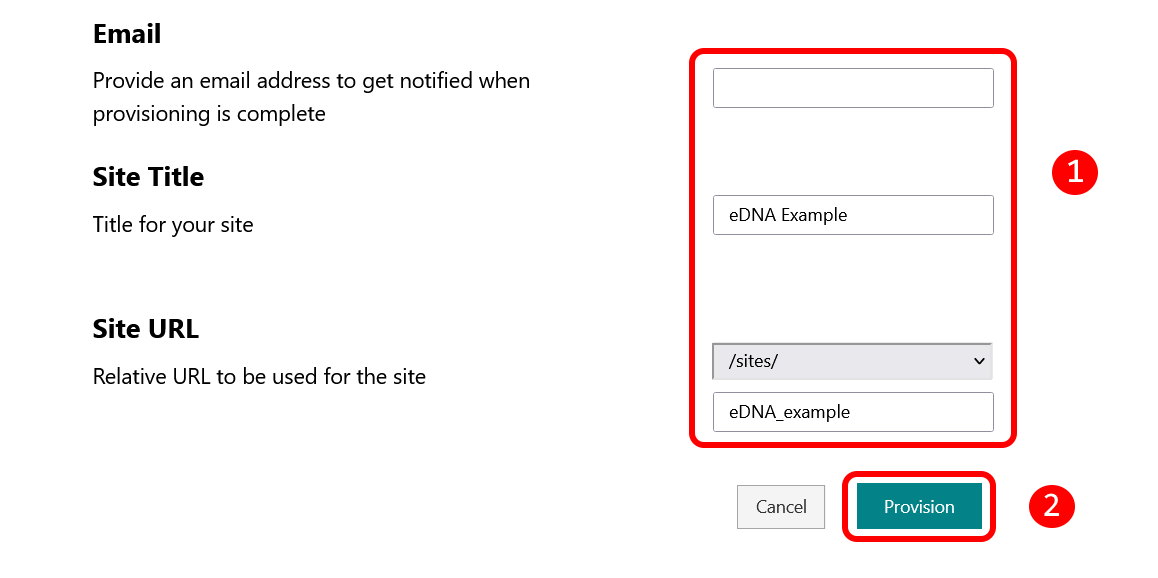
After providing all the necessary details and granting permissions, click on “Provision.” The system will then start setting up the template on your SharePoint site. This process may take some time (up to 10 minutes), so patience is key.
During the provisioning process, you may encounter permission requests. Grant the necessary permissions to allow the template to integrate seamlessly with your SharePoint environment.
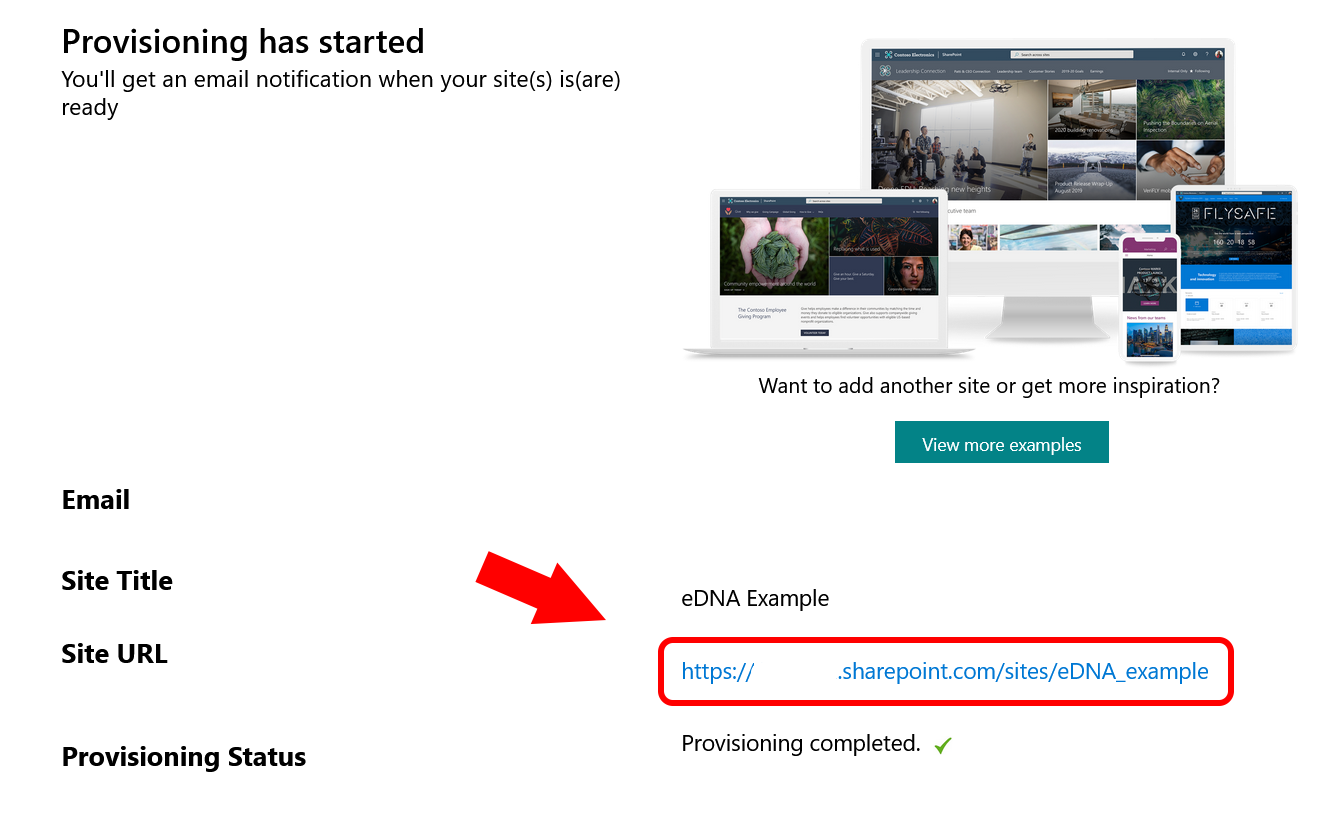
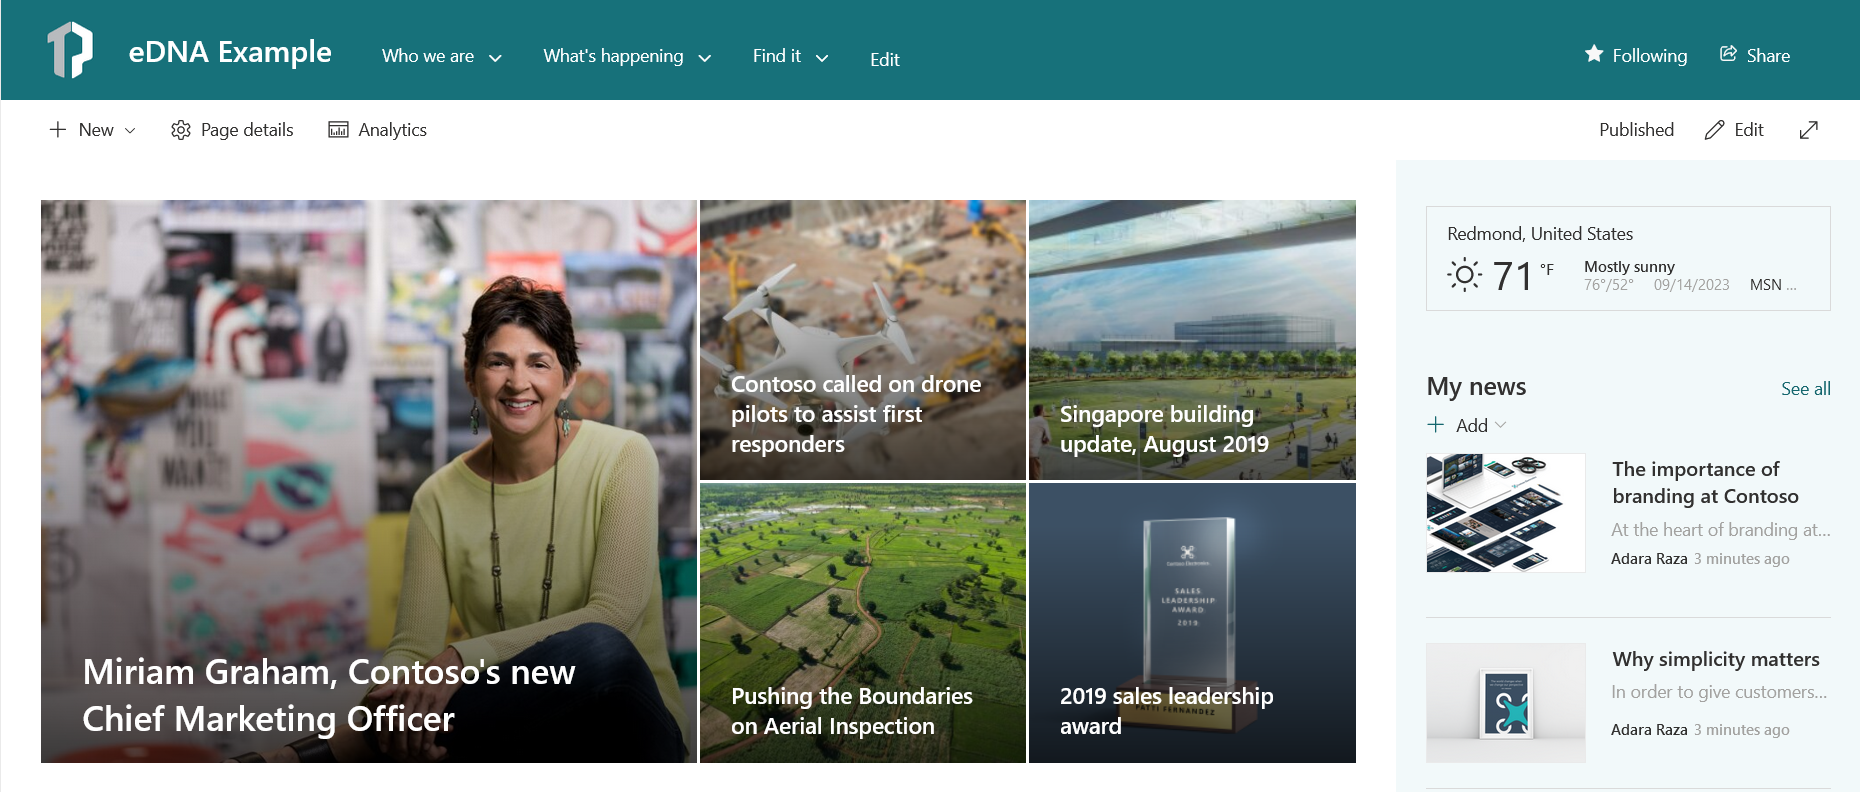
Once the provisioning process is complete, the status will change to “Provisioning completed.” Click on the site URL to visit your site and see the template in action.
Note: As noted in the first step, ensure you have the necessary administrative rights to carry out the provisioning process. It’s also a good idea to provision templates in a test environment first to ensure they meet your requirements before deploying them in a production environment.
In the next section, we’ll explore the exciting world of customization, where you get to add a personal touch to your newly provisioned SharePoint site. Stay tuned!
How to Customize Your SharePoint Look Book Template
Now that you’ve successfully provisioned a template from the SharePoint Look Book, it’s time to add your personal touch to your SharePoint site.
This section is your guide to customizing your site, making it a true reflection of your brand or personality while ensuring it serves your specific needs efficiently.
Step 1: Access the Settings Menu
Start with the basics: align the template with your brand by adjusting elements such as color schemes, fonts, and logos to resonate with your brand identity.
To get started, click on the wheel icon on the top-right to open the Settings menu.
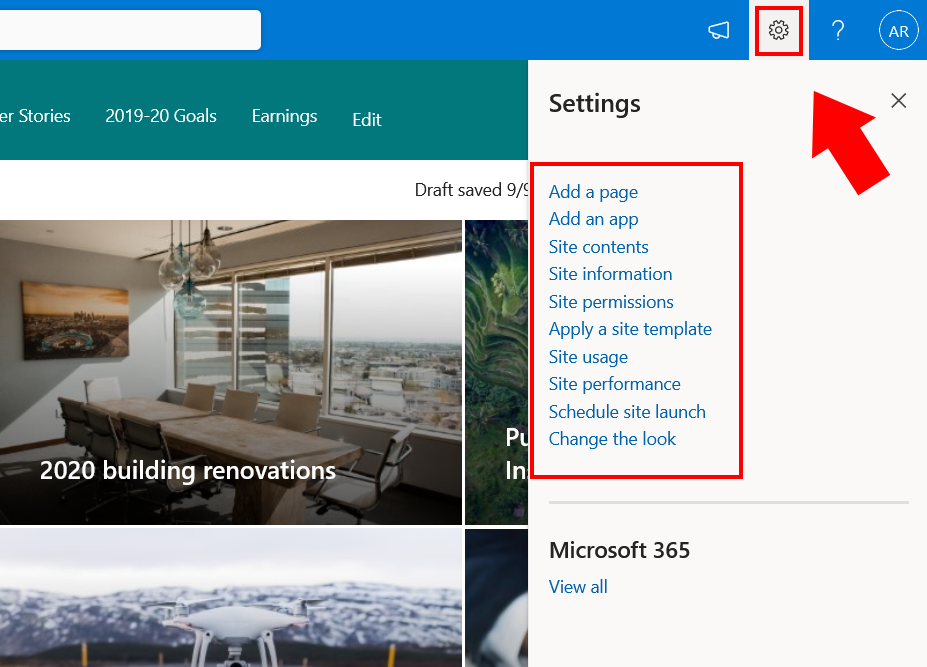
In the Settings menu, you can choose to add new pages, SharePoint apps, site contents, site information, permissions, and more.
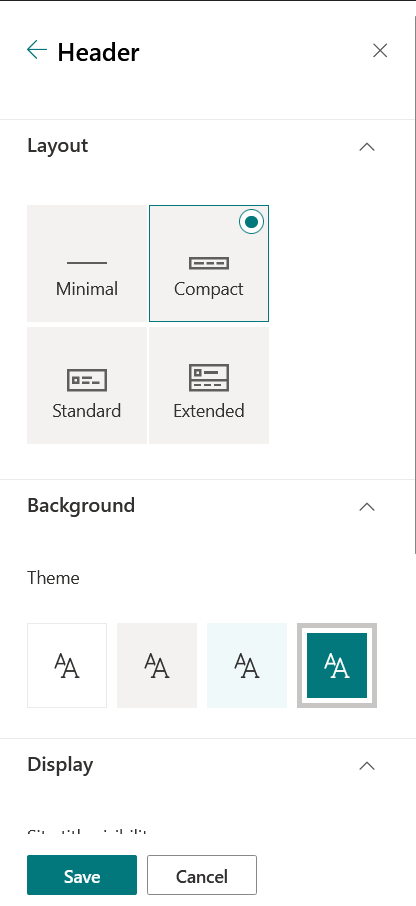
Step 2: Edit the Look and Feel
The Settings menu is where you change the look of your site (i.e., change page colors, font, pictures, logos) and schedule the launch of the site when it’s ready.
Feel free to move things around, delete the demo content, and create a flow that works best for your content and audience. SharePoint offers a flexible environment which allows you to tweak layouts to your preference
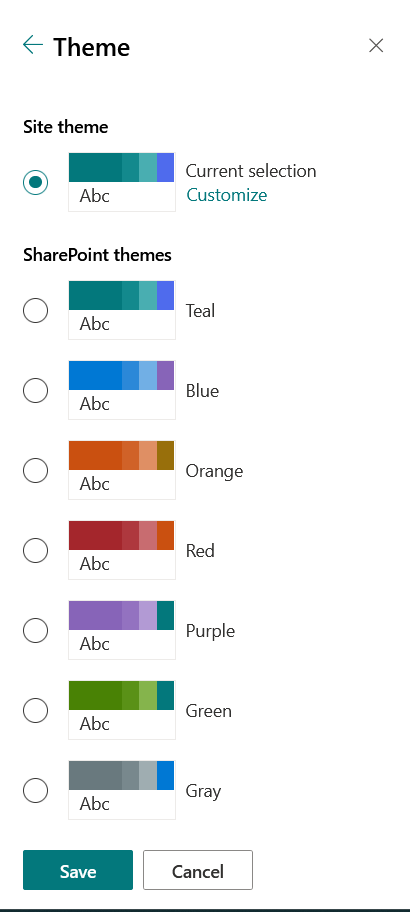
Step 3: Change Up Your Template
In addition to changing the themes, colors, and fonts used, you also have the option to change out the entire theme if you don’t like the one you picked!
From the Settings menu, you can access Microsoft’s site theme or add themes with custom code made by your organization.
Step 4: Test Your Site
Before going live, test the site to ensure everything works perfectly. Check the site’s responsiveness on different devices and browsers to guarantee a smooth user experience for all visitors.
We recommend:
- Feedback loop: Create a feedback loop with your team or a test group to gather insights and make necessary adjustments before the official launch.
- Training: Consider setting up training sessions for your team to familiarize them with the new site and its functionalities.
Final Thoughts

We’ve covered a lot of ground in this guide, from understanding what SharePoint Lookbook is to learning how to select, provision, and customize a template to suit your needs.
Lookbook is a powerful tool in your SharePoint toolkit, designed to make the process of setting up a SharePoint site smoother and more efficient.

As you move forward, remember that the key to a successful SharePoint site is not just a great template but also a thoughtful customization that reflects your brand and serves your audience effectively.
It’s now over to you to explore Look Book and create a SharePoint site that meets your objectives!
For more SharePoint tips and tricks, check out our video on the benefits of using SharePoint for Power BI development below:
Frequently Asked Questions
What is a SharePoint Lookbook?
A SharePoint Look Book is a set of pre-designed templates for SharePoint Online sites. It offers a quick way to create visually appealing and functional sites without starting from scratch.
These templates come with pre-configured layouts, web parts, and design elements, enabling users to deploy them with minimal customization.
How do I create a Lookbook in SharePoint?
To add a Lookbook template to SharePoint, perform the following steps:
- Ensure that you are a Tenant administrator in your SharePoint.
- Choose the Template and select the “Add to your tenant” button.
- Select and fill in the following: Email, Site Title, and Site URL.
- Click on the Provision button.
Wait a bit and then go to the website address you picked. The template will be there, looking like the preview you saw.
How do I beautify SharePoint?
To enhance the visual appeal of SharePoint:
- Customize site themes: Modify colors, fonts, and logos in the site settings.
- Use web parts: Add interactive elements like image galleries, news feeds, and document libraries.
- Organize content: Add content and employ clear navigation, categorization, and consistent branding for a polished look.


