
In a world where data is king, the ability to seamlessly connect external databases to SharePoint Online has become a game-changer.
SharePoint empowers teams to work together, share information, and manage documents efficiently. But what if you could take it a step further?
Imagine effortlessly integrating business data from external sources—such as customer records, inventory databases, or even real-time market updates—right into your SharePoint Online environment.

That’s the magic of connecting external databases, and in this article, we’re going to show you how.
To connect an external database to SharePoint Online:
- Prepare Your SharePoint Online Environment
- Create External Content Types
- Create an External List in SharePoint Online
- Connect Your External Database to SharePoint Online
This article will show you a step-by-step guide to accomplishing each task, lay out all your options, and give you tips to overcome any challenges you may encounter in the process.
Let’s get straight into it!
Understanding SharePoint Online and External Databases
Before we dive into connecting external data to SharePoint Online, let’s break down the basics.
SharePoint Online: Your Digital Collaborative Space
Imagine a place where your team can collaborate, store documents, and effortlessly share information—no matter where they are.

That’s exactly what SharePoint Online is—an advanced collaboration platform by Microsoft. It’s like a digital office that’s accessible from your web browser.
External Databases: The Treasure Troves of Data
Now, let’s talk about external databases.
These are like treasure chests of data located outside of SharePoint.
They come in various forms:
- Spreadsheets: You might have important business data stored in Excel spreadsheets.
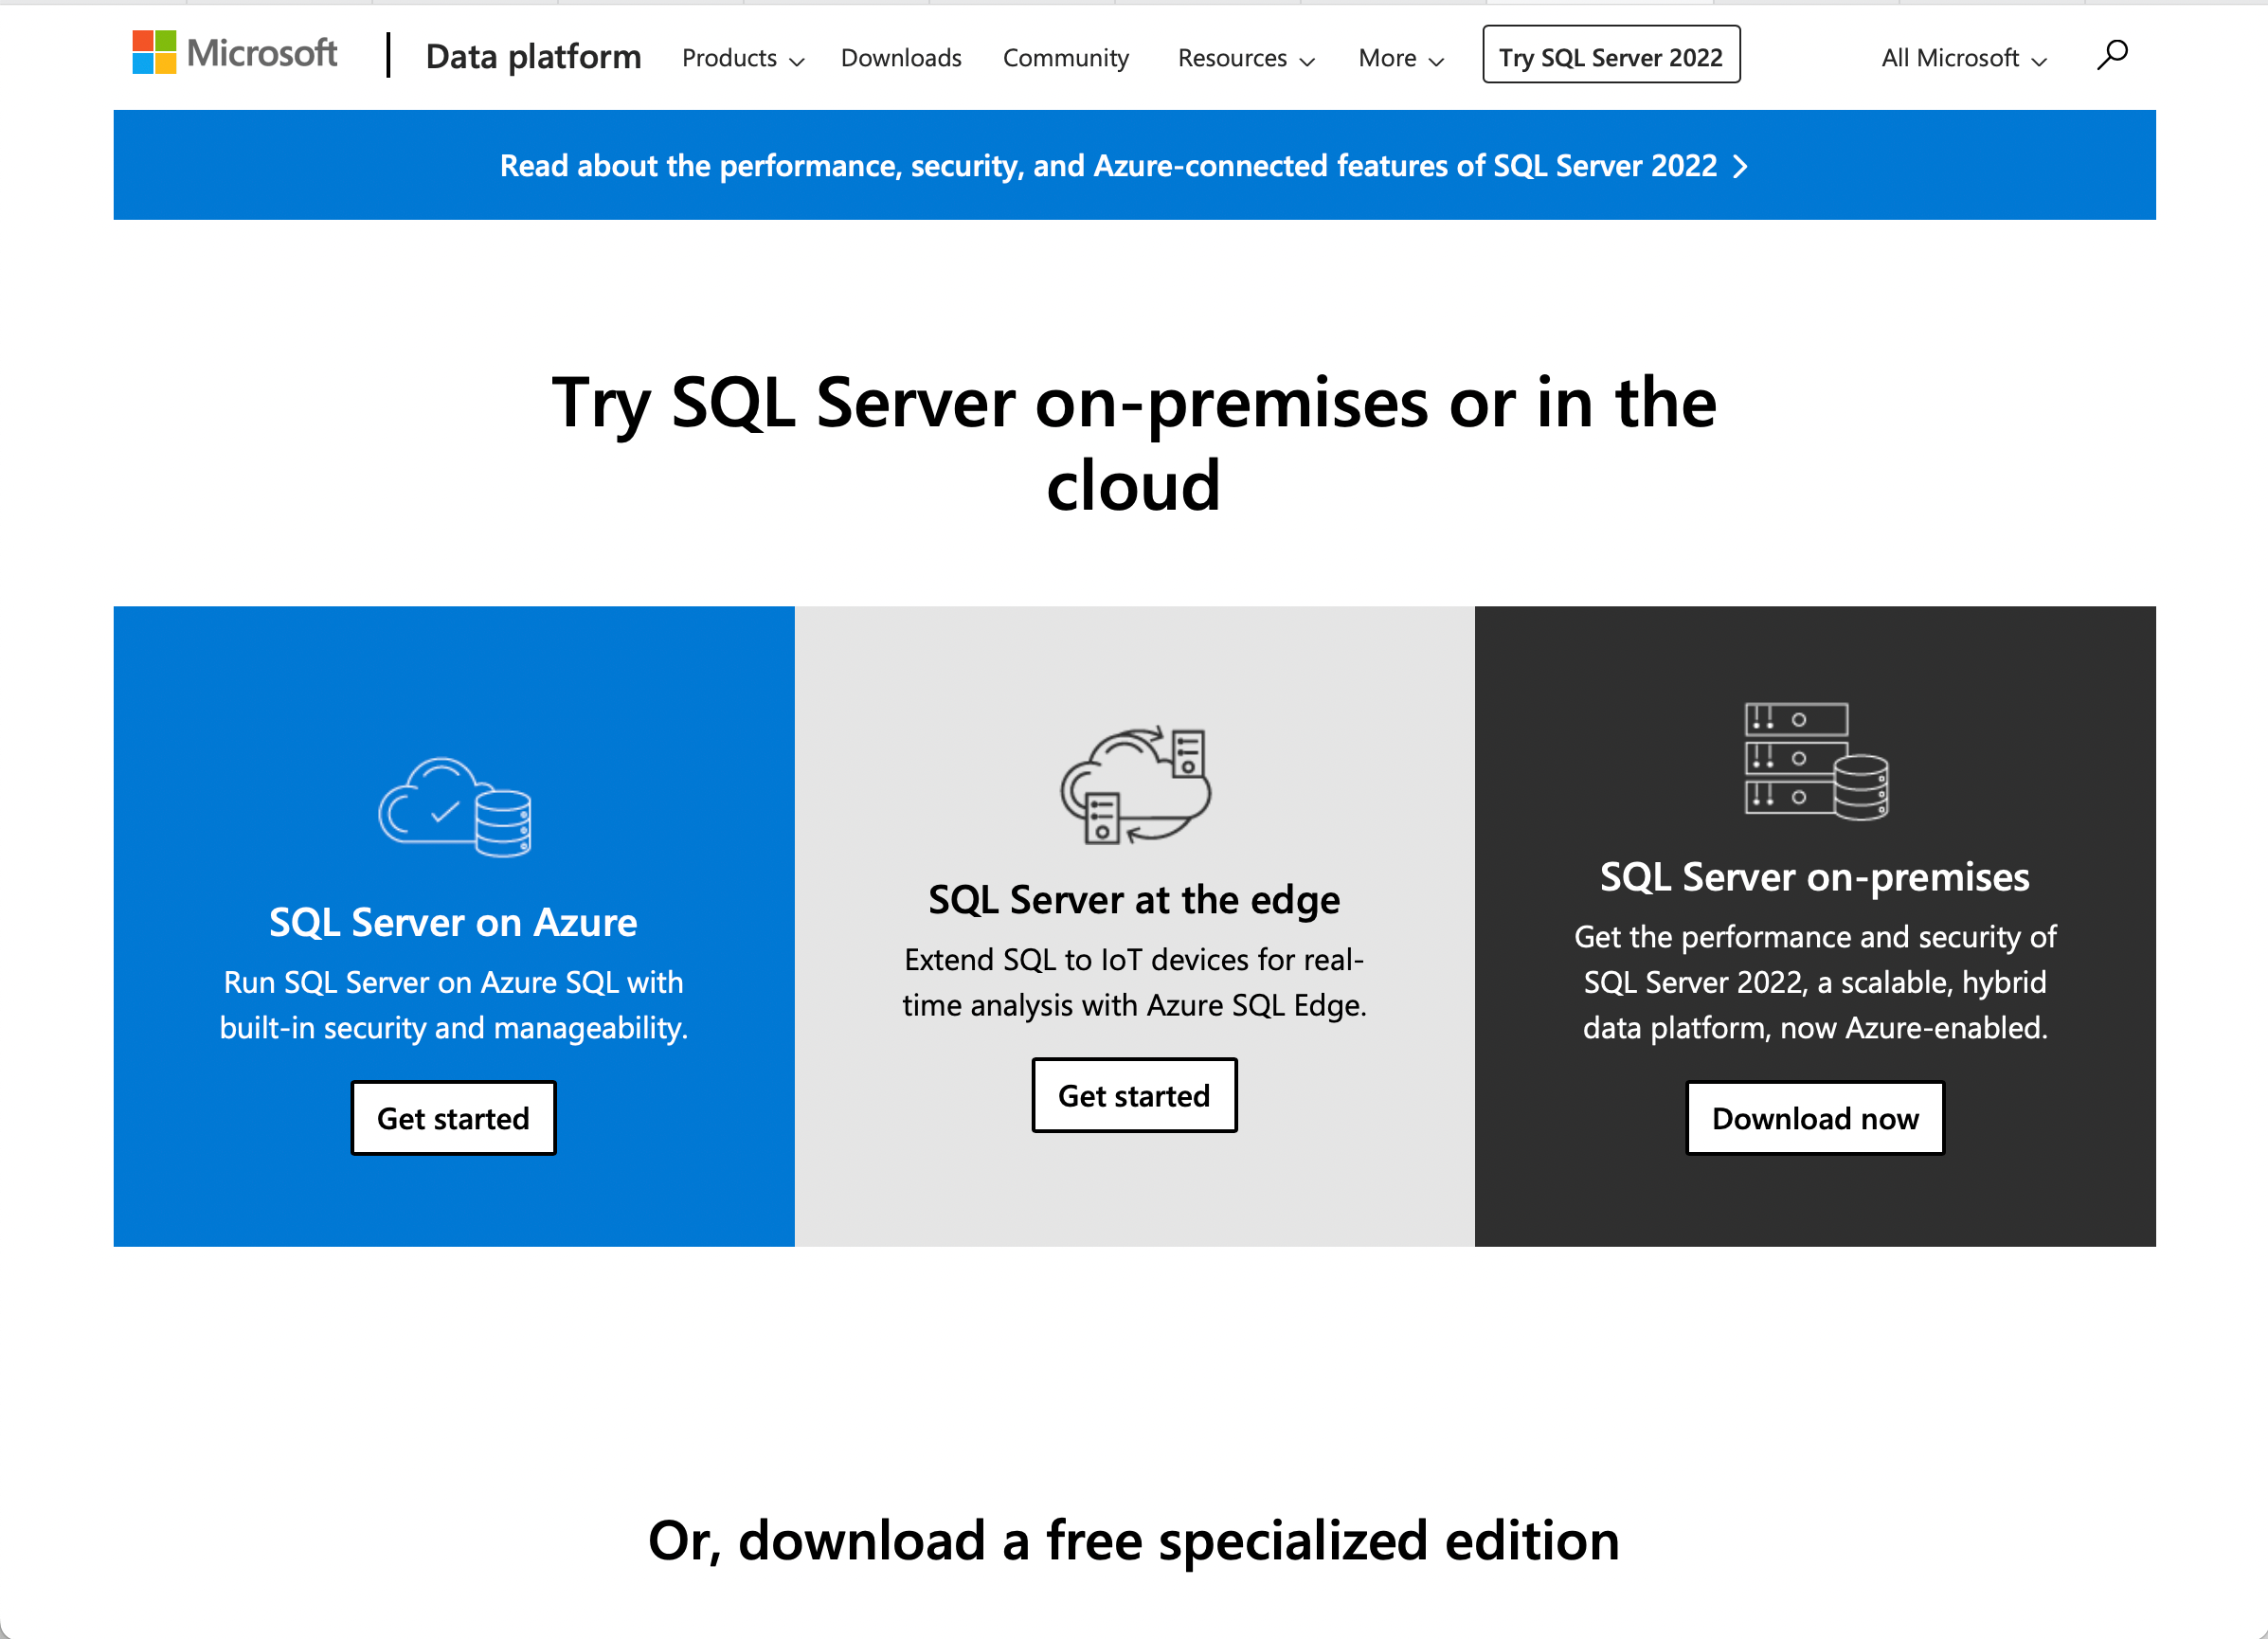
- Database Systems: Businesses often use database systems like Microsoft SQL Server, Oracle, or MySQL to manage vast amounts of business data.
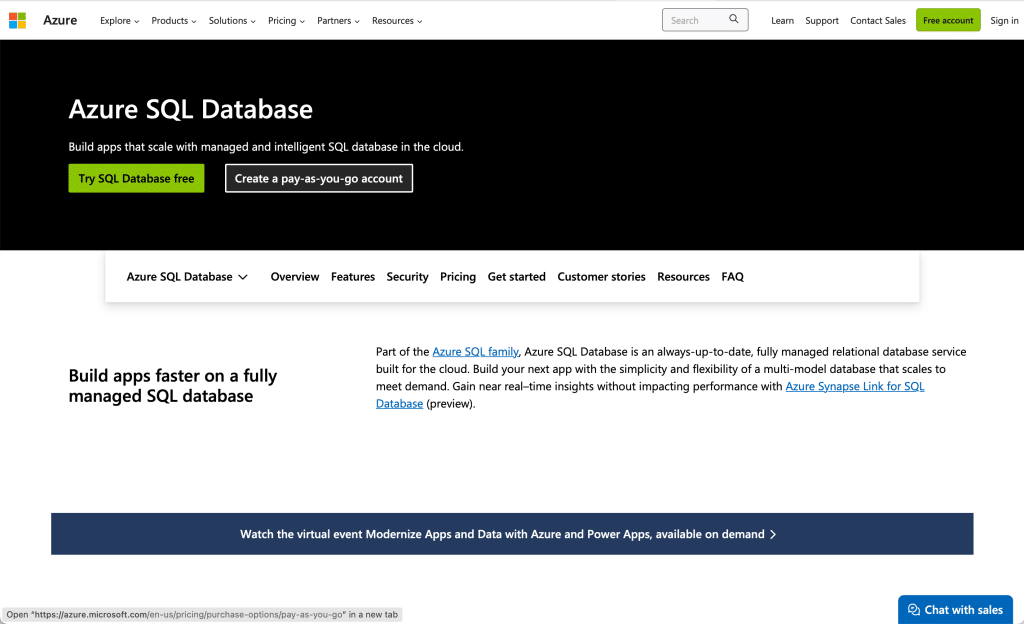
- Cloud Services: Business data can also be stored in cloud-based services like Azure SQL Database or Amazon RDS.
These external databases hold valuable information such as customer records, inventory details, financial data, or even real-time stock market updates. They are essential for various business operations and decision-making processes.
Benefits of Using External Databases in SharePoint Online

Integrating external databases into SharePoint Online brings a range of powerful advantages:
- Streamlined Business Data Access: Access external data seamlessly from within SharePoint, eliminating the need to switch between different applications.
- Real-Time Updates: Stay up-to-date with the latest information, as changes made in the external databases are reflected instantly in SharePoint.
- Centralized Information: Store and manage business data from various sources in one location, enhancing data organization and accessibility.
- Efficient Collaboration: Collaborate with colleagues using the most current data, ensuring alignment and productivity.
- Data Enrichment: Combine internal and external data sources to gain deeper insights and make more informed decisions.
- Automation Possibilities: Automate workflows and processes based on external data triggers, saving time and reducing manual tasks.
- Security and Compliance: Leverage SharePoint Online’s security features to control access to external business data, ensuring data security and compliance.
Incorporating external databases into SharePoint elevates your business data management and collaboration capabilities, enhancing overall efficiency and productivity.
How to Connect an External Database to SharePoint Online

Connecting external data to SharePoint Online is a multi-step process and requires a lot of decision-making on your part to ensure the connection materializes effectively.
The main steps to accomplish this connection are:
- Prepare Your SharePoint Online Environment
- Create External Content Types
- Create an External List in SharePoint Online
- Connect Your External Database to SharePoint Online
Within each of these steps are many mini-steps and several considerations, let us show you these below.
Step 1: Prepare Your SharePoint Online Environment
To set up SharePoint Online with an external database, you will need to:
- Create a SharePoint site.
To do so:
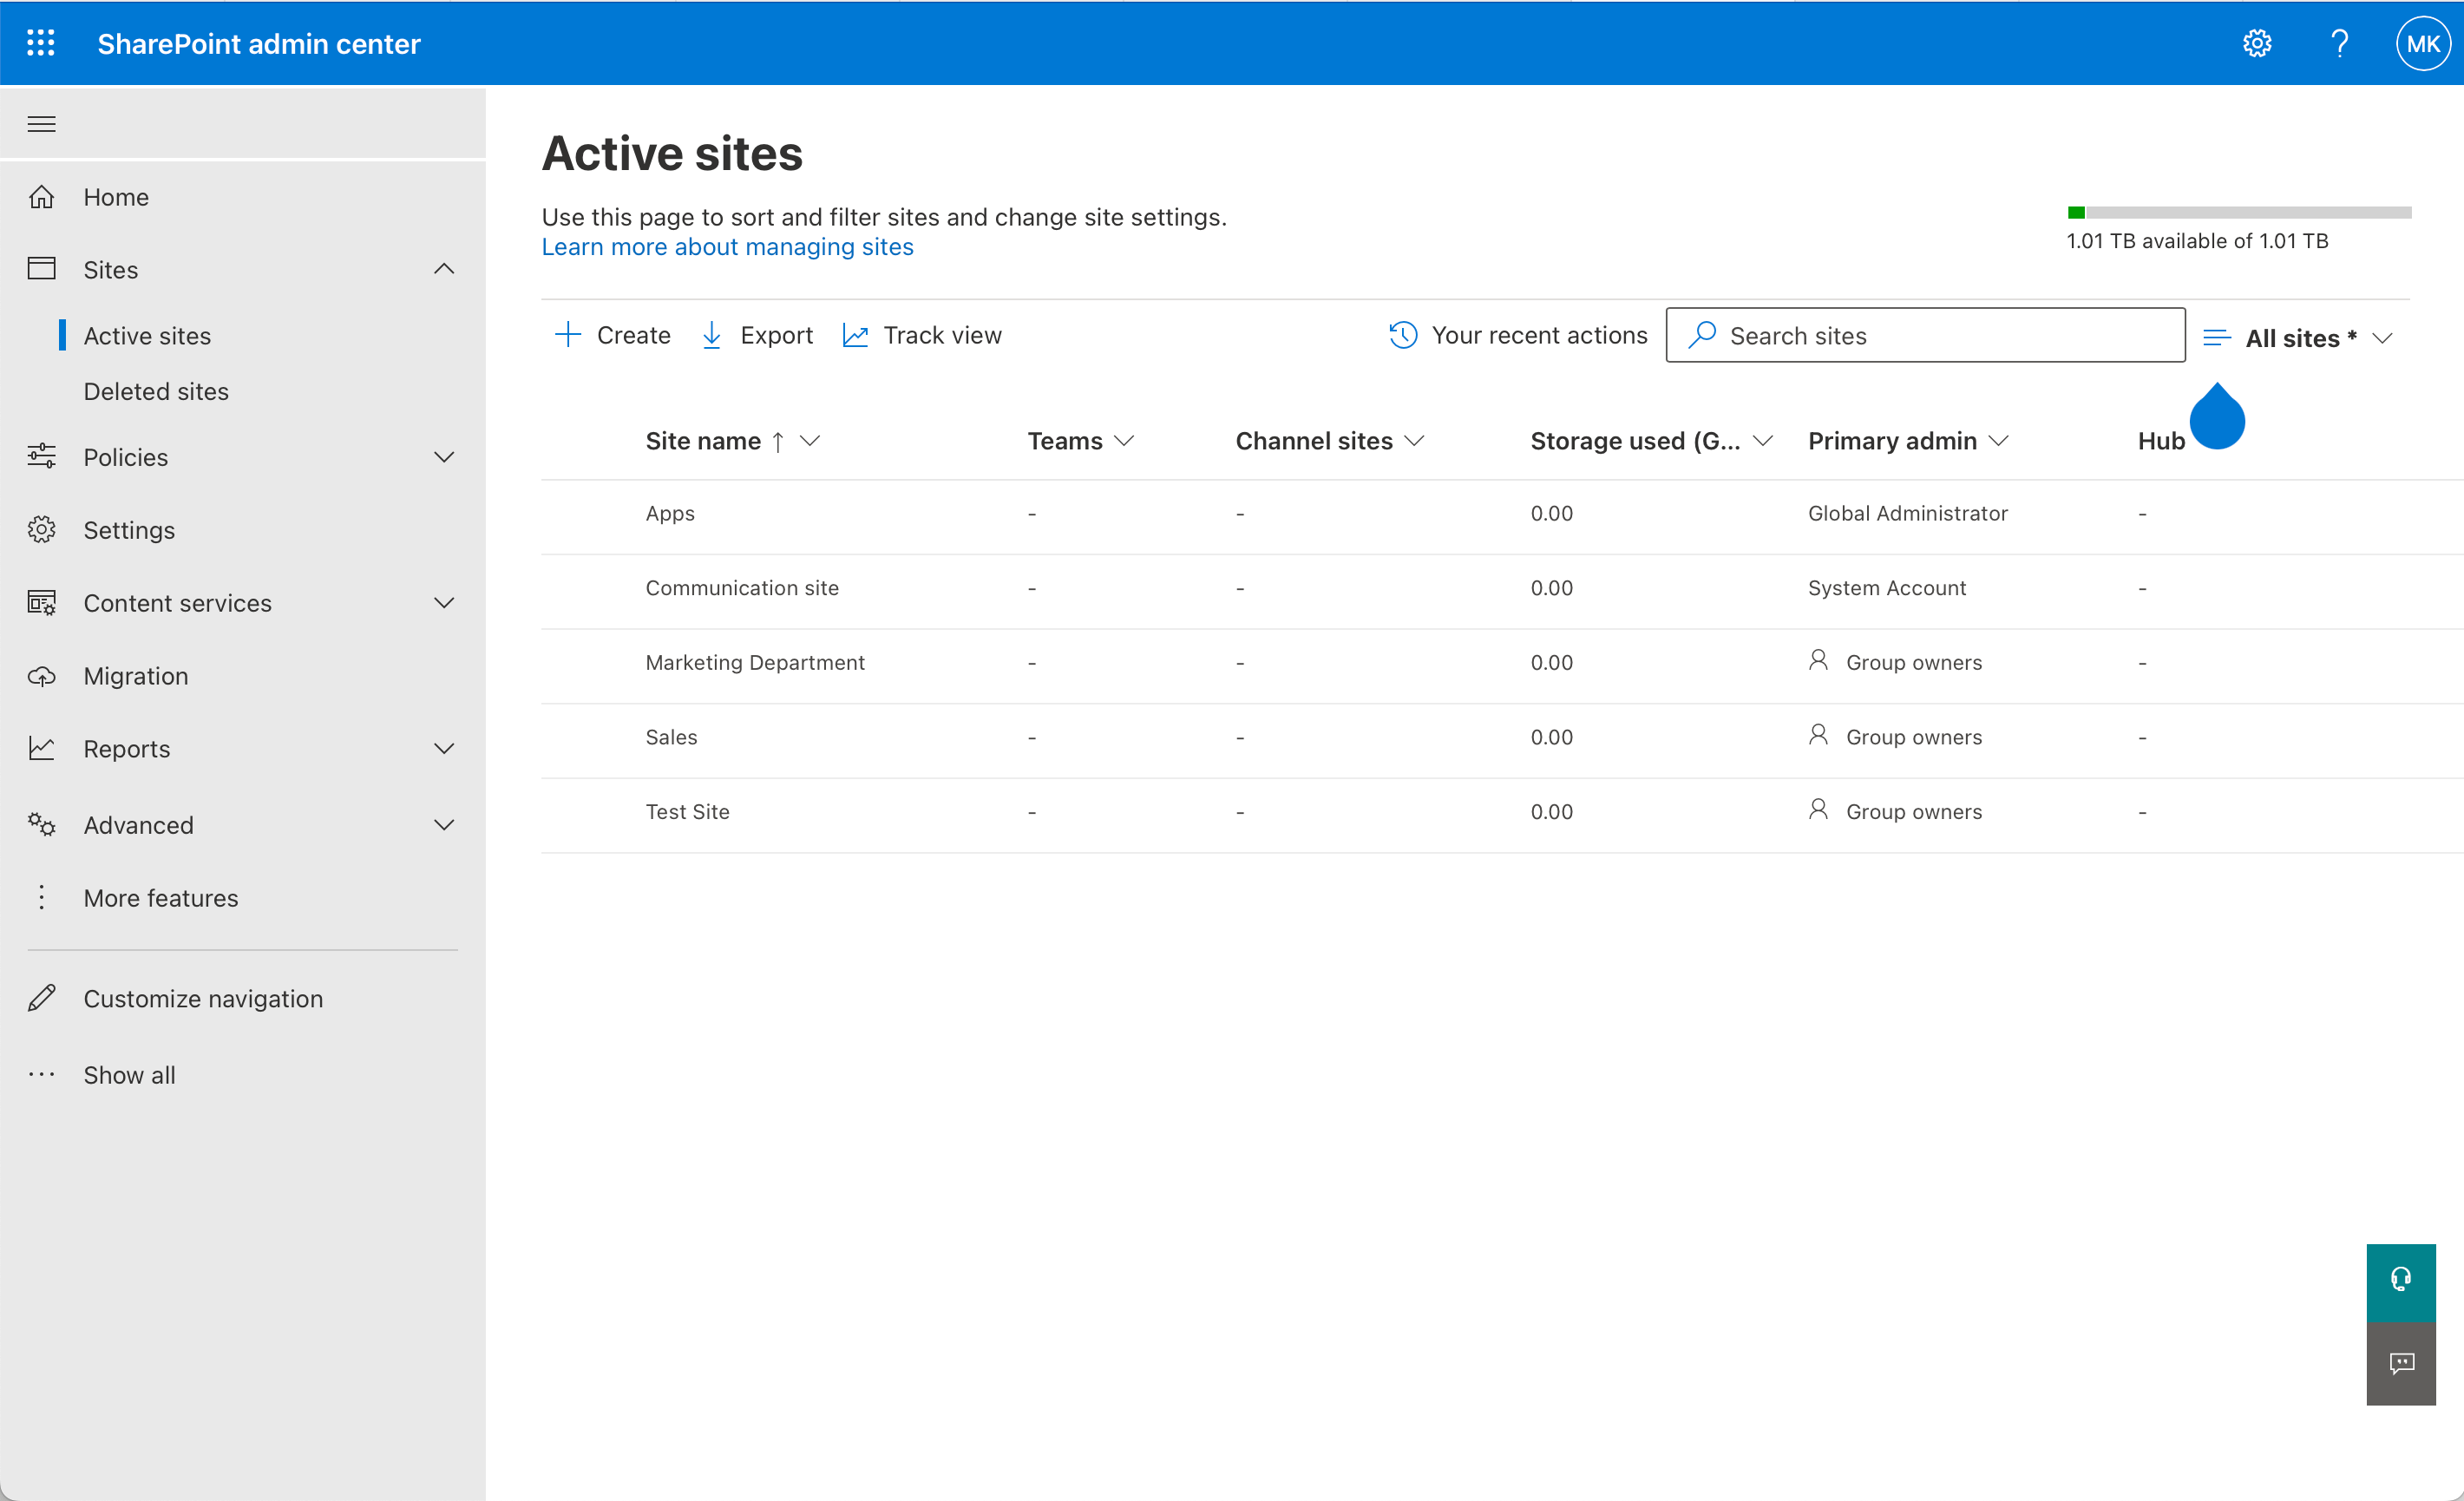
1. Sign in to your Office 365 account and navigate to the SharePoint Admin Center.
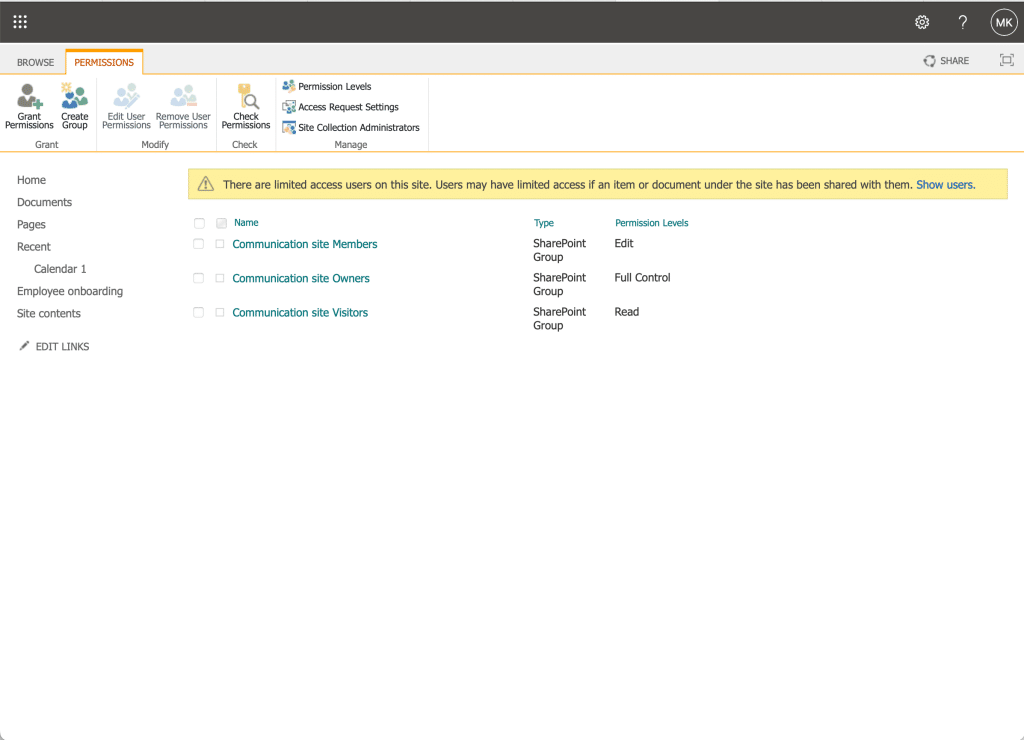
2. Click on + Create site and choose a site template that suits your needs. - Confirm Permissions: Ensure you have the necessary permissions within your SharePoint environment to create connections and access external data. Typically, this involves having at least site owner or administrator rights.
- Identify Your External Database: Determine the type and location of the external database you want to connect to SharePoint.
Is it a SQL database, an Excel spreadsheet, a cloud-based service, or something else?
SharePoint Online can work with databases that use the Object Linking and Embedding Database (OLE DB) protocol. Think of OLE DB as the language SharePoint understands to talk to these databases. - Set Up a Target Application: Once you’re sure that your database can work with SharePoint, create something called a “target application” in the Secure Store Service.
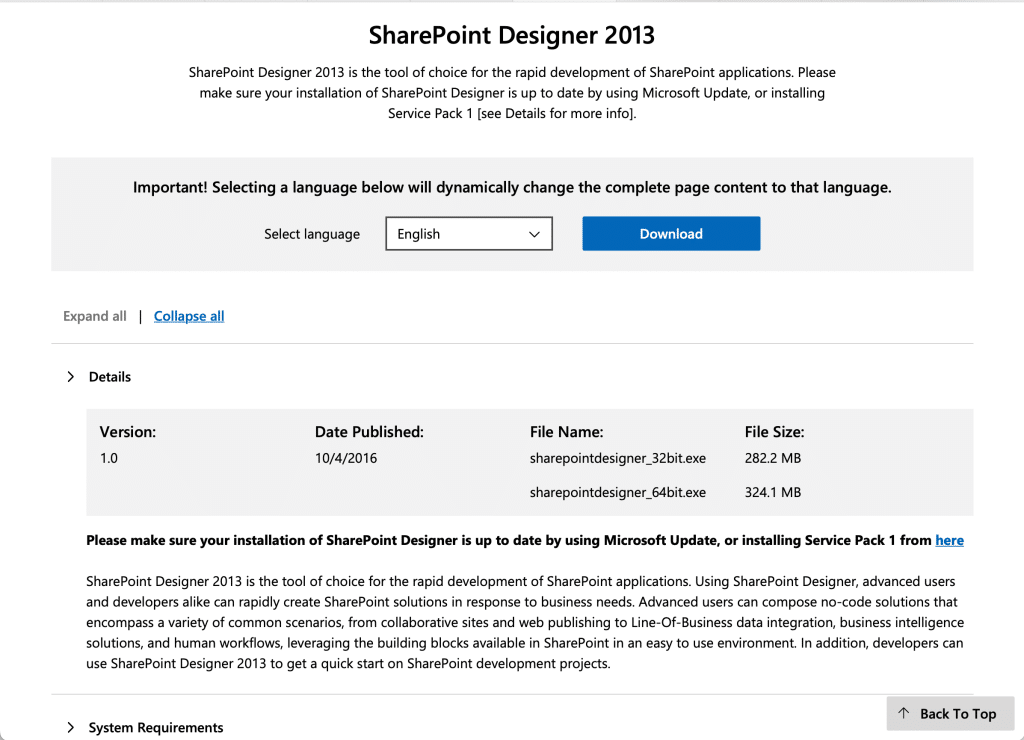
This is like assigning a group of users to share a single account that can connect with the external data on their behalf. In SharePoint, it’s all about using group-based credentials. - Install Required Software: Depending on your setup, you might need extra software, like SharePoint Designer 2013, to create this connection between SharePoint and your external database.
Your SharePoint Online environment is now ready for the next step.
Step 2: Create External Content Types
Once you’ve prepared your SharePoint Online environment and identified your external database, the next critical step is creating external content types.
Think of these as the bridge between your SharePoint site and the external database. They define how SharePoint should communicate with the external data source.
Here’s how to create external content types:

- Launch SharePoint Designer: Start by opening SharePoint Designer and connecting it to your SharePoint Online site.
- In SharePoint Designer, navigate to the External Content Types section.
- Click on New to create a brand new external content type. You can also give it a custom name to make it easier to identify.
- Click on Click here to discover external data sources and define operations to specify how SharePoint should connect to your external database. This will allow you to choose from various data sources, such as SQL Server or OData services.
- Connect to the external database and select the necessary tables, fields, and operations.
- To ensure seamless integration, establish associations between the different external content types you’ve created. This step is crucial when dealing with data that relate to each other.
Creating these external content types is essential because they serve as the communication channels that SharePoint uses to understand and interact with data from your external database.
Once these content types are set up, SharePoint knows how to fetch and display the data within your SharePoint site.
Step 3: Create an External List in SharePoint Online
To connect an external database in SharePoint Online, you need to create an external list where you can display and work with the external data fetched from your external database.
To set up a list:
- Navigate to your SharePoint site.
- Click Site Contents on the left-hand side.
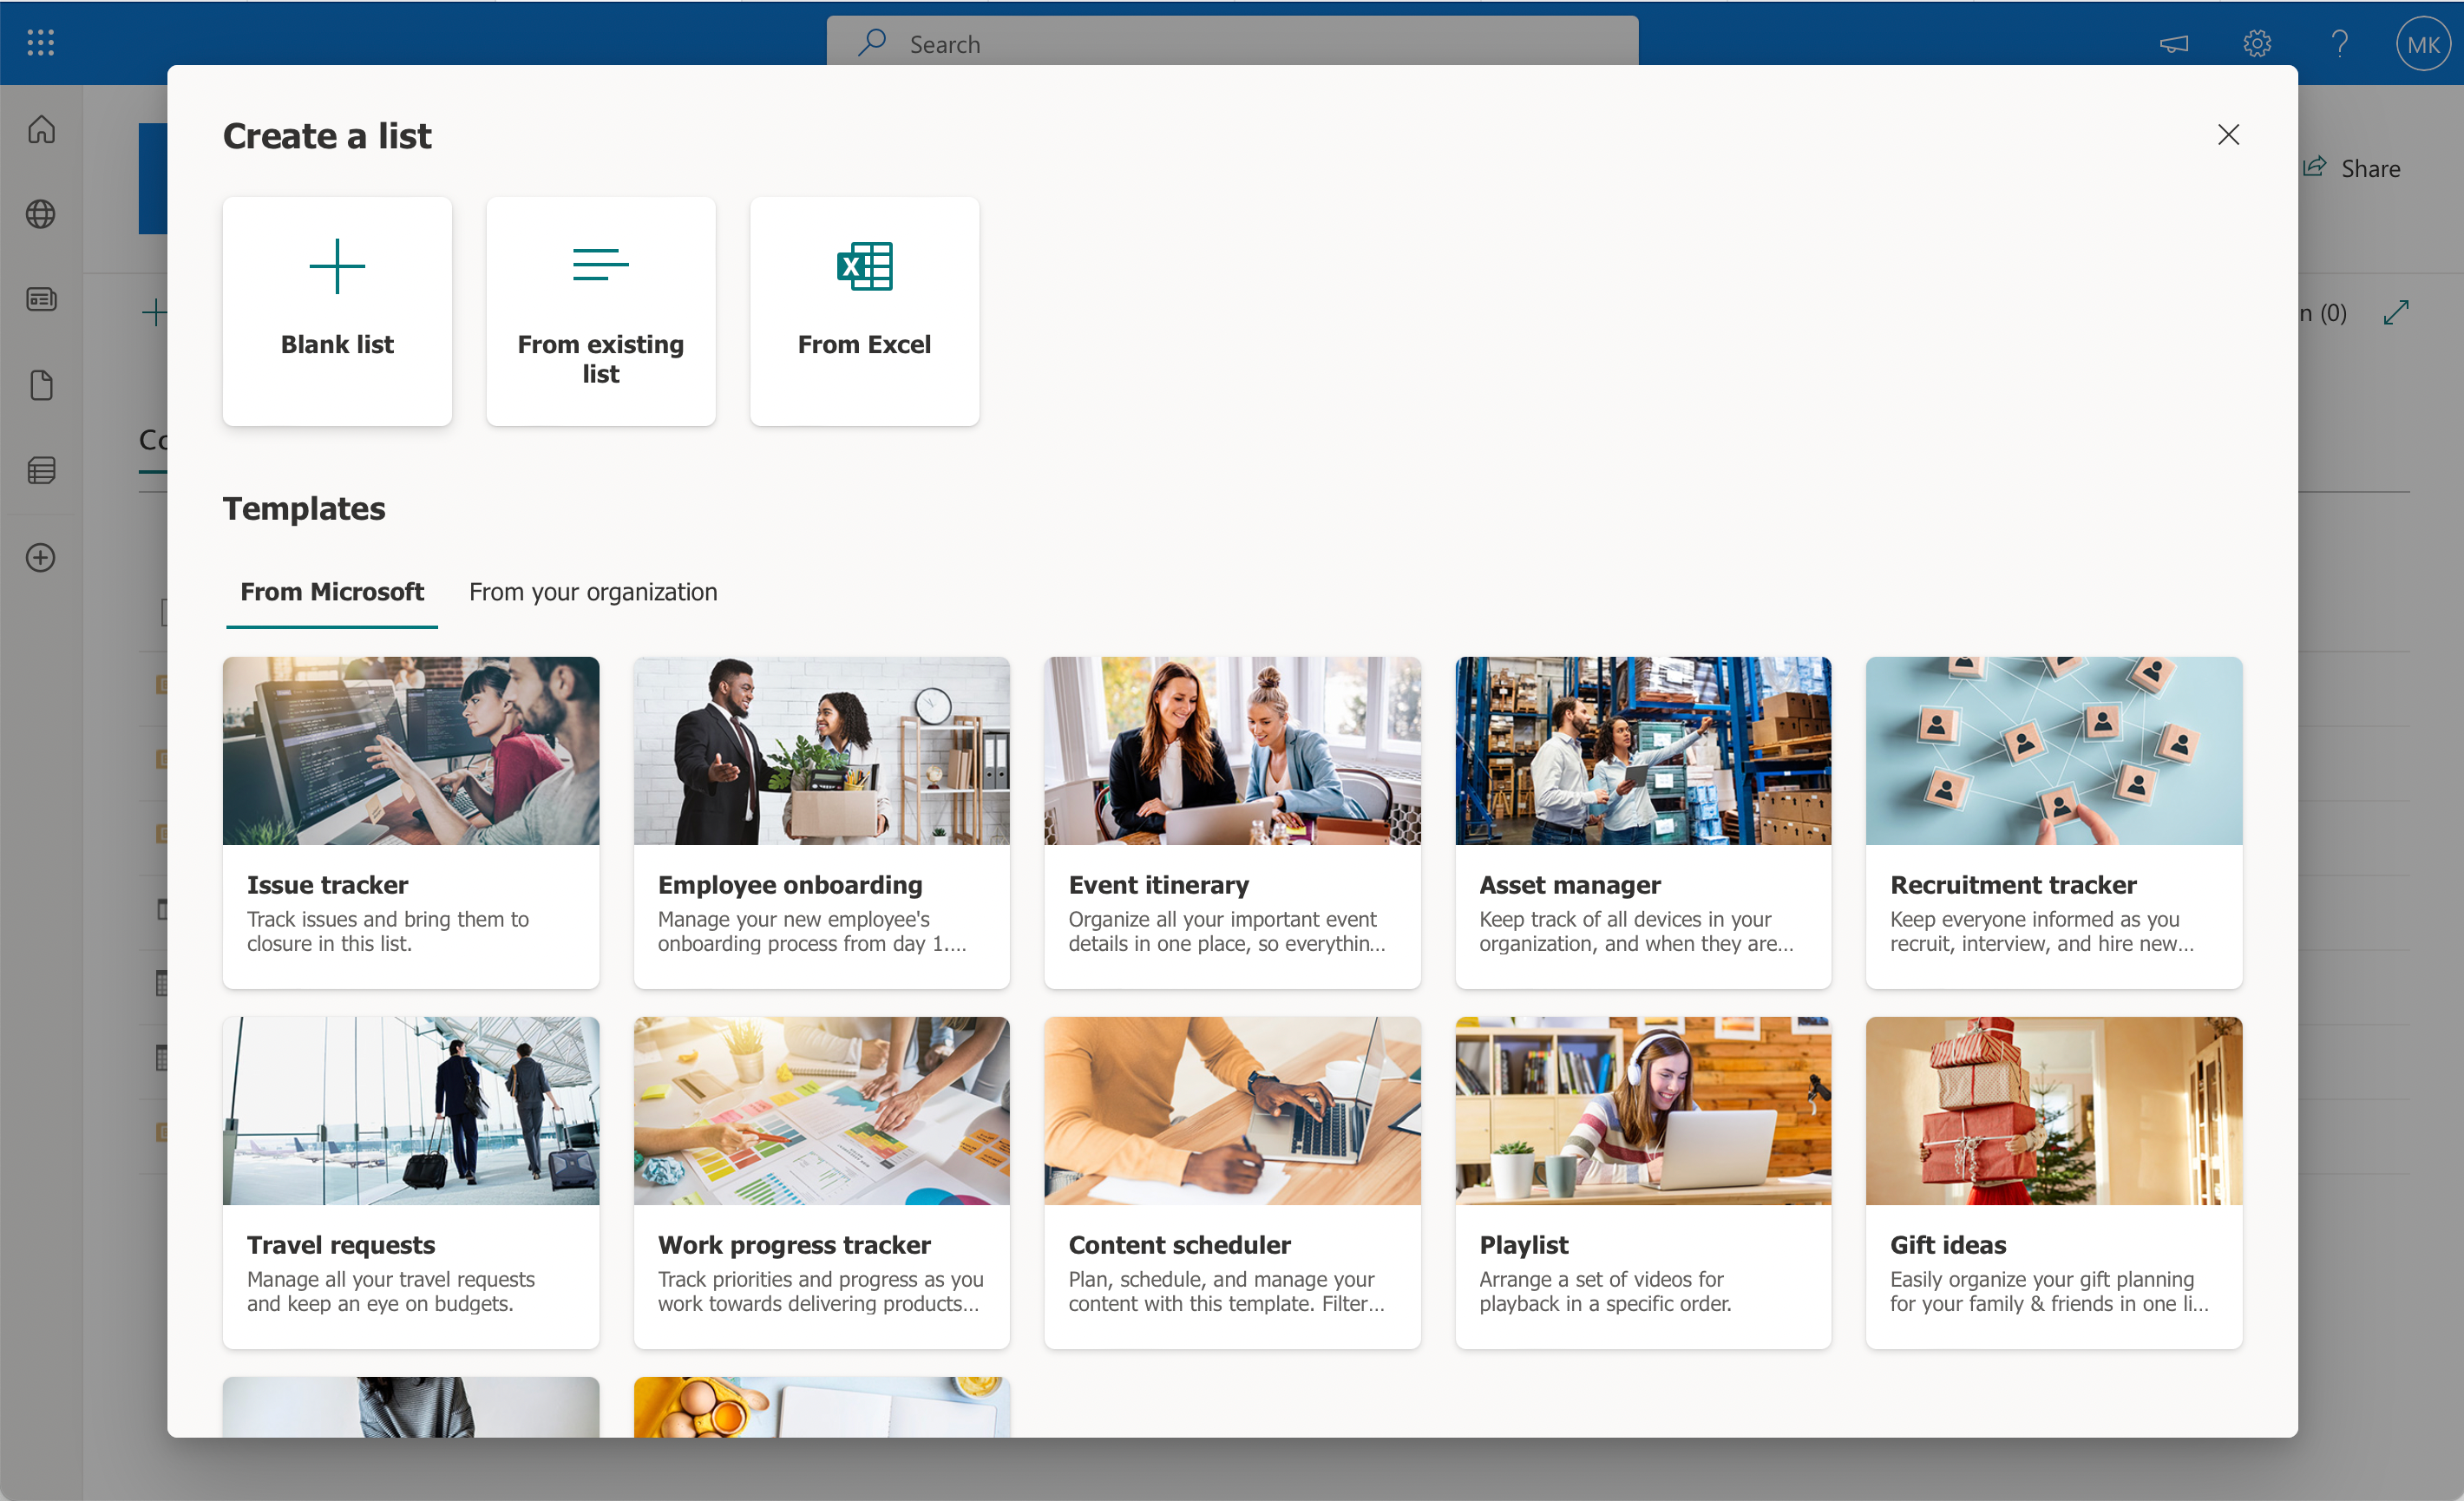
- Click + New and choose List from the dropdown menu.
- Choose one of the templates for creating the list, or create a custom list.
- Fill in the necessary details and click Create.
By setting up this list, you create a user-friendly interface for interacting with the external data. It simplifies the process of accessing and managing external data within your SharePoint Online environment.
Management and Updating Data on External Lists
Once you complete the connection process and have an external list in your SharePoint environment, managing and updating it is crucial.
Here are some things to keep in mind:
- Syncing with External Database: Ensure that the connection between the SharePoint list and the external database is set up to synchronize changes made in either location, so your data stays updated and consistent across both platforms.
- Updating Data: To modify the information in your external list, you’ll need to update the external database directly. Ensure that your external list connection configuration allows read and write access to the database. You can make changes to your external data using the application connected to the external database or through custom workflows and Power Automate flows.
Take a look at some of the things you can do with Power Automate in SharePoint:
By following these steps and being mindful of data consistency, you’ll successfully connect an external database to SharePoint and manage your external lists with ease.
Step 4: Connect Your External Database to SharePoint
When connecting an external database to SharePoint Online, you have various integration techniques at your disposal.
Here are some connection methods you can consider:
- Business Connectivity Services (BCS): BCS offers flexibility and ease of use to integrate external data sources with Sharepoint. It’s usually the go-to choice for database connections.
- SQL Azure: Use SQL Azure if your external data resides on Microsoft’s cloud platform. It ensures seamless integration with SharePoint, especially for handling large-scale data loads.
- Web Services: When your data source is outside of SharePoint, web services are a great option. They allow you to connect to almost any external data source via standard HTTP requests.
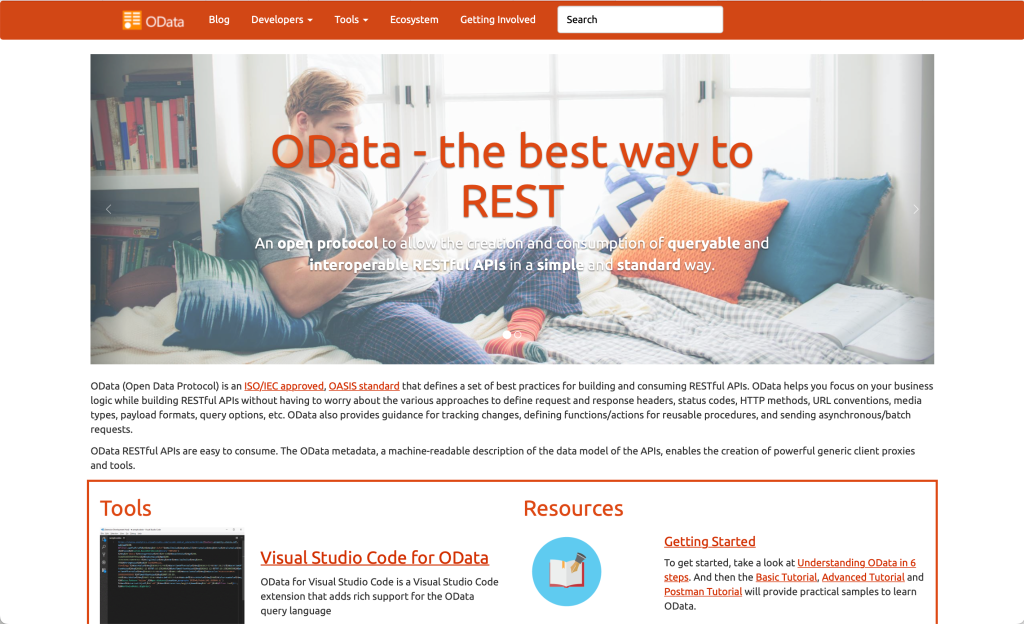
- OData: If your data source supports OData, it simplifies the connection process. OData offers lightweight and unified data access, making it an excellent fit for integrating external databases with SharePoint.
Next, follow these steps to complete the connection in SharePoint Designer:
- In SharePoint Designer, where you’re working on your external content type (as explained in Step 2), find the settings related to your content type.
- Click on Click here to discover external data sources and define operations. This action will lead you to a configuration wizard.
- In the configuration wizard, you can choose the type of data source you’re connecting to. Select the one that matches your external database.
- Depending on the data source you selected, you’ll need to provide connection details. This typically includes information like the database server name, credentials (username and password), and specific settings related to the data source.
Follow the wizard’s prompts to complete this setup. - After configuring the connection, it’s a good practice to test it to ensure it’s working correctly. The wizard may offer a testing option to confirm that SharePoint can successfully connect to your external database.
- Once the connection is established, you’ll need to map the data from your external database to your SharePoint environment. This includes defining which tables, fields, and operations SharePoint should be aware of and how they relate to your external content type.
- After configuring and mapping the connection, save your changes and publish the external content type. This action makes it accessible within your SharePoint site.

By connecting your external database in this manner, you set the stage for seamlessly integrating external data into your SharePoint environment.
Dealing with Issues and Troubleshooting
When you’re connecting an external database to SharePoint Online, you might encounter certain issues.
Here are some common problems and their solutions:
1. Connection Errors: Make sure you have the appropriate database connectivity software installed on your Microsoft Office SharePoint server.
For instance, if you’re connecting to a SQL server database, SQL Server Native Client should be installed. Check that the required ports are open and that the necessary authentication details are correct.
2. SharePoint Admin Center: In case of any configuration or permission-related issues, access the SharePoint admin center to review and adjust settings.
Ensure that the Business Data Connectivity Services (BCS) are properly set up, as they might require an Office 365 Enterprise E3 or E4 subscription.
3. External Data Access: If you experience trouble accessing external data from SharePoint, consider using external content types created in SharePoint Designer 2013. Connect to your site collection with site collection admin permissions and configure the external content types according to your database requirements.
4. Sharing and Permissions Issues: In case you encounter errors related to sharing and permissions while using SharePoint, consult the relevant Microsoft Learn documentation for troubleshooting guidance. This may include resolving issues like errors when accepting an online invitation with another account, or addressing “Your organization policies do not allow you to share with these users” error messages.
Remember, troubleshooting will be easier if you maintain clear and up-to-date documentation on your SharePoint setup and external database connections. Stay patient, and don’t fear seeking help from the community or Microsoft support.

Final Thoughts
In this guide, we’ve unraveled how to connect external database in SharePoint Online. By understanding the process from preparation to integration, you’ve gained the power to seamlessly unite your external data with your SharePoint environment.
Remember, it all begins with preparation, identifying your database, and creating those crucial external content types. Then, setting up a list paves the way for data visibility within SharePoint. And finally, by connecting to your external database, you open the door to a world of possibilities, from enhancing collaboration to automating workflows.
With this newfound knowledge, you’re ready to unlock the advantages of data integration in SharePoint and elevate your digital workspace to new heights.
Frequently Asked Questions
How do I set up an external content type for SharePoint?
To set up an external content type, you can use SharePoint Designer 2013.
Open the software, connect to your site collection using credentials with site collection admin permission, and create the external content type for your Microsoft SQL Azure tables, views, or stored procedures.
What are the steps to use Power Automate to connect an external SharePoint?
Using Power Automate to connect an external SharePoint involves the following steps:
- Sign in to Power Automate and create a new Flow.
- Add the necessary triggers and actions to connect to both the source and destination SharePoint sites.
- Define how the data will be transferred between the two sites.
- Test the flow and monitor its progress to ensure proper functionality.
How can I link a SharePoint list with external data?
To link a SharePoint list with external data, use Access to import or link the external data.
Access can connect with various online services such as SharePoint lists.
From the External Data tab in Access, click on ‘New Data Source,’ then choose ‘From Online Services’ and ‘SharePoint List.
What is the process to connect SharePoint to an Azure SQL database?
Connecting SharePoint to an Azure SQL database involves deploying Business Connectivity Services (BCS). Ensure you have the right Office 365 Enterprise E3 or E4 subscription to connect Azure SQL databases to SharePoint Online using BCS.
How can I utilize Business Connectivity Services (BCS) in SharePoint Online?
Utilizing Business Connectivity Services (BCS) in SharePoint requires the following steps:
- Ensure you have a subscription eligible for BCS like Office 365 Enterprise E3 or E4.
- Design the external content type(s) needed to interact with external data.
- Deploy BCS on your SharePoint Online site to connect to the external database.
- Use the connected data in lists or other features within SharePoint.
How do I connect an Oracle database to SharePoint Online?
To connect an Oracle database to SharePoint, use the Object Linking and Embedding Database (OLE DB) protocol, which is compatible with all databases supported by Microsoft.
Determine the appropriate connection details needed for your Oracle database and use these details to set up the connection with SharePoint using OLE DB.
How do I use the Business Data List Web Part to connect to an external database?
To use the Business Data List Web Part to connect external data to SharePoint:
- Add the Web Part to your SharePoint page.
- Configure the Web Part by selecting the external content type you created earlier during the setup process.
- Customize the display and specify how the data should be sorted and filtered.
- Interact with the external data directly on the SharePoint page.


