
Are you tired of juggling multiple tools for team collaboration? Say hello to SharePoint, the one-stop solution that streamlines document management, team communication, and project tracking.
It’s the Swiss Army knife of business tools, and you’re about to unlock its potential.
Creating a SharePoint site is as easy as 1-2-3:

- Log in to the SharePoint Admin Center
- Choose your site type and configure your settings
- Voila! You’ve got yourself a digital workspace tailored to your team’s needs
In this article, we’ll walk you through the step-by-step process of setting up your own SharePoint site.
From selecting the right template to launching your site, we’ve got you covered.
Let’s dive in!
Types of SharePoint Sites
Before you start building your SharePoint site, it’s important to understand the different types of sites available. Each type serves a specific purpose, whether it’s for team collaboration or company-wide communication.
In this section, we’ll outline the various SharePoint site types to help you make an informed decision before you begin the creation process.
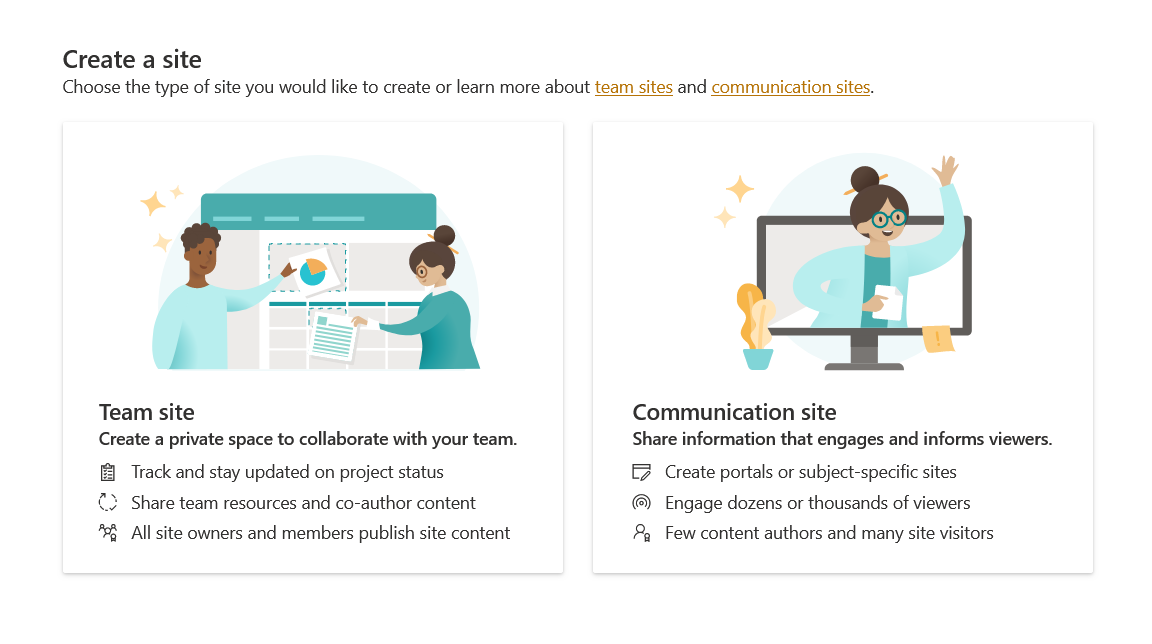
There are two types of sites you can build:

- Team site: Designed for collaboration within a small group or team. It comes with features like shared calendars, task lists, and document libraries, making it ideal for project management and team activities. Access is generally restricted to team members, and it often includes integration with Microsoft Teams.
- Communication site: Intended for broader, organization-wide communication. It’s perfect for sharing news, reports, and other information with a large audience.
Unlike Team Sites, Communication Sites are usually not tied to a specific group and can be accessed by anyone in the organization, depending on permissions.
If you’re unsure which one would work for you, consider the following:
- Identify purpose: Understand the primary goal of your site — whether it’s team collaboration, information dissemination, or document management.
- User base: Consider the size and nature of your audience.
- Features needed: List the features you’ll require, such as chat, file sharing, or news feeds.
Up next, we’ll get into the details of setting up a site and configuring your site settings. This is where you’ll give your site a name, set permissions, and more. It’s all about customization from here on out.
4 Steps to Create a SharePoint Site
You’ve been prepped and primed, and now it’s time to actually create your SharePoint site. This is where your preparation pays off, as you’ll find the process straightforward and quick.
Step 1: Navigate to SharePoint Start Page
Open your web browser and go to the SharePoint start page. Click on the + New button on the middle panel and choose Site from the drop-down menu.
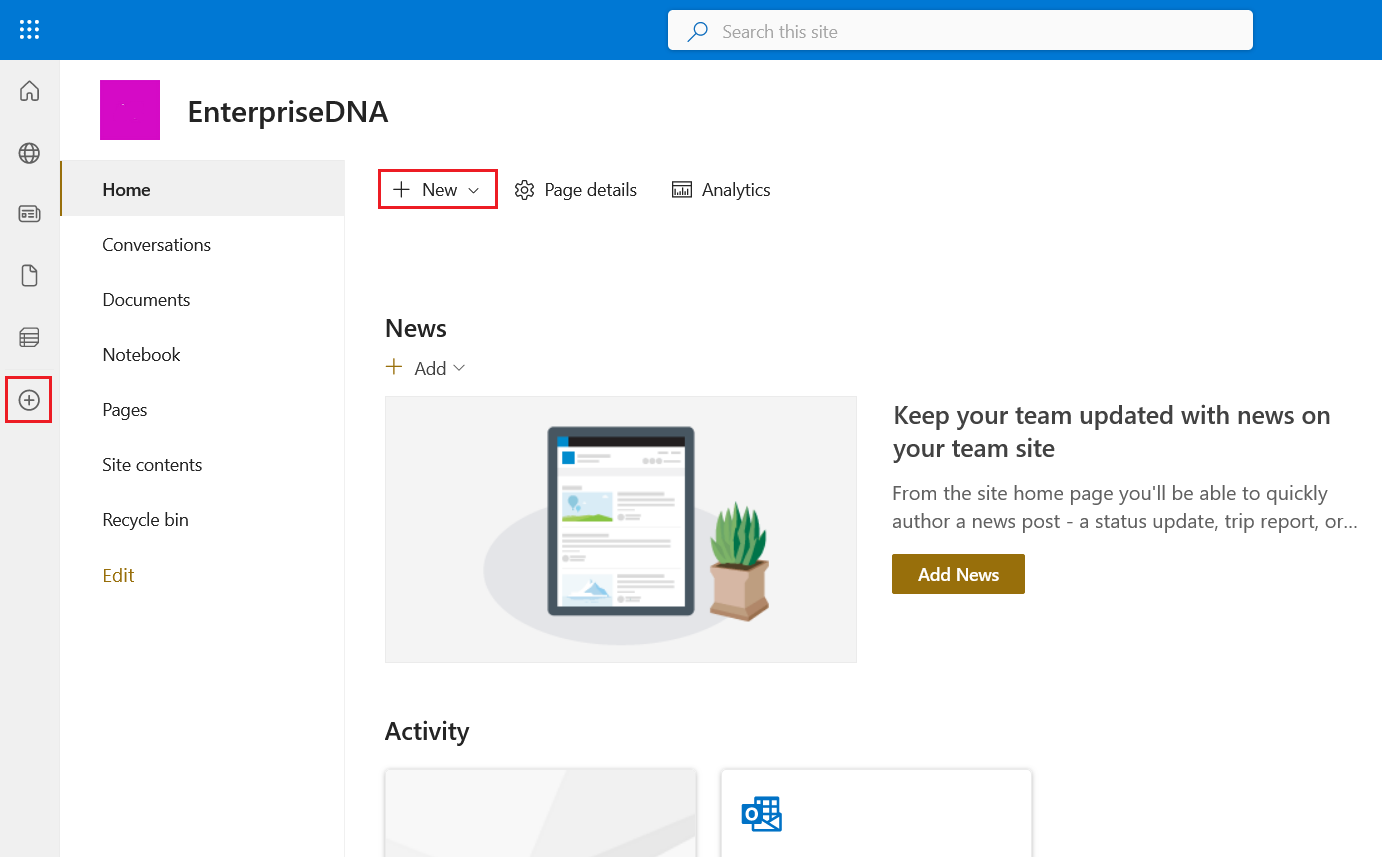
Alternatively, you can click on the + on the left panel and choose Site from the menu that pops up as shown below.
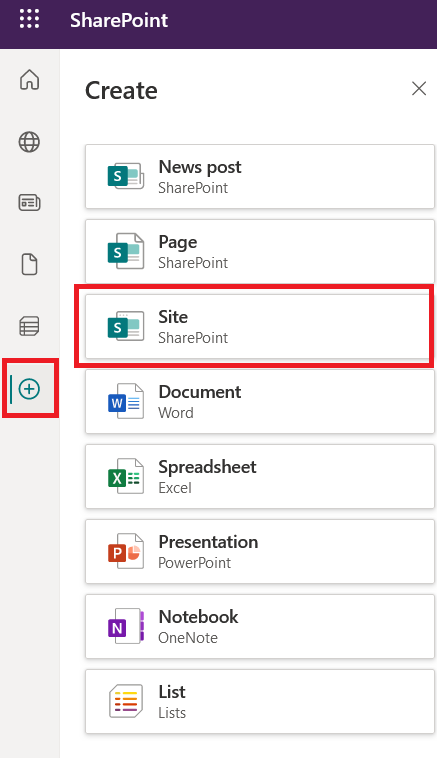
Step 2: Choose Site Type
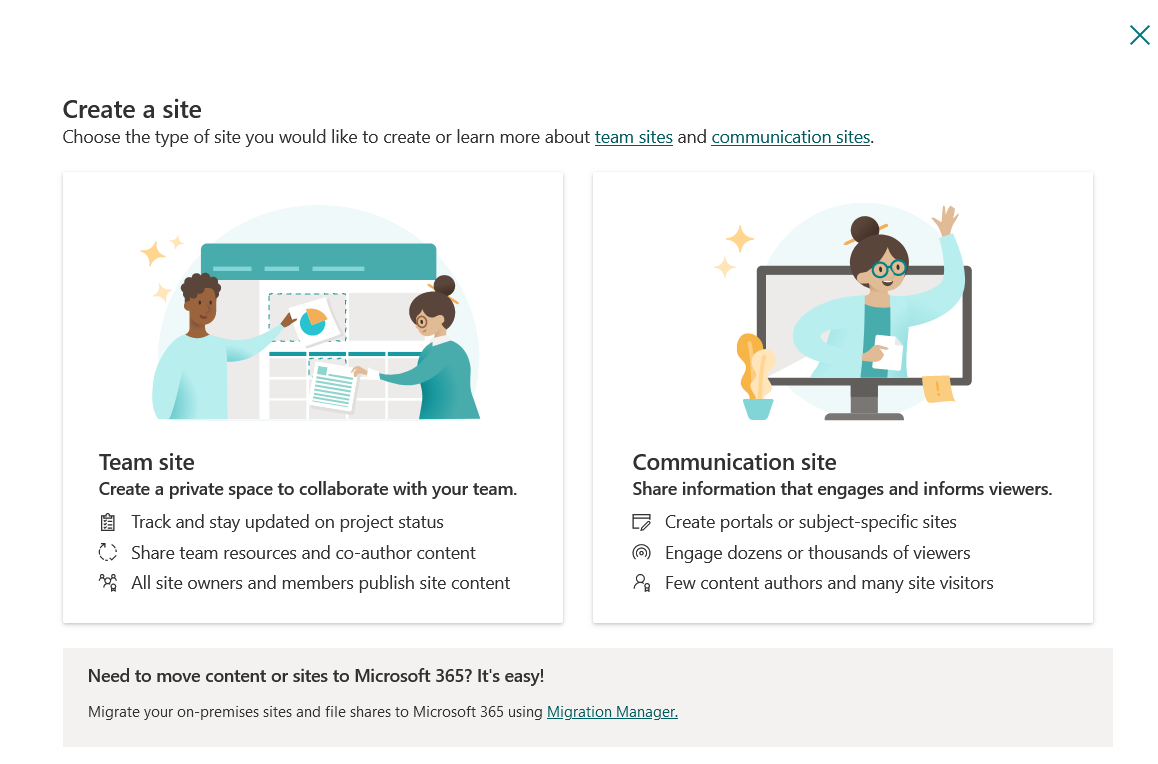
Select either a Team site or a Communication site based on your needs.
As we discussed in the previous section, a team site is ideal for smaller groups working on projects and comes with built-in tools for collaboration, like shared calendars and task lists.
A communication site is perfect for larger audiences, such as an entire department or company, and is designed for sharing news, reports, and other information.
Step 3: Enter Site Details
Provide the name and optionally a description for your site. For our demonstration, we opted for a communication site. Click Finish once you’re done.

Step 4: Customize Your SharePoint Site
By now, your SharePoint site will be created and ready for use! For the final step, you’ll be prompted to start designing your site.
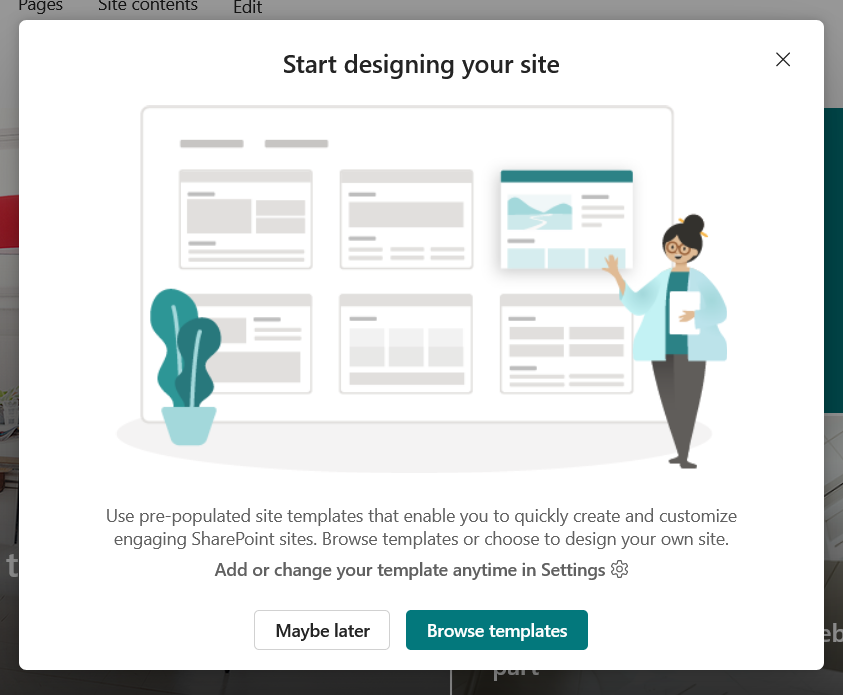
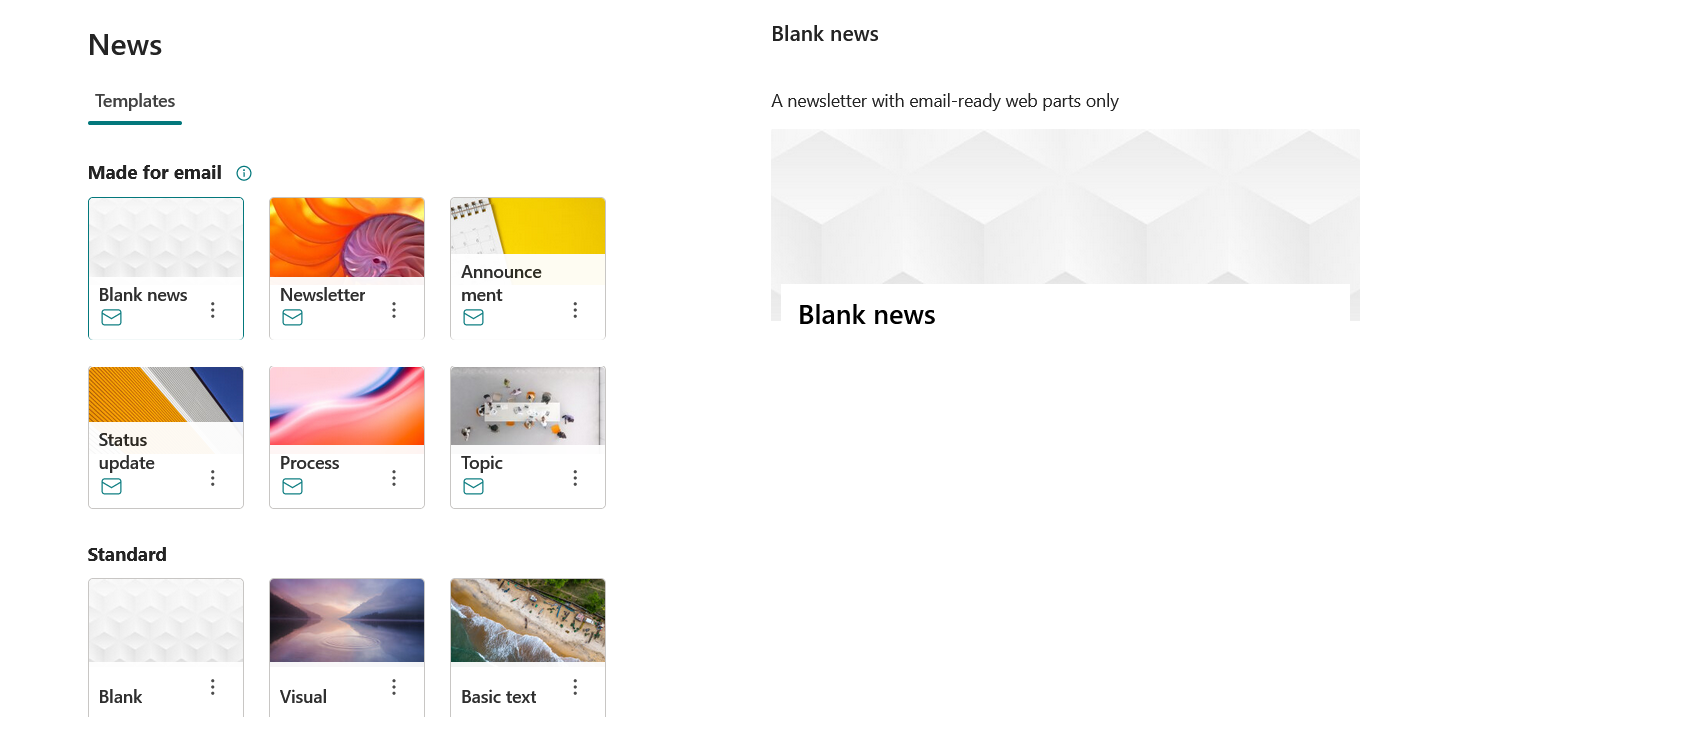
If you would like to design your site later, click Maybe later. Alternatively, you can browse through the available templates. Microsoft has ten quality templates available for communication sites.
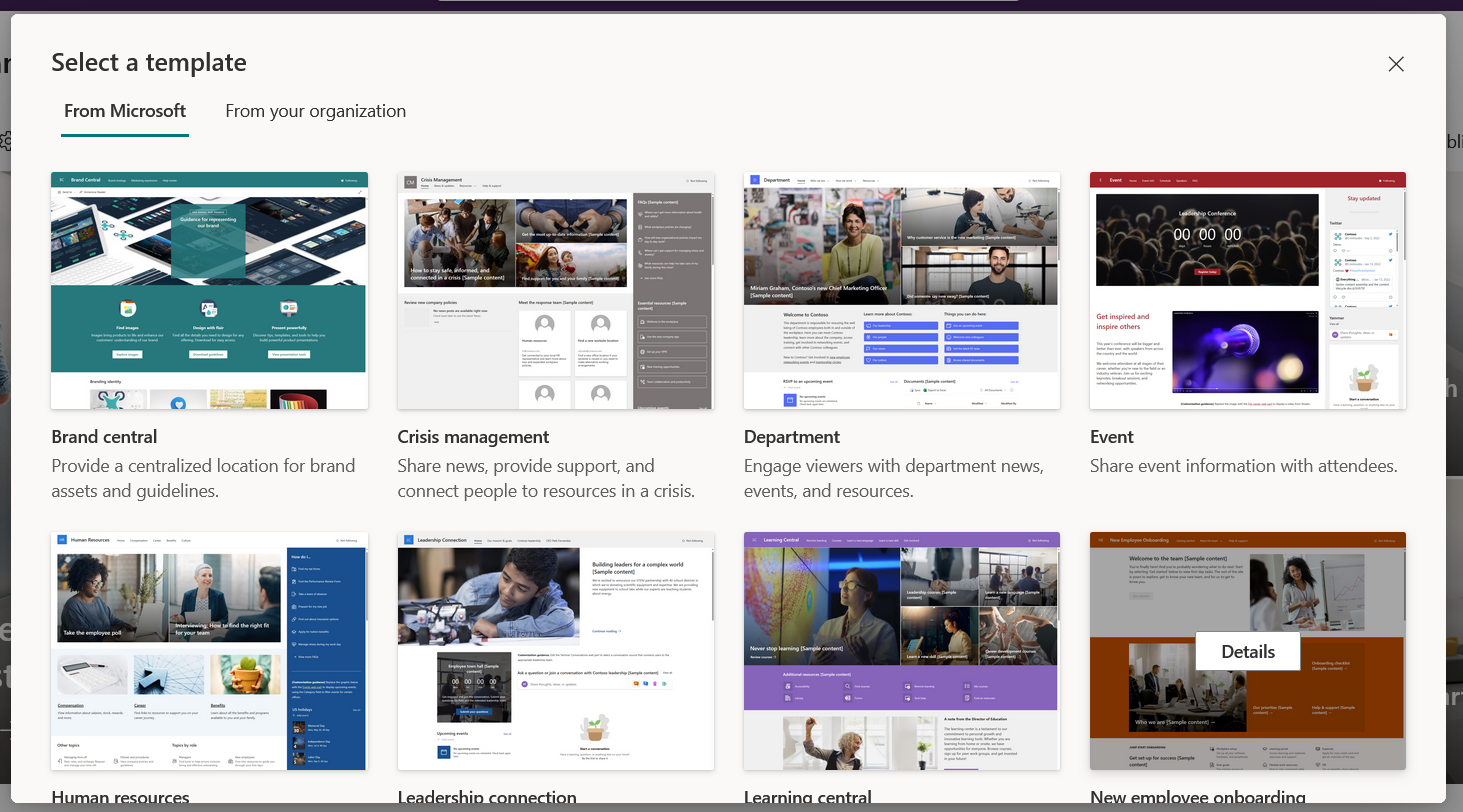
Go over the options and look at the previews before applying a template to your site. If your organization has custom templates, you’ll find them by switching to the From your organization tab.
For our example, we chose the Brand central theme, which is designed to provide “a centralized location for brand assets and guidelines.”
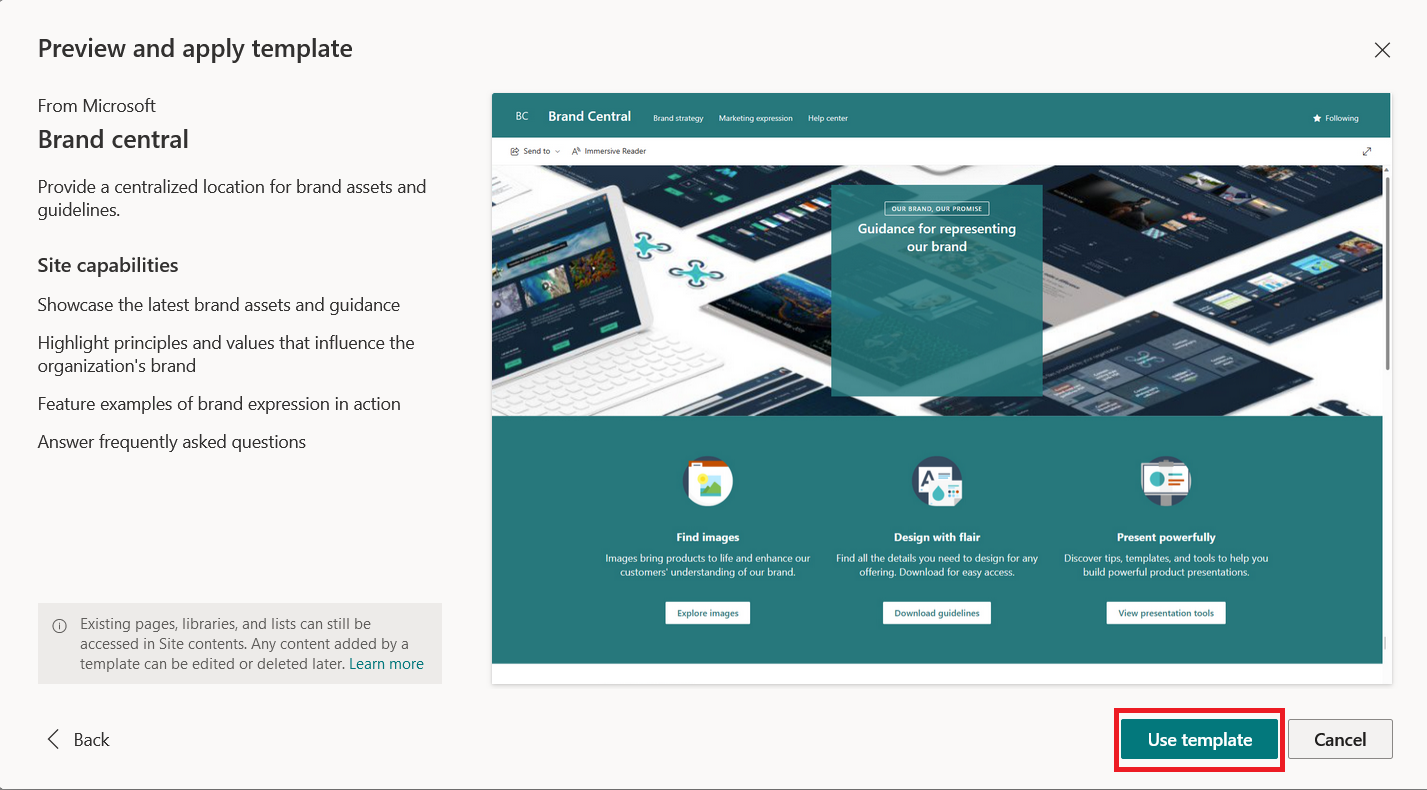
And voila! The communication site is ready for use! It takes less than five minutes to set one up. Now comes the fun part: customization.
In the next section, we’ll go over how you can customize your site, including how to add new pages and web parts to modify the design.

How to Customize Your SharePoint Site
Now that your site is up and running, you might be wondering, “What’s next?” Well, SharePoint offers a plethora of features to enhance your site’s functionality and user experience.
Let’s explore some of the things you can add.
1. Add a Document Library
A document library is a centralized location for storing and managing files in your SharePoint site. To create a new document library:
- Navigate to your SharePoint site’s home page.
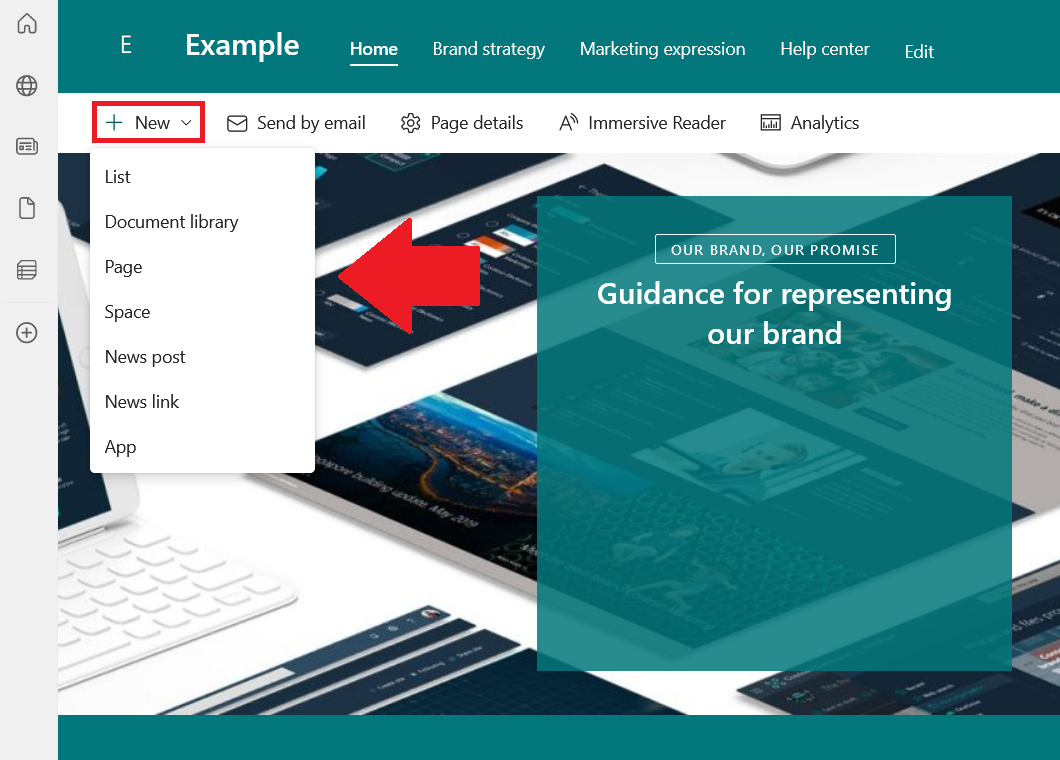
- Click on + New in the top-left corner.
- Select Document Library from the drop-down menu.
- Provide a name and optional description for the library. Click Create.
Now, you can start uploading documents to your new library. Click on Upload and select the files to add from your device.
You can also create new documents directly in the library by clicking on New and choosing a document type, such as Word, Excel, or PowerPoint.
2. Add a Page or News Post
- Open the site where you want to add a page
- Click + New then select Page or News post
- Select a template, name your page, and add any other content you want
Once your page or post is created, it’ll be added to the navigation. Click on it to access the page and add content or make design changes.
3. Add a Web Part
Web parts are essential building blocks for your SharePoint site. These components add content and functionality to your site and can be customized to meet your specific needs.
Some commonly used web parts include:
- Image gallery
- Call to action
- Task lists
- Document libraries
To add a web part to your site, follow these steps:
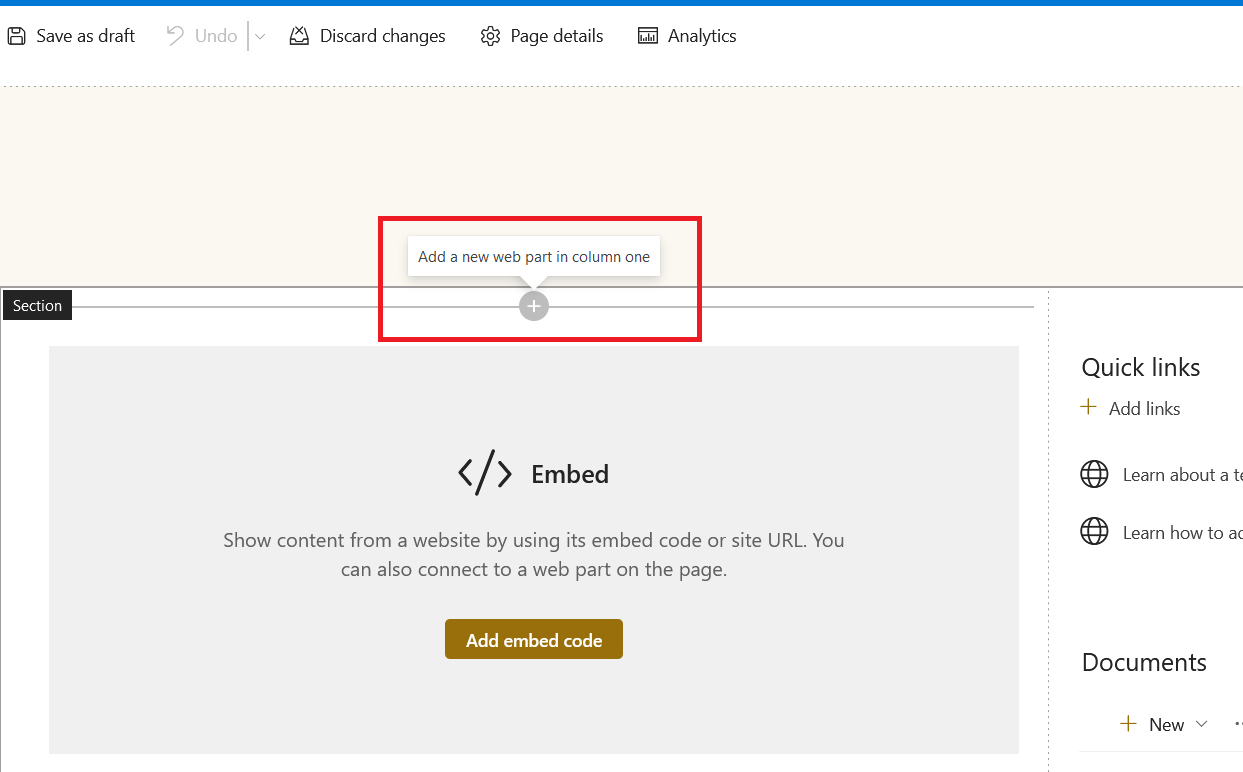
- On your SharePoint site home page, click on the Edit button on the top-right side
- Navigate to the desired section or column of your site
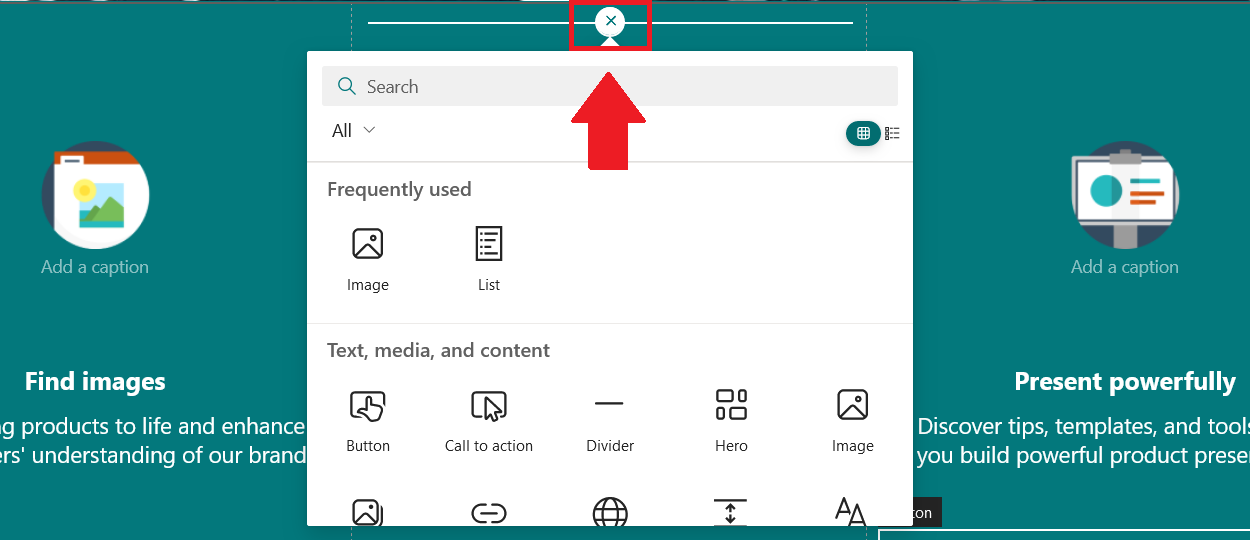
- Click the + button (highlighted below) between a section boundary and choose the type of web part you wish to add from the box
- Configure the web part’s properties and settings, such as the source of the content or the display options
Remember, web parts provide an excellent opportunity to customize your site to ensure it meets the needs of your team and organization.
Keep experimenting with various web parts and configurations to find the perfect mix for your SharePoint site.
4. Add an App
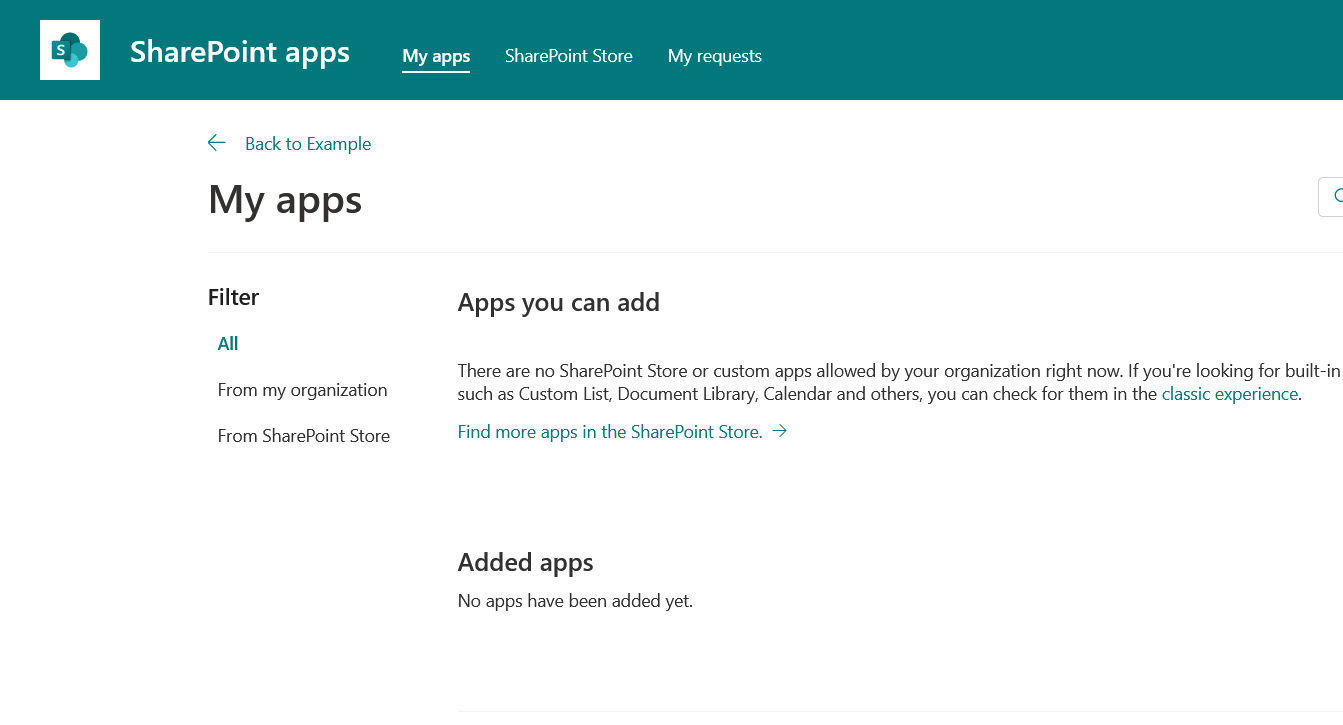
Adding apps to your SharePoint site can significantly enhance its functionality and user experience. Apps can range from simple tools like a weather widget to more complex features like a project management system.
Steps to Add an App to Your SharePoint Site:
- Open the SharePoint site where you want to add the app.
- Click + New and select App
- SharePoint will display an App Catalog where you can browse available apps.
- Select the app you want to add and click on it.
- Follow the on-screen instructions to install the app. Some apps may require additional permissions or settings.
Adding an app can bring new capabilities to your SharePoint site, making it more versatile and tailored to your team’s needs. Whether you’re looking to add simple widgets or robust tools, the process is straightforward and user-friendly.
Your SharePoint site is not just a static digital space; it’s a dynamic platform that you can customize to fit your specific needs. From lists and libraries to custom pages and web parts, the possibilities are endless!
Final Thoughts
Congratulations, you’re well on your way to becoming a SharePoint pro! These foundational steps are crucial in setting up a SharePoint site that not only meets your needs but also offers an engaging experience for all users.
While we’ve covered a lot of ground, remember that this is just the beginning. SharePoint is a robust platform with endless possibilities for customization and scalability.
As you move on to creating content, setting up navigation, and eventually launching your site, always keep in mind the core objective — creating a digital workspace that enhances collaboration and productivity.
If you’d like to learn more about the benefits of SharePoint and SharePoint sites, particularly when creating reports in Power BI, check out the video below:
Frequently Asked Questions
Can anyone create a site in SharePoint?
No, not everyone can create a site in SharePoint. The ability to create a new site is generally restricted to users with administrative permissions.

If you’re part of an organization, you’ll need to check with your IT department to see if you have the necessary access rights. SharePoint licenses, usually part of a Microsoft 365 subscription, are also required to create and manage sites.
Why can’t I create SharePoint site?
If you can’t create a SharePoint site, the issue is likely due to insufficient administrative permissions, lack of a valid SharePoint or Microsoft 365 license, or organizational policies that restrict site creation to certain roles.
It’s best to consult your IT department to pinpoint the exact reason and find a solution.
How do I make SharePoint look like a website?
To make SharePoint look like a website, you can use its built-in customization features such as templates, themes, and web parts.
Start by selecting a Communication Site template for a more website-like layout. Customize the color scheme, add your logo, and use web parts to insert text, images, and other content.
You can also add custom HTML, CSS, and JavaScript for more advanced styling. Finally, set up intuitive navigation to make it user-friendly.
What license do I need to create a SharePoint site?
To create a SharePoint site, you’ll typically need a Microsoft 365 subscription that includes SharePoint Online. The specific license required may vary depending on your organization’s needs and the features you intend to use.
Common options include Microsoft 365 Business Basic, Business Standard, E3, or E5 plans.


