
In this blog, we’ll explain how to change and revoke SharePoint user permissions. This is a very useful feature, especially when you want a user to have different access, or perhaps, the person has quit the organization.
Changing the permission means the user can have a different set of access or have additional ones. On the other hand, revoking a user’s permission will not give the person access to the SharePoint site.

Changing And Adding SharePoint User Permissions
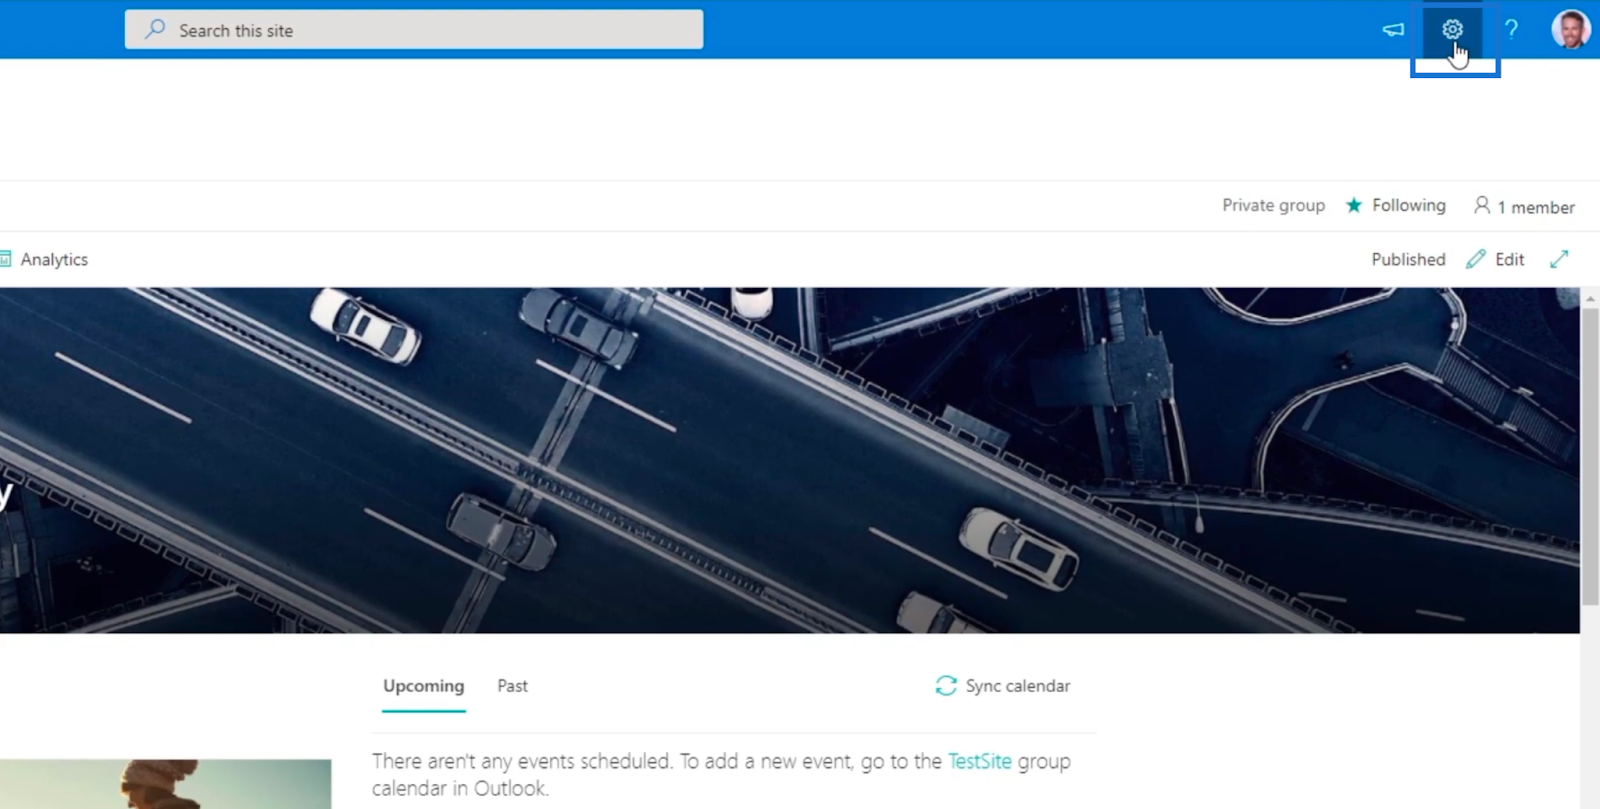
First, we’ll go to the permissions settings. To do that, we’ll click the gear icon on the top right.
After that, click Site permissions.
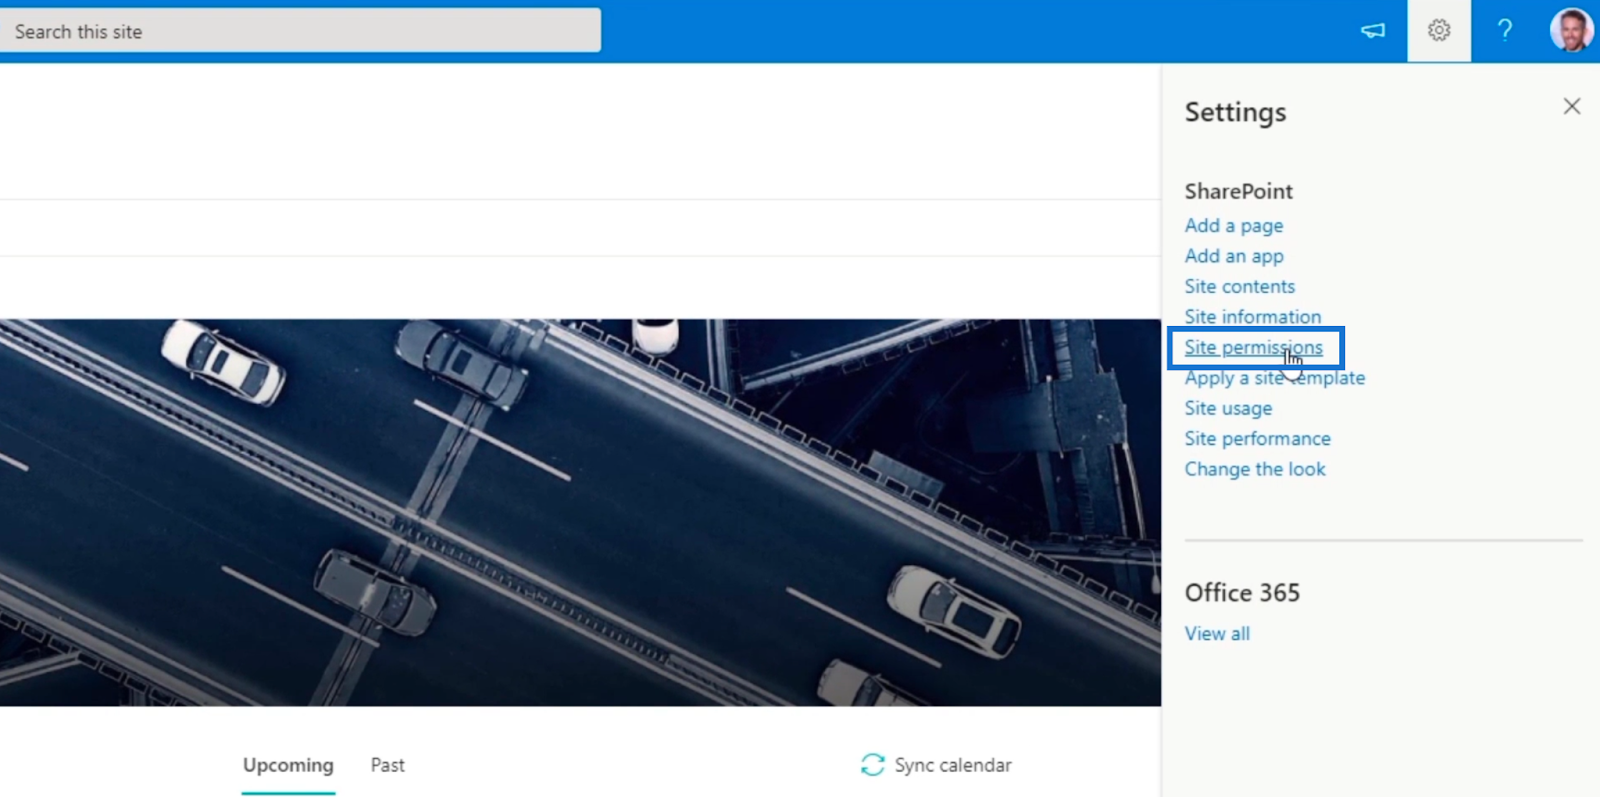
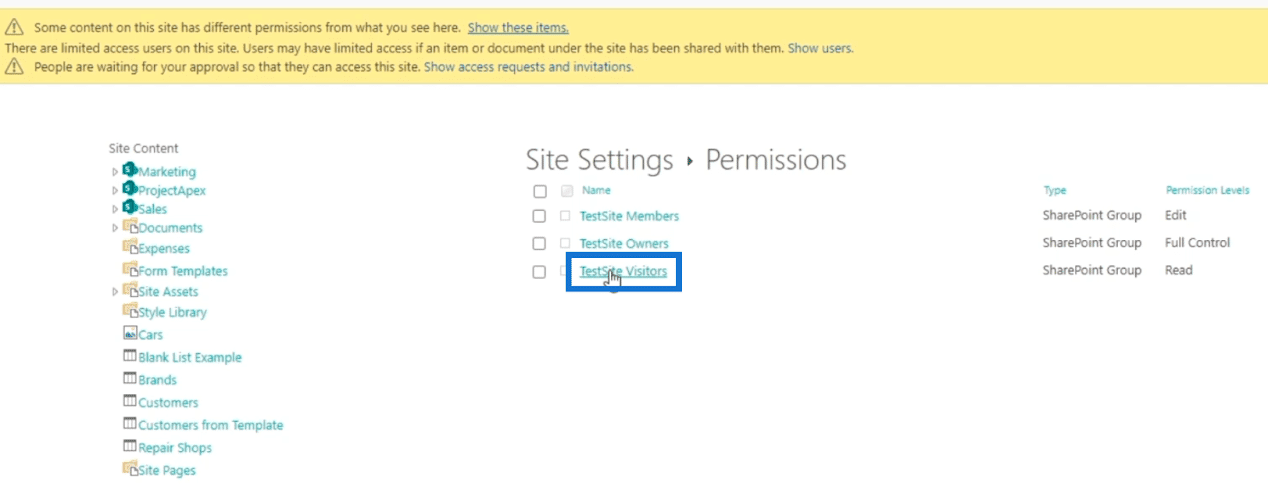
Next, click Advanced permissions settings.
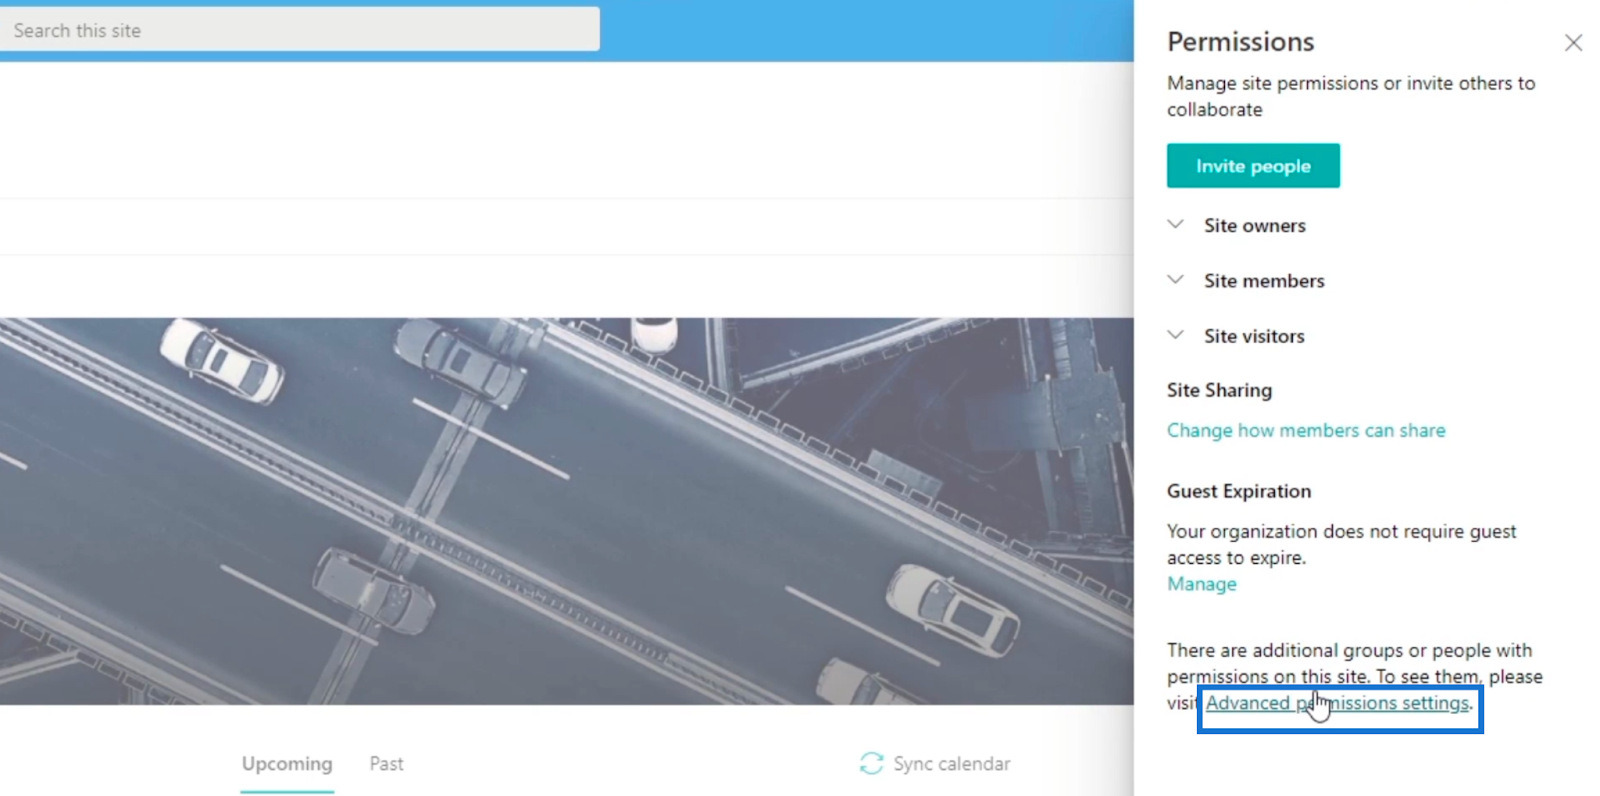
You’ll be redirected to the page where you can add members, and edit their access or permissions settings.
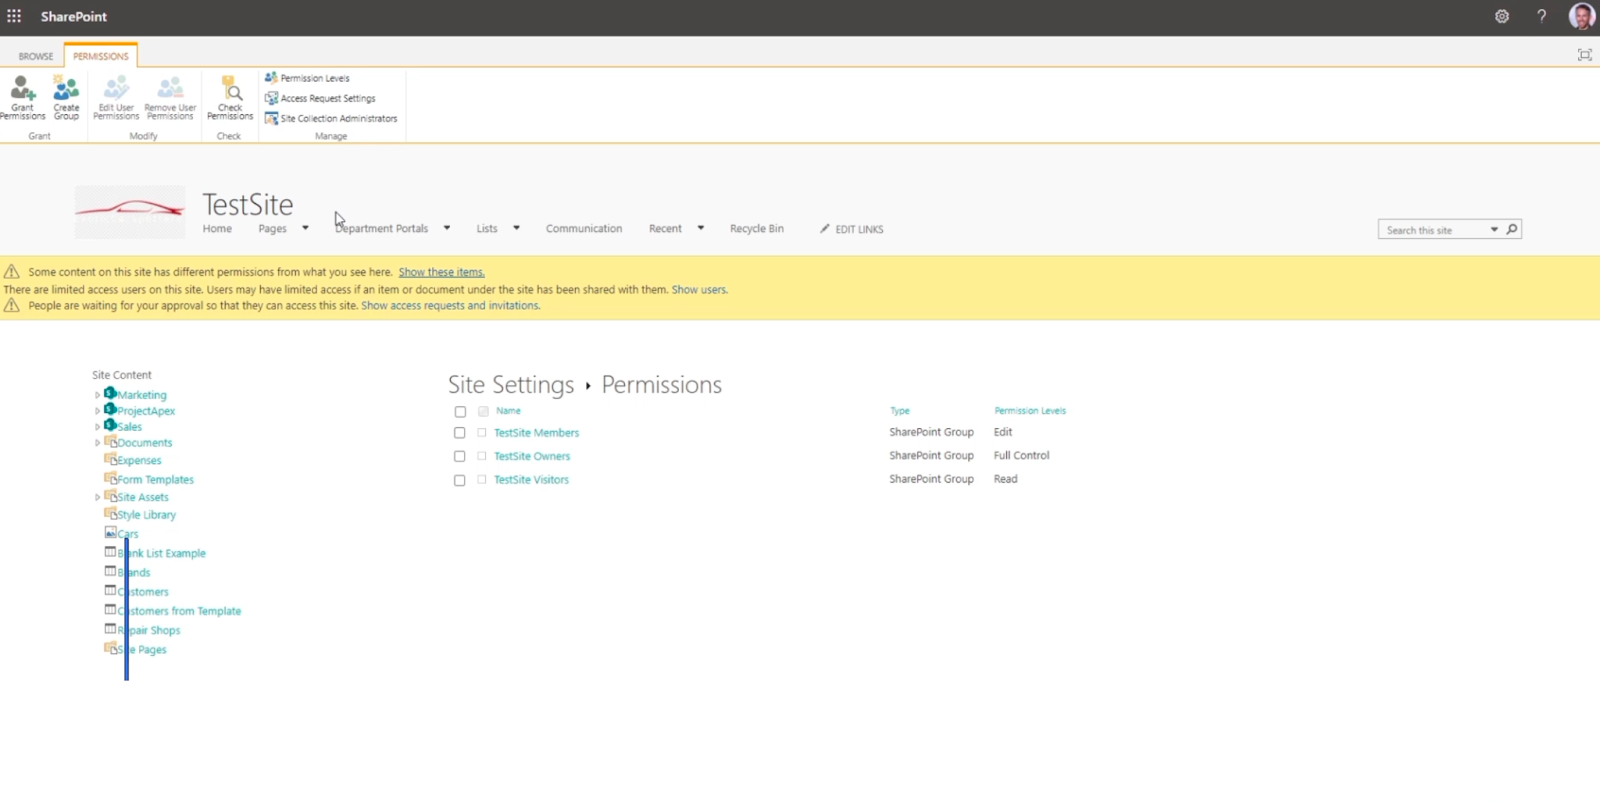
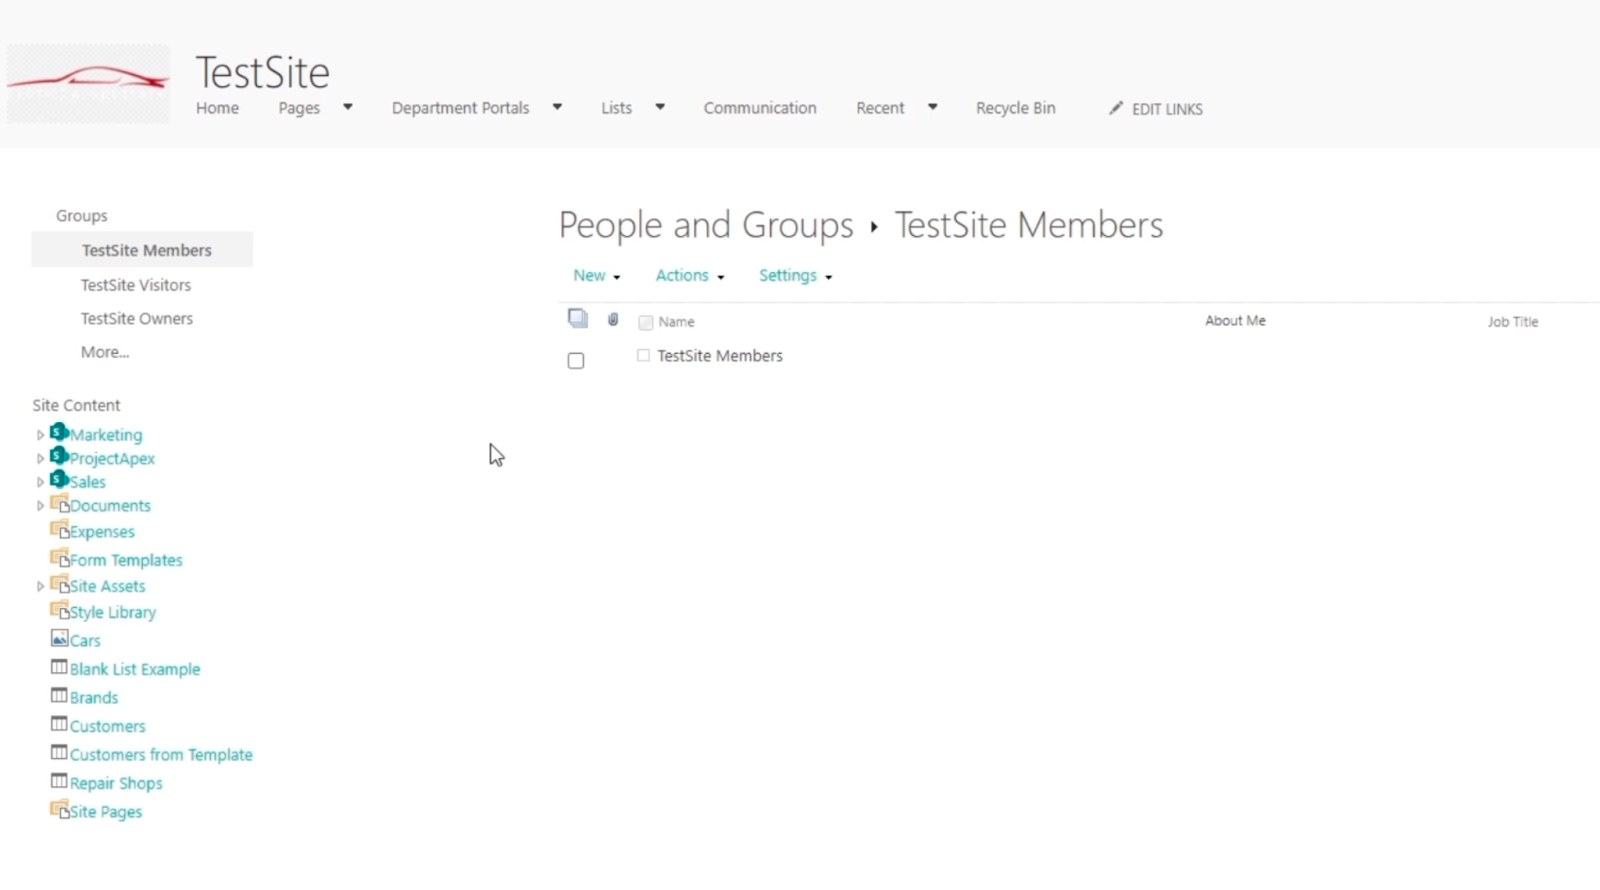
Then, we’ll click a group. In this example, we’ll use TestSite Visitors.
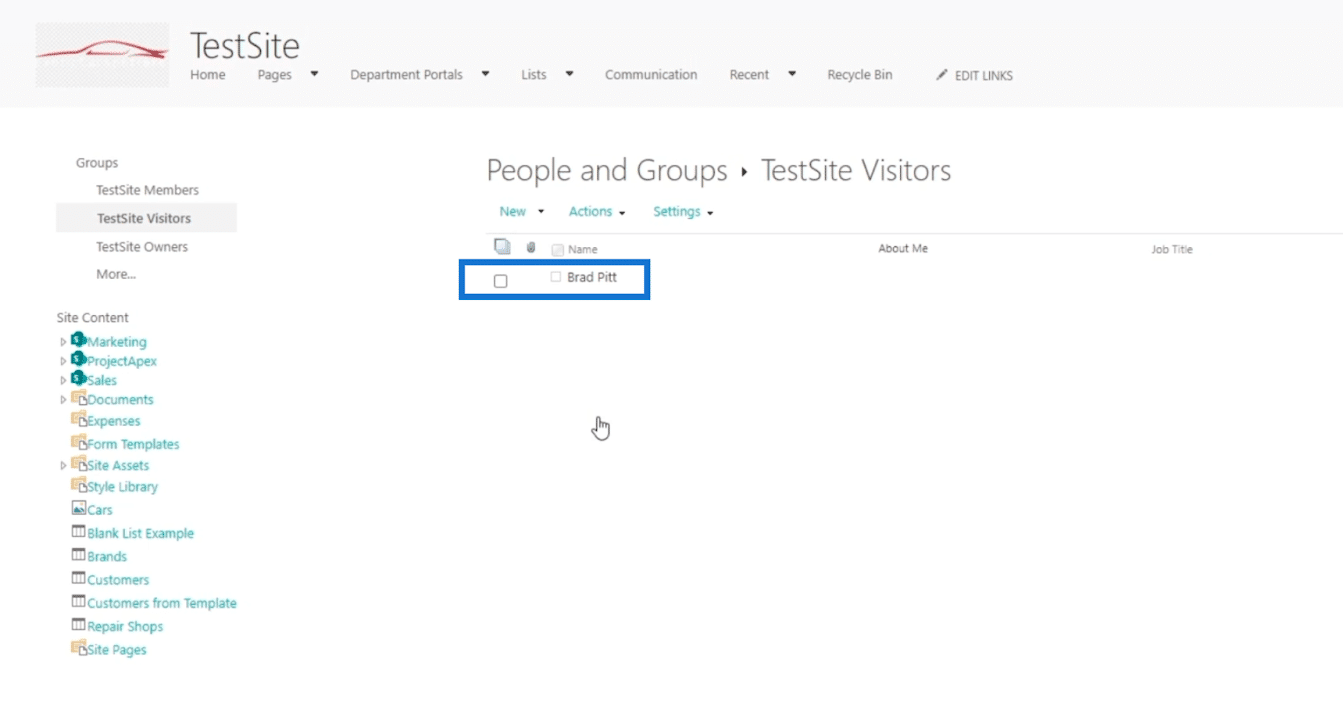
You’ll see that we already have a member whose name is “Brad Pitt”.
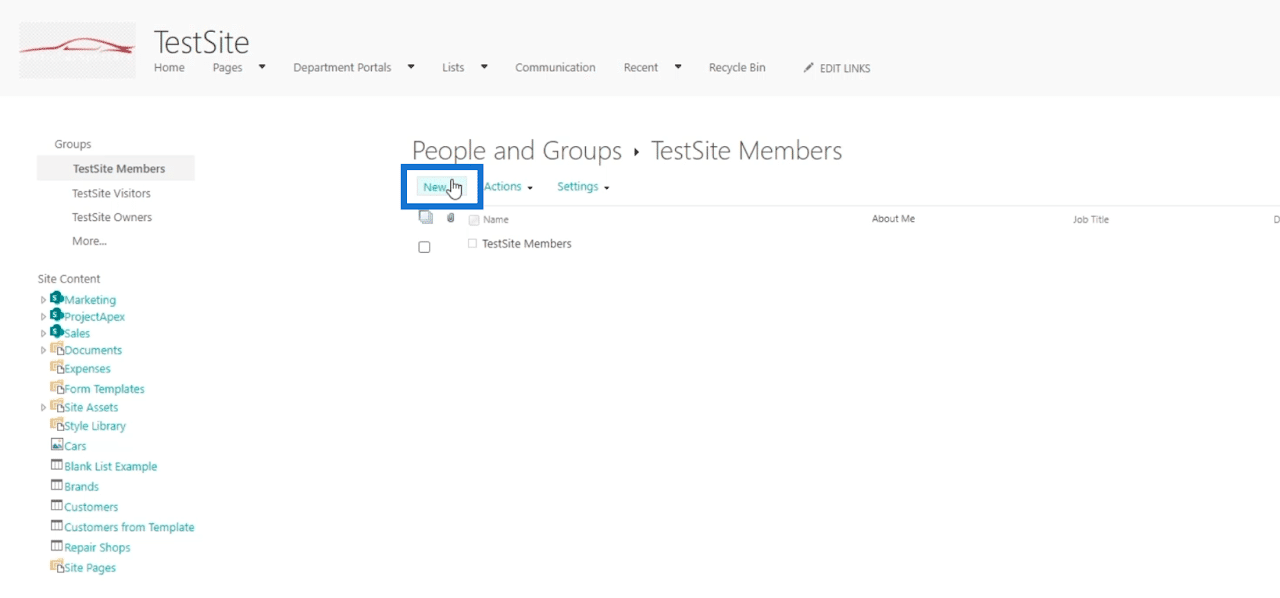
Next, we’ll add permission to this user by clicking TestSite Members on the Groups panel.


Then, click New.
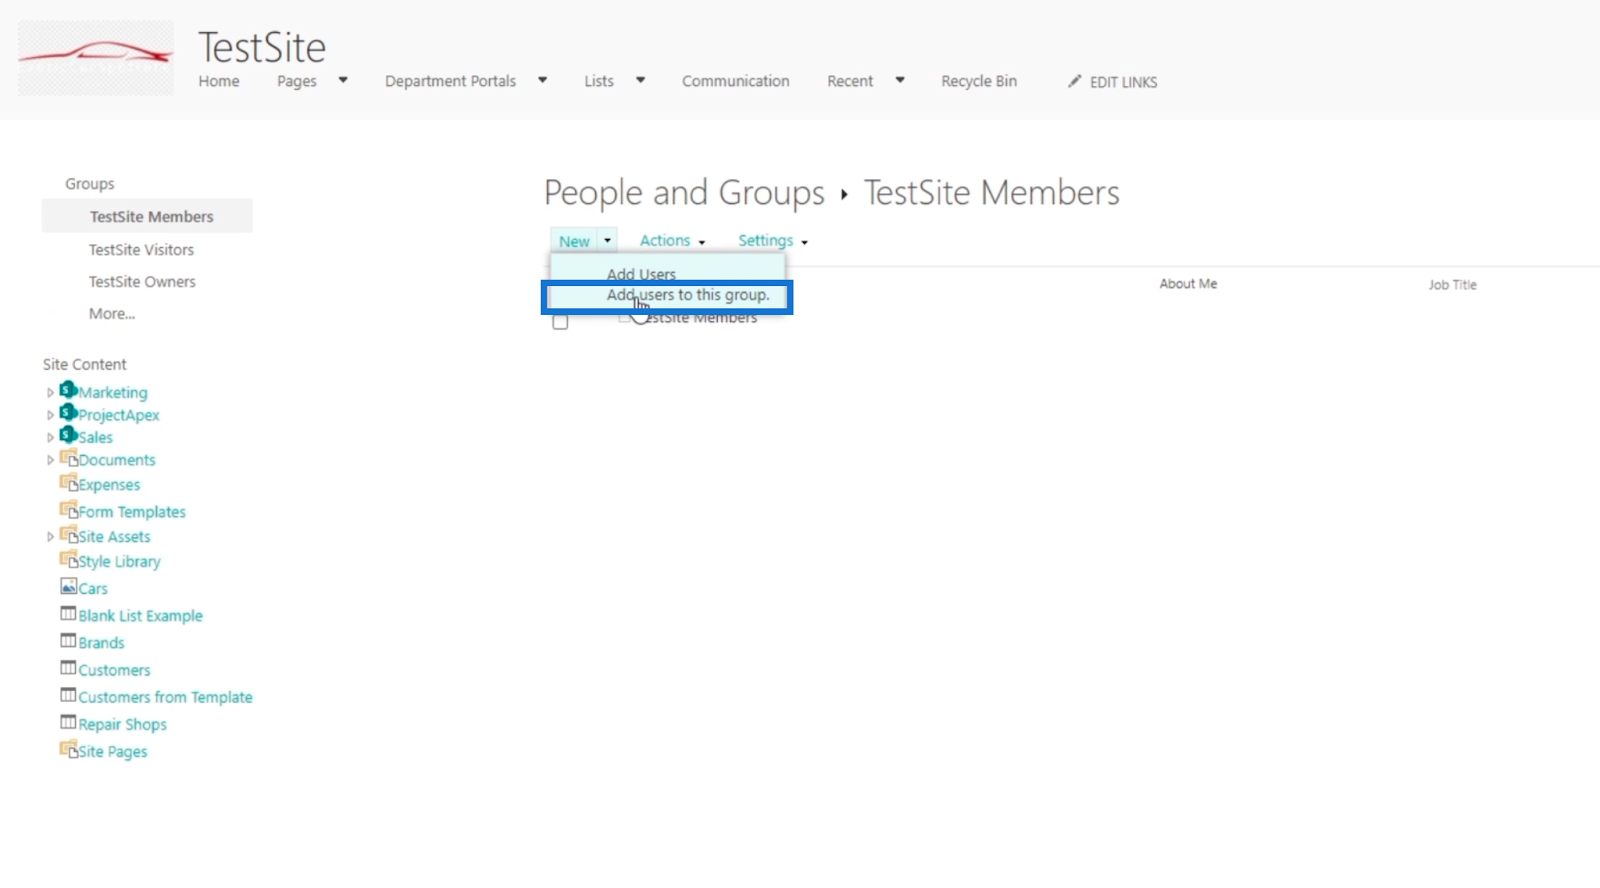
Next, click Add users to this group.
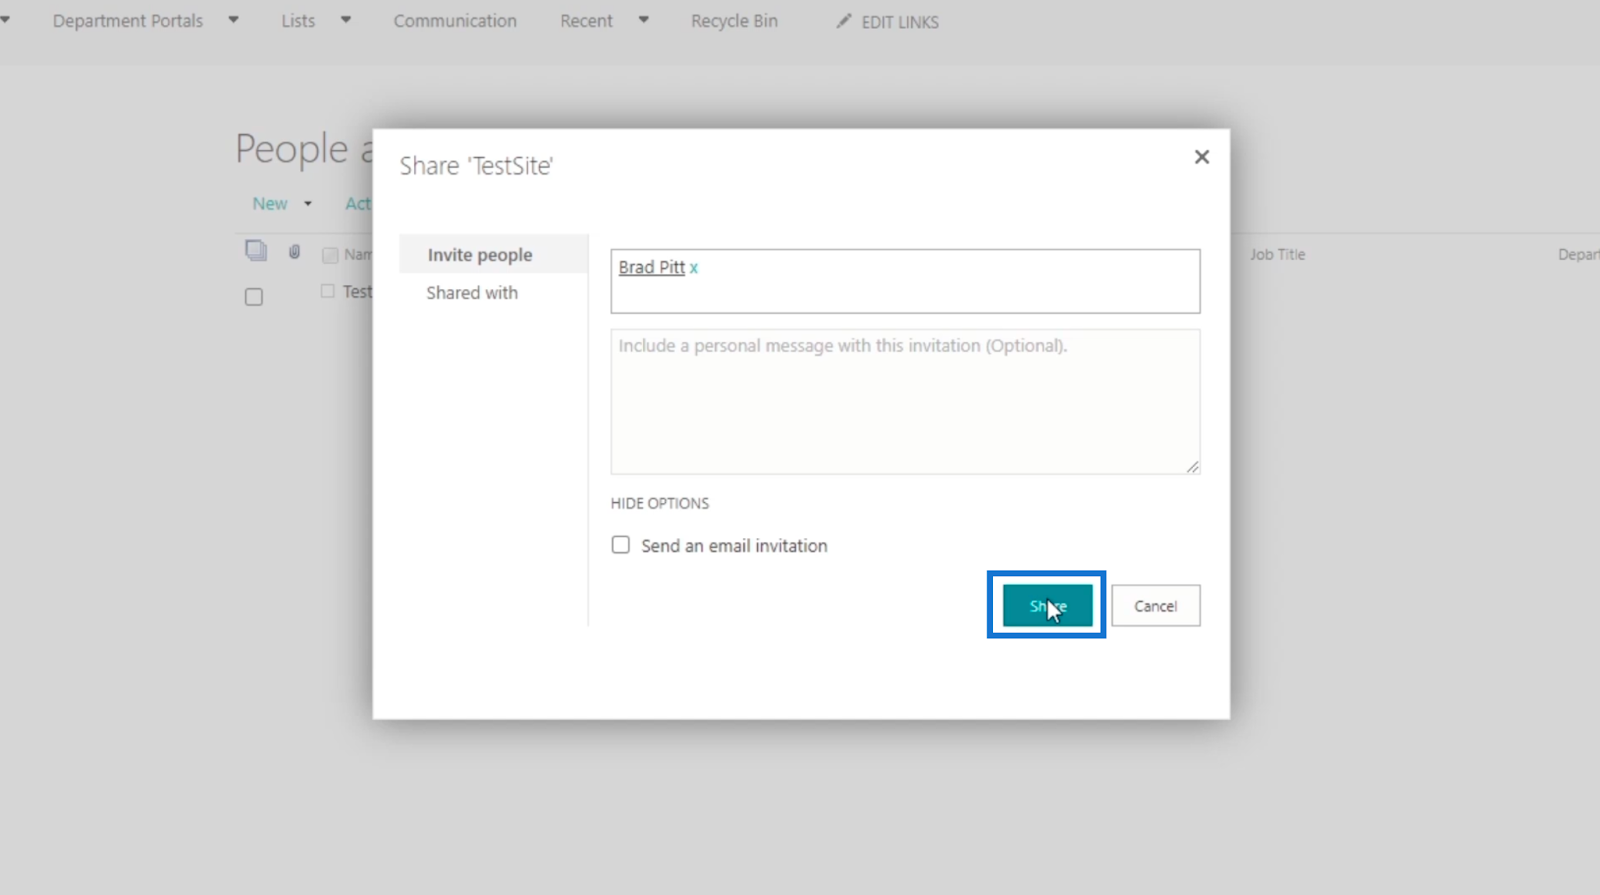
After that, the Share ‘TestSite’ dialog box will appear.
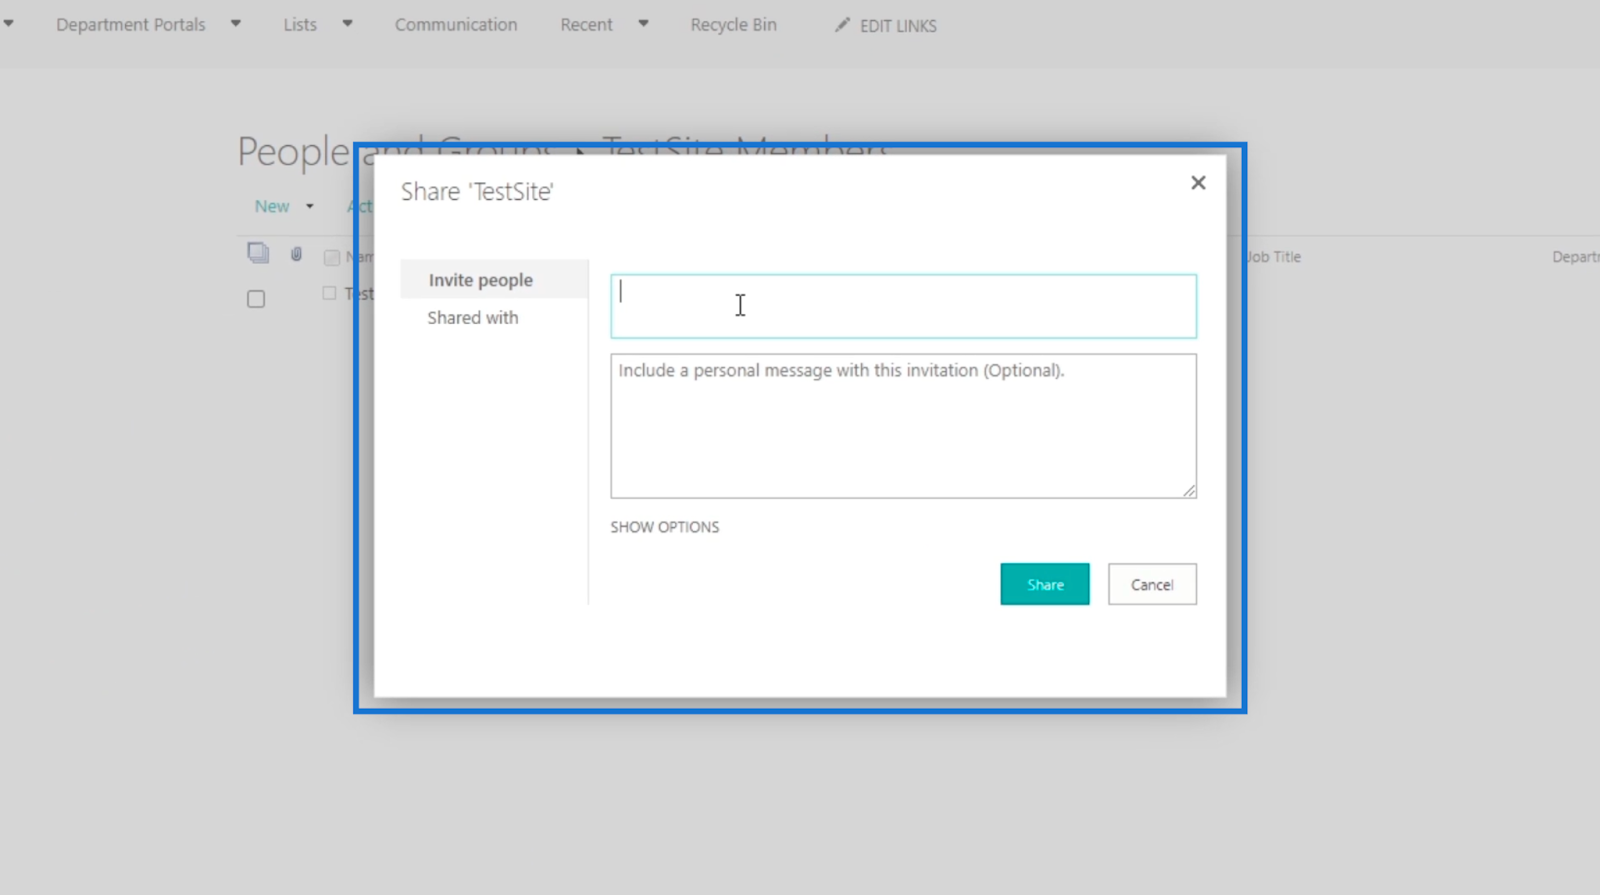
On the first text field, we’ll add Brad Pitt.
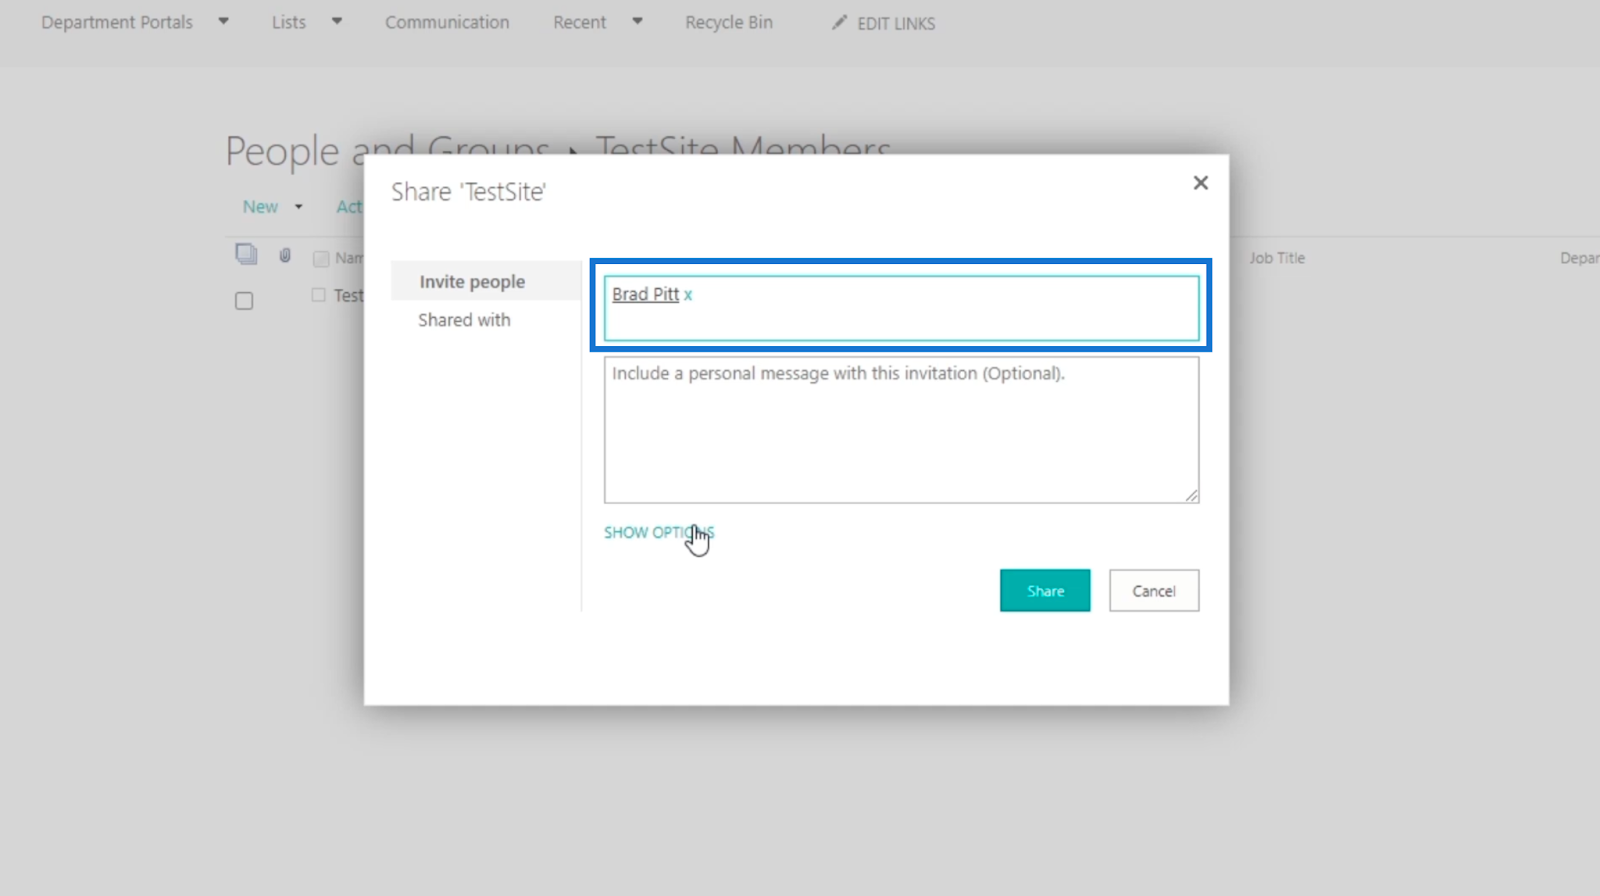
Keep in mind that we can add a personalized message on the second text field. But for this example, we’ll leave it blank.

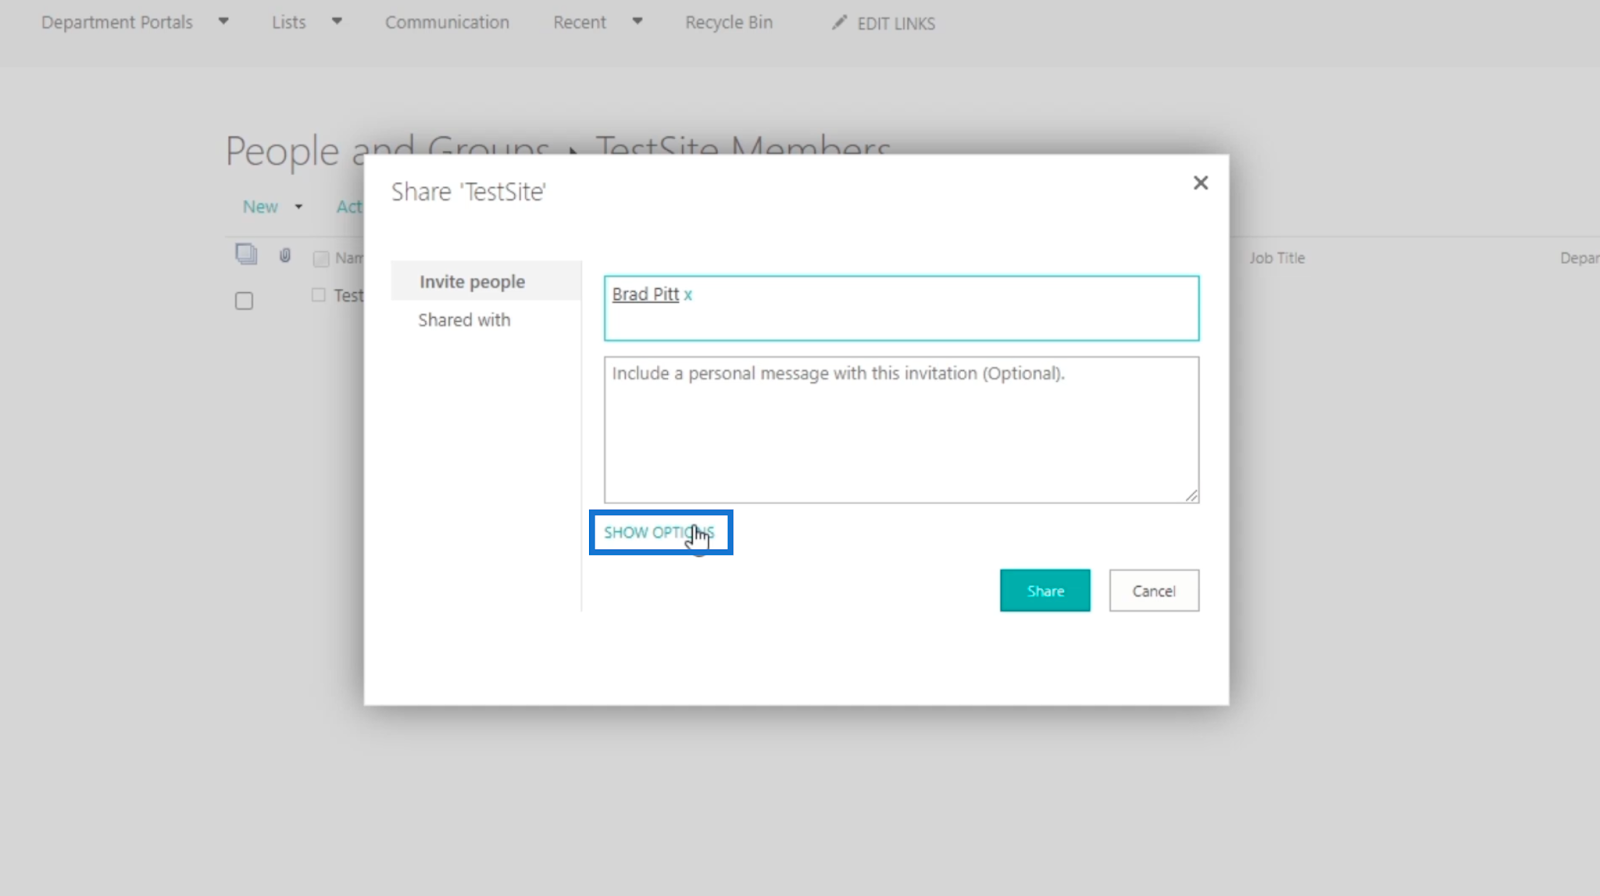
Then click the SHOW OPTIONS.
After that, we’ll uncheck the Send an email invitation checkbox for this blog. You can send an email if you want to, but in this blog, we’re not going to do it.
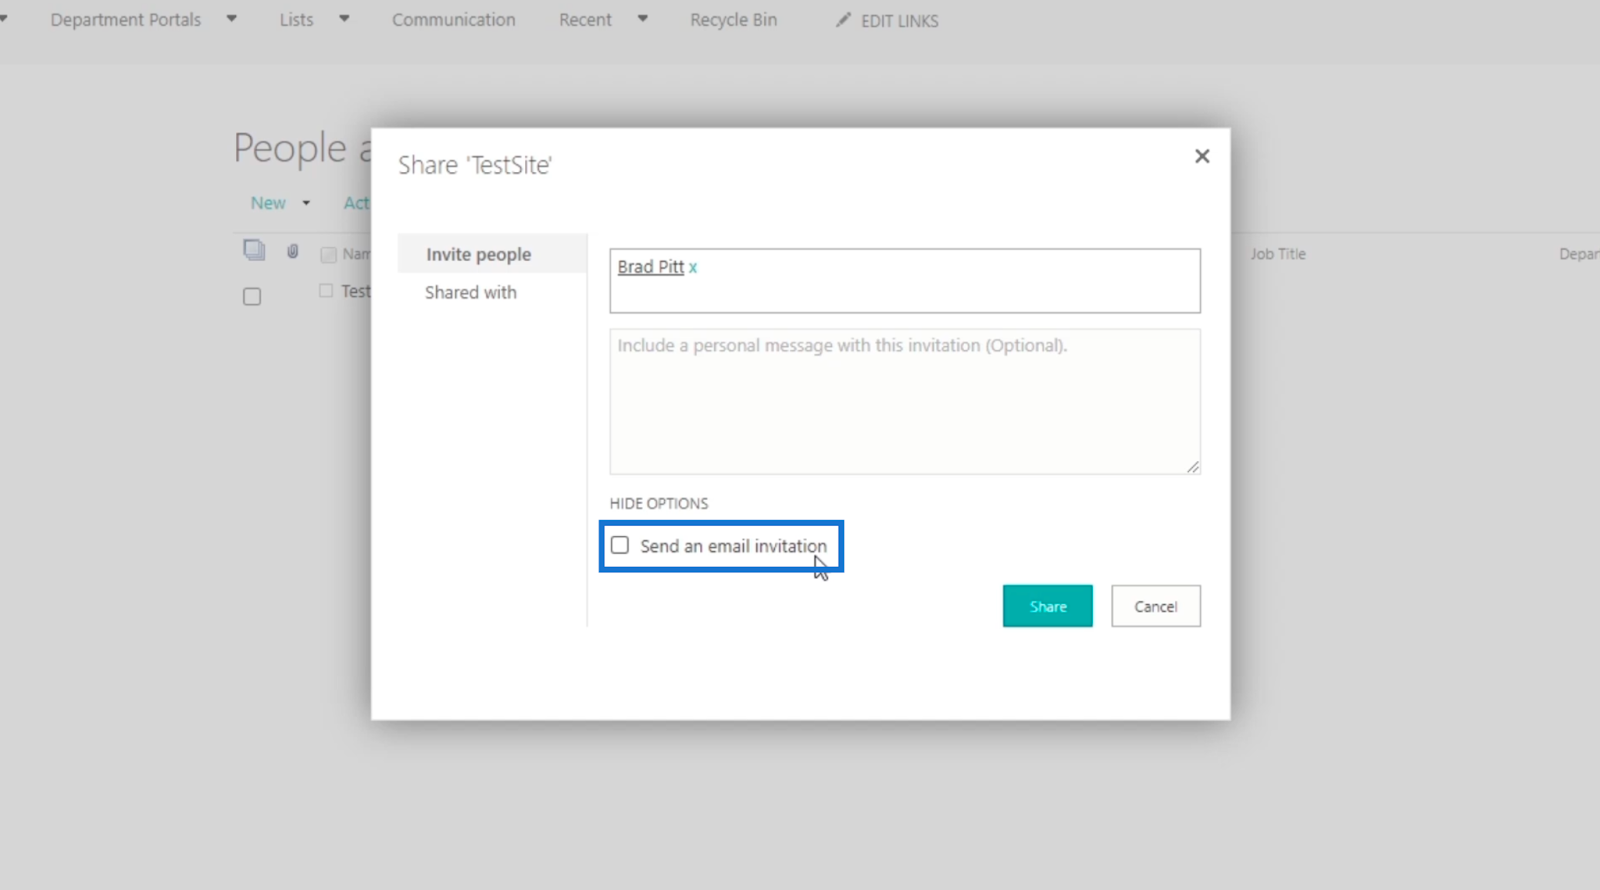
Finally, let’s click Share.
As a result, Brad Pitt is now included in the TestSite Members group.
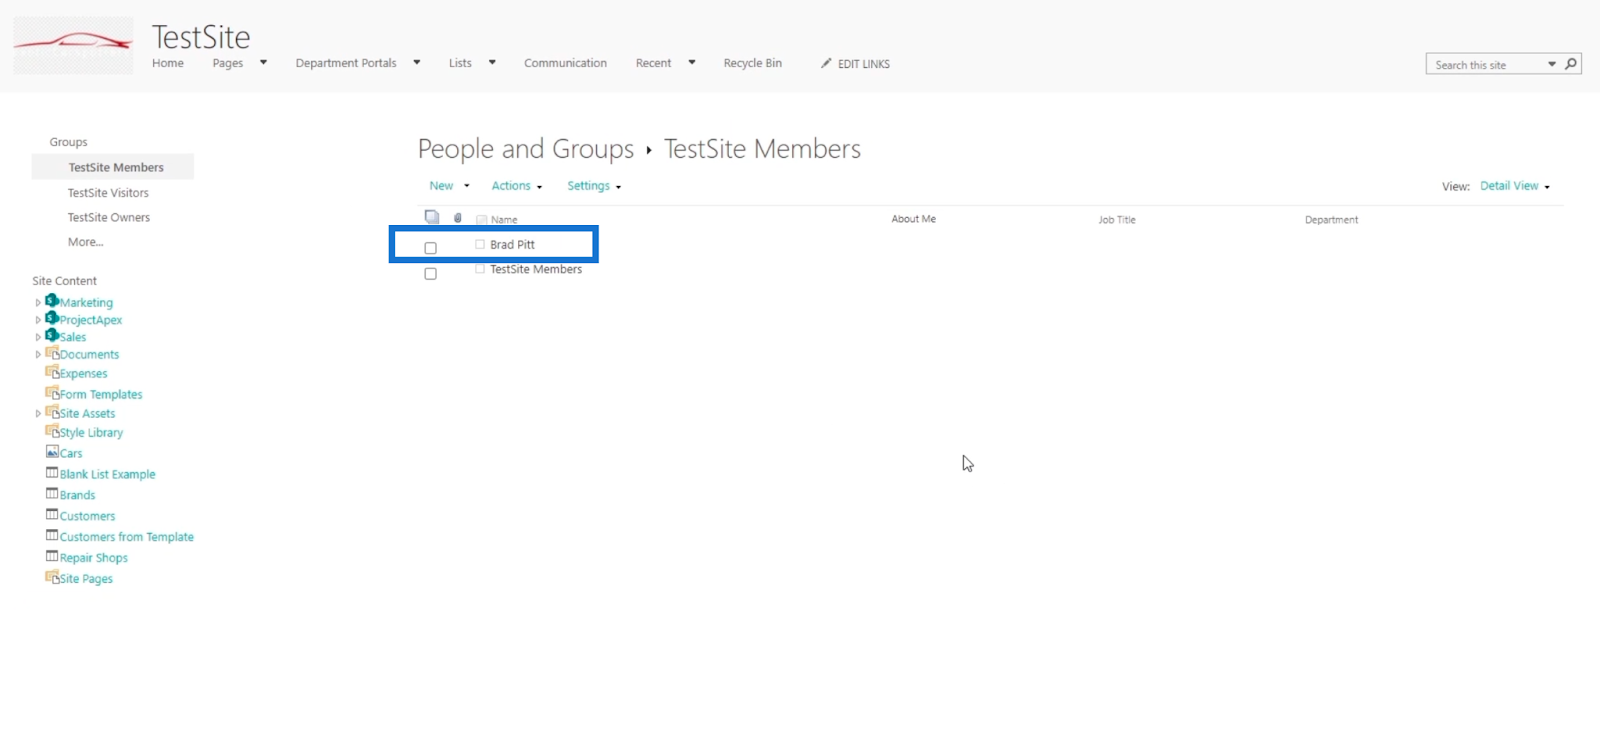
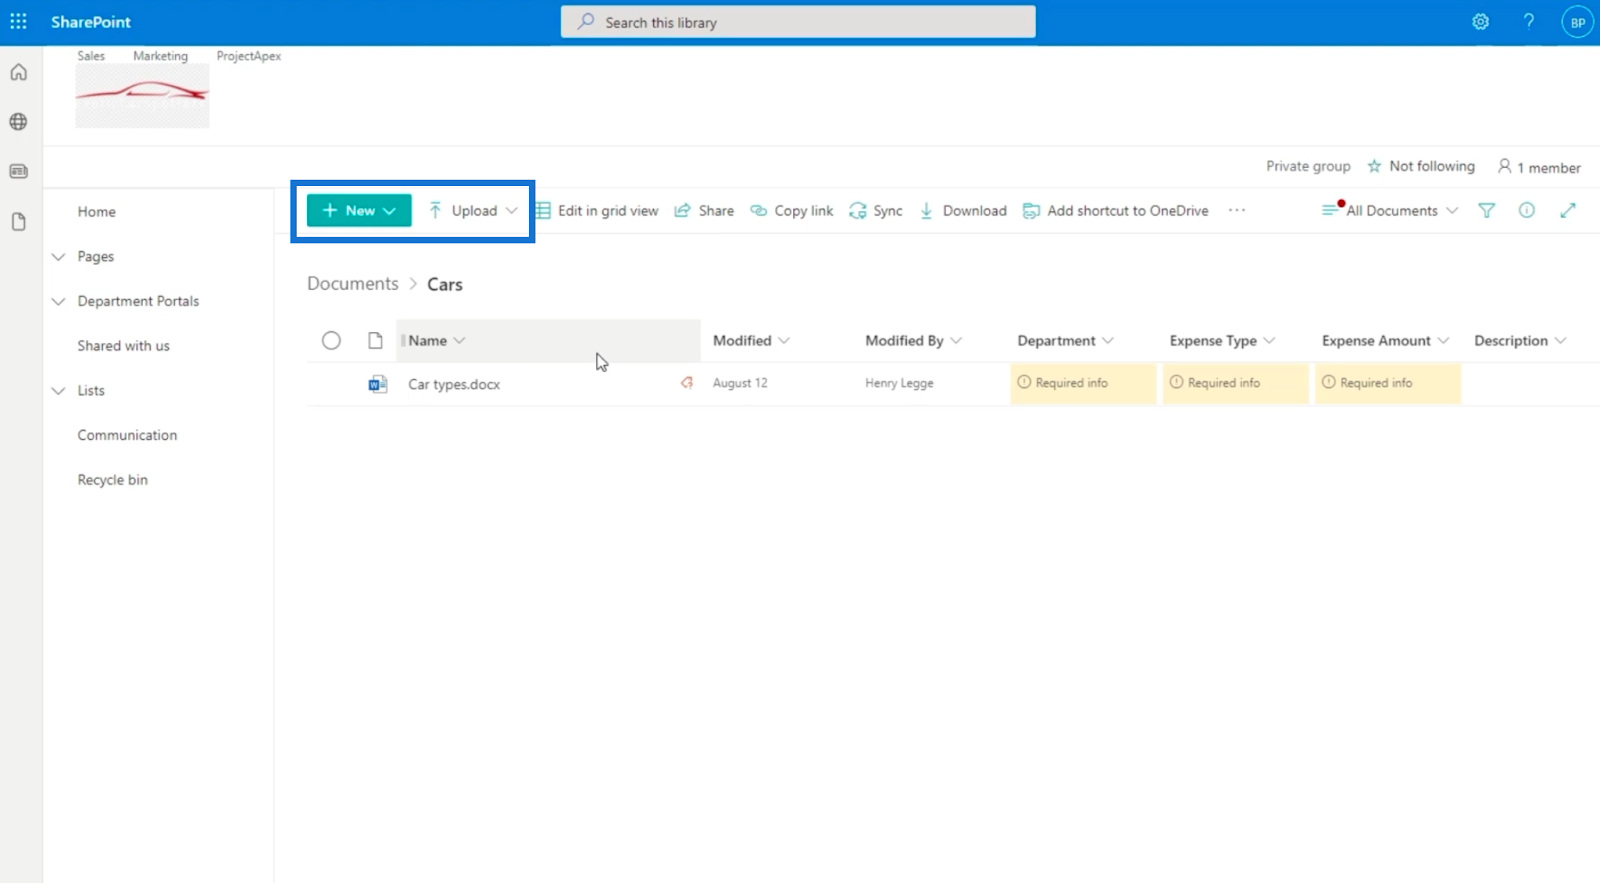
This means he’ll have the edit access permissions. If Brad Pitt will access the SharePoint site, he’ll be able to add and edit documents or data. As you can see, Brad Pitt now has the New and Edit in grid view buttons on the navigation.

Additionally, he’ll be able to upload and edit site content.
Keep in mind that we don’t edit the permission directly. Instead, we moved the users from one group to another to change their permission levels.
Removing Or Revoking SharePoint User Permissions
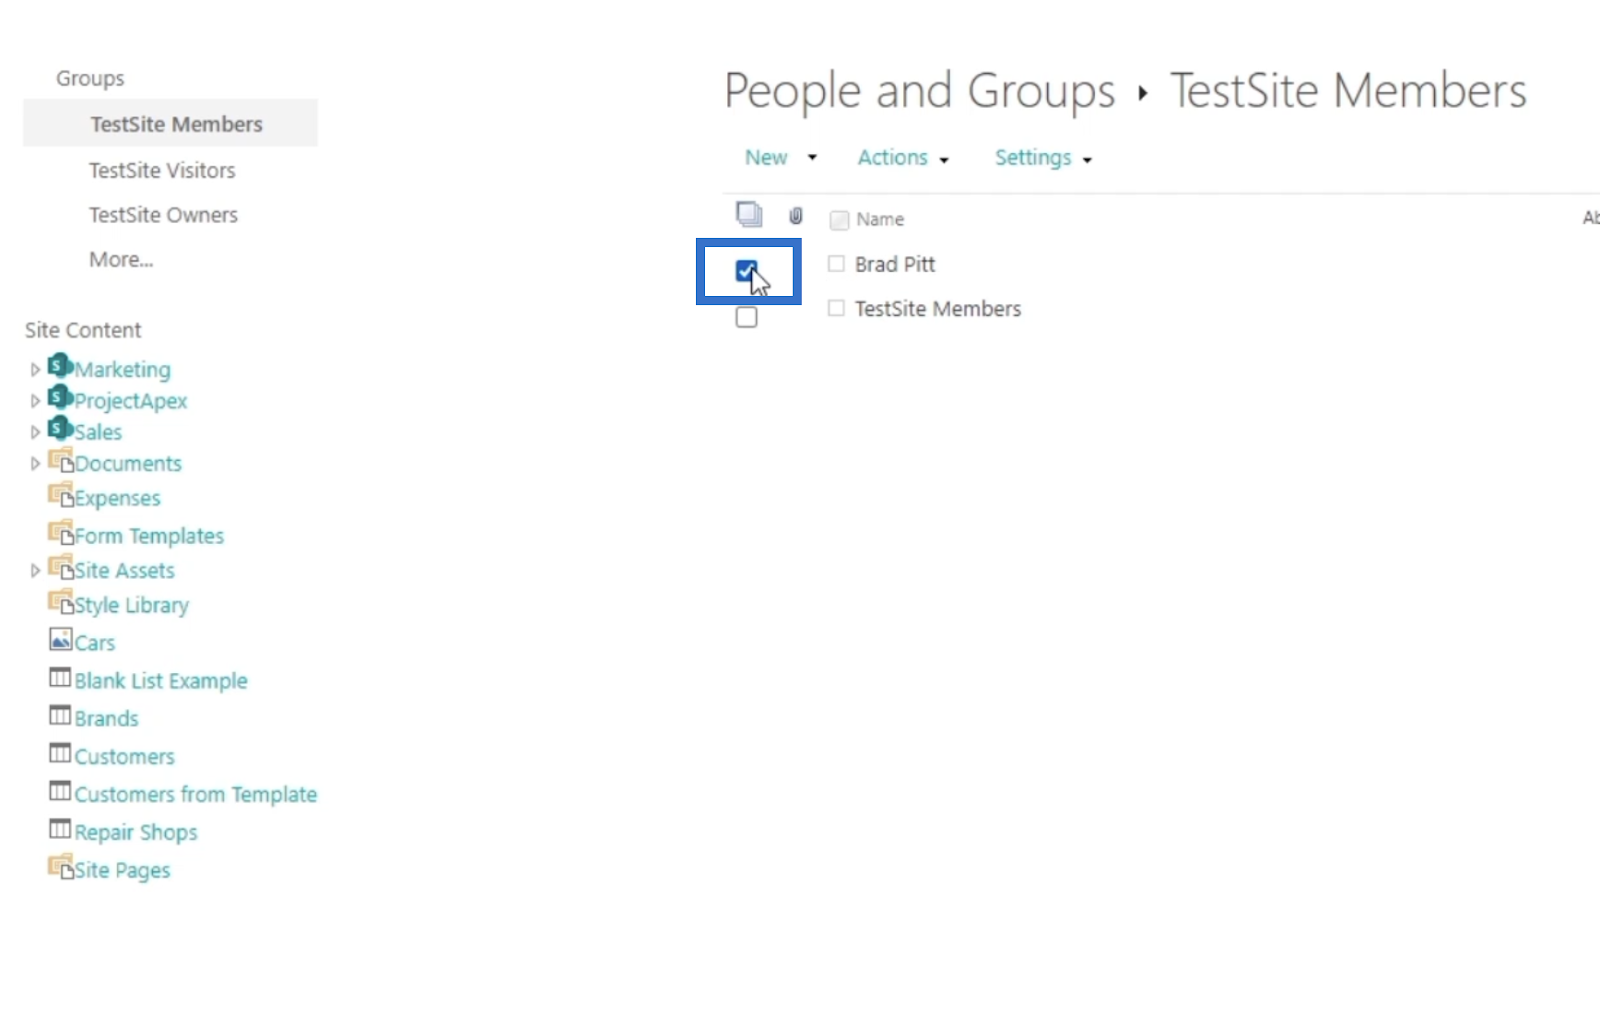
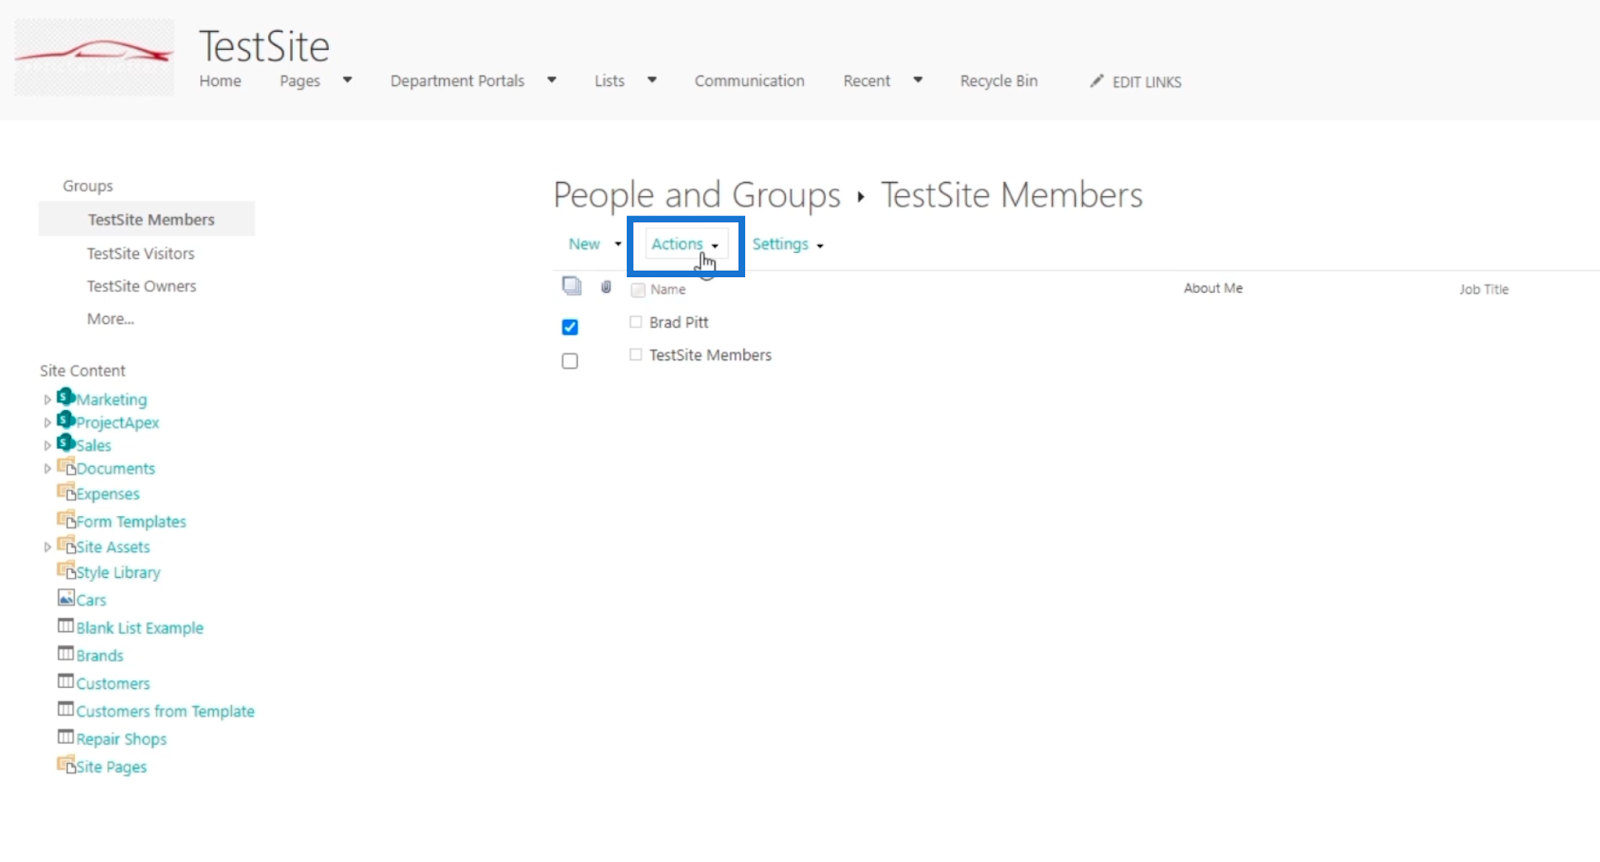
In this blog, since Brad Pitt is in 2 groups, we may want to remove him from the other one. To do that, we’ll click the group that we want to remove him from. For this example, we’ll click TestSite Members from the permissions settings.

Next, we’ll tick the checkbox beside the user that’ll we’ll remove.
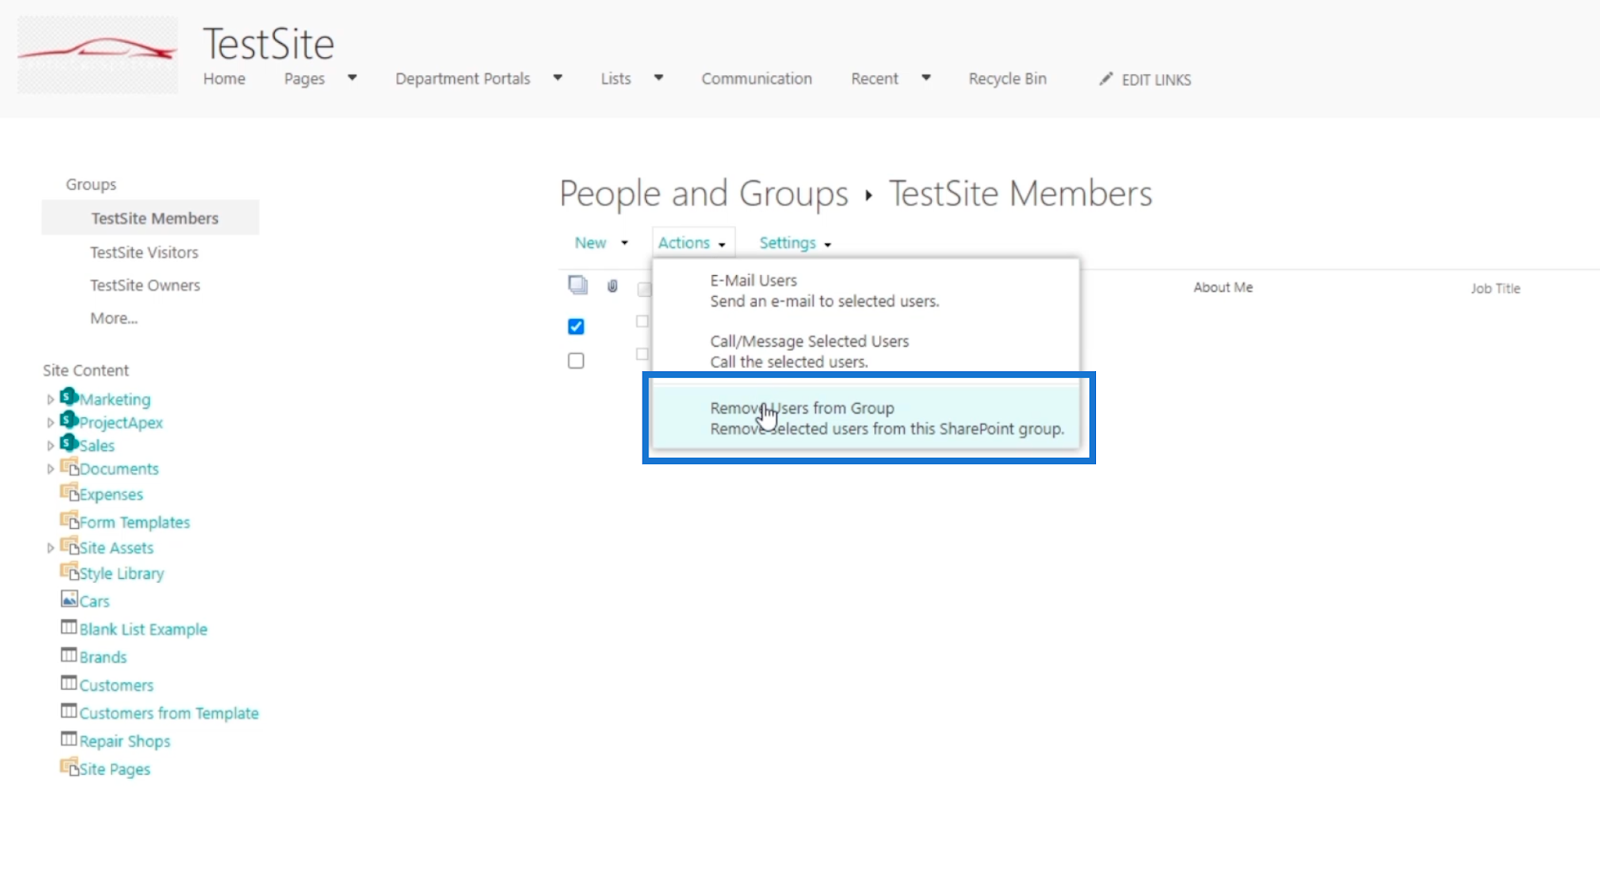
After that, click the Actions drop-down menu.

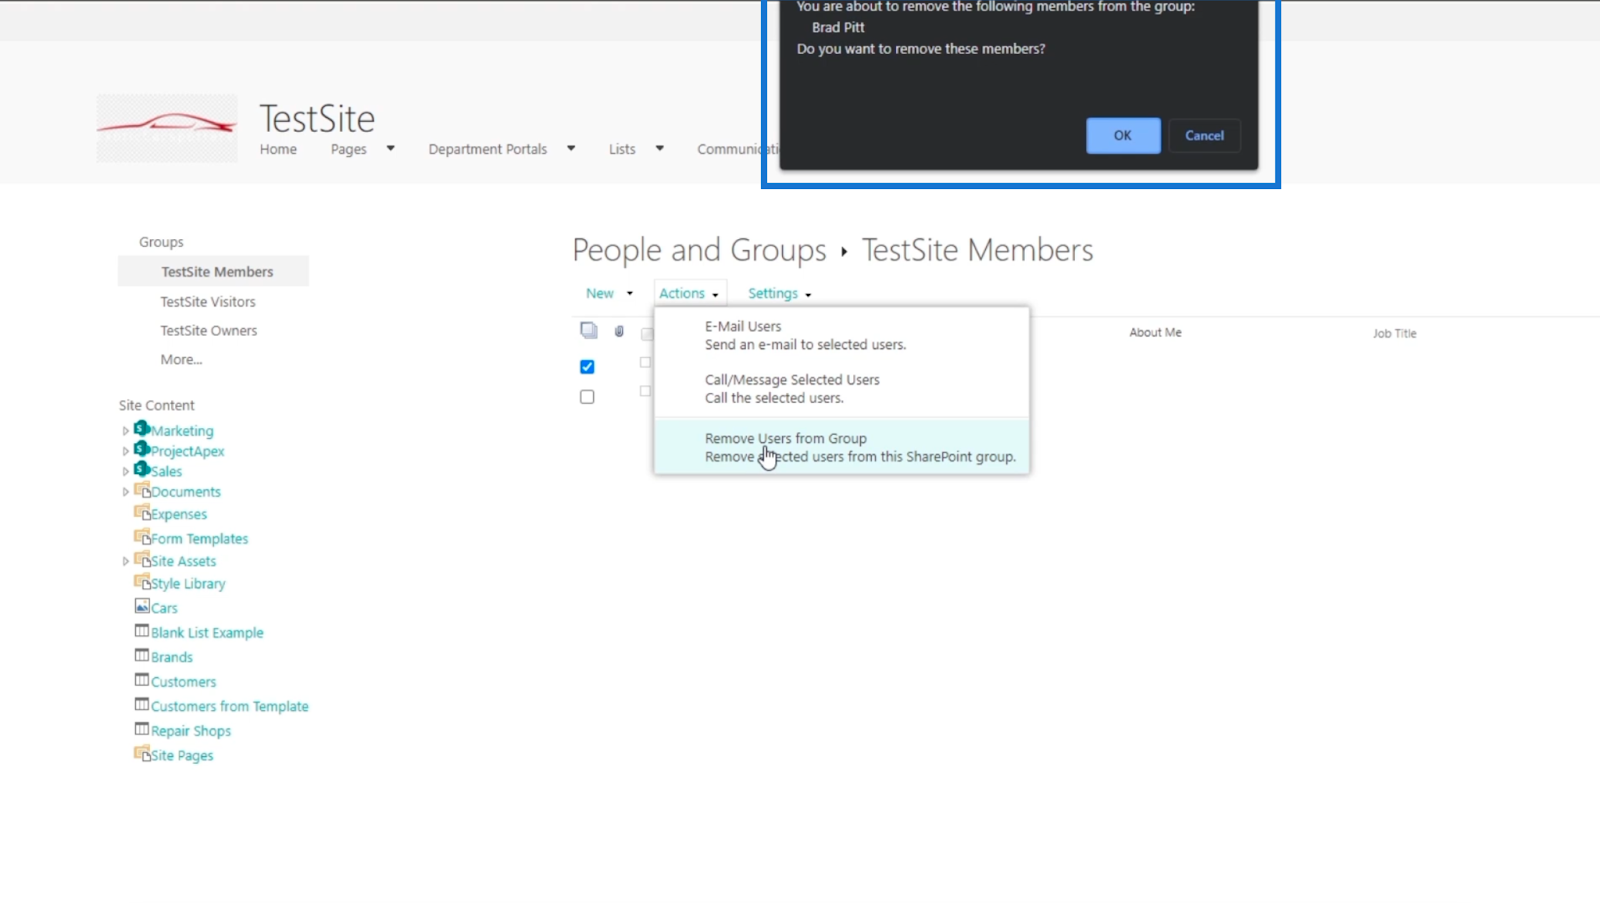
Then, click Remove Users from Group.
You’ll get an alert box asking if you want to remove the user.
Finally, click OK.
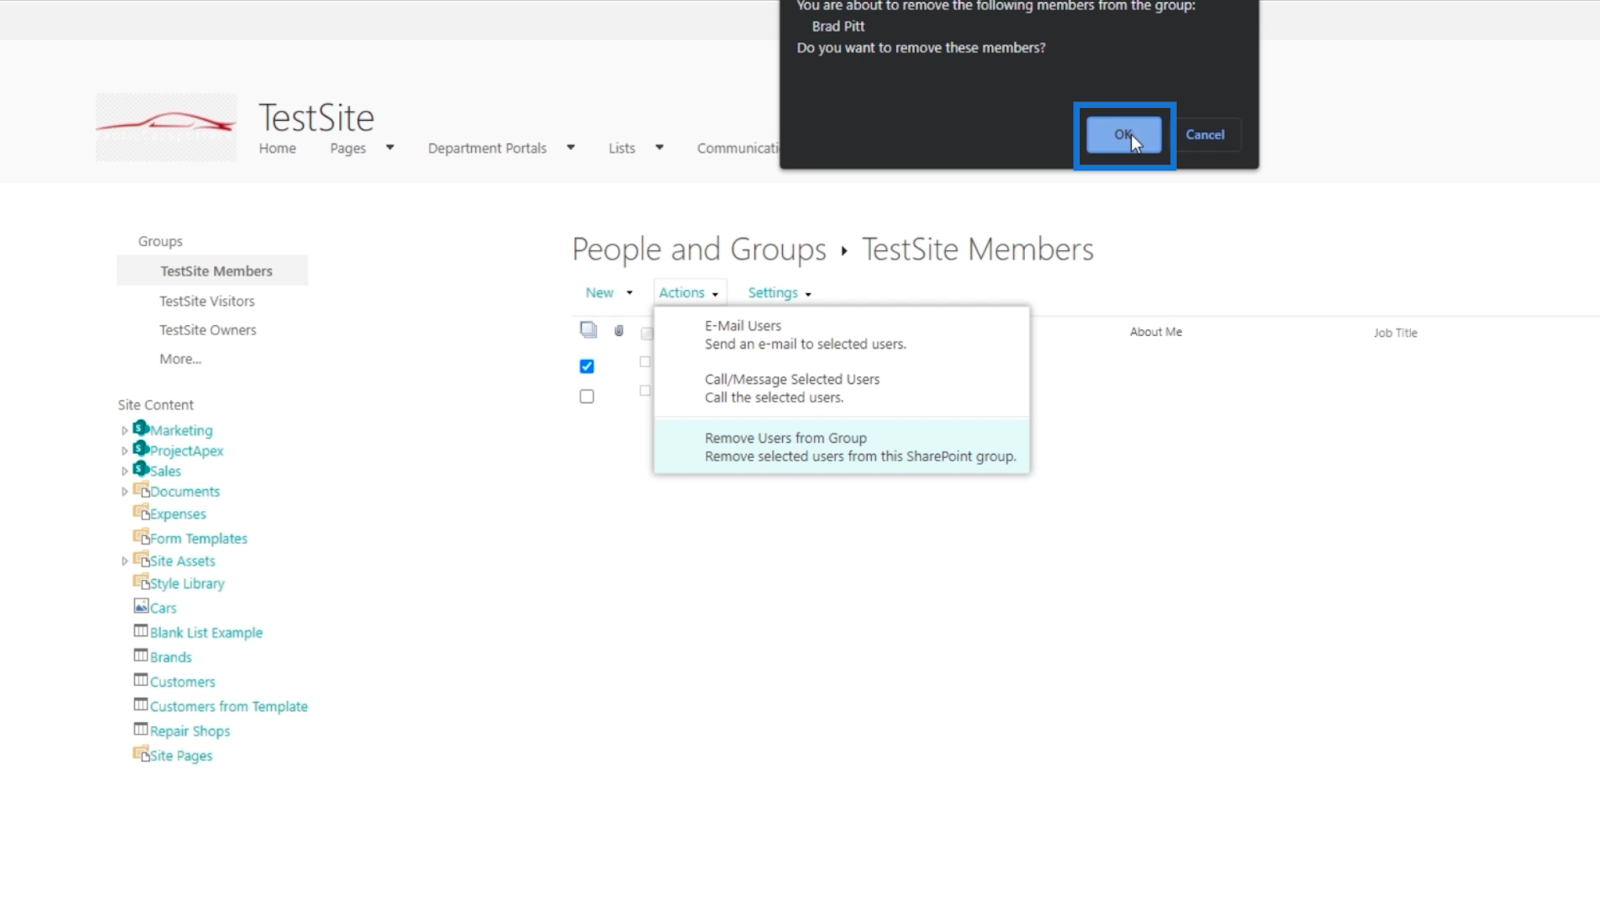
As a result, you’ll see that Brad Pitt is no longer part of the TestSite Members group.
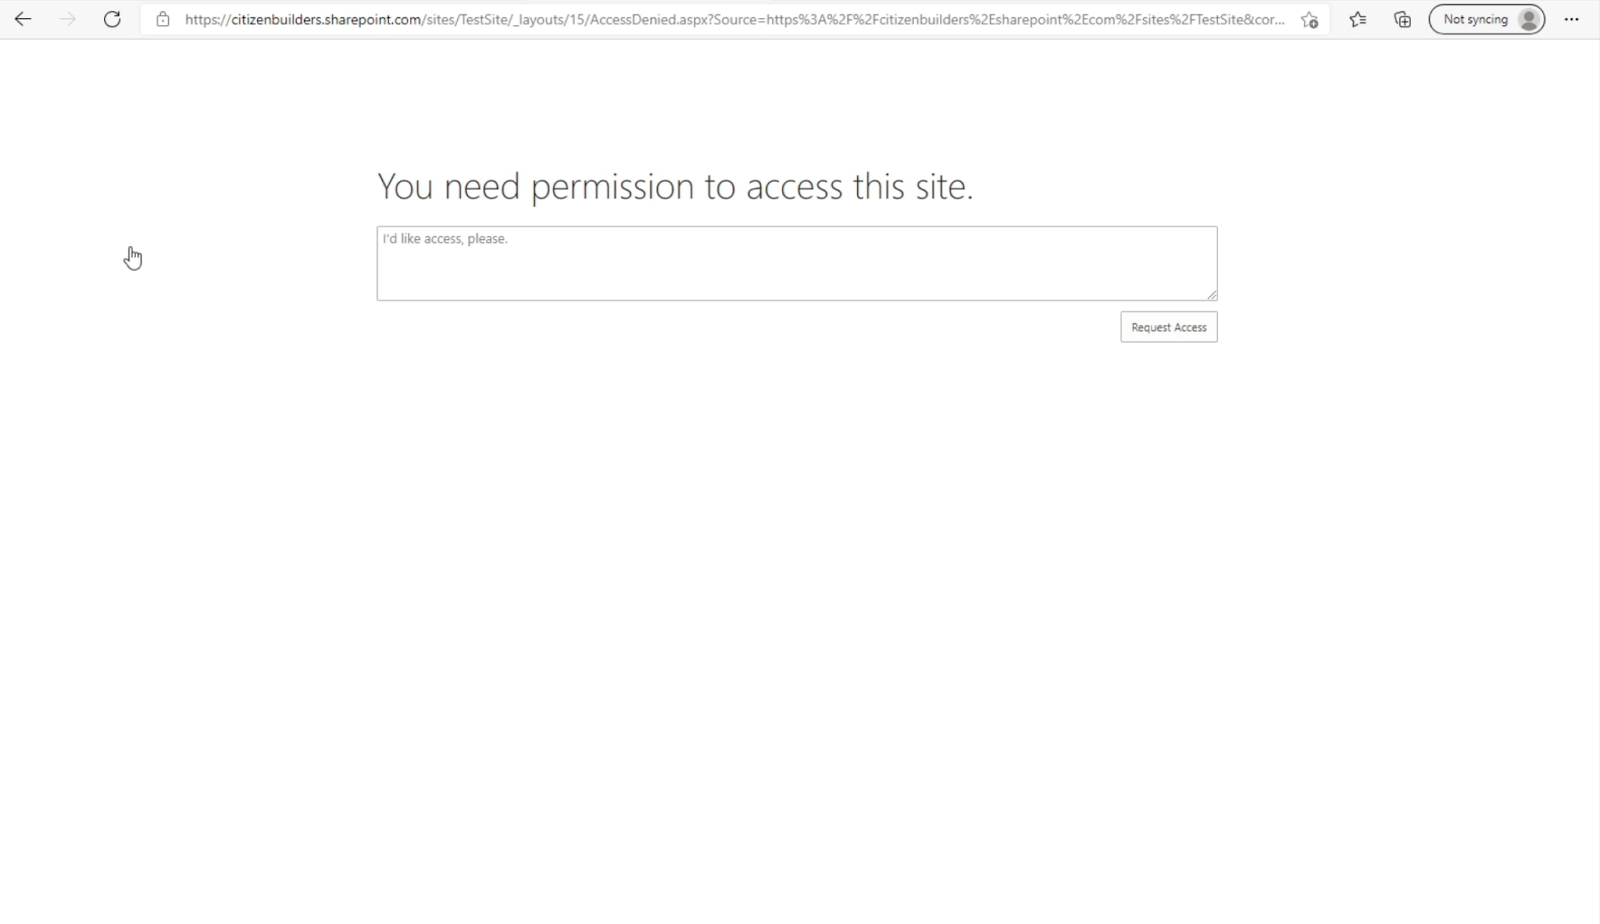
This will no longer give Brad Pitt the edit access we gave him. This time, we’ll revoke the permissions of Brad Pitt. We’ll remove his access on our SharePoint site and we’ll also remove him from the TestSite Visitors group.
Once done, Brad Pitt is no longer a member of any groups on our SharePoint site. If he tries to access the site, he’ll be asked to request permission.
***** Related Links *****
SharePoint Site Permission Inheritance
SharePoint Lists: An Overview
An Overview Of The SharePoint Site Library Settings
Conclusion
To wrap it all up, we’ve discussed how we can add and change permissions to a user. This is highly useful, especially if someone gets a promotion. Similarly, you may want to change someone’s permission if they will be moved to one group or department. Moreover, we’ve learned how to remove or revoke a user’s access to a group, and at the same time, completely deny his/her access to our SharePoint site.
These simple things can help your SharePoint site become more secure and manageable. If you don’t want a user to have different access for a week, you can change it. So go ahead and utilize this feature for a better, more manageable SharePoint site.
All the best,
Henry


