
In this SharePoint tutorial, we’ll talk about how to create a new site in Microsoft SharePoint. SharePoint users can create their own internal website depending on their purpose. These can be personal sites, team-based sites, or general, company-wide websites. Before we can create a site, we need to have an account first. You can check this tutorial on how to create an MS SharePoint account.

SharePoint sites are essentially containers for information used to store and organize various types of content (web parts).
SharePoint Tutorial: Logging Into Your SharePoint Account
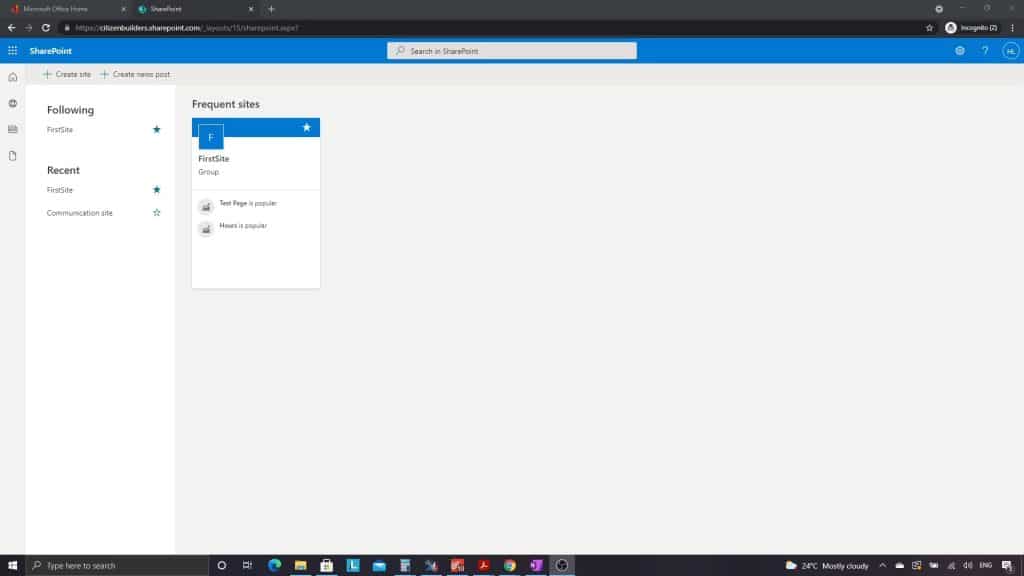
For creating a new site, you should be on this screen.

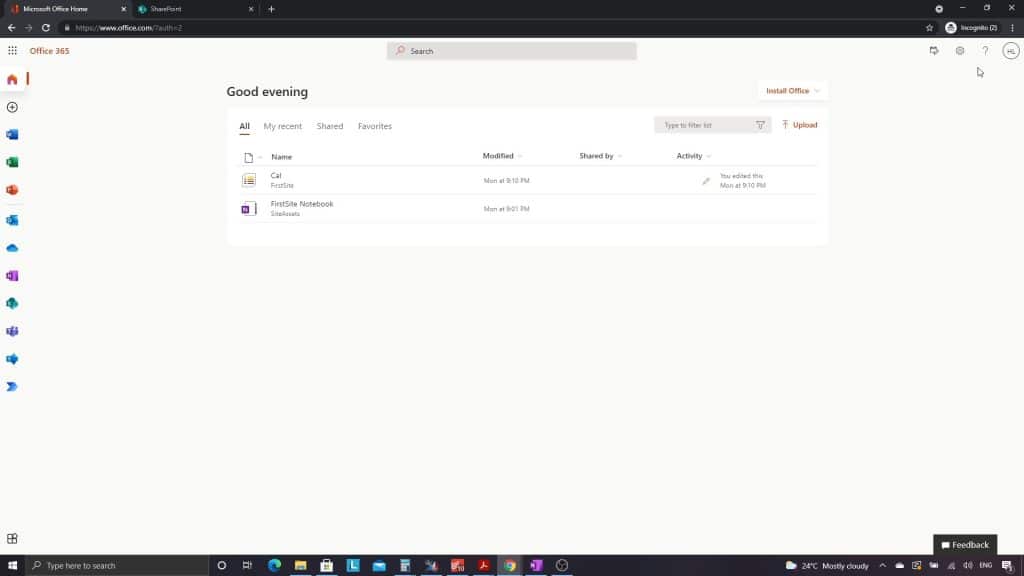
If for some reason you don’t see this screen, just log in to your account via https://www.office.com.
I’ve already signed in here but it’ll ask you to sign in again. You need to sign in with the actual ID that you created, or the users that you created.
SharePoint Tutorial: Creating A New SharePoint Site
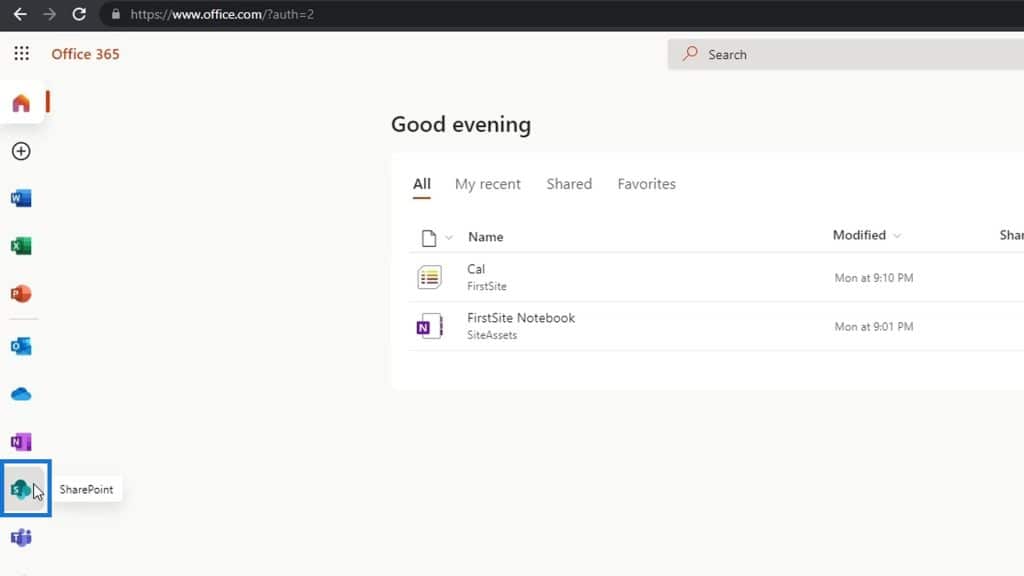
From here, we can then click the SharePoint icon.
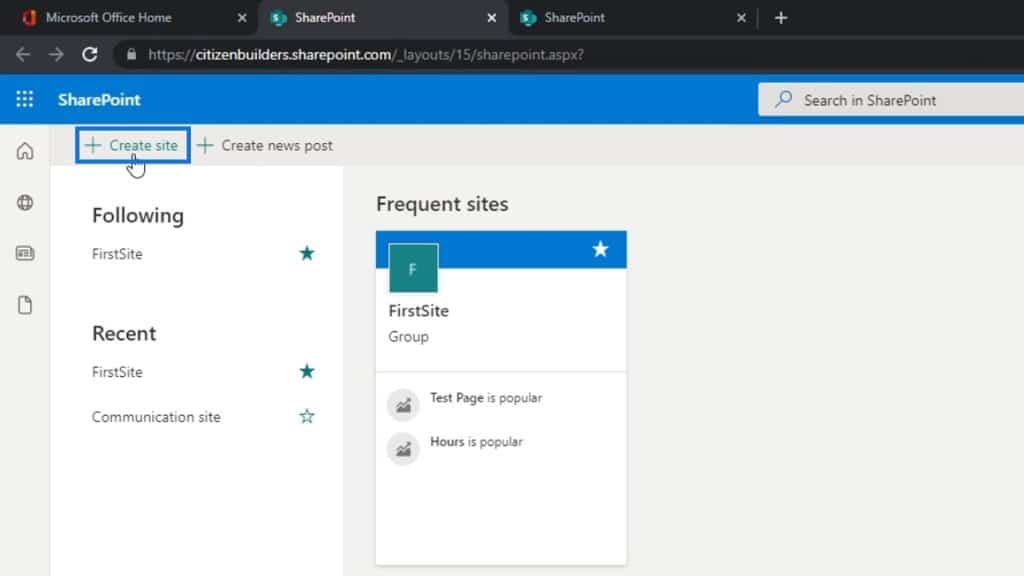
Then, I’ll bring us to this page where we can create a site.
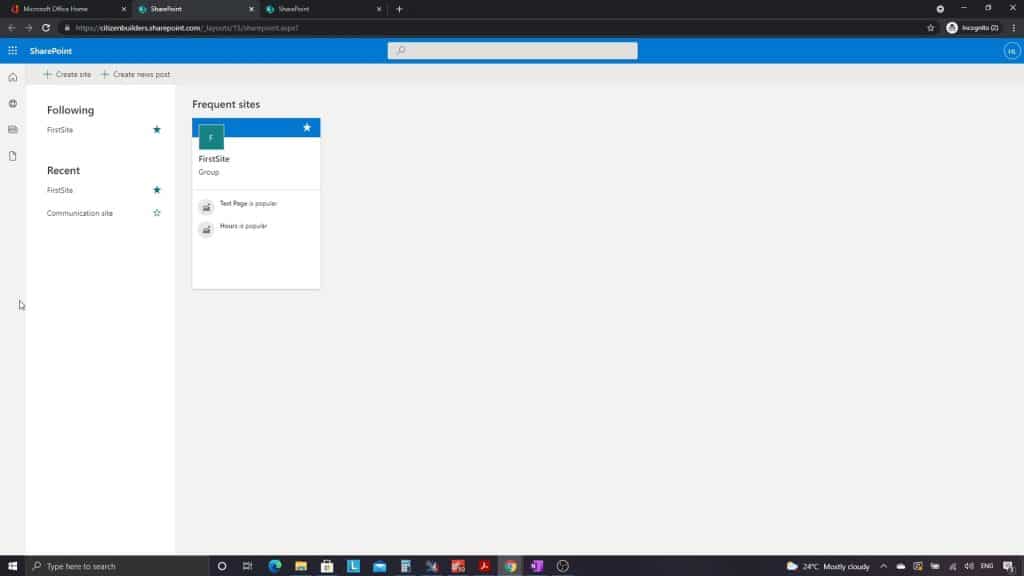
Firstly, just click Create site.
Setting Your SharePoint Site Type And Other Options
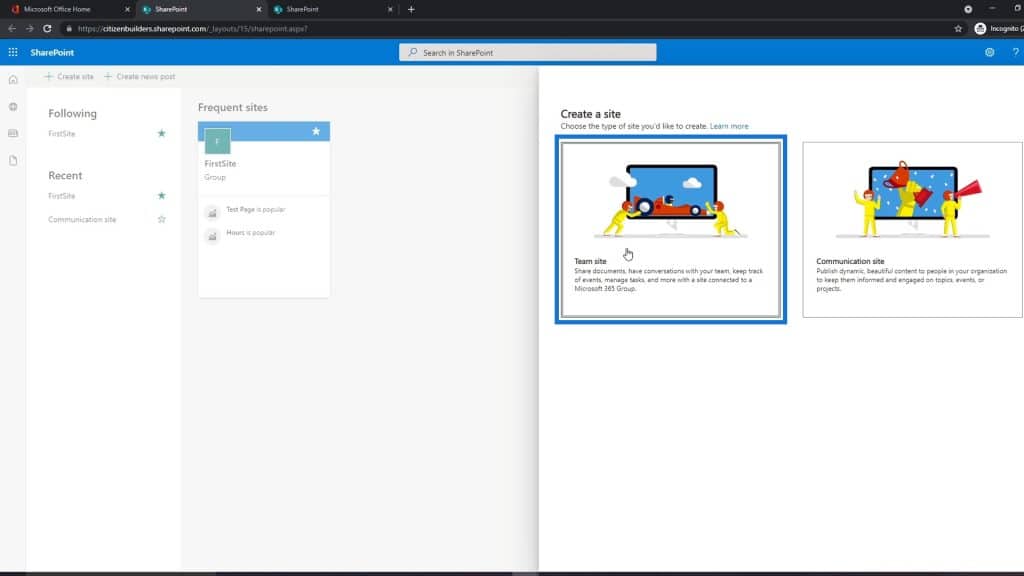
It’ll then ask us to choose a site type which can be a Team site or Communication site. Communication site is a new type of site that SharePoint is trying to encourage people to use. However, in my experience, 95% of SharePoint sites have been team sites. In addition to that, it’s better to choose Team site because a lot of the things that you can do in a communication site can also be done on a team site, but not vice versa.
We’re going to choose Team site because it’s more complex. So, let’s click the Team site.

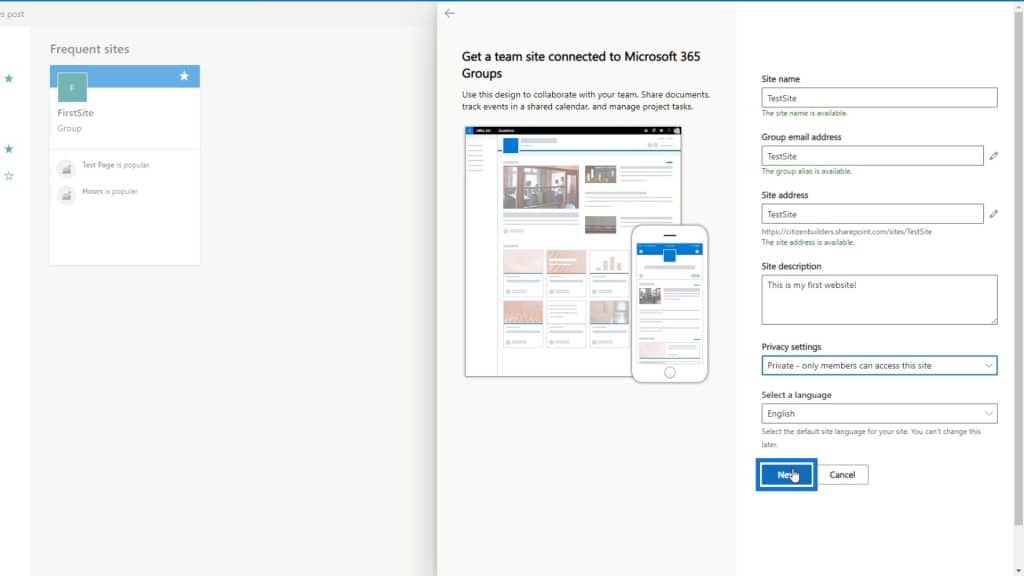
Then, it’ll ask us for a site name. For this example, we’ll name it “TestSite”.
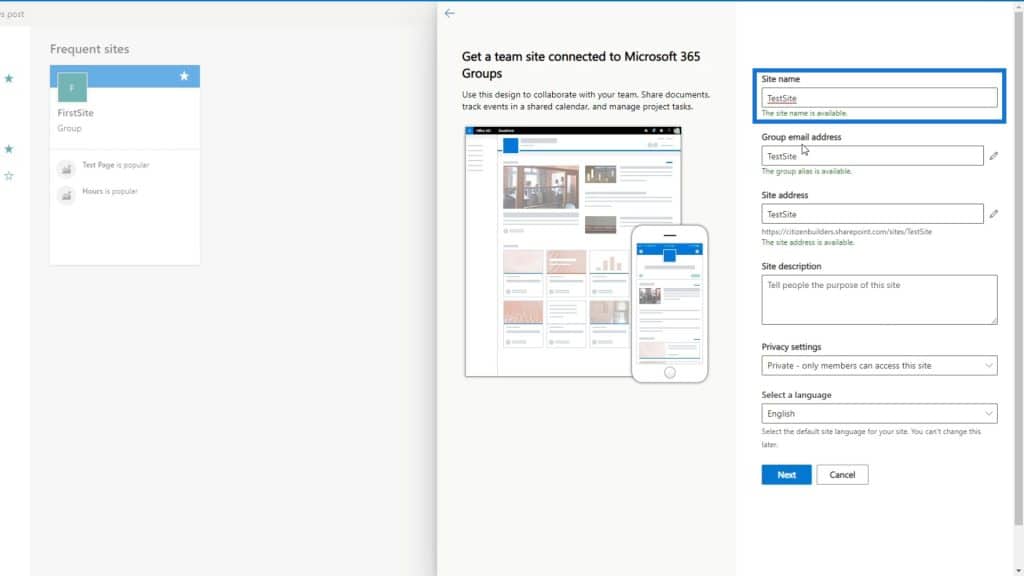
It’ll give us an email address as well. With this, any member of this site can get an email address.
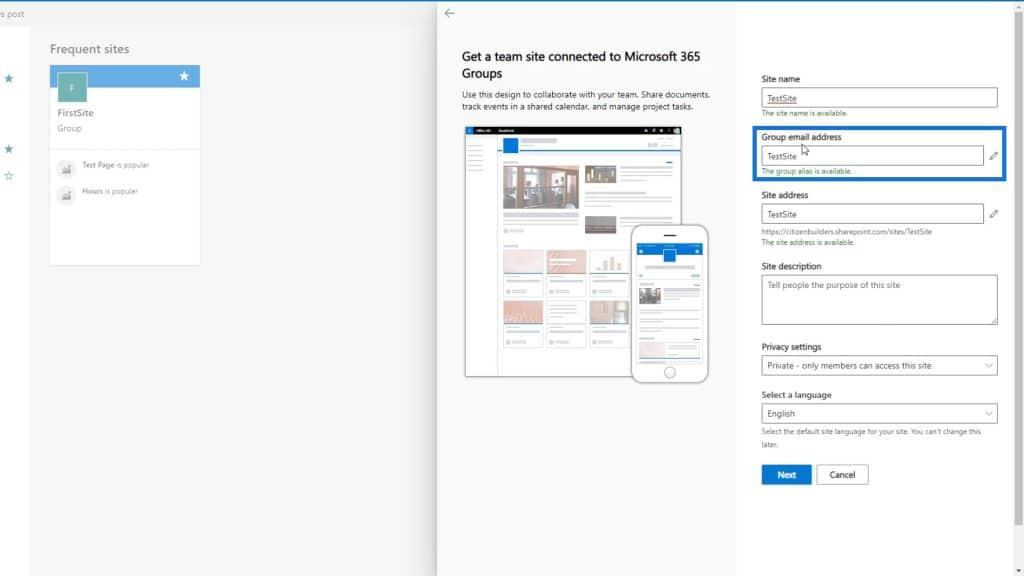
We’ll also get a Site Address that we can use to share this site with the members. We just need to copy the link below and give it to whoever we want to give it to.
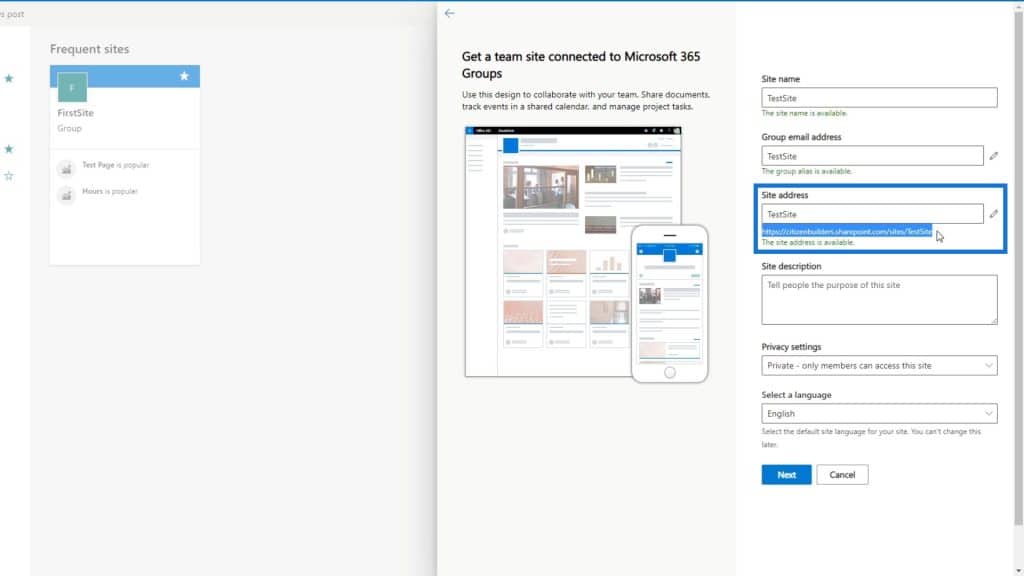
As we’ve mentioned before, this is a platform or a place only for members of your organization. So, for example, if I send this to you and you don’t have a citizen builders account (the account that we’re using here), unfortunately, you can’t use this SharePoint site.
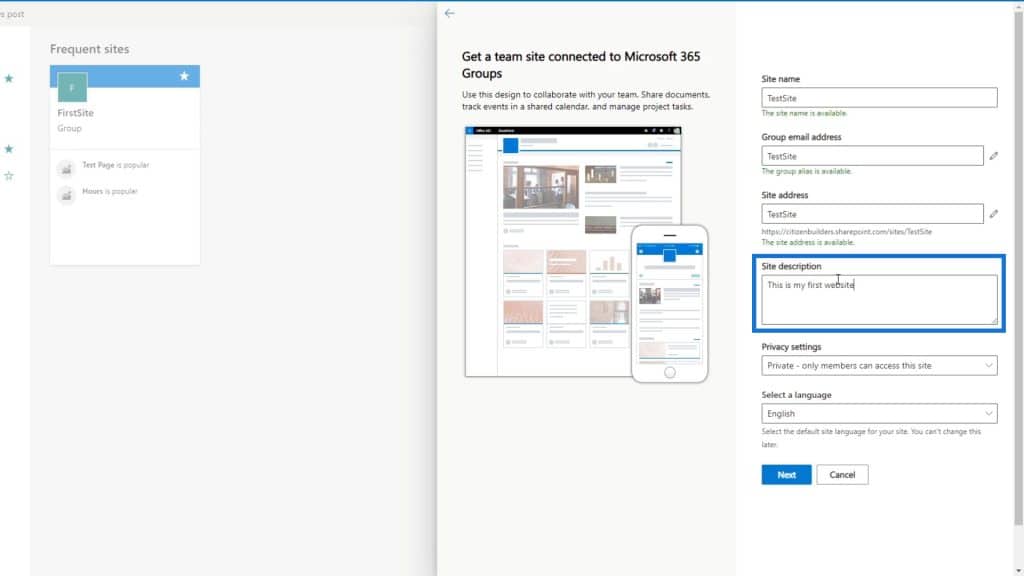
We can also add a description saying “This is my first website”.
Setting Privacy And Language Options
For the privacy settings, let’s set this to private.
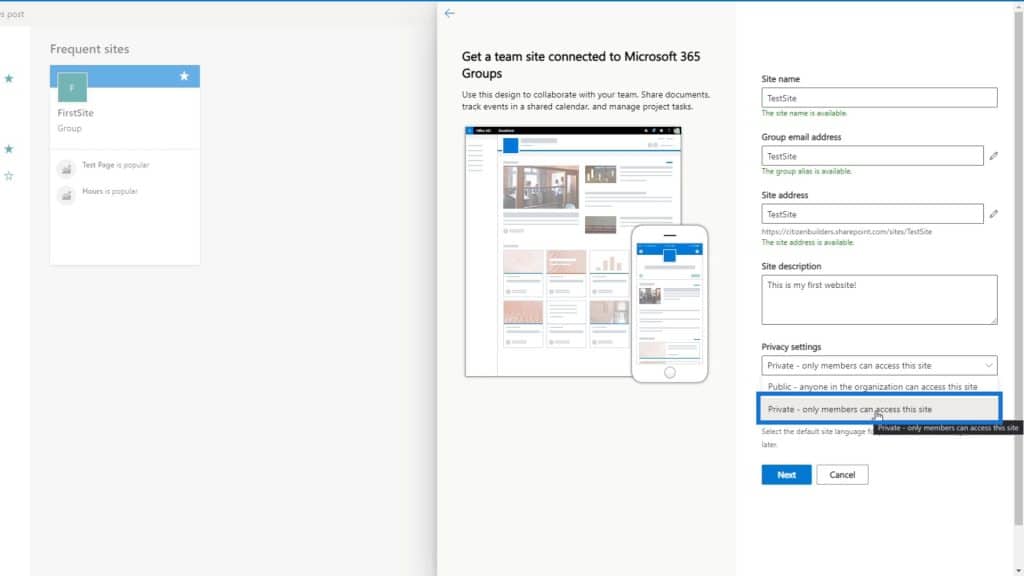
Private means only members that we invite can access the website and not everyone in the organization. Note that the Public option doesn’t mean that anyone can join the website. They still need to be a member of your organization. In other words, Public is everyone in your organization while Private is only those members that are invited to the website.
For the language, let’s select English.
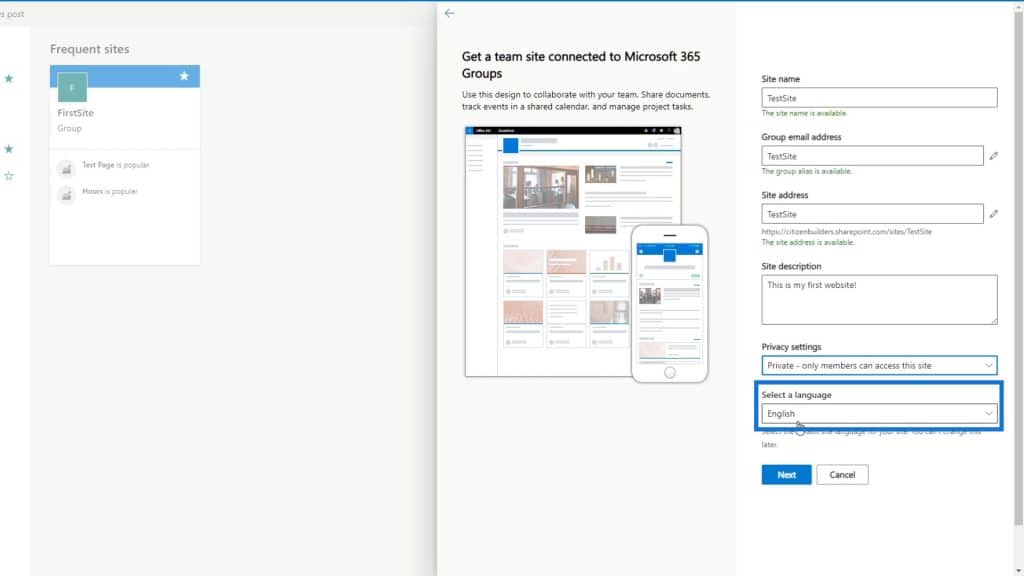
Then, let’s click the Next button.
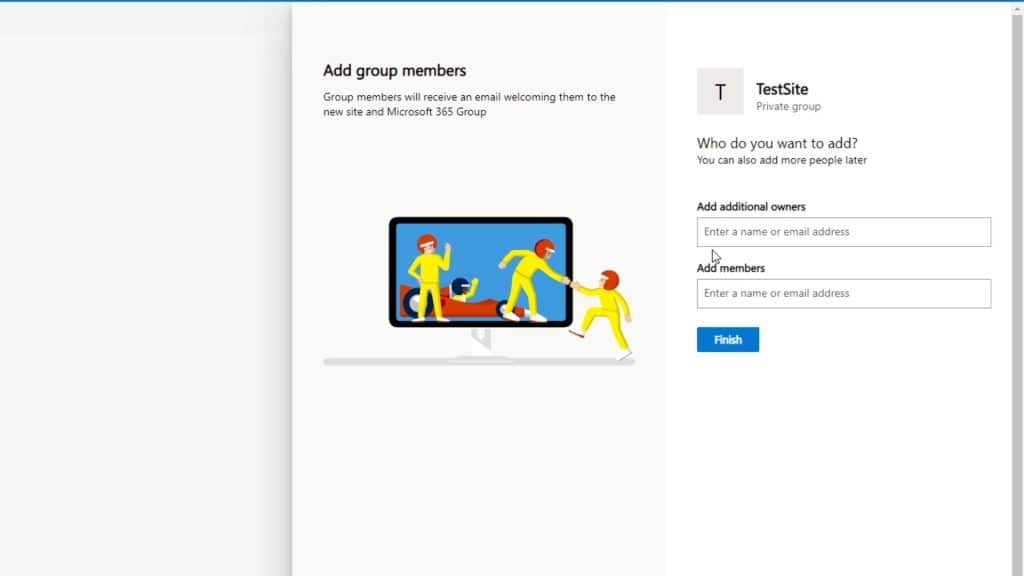
Adding Site Members
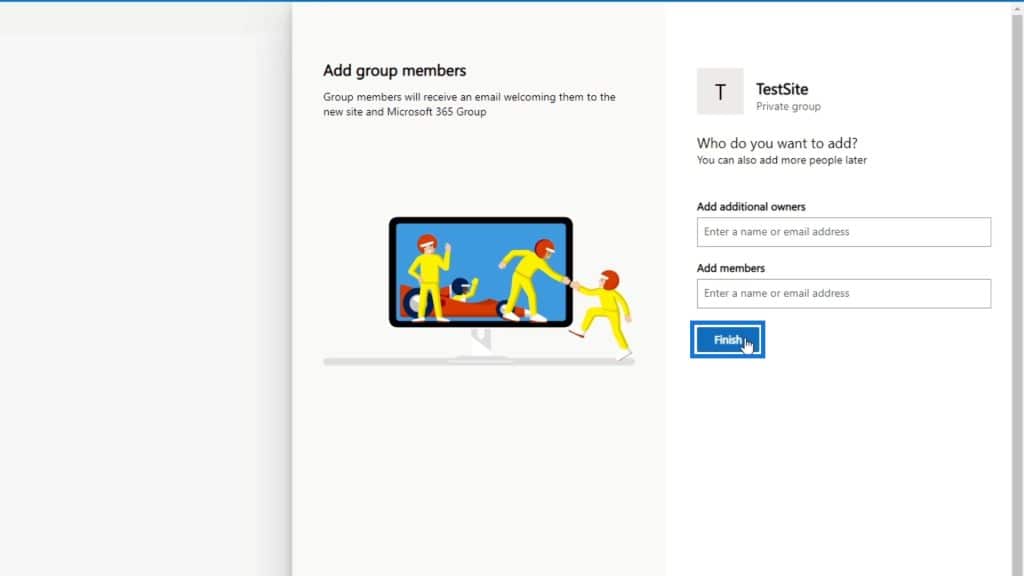
After that, we can choose to add additional owners and members. We won’t do this part yet because we’ve set this website as a private website.
Lastly, click the Finish button.
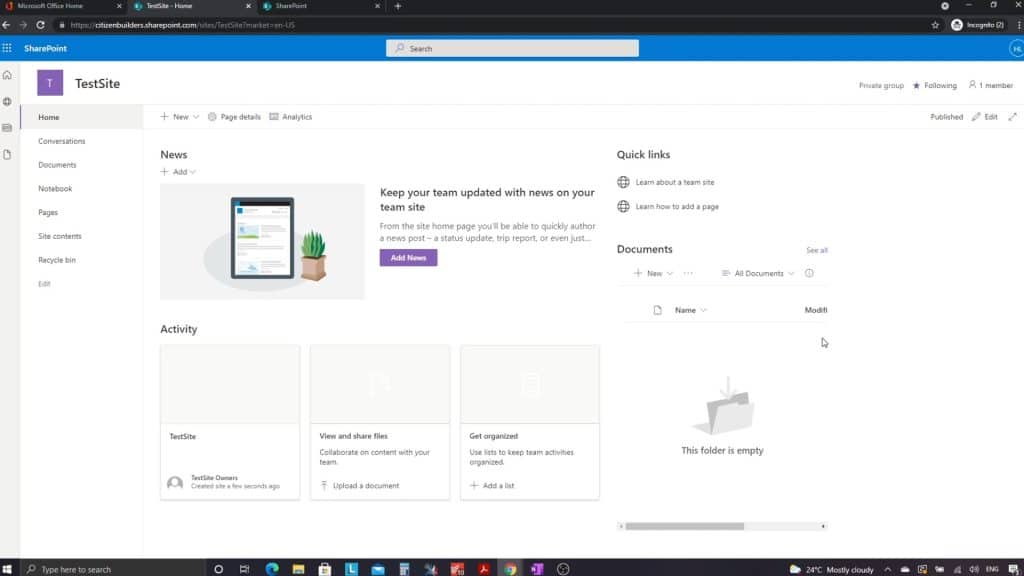
We can now see our new website.
***** Related Links *****
Upcoming Courses: SharePoint Introduction and Advanced Concepts
Power Apps Environment Setup: Connect To OneDrive & Google Drive
Microsoft SharePoint | An Overview
Conclusion
To sum up, we’re able to create a new Microsoft SharePoint site. Keep in mind that before creating a new site, you need to have a SharePoint account. Once that’s set up, you can then proceed to creating your site, choosing your site type, and setting the options for privacy and language.
SharePoint also allows site creators to add members and additional owners. Once you’ve created your SharePoint site, there are various ways you can customize it to add functionality or change the look and feel to reflect your company’s brand. But in this tutorial, I mainly want you to understand the creation and initial setup of a SharePoint site.

All the best,
Henry


