
Have you ever felt a pang of regret immediately after hitting the delete button on an important file or document on your SharePoint site? If so, you’ll appreciate the unsung hero of the digital realm — the SharePoint recycle bin. It’s an often overlooked tool that provides a safety net for recovering deleted items within a SharePoint site.
The SharePoint recycle bin is a powerful feature of Microsoft’s SharePoint platform that acts as a safety net for data, providing a secondary location where deleted items are stored temporarily before permanent deletion. Similar to the recycle bin on a personal computer, it gives users the ability to restore files and other items they’ve deleted accidentally.

In this article, we’ll explore the functionality and benefits of the SharePoint recycle bin, along with important guidelines on how to manage and restore deleted items effectively.

Let’s get started!
Understanding SharePoint Recycle Bin
Markedly different from the Windows recycle bin, the SharePoint recycle bin is a critical feature for managing deleted content and recovering it when needed.
When you delete files or items in SharePoint, they are initially sent to the site’s recycle bin rather than permanently deleted.
Files remain in the recycle bin for 93 days, after which they are automatically and permanently deleted.
First-Stage and Second-Stage Recycle Bins

In SharePoint, there are two stages of how files are stored in the recycle bin:
1. First-Stage Recycle Bin (SharePoint Site Recycle Bin): Also known as the end-user recycle bin, this is the primary recycle bin that a user with edit permission can access. Deleted files are initially sent to this bin, where you can quickly restore or permanently delete them.

If you choose to delete a file from the first-stage recycle bin, it is moved to the second-stage recycle bin.
2. Second-Stage Recycle Bin (Site Collection Recycle Bin): This recycle bin can be accessed by users with higher privileges, such as site collection administrators. Files in this bin remain for the same 93-day period but offer the last line of defense against permanent data loss.
Once the 93-day period passes or files are deleted from the second-stage recycle bin, they are permanently lost.
It’s a good idea to understand these two stages to manage the SharePoint recycle bin effectively and recover deleted content when necessary.
Managing Files and Folders in the SharePoint Recycle Bin
Thanks to SharePoint’s user-friendly web interface, managing SharePoint’s recycle bins is easy and simple. Here’s what you’ll need to do if you’d like to restore deleted items, permanently delete items, and manage user access to the recycle bins.
1. Restoring Items
If an item gets accidentally deleted, and you have edit permissions you can easily restore files, folders, and list items from the SharePoint recycle bin. Use these steps to restore deleted items:
- Access the site the document was deleted from. You can see all your sites by clicking the My Sites option in the panel to the far left of your screen.
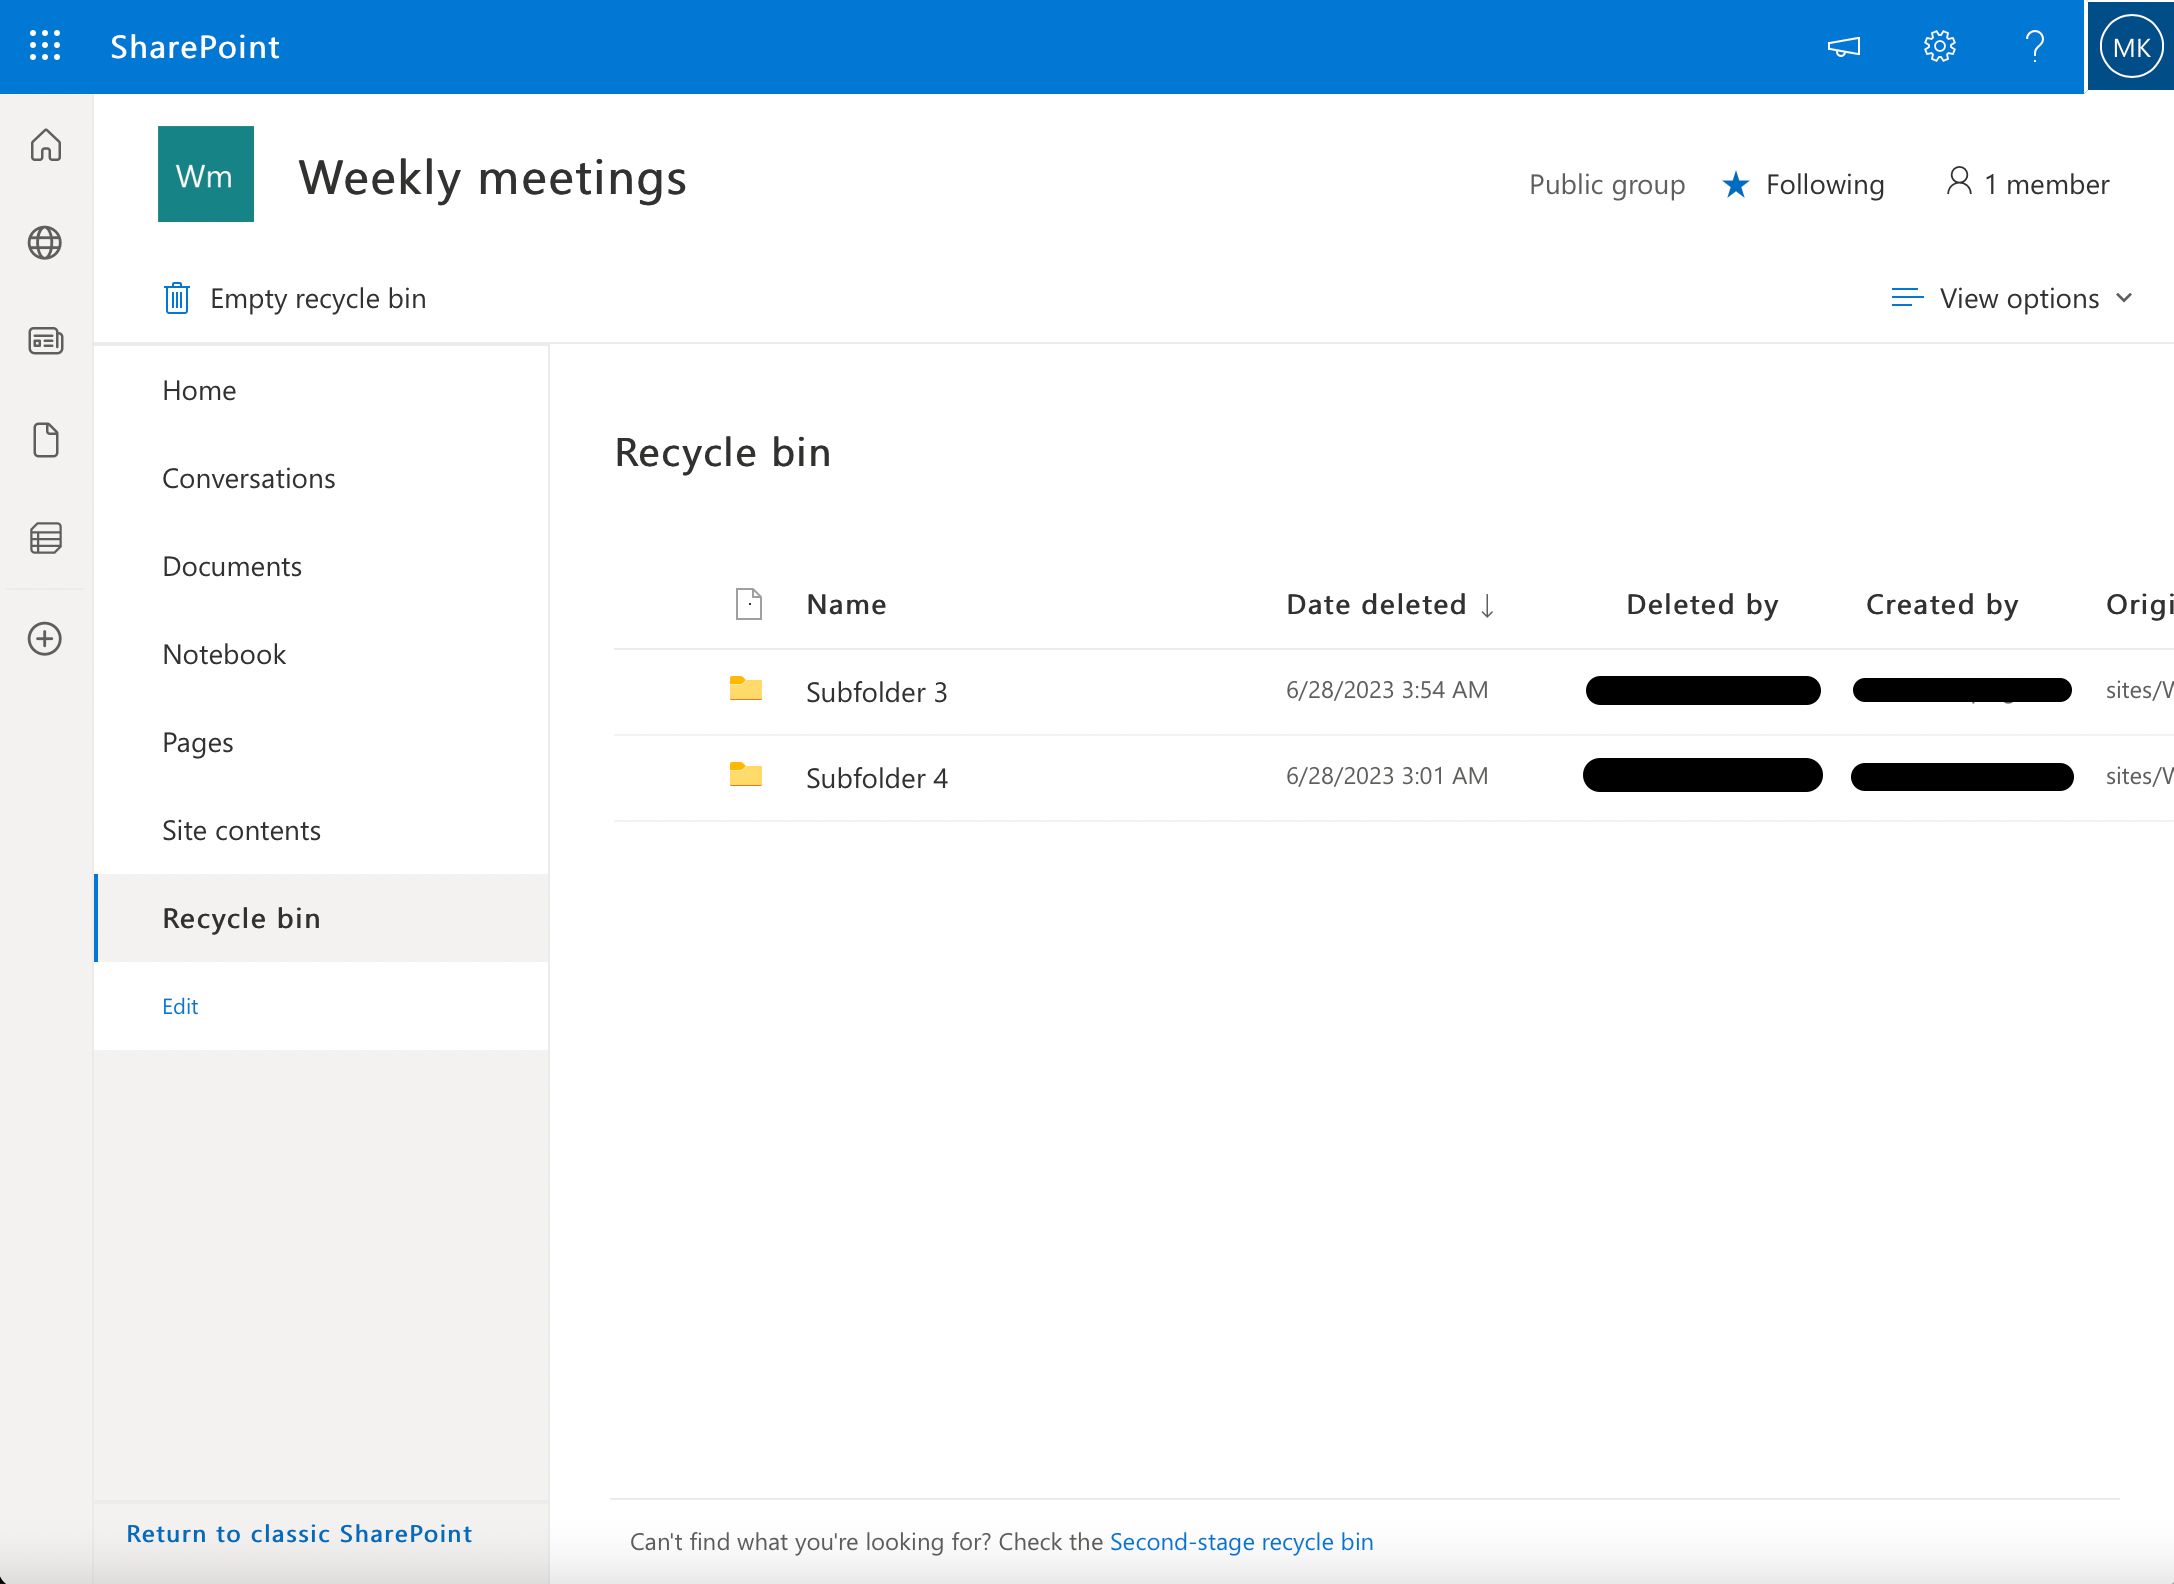
- Click Recycle Bin in the site contents menu to the left of your screen.
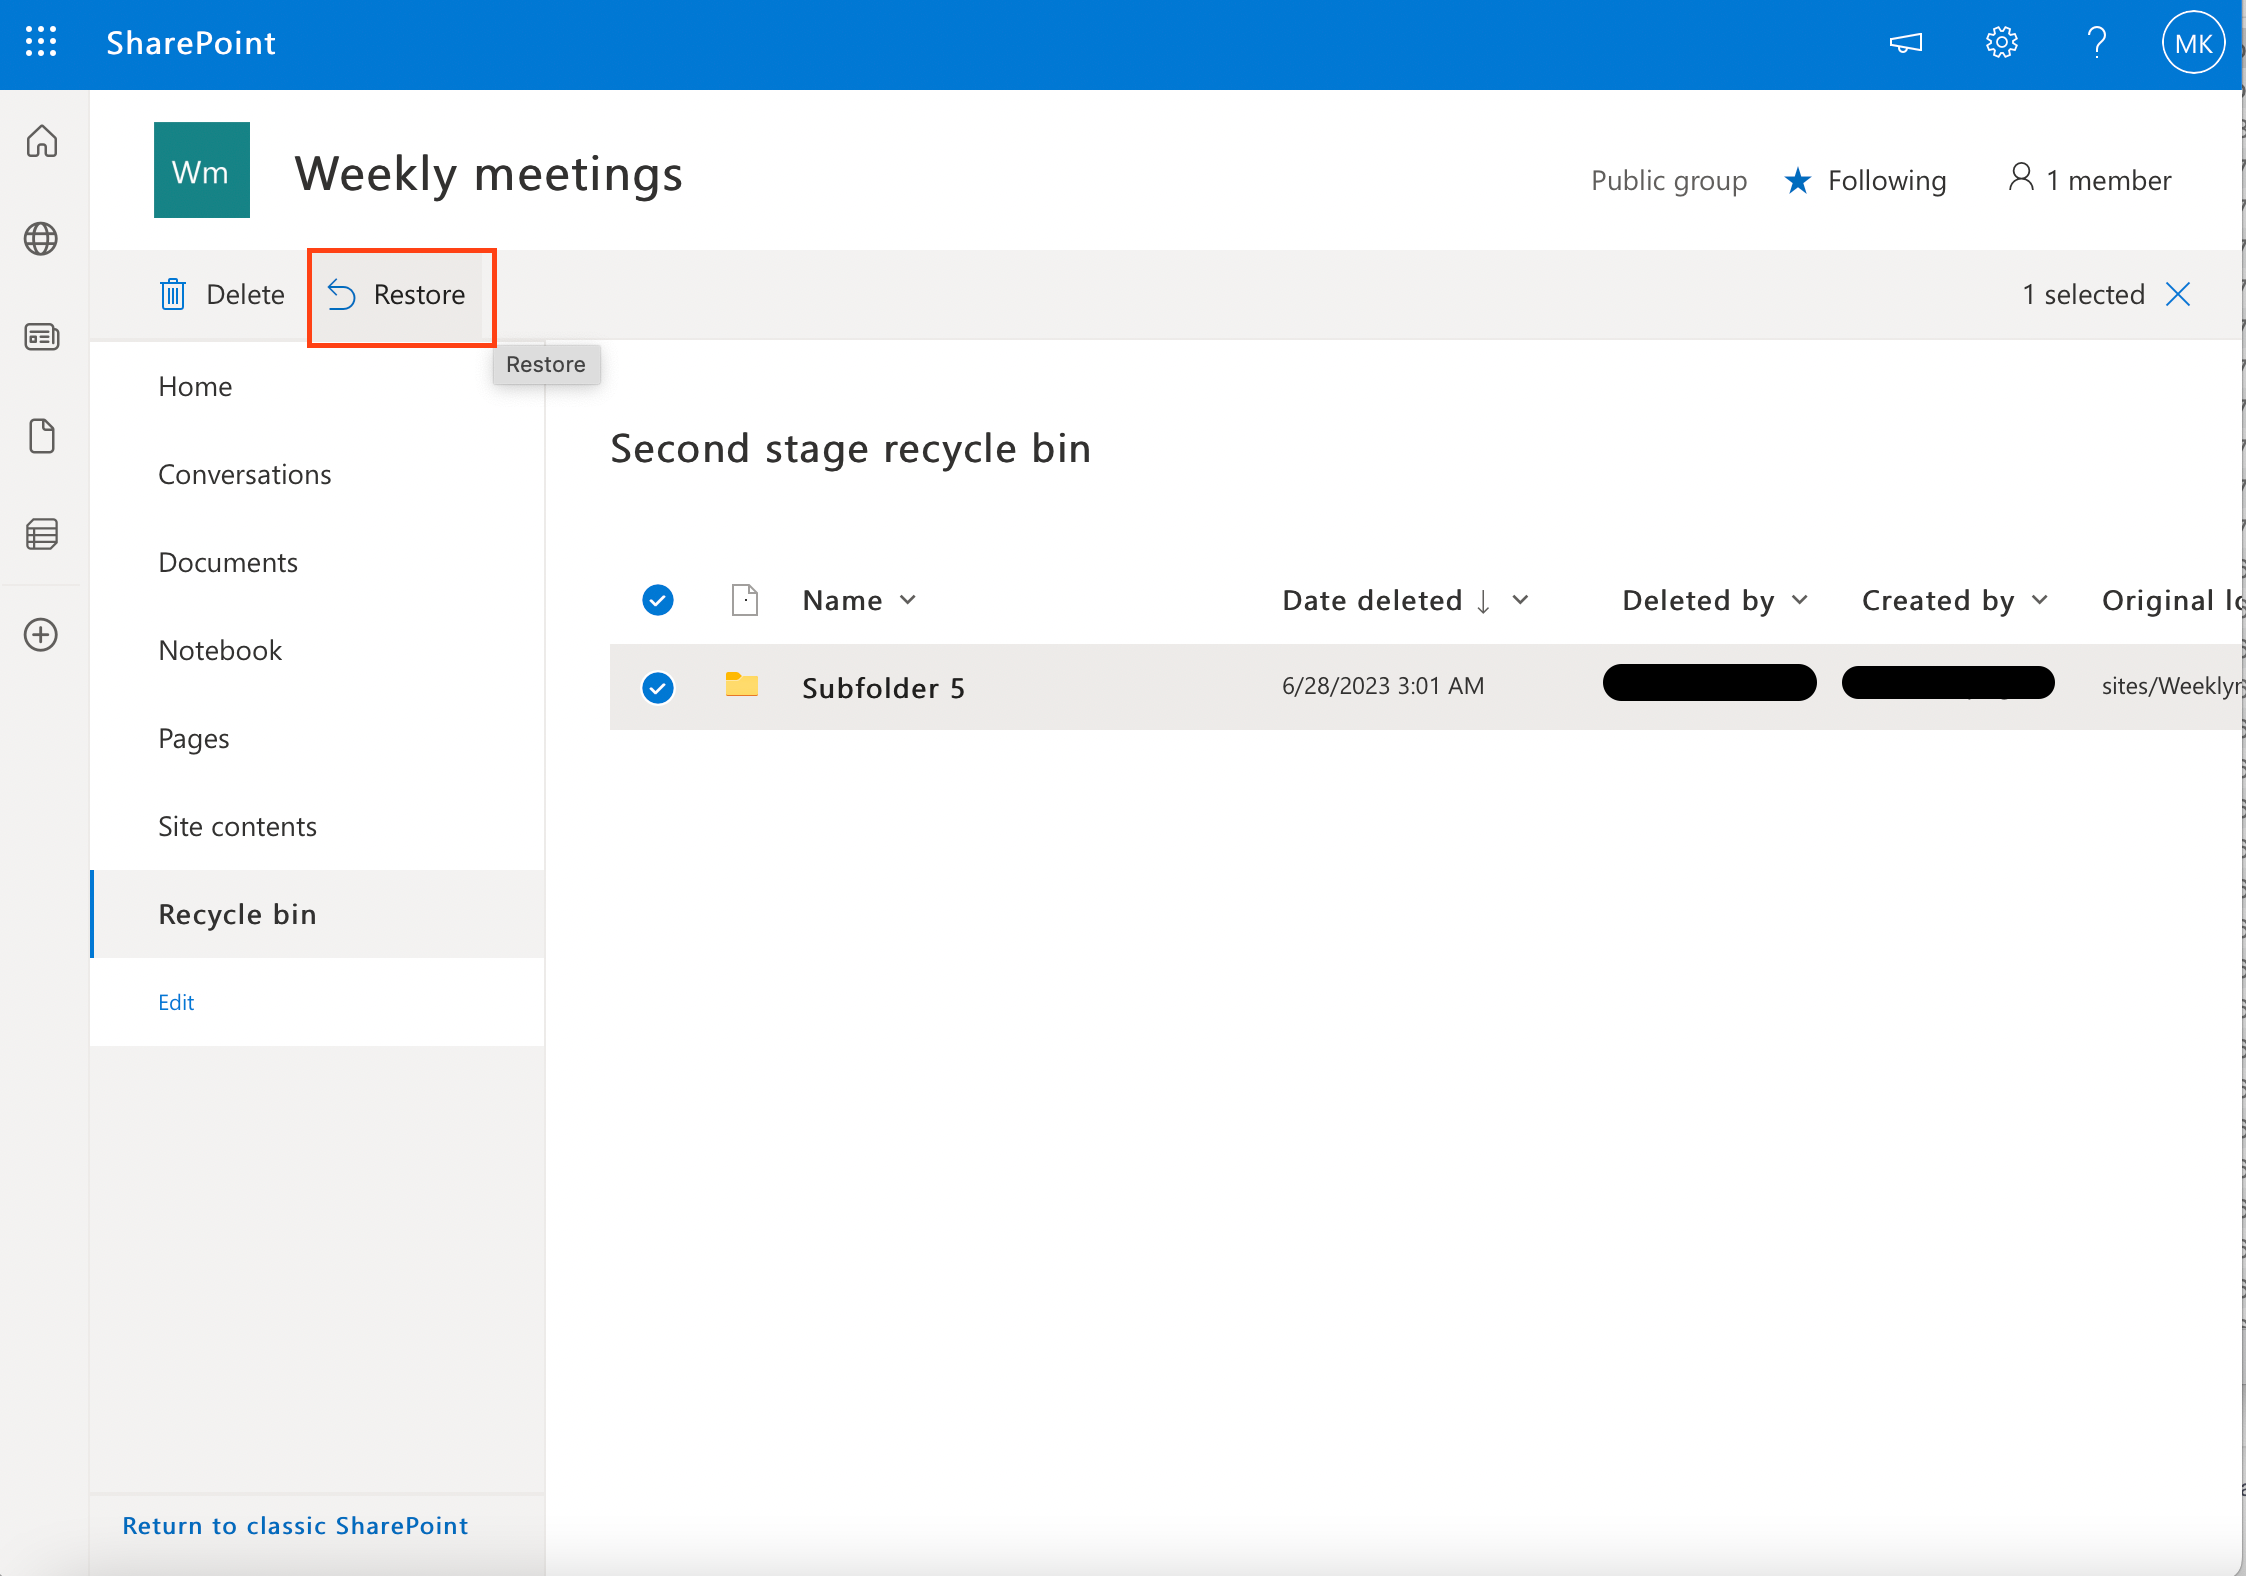
- Select the item(s) you want to restore.
- In the navigation bar below the site name, click ‘Restore’.
This action will return the item to its original location, preserving its metadata and version history.
2. Permanently Deleting Items
To permanently delete items from the recycle bin:
- Select the item(s) you wish to remove
- Access the navigation bar by right-clicking or clicking the ellipses (…) of any of the selected items.
- Click ‘Delete’.
- Click the ‘Recycle bin’ button at the bottom of the site contents menu to the left. This will take you to the recycle bin page.
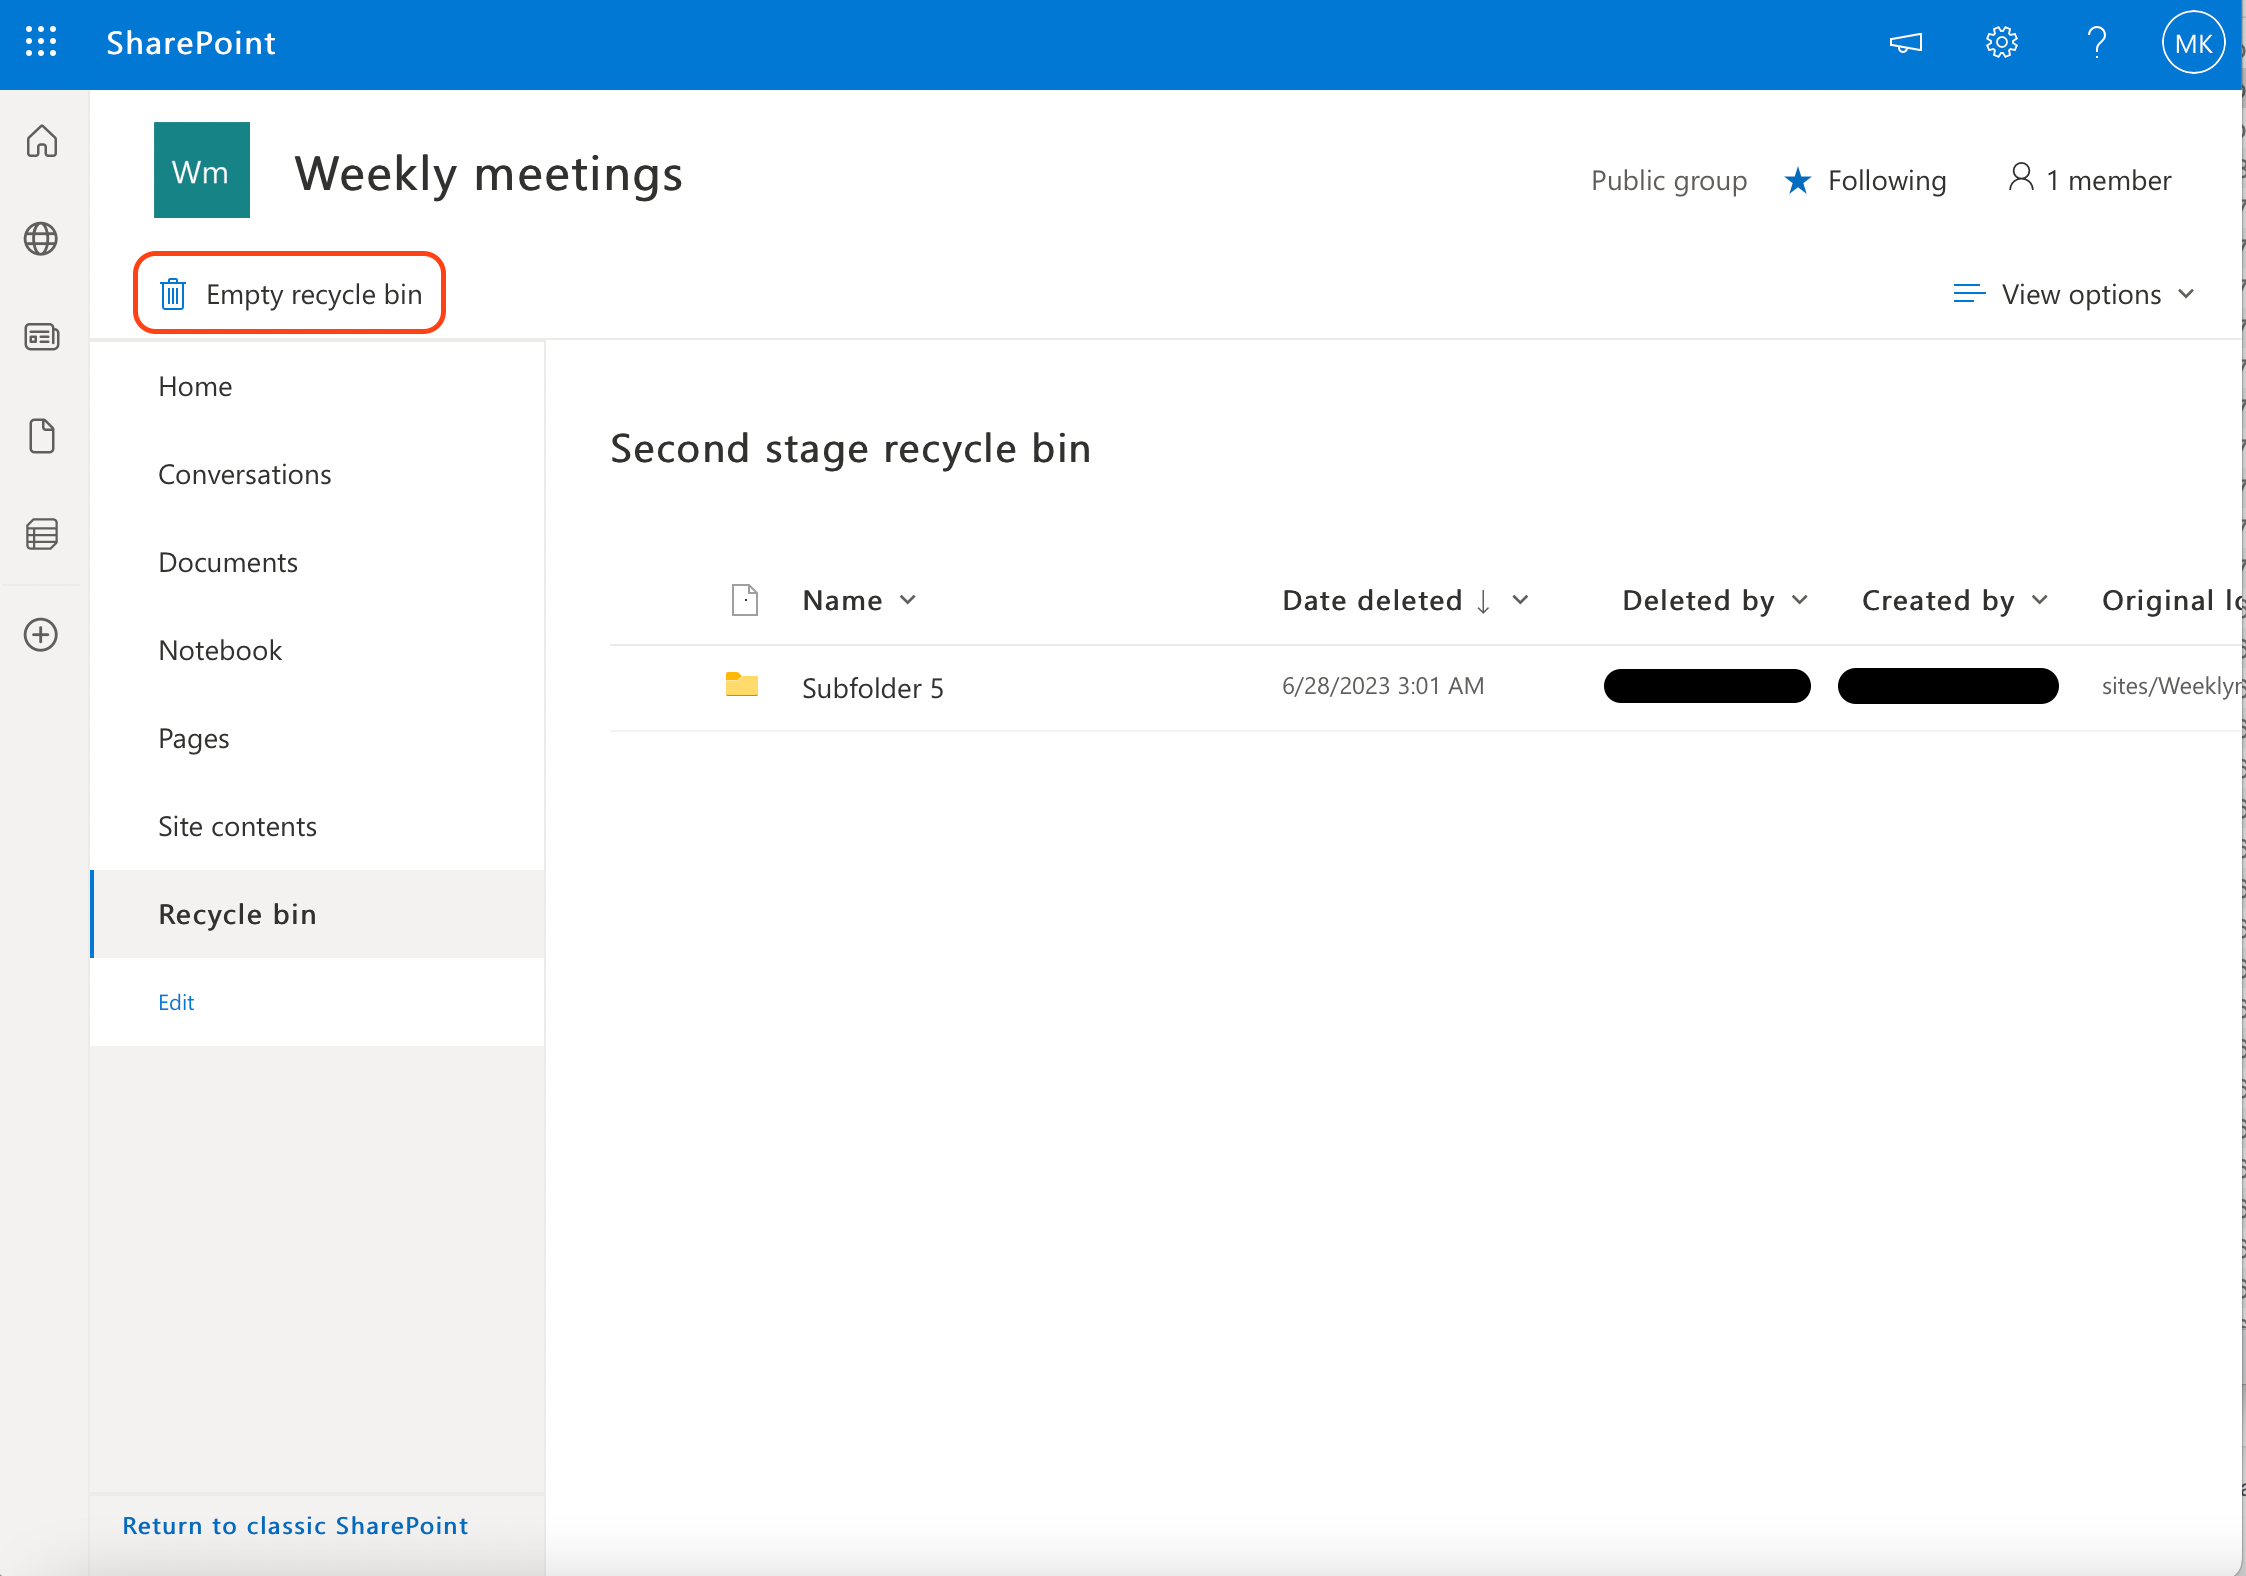
- Select the files you wish to permanently delete and click ‘Delete’. If you wish to delete all the files, click the ’empty recycle bin’ button next to the recycle bin icon.
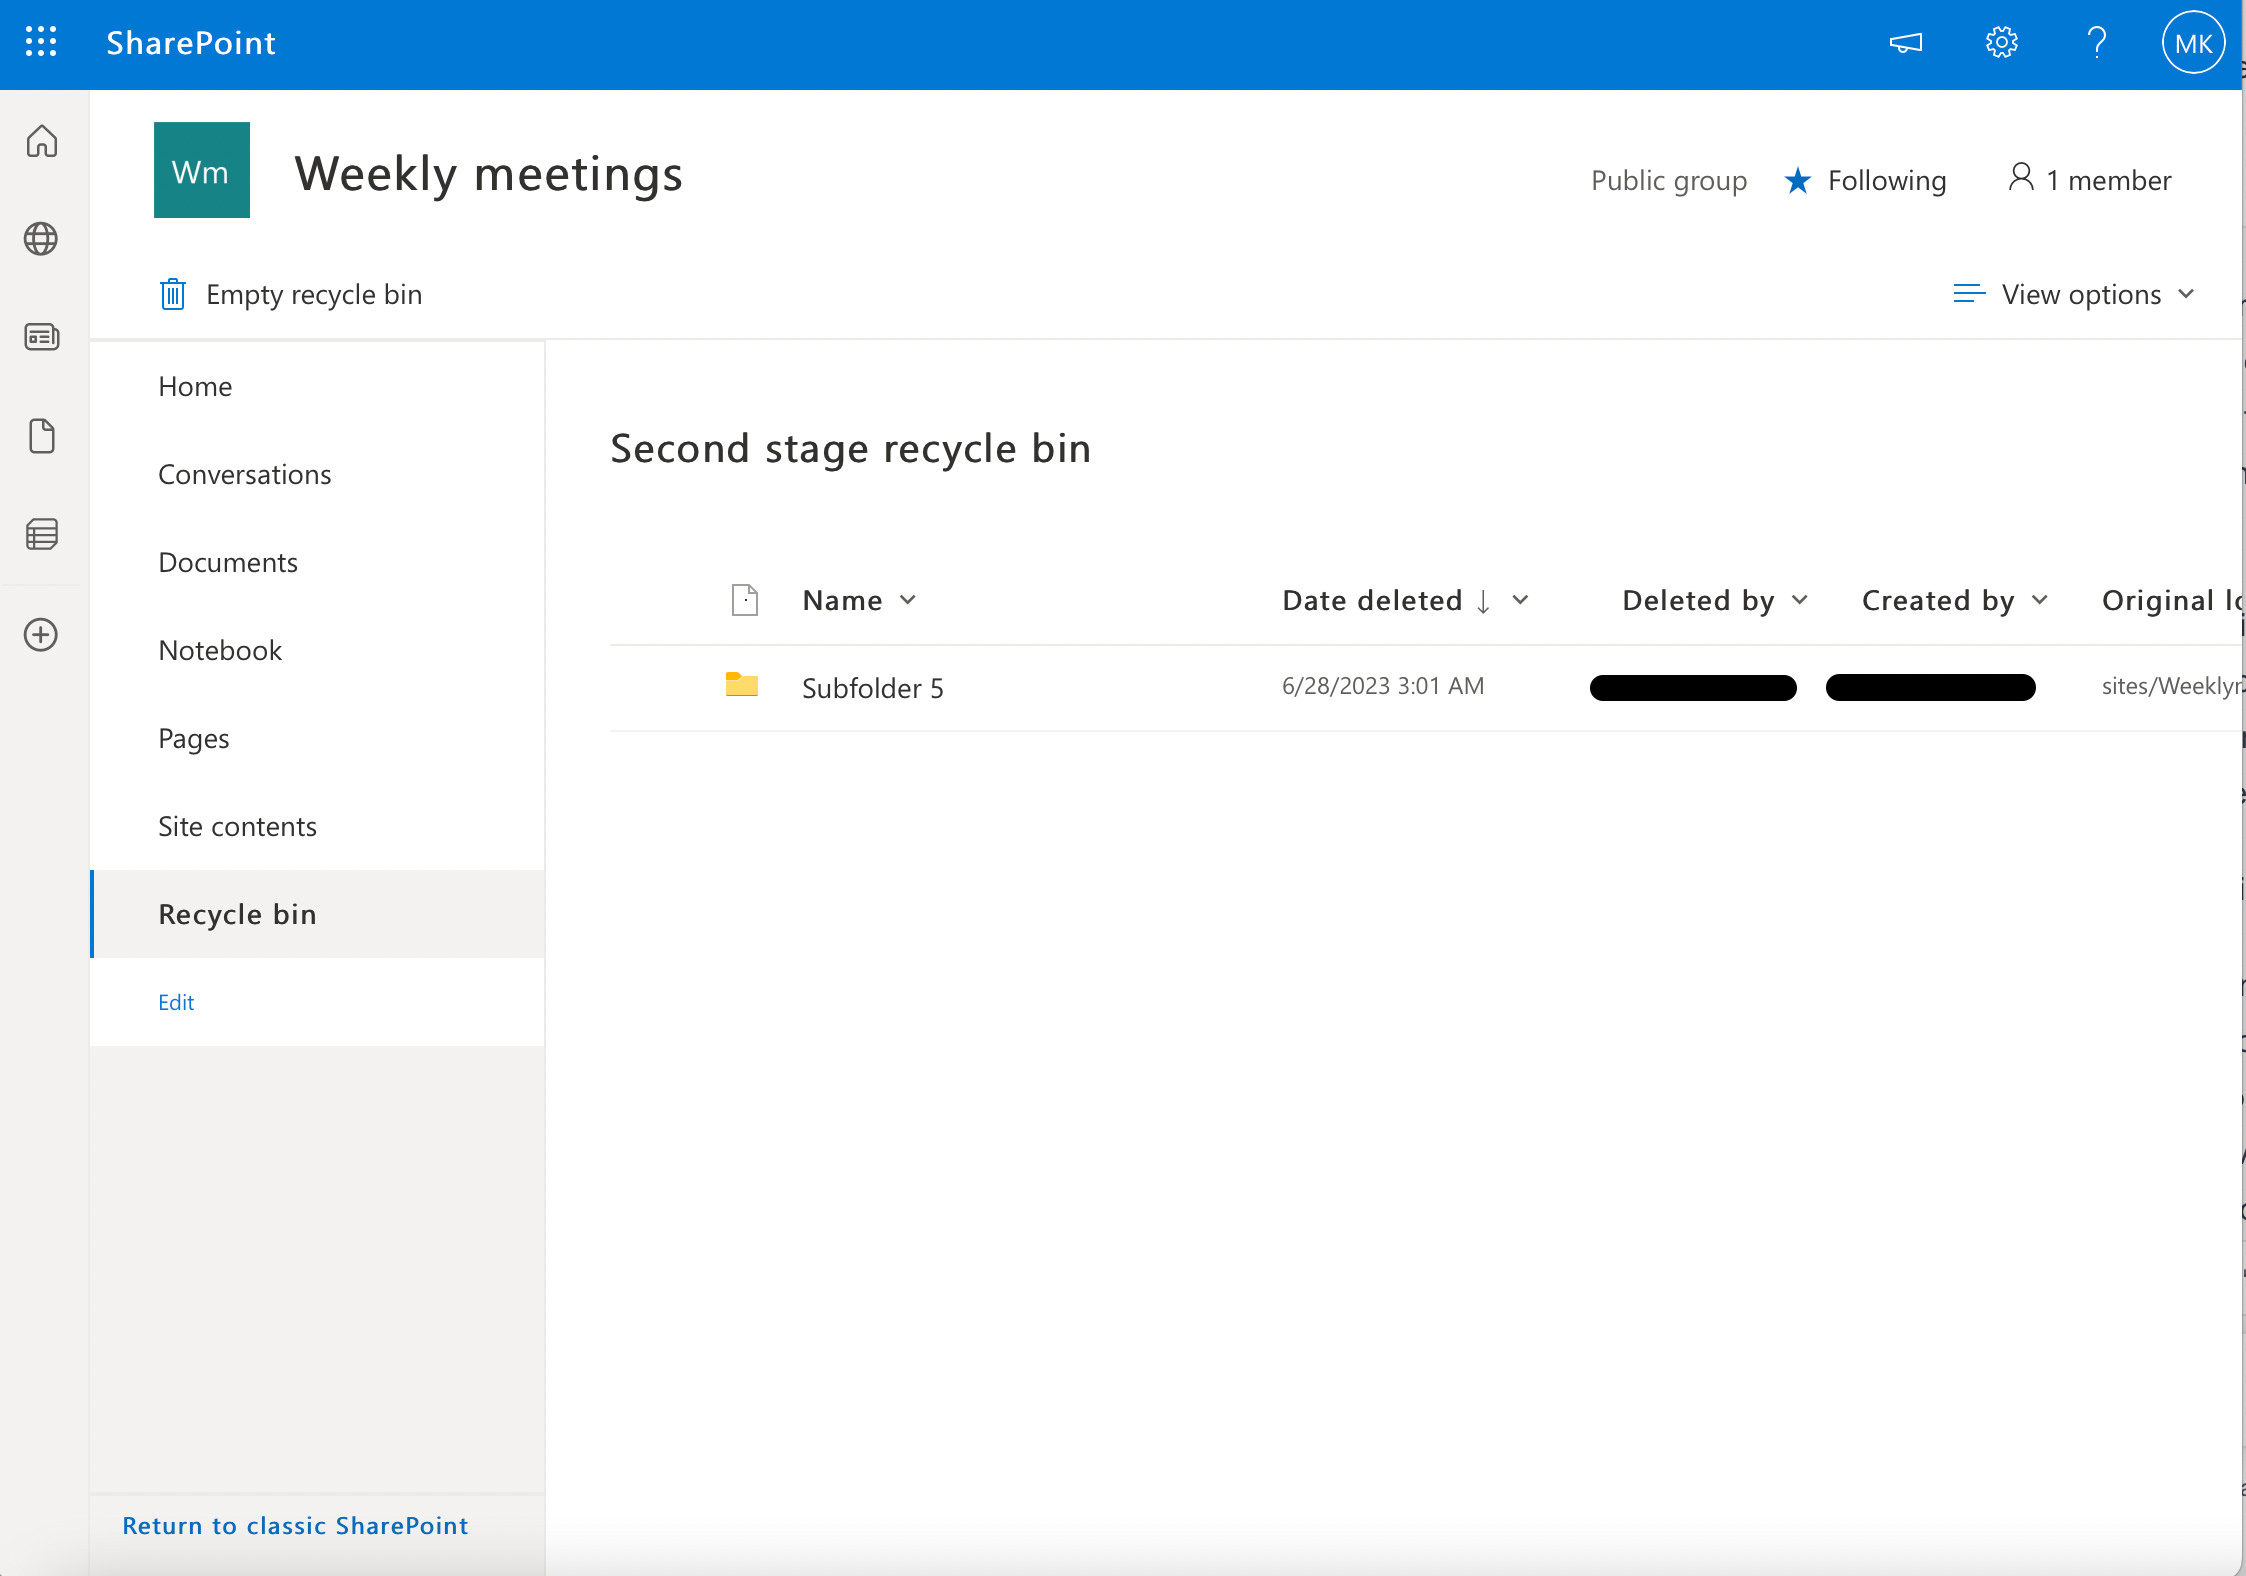
This will send the selected items to the second-stage recycle bin, also known as the Site Collection (Second-Stage) Recycle Bin, which is managed by the site collection administrator.
Keep in mind that permanently deleted items may be subject to retention policies, affecting the time they’re kept in the second-stage recycle bin.
3. Versioning and Metadata

The recycle bin in SharePoint preserves the version history and metadata of restored items. When a file is restored, its associated metadata and version history are retrieved as well.
This is especially valuable when working with documents in team sites, as it maintains important information, such as the author, modified dates, and comments on previous versions. Document libraries, lists, and synchronized OneDrive files are also supported in retaining version history and metadata in the recycle bin.
By effectively managing files and folders in the SharePoint recycle bin, users can maintain a secure and organized work environment. Utilizing the restoration and deletion features, as well as understanding the importance of versioning and metadata, ensures effective collaboration and compliance with organizational data management policies.
Who Can Access Sharepoint’s Recycle Bin?
Managing user permissions is an essential aspect of SharePoint administration. In order to ensure that only authorized users can access specific content on SharePoint sites, an administrator must configure permissions appropriately. SharePoint offers various user permissions levels:
- Site owners and site collection admins: These users have full control and can manage all aspects of the site, including backup, site settings, recycle bins, and site collection administration.
- Site members: Users with edit permissions can contribute to the site by adding and modifying content. They can also access the SharePoint Online recycle bin to recover deleted items.
- Visitors: Users with read permissions can access and view content on the site but cannot edit or delete it. They also don’t have access to the recycle bin.
Managing User Permissions for SharePoint Recycle Bins

To manage user permissions effectively, it is necessary to:

- Assign appropriate permissions to different user roles, depending on their responsibilities.
- Regularly review and update permissions to ensure that only the necessary users have specific access to SharePoint sites and content.
- Implement robust security measures to protect sensitive information on SharePoint sites and OneDrive from unauthorized access.
Advanced Restore and Backup Options in SharePoint Recycle Bin
Navigating the complex landscape of data management can be a challenging task for any organization, especially when it involves the vast and intricate infrastructure of SharePoint.
In this section, we’ll provide a deep dive into some of the more advanced capabilities of SharePoint’s data management system.
1. Using PowerShell for Recycle Bin Management
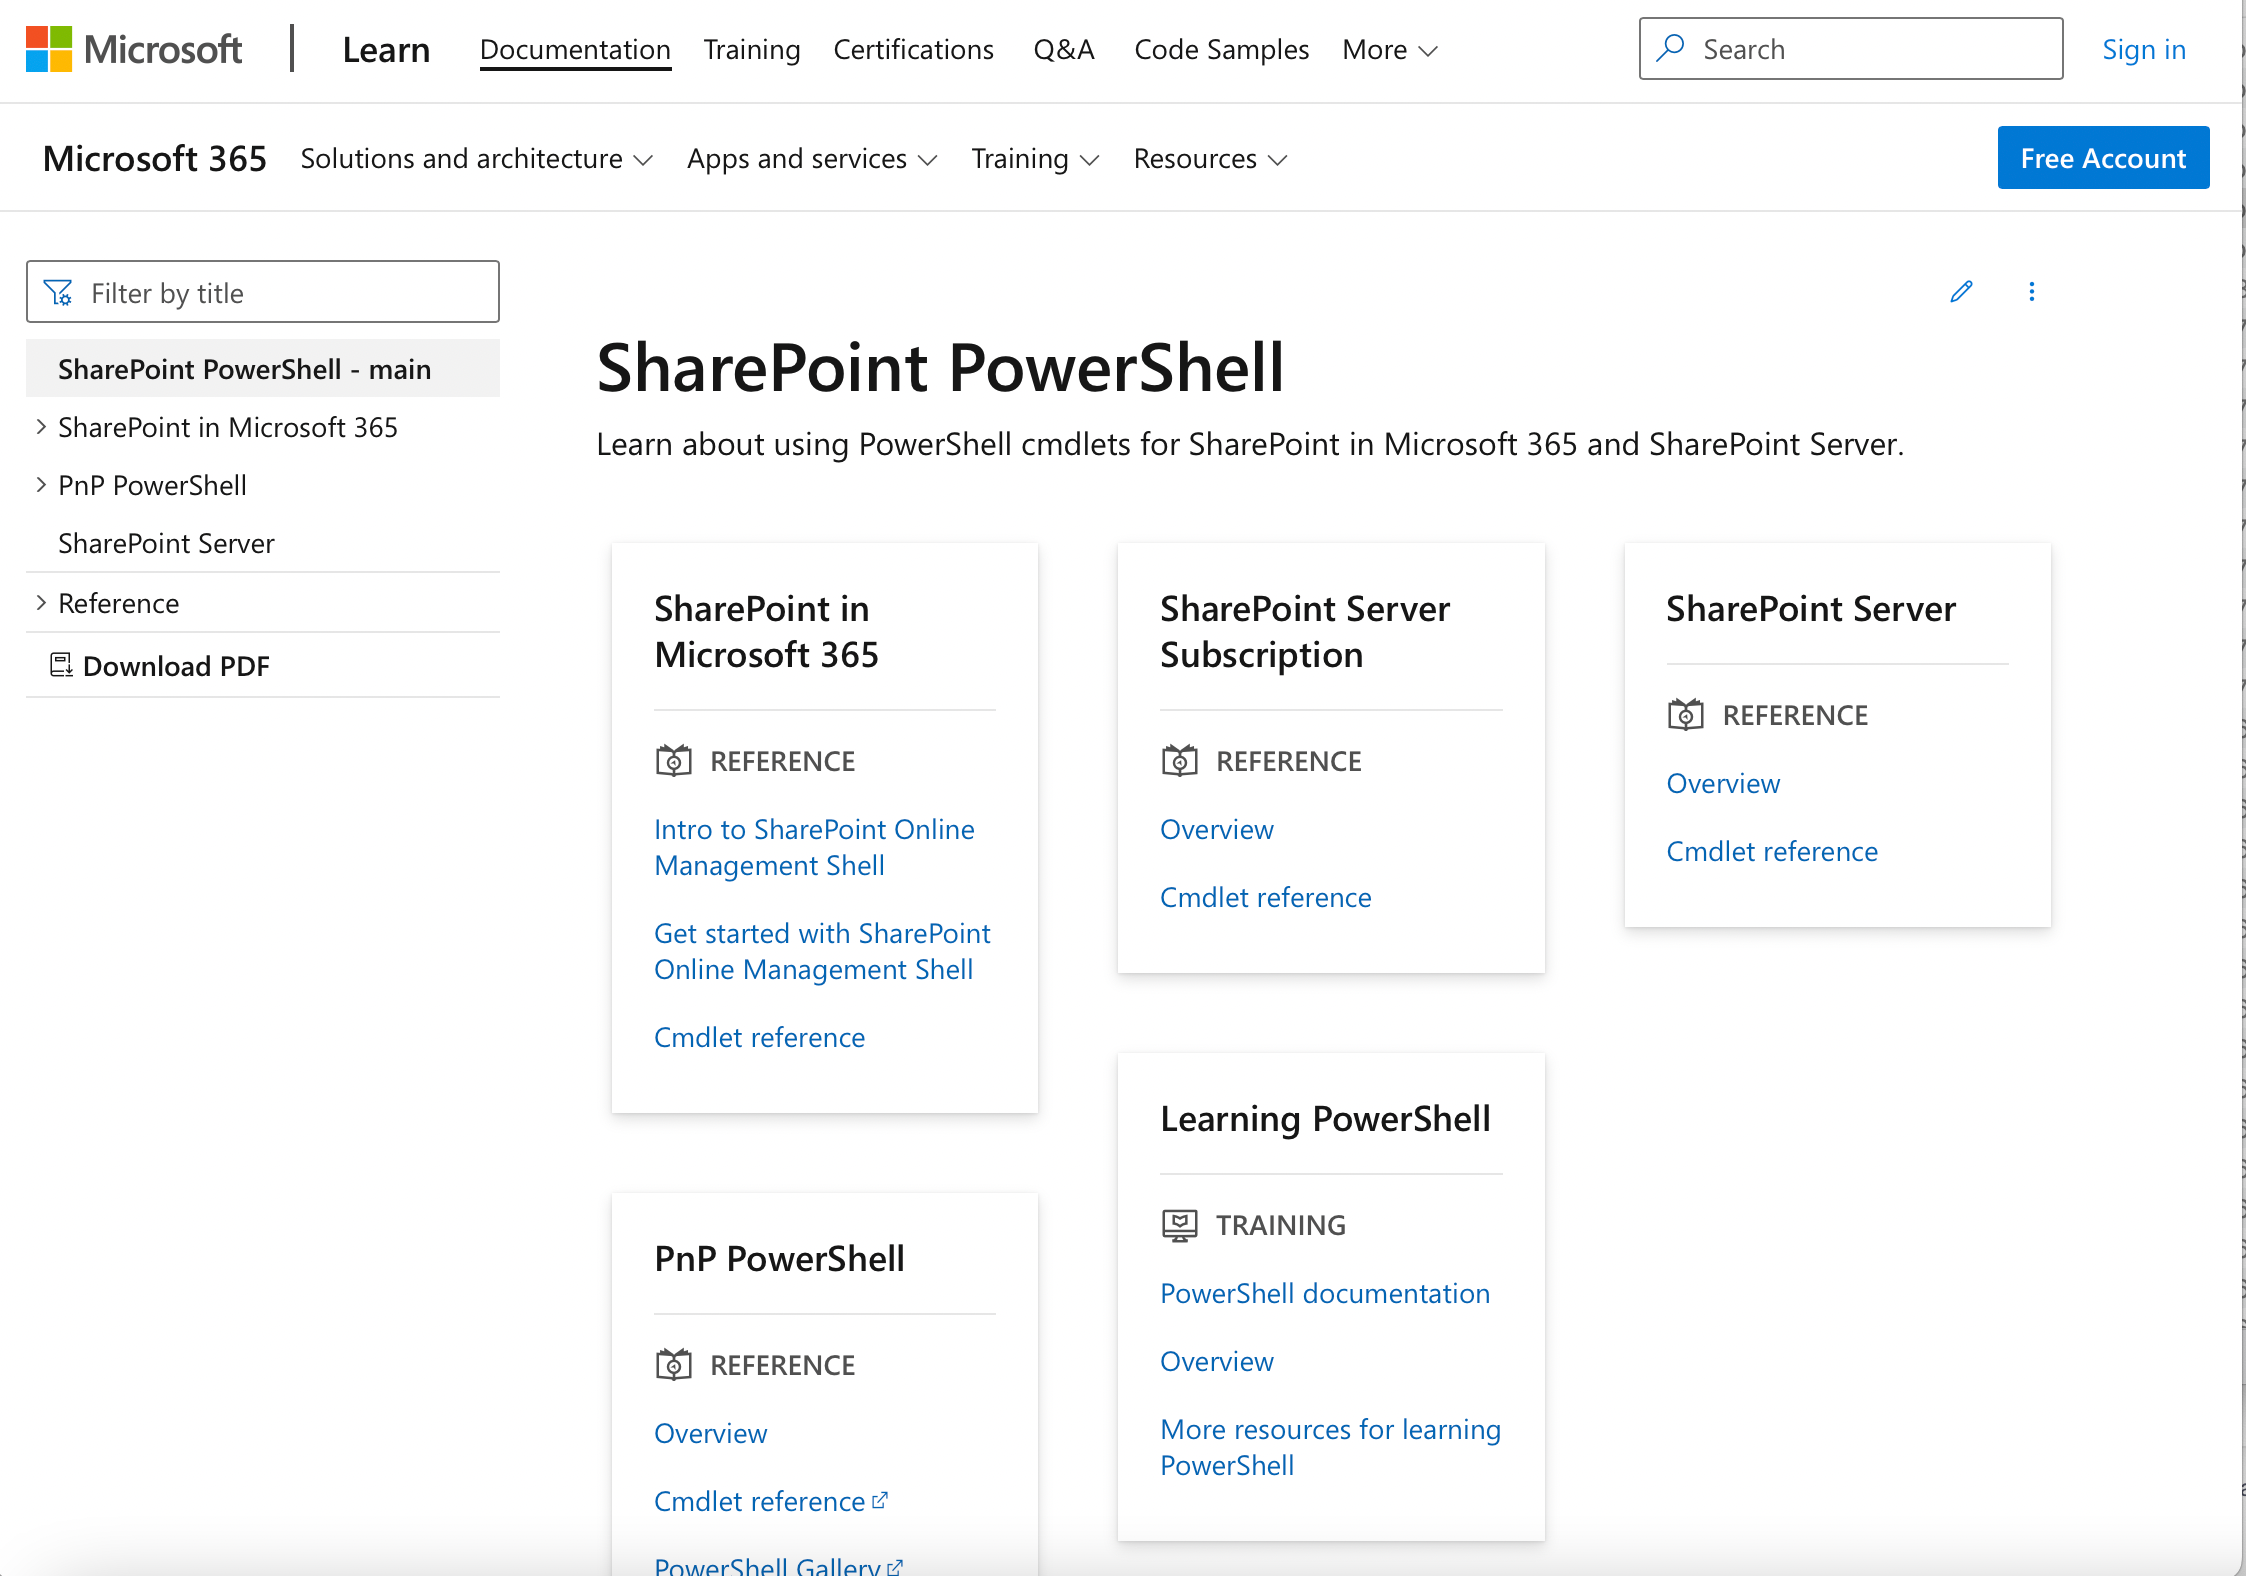
PowerShell is a powerful tool that allows administrators to efficiently manage SharePoint recycle bins. With the PnP PowerShell module, you can retrieve, restore, or even permanently delete items from SharePoint recycle bins.
This provides a much more streamlined approach, especially when dealing with large numbers of items or multiple document libraries. Administrators can use PowerShell scripts to automate recurring tasks, which can save time and effort in managing SharePoint sites.
2. Retention Policies and Compliance
Microsoft 365 offers a comprehensive suite of retention policies and compliance options for SharePoint sites. These features help organizations manage their content, ensuring that critical information is retained and protected while unnecessary or outdated content is automatically removed.
Retention policies can be configured for individual sites, list items, or document libraries, and are customizable based on metadata or other document properties. When an item meets its retention period, it may be moved to a hidden location or permanently deleted, depending on the policy settings.
Compliance features like eDiscovery and legal hold can also be applied to SharePoint content, ensuring that important records are preserved and accessible for auditing or legal purposes.
Final Thoughts
The SharePoint recycle bin is more than just a simple catch-all for deleted items; it’s a robust tool designed to minimize the risks and maximize control over data loss. From understanding its two-stage structure to mastering advanced restore and backup options, efficient use of the SharePoint Recycle Bin can significantly bolster your organization’s data recovery strategies.
While accidents are inevitable, permanent loss of critical data doesn’t have to be. By taking full advantage of the recycle bin’s capabilities and integrating these essential tips into your regular SharePoint usage, you can turn potential disasters into mere inconveniences.
So remember, the next time you hit ‘delete’, the SharePoint recycle bin has your back, safeguarding your valuable digital assets with its powerful, user-centric design!
To see some cool ways Power BI users are using SharePoint to enhance their report development, check this video out:
Frequently Asked Questions
How does the recycle bin work in SharePoint?
When an item or file is deleted from SharePoint, it is moved to the recycle bin instead of being permanently deleted. The recycle bin retains deleted items for a specific period, depending on the configuration. During this time, users with appropriate permissions can restore the deleted items to their original location or delete them permanently.
Finding second stage bin URL?
To access the second-stage recycle bin, follow these steps:
- Go to the Site Collection settings
- Under “Site collection administration” select “Recycle Bin.
- At the bottom of the page, click on the “Second-stage recycle bin” link.
What is the second-stage bin retention?
The retention period for items in the second-stage recycle bin is configurable by site collection administrators. By default, it is set to 93 days, but it can be adjusted to meet your organization’s requirements, within the limitations of the SharePoint platform.
Do deleted items in the SharePoint recycle bin count against the storage quota?
No, deleted items in the SharePoint recycle bin do not count against the storage quota. Once an item is moved to the recycle bin, it is no longer considered part of the active storage. The storage quota is typically calculated based on the size of active documents and files within the site collection.


