
In this blog, we’ll talk about the SharePoint Search feature. It’s a very powerful Microsoft tool used to search within your site. All the users on your SharePoint site have access to it. This tool is highly similar to Google search and can let you find the files or information you are looking for within your SharePoint site.
One of its best features is the index search. Microsoft collects the metadata of anything you upload. So when you upload a file, it will be very quick when you search for it in the future.
Keep in mind that the paid version is faster than the trial one because they have dedicated servers for it.

An Overview Of The SharePoint Search
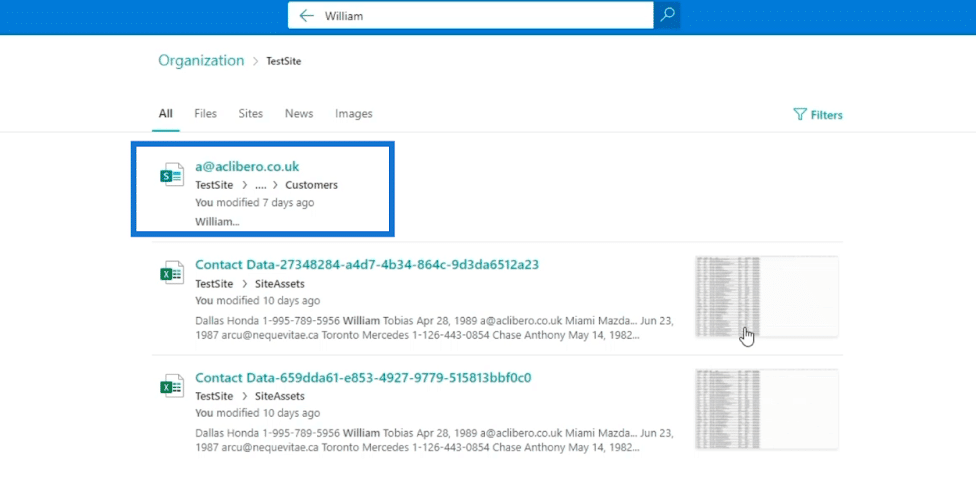
In this example, we want to find a customer named “William.” Searching through every list from the site could take up much time. Instead, we can use the SharePoint Search tool.
First, we can use the search bar and type “William.”

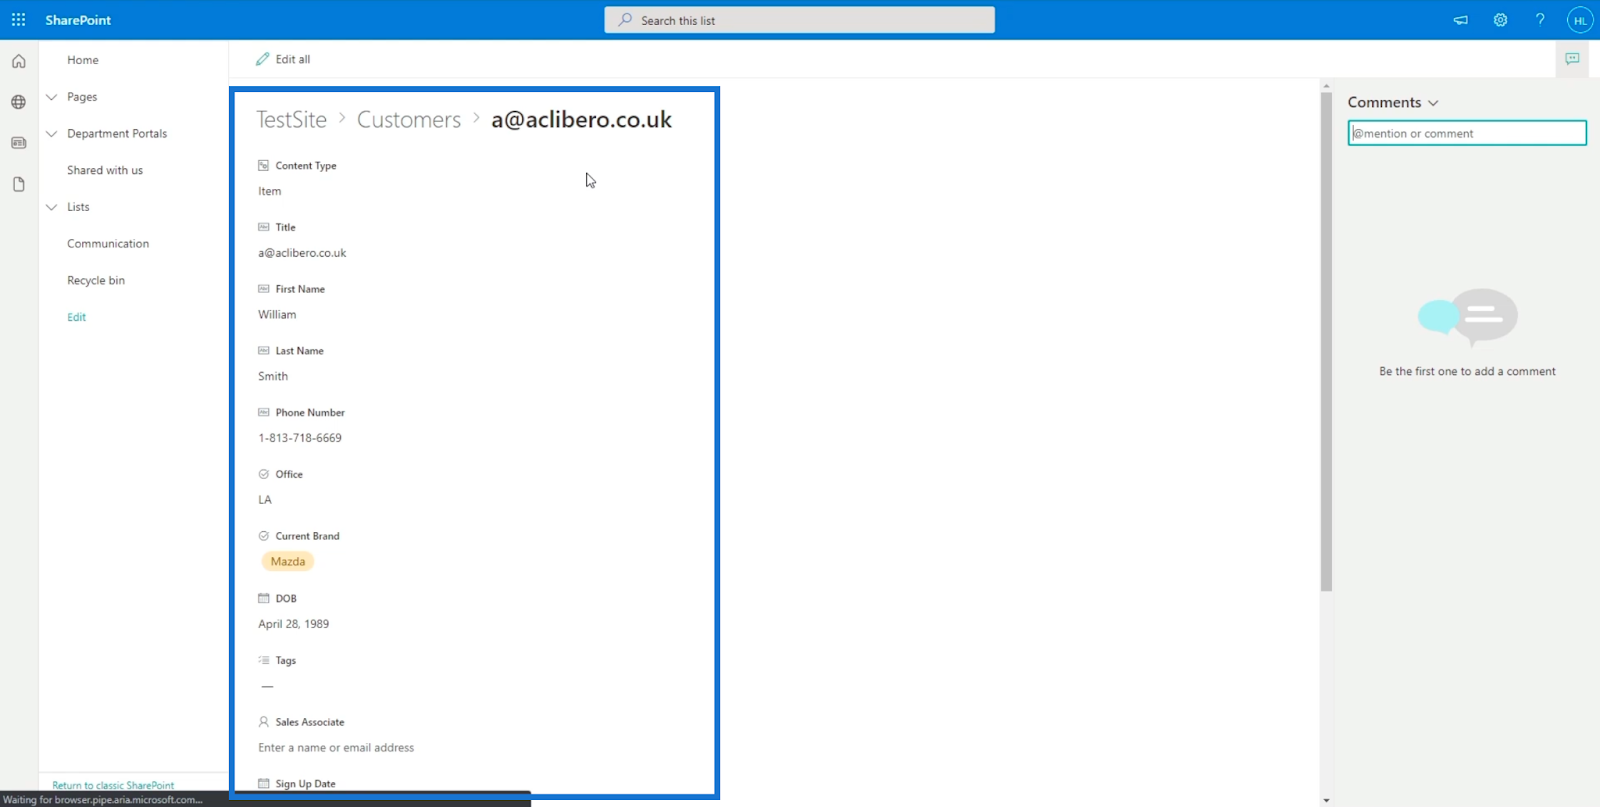
Then, click enter. After that, it will start searching for any data about it within the SharePoint site. Once it finds the item, we’ll see the record. Then, we can just click it.
This will take us to the record itself. We’ll see the information about it.
Keep in mind that it doesn’t just search for “William” itself. SharePoint Search uses it as a keyword. Therefore, it also goes through all the files and searches for the keyword “William.”
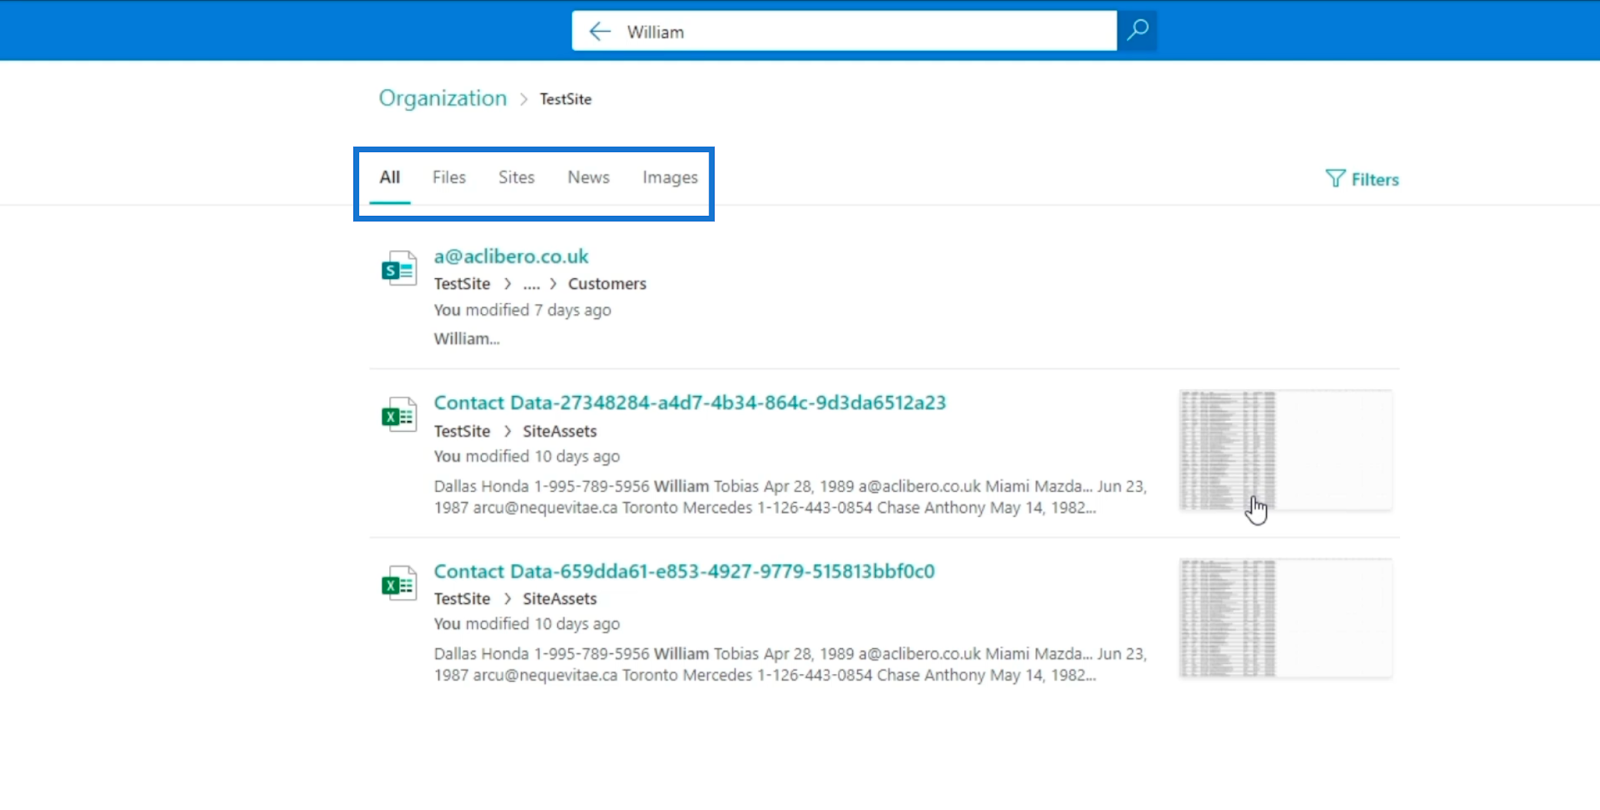
When you go to the Search Results page, you’ll find filtering tools on the top. If you want to view the results of Files, Sites, News, and Images, you’ll just have to click one. This is very helpful especially if it shows a lot of results.
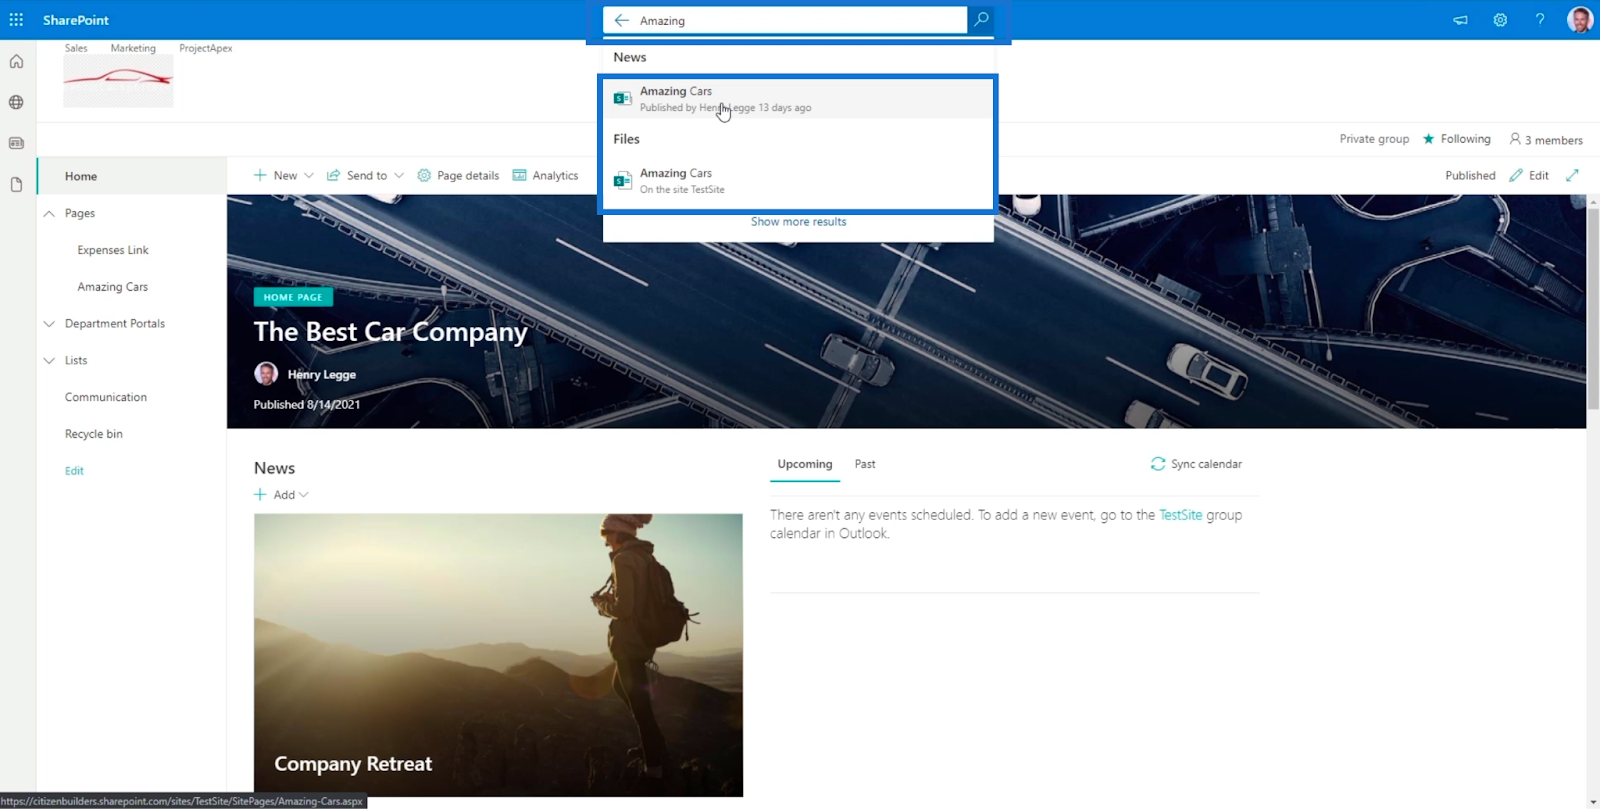
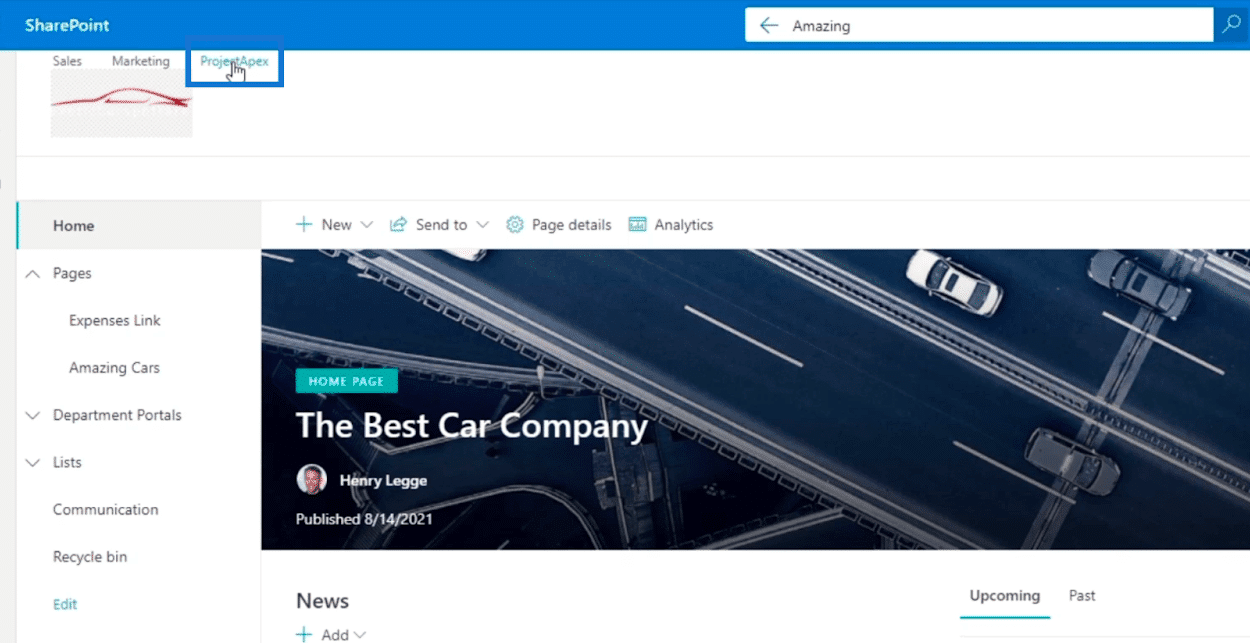
You can also use the SharePoint Search tool to find pages on your SharePoint Site. In this example, we have a page called “Amazing Cars.”

All we have to do is to type “Amazing” and it will show some suggestions as it predicts what you want to search for, especially for items or data that have been accessed a lot.
Using SharePoint Search In Classical View
For this part of the blog, we’ll use the SharePoint Search in the Classical View. One of the major advantages of using the search tool in classic view is that it’s more manageable.
I previously made a page in the classic view called “Project Apex.” So, let’s use that as an example.
Once clicked, it’ll take us to the page that was set up in the Classical View.
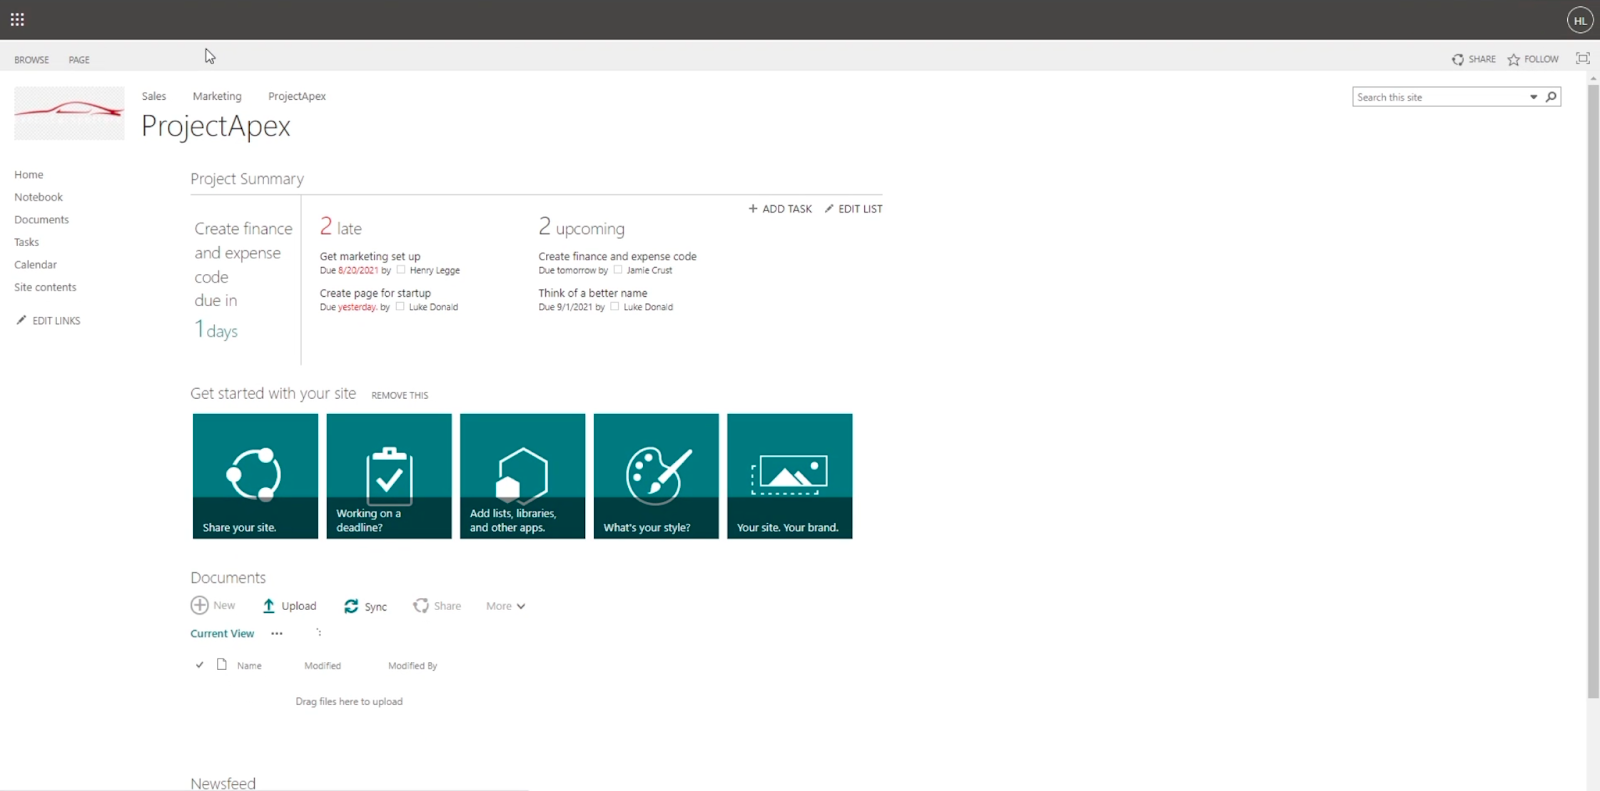
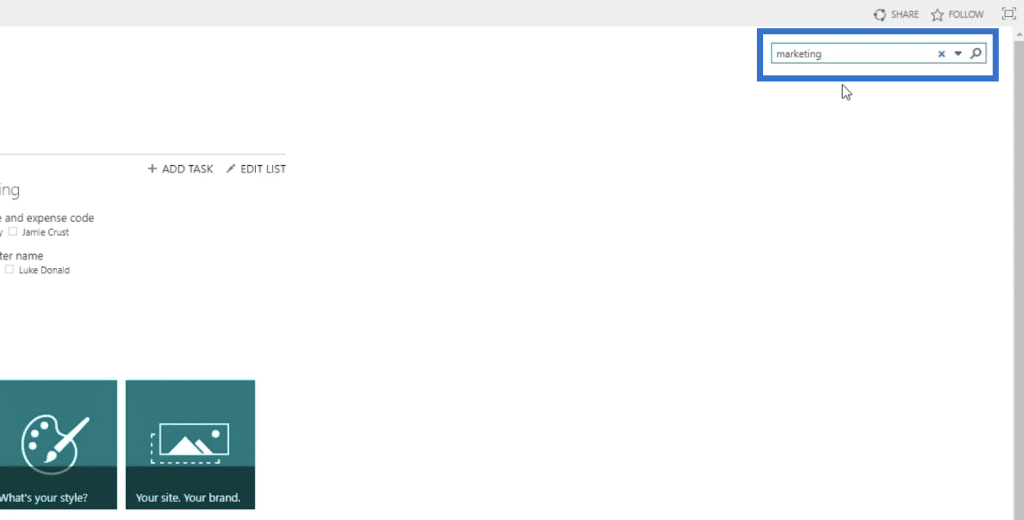
In the upper right corner, we’ll find the search tool.

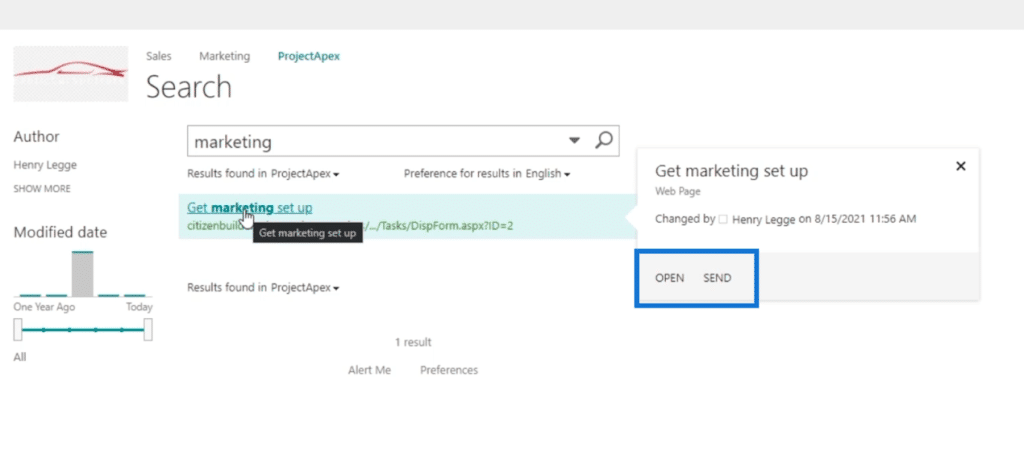
For this example, we’ll search for “Get marketing set up.” So let’s type “Marketing” as our keyword on the search bar and click enter.
This will take us to the results page.
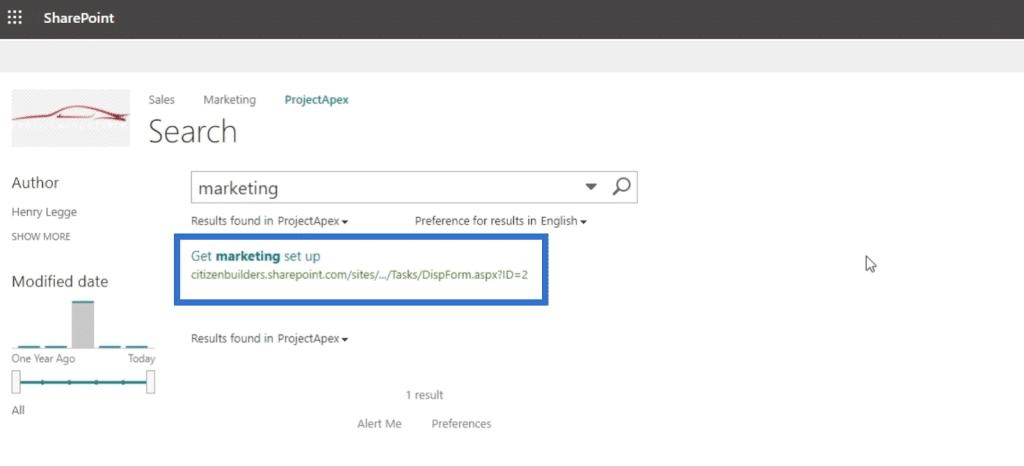
When you hover your cursor over the result, it’ll give us an options menu where we can open or send the file without opening the result itself.
That’s also similar to when you upload new files and search for them on the Classical View. In this example, we’ve uploaded an Excel file called “Food Menu.” Then when we search for it using the Classical View and hover over the result, it will give us options such as EDIT, FOLLOW, SEND, and VIEW LIBRARY, without opening it.
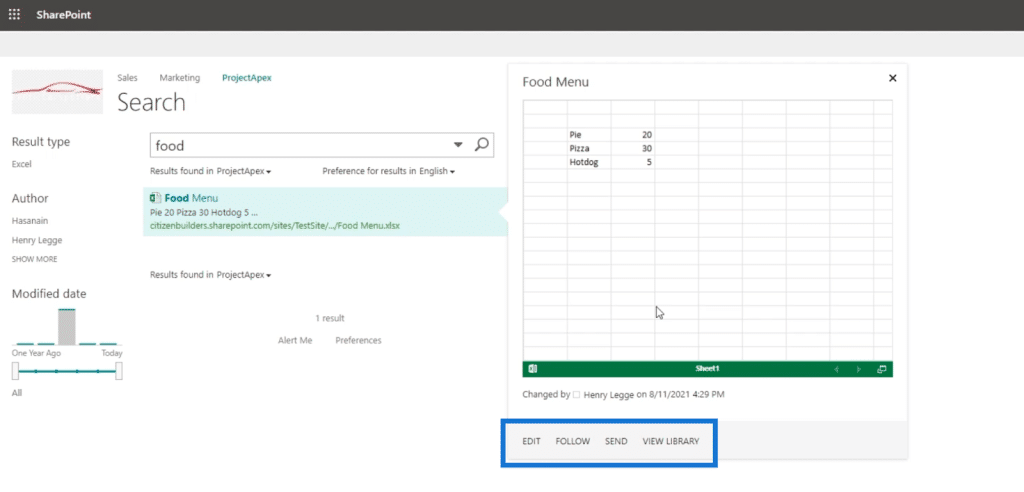
Keep in mind that the options menu will differ depending on the type of file.
SharePoint Search Settings In Classical View
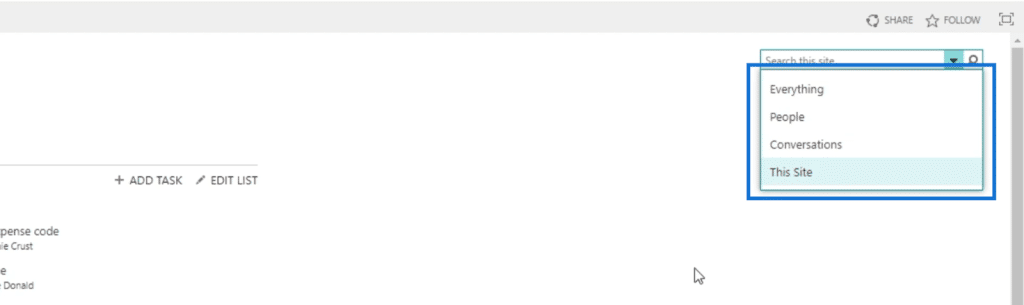
Another wonderful feature of using the SharePoint Search tool in Classical View is that you can have options on the search bar. If you click the drop-down menu, it’ll show you specific types of searches.
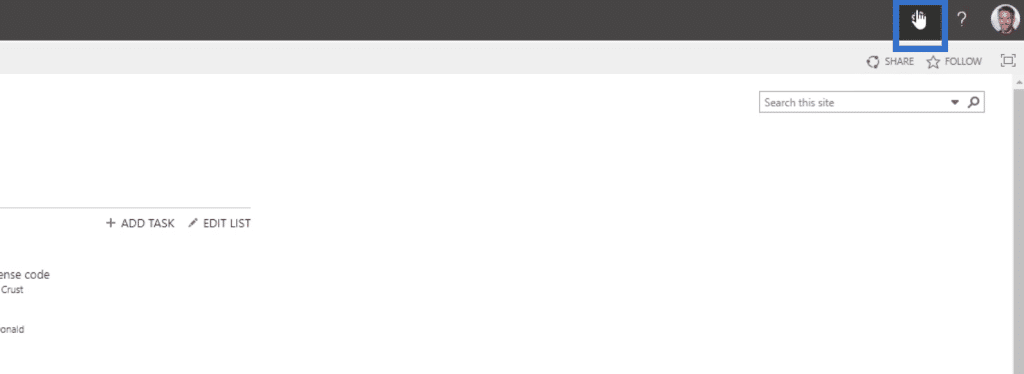
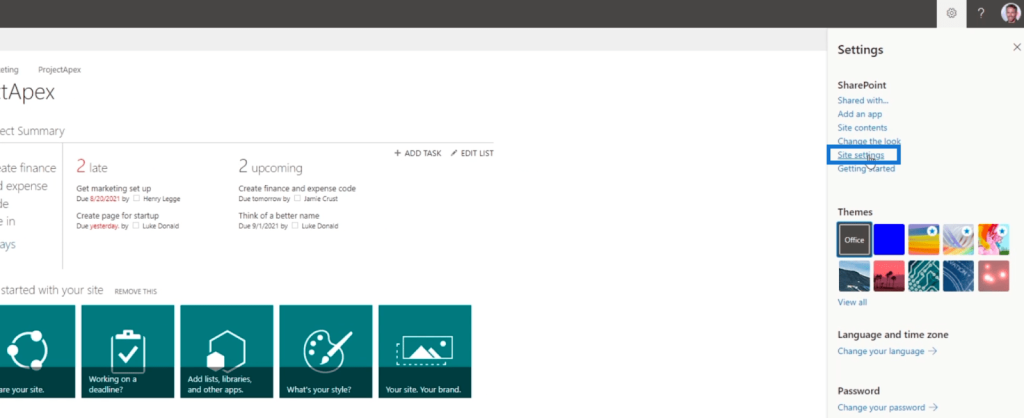
You can modify it and even add things to the list. To go to the settings, click the gear icon on the top right.
Then, click Site settings.
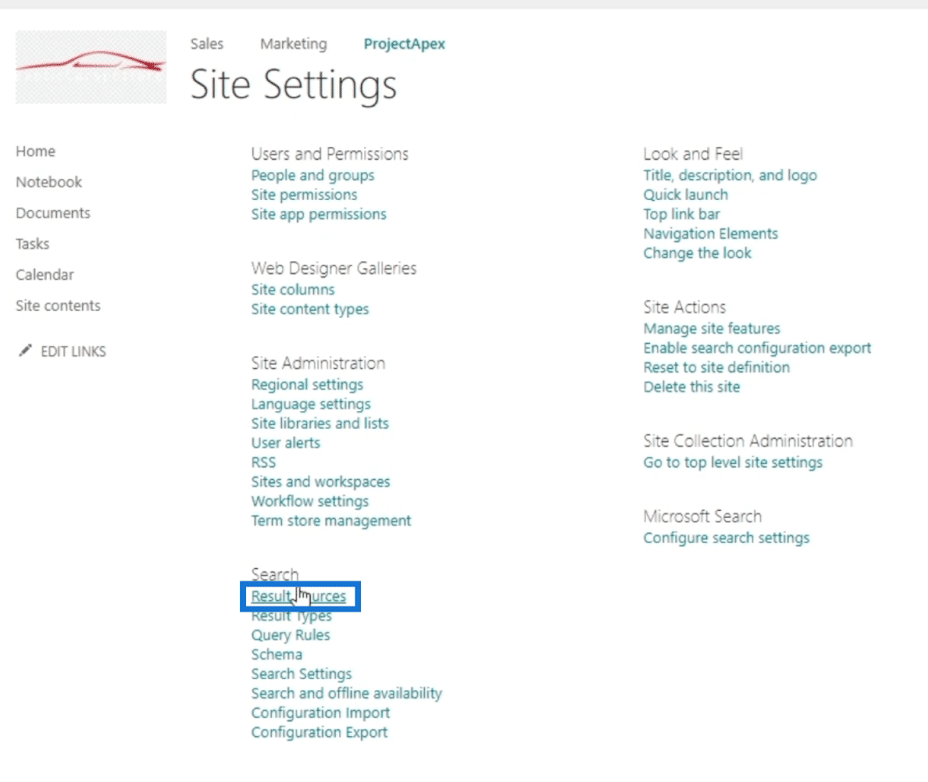
It will take us to the Site Settings page. Under the Search section, click Result Sources.
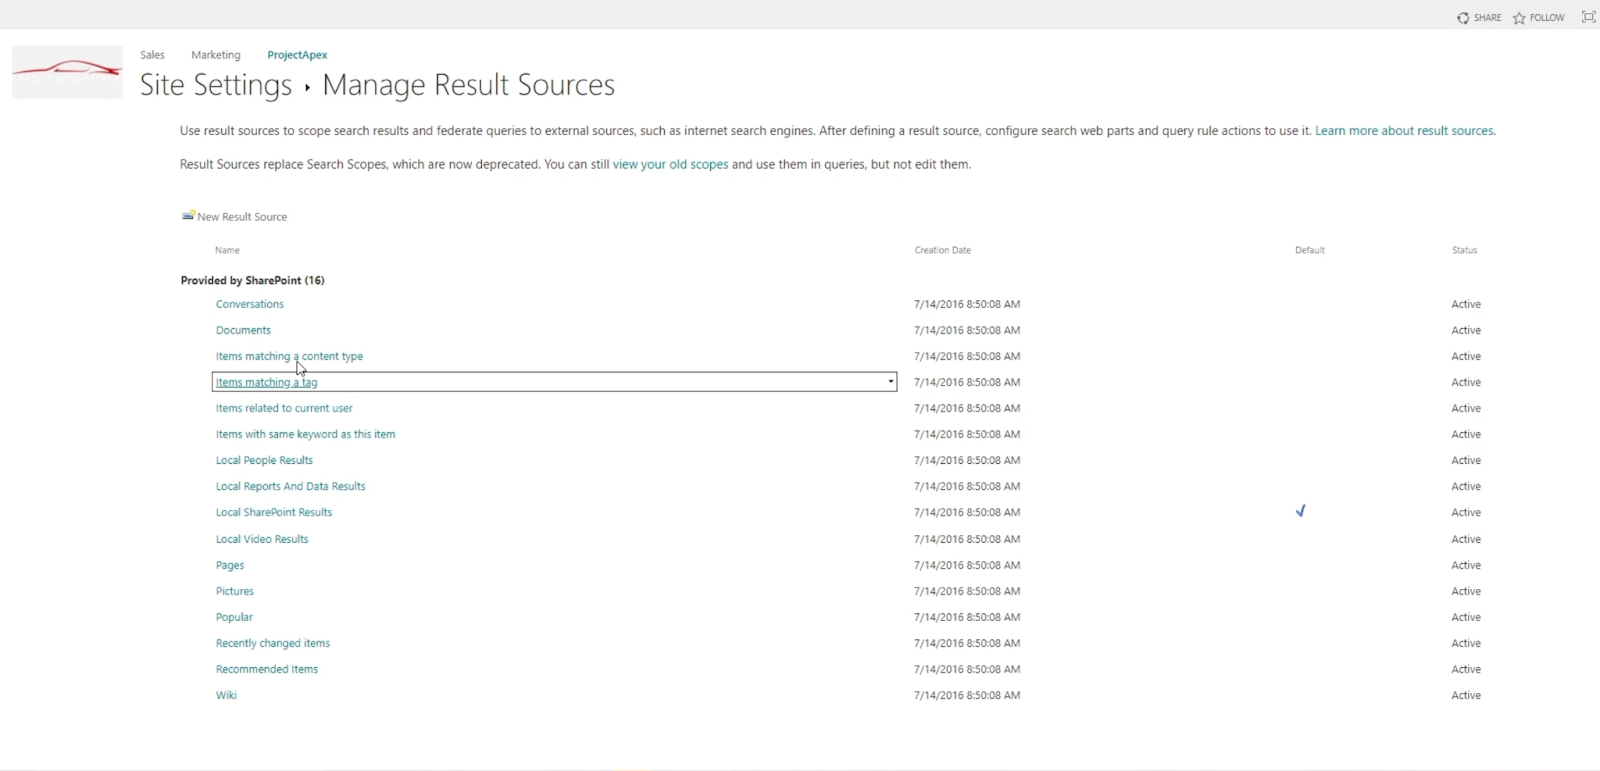
From here, you’ll see the list of sources that the search tool uses. Keep in mind that you should only alter it when necessary. For example, if you don’t want to search through pictures, then you can remove them from here.

Now, we’ll go back to the Site Settings page.
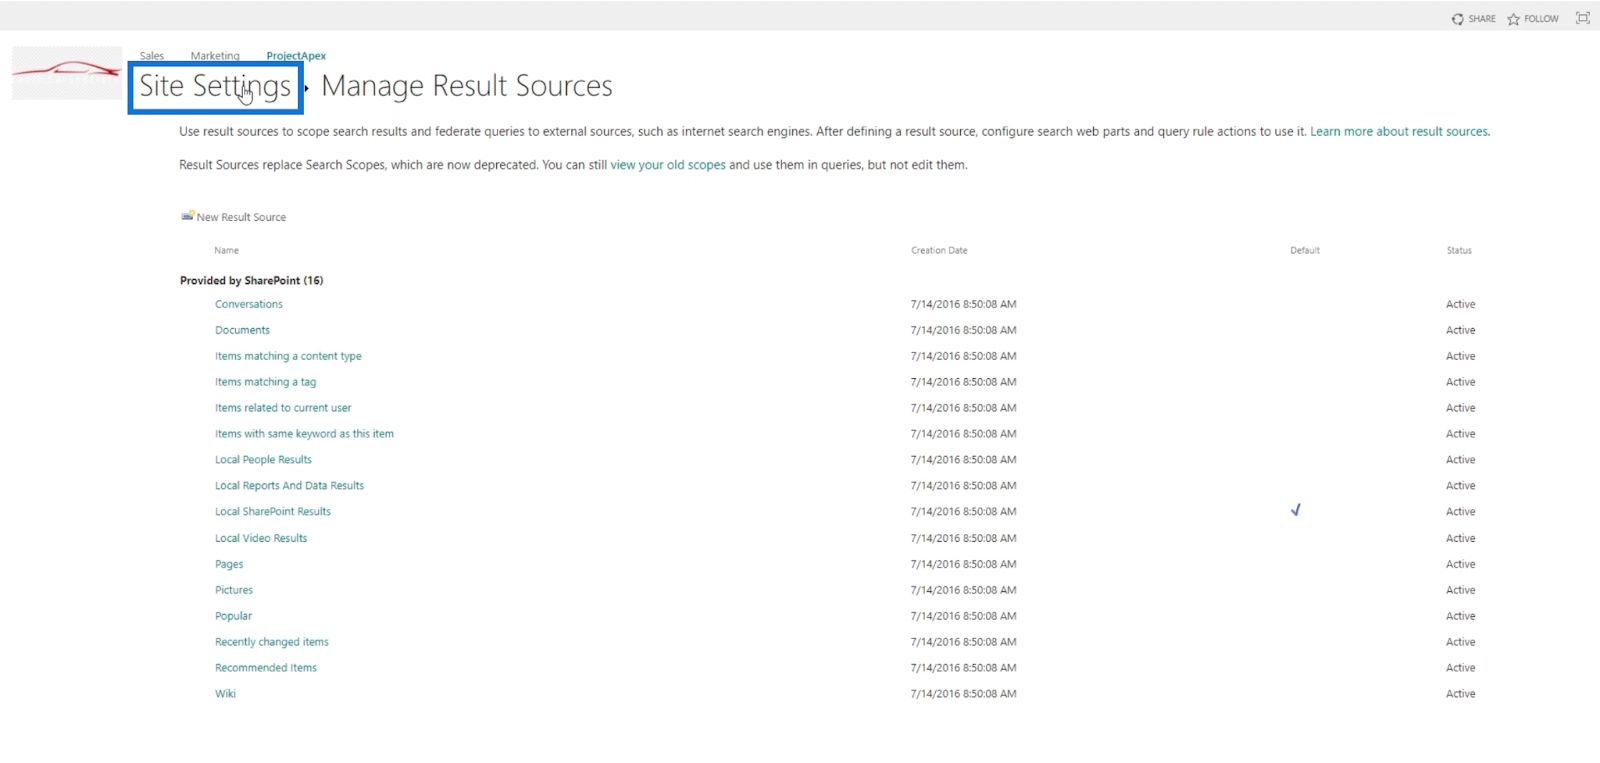
This time, let’s click Result Types.
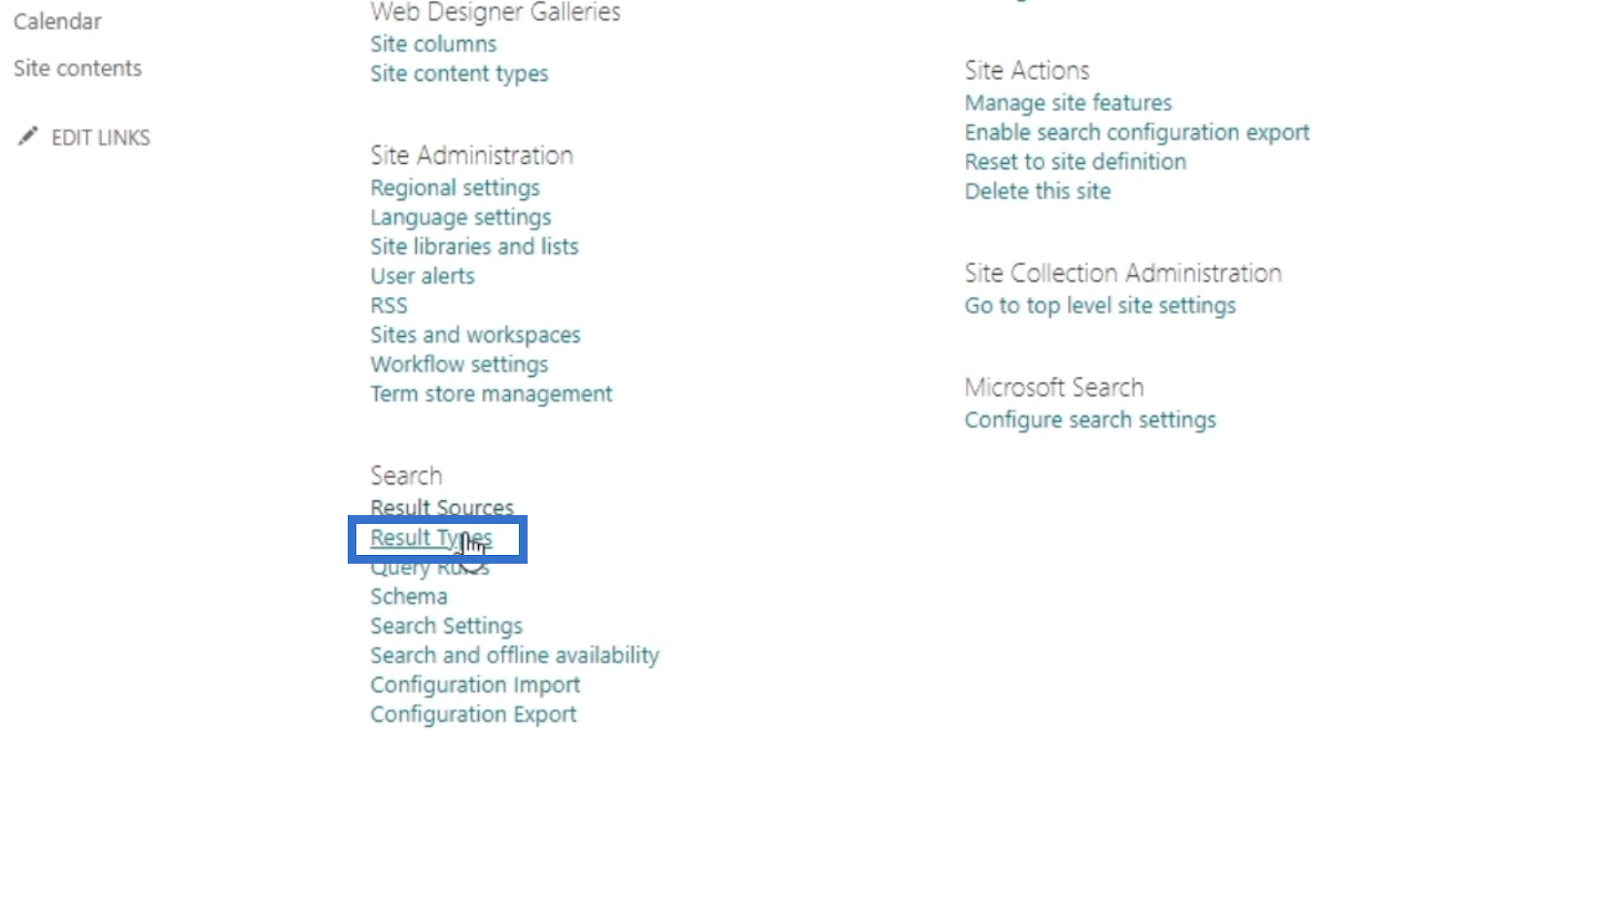
This is where we’ll see the Excel file logo, the name beside it, how it looks, and many more. If we want to modify a template that was used, this is the place where we can do it.

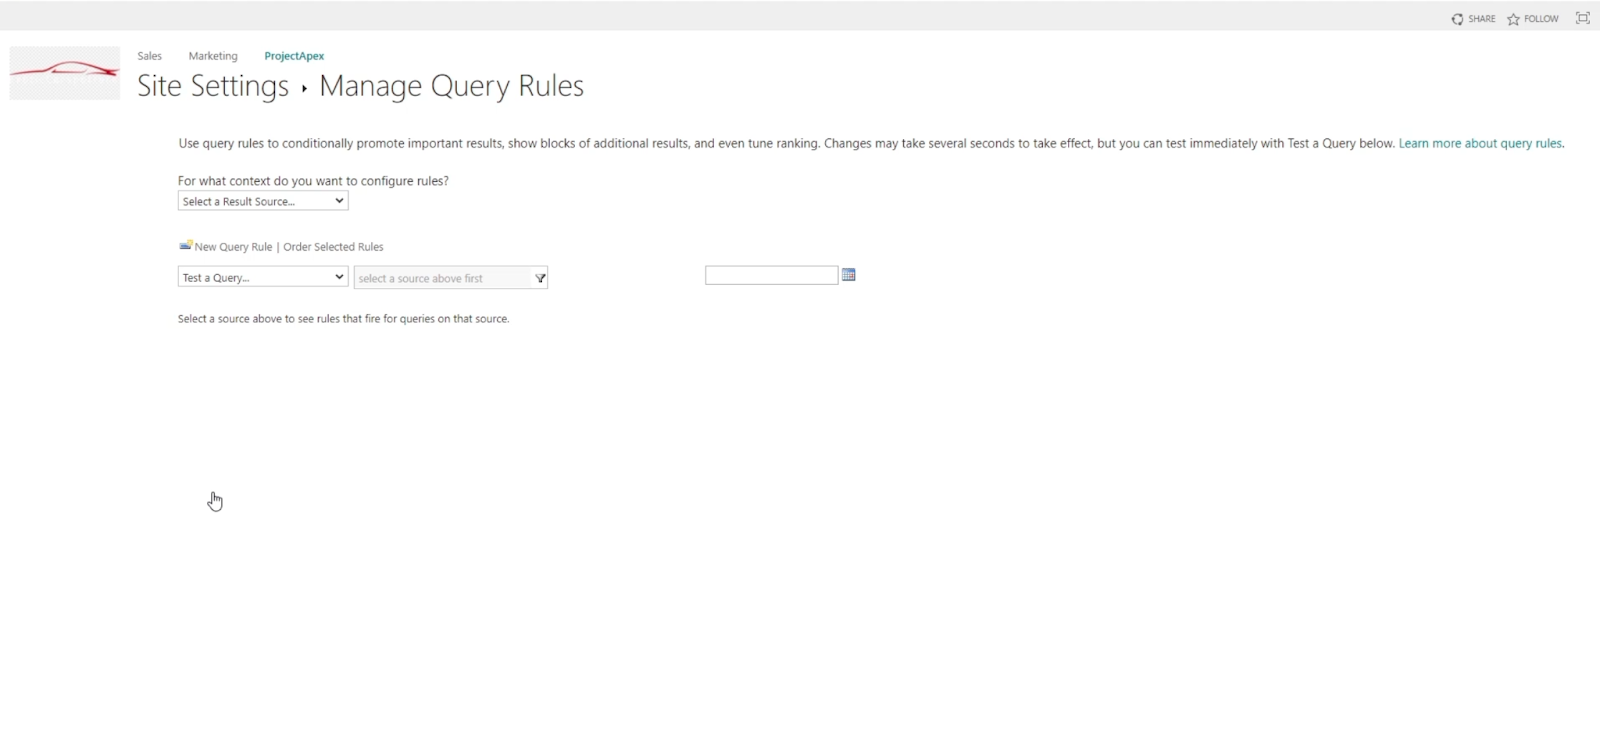
Next, from the Site Settings page, we’ll click Query Rules.
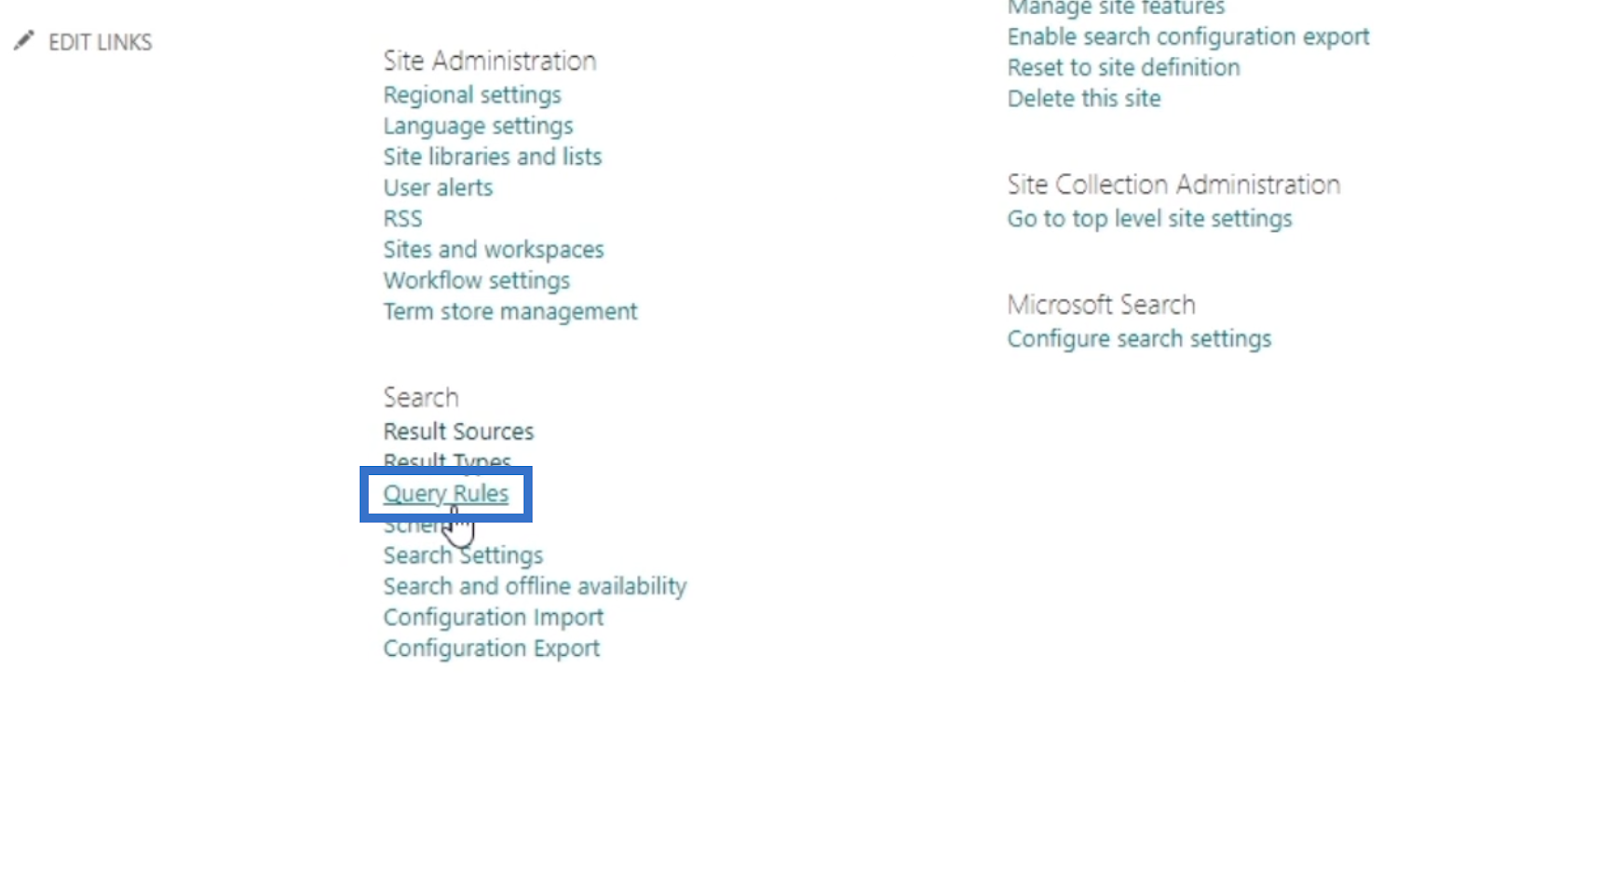
This is the place where we can promote certain results when we search for something.
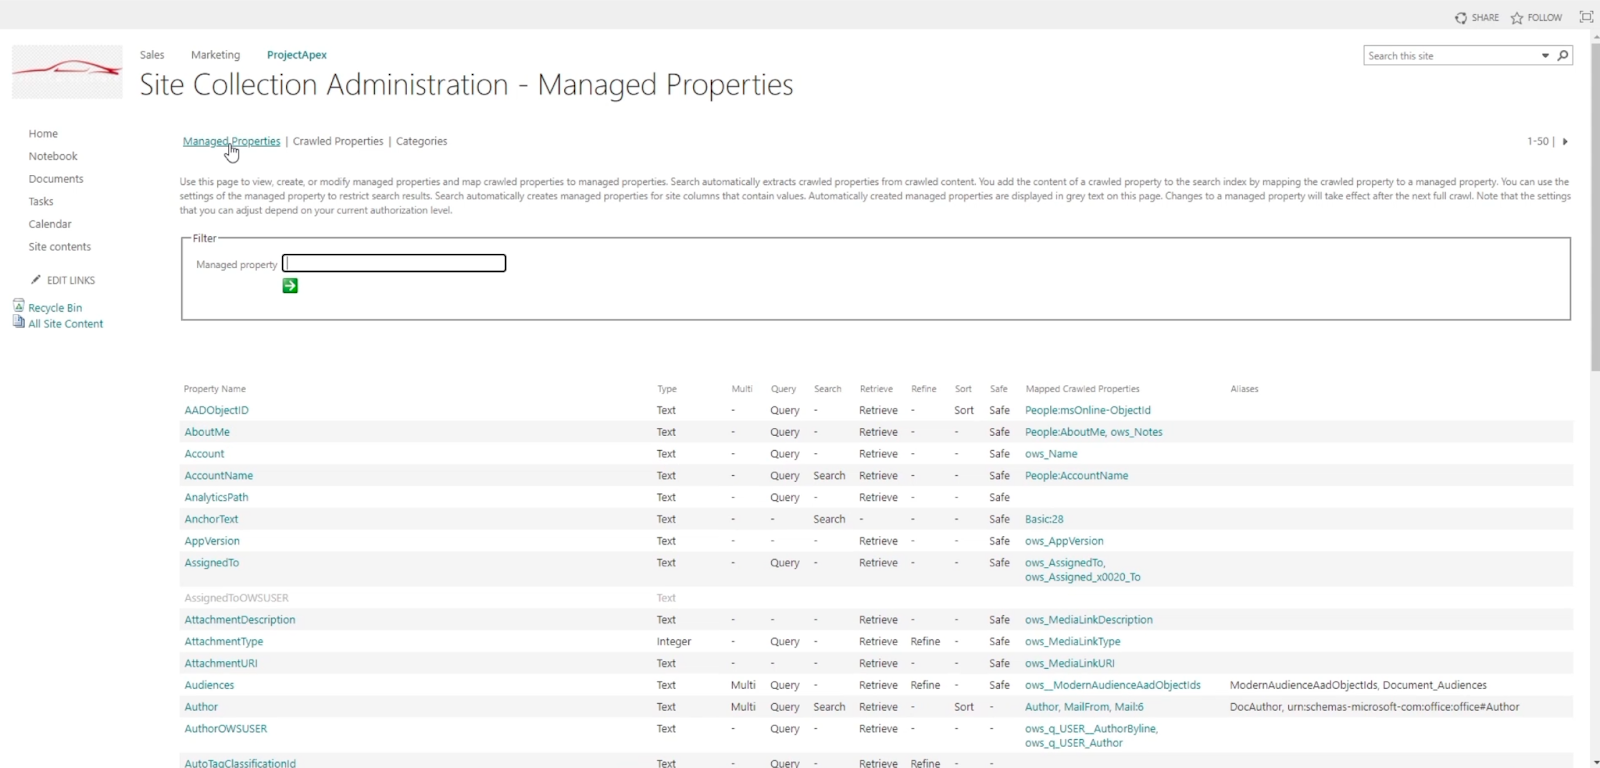
After that, we’ll go to Schema from the Site Settings.
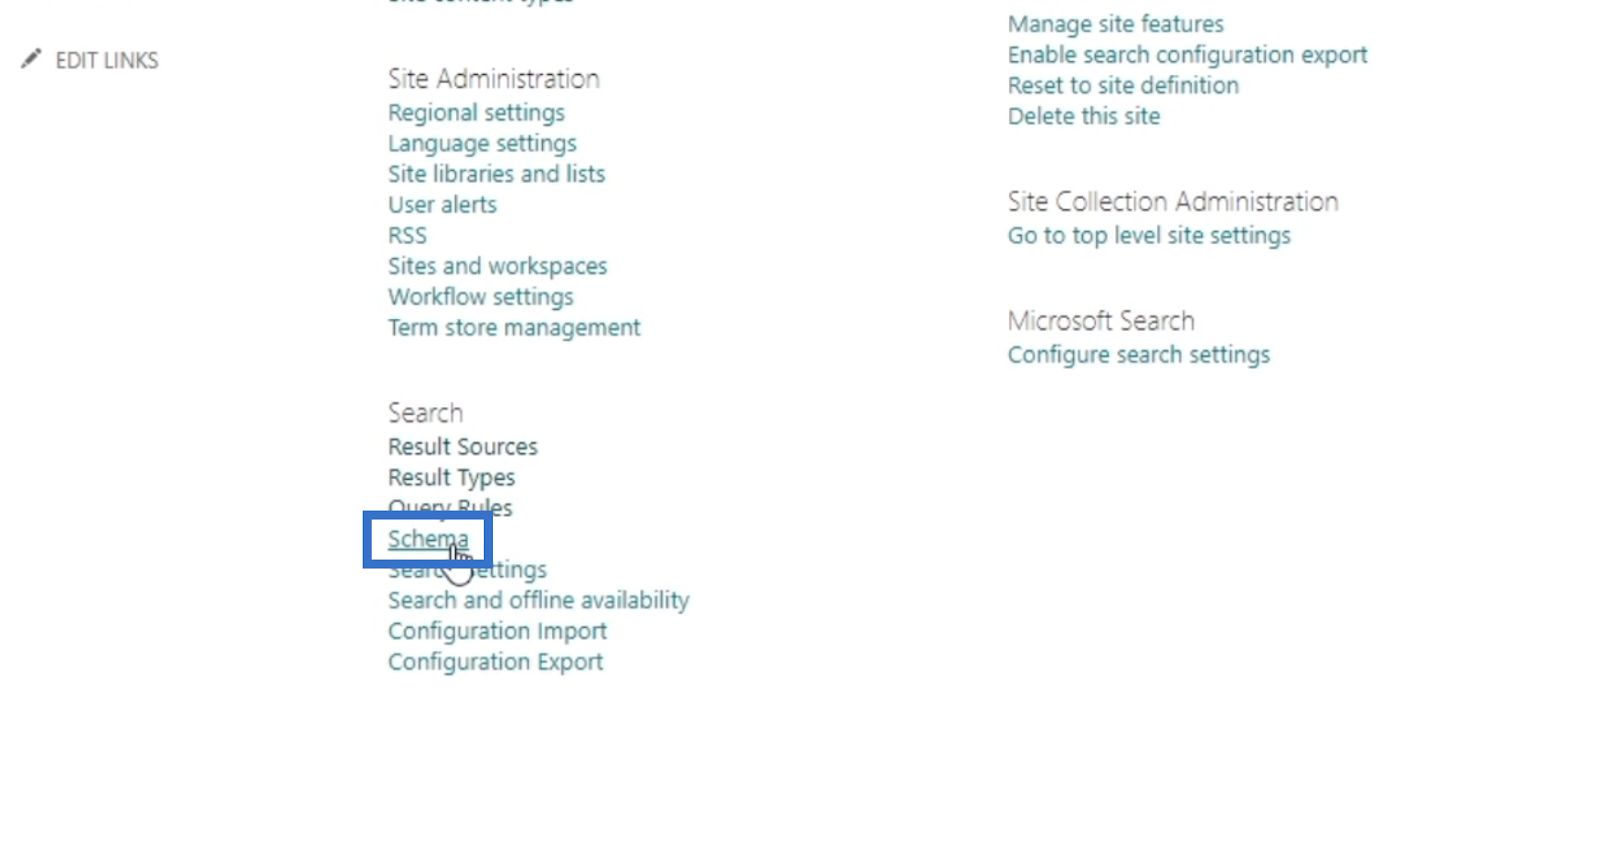
This part of the settings is more on the developer’s side. Using this tool, you can exclude certain schema lists from being searched for. For example, if you don’t want the names of people to be on the list, this is where you can remove them.
After that, we’ll go back to Site Settings and proceed to Search Settings.
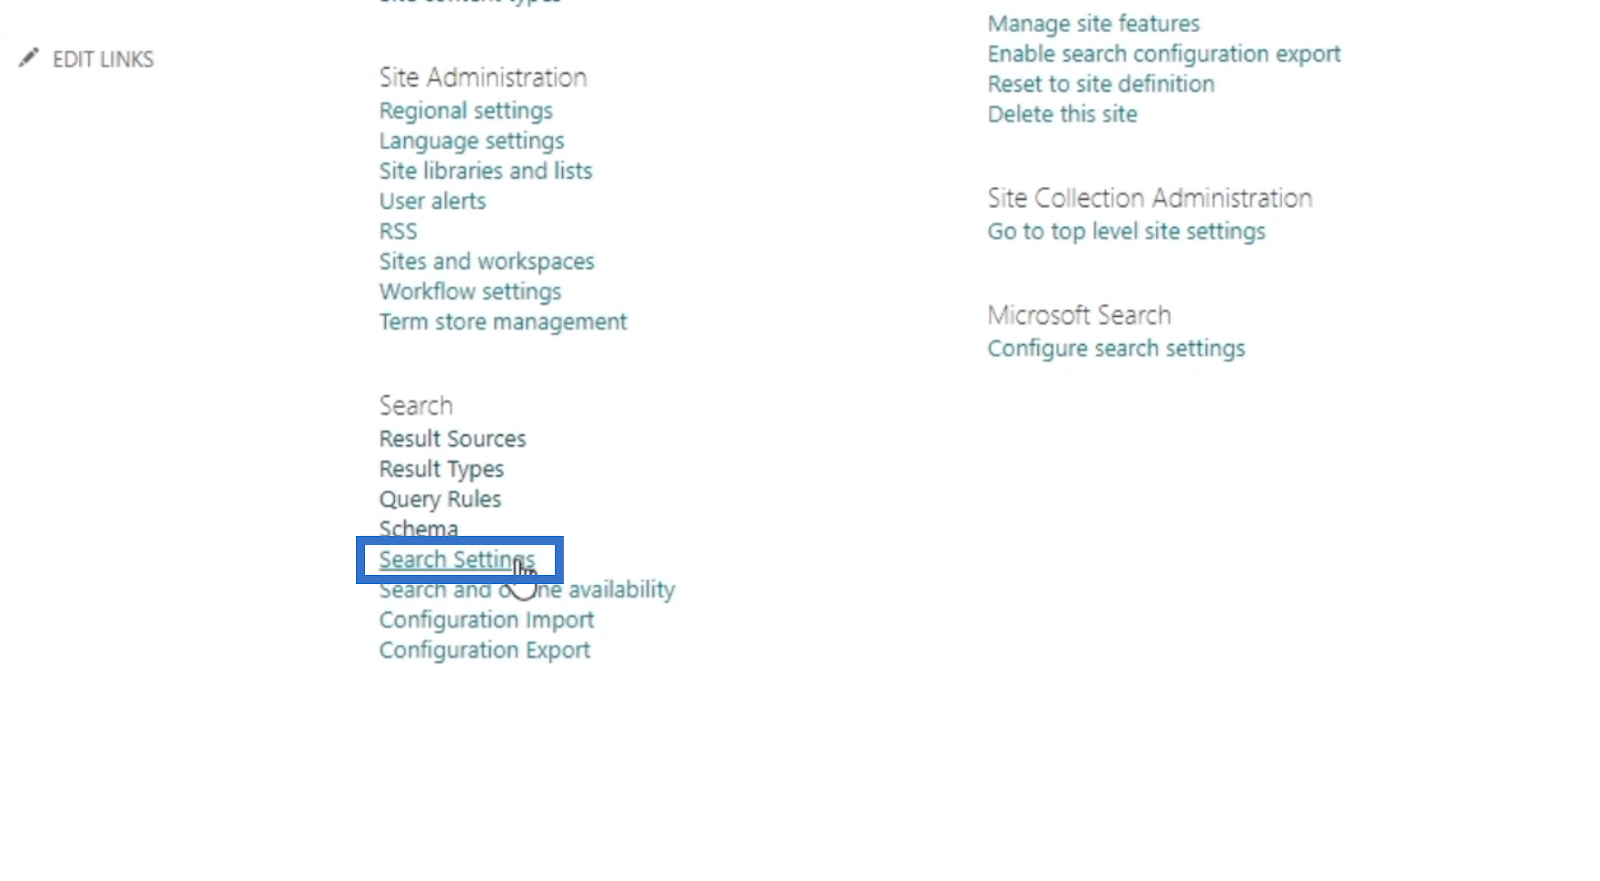
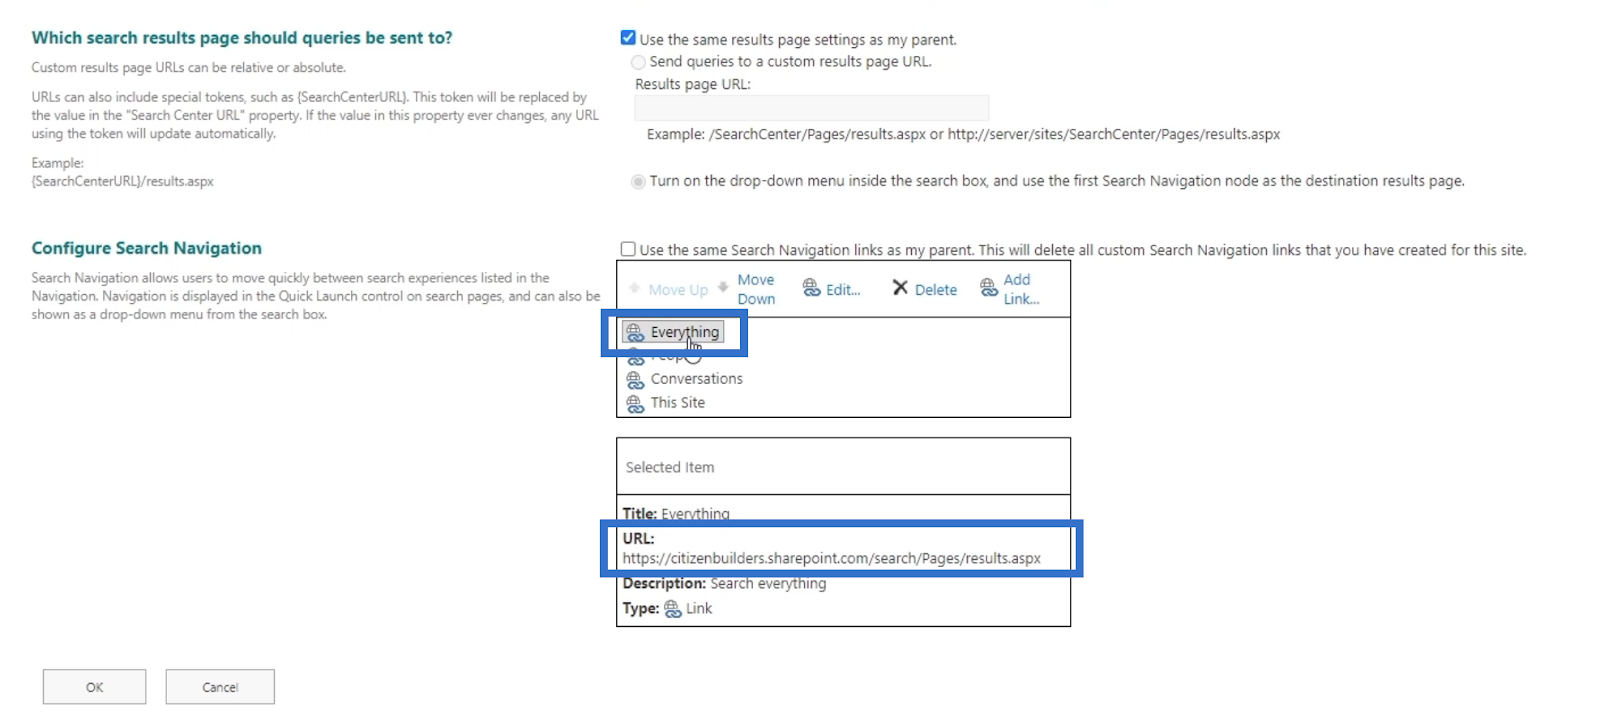
This page is where we can edit the options in the search bar.
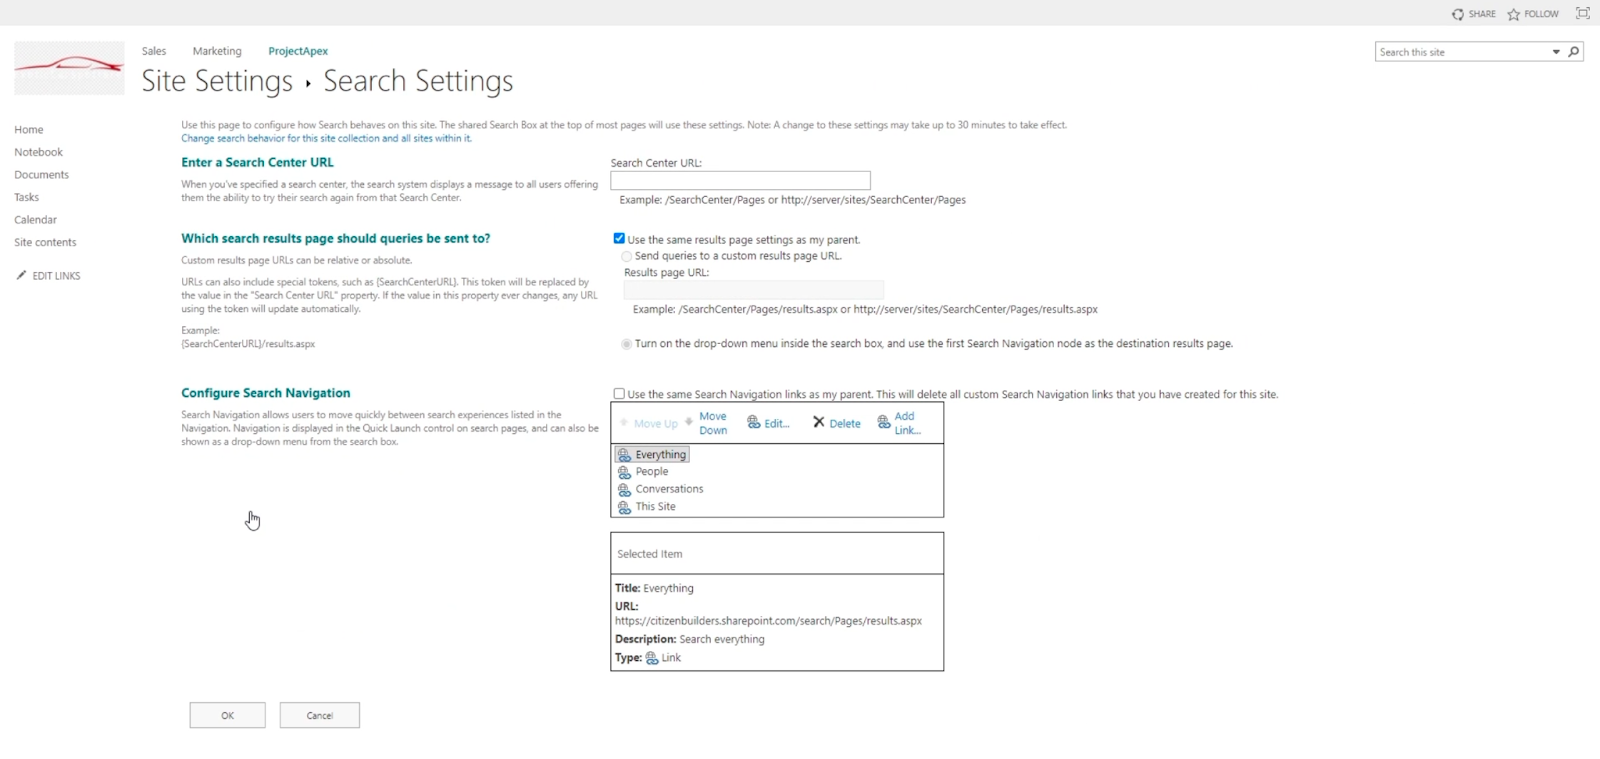
This is also where we can edit what gets searched for.
Since it’s set to Everything, it will search for the keyword in the URL from the Selected item.
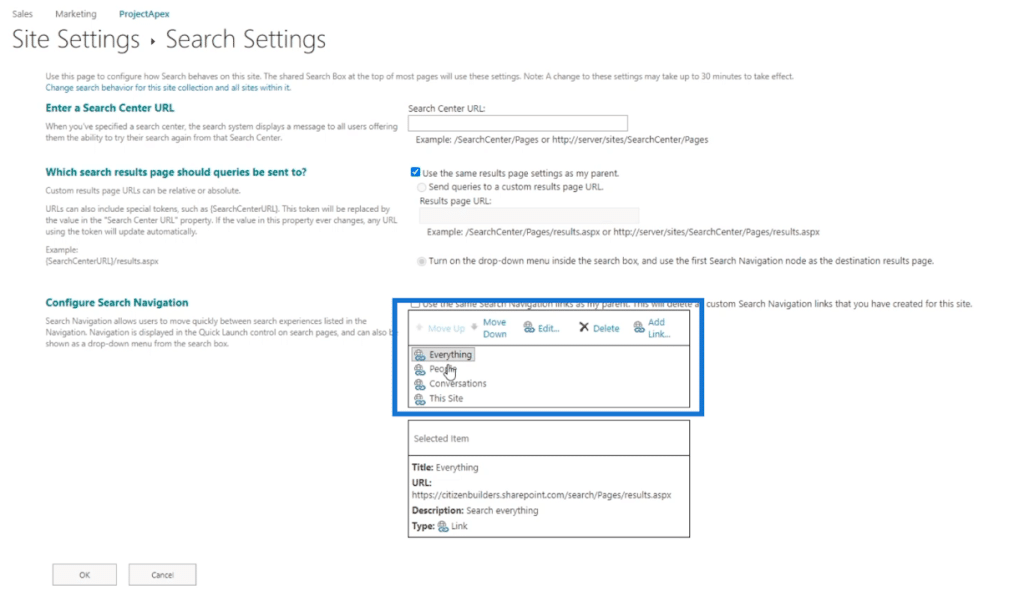
If we change the search navigation to People, the URL will also change. The search will be in that URL. That also goes for the other options.
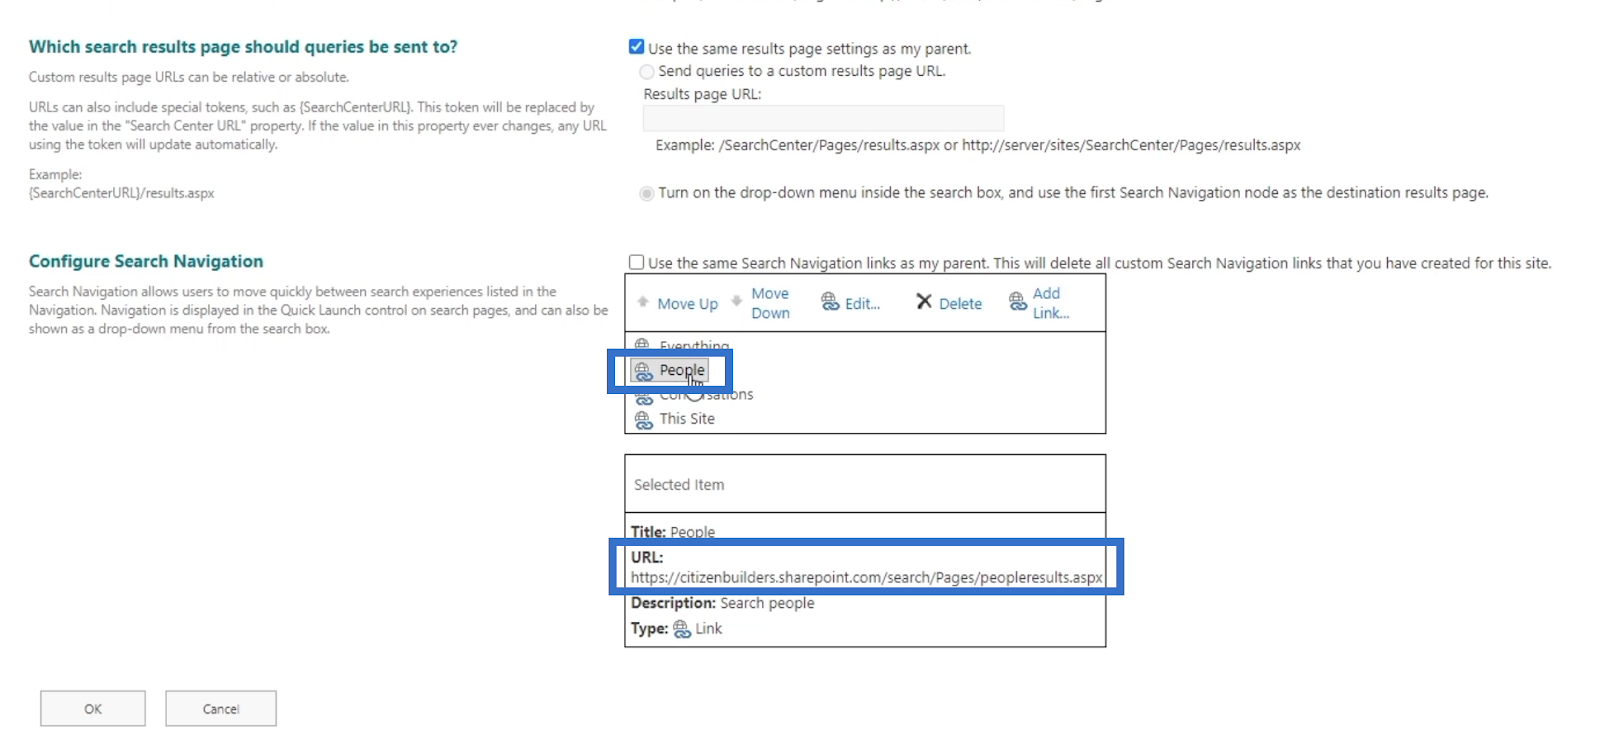
Remember that these are the default ones, but you can also add your own. You can also add an option where people can search your site, but they can search it using the Google vertical. It will send your keyword to Google and it will show up in Google results.
***** Related Links *****
SharePoint User Permissions: Changing And Revoking
SharePoint Site Access Requests Customization
Grant SharePoint Read-Only Access To Users
Conclusion
In summary, we’ve discussed what the SharePoint Search tool is, and how we can utilize it. There are two versions of this feature: the Modern and Classical View. This tool is simple, yet so powerful as it gives us total convenience.
We don’t need to go through each list to search for the file we want. Also, if we do it in the Classical View, it will be more manageable because it gives us options without opening the file itself. The best thing about this is that you can change its settings to your preferences.
All the best,
Henry


