
In this blog, we’ll discuss how to add a user and grant the person a SharePoint read-only access. This is a very useful feature because you’ll know how to add more users to your SharePoint site and set their permissions to what they can only do.
Users can change their permissions at any time and change their groups.
But for this tutorial, we’ll stick to adding read-only access to the new user.

Adding A New User To Your SharePoint Site
In our example, we only have one existing user who has access to our SharePoint site. Although we have 8 members in the organization, the others don’t have access to the site. So let’s add another user that can access our SharePoint site.
First, click the gear icon on the top right.
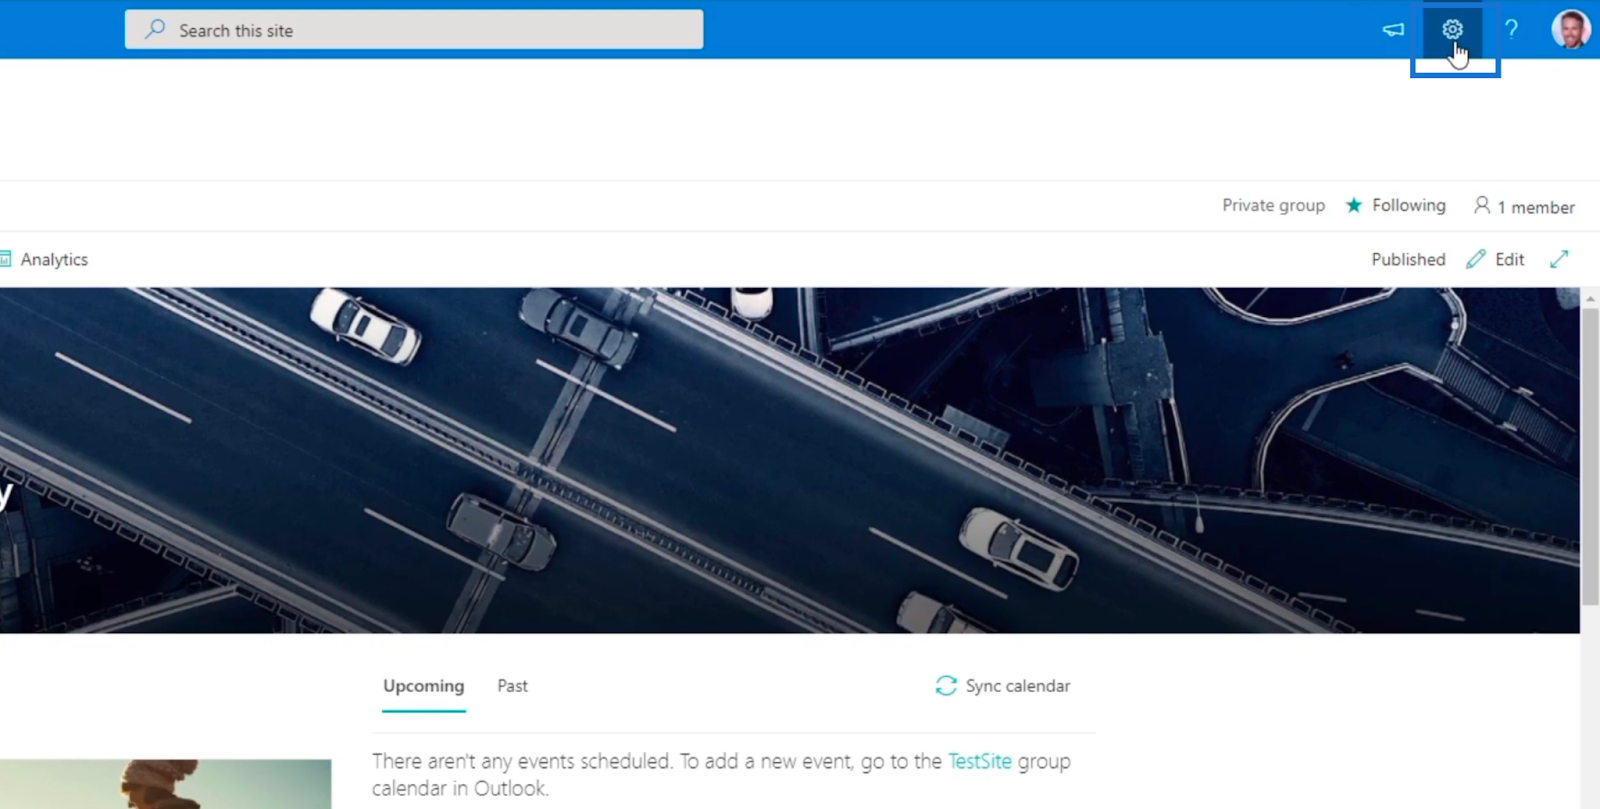
Next, click Site permissions.

Then, click Advanced permissions settings.

You’ll be redirected to the page where you can add members, and edit their access or permissions settings.
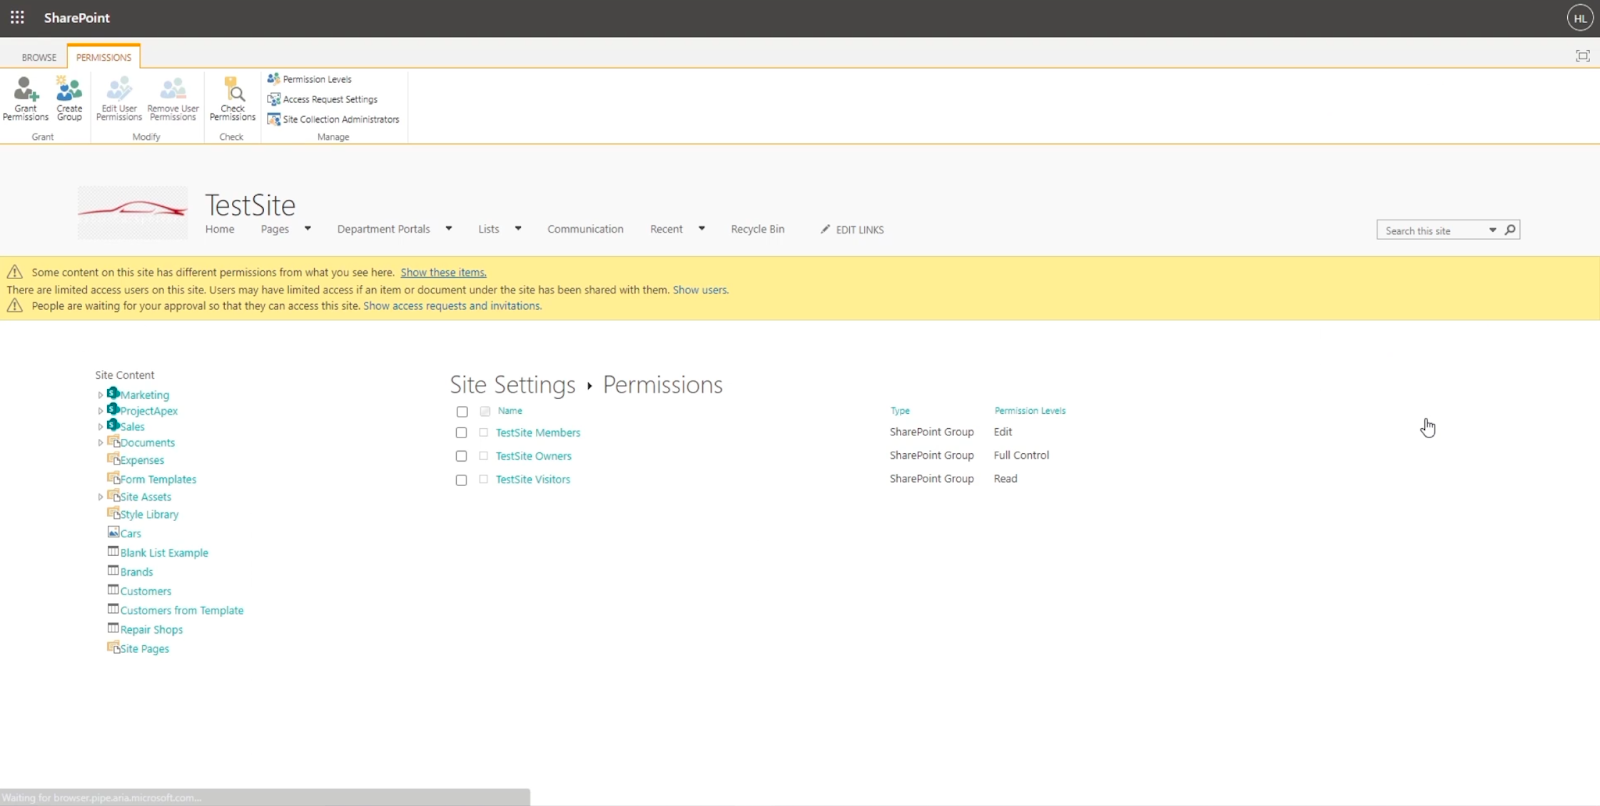
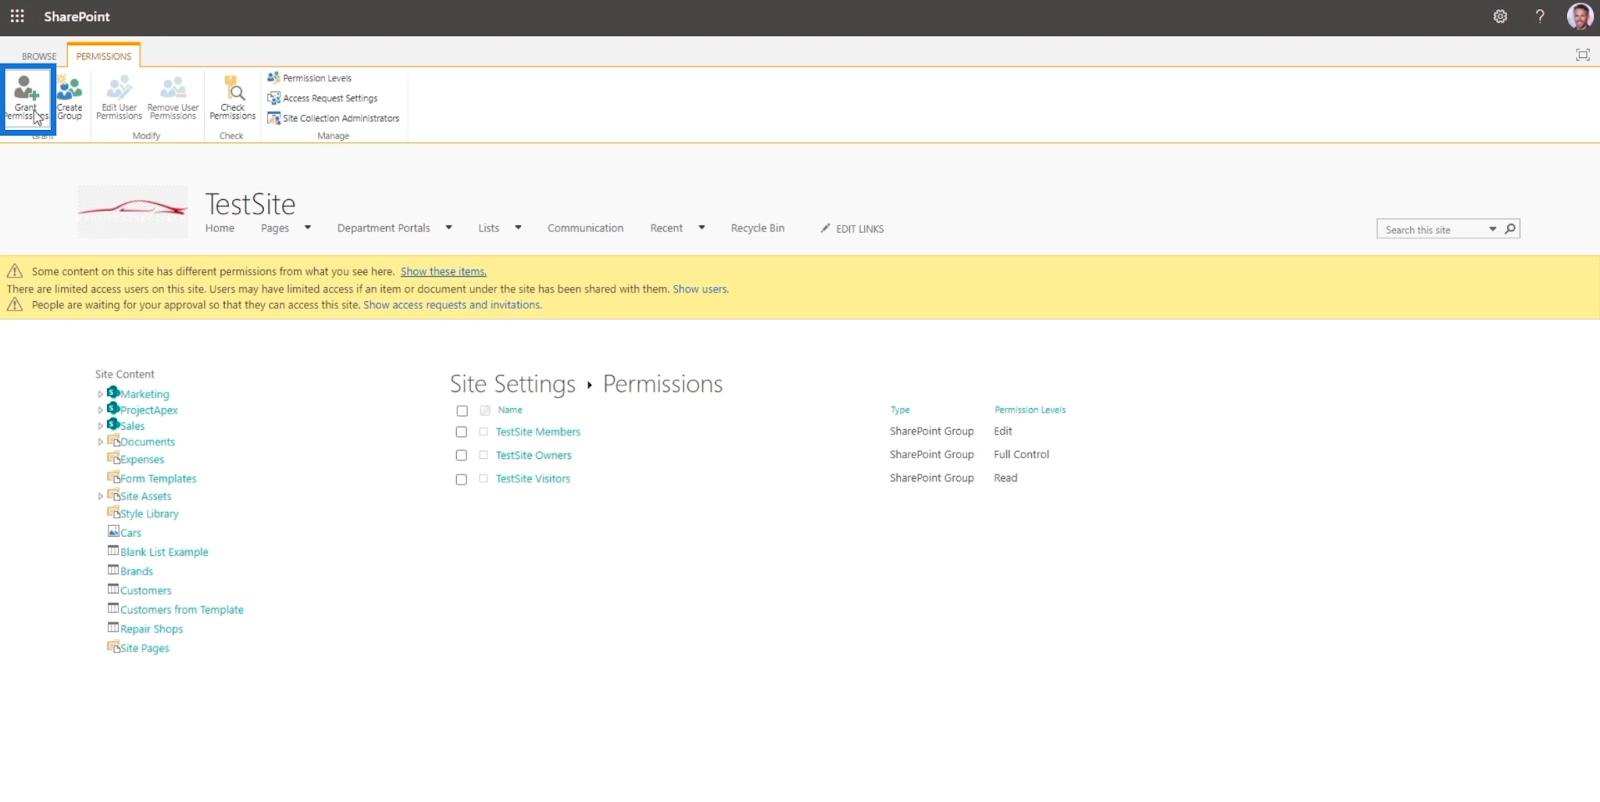
After that, let’s click Grant Permissions on the top left.
A Share ‘TestSite’ dialog box will then appear.

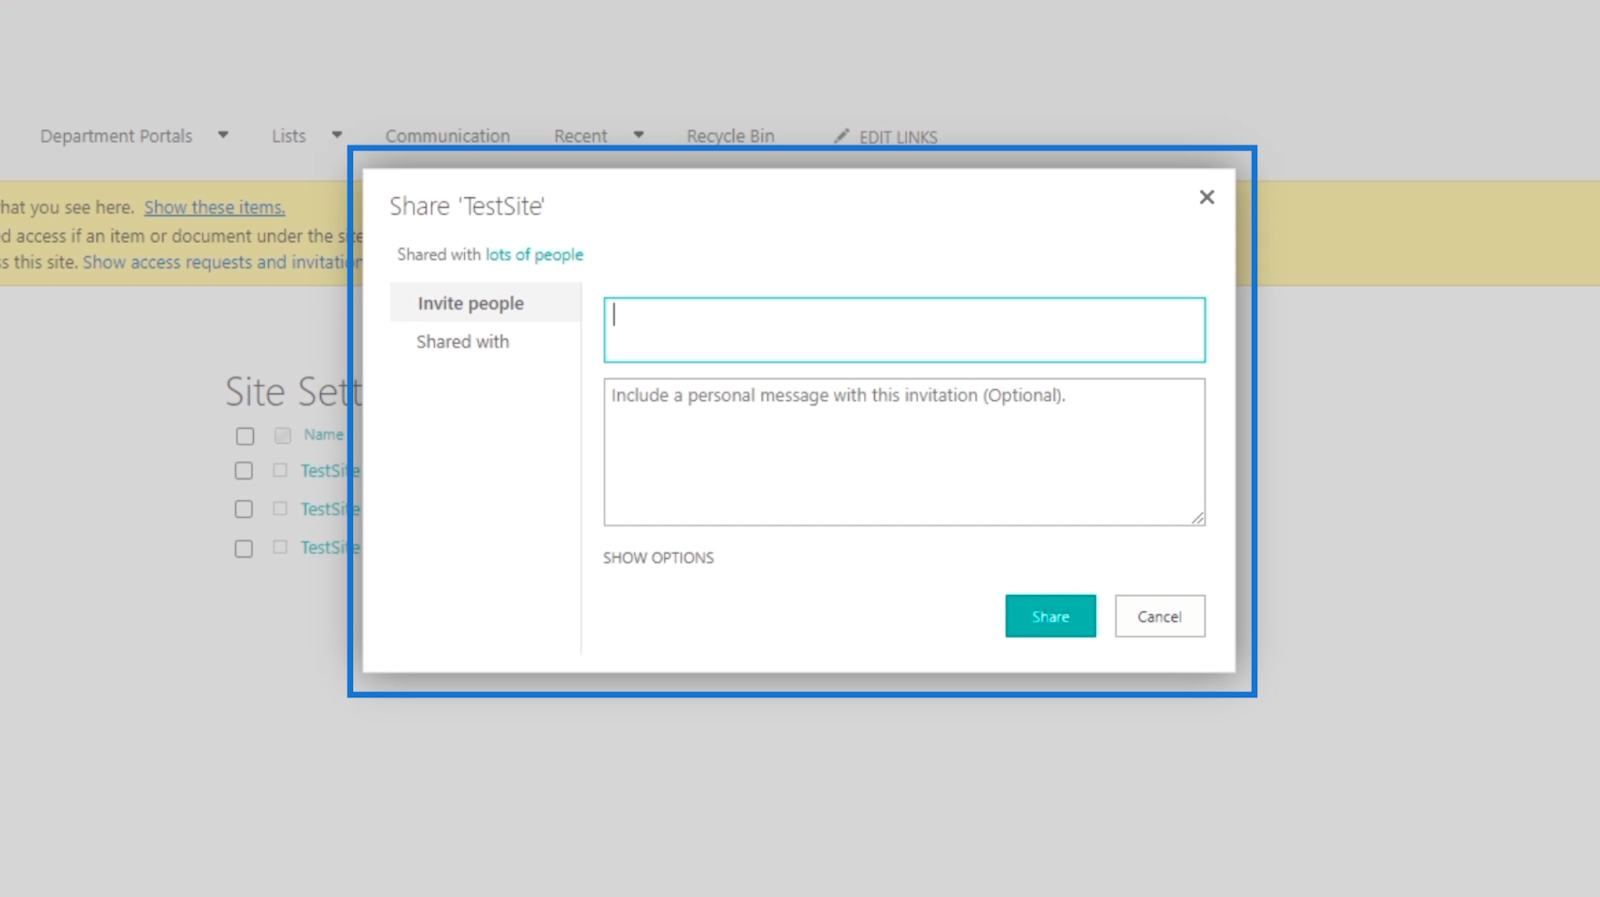
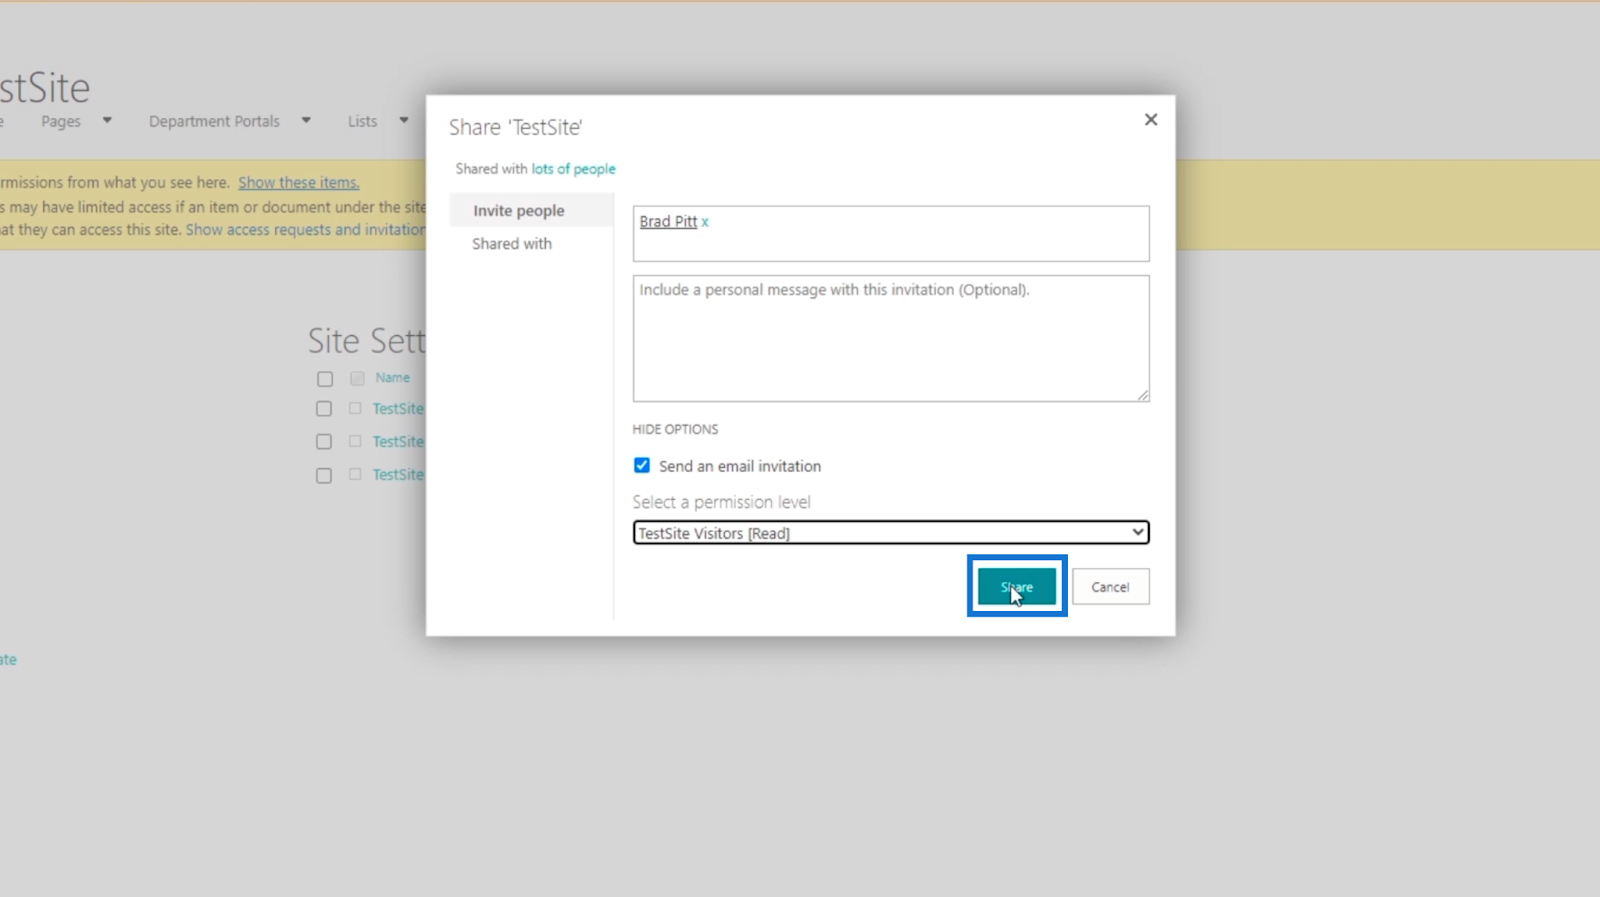
Next, we’ll add a member from the organization by entering the name or email address on the first text field. In our example, we’ll invite Brad Pitt. Take note that he’s already part of the organization so adding the name would work.
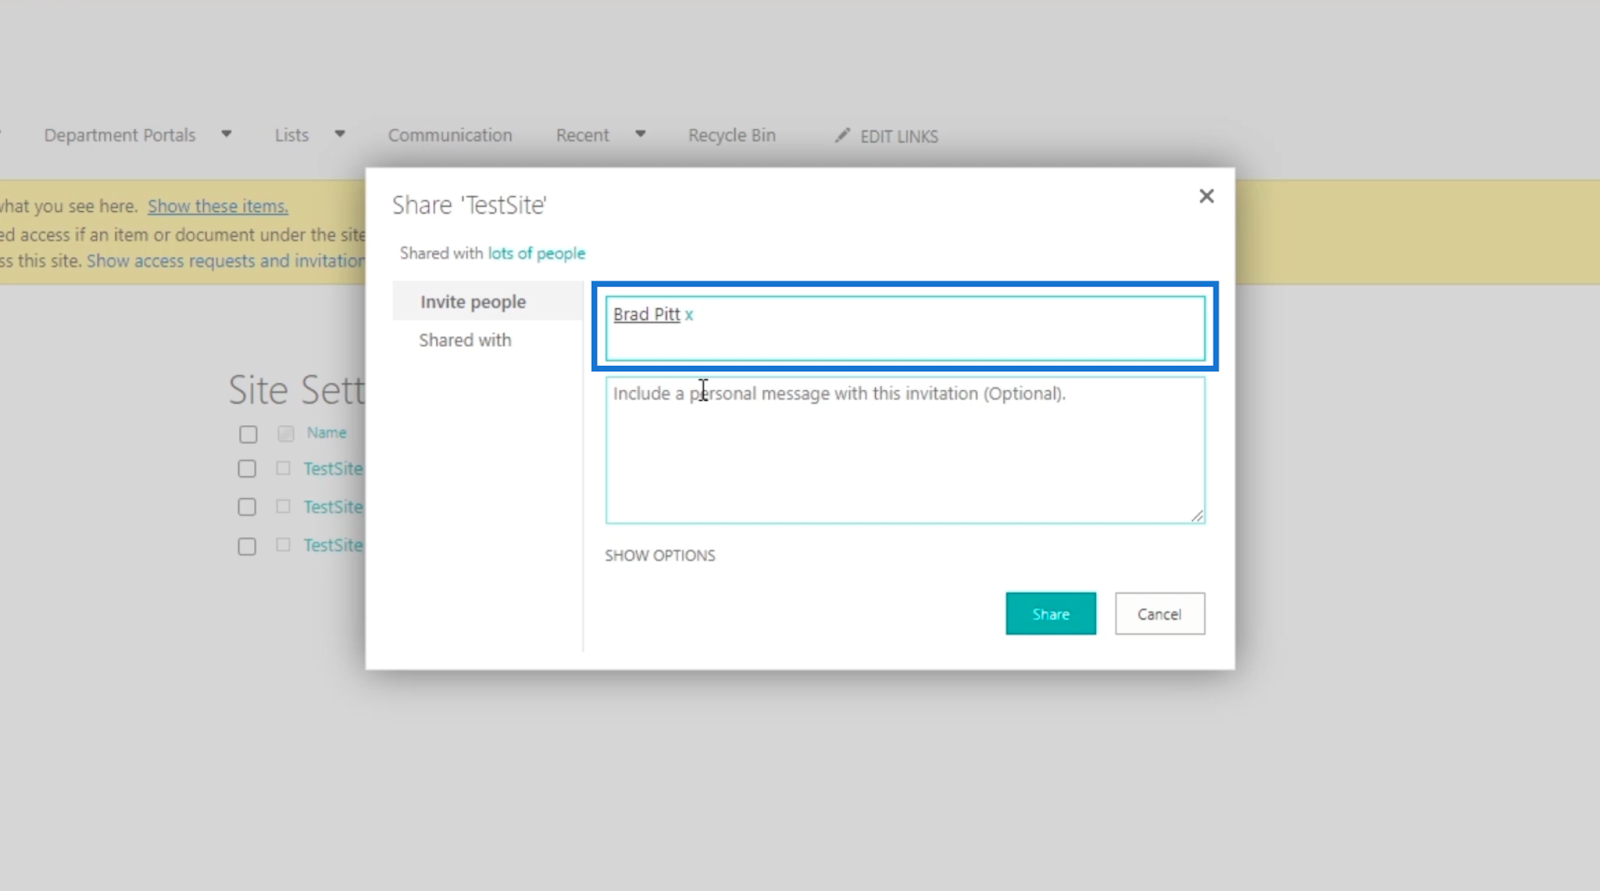
We can also include a personal message using the E-mail body text field. But for this example, we’ll leave it blank.
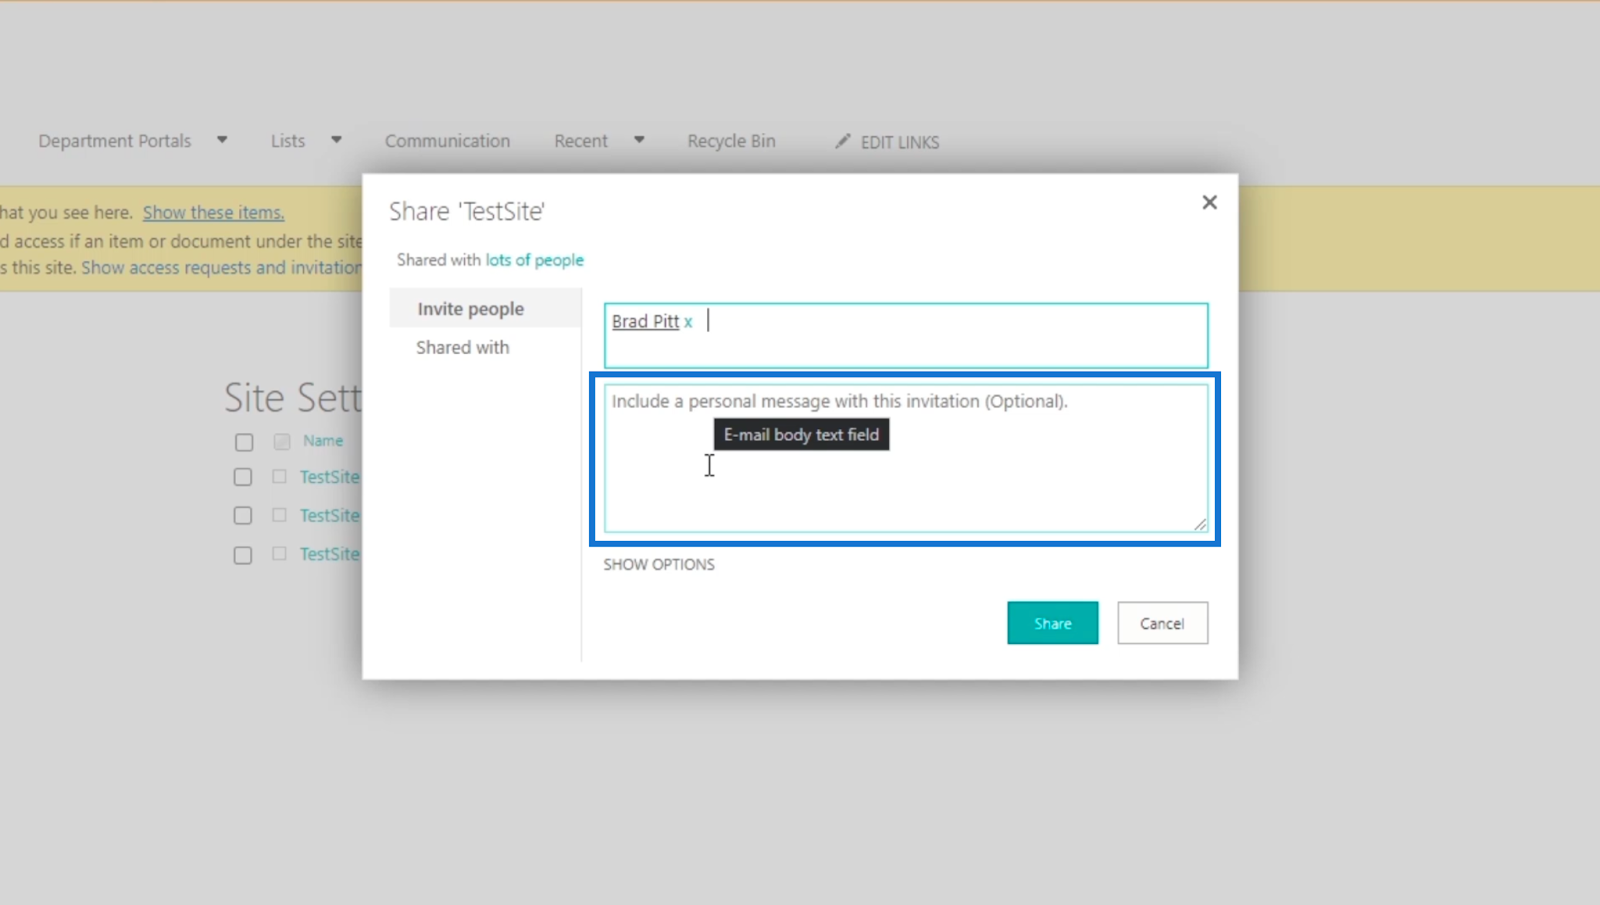
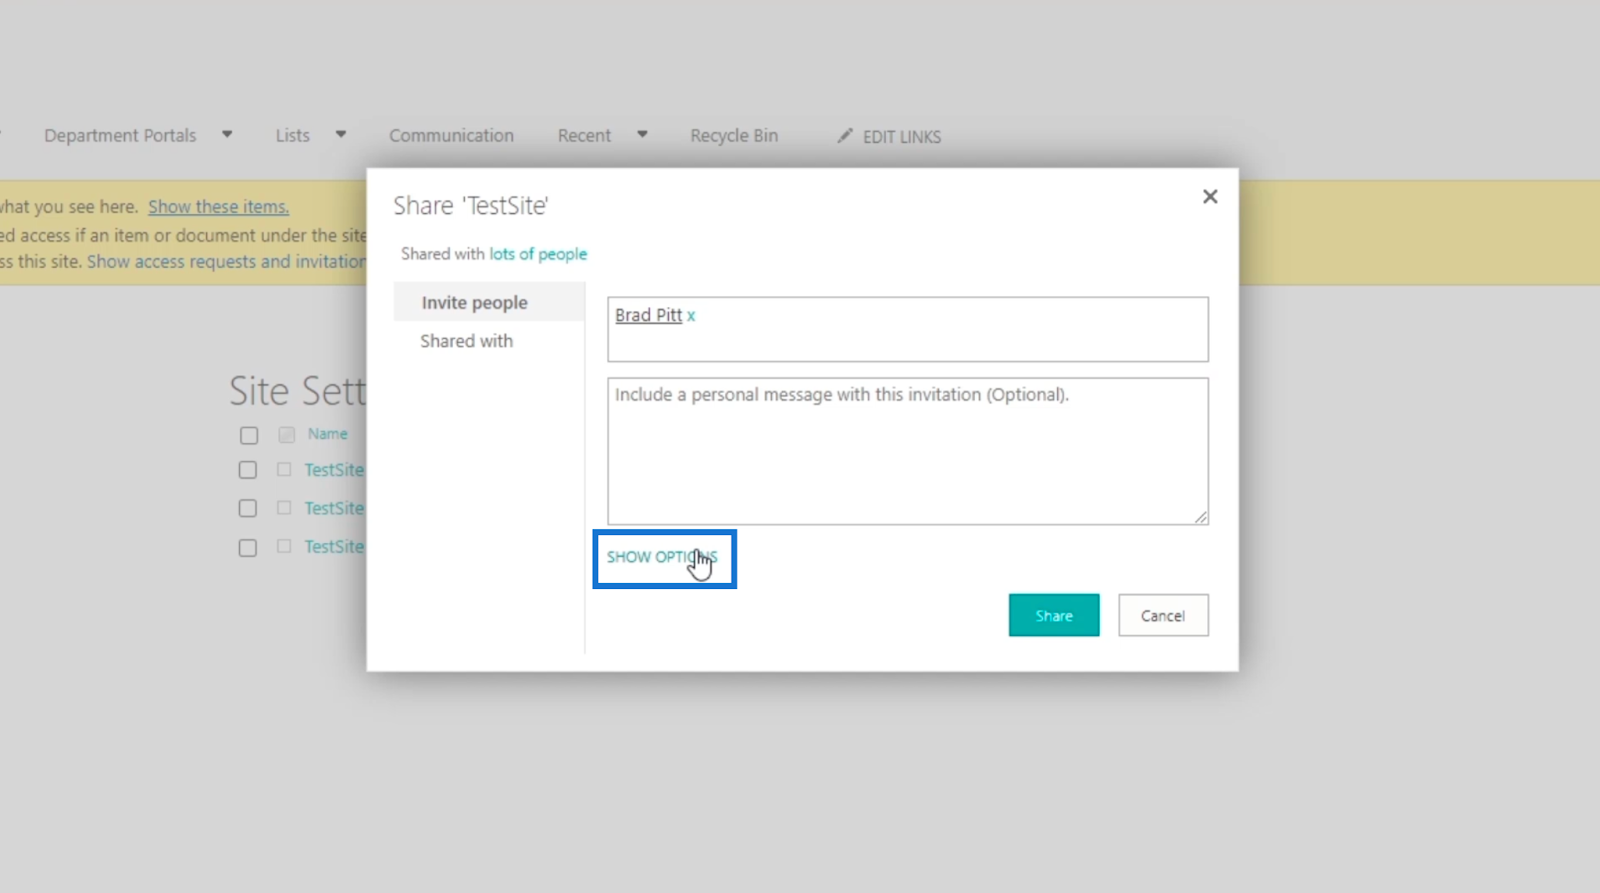
Next, click SHOW OPTIONS.
Then, we’ll make sure that the Send an email invitation checkbox is checked so the person you’re adding can receive an email notification. You can choose not to, but for this blog, we’ll send one.

After that, we’ll select a permission level by clicking the Select a permission level drop-down menu.
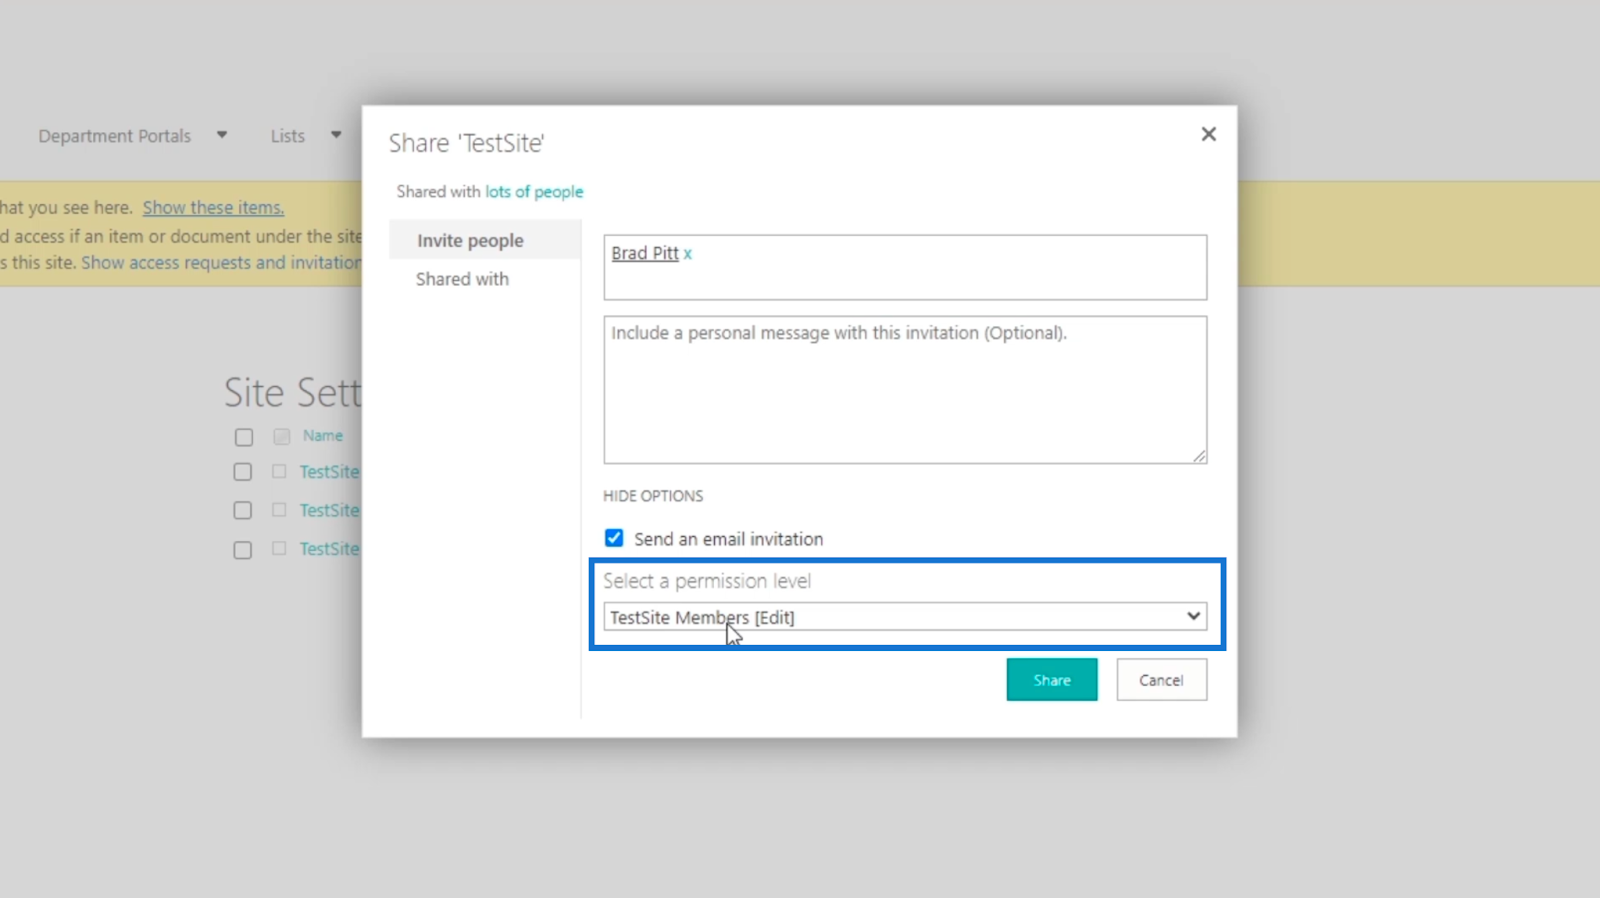
You’ll see different levels and groups to which you can assign the new user to.
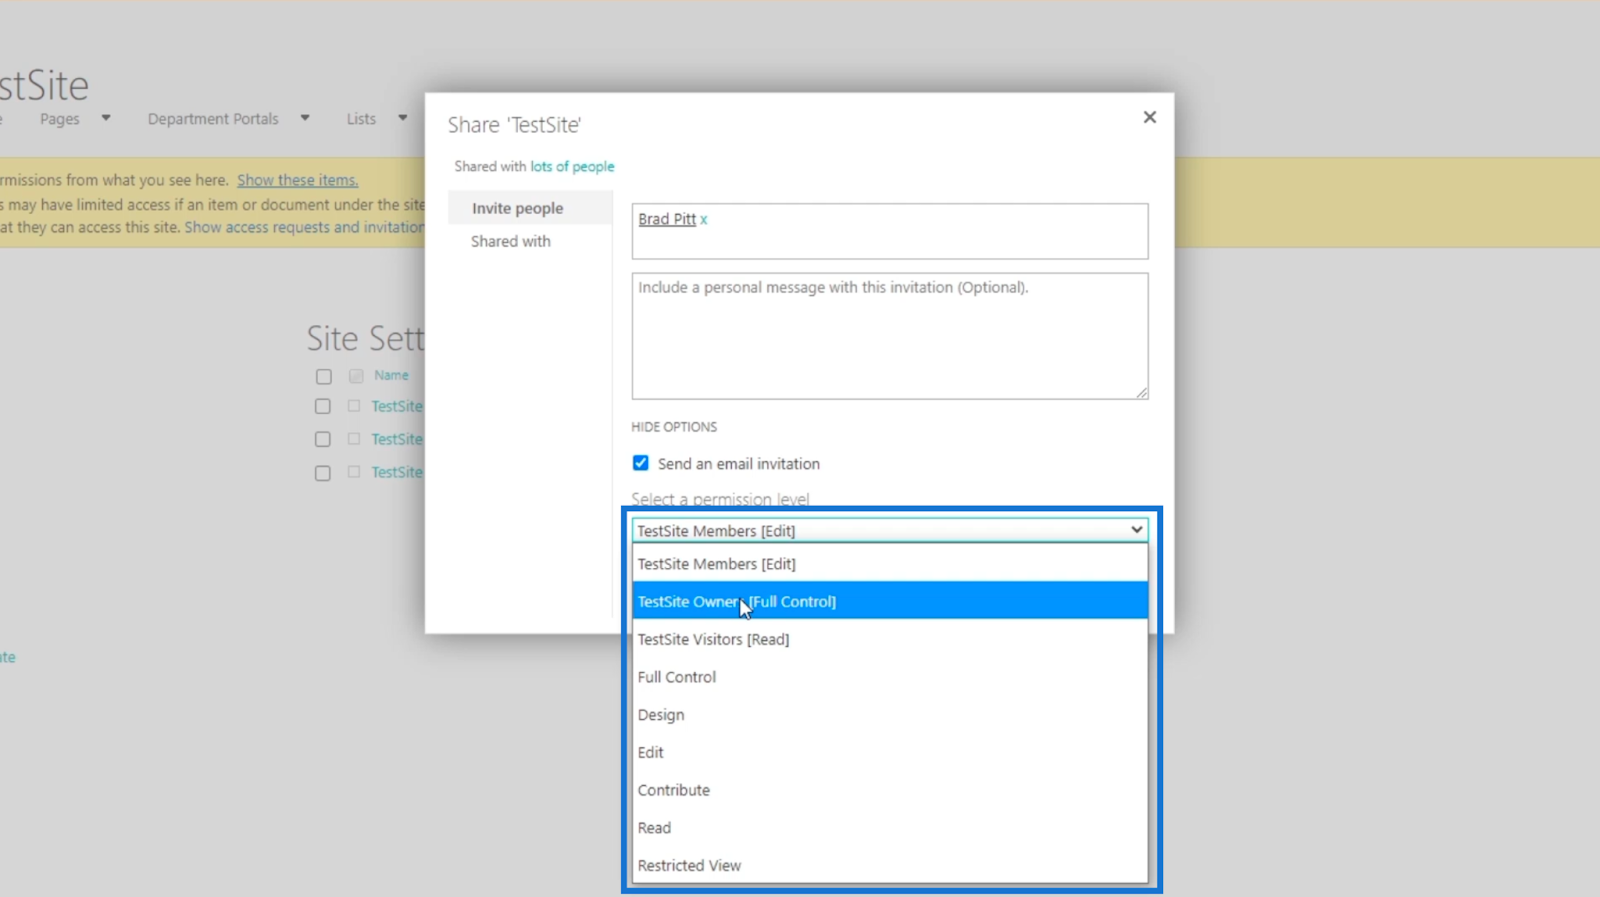
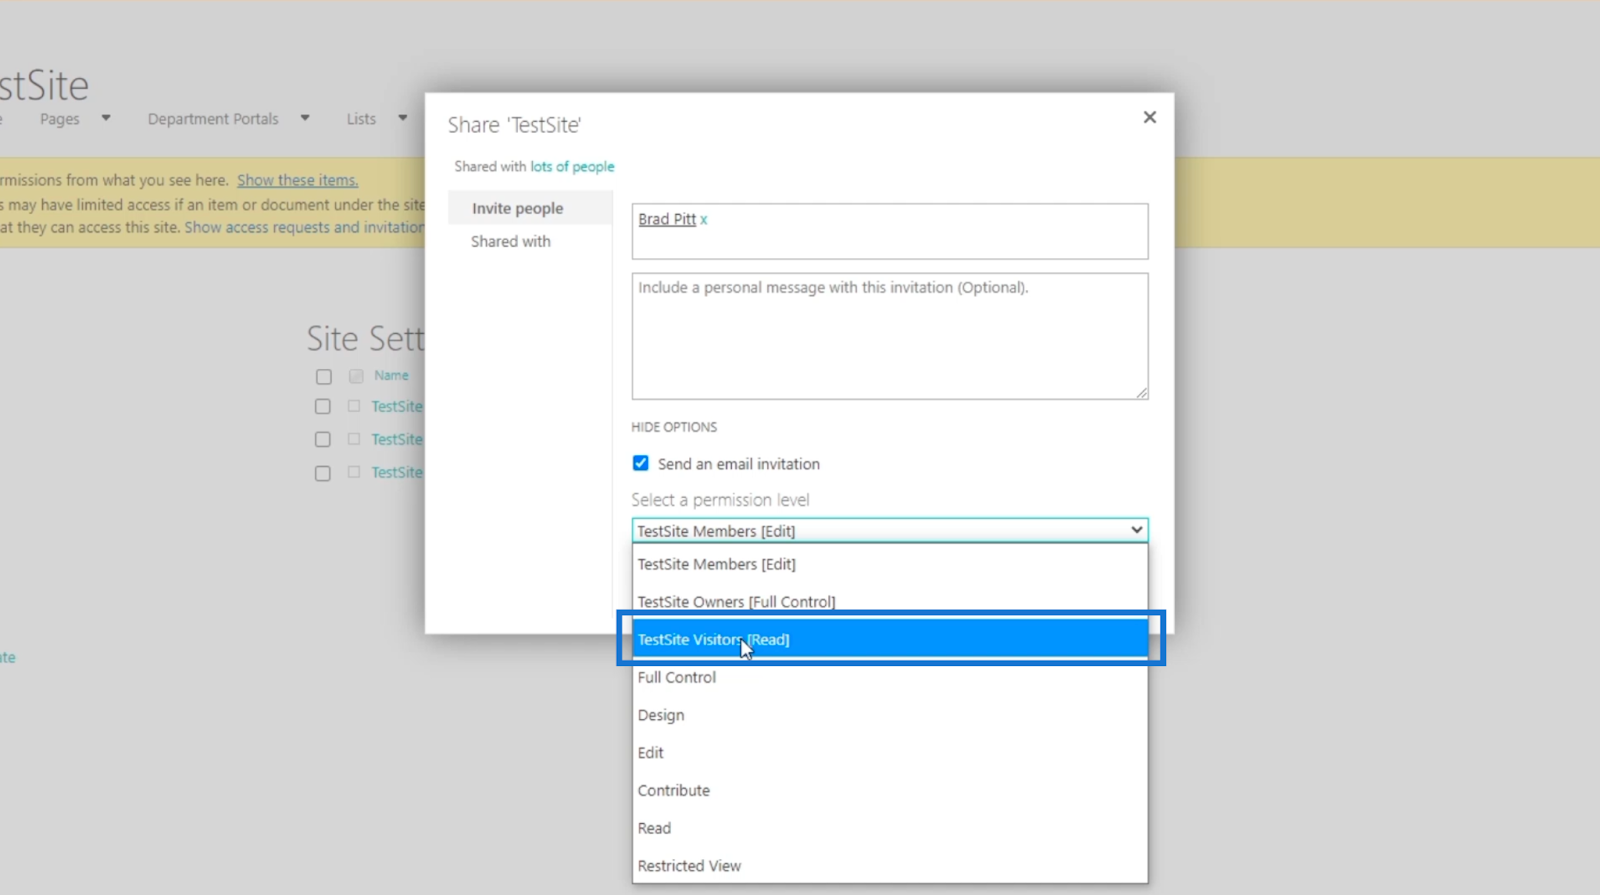
The first 3 are the groups, and we recommend using the groups instead of levels. This will give the new user some specific permissions. So for this example, we’ll use TestSite Visitors [Read].
Finally, click Share.
Checking SharePoint Read-Only Access Permissions
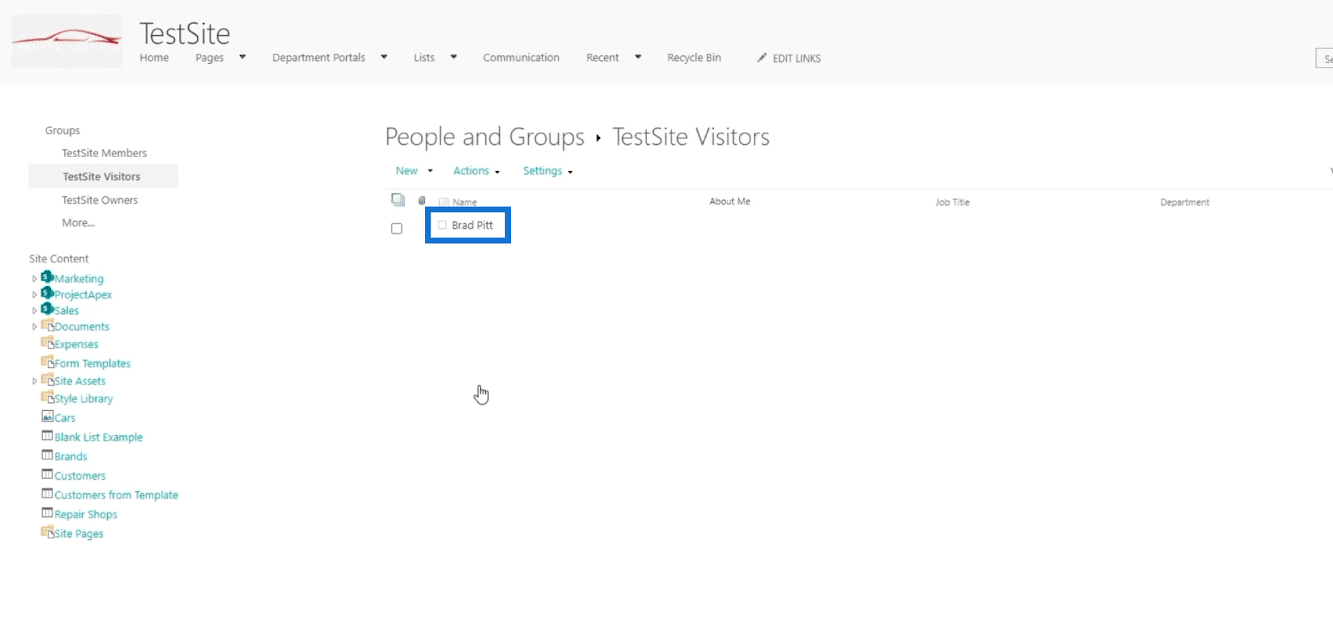
To check the group members, you can click on any of the groups created. But for this example, we’ll check TestSite Visitors.
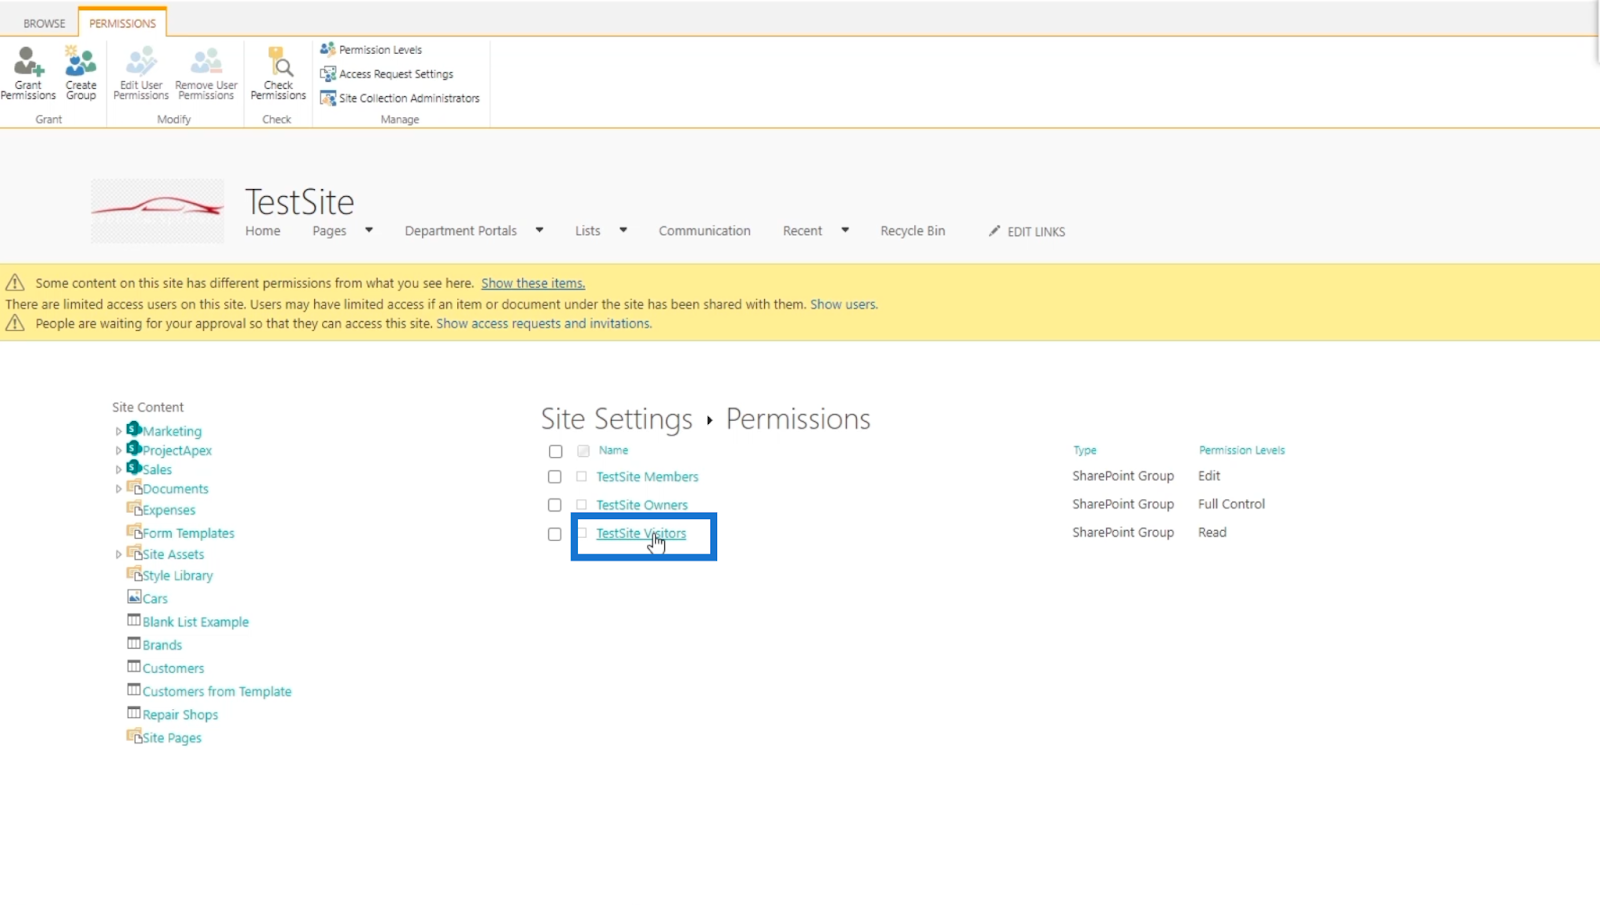
You’ll be redirected to a page that displays the name of the members. In this example, we’ve only added Brad Pitt.
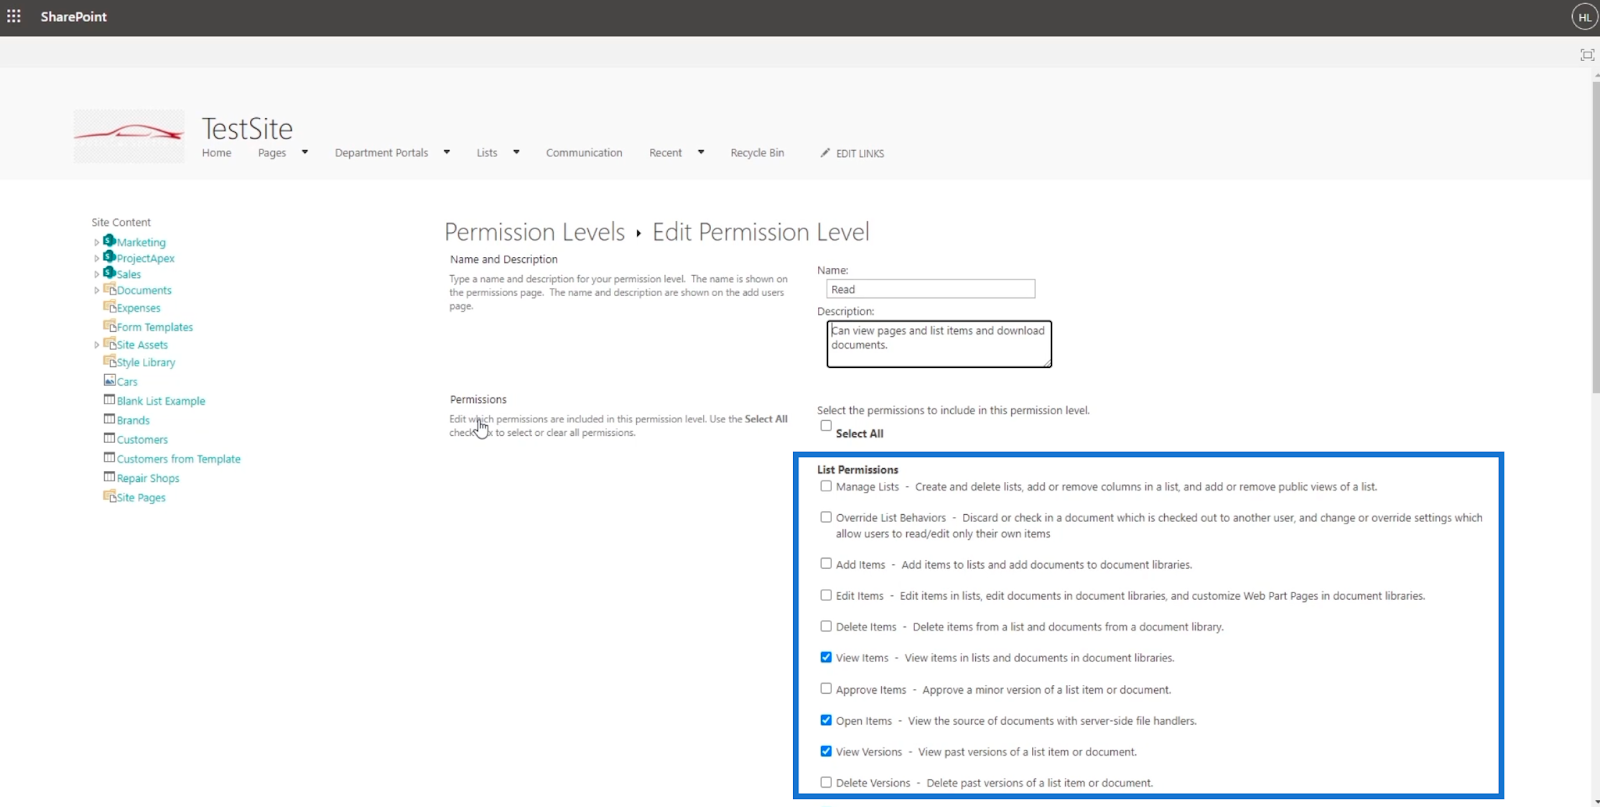
To check the permission levels, just click Permission levels from the Permissions page.
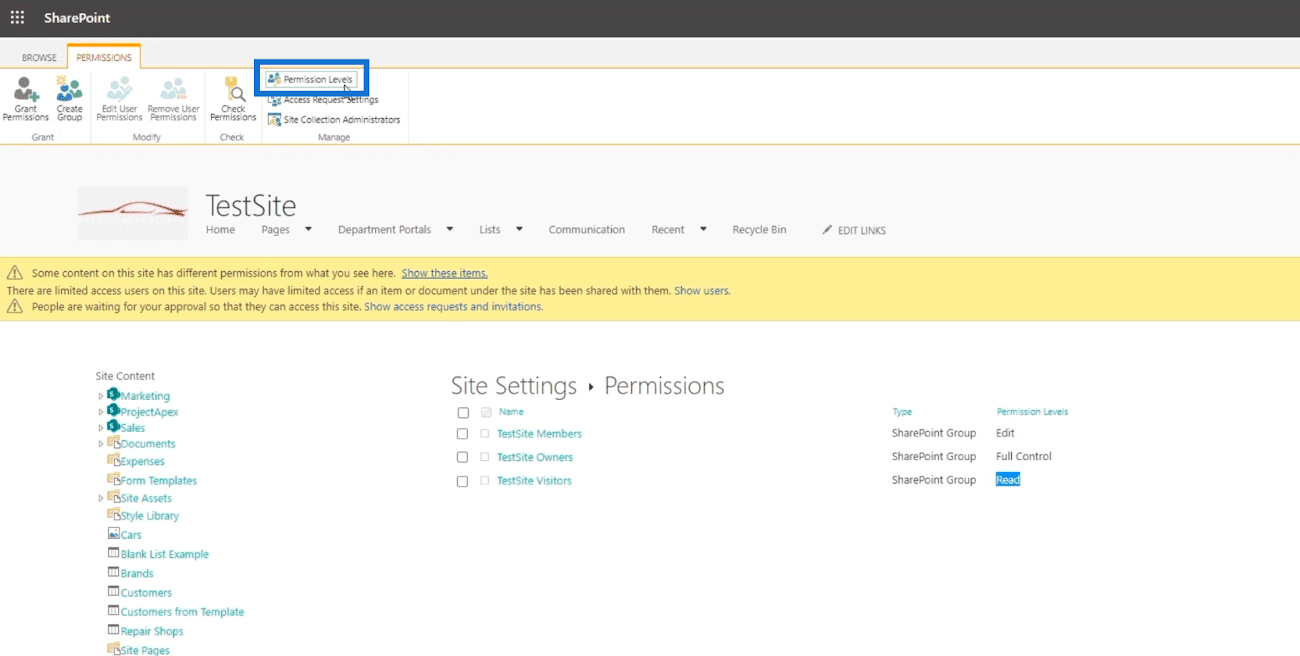
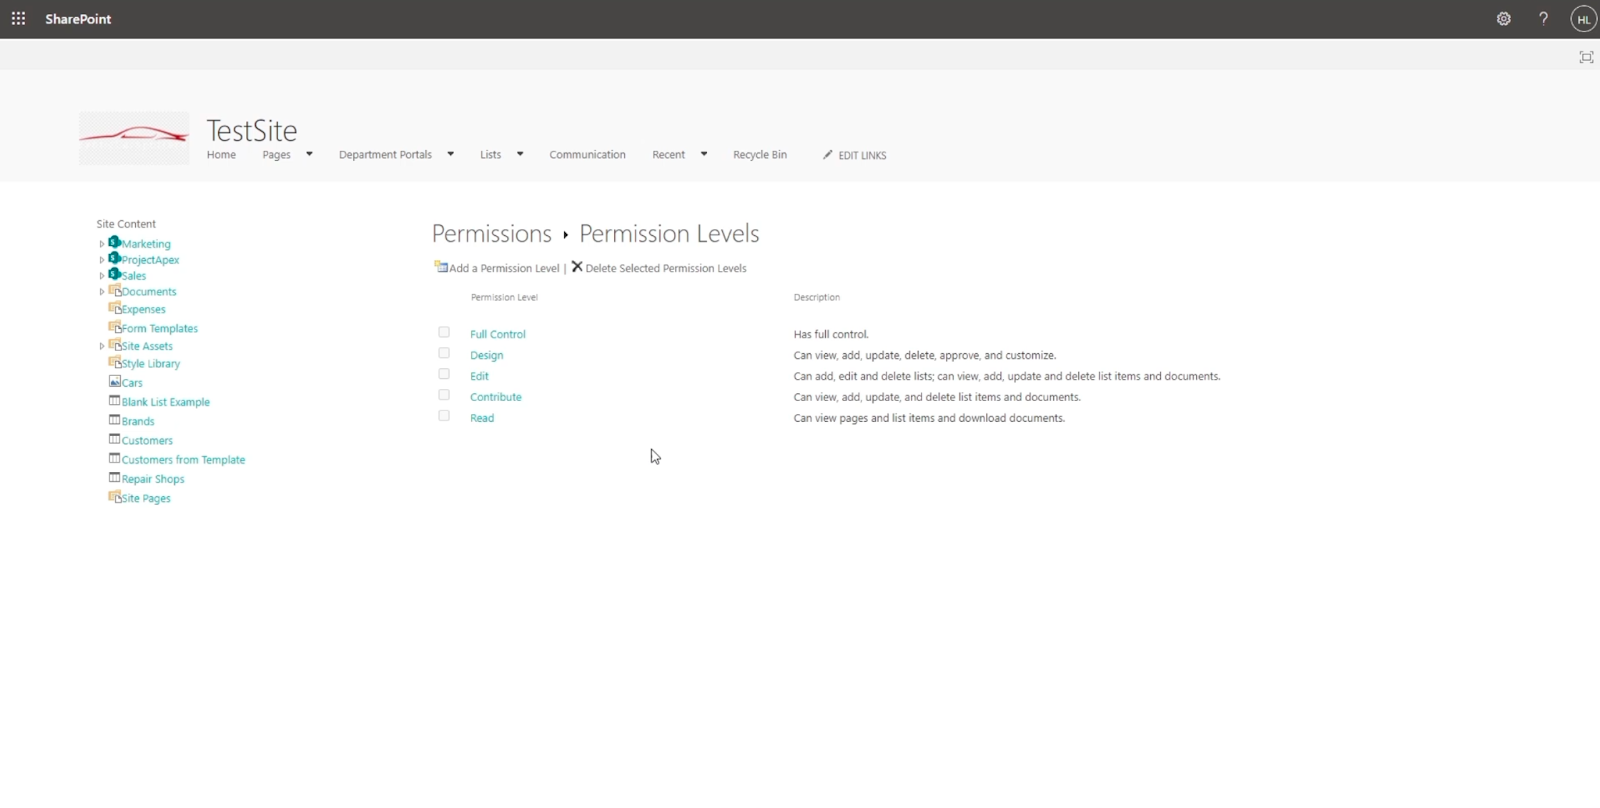
You’ll be redirected to a new page where you can see the permission levels.
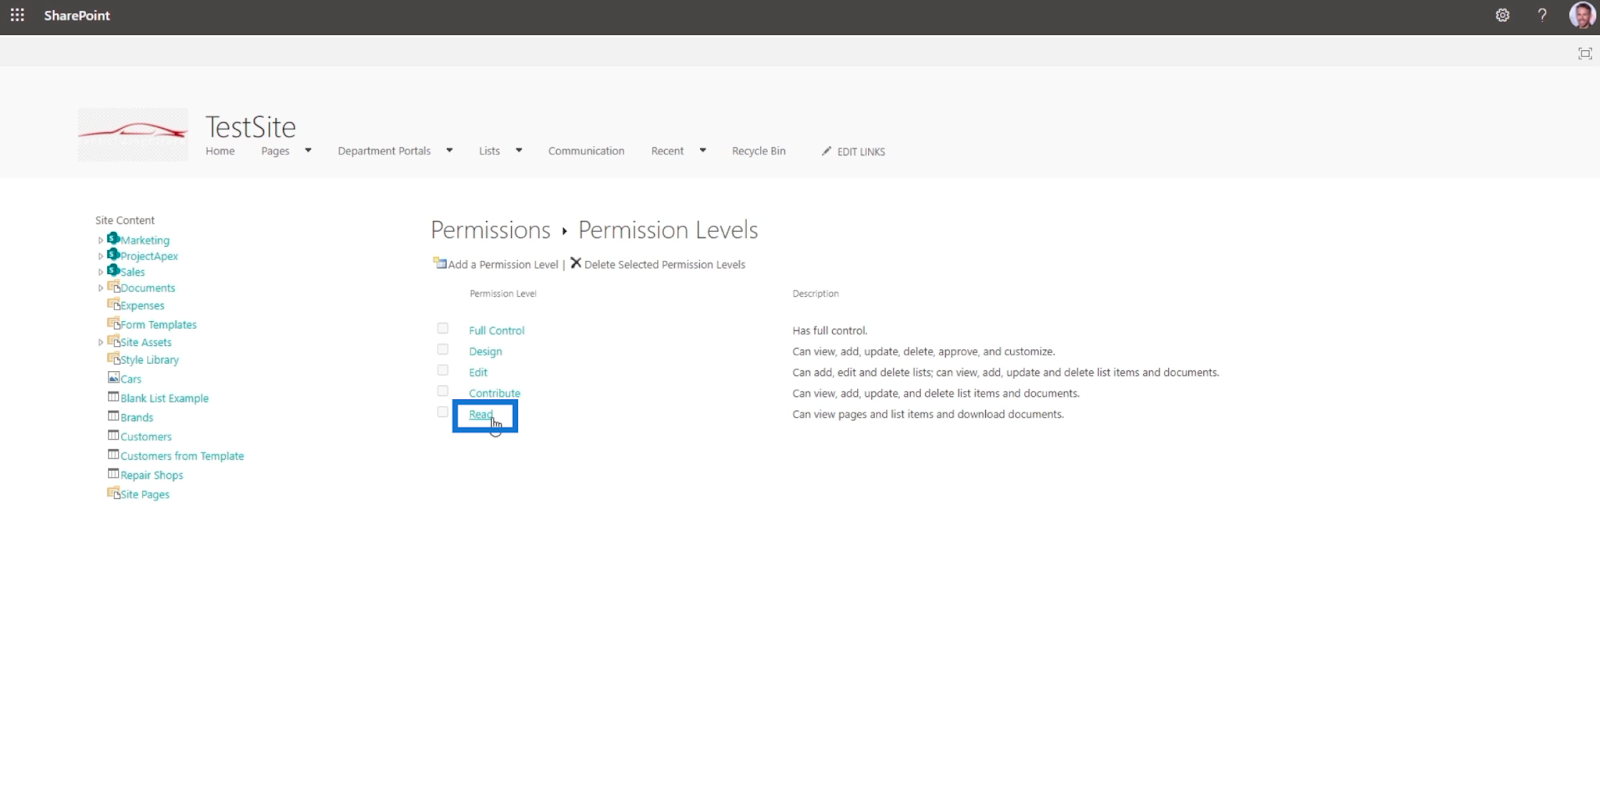
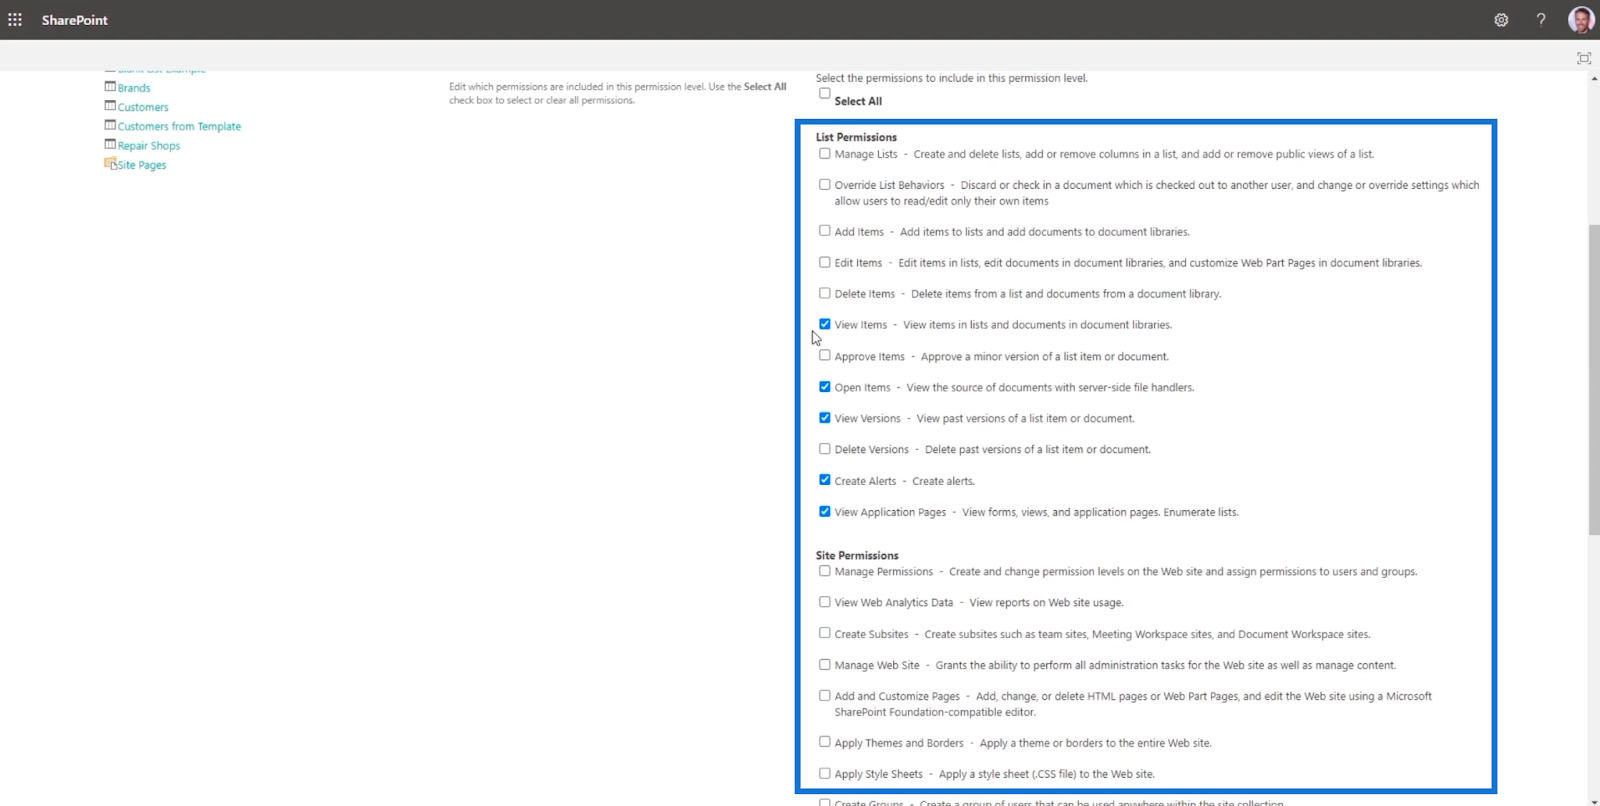
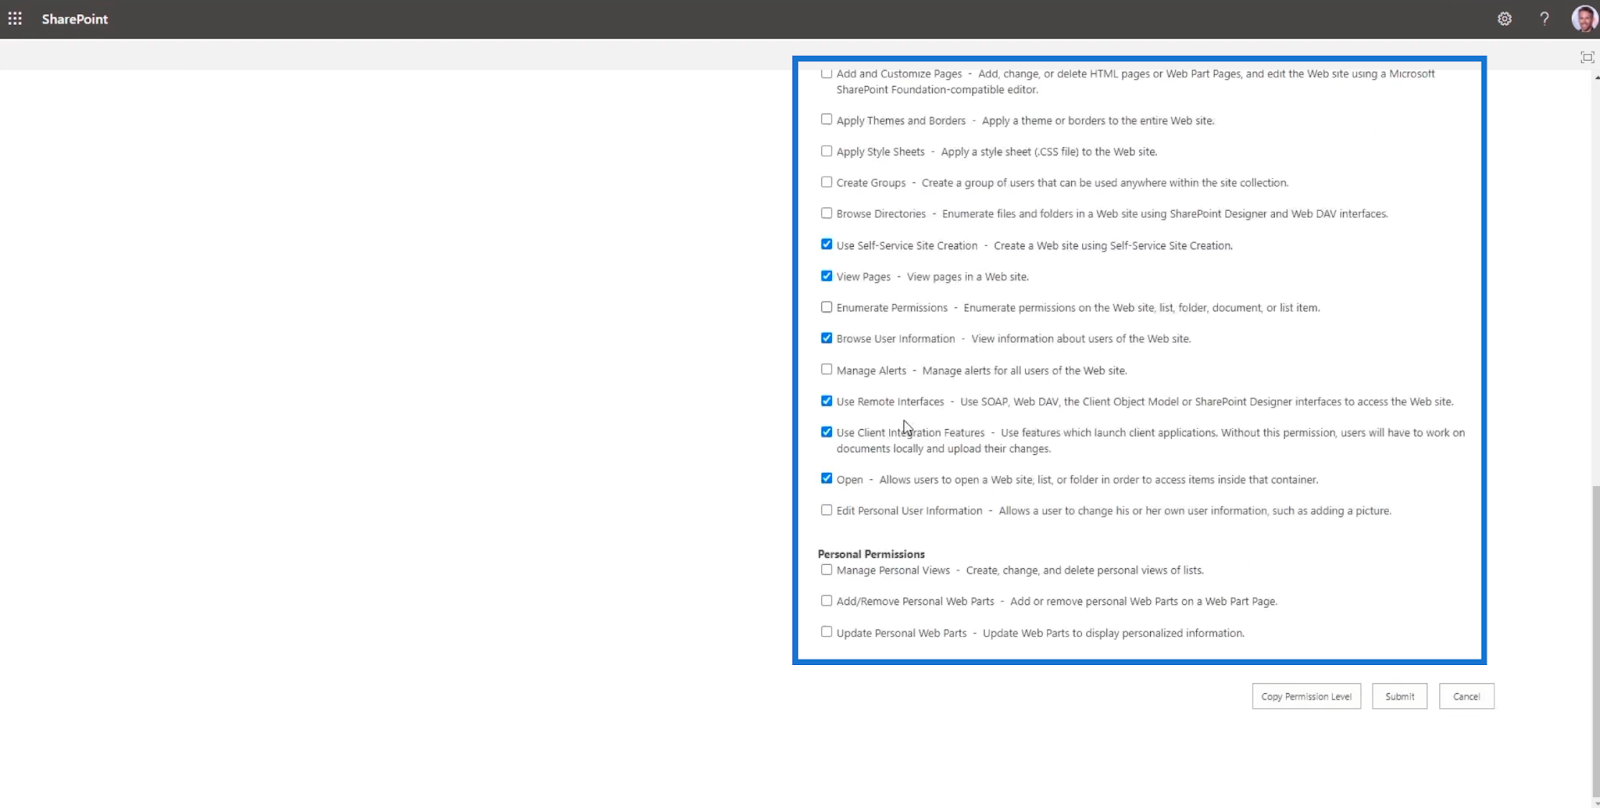
Next, let’s click Read.
As a result, you’ll see that all the checked items are what the person or member can do with this permission level.
If the new member, in our example, Brad Pitt, accesses the SharePoint Site, he can only read the items. On the member’s screen, there’s no Add button on the navigation to add new files.

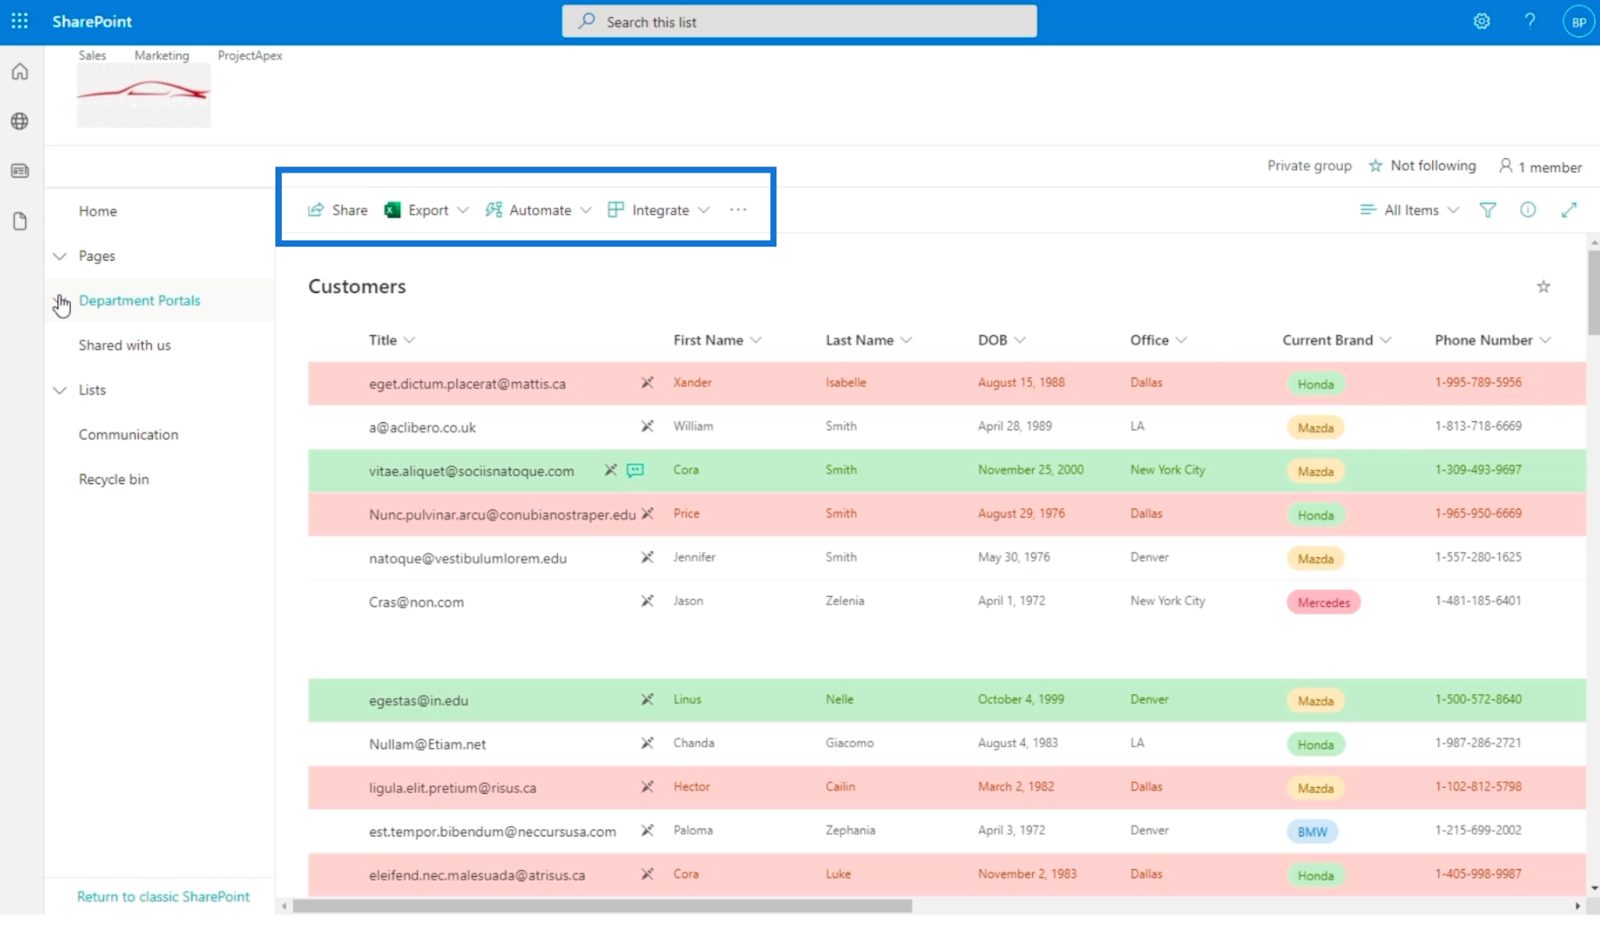
Also, the Edit button is greyed out.
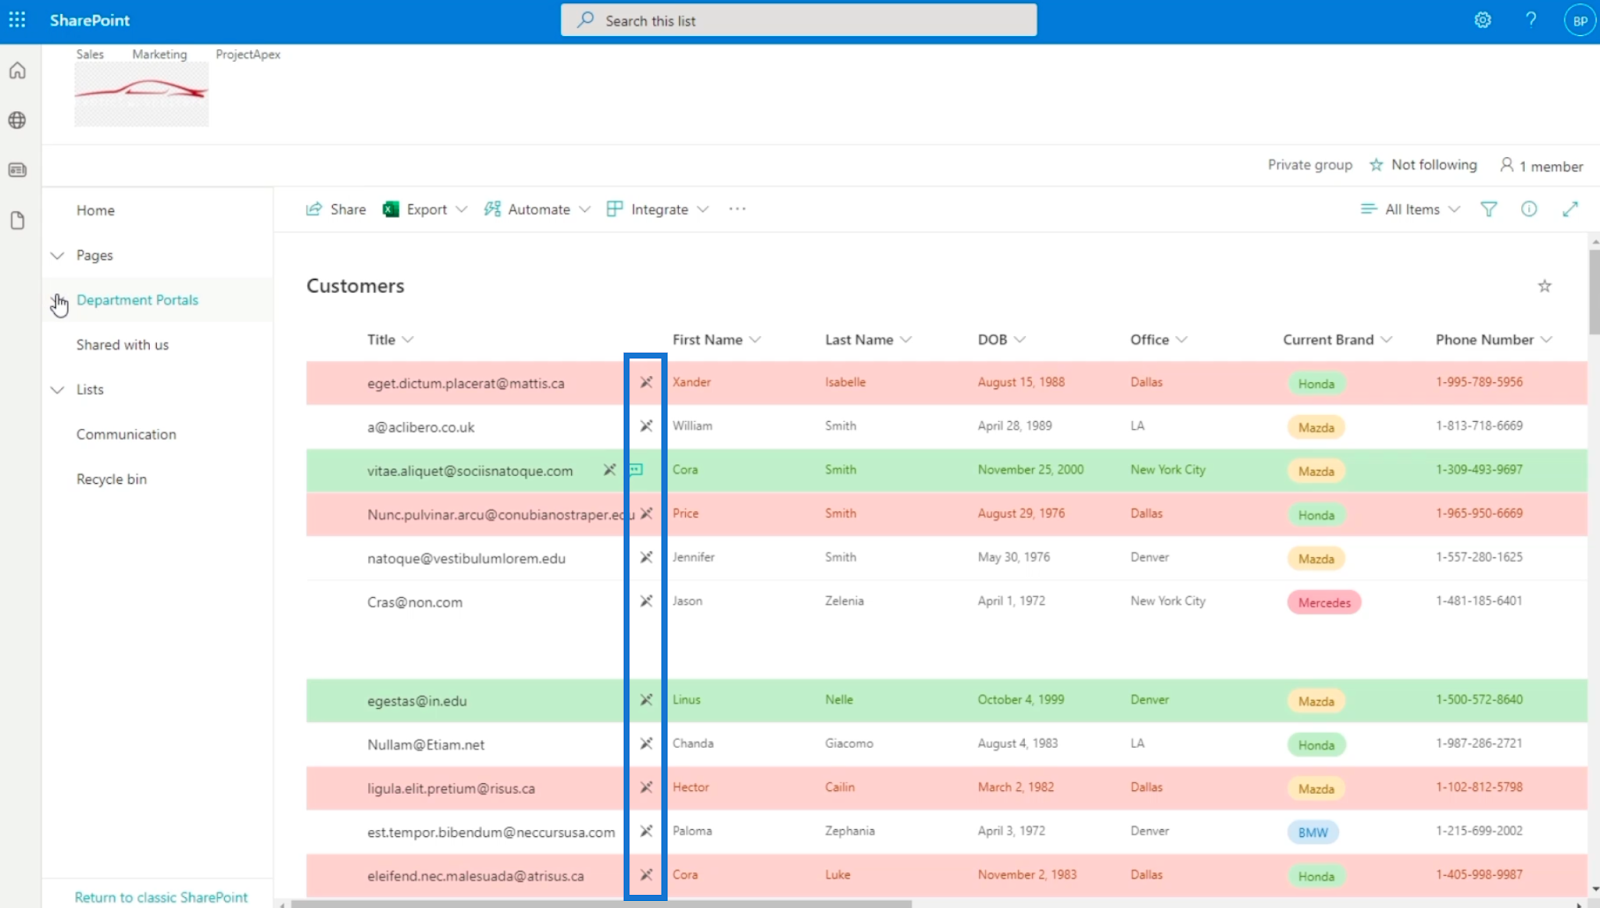
This means that Brad Pitt can only view and read the files in our SharePoint site as this is what we have set his permissions to.
***** Related Links *****
SharePoint Site Permission Inheritance
SharePoint Lists: An Overview
An Overview Of The SharePoint Site Library Settings
Conclusion
To summarize everything, we have discussed the steps in adding a new user to our SharePoint site and how we can set SharePoint read-only access to the user.
Remember that you are allowed to change the permission level. You can set it depending on what access you want the person you want to have. Additionally, you can change it anytime. For example, if a user got promoted, the permission level will also change.
I hope that this was helpful. If you’d like to know more about this topic, you can certainly enrol in our SharePoint course.
All the best,
Henry Habib


