In this blog, we’ll discuss how you can create navigation links using some simple steps. SharePoint site navigation is one of the key elements to making your site more efficient.
By properly creating navigation for your SharePoint site, you’ll have better and more straightforward access to the pages.
If you create a subsite, you can certainly do some modifications to make the navigation easier. You’ll notice that your subsite looks similar to the other sites you want to create. It has its own standard homepage and pages. It has its own document library and contents as well. In this example, I’ll be using the Sales page I previously created.
The subsite will act as a separate site. This means the contents here are different from the contents on the main test site. So, how can we make navigation easier?
First, go back to the main site by changing the web address. In our example, we have “https://citizenbuilders.sharepoint.com/sites/TestSite/sales”. We’ll remove the word “Sales”after the last slash, so it’ll only be “https://citizenbuilders.sharepoint.com/sites/TestSite/”. Then press the Enter key on your keyboard.
Once redirected to the main page, you’d notice that there is a link on the top left named “Sales”. This is because we told SharePoint that we want all the subsites to be on this location. You might not be able to see it well because of the background image. So let’s have an example on how to remove it.
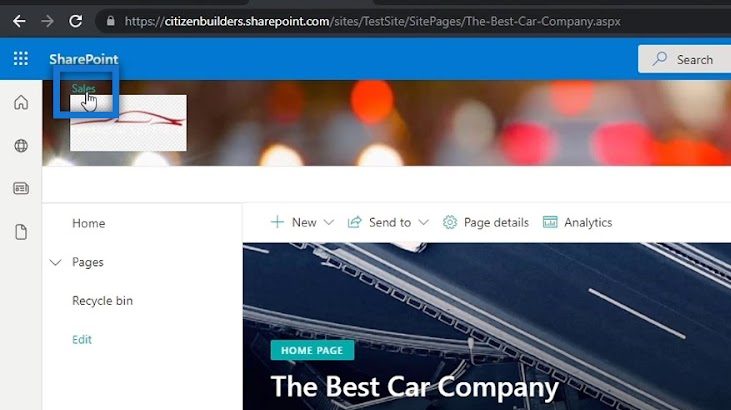
Removing The Background Image On Your SharePoint Site
To get rid of the background image, go to Settings by clicking the gear icon on the top right of the page.
Click Change the look.
Then, choose Header.
After that, click Remove.
Click Save.
Then click X on the top right of the right panel.
Finally, click the X sign to close the Settings panel.
By doing that, it’ll remove the background image on the header, allowing you to see the subsite called “Sales” clearly.
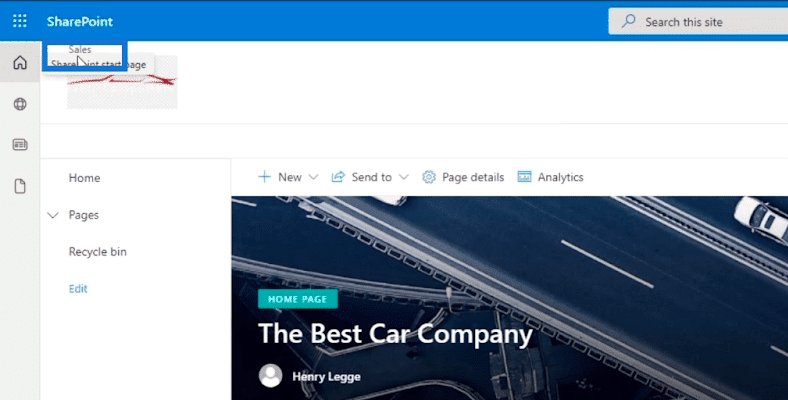
And when you click it, you’ll be redirected to your subsite. In our example, we’re currently on the Sales page.
Adding A SharePoint Site Navigation On Your Subsite Page
One of the most troublesome things about this is that you can’t go back to the main page unless you change the web address or link. Therefore, we need to create a navigational element that will redirect you to the main page.
To do this, click Edit on the left panel.
We’re going to add an item under Edit navigation. To do that, hover your cursor over the last element on the left panel, and you’ll see a + sign. Click the + sign.
Once you click it, a dialog box will appear.
In the dialog box, we’ll copy the link that takes us back to the main page. You can go to the web address bar and copy the link except for the last page. In our example, we’ll use “https://citizenbuilders.sharepoint.com/sites/TestSite”, instead of “https://citizenbuilders.sharepoint.com/sites/TestSite/sales/”.
Then we’ll put a title based on what it does. Since we’ll use it to bring us back to the main page, we’ll type “<- Back to Car Company”. Remember, our sample main site is Car Company.
After that, click OK.
Then let’s drag it to the very top of the navigation panel.
Finally, click save at the bottom left panel.
When you click the navigation link we made…
… it’ll take you back to the main page.
Creating SharePoint Site Navigation On The Main Page
First, let’s create a new page. We’ll add this page to our main page navigation.
Then, select Page from the dropdown menu.
A new window will appear. Let’s choose Blank for our template.
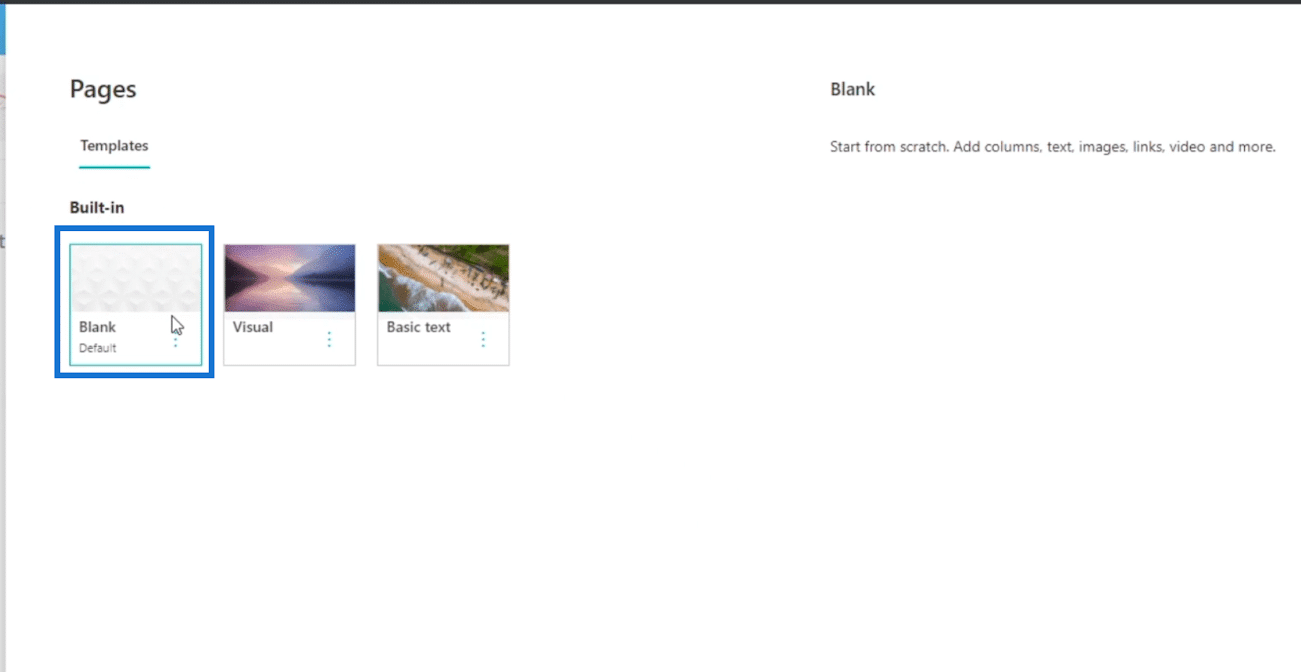
Click the Create page on the bottom right.
You’ll then be redirected to a new page where you can set it up according to your preferences.
At the Header, add the name of the page by clicking the text box that says “Add a name”. In our example, we’ll use “Department Portals”.
In the text box below it, we’ll describe what this page does. Since this is a department portal page, we’ll type “Use this page to navigate to your department portals.”
Next, we will make a call-to-action banner. Click the + sign to add an item.
When you click it, a dialog box will appear.
Select Call to action.
A new box will appear asking you to add two things: the call to action text and Button.
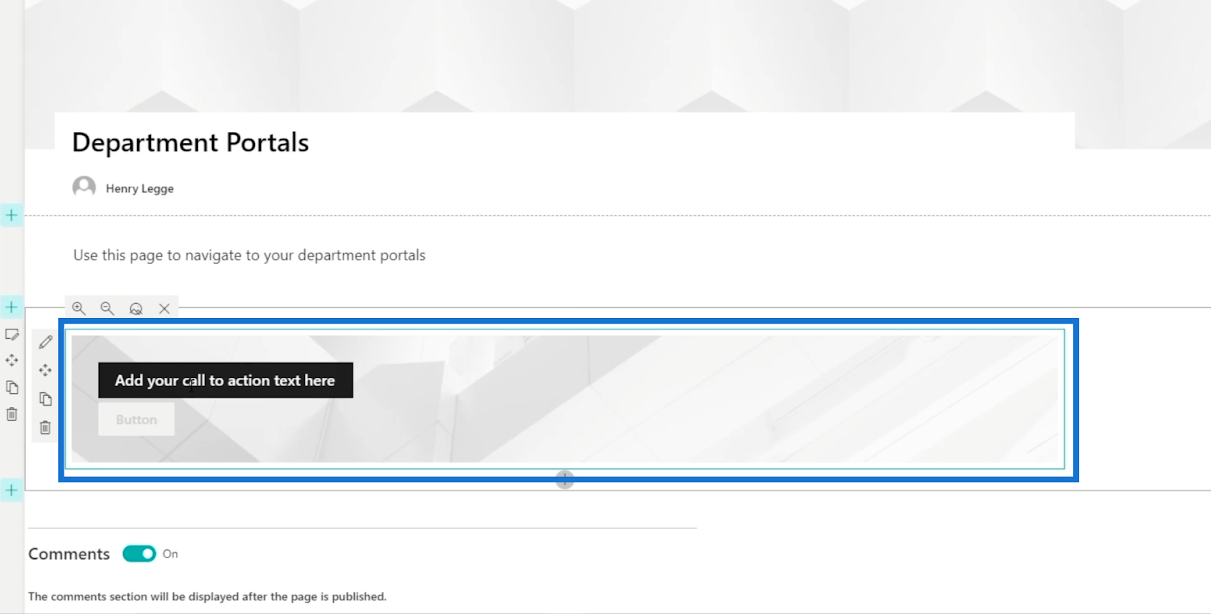
For our example, we’ll type “Sales” for the call to action text.
After that, click the Pen icon to edit the call to action banner.
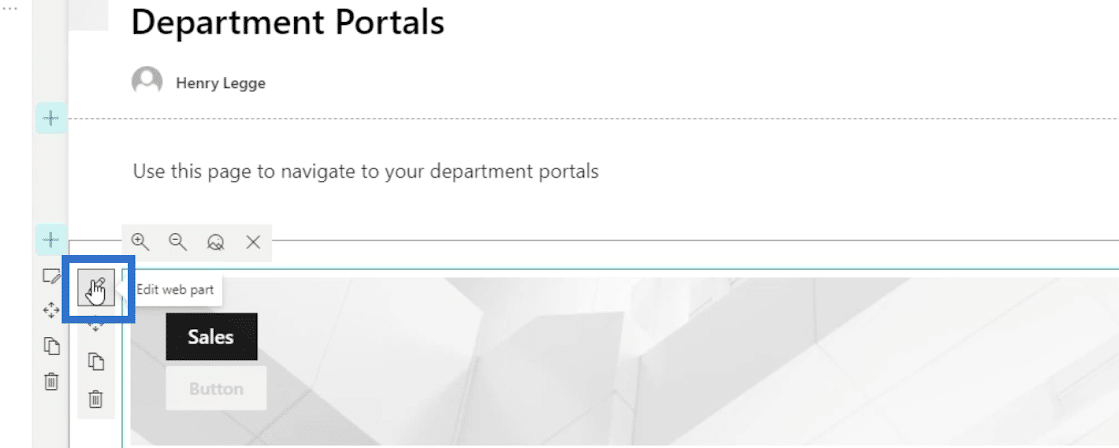
It’ll open a new panel on the right.
Let’s set it up by filling out the necessary information. First, in the Button label textbox, we’ll type “Click here”.
Next, we’ll use the link for the actual subsite of our Sales page. So let’s type “https://citizenbuilders.sharepoint.com/sites/TestSite/sales” on the Button link textbox.
Publishing Your Page
To publish the page, go to the Page details tab.
The Page Details panel will then appear. In the Page Type textbox, we’ll use “Information”.
Then let’s publish the page by clicking Publish.
You’ll be redirected to the page you just created and it’ll suggest a few things on the right panel.
On the right panel, we’ll click the first option which says “Add page to navigation.”
Click X on the top right of the panel to close it.
Then, click save on the bottom left panel.
After that, the page you just created will be on the navigation links of your main page.
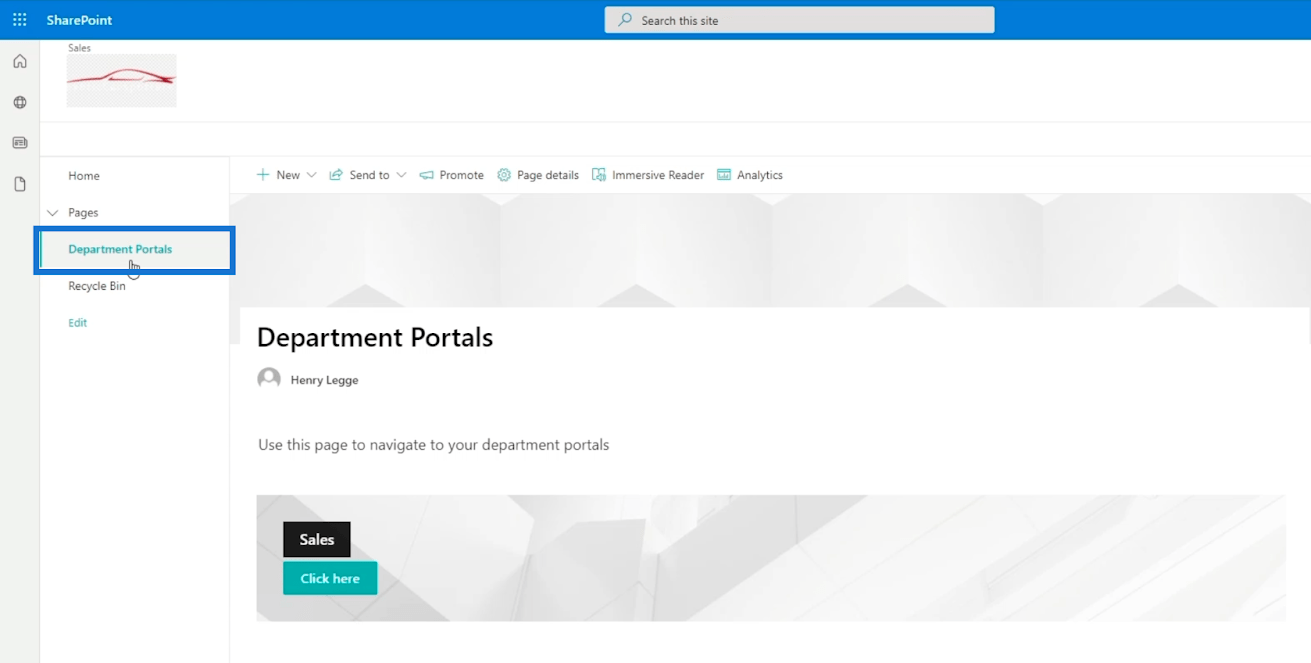
You can also add a navigation link on your main page. This will allow you to access your subsites easier.
Just make sure that you make it a sub link since this is a subsite. You can do it by clicking the ellipses next to it.
Then click Make sub link.
Finally, click save.
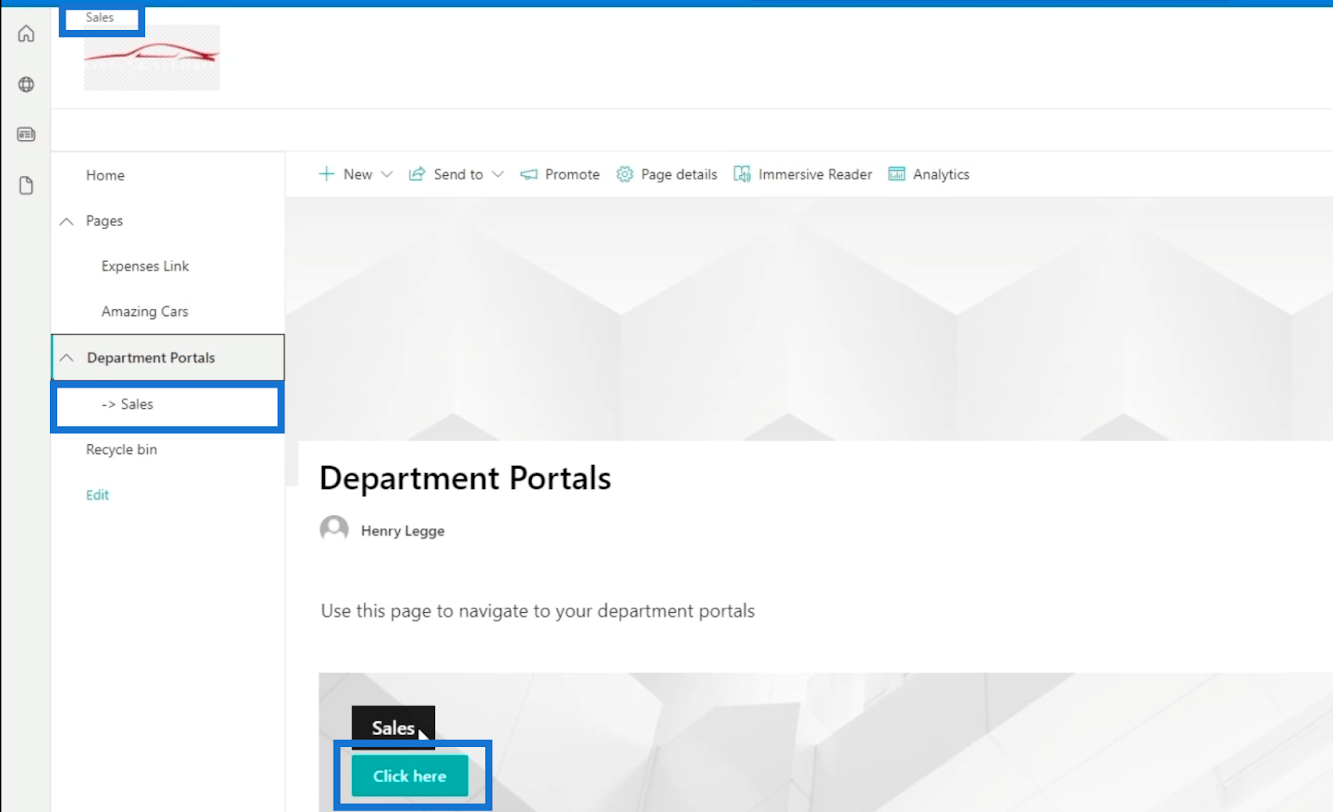
This will give you 3 different ways to go to Sales: via the navigation link on the top, through the left panel, and via the call to action banner.
Modifying The SharePoint Subsite’s Look
It’s quite difficult to identify whether you are on a subsite or the main page. What we’ll do is to adjust its appearance to let us know that we are in a subsite.
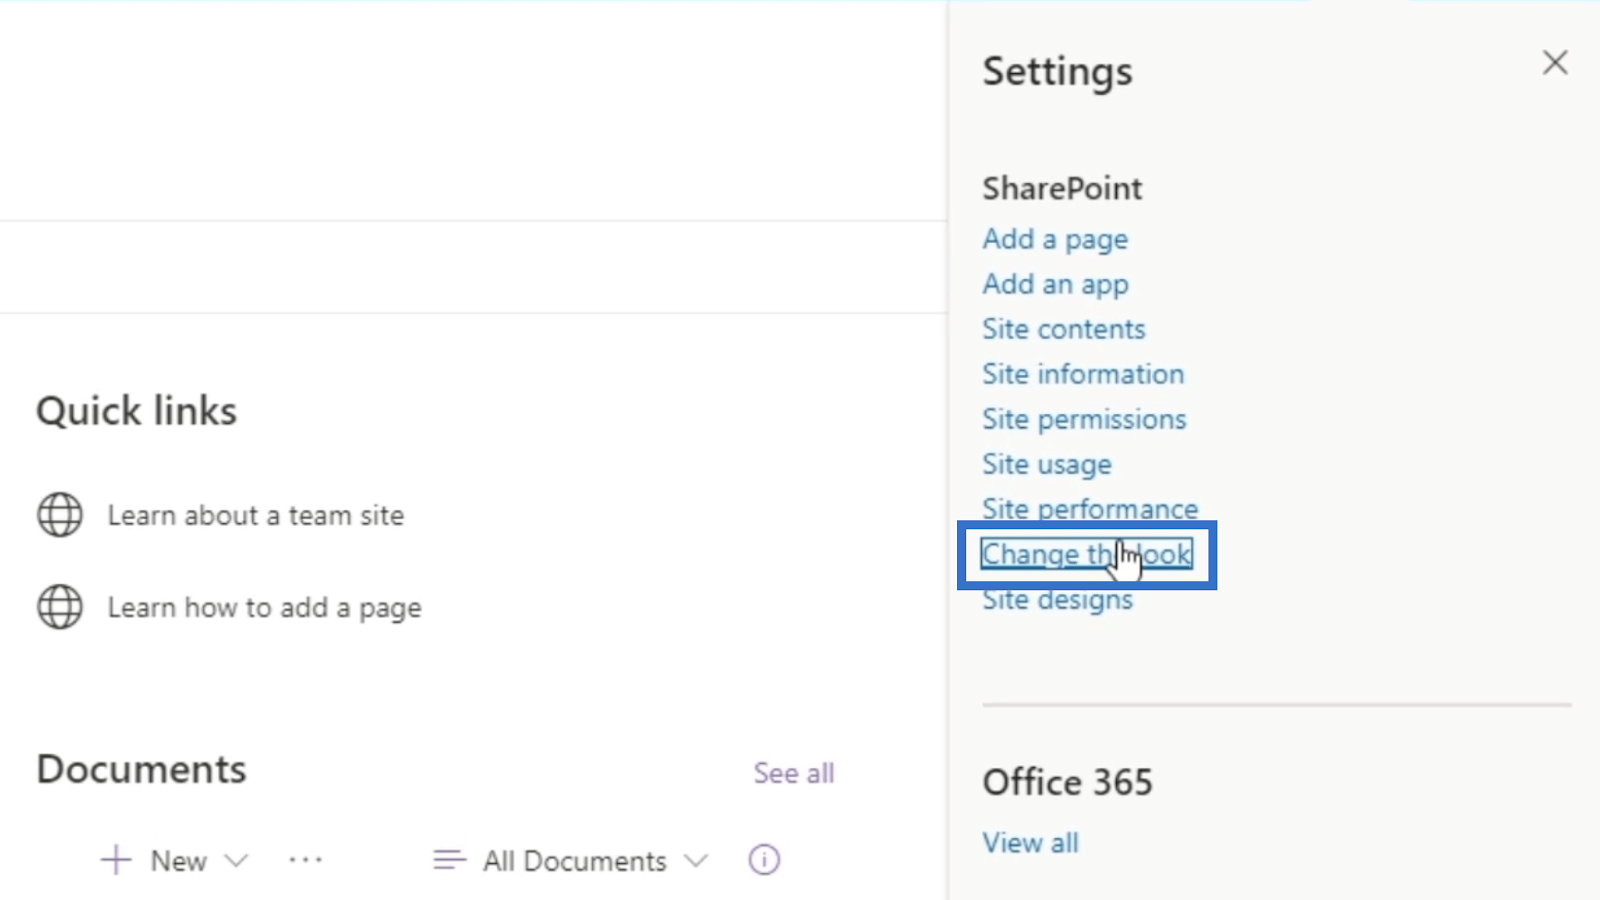
First, make sure you’re on the subsite page, then click on the gear icon on the top right.
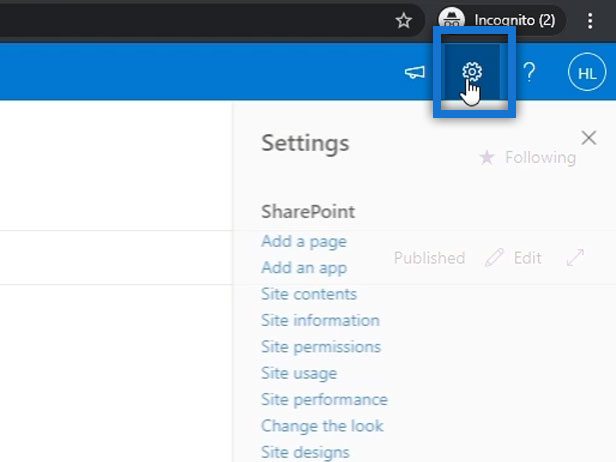
Next, click Change the look.
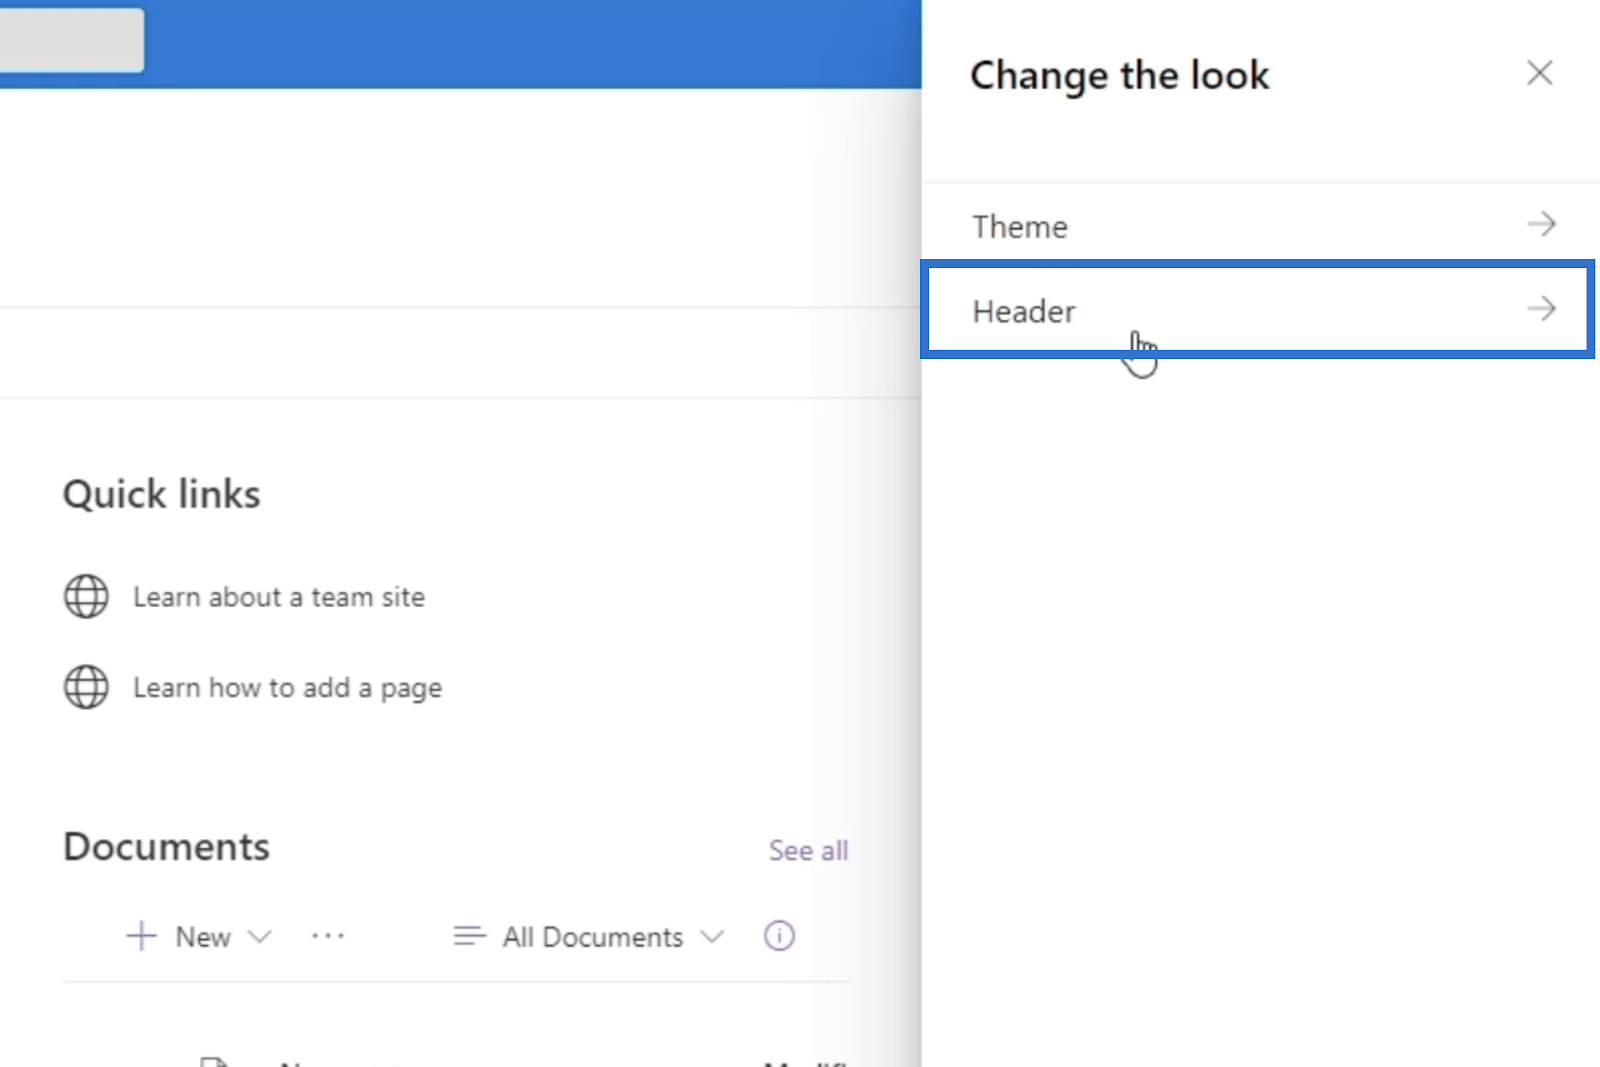
After that, choose Header.
Under Layout, choose Minimal. This will make the page look different from the main page. You’ll notice that the header became smaller.
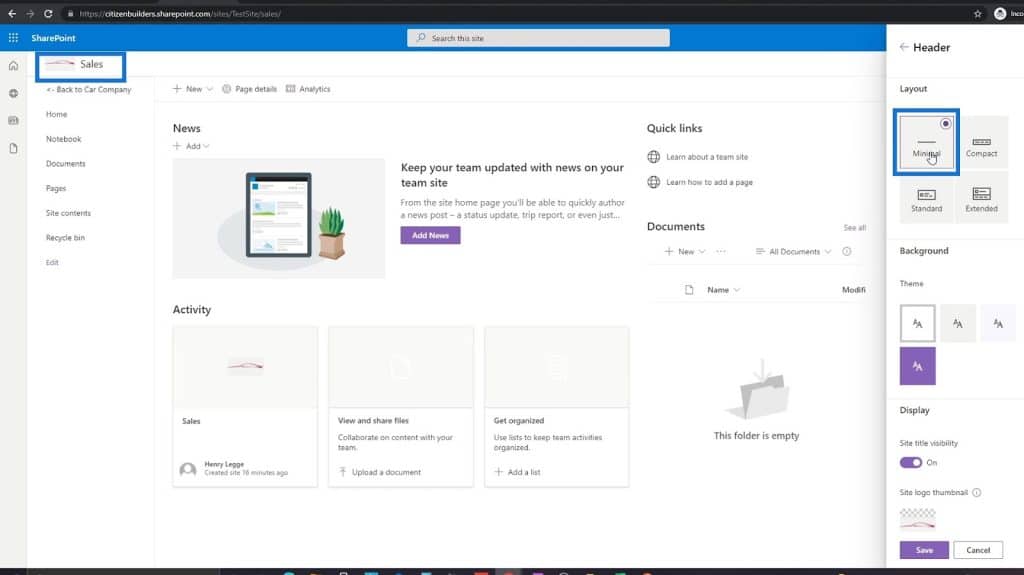
You can also change the logo by clicking the Site logo at the bottom of the right panel. But for this example, we’ll use the same logo. Hence, there’s no need to change it.
Finally, click save.
You can also add a header banner on this subsite. This will give you additional ways to go to the page you want to access.
Please note that we’ve changed the navigation link’s name to “The Best Car Company”.
***** Related Links *****
SharePoint Home Page Overview And Creation
SharePoint Subsite: Creation And Configuration
SharePoint Site Collections | An Introduction
Conclusion
To sum up, you’ve learned how to add links and connect them to your pages. You’ve also learned how creating simple features, such as call to action, can make your SharePoint site navigation seamless.
Now that we’ve successfully created links to your pages in your SharePoint Site, it’ll be easier to go through each site. You no longer need to change the web address to go to the page you want to visit as long as you follow these simple steps.
All the best,
Henry


