
In this blog, we’ll discuss how you can create your first subsite in SharePoint using some easy steps. A SharePoint subsite is the same as a regular site. However, their main difference is that subsites are inside a SharePoint site.
In SharePoint, we can create multiple numbers of subsites under a parent Site collection.

Creating A SharePoint Subsite
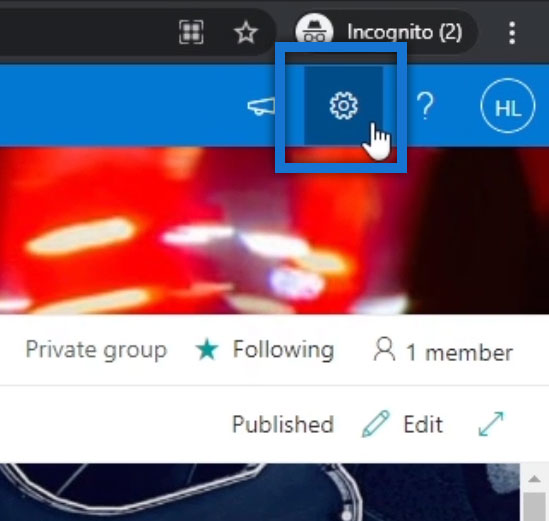
To create a subsite, you should do it within your test site or SharePoint site. Once you’ve entered your test site, click the little gear icon on the top right.
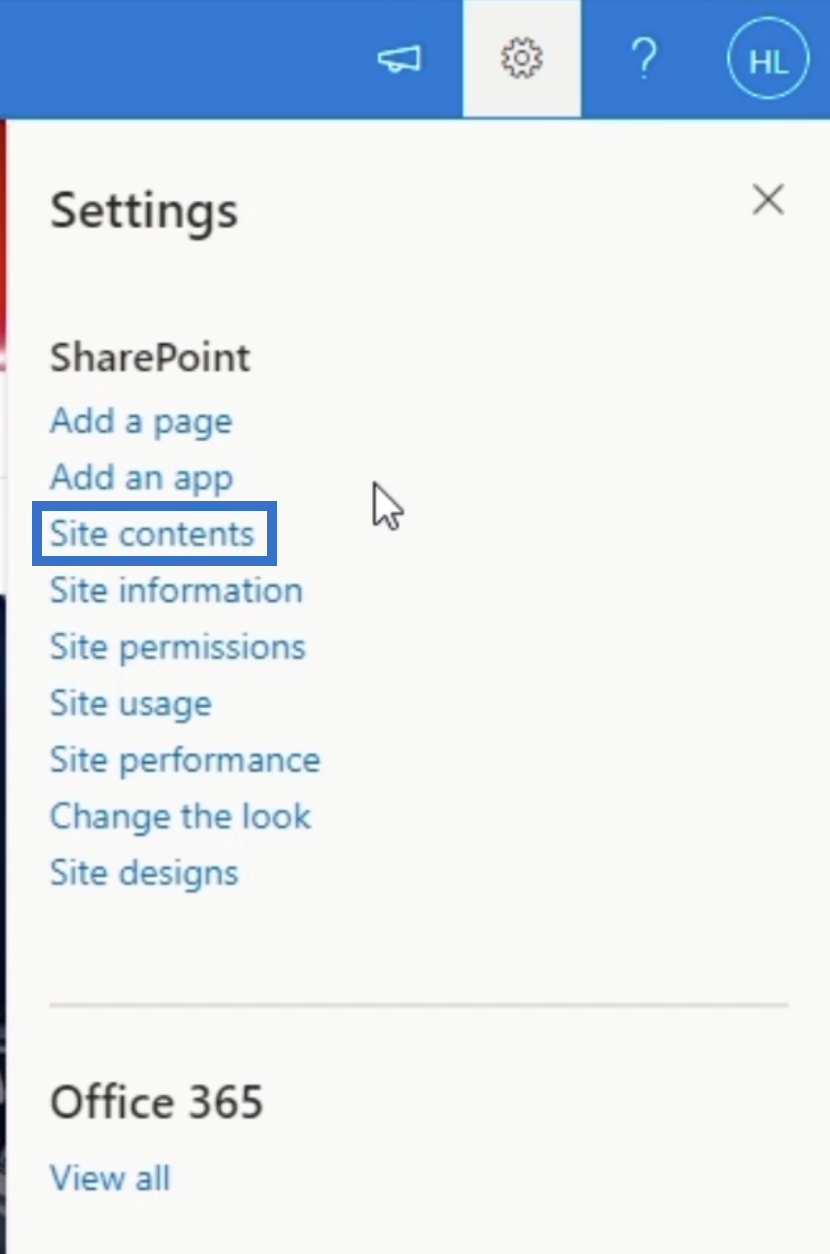
Then, click Site contents.
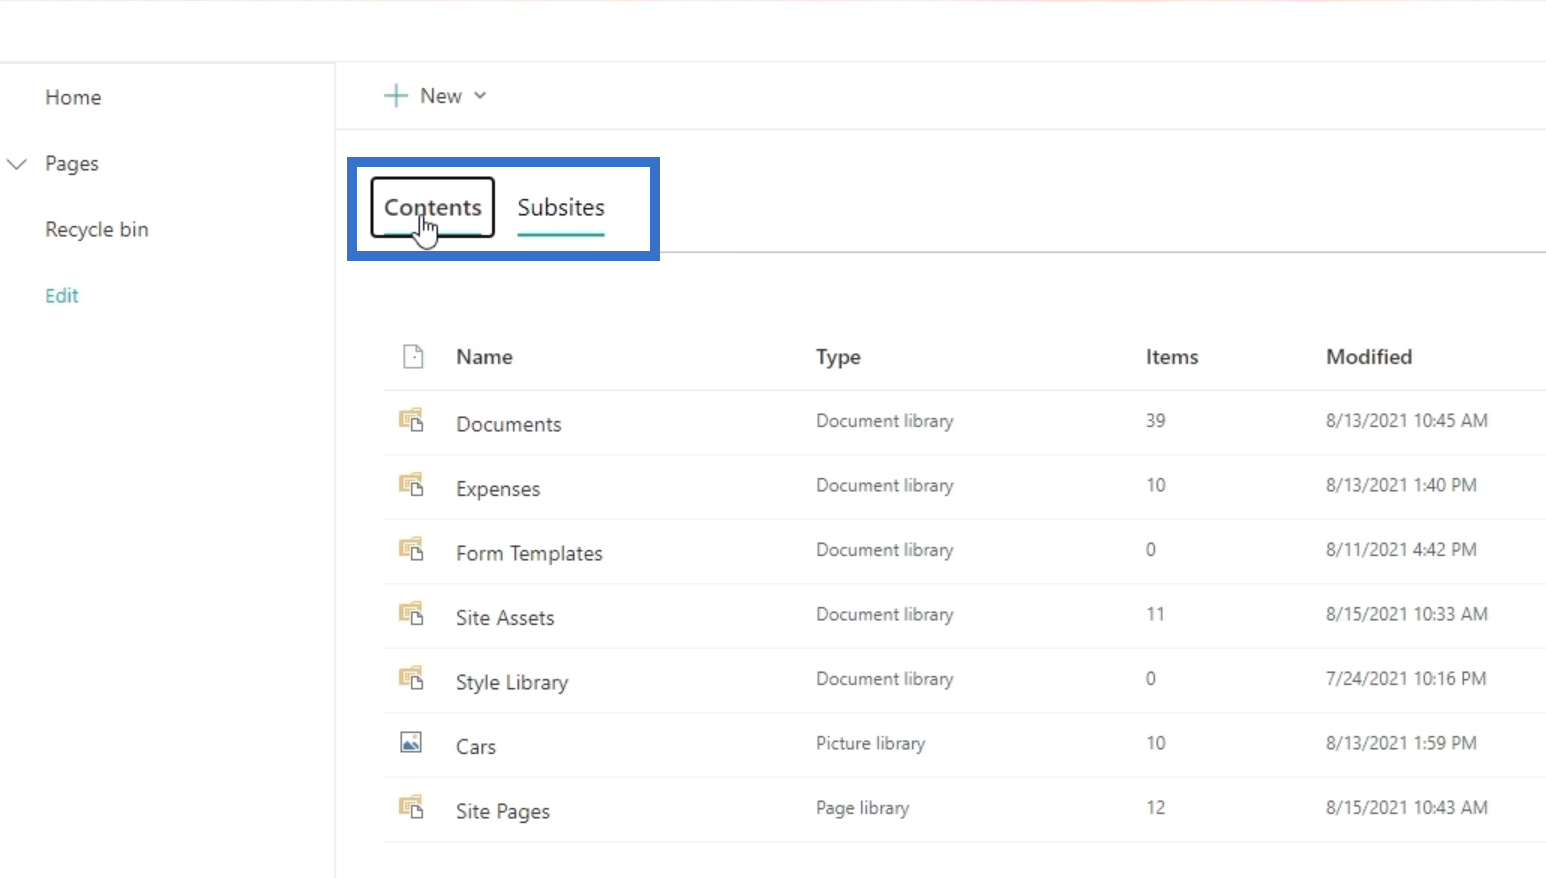
On this page, you’ll see two tabs. The first one is called the Contents; this is where you’ll find the contents within the site. The second one is the Subsites; this is where you’ll see the list of subsites.
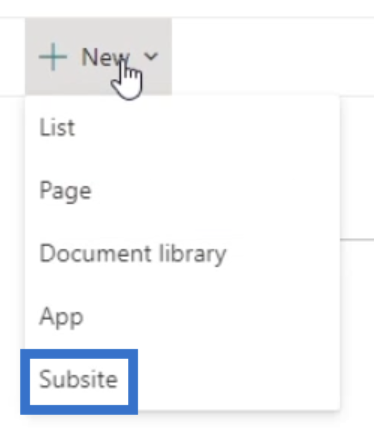
Click New.
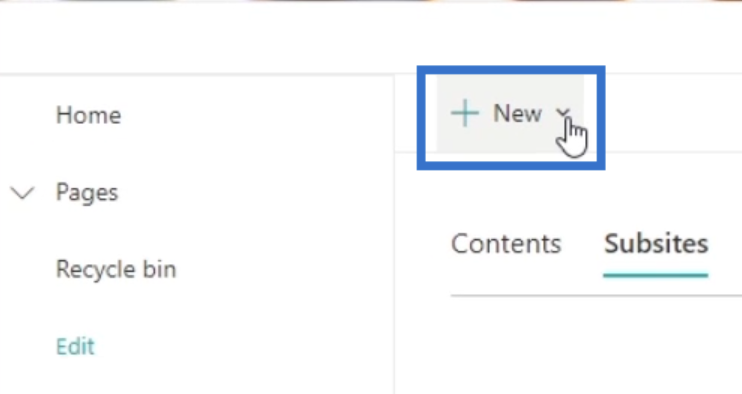
Then choose Subsite.
After that, it’ll redirect you to a page asking for the standard details of the subsite.
Configuring A Subsite In SharePoint
First, you need to input the title of the page on the Title field. In this example, we’ll name it “Sales”. Although in most cases the description is not necessary, we highly recommend adding one for your subsite by describing what it is about in the Description field.

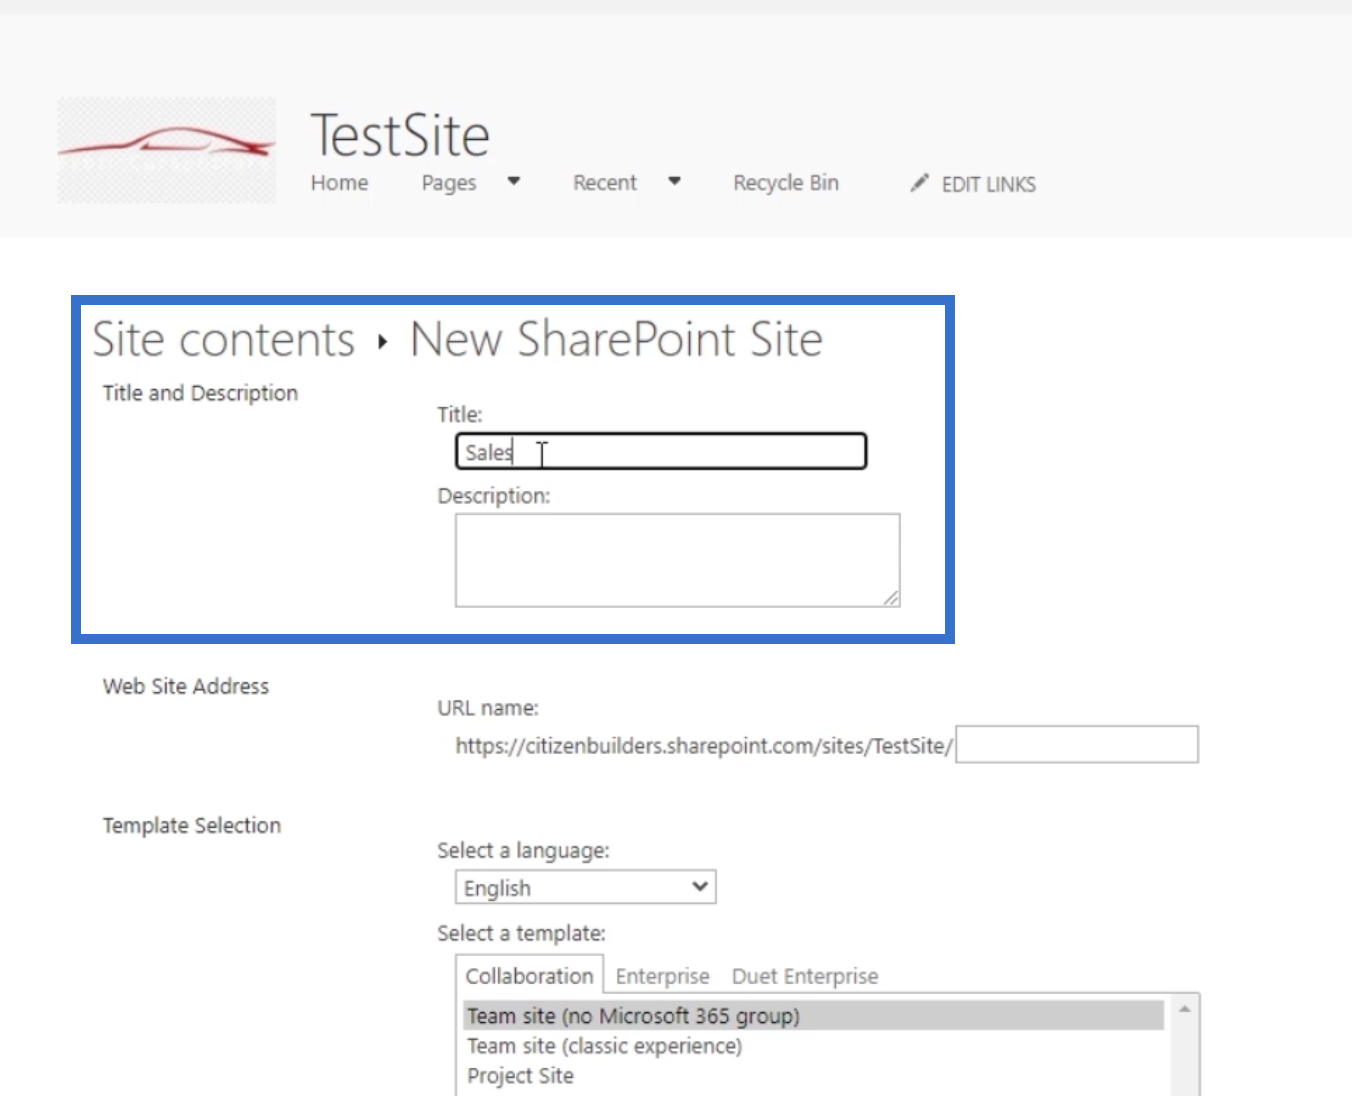
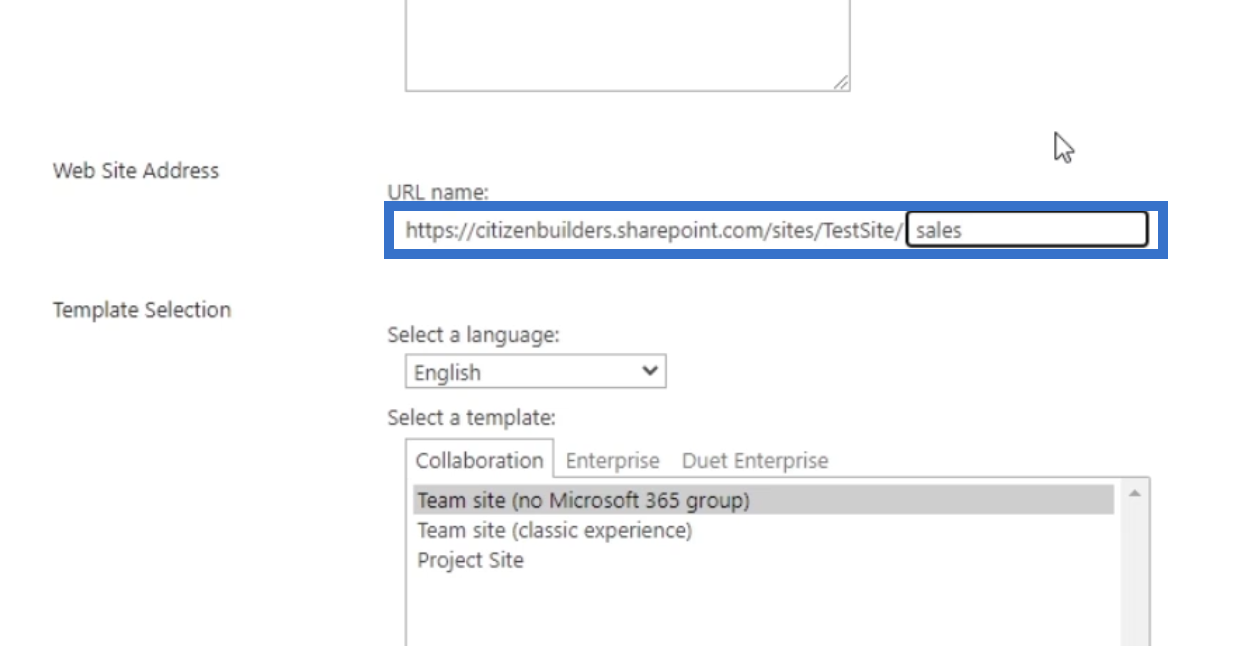
For the Web Site Address, you can put whatever name you want. In our example, since we named it “Sales”, we’ll just use that here as well.
Selecting A SharePoint Subsite Template
You’ll find the language that you are going to use in the Template Selection. You can simply click it and choose the language you want. As a default, the language is set to English.
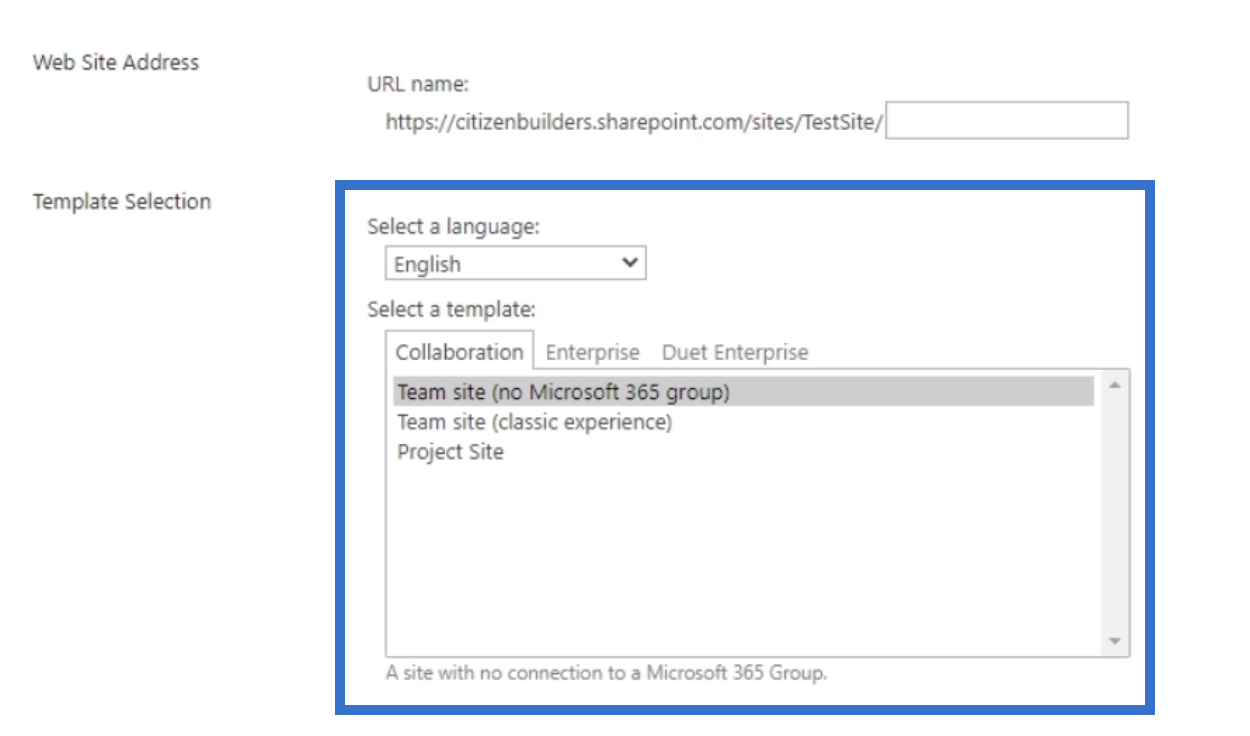
For the template, there are three categories to choose from: Collaboration, Enterprise, and Duet Enterprise. But in this blog, we’ll focus on the first one.
Collaboration has three subcategories, which are Team site (no Microsoft 365 group), Team site (classic experience), and Project Site. As the name implies, a Team site (no Microsoft 365 group) doesn’t have a connection to a Microsoft 365 group, while in the second one, you can have a classic experience on the homepage.
The Project Site is used for managing and collaborating on a project. The main difference between a Project Site and a Team Site is that a Project site has a lot of apps for project built-ins such as Calendar, Status Tracker, and a lot more.
On the other hand, the Team Site is your vanilla (pure/plain) template where you can put anything you want. You can open up a Team Site and add all the plug-ins you want to use. But for this example, we’re going to start from scratch and select Team Site. As you would notice, it also indicates “no Microsoft 365 group”. This is because if you create a subsite, it doesn’t get its own email address.
Setting The Subsite Permissions And Navigation
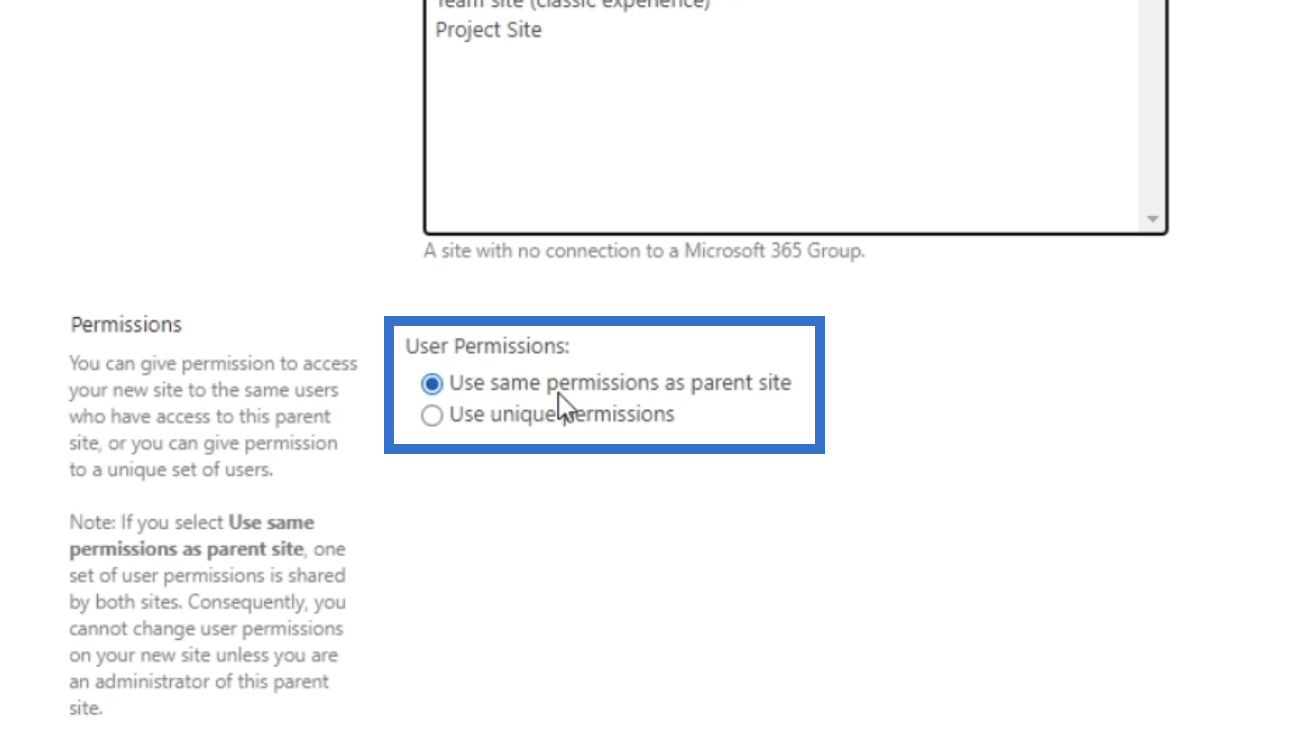
You can also set Permissions for your subsite. You’ll see the descriptions for each option on the left panel. If you choose the first option, people will have the same permissions to both the main/parent site and the subsite. The second one is more commonly used as you can choose who will have access to your subsite. But in this example, we’ll use the first one. That means all users will have the same access to this subsite.
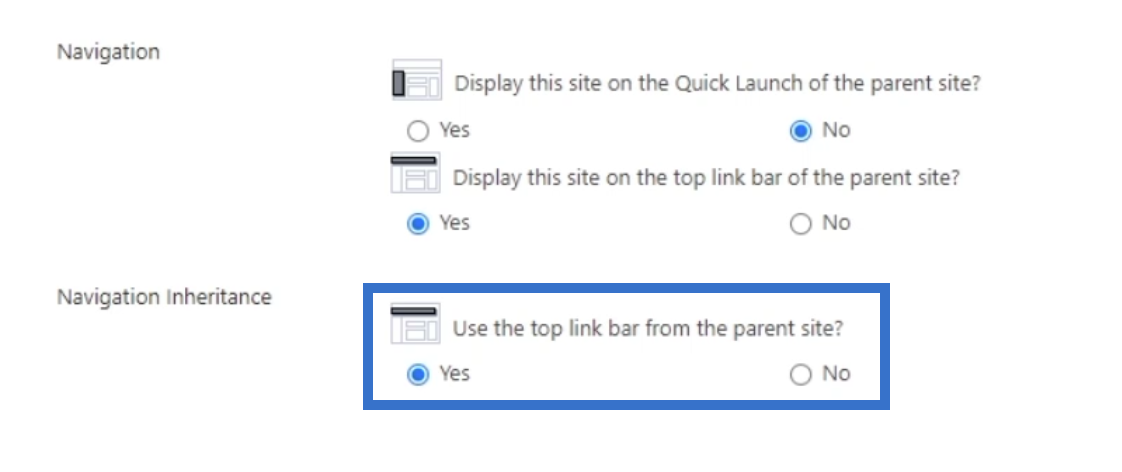
The next part is the navigation. It’ll ask you if you want to display the Quick Launch on the main site. In this example, we’ll choose No because it’s not a page on our main site but a whole new site.

However, on the second selection, we’ll choose to display this site on the top link bar of the parent site. This means we can have a Sales page on this part of our sample main site.

It also asks if you want to use the Navigation Inheritance. This means if you have multiple subsites, you can see them on the navigation links on your homepage. You don’t need to go to your first subsite to enter the second one because you can easily click it from the homepage. In our example, let’s choose Yes.
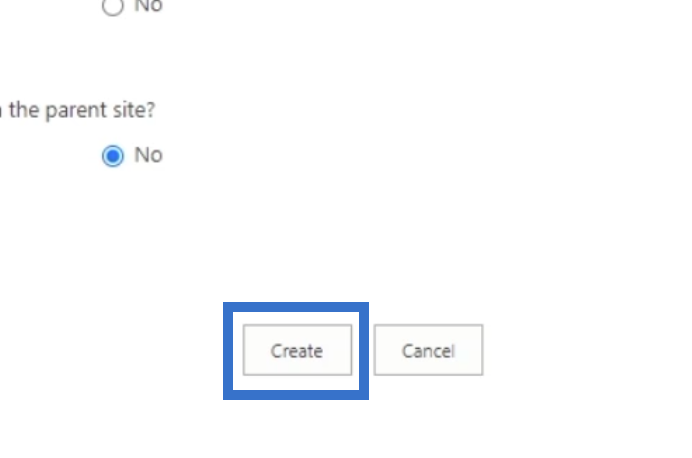
Lastly, click Create.
***** Related Links *****
SharePoint Home Page Overview And Creation
SharePoint Pages | An Introduction To Its Different Types
SharePoint Tutorial: Creating A New Site
Conclusion
You’ve now learned how to create and configure your first SharePoint subsite. Keep in mind that a Project Site and a Team Site are different. Project Sites have more features. You can have a summary report on the page. It also has a visual timeline for project tasks and schedules. Additionally, you’ll be able to utilize a shared calendar for team events. But if you are planning to use the site for collaborative purposes, it is best to use a Team Site instead.
Moreover, you can always add more users and/or edit their access to the site later. However, for users to see the site, they must be given permission or added to one of the groups. You can inherit the permission from the parent site collection to child subsites. As long as you follow these steps, you’ll be able to create as many subsites as you can.

All the best,
Henry


