SharePoint Versioning for Office files is easy because we can make edits to them through desktop app or online, and we can edit them at the same time. However, editing a file in a SharePoint document library at the same time is only available for certain files. We can only do that for Office product files like Word, PowerPoint, Excel, and other MS Office product files.
We can’t edit non-office files in SharePoint at the same time. However, just like with MS Office files, we can still make use of the SharePoint versioning to audit and track the changes on those files.
Uploading A Non-Office File For SharePoint Versioning
First, let’s create a folder named Videos.
Inside the Videos folder, let’s upload a video file.
For this example, we’ve created two video samples. Let’s upload the Car Video 1st Draft. Select it then click the Open button.
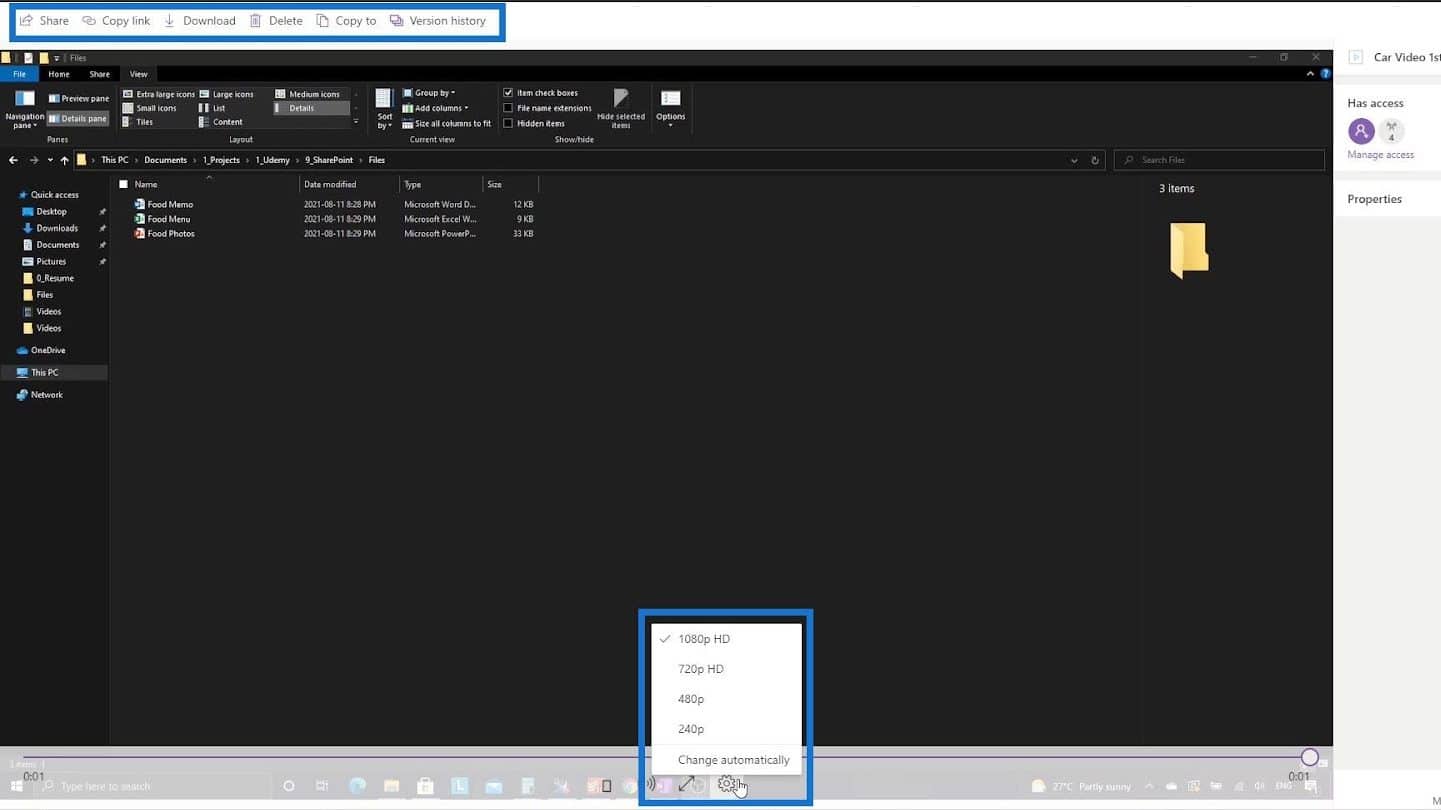
Another cool thing about SharePoint is that it has its own built-in video player. Let’s click on the video file that we’ve uploaded.
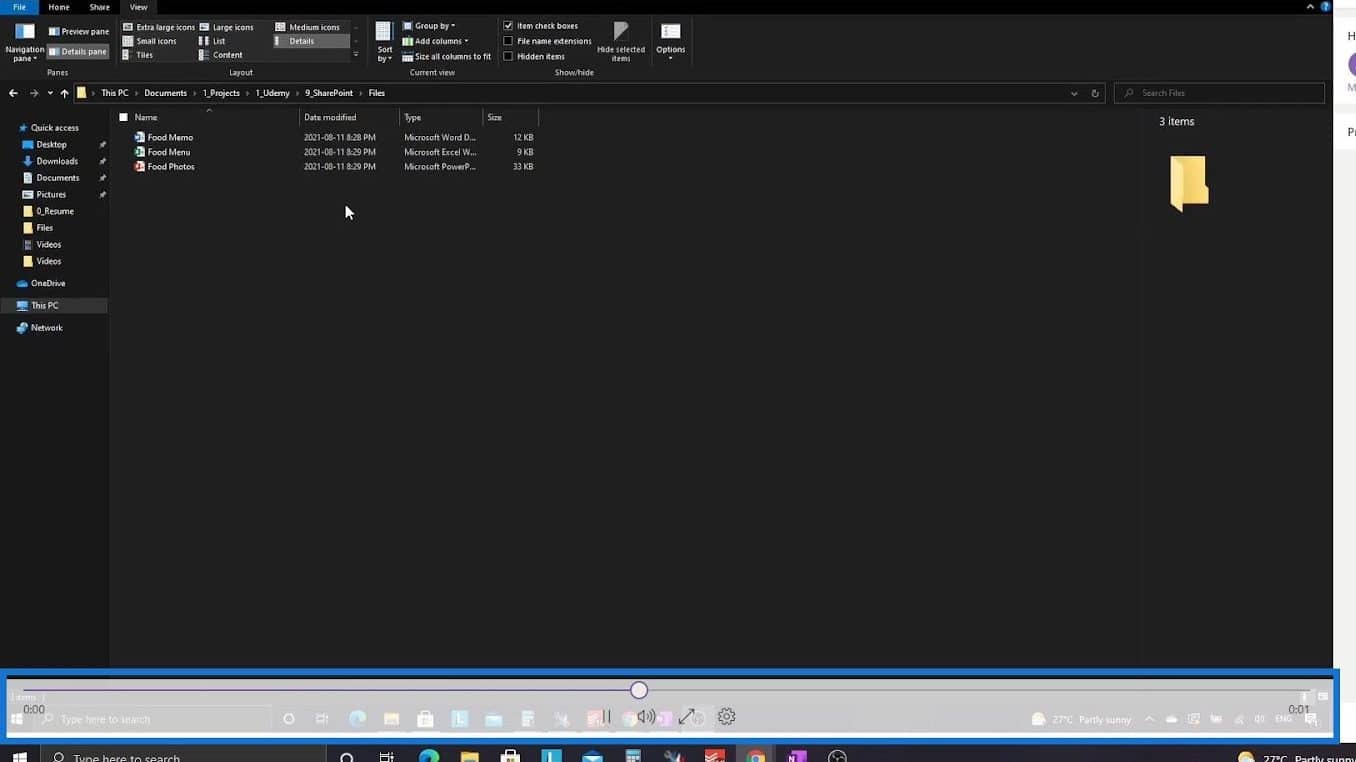
It’ll then open up the video. This sample video that we’ve uploaded is just a 1-second clip.

We can do a few things with this such as downloading, sharing, setting the quality of the video, and many others.

Let’s now close this video.
Modifying A Non-Office File In SharePoint
For instance, someone else downloads the video and makes a few edits to it. An old way to update this file is by naming that second video as Car Video 2nd draft, 3rd draft, and so on and so forth. This can be very inconvenient and annoying. What we can do instead is to rename this file. To do that, click the ellipsis and click Rename.
Let’s name this file as “Car Video” and click the Rename button. We’re renaming this file because we don’t need to specify this as 1st draft or 2nd draft every time we need to make some changes.
What we can do now is to upload a new file which is the edited file. So, let’s click Upload and choose Files.
Instead of uploading an updated video with a different file name, let’s rename this updated video with the same name as the file name from SharePoint. So, let’s rename this second video as “Car Video”. With this, we’re telling SharePoint that we’re not adding in a different file. Instead, we’re adding in an updated version of the file.
Let’s click the Open button.
It’ll then give us an error saying that the name of the file we’re uploading already exists. It’ll give us an option to keep them both or to replace the existing file. What we want to do is to replace the existing file. Therefore, let’s click the Replace button.
We can check if the file is updated by opening it up again.
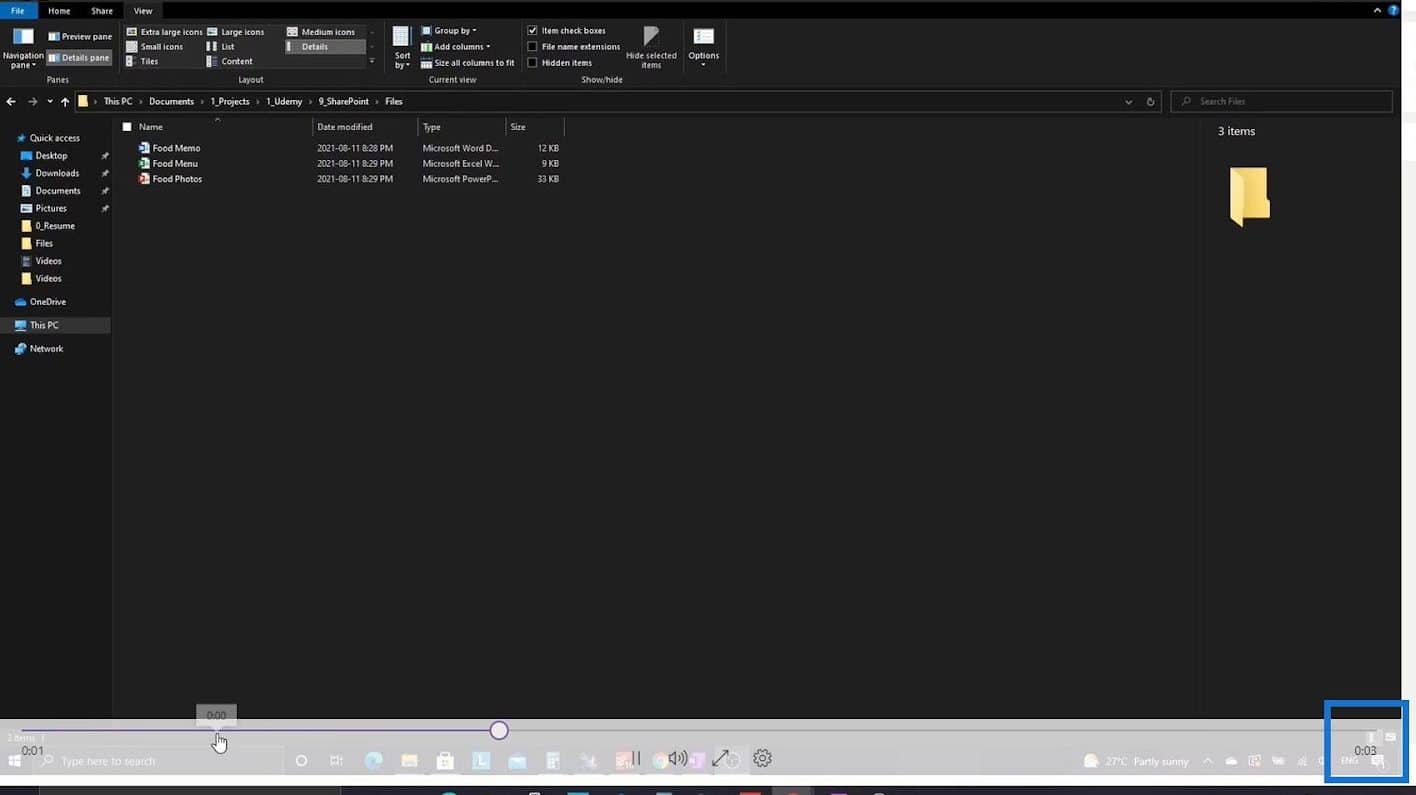
Then, we’ll see that it’s now a 3-seconds long video. Earlier, we only had a 1-second video clip.

Versioning Non-Office Files In SharePoint
Now, let’s open the Version history of this file.
As we can see, the updates that we’ve made are listed here as well. The latest version or the version 3 is the file that we’ve recently uploaded which is the 3-seconds long video. The version 2 is the 1-second long video. We can also see that these videos have different file sizes.
If we want to get the previous version (the 1-second clip) of the video, we can just click the version 2.
Then, it’ll be automatically downloaded on our computer.
***** Related Links *****
Check Out And Check In SharePoint Files
Versioning In SharePoint Documents
SharePoint Tutorial: Creating A New Site
Conclusion
And that’s how we can use the SharePoint versioning feature for non-office files. In SharePoint, versioning allows users to record changes made to documents and the names of the users who made those changes. In the document library, SharePoint always displays the most recent version of the file which makes it easier to tell which iteration is the most up-to-date.
We can also download all the different versions of our files again even though we’re replacing them. We can do this versioning feature for videos, images, DLL files, code files, and many more.
All the best,
Henry


