In this tutorial, we’ll learn how to create a SharePoint home page. A homepage is the default page that the site loads when you type in a website address.
In SharePoint, the homepage is just a compilation of different web parts. In this example, we have a news web part, an activity web part, a documents web part, and a quick links web part.
SharePoint allows users to modify the properties of each web part. So, for example, in this news web part, we can set the news source we want and choose a layout.
Creating A SharePoint Site Page
Let’s now start creating our own SharePoint home page. First, click Pages.
Then, click New and select Site Page.
This is now our new site page.
Modifying A SharePoint Site Page
First, let’s edit the Title area. As an example, let’s call our company “The Best Car Company”.
Then click the edit icon to modify the Title area.
This allows us to change the layout of the Title area. We can also have a text above the title. Let’s set that to “Home” and enable showing the text and the published date.
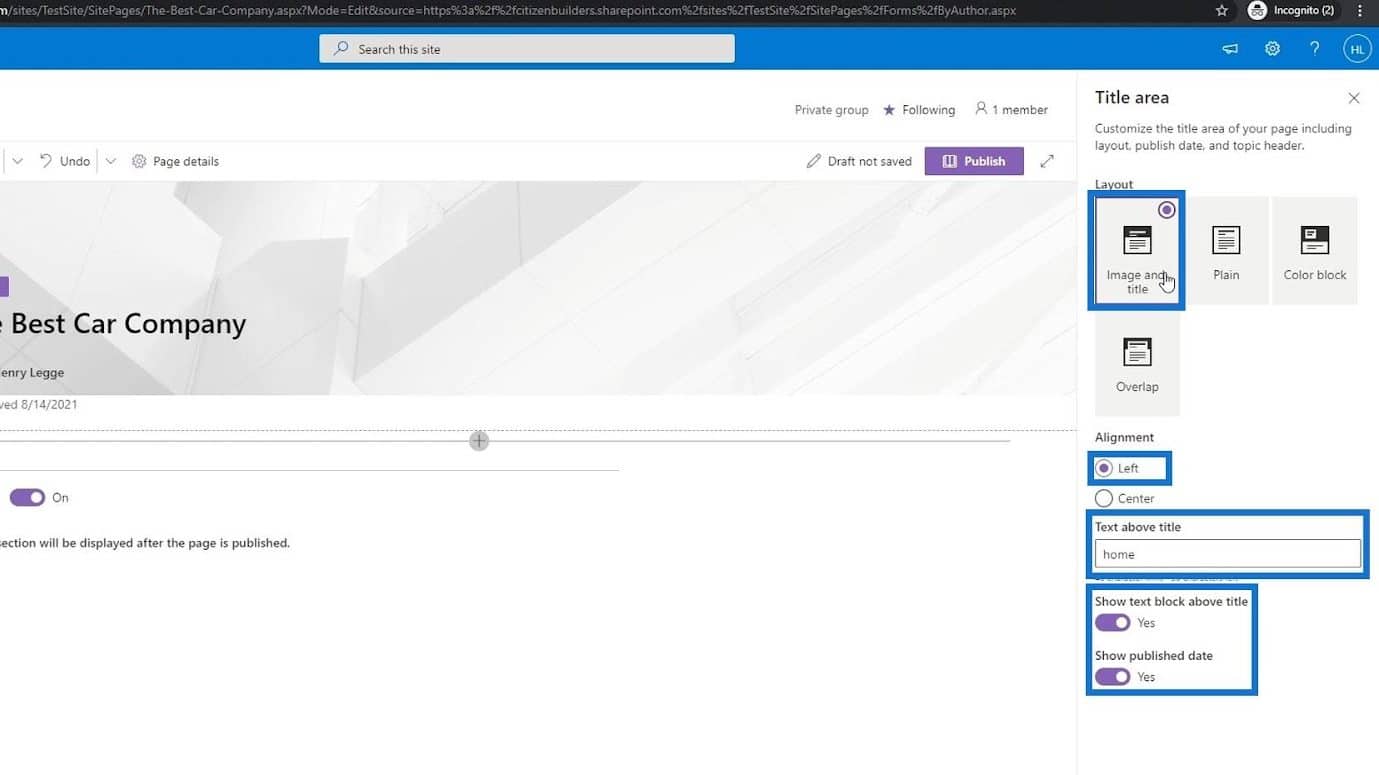
After that, we can edit the image as well and put a car-related photo. To do that, just click the Change image icon.
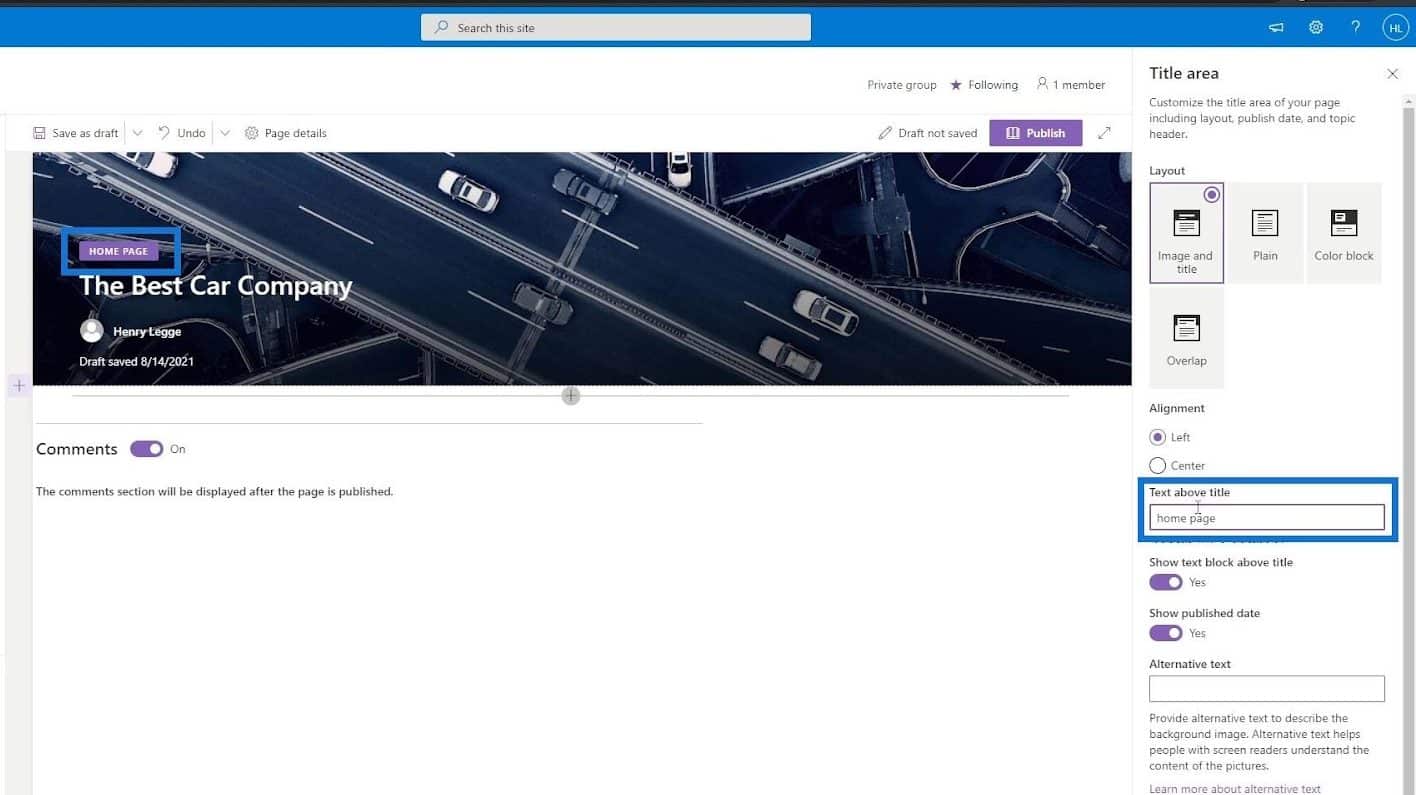
Once clicked, it’ll allow us to choose images from various sources. For this example, let’s search and choose a car photo from the Stock Images.
Let’s change the text above the title to “Home Page”. As a result, it should now look like this.
Adding Sections To The Site Page
We’ll now add a news section. To do that, click the add section icon (+) and choose Two columns.
Click the plus icon with the circular background, then search and select News.
After that, let’s click the edit icon to modify this part.
We can choose from various layouts for this part. In this example, let’s select Carousel.
For the second column, let’s click the plus icon again to add a Group calendar.
If we have meetings set to our calendar, it’ll display those meetings in this column.
Let’s add another column for the links section.
Additionally, let’s add a Call to action on this column.
We can change the background image of this section by clicking the Change button on the right side pane.
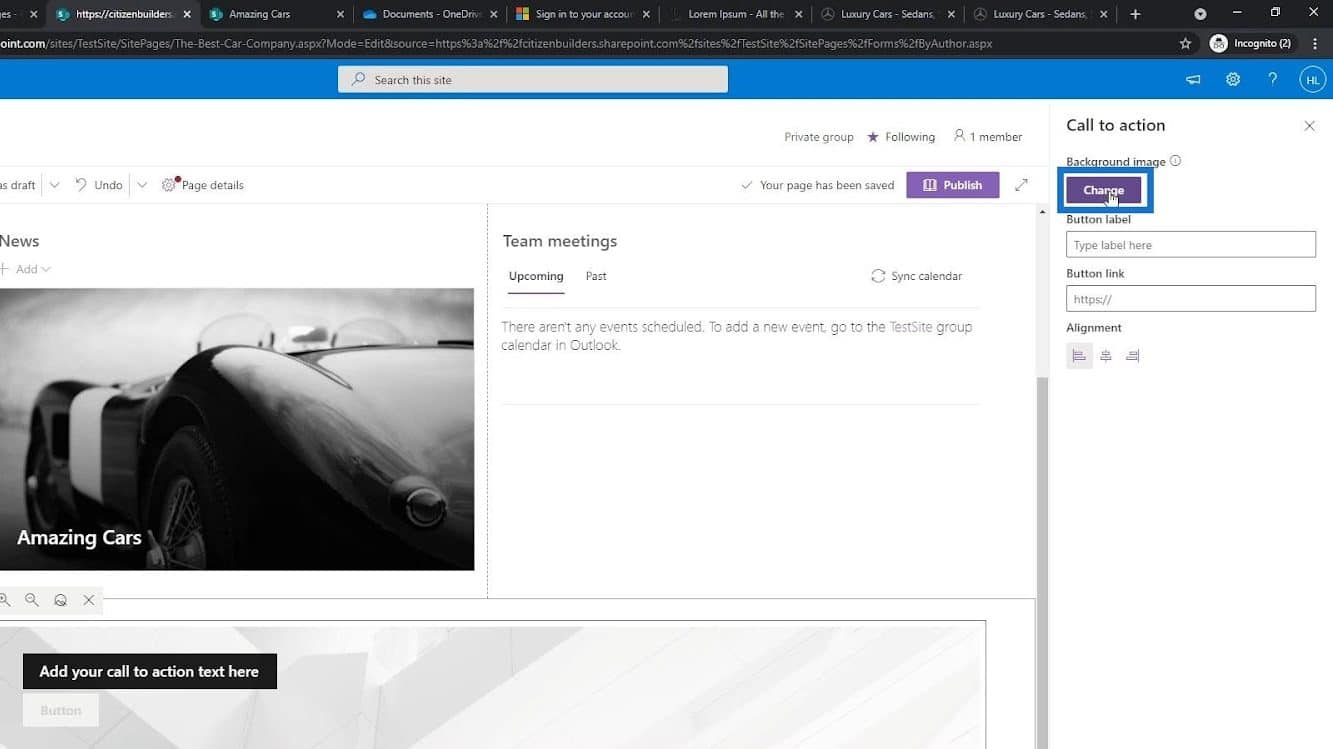
Then, let’s look for images under the Stock images again. In my case, I searched for “money” because I want a background image related to expenses. Let’s select the image that we want and click the Insert button.
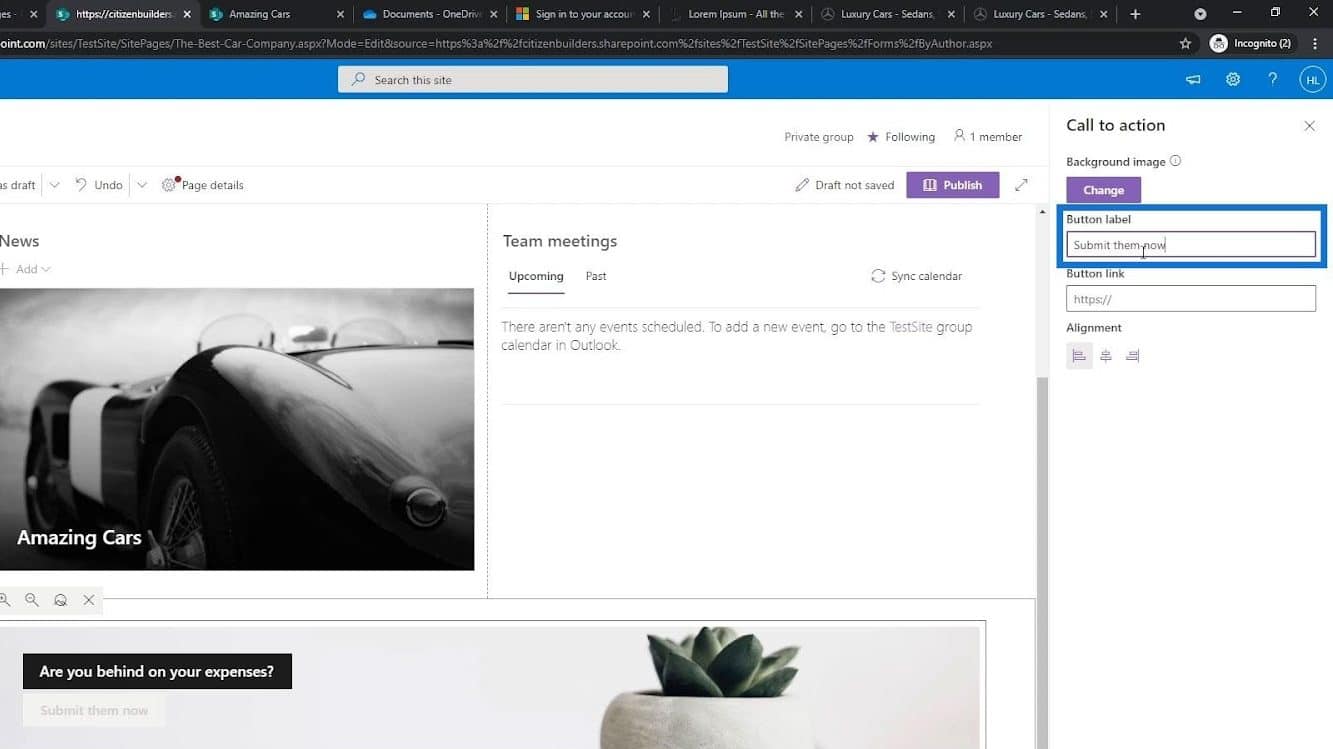
Let’s type the call to action. For this example, we’ll type “Are you behind on your expenses?”.
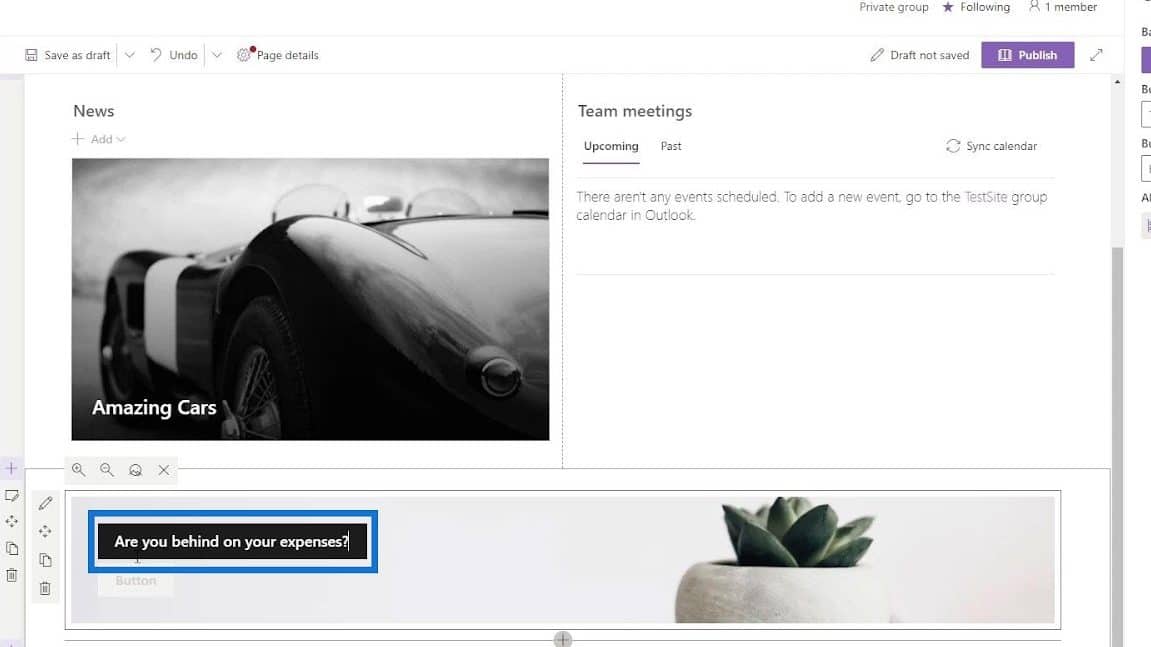
For the button label, let’s type “Submit them now”.
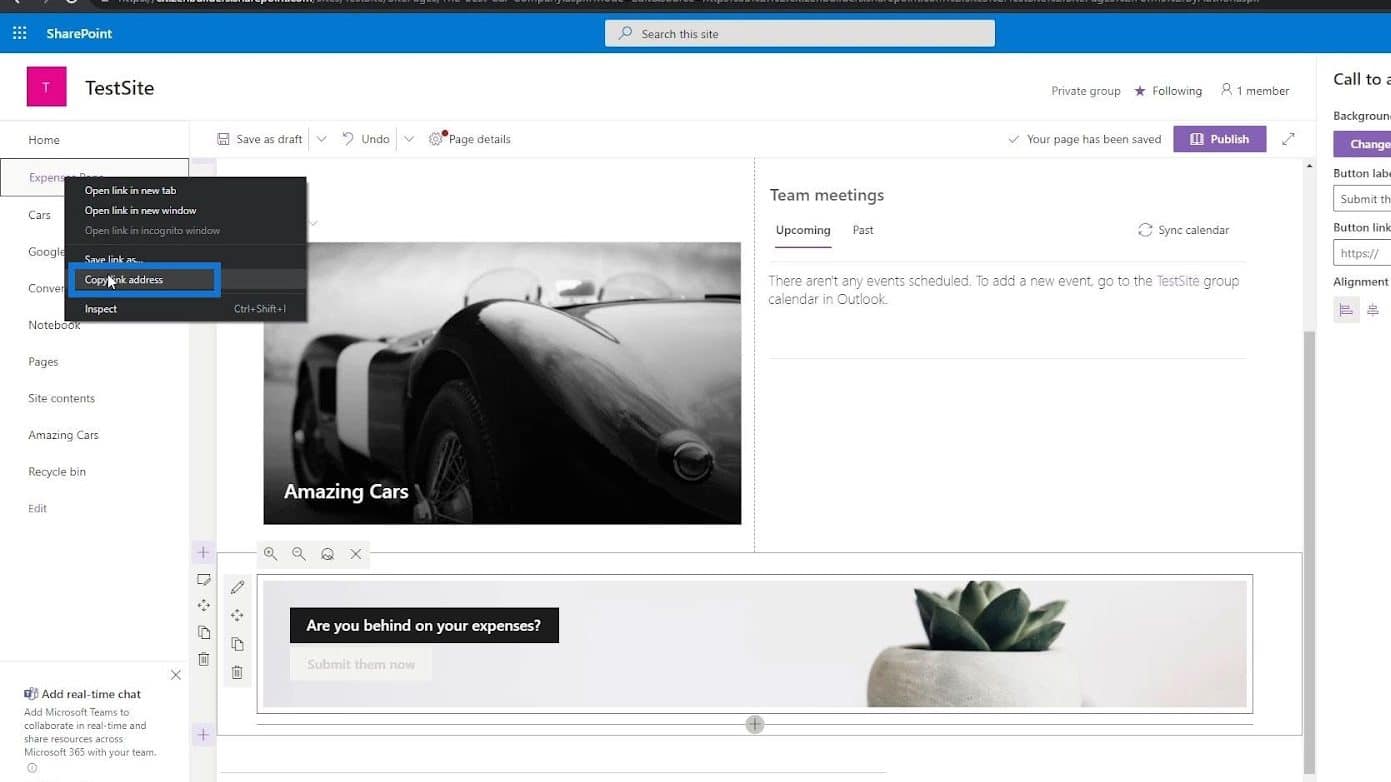
The link should take us to the Expenses page. So, let’s right click on the Expenses page and click “Copy link address”.
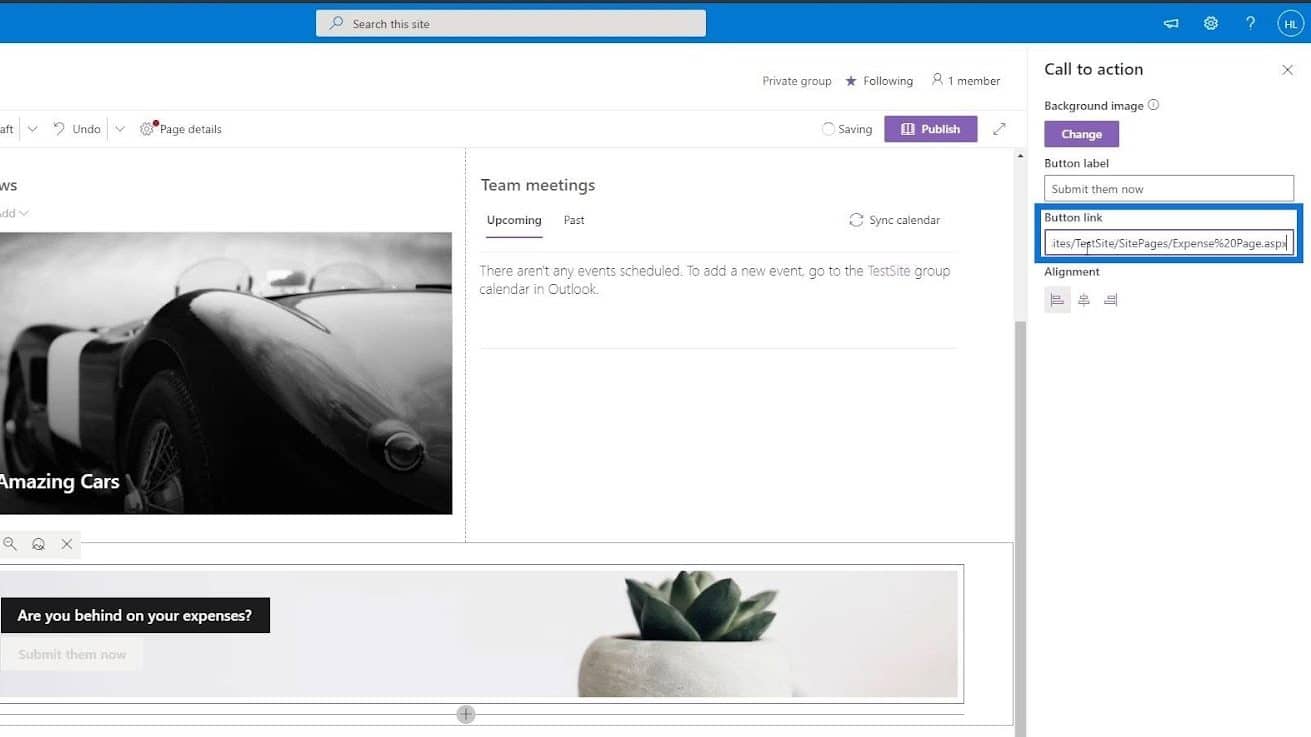
Paste that URL on the button link field.
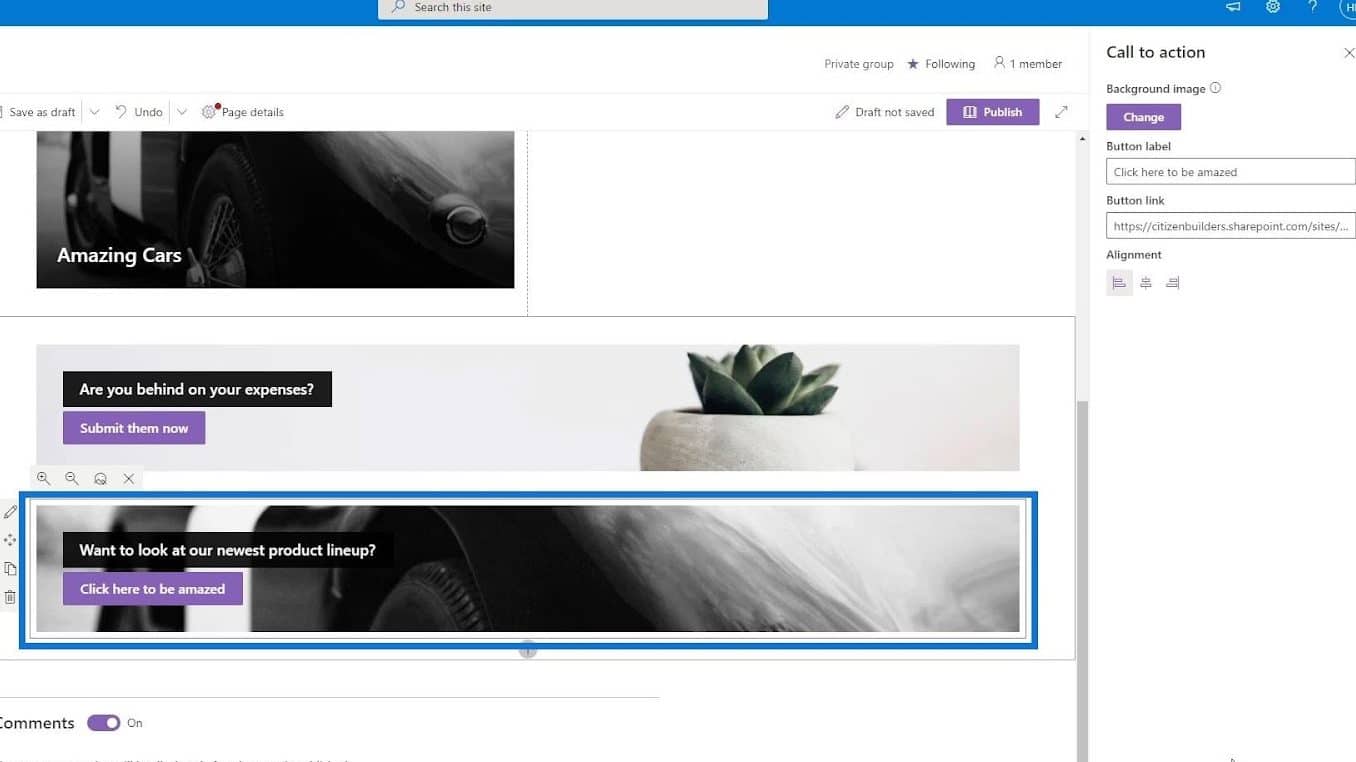
Using the same steps, I’ve added another call to action that will redirect the users to the Amazing Cars page.
Let’s add another column for the latest activity.
To do that, let’s look for Site activity.
It’ll then display the different activities on our site.
When you are ready for your audience to see the page, click the Publish button.
As a result, we now have a new page.
Setting A Page As Our SharePoint Home Page
The instructions differ depending on the type of site or page you are using. If we want to set this new page as our homepage, we can go to the Pages.
Let’s look for the page that we’ve created. Right click on it and click Make homepage.
Then click Home.
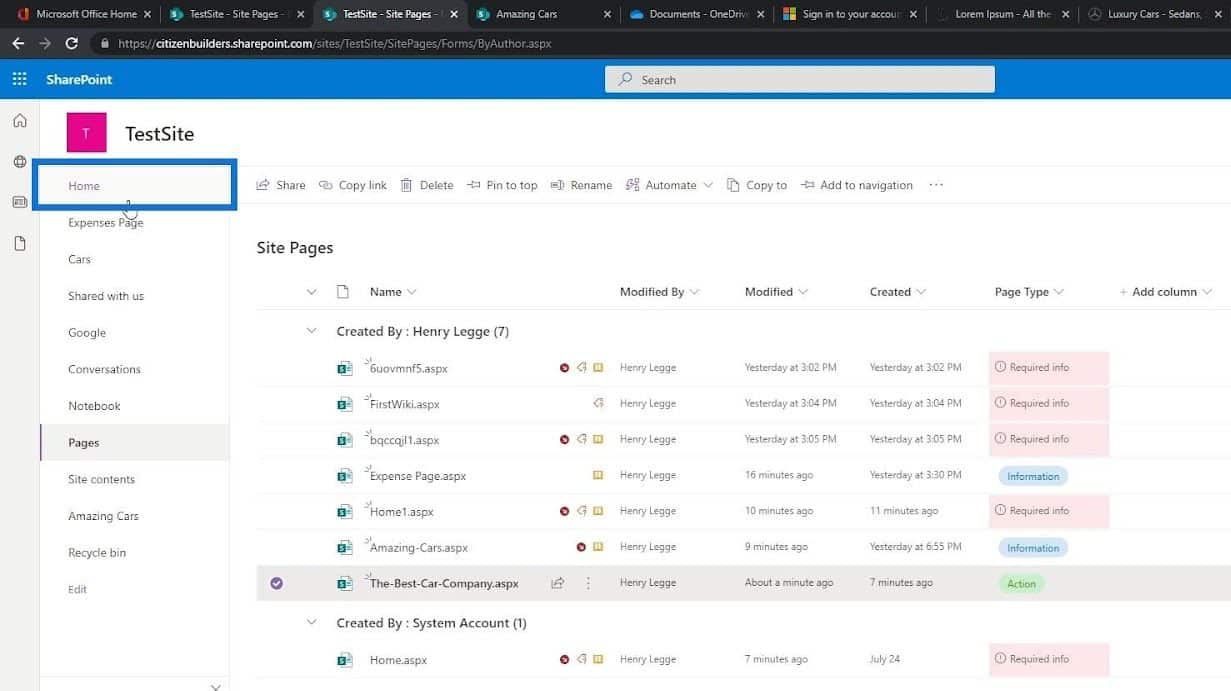
After that, we’ll see that the page we’ve created is now the Homepage.
***** Related Links *****
Wiki Page In SharePoint | What You Need To Know
SharePoint Pages | An Introduction To Its Different Types
Creating A New SharePoint Site
Conclusion
To summarize, we’re able to learn how to create a Site page and set it as our SharePoint home page. Once you’ve created your SharePoint site, there are various ways to customize it, add functionality, or even change its look and feel to reflect your company’s identity.
Moreover, you have to keep in mind that the steps to setting a page as your home page in SharePoint always differ depending on the type of site or page that you are using. Hopefully, this tutorial helped you understand how you can create your own SharePoint home page.
All the best,
Henry


