
Are you working in SharePoint and looking to edit a page? Great, you’re in the right place.
Whether it’s a simple update or a complete overhaul, the process for editing a SharePoint page is straightforward.
To edit a SharePoint page, you’ll need to navigate to the page you want to update. Once there, you’ll see an option to “Edit” at the top of the page. Click on this button to enter the edit mode. You can then make changes to the page details, content, layout, and design and then republish the page.

In this article, we’ll provide a step-by-step guide to help you navigate the SharePoint interface, locate the page you want to edit, and make the necessary changes.
We’ll also cover some best practices and tips to make the editing process smoother and more efficient.
Let’s get into it!
How to Edit a SharePoint Page
In this section, we’ll go over the steps for editing a modern SharePoint page. We’ll provide clear instructions and screenshots to help you navigate the platform with ease.
1. Accessing the SharePoint Page
To begin editing a SharePoint page, you’ll first need to navigate to the page you want to edit.
Please note, the process for accessing a SharePoint page may vary depending on your organization’s specific SharePoint configuration, but the general steps are as follows:

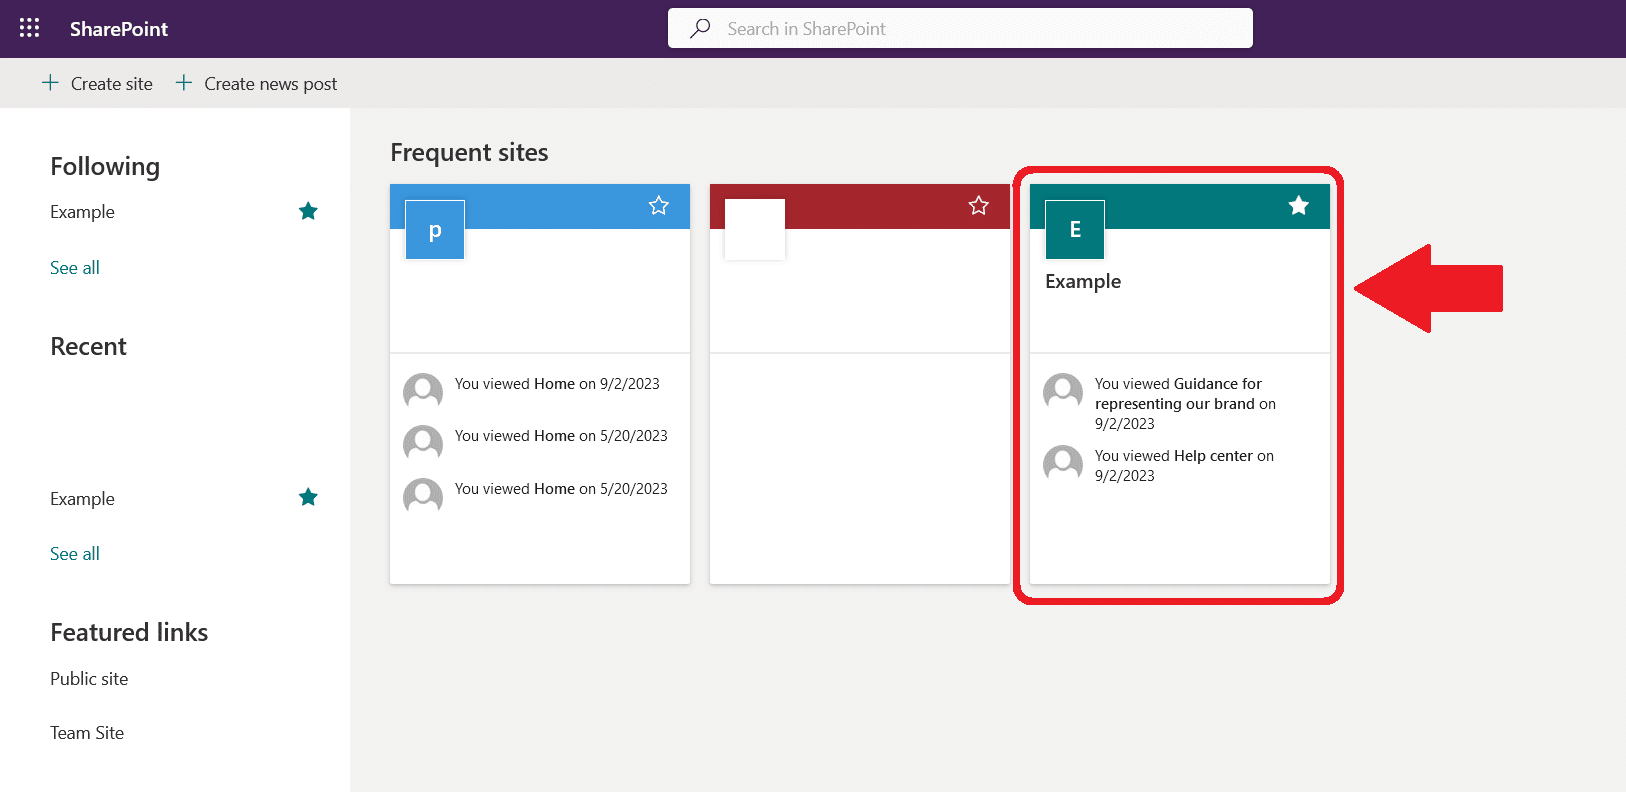
Open your web browser and go to the SharePoint site that contains the page you want to edit.
If you have the direct link to the page, you can paste it into your browser’s address bar and press Enter. Alternatively, you can navigate through the site’s menu structure to find the page.
2. Entering Edit Mode
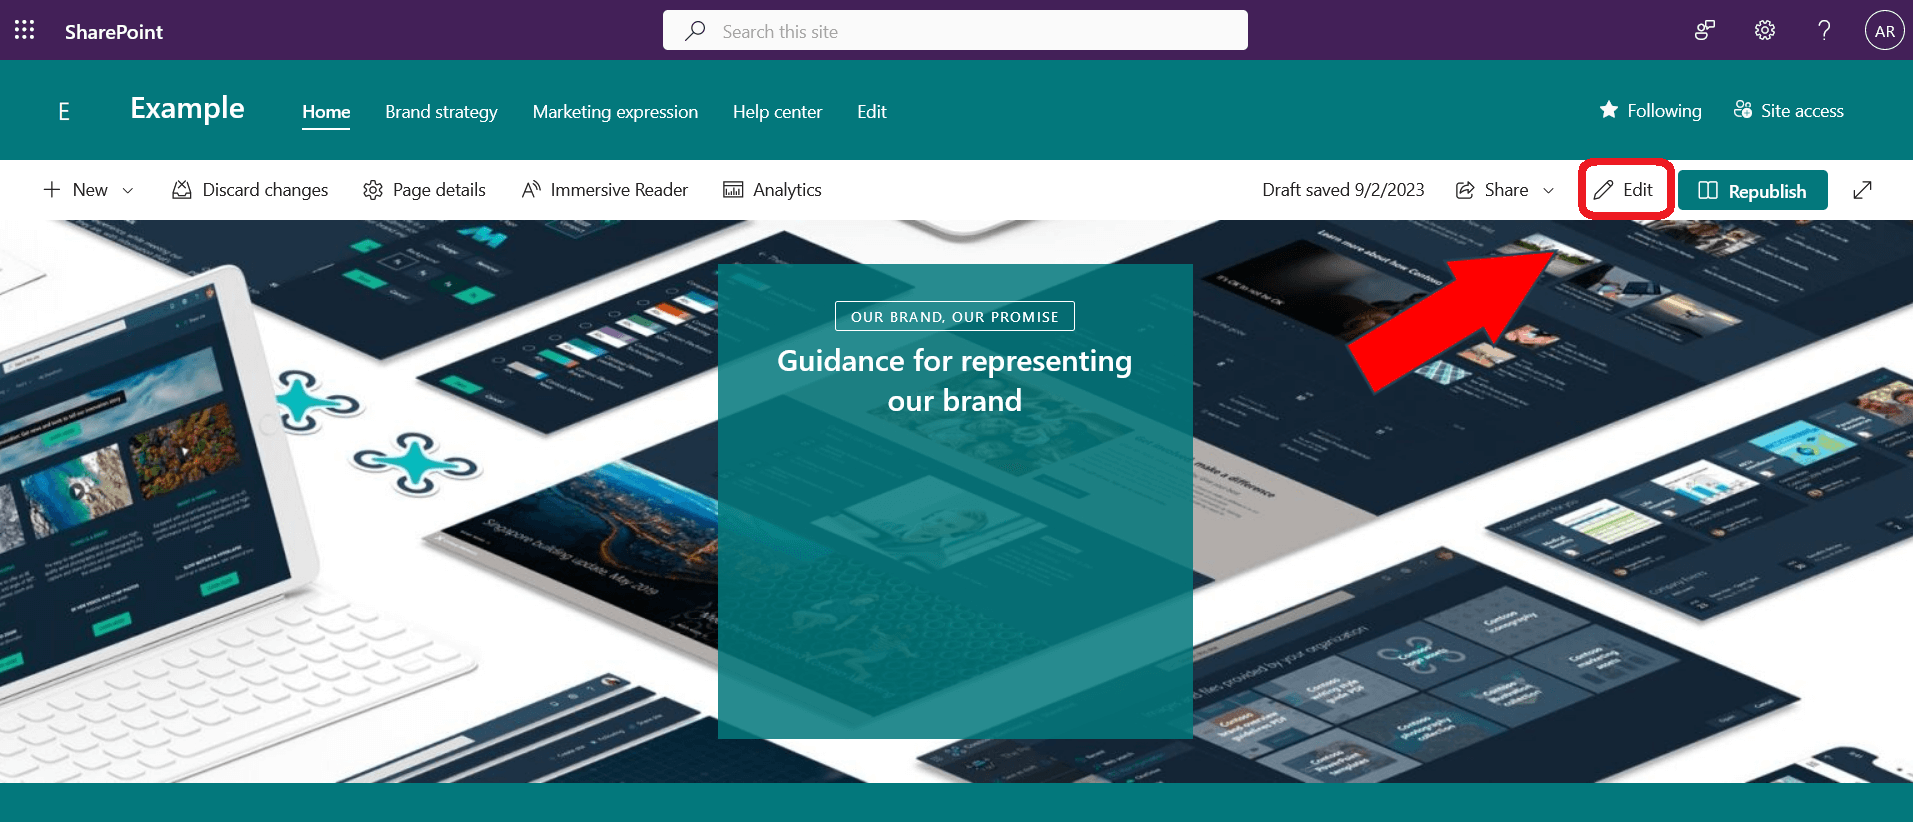
Once you’ve found the page you want to edit, you should see the “Edit” button at the top of the page. The specific location of the “Edit” button may vary depending on your organization’s SharePoint configuration and the page’s layout.
Click on the “Edit” button to enter the page edit mode. This will open the page in a new window or tab, allowing you to make changes to the content, layout, and design of the page.
The SharePoint page editor will provide you with a variety of tools and features to customize the page according to your needs. We’ll cover some of the common editing tasks in the following sections.
3. Making Changes to Content
Once you are in the page edit mode, you can make changes to the content of the page. This can include updating text, adding stock images, embedding videos, and more. The specific steps for making changes will depend on the type of content you want to edit.
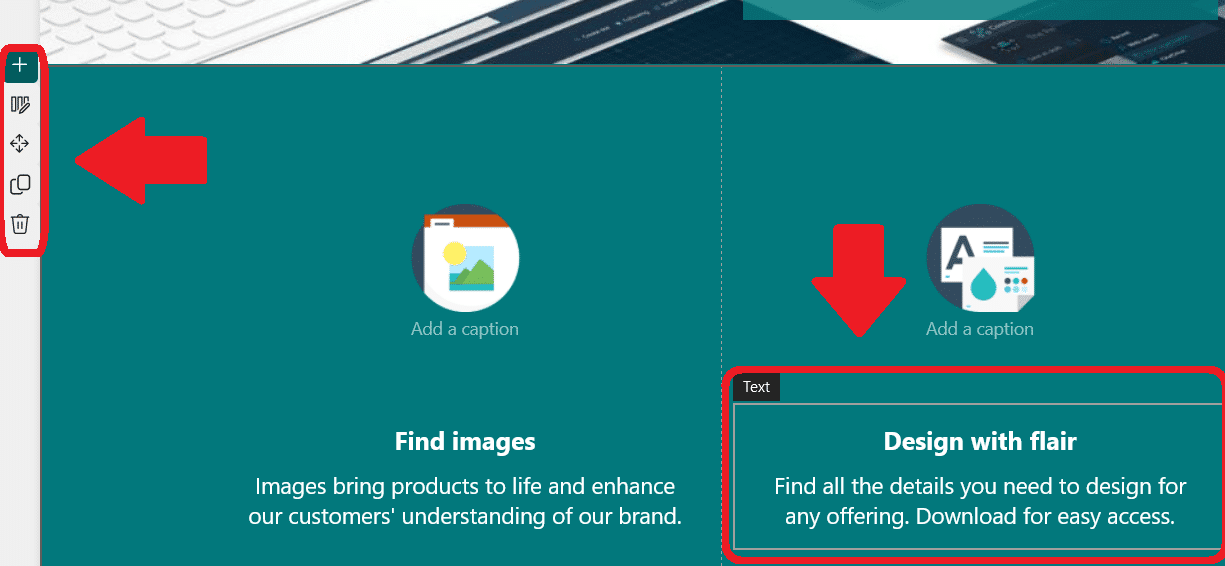
To edit text on the page, simply click on the text you want to modify. This will display a text box or toolbar that allows you to make changes to the text, such as formatting, alignment, and font style.
For example, you can use the “Bold” and “Italic” buttons in the toolbar to change the appearance of the text.
Also, if you want to change the stock images provided with the page’s SharePoint template, simply click on them and add your organization’s approved images.
You can also change the thumbnail image, page description, and any custom properties by opening the “Page details” pane.
4. Saving Your Changes
It’s important to save your changes regularly while editing a SharePoint page to ensure that your work is not lost.
The steps for saving your changes may vary slightly depending on your organization’s SharePoint configuration, but the general process is as follows:
Locate the “Save as draft” button on the page. This button is usually located in the top-right or bottom-right corner of the page, depending on your organization’s SharePoint configuration and the page’s layout.
Click on the “Save as draft” to save your changes. Alternatively, you can click “Discard changes” to quickly undo all of the content and design modifications.
5. Publishing Your Changes
Once you are satisfied with your edits and have previewed the page, you can publish your changes to make them visible to site visitors in your SharePoint server. The general process is as follows:
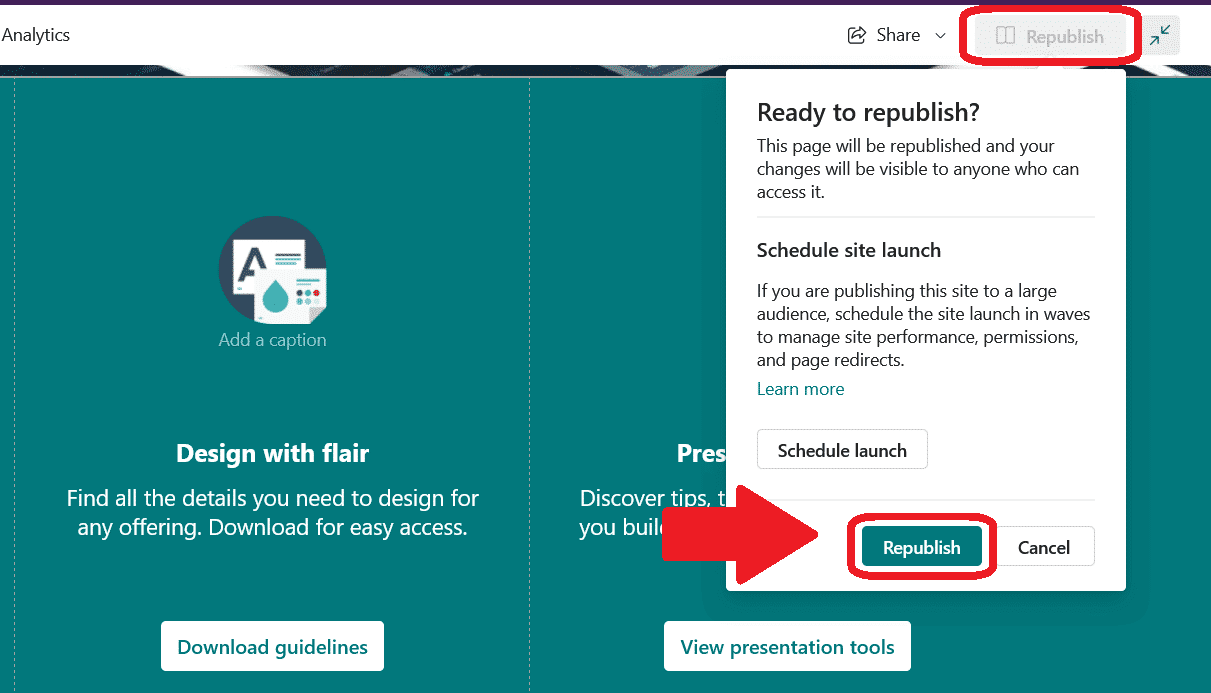
Locate the “Republish” button on the page. This button is usually located in the top-right or bottom-right corner of the page, depending on your organization’s SharePoint configuration and the page’s layout.
Click on the “Republish” button and confirm you want to publish the changes to make them visible to site visitors. The updated page will now be live and accessible to anyone with the appropriate permissions, including web search. You also have the option to “Schedule launch” if you want the changes to take effect at a specific time and date.
Remember that you can always make further edits to the page in the future by following the same steps outlined in this section.
Final Thoughts
Editing a SharePoint page can seem daunting at first, but with the right guidance and a bit of practice, you’ll find that it’s a straightforward process. Whether you’re updating content, tweaking the design, or adding new features, SharePoint user-friendly interface makes it easy to accomplish your goals.
By following the steps outlined in this article and familiarizing yourself with the various editing tools available, you’ll be able to make your SharePoint pages look polished and professional.
Furthermore, if you’re interested in learning more about SharePoint, be sure to check out our article on the differences between Power BI and SharePoint!

Lastly, to learn more about the benefits of using SharePoint and Power BI, check out the video below:
Frequently Asked Questions
How do I edit a SharePoint page online?
To edit a SharePoint page online, you’ll first need to navigate to the page you want to edit. Then, locate the “Edit” button at the top of the page and click on it. This will open the page in edit mode, allowing you to make changes to the content, layout, and design. Remember to save your changes before exiting the edit mode.
What are the steps to modify the home page in SharePoint?
To modify the home page in SharePoint, follow these steps:
Navigate to the home page of your SharePoint site.
Click on the gear icon or “Site Actions” menu, then select “Edit page” or “Edit” depending on your version of SharePoint.
Make the necessary changes to the content, layout, or design of the home page.
Save your changes before exiting the edit mode.
How can I create and edit a page in SharePoint 365?
To create and edit a page in SharePoint 365, follow these steps:
Navigate to the site where you want to create the page.
Click on the “+” button or “New” menu, then select “Page.”
Add a title, choose a layout, and start editing the page content.
Save your changes and publish the page.
To edit an existing page, follow the steps outlined in the “How do I edit a SharePoint page online?” section of this article.
What are the ways to edit the SharePoint page title?
To edit the SharePoint page title, follow these steps:
Navigate to the page you want to edit.
Click on the gear icon or “Site Actions” menu, then select “Edit page” or “Edit” depending on your version of SharePoint.
Click on the title of the page to select it, then type in the new title.
Save your changes before exiting the edit mode.
How do I customize a SharePoint page with a background image?
To customize a SharePoint page with a background image, follow these steps:
Navigate to the page you want to customize.
Click on the gear icon or “Site Actions” menu, then select “Edit page” or “Edit” depending on your version of SharePoint.
Click on the “+” button or “New” menu, then select “Section.”
Choose a layout with a full-width background, then click on the “Background” option in the section properties panel.
Upload or choose an existing image as the background, adjust the settings, and save your changes.


