In this tutorial, I’m going to show you some Power Apps fundamentals that can help you get started in creating your own app.
Power Apps is such a straightforward platform that it lets you create an app even if you have no coding background. It’s a great way to boost productivity and allows you to get all of your data from multiple sources and have them all in a single app.
For today, I’m going to focus on some basic functionality and some customization options.
Power Apps Fundamentals: Basic Functionality
Let’s start with some basic functionality.
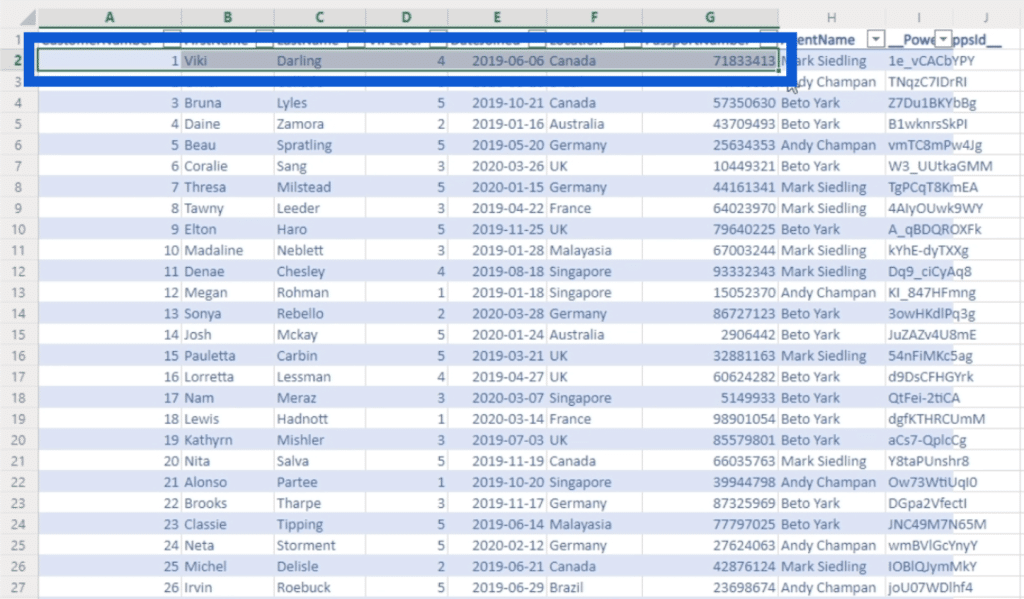
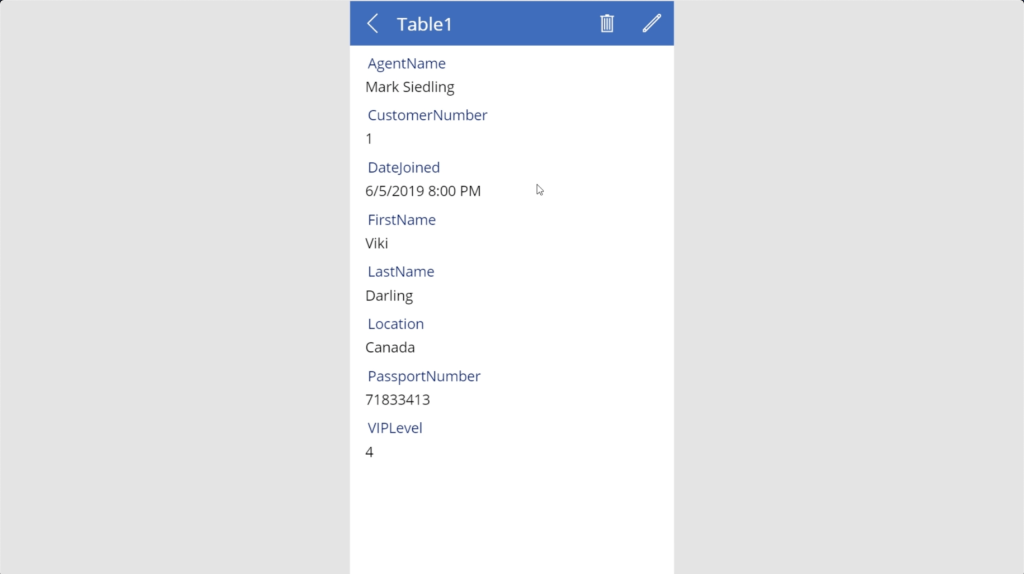
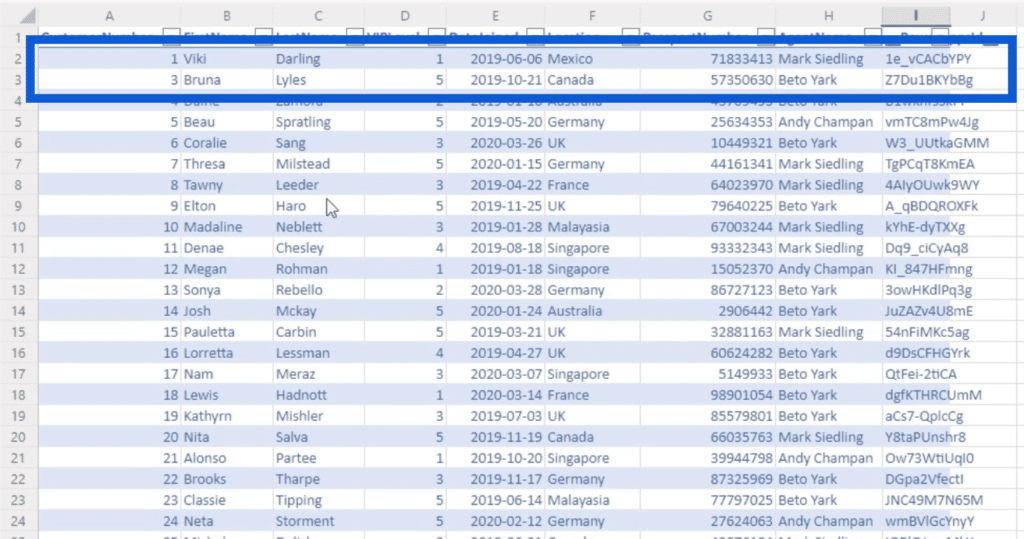
This is what our data looks like. The first entry is for Viki Darling from Canada, who’s a VIP level 4.
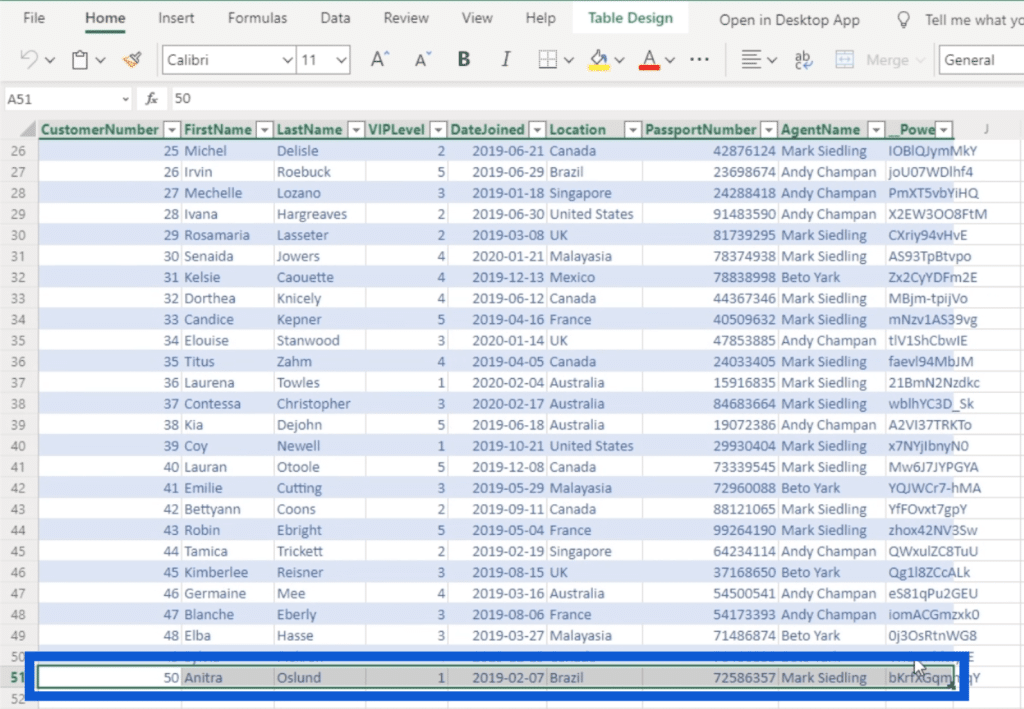
All in all, there are 50 entries here with Anitra Oslund as the last name on the list.
Now, I’m going to show you what happens to that data as I manipulate the app from within the platform.
Notice that there’s a column here called Power Apps ID. Basically, this was automatically created when I linked this data source to Power Apps.
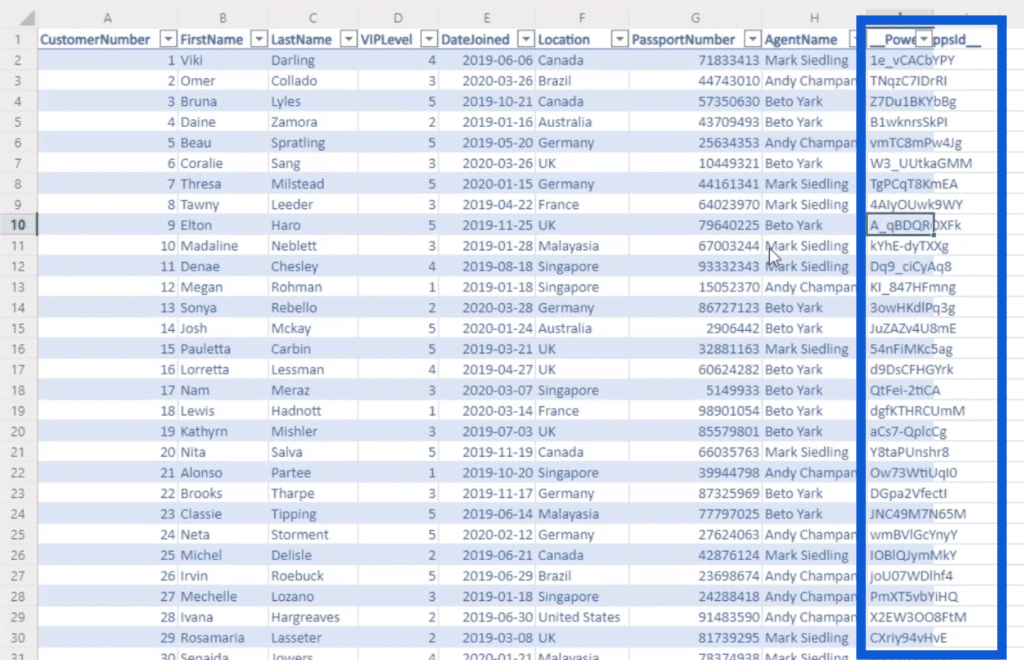
So if you’re pulling data from multiple sources, Power Apps will add a new column to each source. This column allows Power Apps to communicate with each entry within these tables. Because of this, make sure that you don’t change anything in that column. Otherwise, the app will not function properly.
Now, let’s go to the application. As you can see, this is a basic data app that works as if someone on a phone will use it.
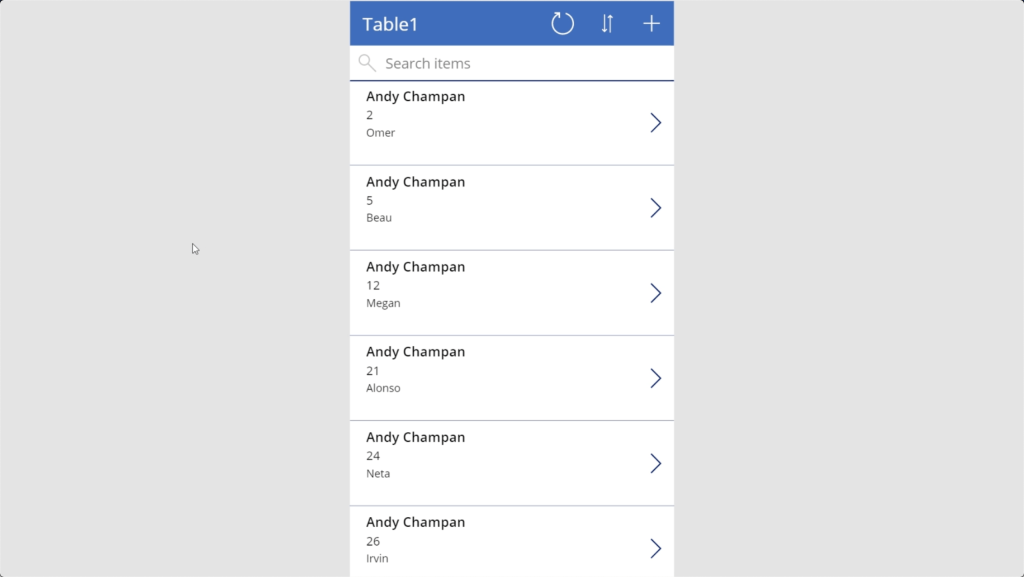
Earlier, we saw that Viki was the first entry in our data source. When I use the search bar to look for her name, you’ll see that she shows up here under her agent’s name, Mark Siedling.
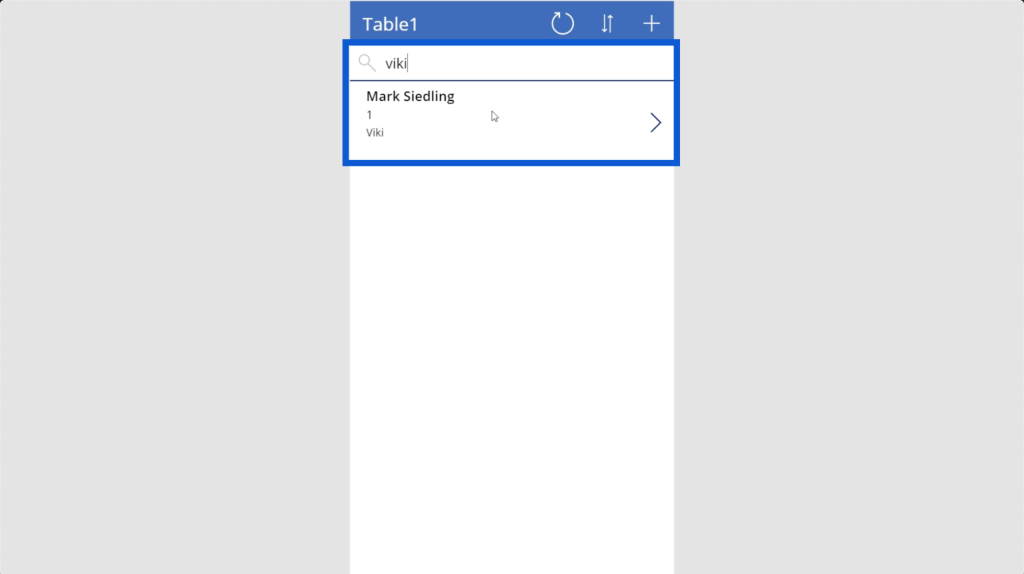
Clicking on that entry will lead to the detail screen.
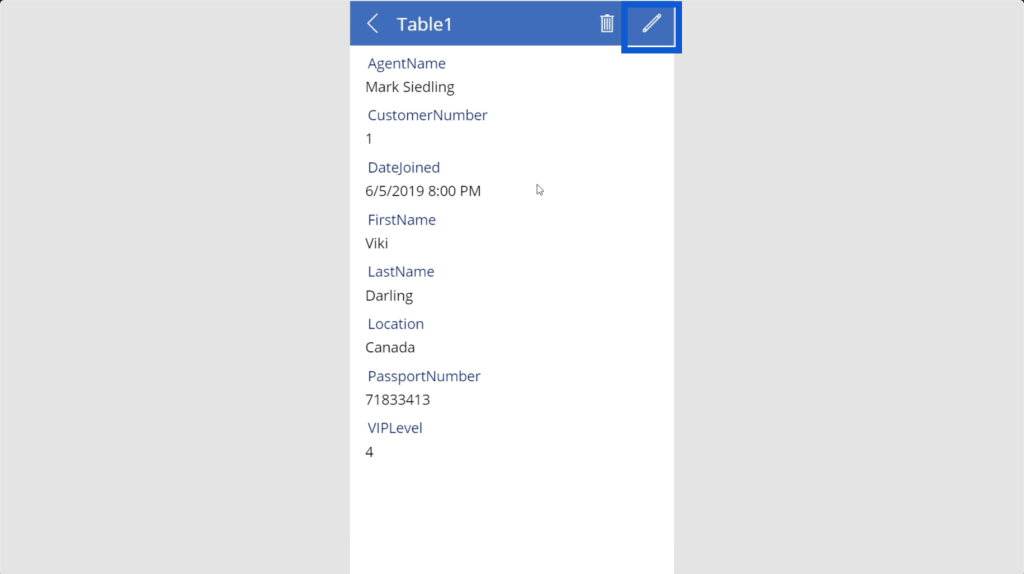
I’m going to edit a few things here by clicking on this pen icon on the upper right.
It says here that her VIP level is four, so let me change that to a 1.
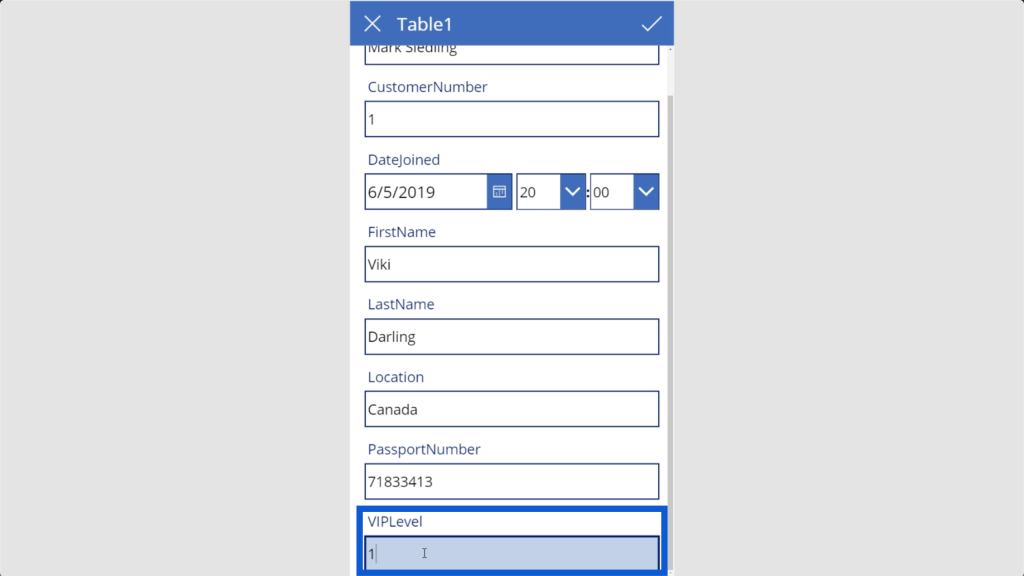
I’ll also change her location from Canada to Mexico.
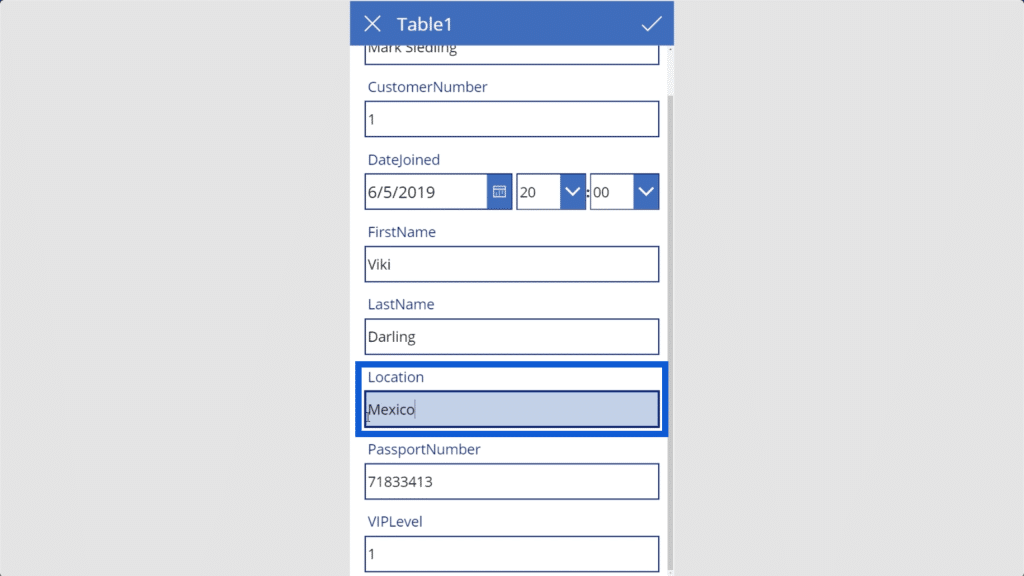
To save the changes I made, I’ll click on the check mark on the upper right corner.
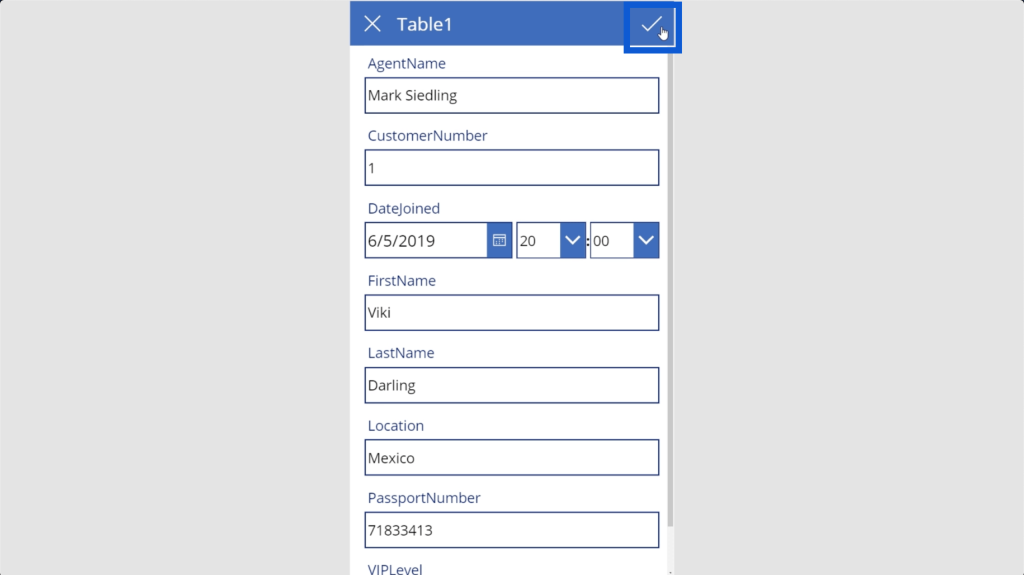
Once I save that, the record is actually changing in the background as well. That means that the Excel file I’m using as my data source is also being edited in the process.
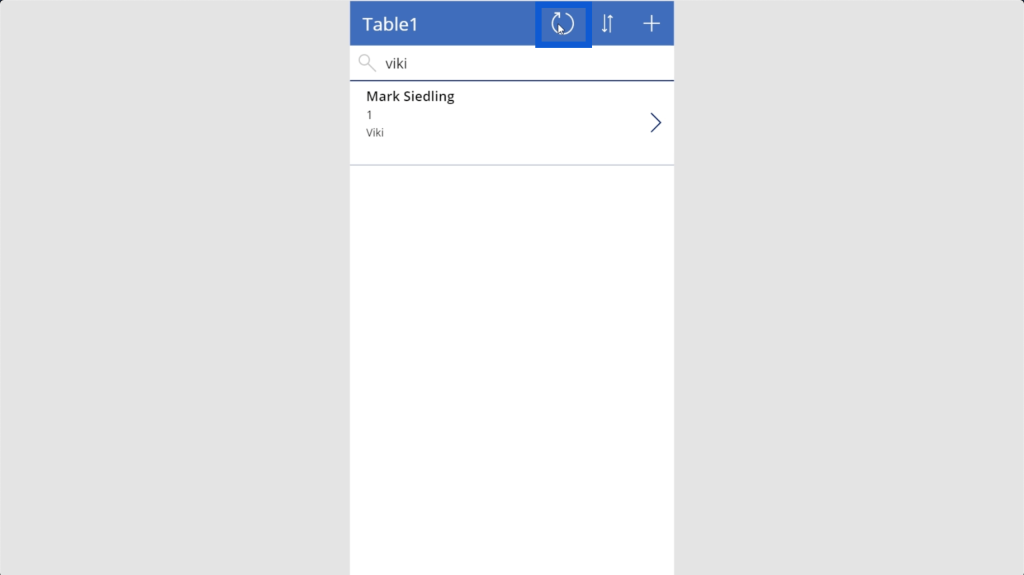
Once I go back to the original view, it now shows that Viki is a VIP level 1. If you go back to this view and it seems like nothing has changed, you can click on the refresh button on top.
Now, let me show you how to add a new record. Just click on this plus icon on the top right corner.
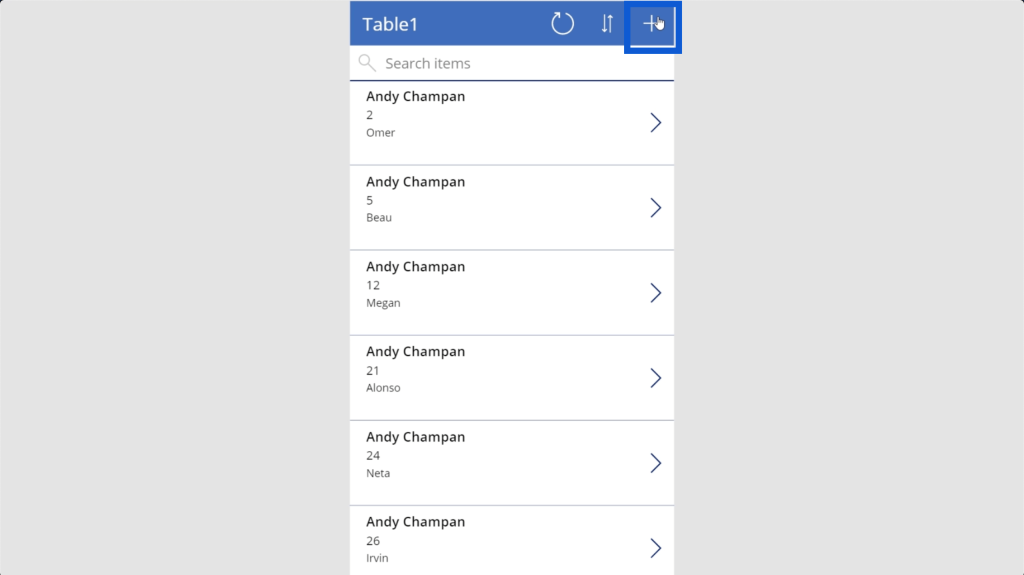
This is going to open up a blank form where I can type in the data for the new entry.
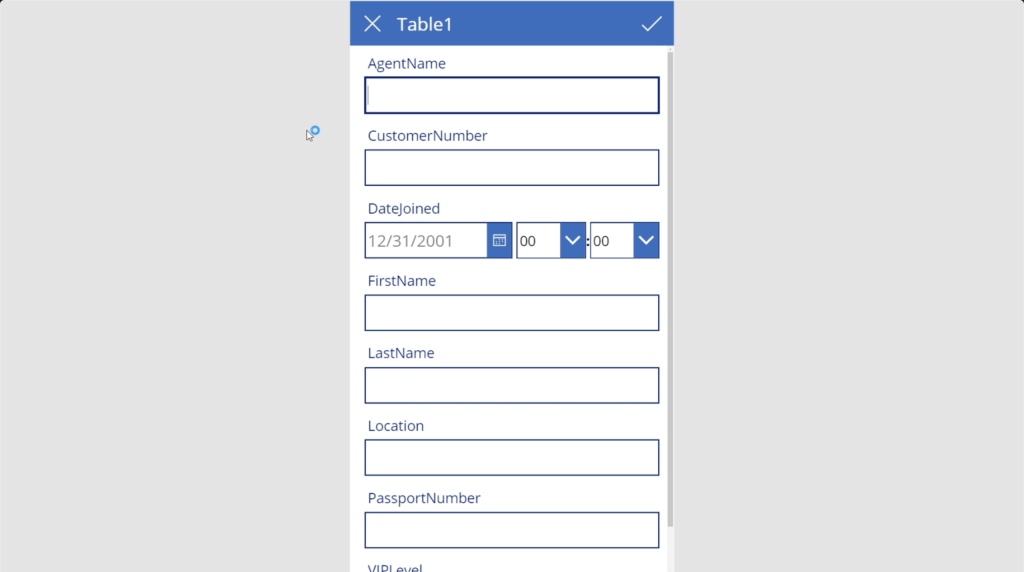
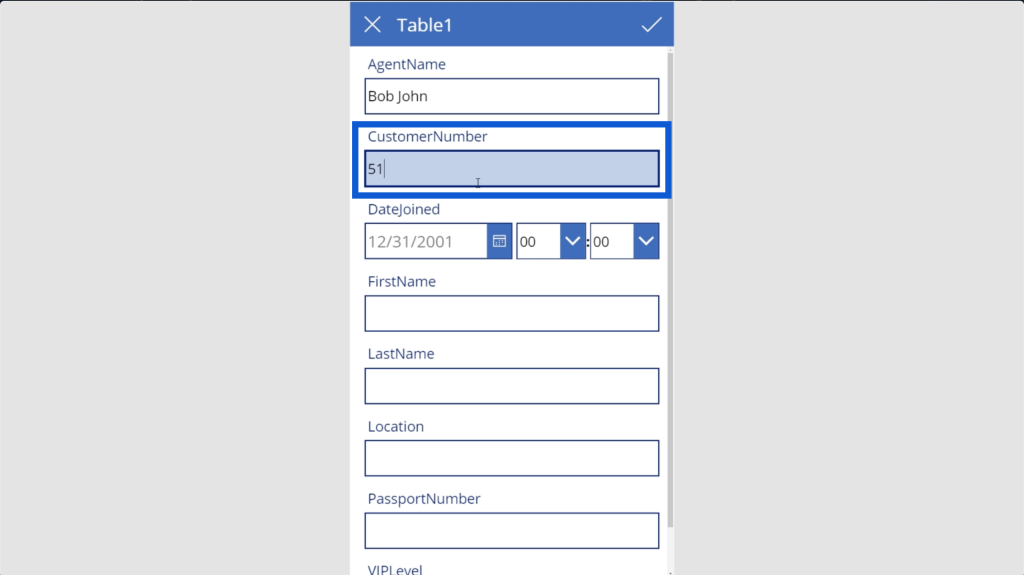
Let’s say the agent’s name is Bob John. I’ll make this customer number 51 because I remember that our last entry on the data table was 50.
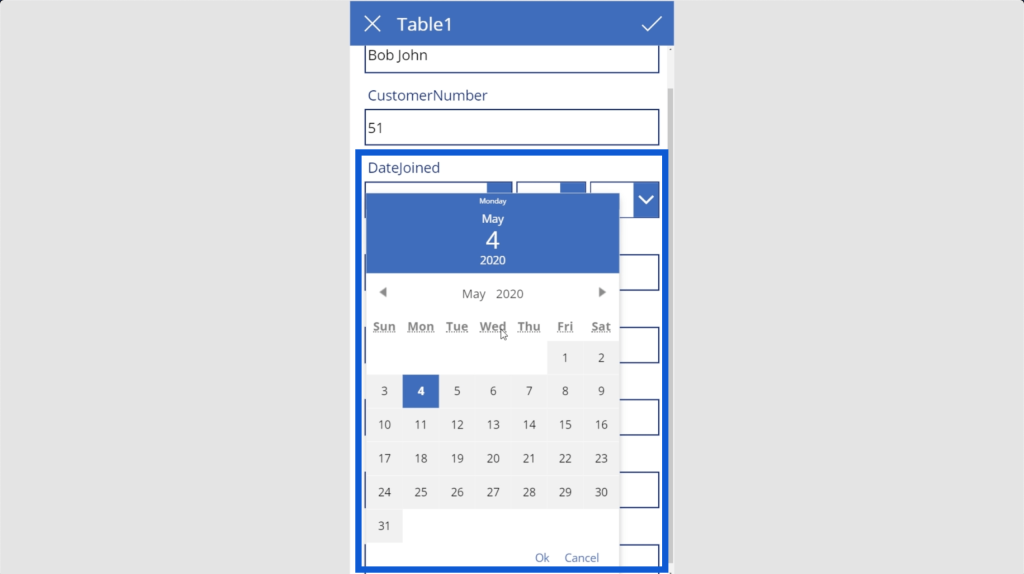
You’ll see that when I try to put in the date, it automatically shows me a calendar. This makes it easier for me to put in the date using the right format. I’ll pick May 4th, 2020.
This form also requires a time, but there’s a way to customize the fields that appear in this form, which means that I can do away with the time if it’s not something that’s important for the app.
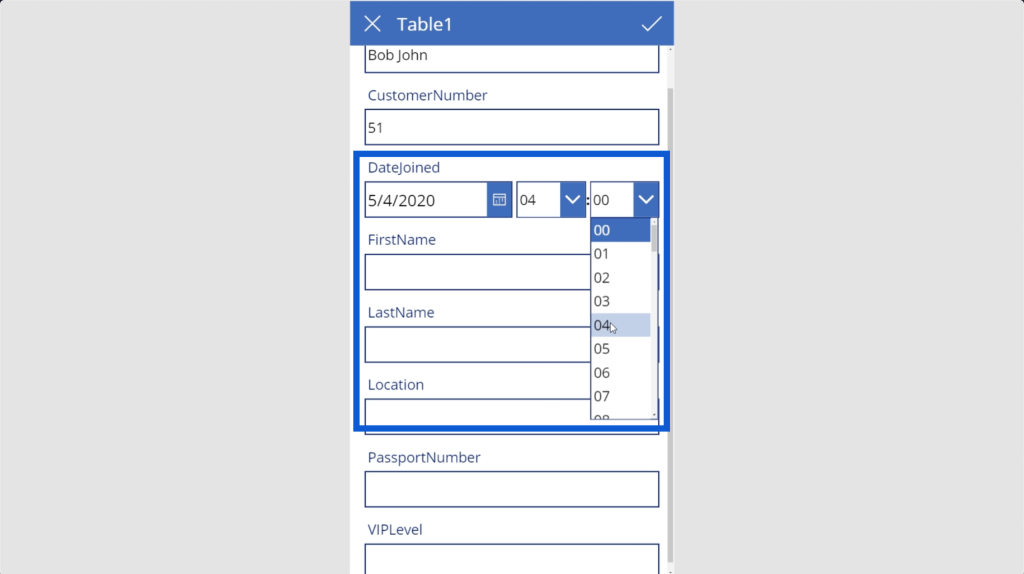
Once I’ve typed in all the data, I just need to click on the checkmark again to save that entry. Note that this entry actually goes into the Excel table as well.
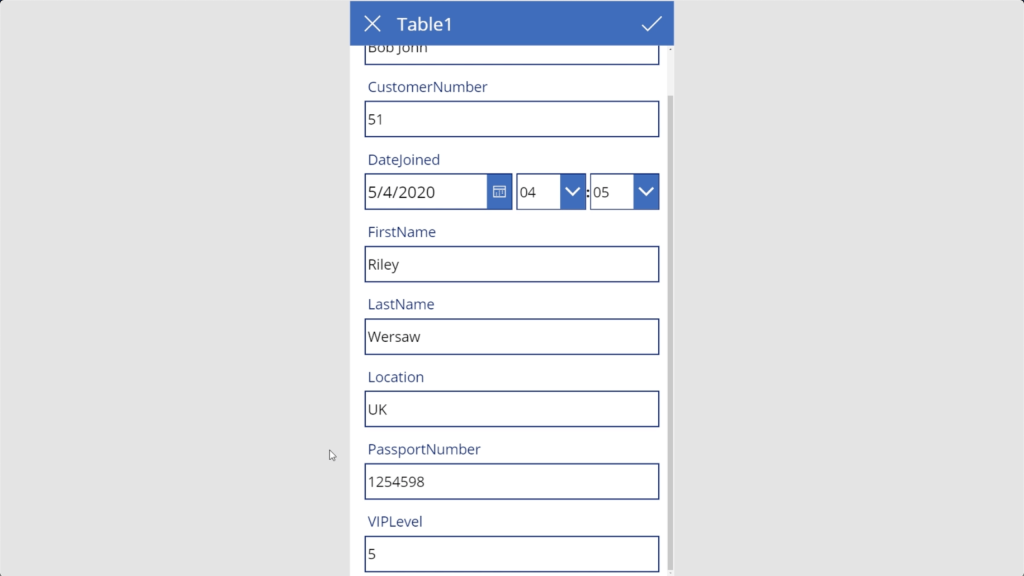
I put that entry under the name Riley Wersaw. So if I go back to the list and do a search for “Riley”, you’ll see that it does show up.
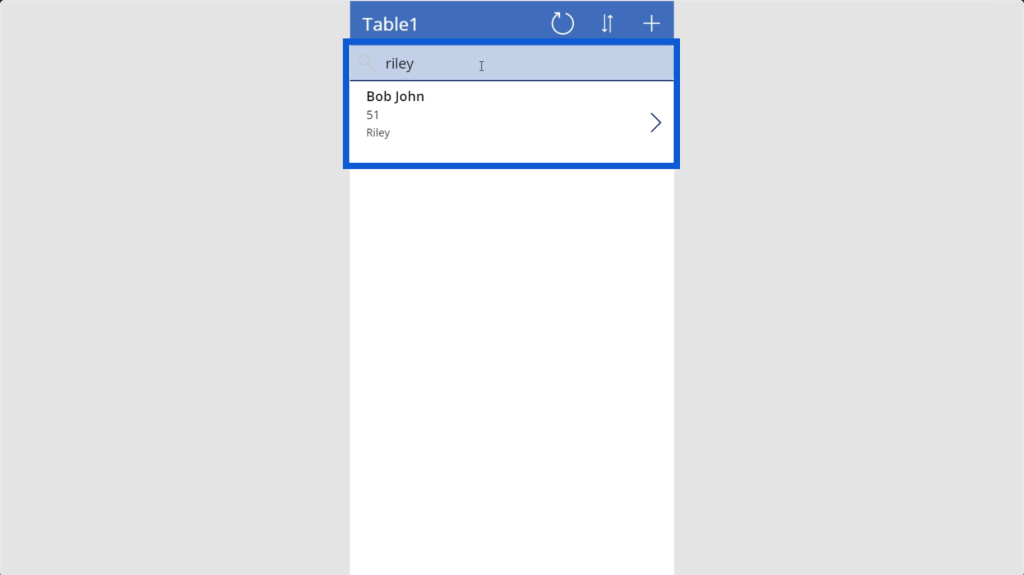
As we work on this app, you’ll see how brilliant Power Apps truly is. It has basically built a skeleton for us to use. Of course, you can’t publish the app right after linking your data sources. But all we really need to do is customize everything to our liking, which is something that’s easy to do as well.
I’ll have a few other tutorials that will discuss in detail how to customize your forms and add validations to it. But for now, I just want to focus on basic Power Apps fundamentals to help you ease your way into it.
Now, let’s go back to our data source just to check if we did everything correctly. As you can see, the details we changed for Viki Darling have also been edited automatically.
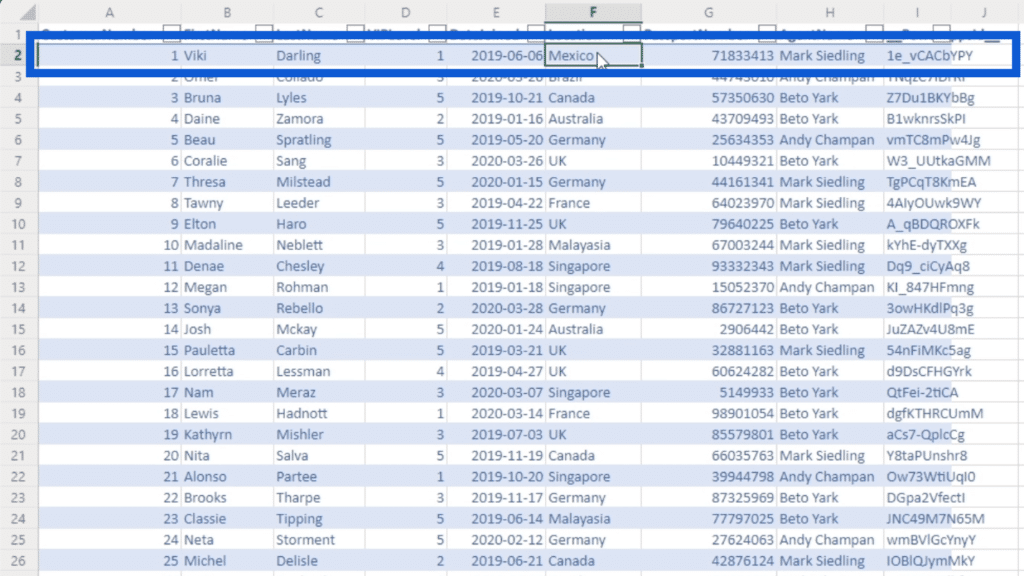
When we scroll further down the page, we also see the new customer we added.
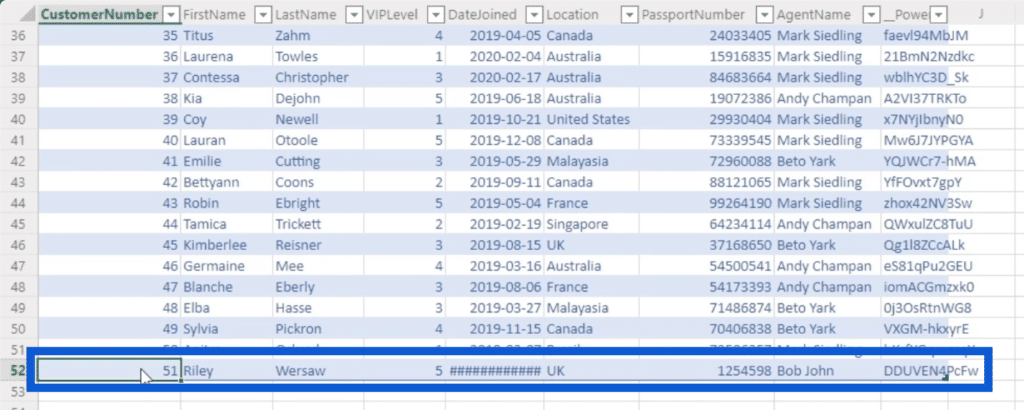
The date isn’t appearing properly because we also added the time on the form. But as I mentioned earlier, getting rid of the time element on the form is easy enough once we customize our forms.
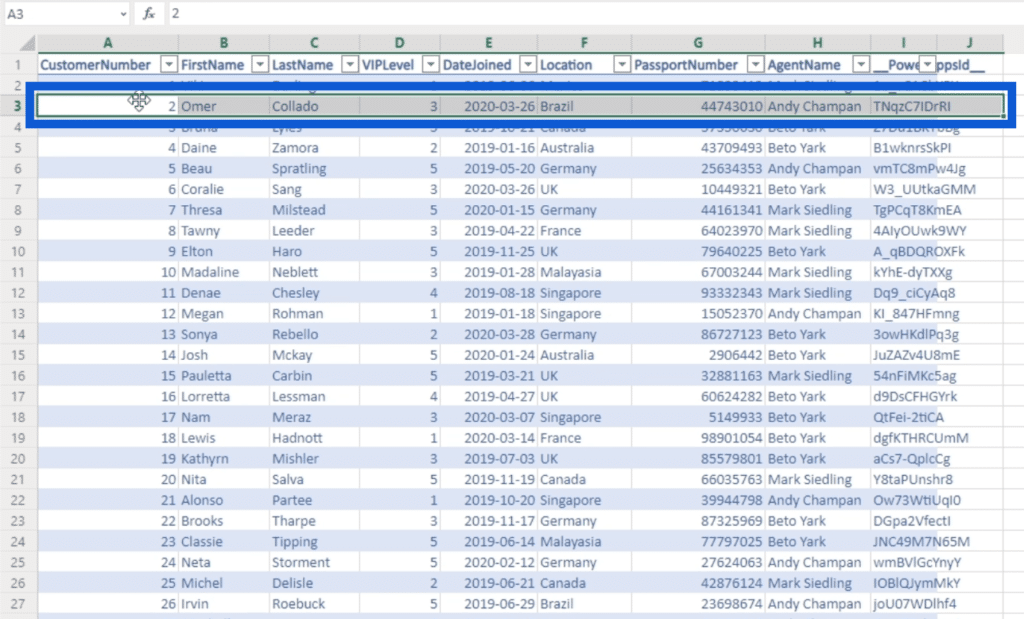
Now that I’ve shown you how to edit and add entries, I’m going to show you how to delete a record. When you look at the data source, you’ll see that customer number 2 is Omer Collado.
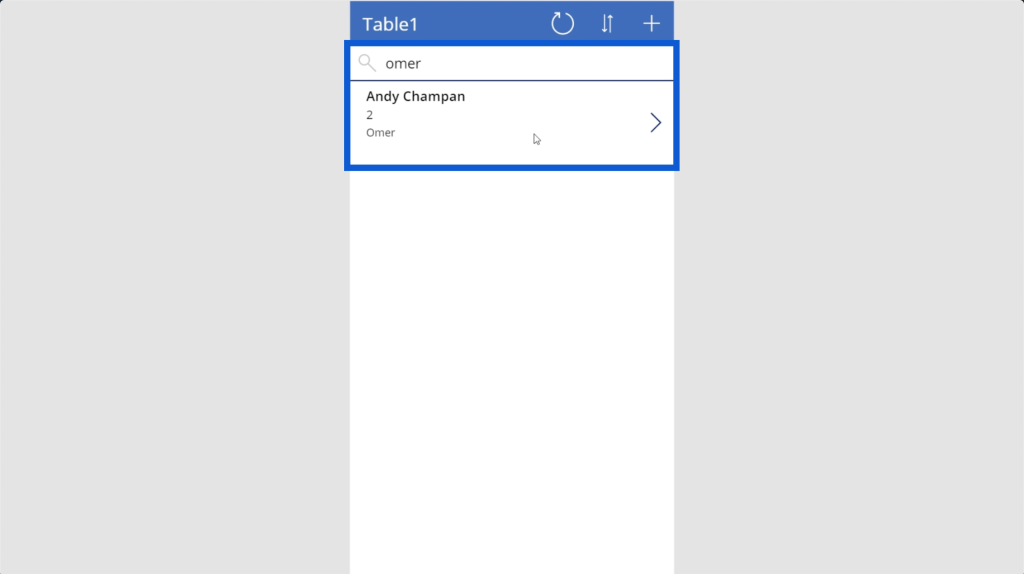
I’ll go back to the app now and search for Omer in the list. I’ll click on that to see the detail page.
Once I’m in the details page, I can just click the garbage icon to delete that entry.
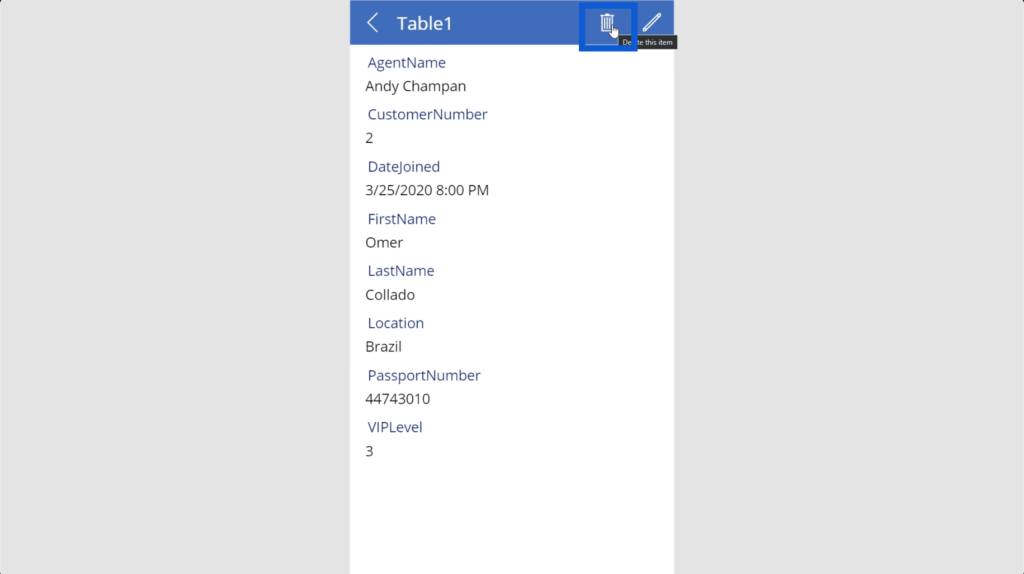
Take note that Power Apps doesn’t confirm if you really want to delete that entry, so you need to be very careful in case you delete an entry accidentally.
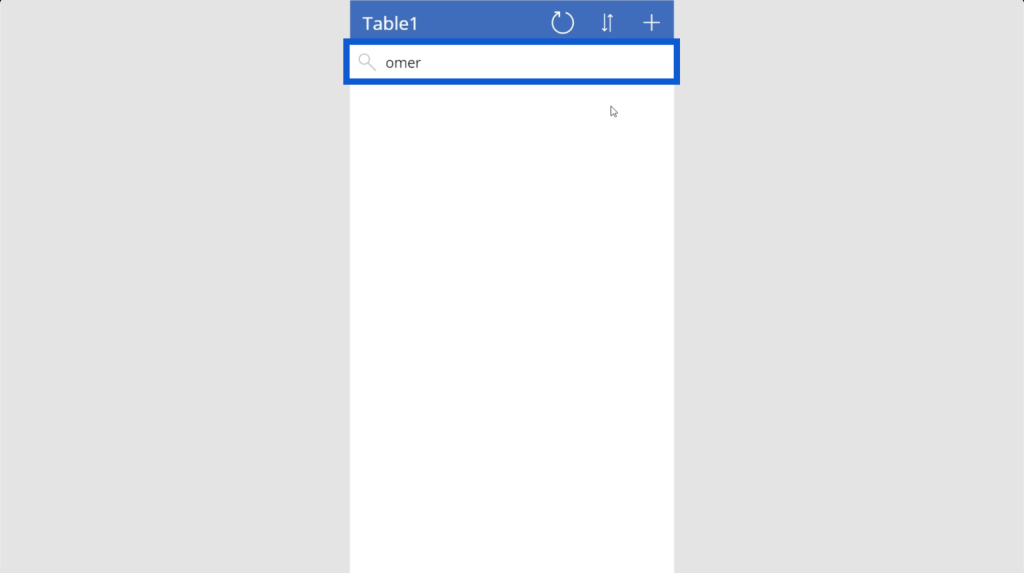
When you go back to the list, you’ll see that Omer doesn’t show up anymore when we try to do a search.
You’ll see that Omer’s record has been deleted at the table as well.
Now that you’ve seen some basic functions, let’s continue this tutorial on Power Apps fundamentals by looking at some basic customizations.
Power Apps Fundamentals: Customizing
Power Apps is a Microsoft product. This means that it carries the same easy customization options just like Excel, Word, or Powerpoint.
One common element in Microsoft platforms is the ribbon on top. This is where all customization options can be found.
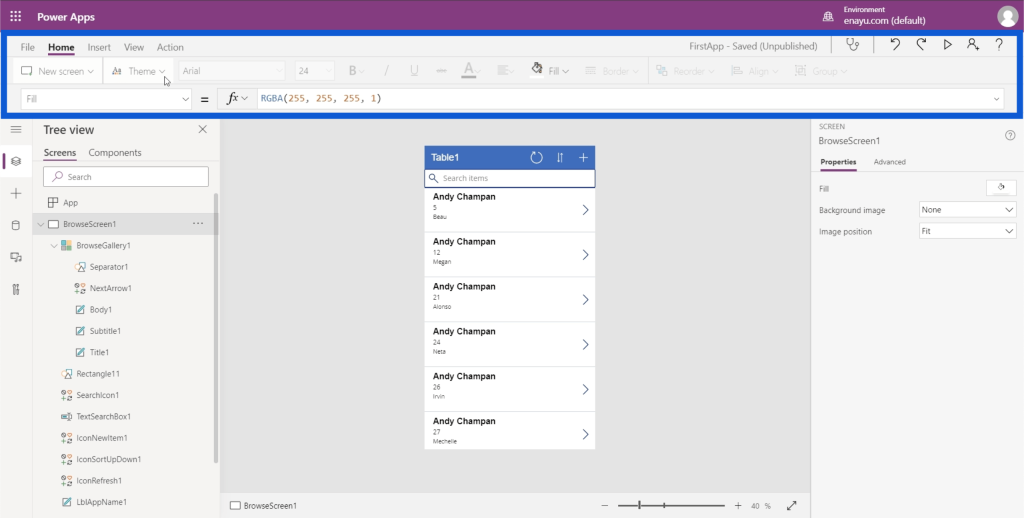
You can select from different ribbons, with each ribbon opening up a different set of options.
The first customization I want to show is how to change your theme. Similar to how you do it on other Microsoft platforms, you just need to click on the themes under the Home ribbon.
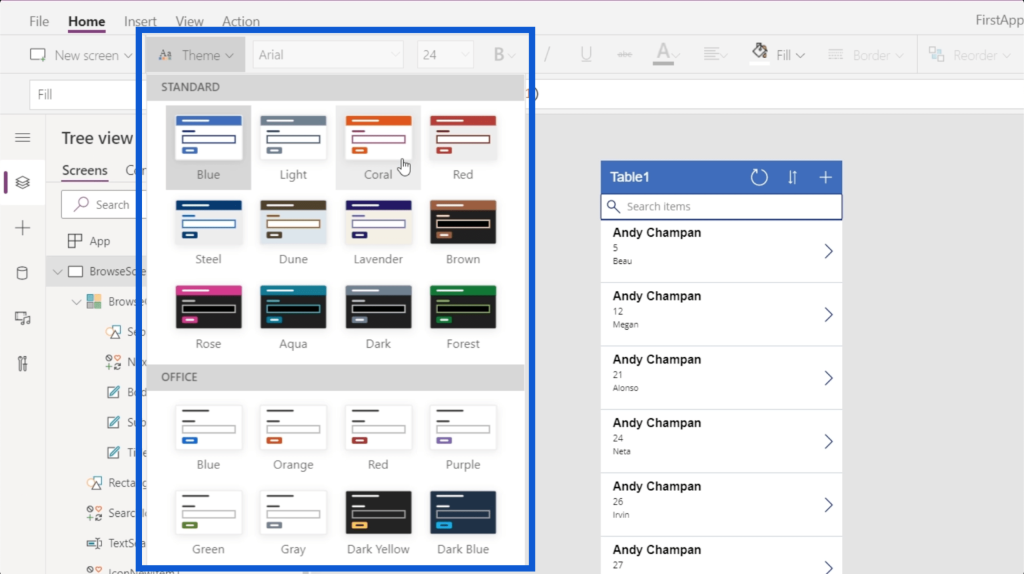
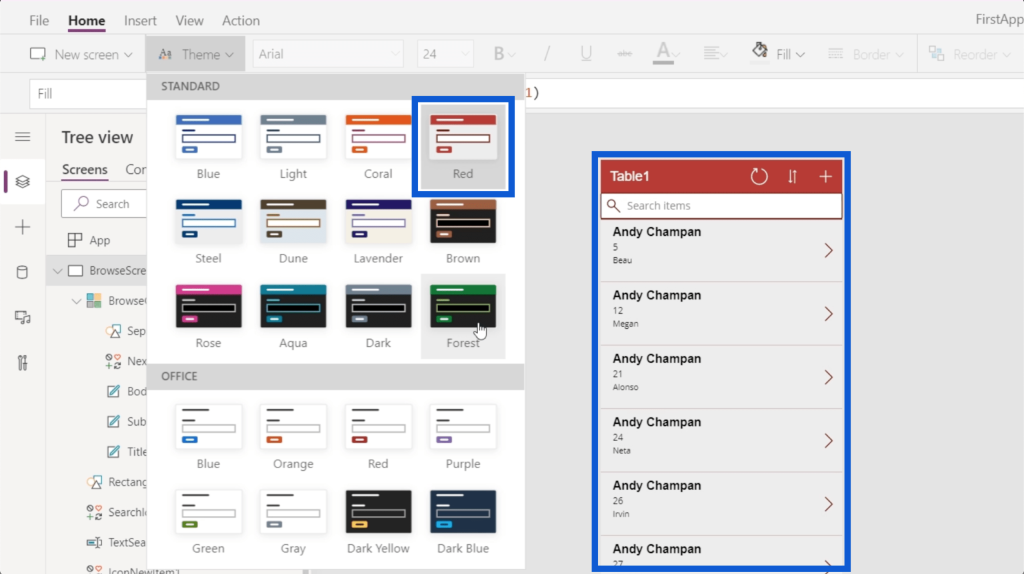
So if you click red, for example, it will change your app’s main color to red.
If you want a cooler and more subdued look, you can choose this dark blue theme.
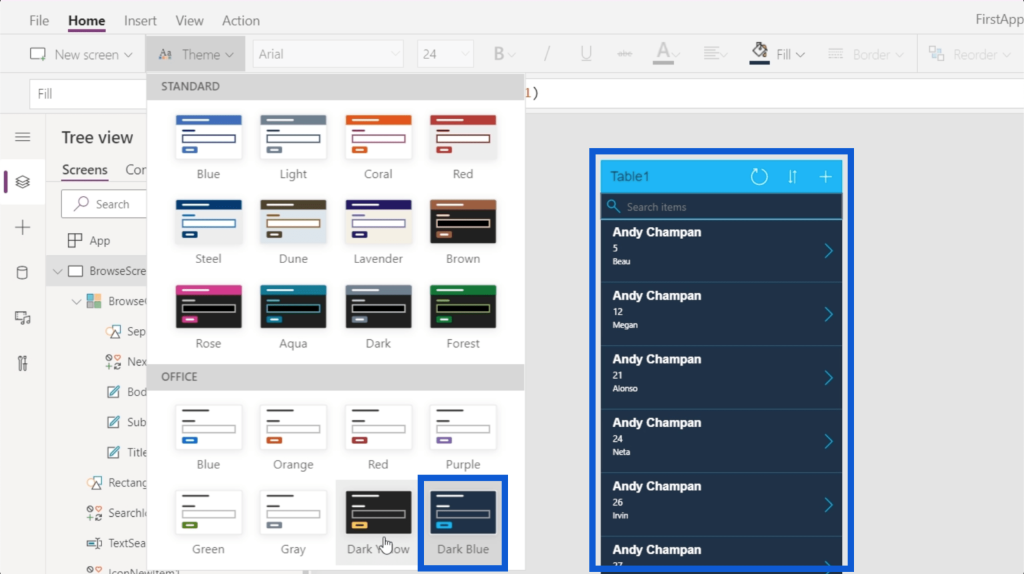
Think about the kind of experience you want your users to have. The theme you choose should be able to give them that.
You can also customize your fonts and the way your text appears. Also under the Home ribbon is a dropdown menu for the different fonts available. Just click on the text you want to customize, then choose a font.
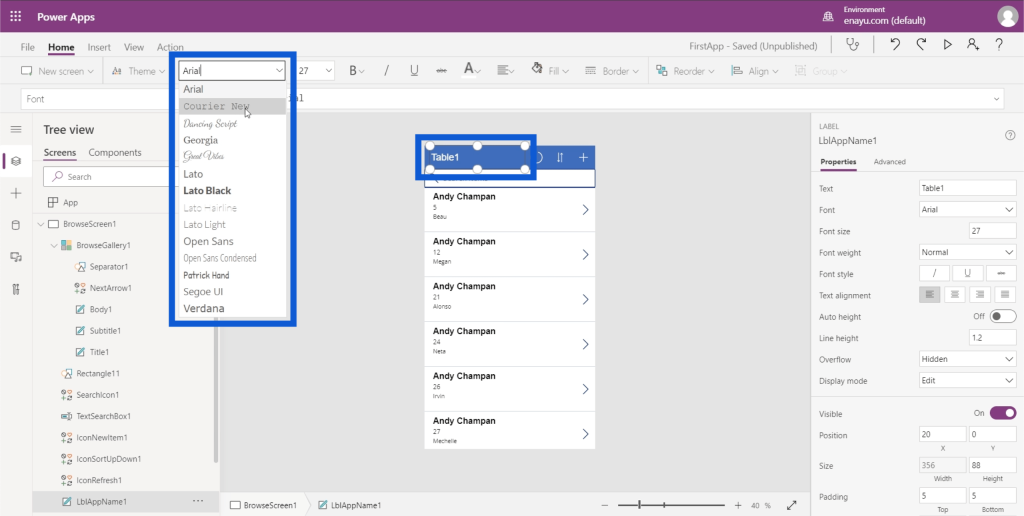
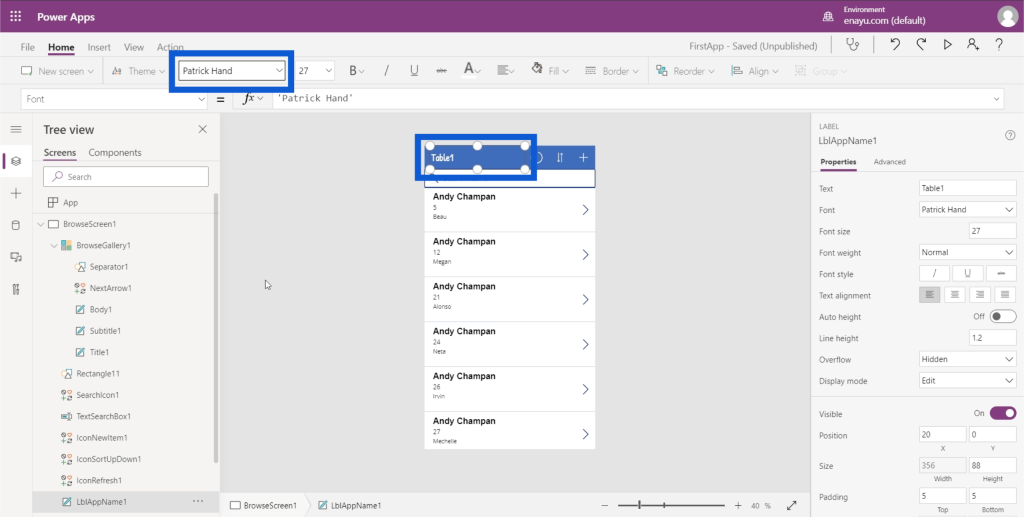
Again, you have to think about the overall feel that you want your app to have. So if you want a fun-looking app, you can change the heading to something like Patrick Hand.
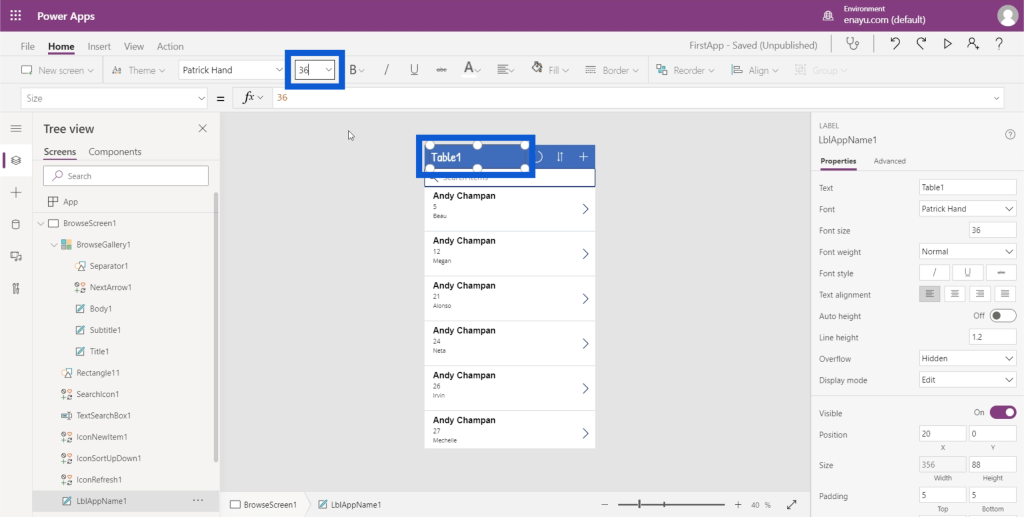
You can change the size of the font as well to whatever font size you think will be best in terms of readability.
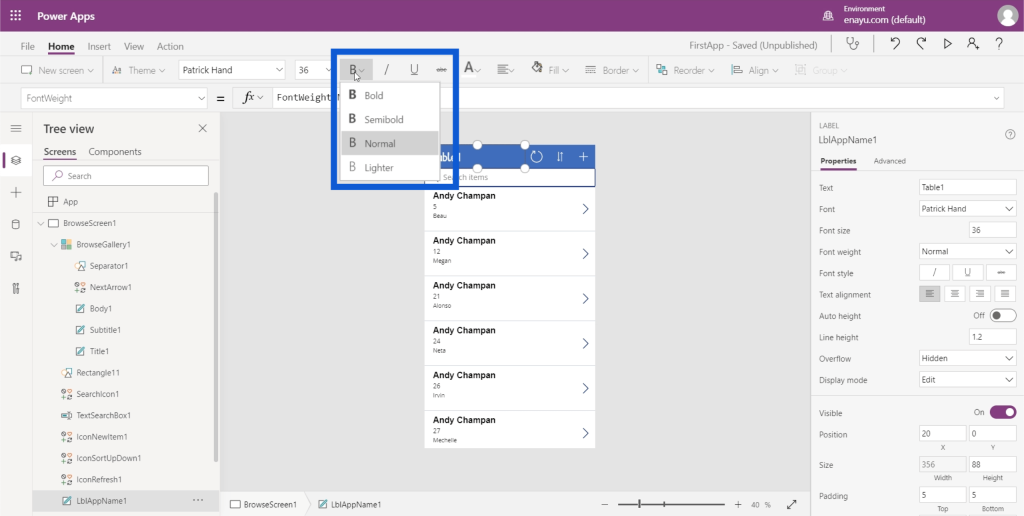
It also has the usual options for the text style, like bold, italic, underlined, and strikethrough.
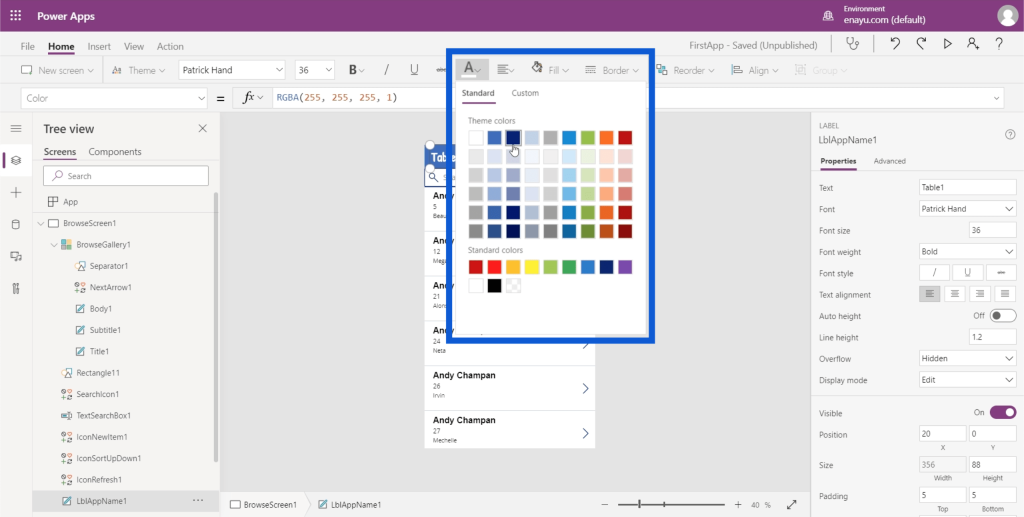
You can change the color by clicking any of the color options here.
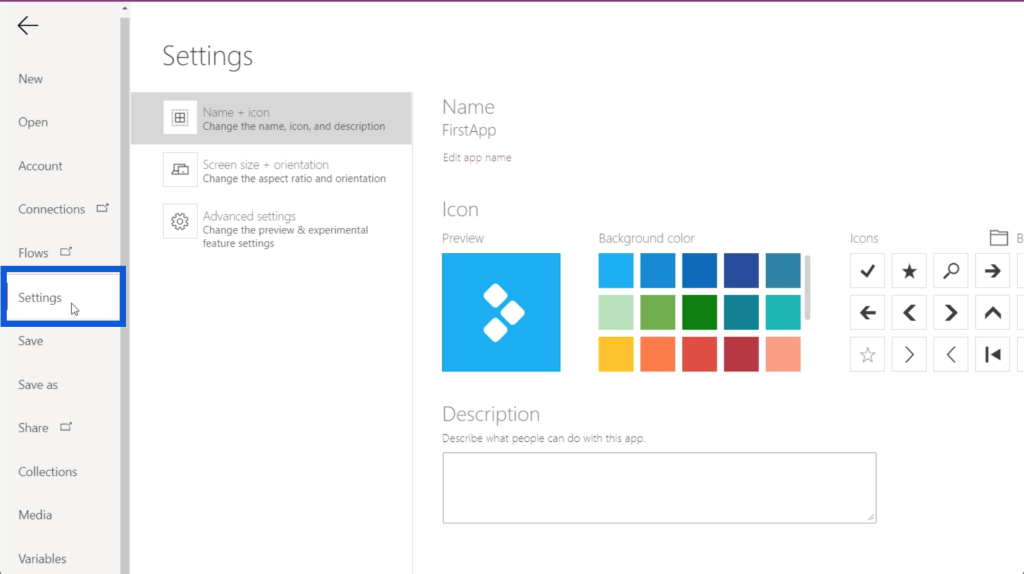
There are more customization options if you click on File and go to Settings.
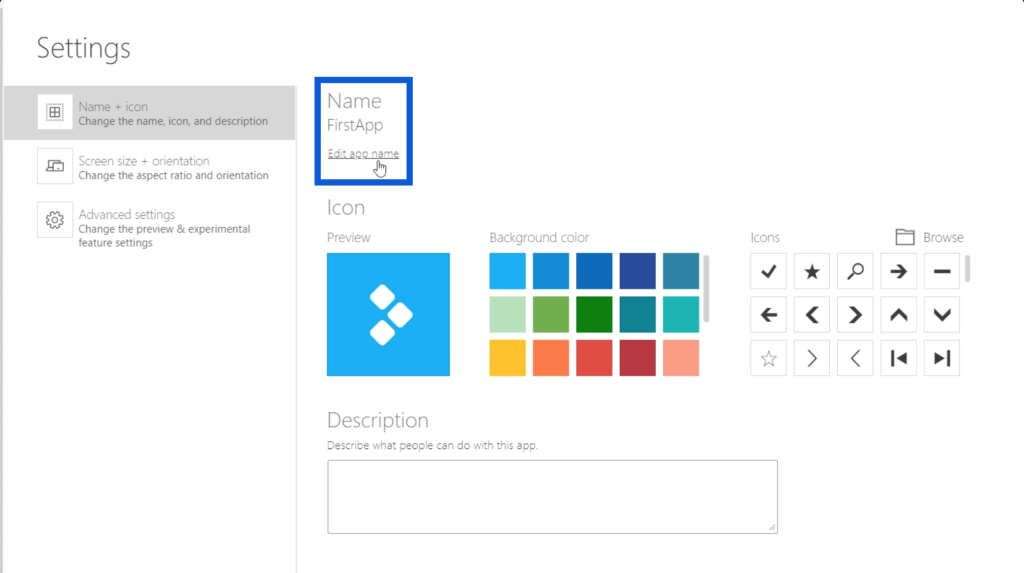
You can change the name of your app by clicking on Edit app name.
You can also choose the icon’s background color.
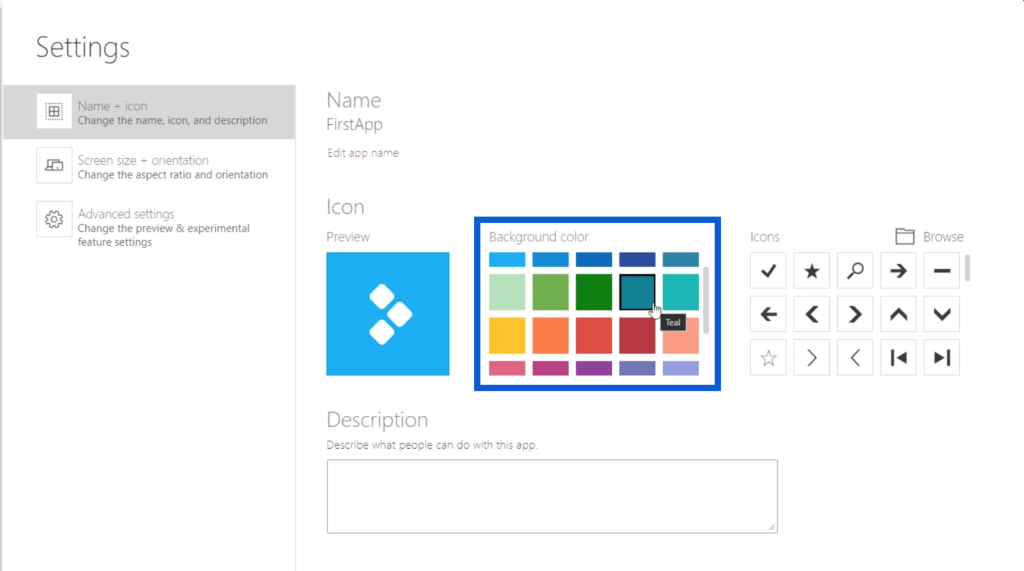
Then, you can choose the most fitting icons on the rightmost part.
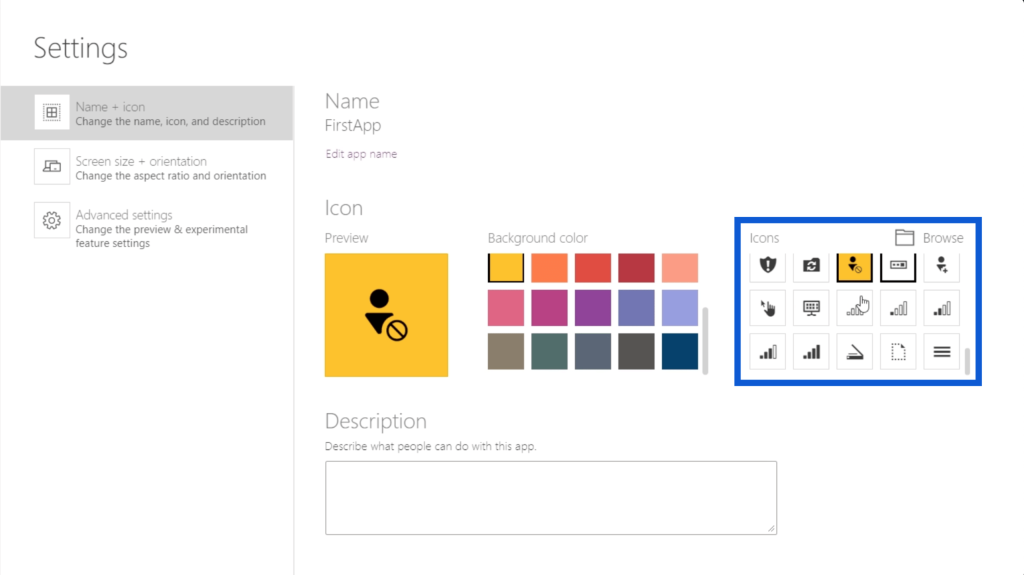
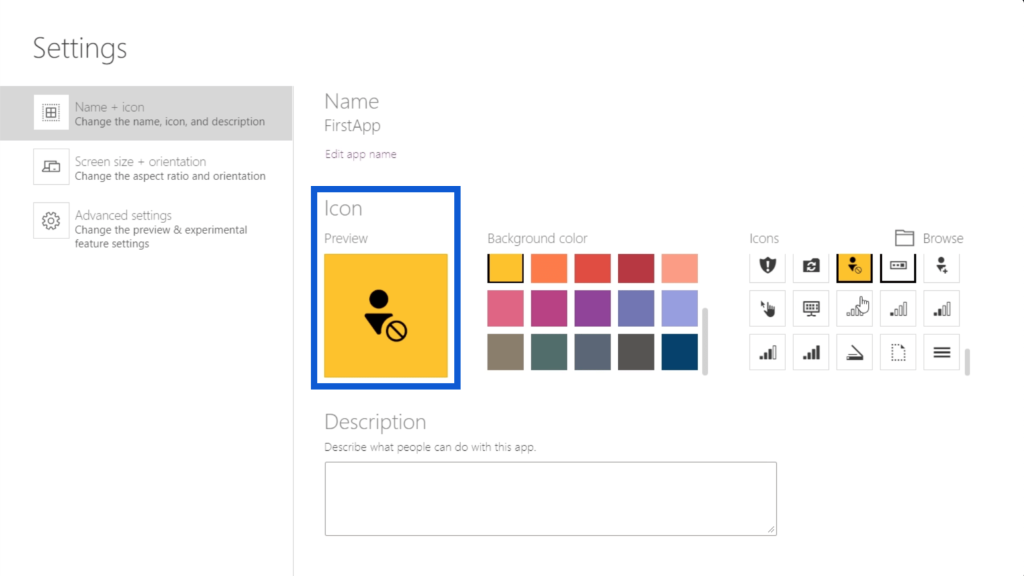
You can also see how your app’s icon will look like as you make your choices in this Preview pane.
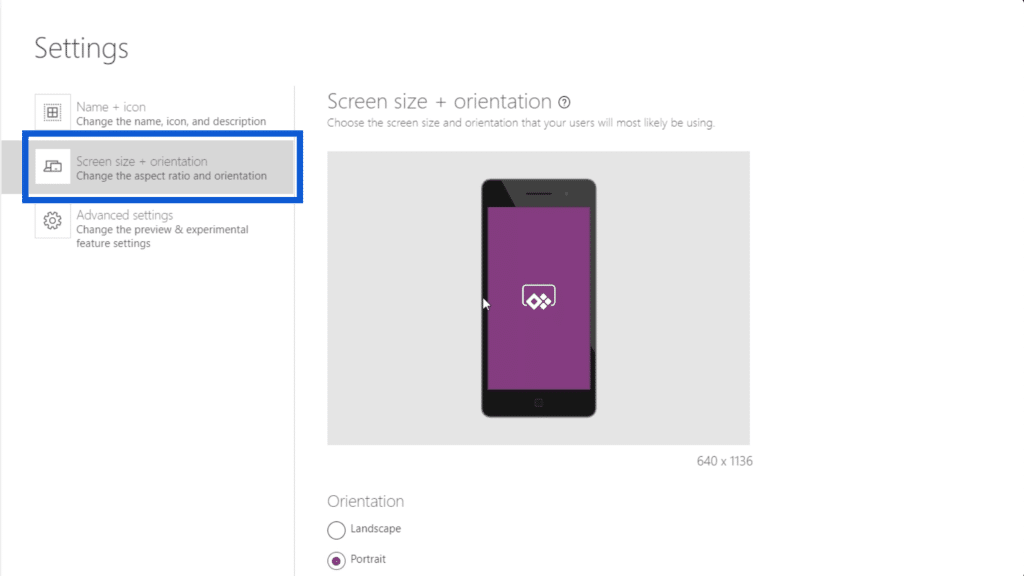
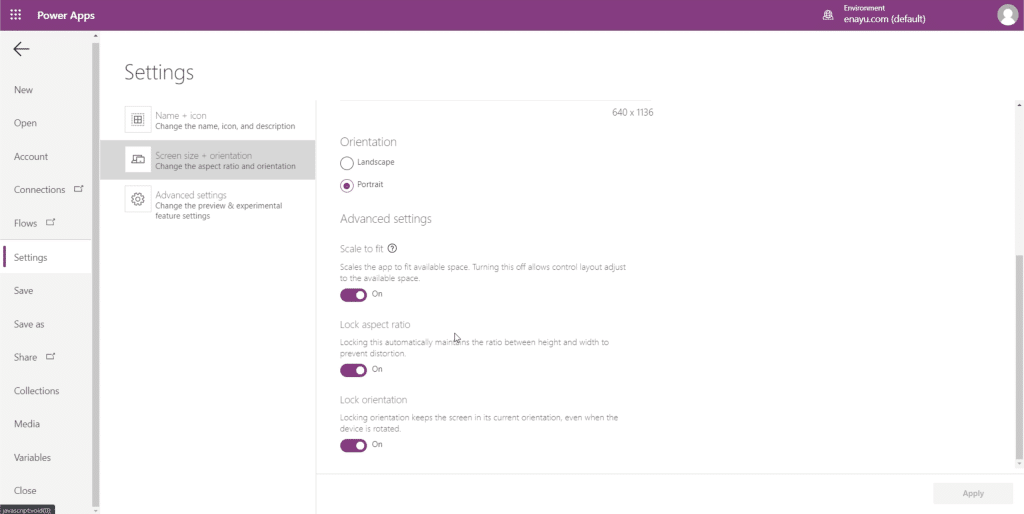
You can change the screen size and orientation by clicking on the second option on the left pane.
The Advanced settings also allows you to toggle on or off the options for scale to fit, lock aspect ratio, and lock orientation.
***** Related Links *****
Power Apps: Getting Started With This Revolutionary Tool
How To Create A Power Apps Account | Power BI Tutorial
Power Apps Introduction: Definition, Features, Functions And Importance
Conclusion
The Power Apps fundamentals I showed you here today emphasize how convenient it is to use this tool. It’s amazing how anybody can now make their work or business even better through the use of apps created in this platform.
This is just the beginning. As I go through even more advanced functions and customizations in other tutorials, you’ll see how much potential this platform really has and how easily you can make great apps for different functions.
All the best,
Henry


