This tutorial is for associating entity fields to a PowerApps form for a business process flow. We’ll be creating a form that’ll serve as a way for users to input data into an entity or table. It’ll allow users to have a UI that they can use to enter their details and submit it.
Remember that before doing the following instructions, you have to make sure that you’ve already set up an environment with entities and your custom fields.

Creating A PowerApps Form For Business Process Flows
This is a sample entity or a table that I’ve created beforehand. Let’s now learn how to create a form for our entity fields. Click the Forms tab inside the entity.
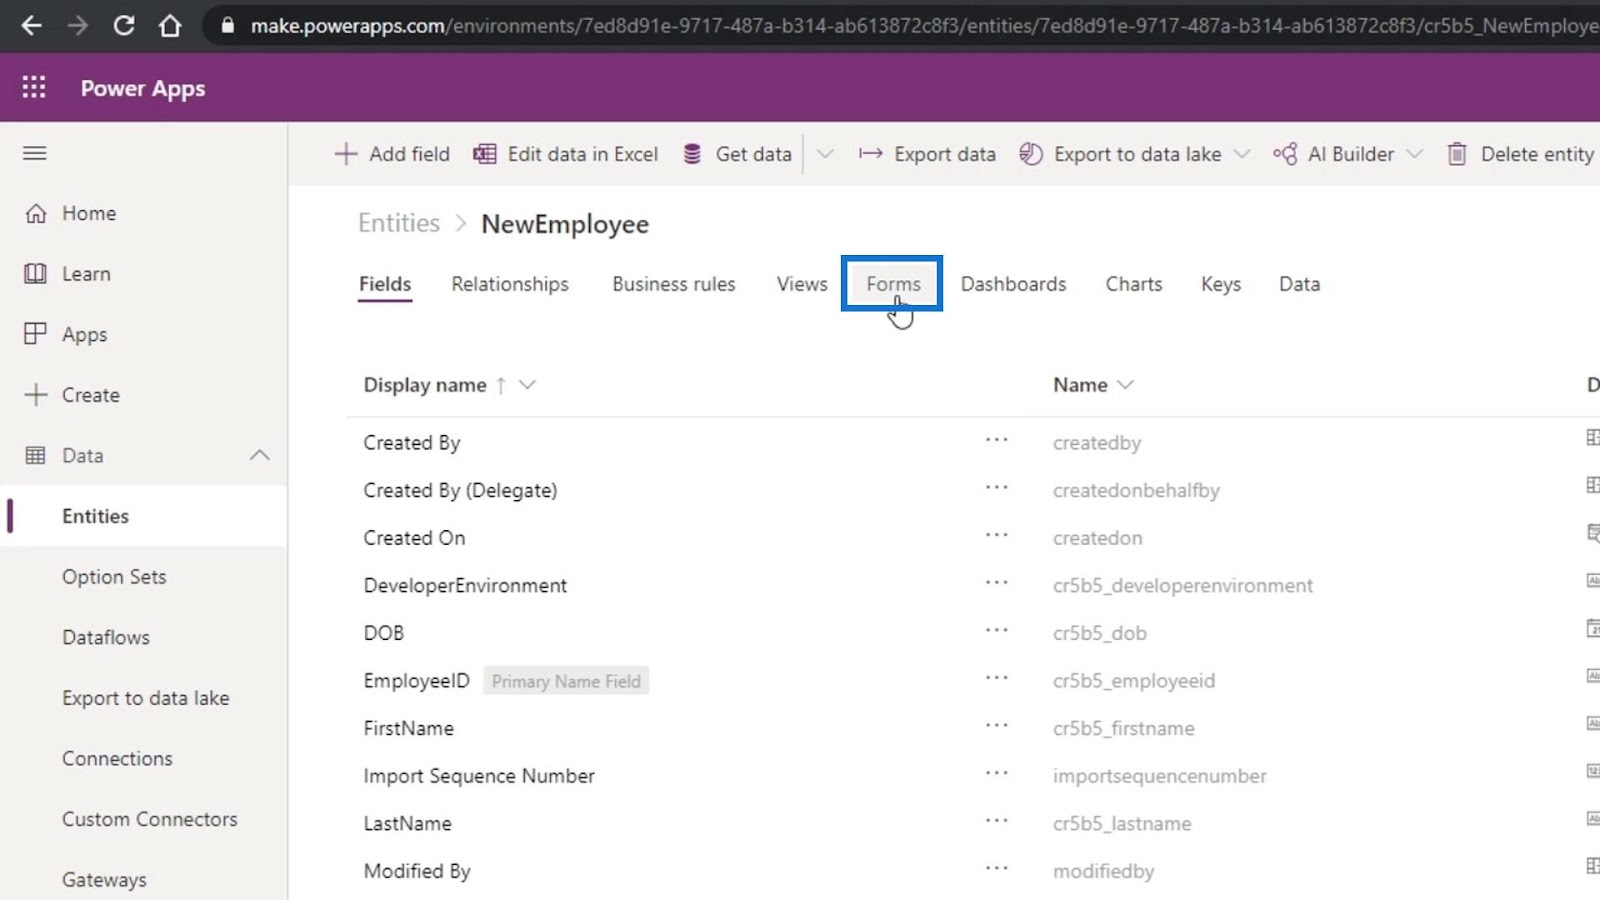
This displays the different forms that we can edit. We’ll edit the Main form as stated in the Form type.

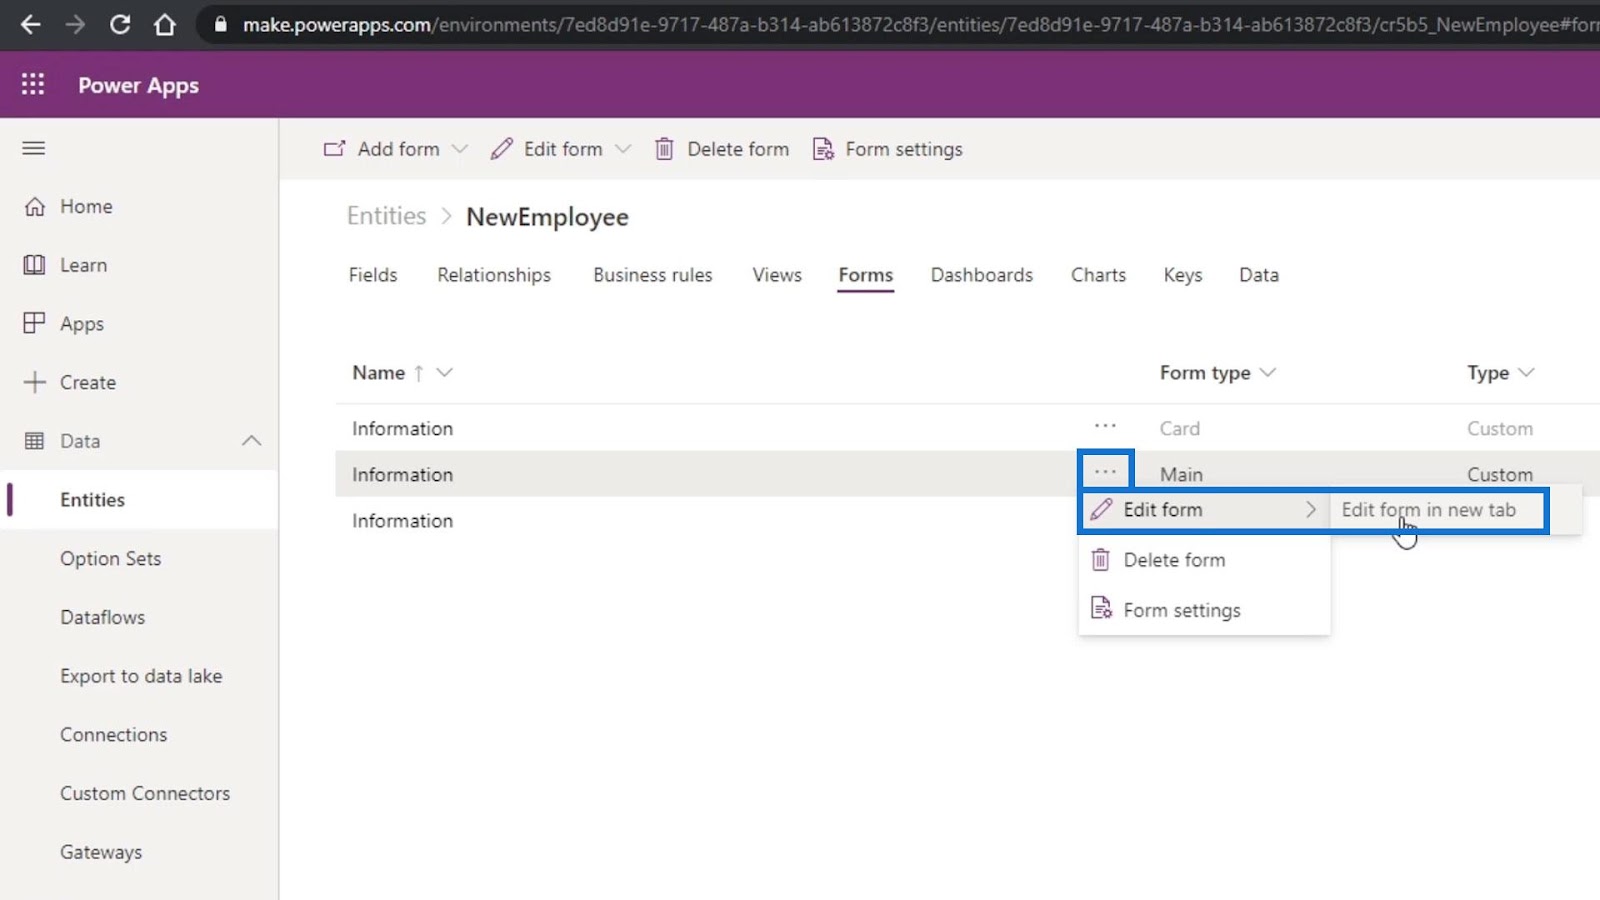
Click on its three ellipsis, click Edit form, and Edit form in new tab.
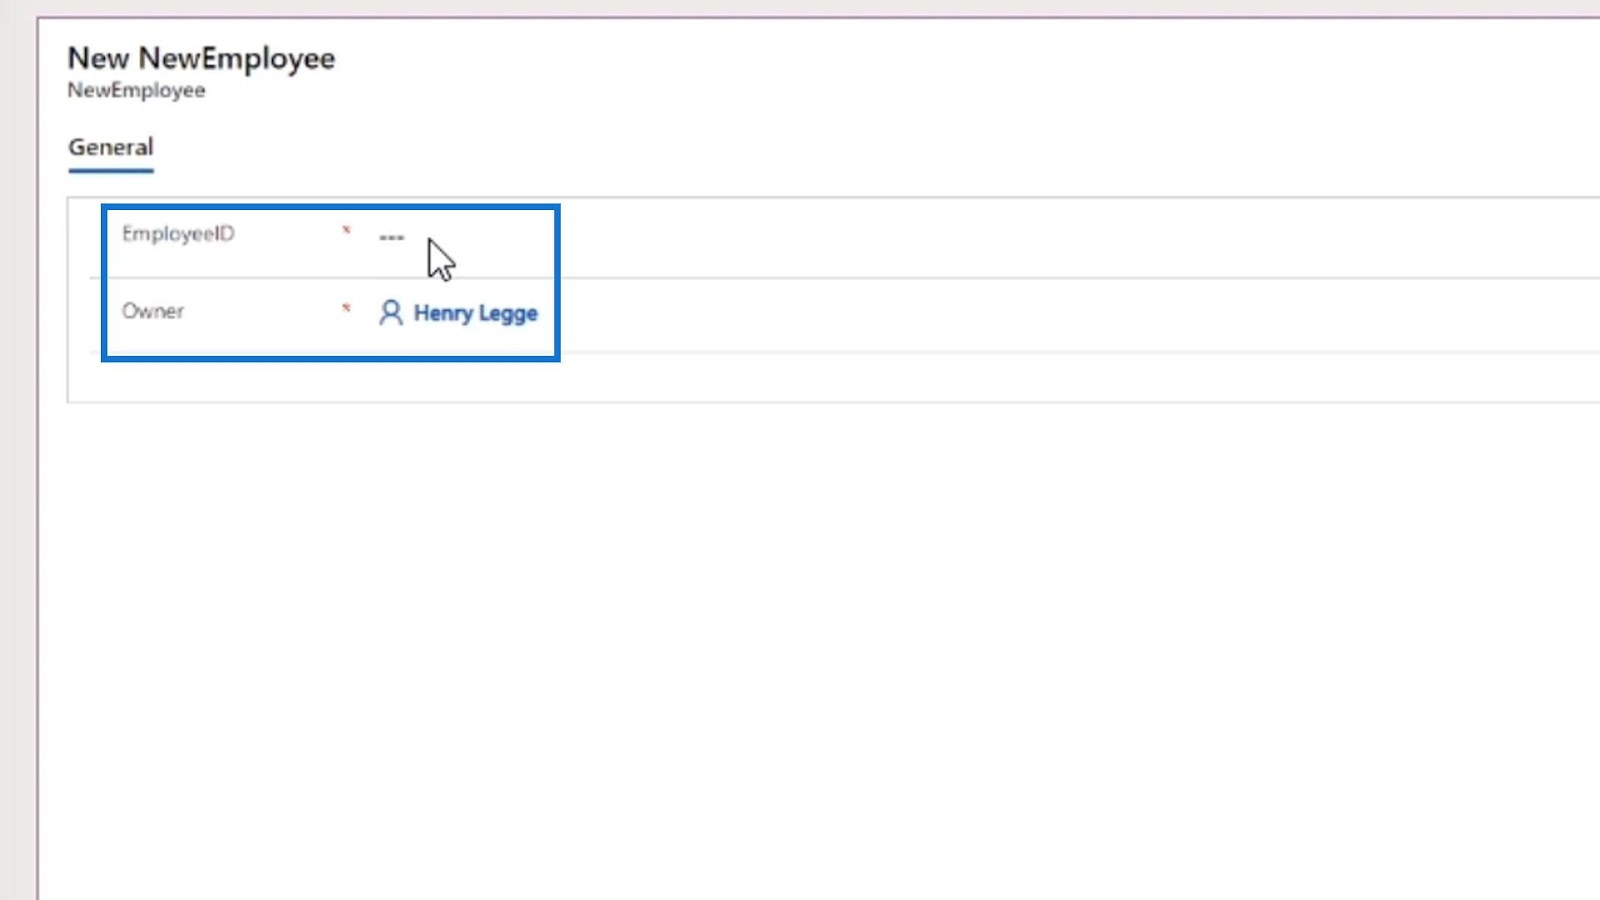
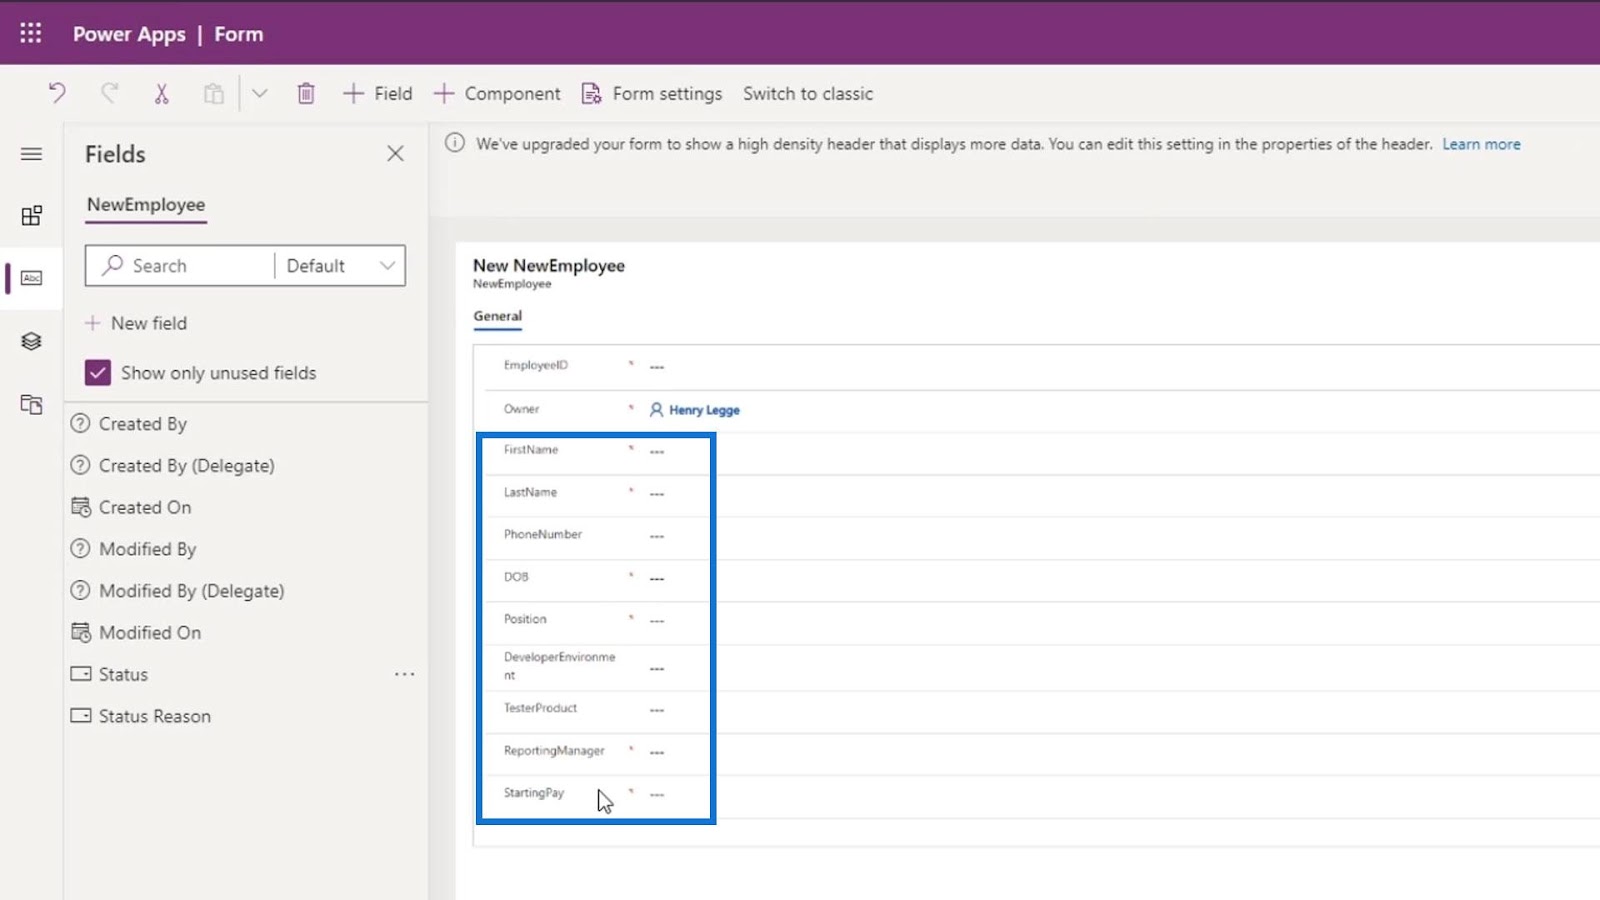
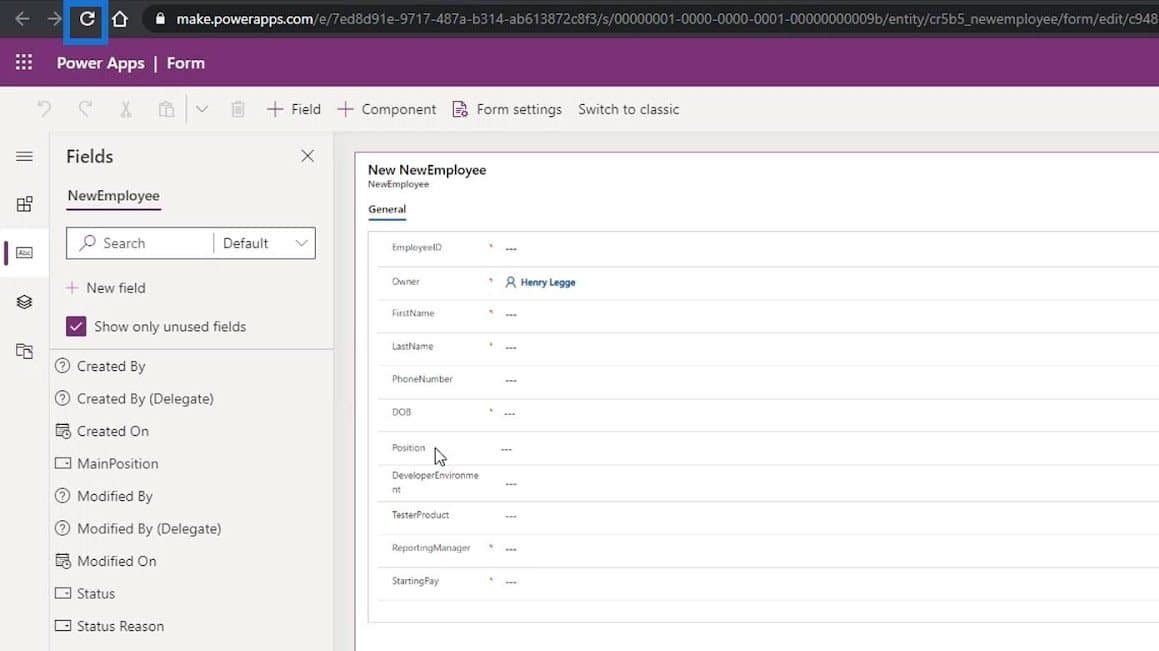
This is how it looks when the form is created. Currently, we only have the EmployeeID and the Owner fields.
First, let’s start adding the other fields such as the FirstName. Simply drag them to our form.
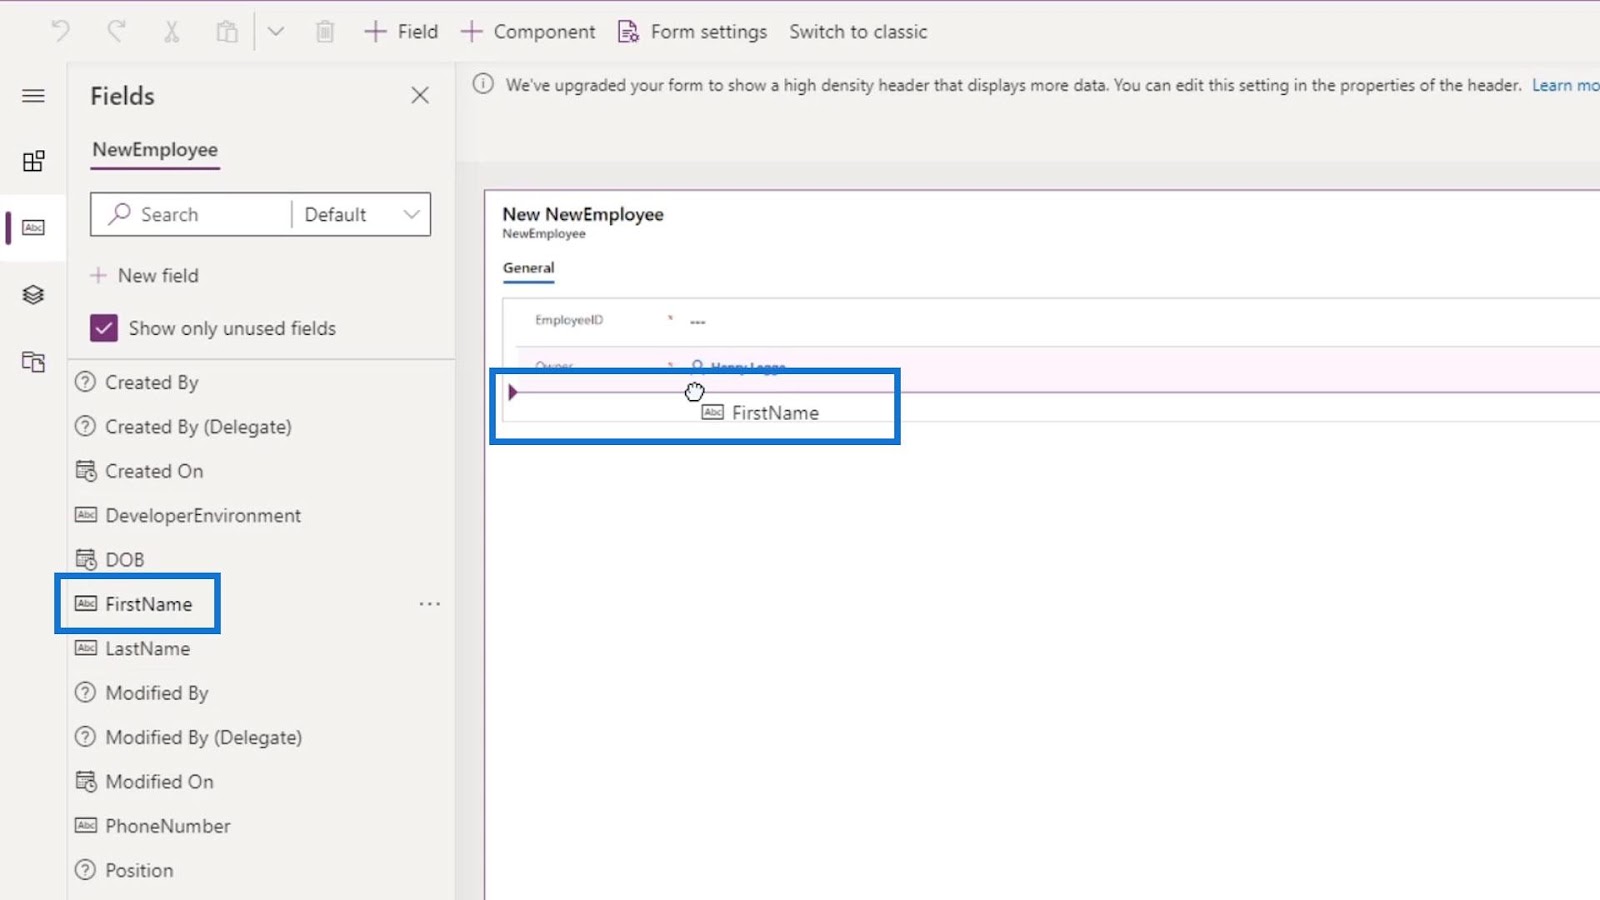
Let’s continue adding the LastName, PhoneNumber, DOB (Date of Birth), Position, DeveloperEnviroment, TesterProduct, ReportingManager, and the StartingPay fields.
Modifying The PowerApps Form Fields
For this example, we actually chose the wrong data type for the Position field. This field is for a user to choose if they’re a developer or a tester.

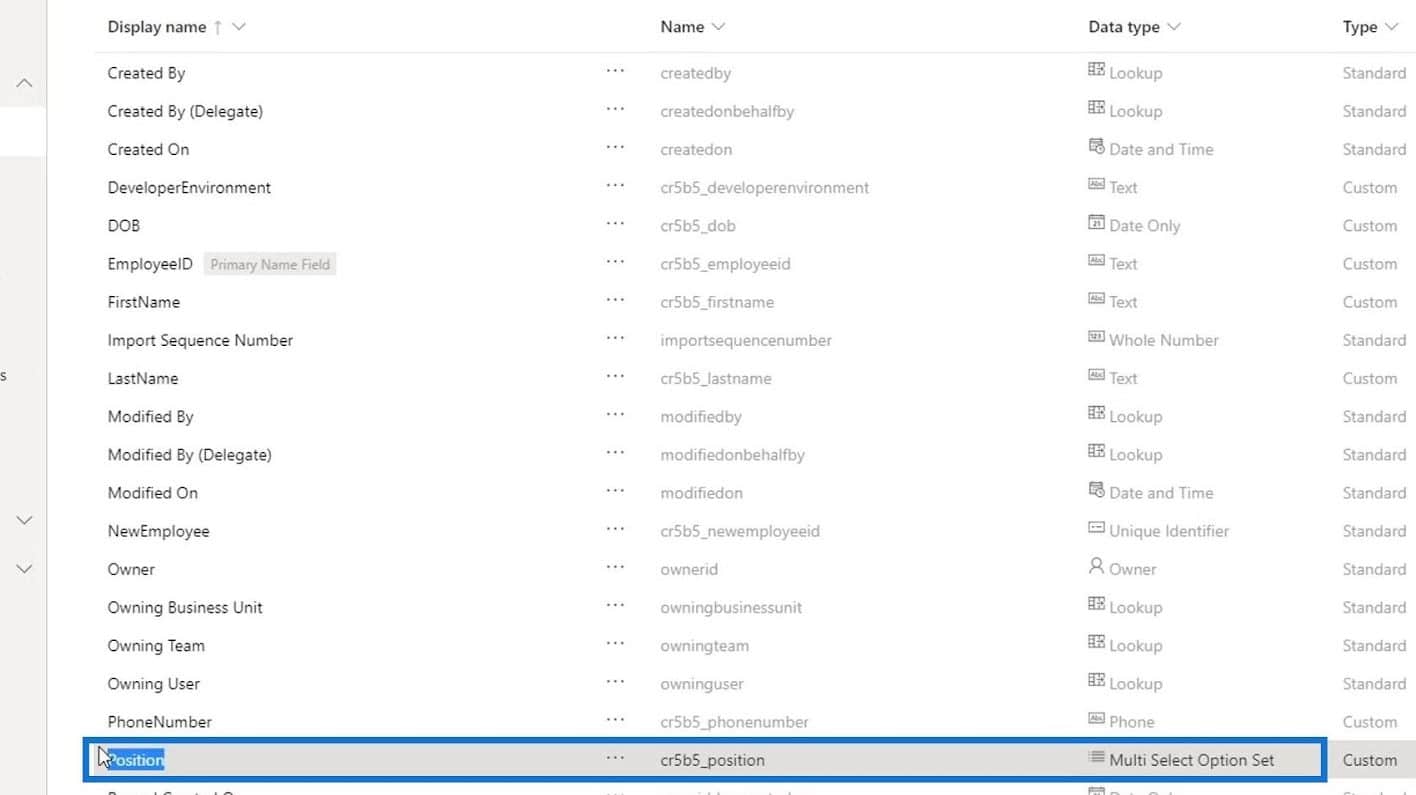
We’re currently using the Multi Select Option Set data type that allows a user to select if they’re a Developer or a Tester, or Developer and a Tester. It simply means that they can select both options as well.
Unfortunately, we can’t change the data type of a field once created.
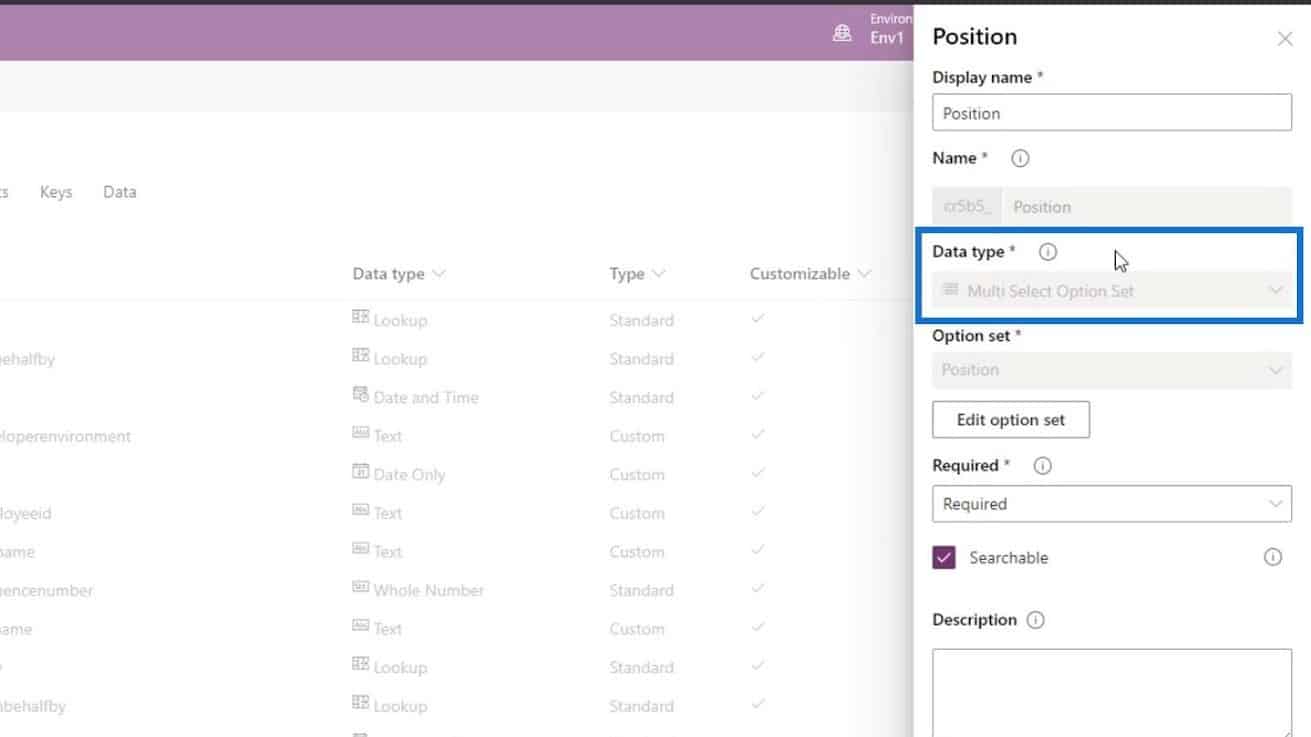
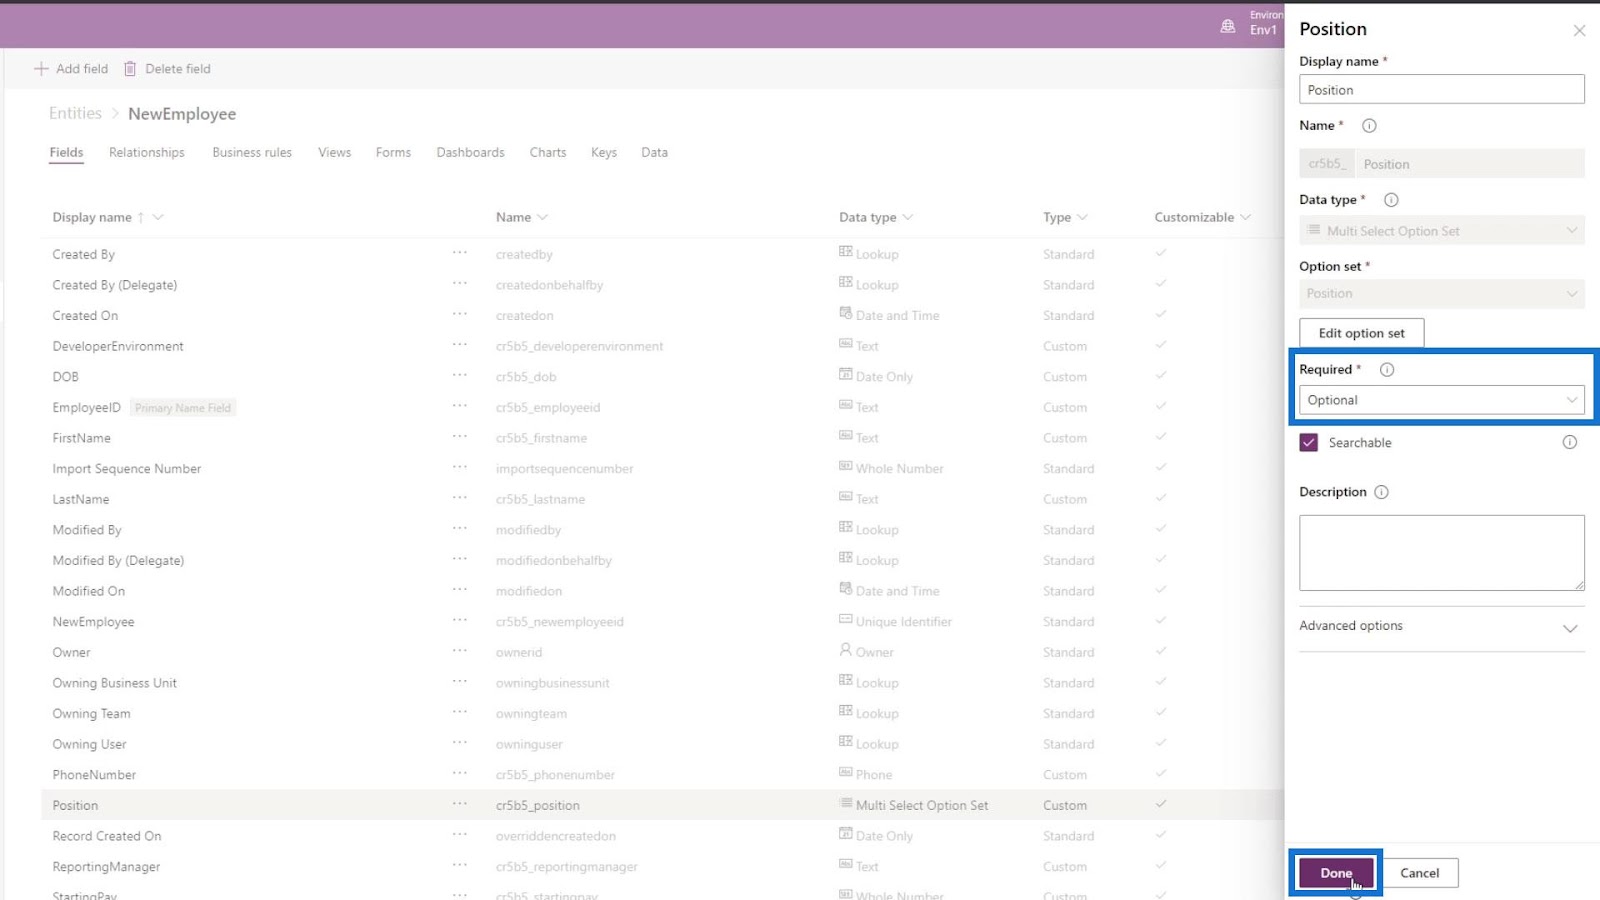
What we can do is to remove this field on our form. However, before we can remove this field, we need to change its Required field to Optional instead of Required. Then, click the Done button.
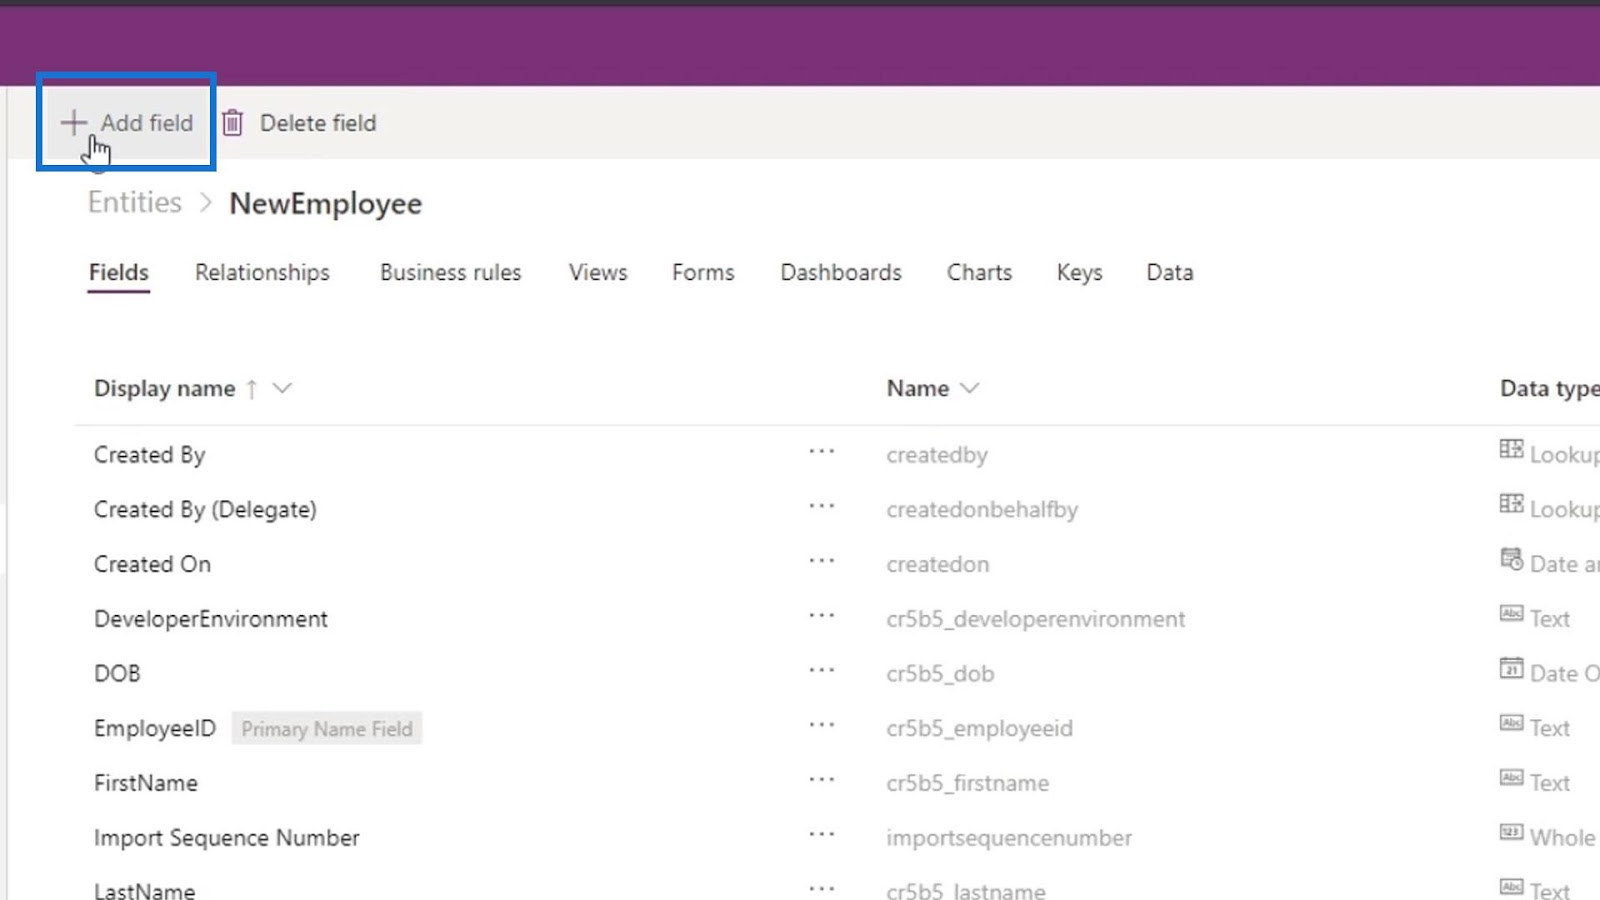
After that, we need to add a new field for the Position. So, click the Add field.
Then, name this field as MainPosition.
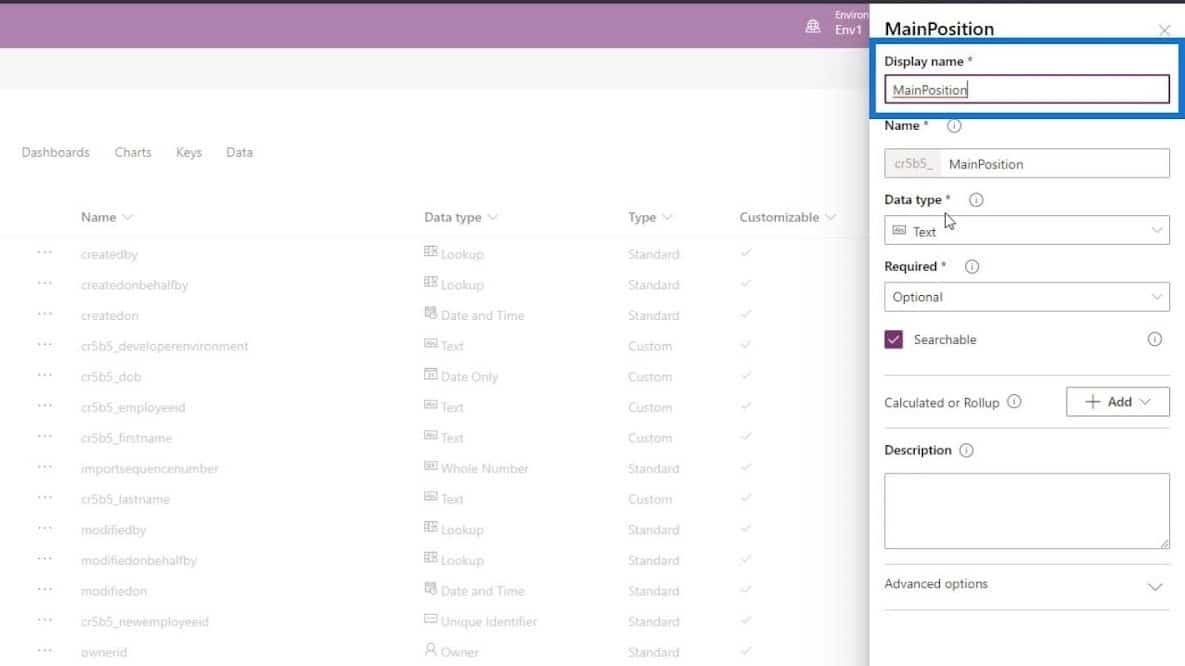
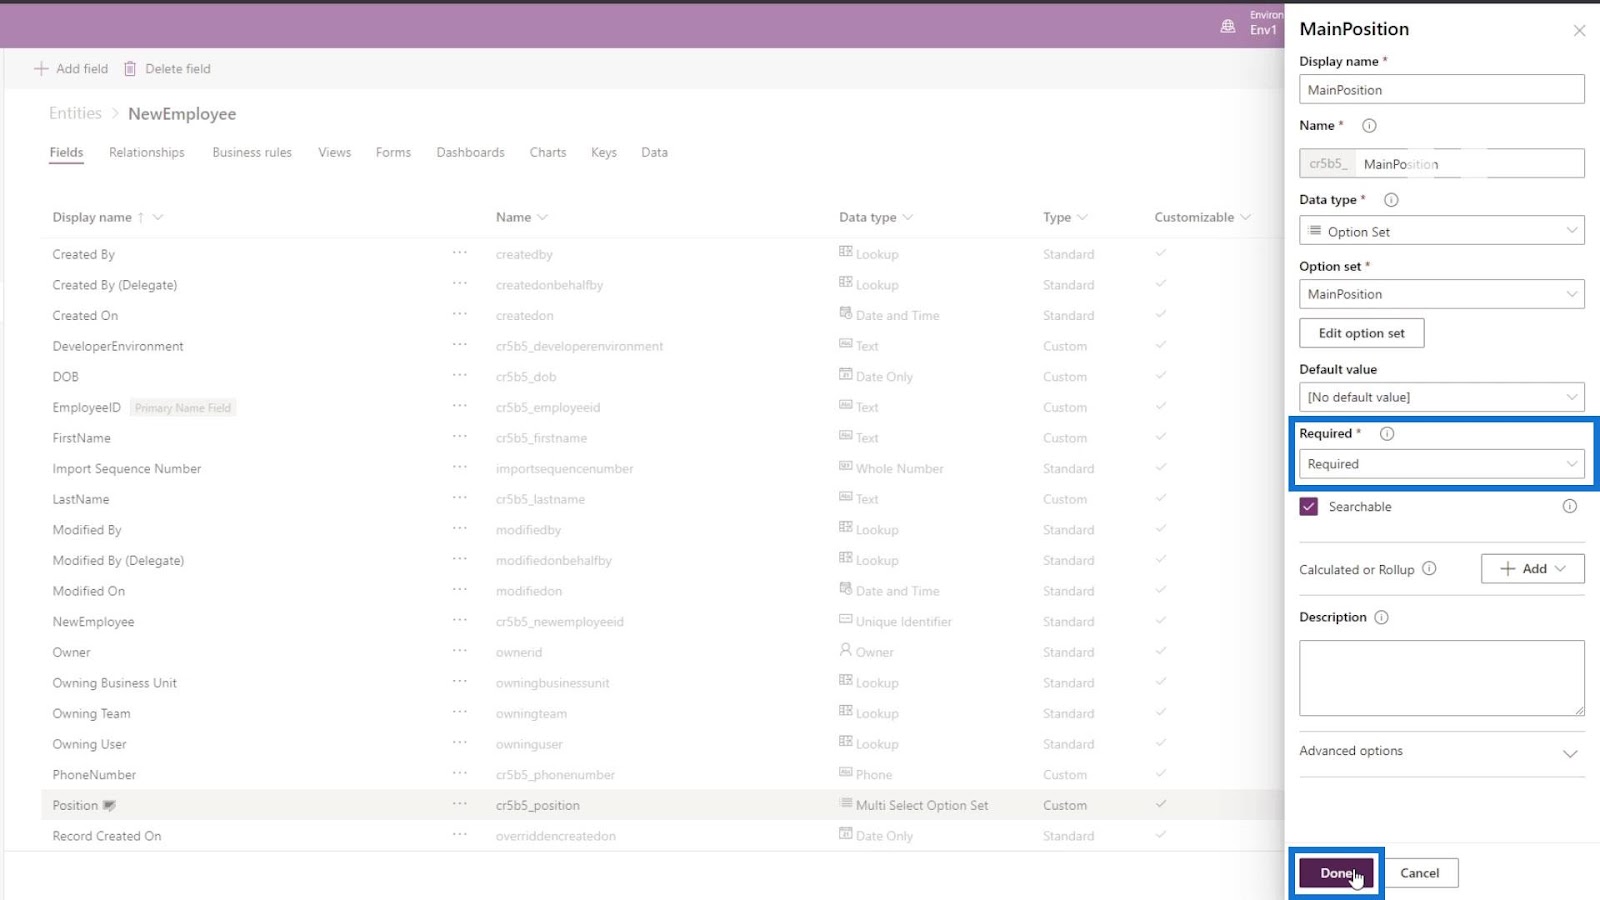
Let’s change the Data type to Option Set. With this data type, the user can only select one among the options that we will set.
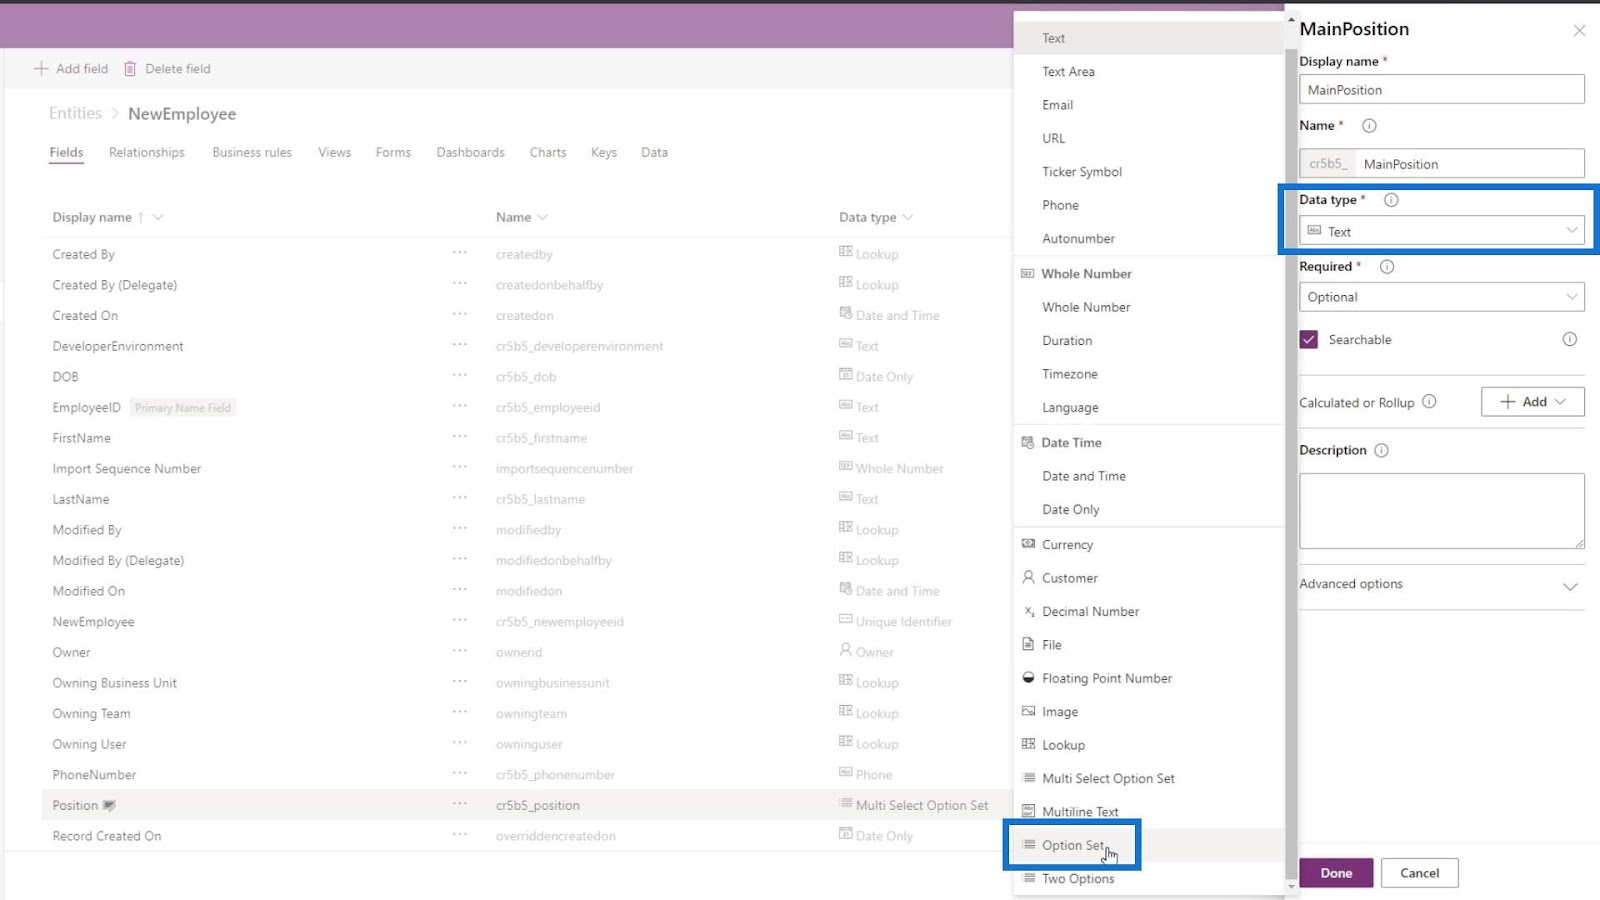
Click the Option set and let’s add a new option set.
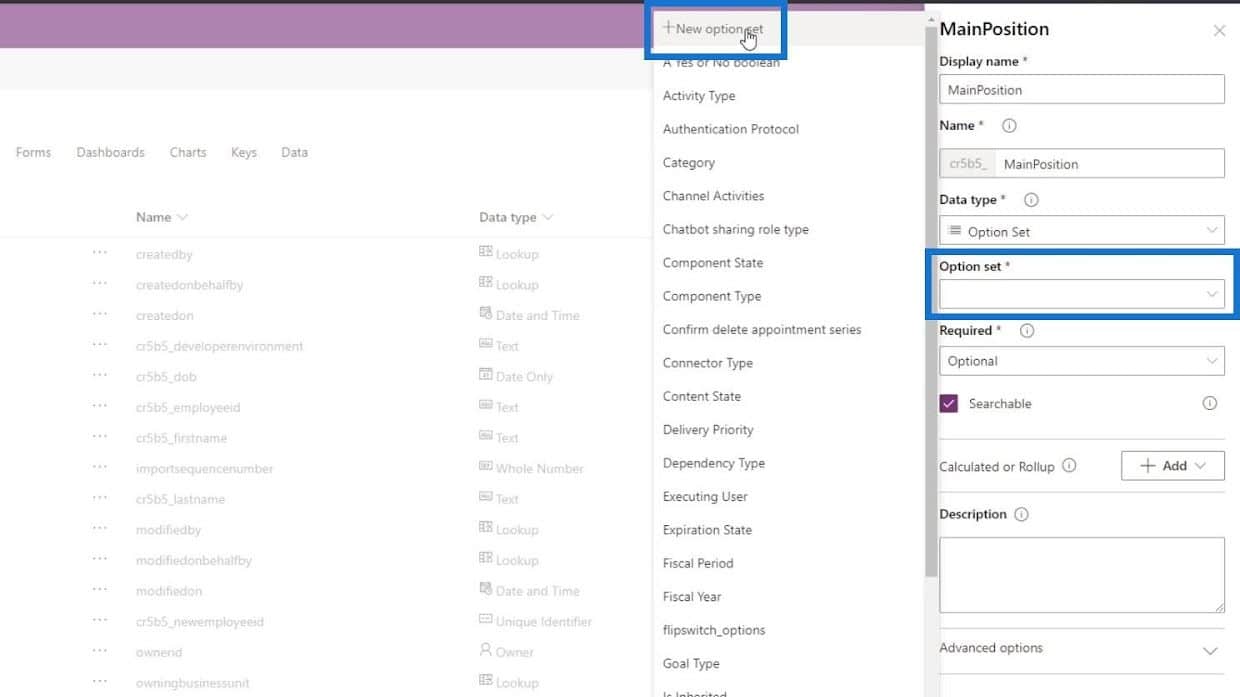
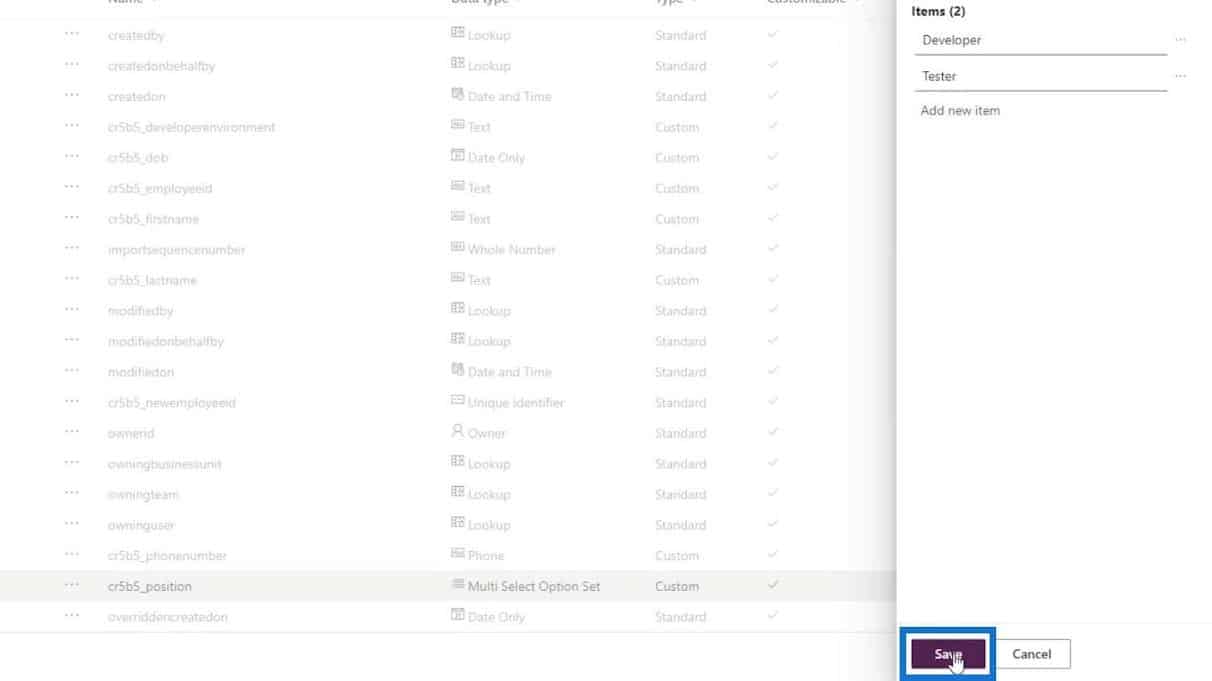
Then add the Developer and Tester as the options.
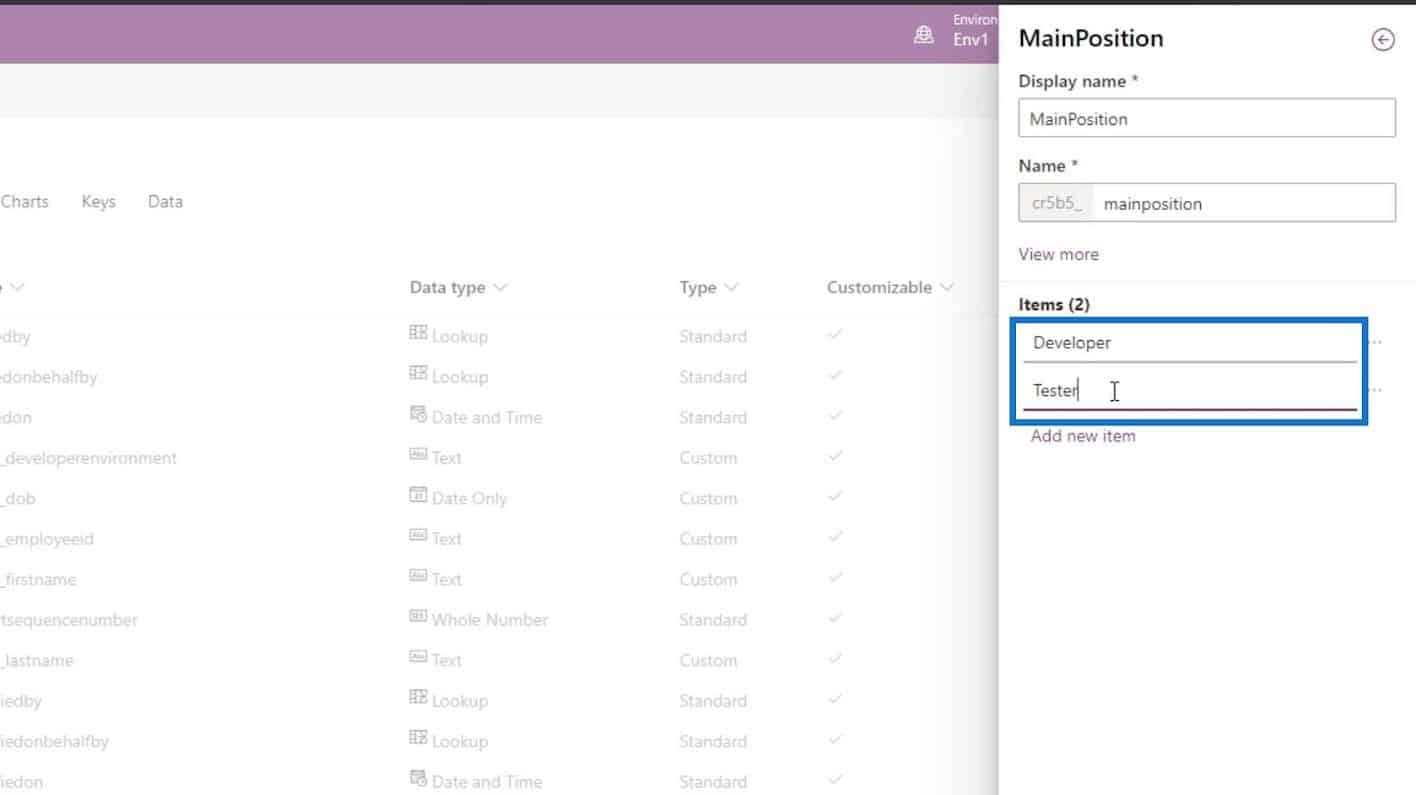
After that, click the Save button.
Let’s also make this field Required and click the Done button.
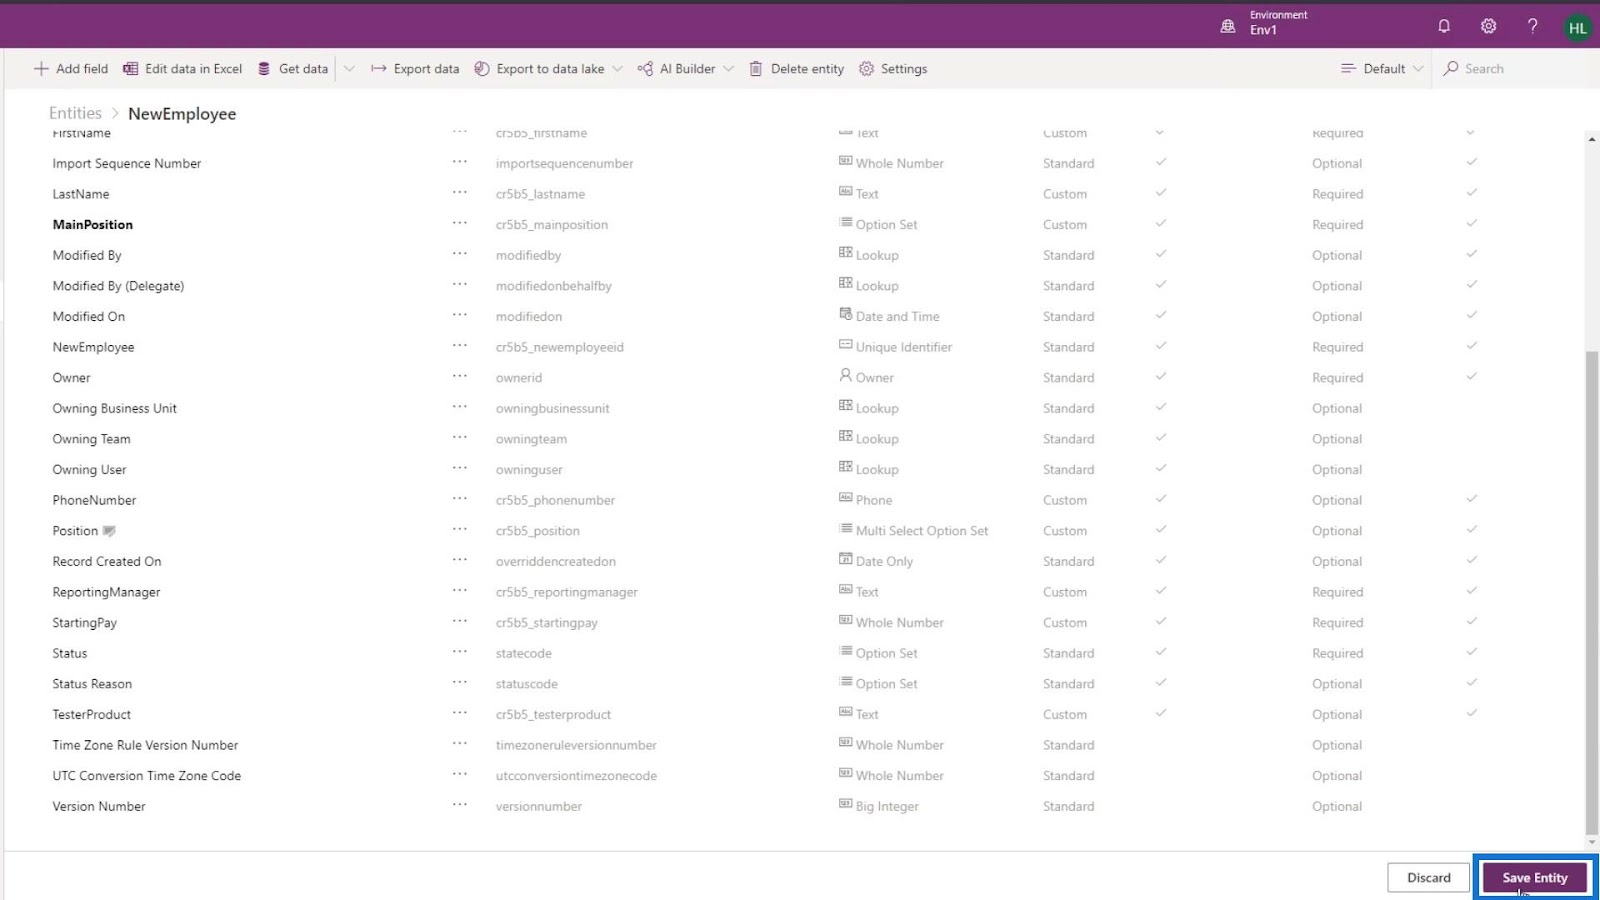
Now that our new field is added, let’s click the Save Entity button.
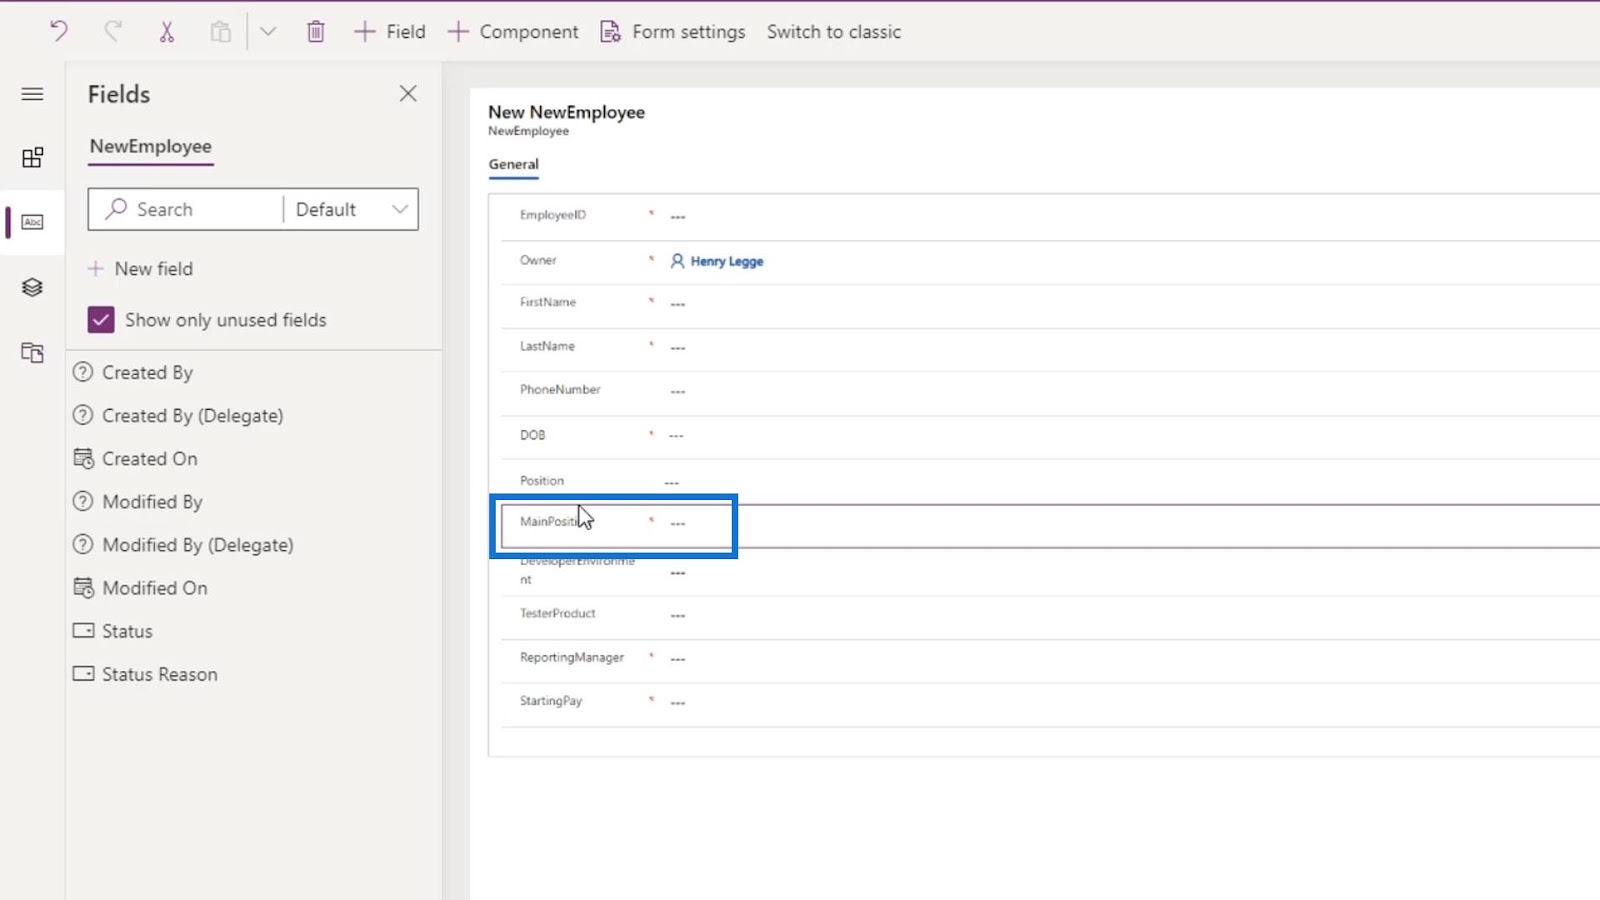
Let’s go back to our Main form and make sure to refresh this page as well.
Then add the MainPosition field after the Position field on our form.
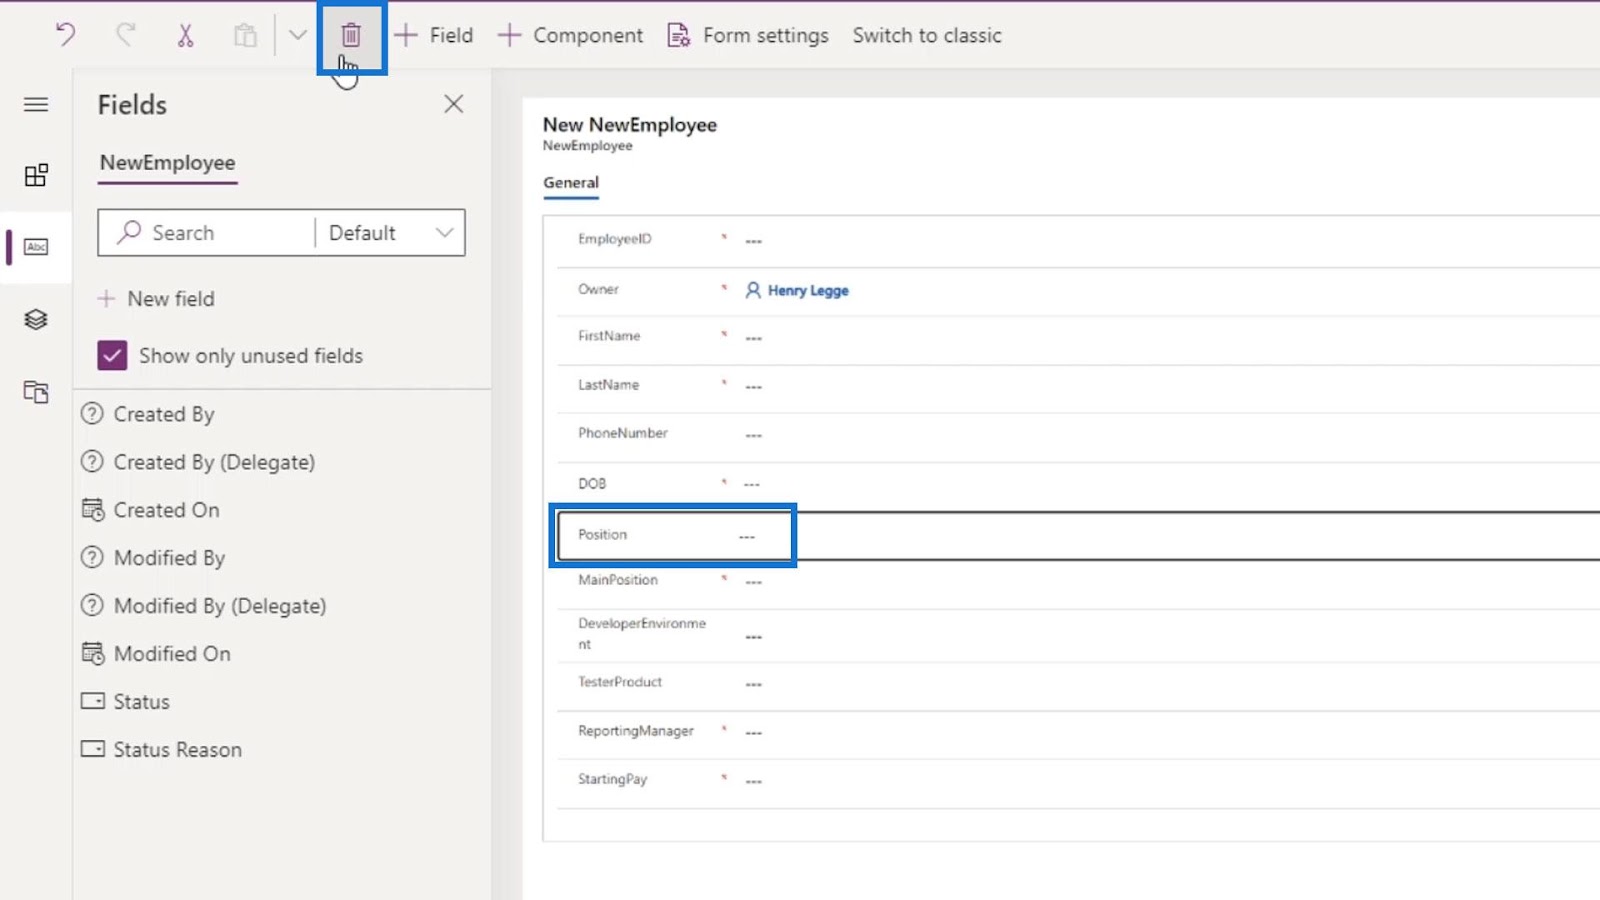
We can now remove the Position field by clicking on it, and click the Delete icon on top.
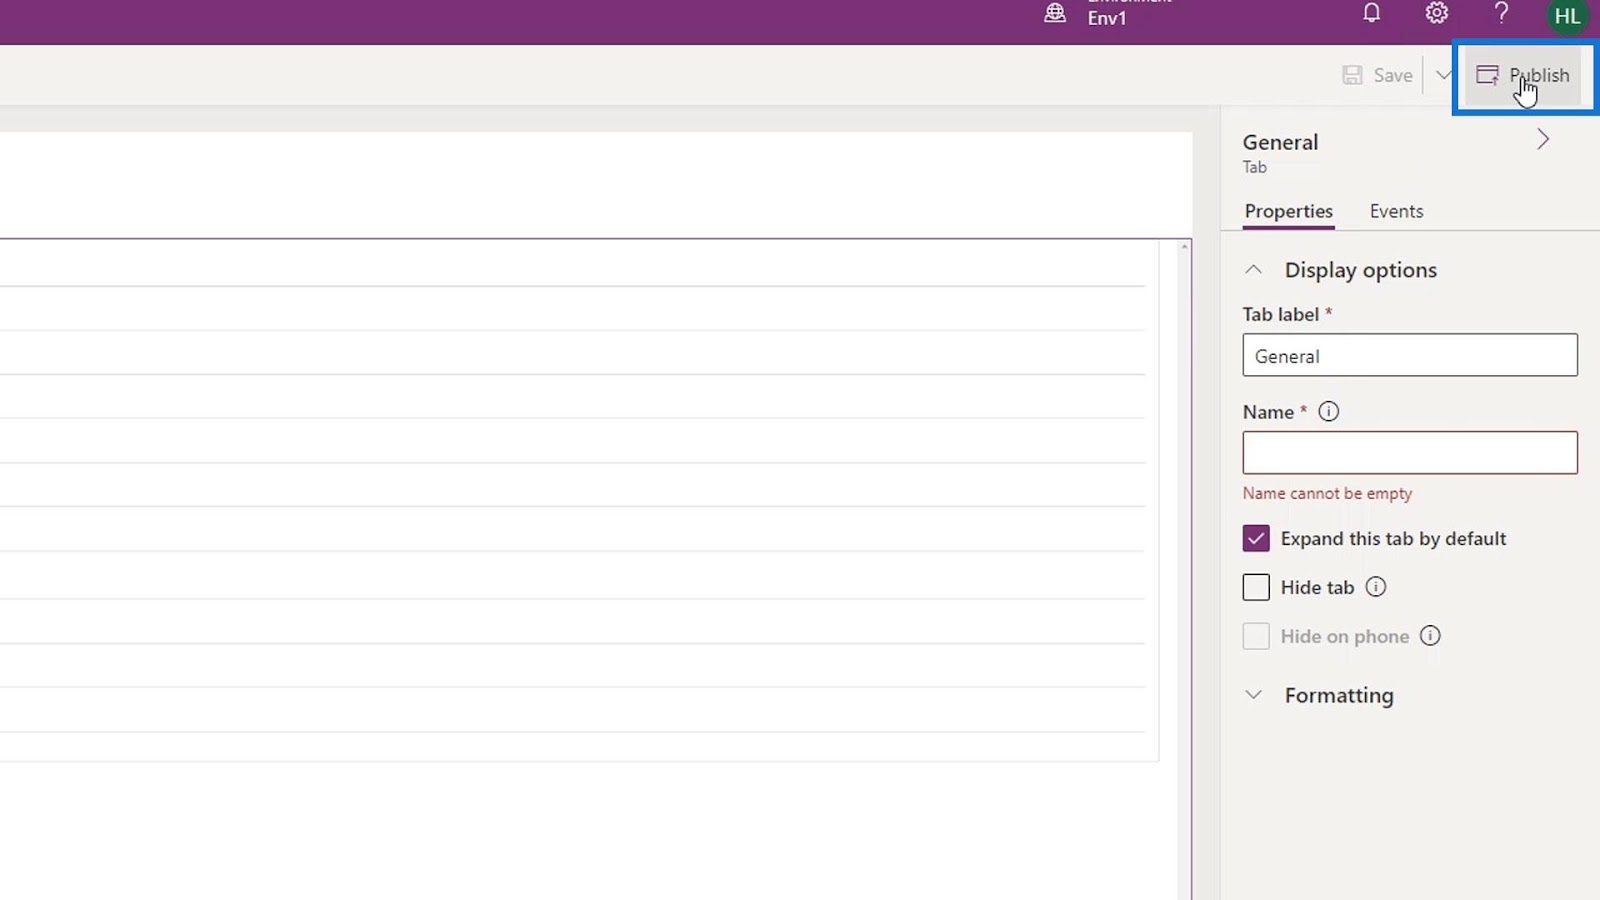
That’s what we can do if we made a mistake on our entity fields. Lastly, let’s finalize this form by clicking the Save button.

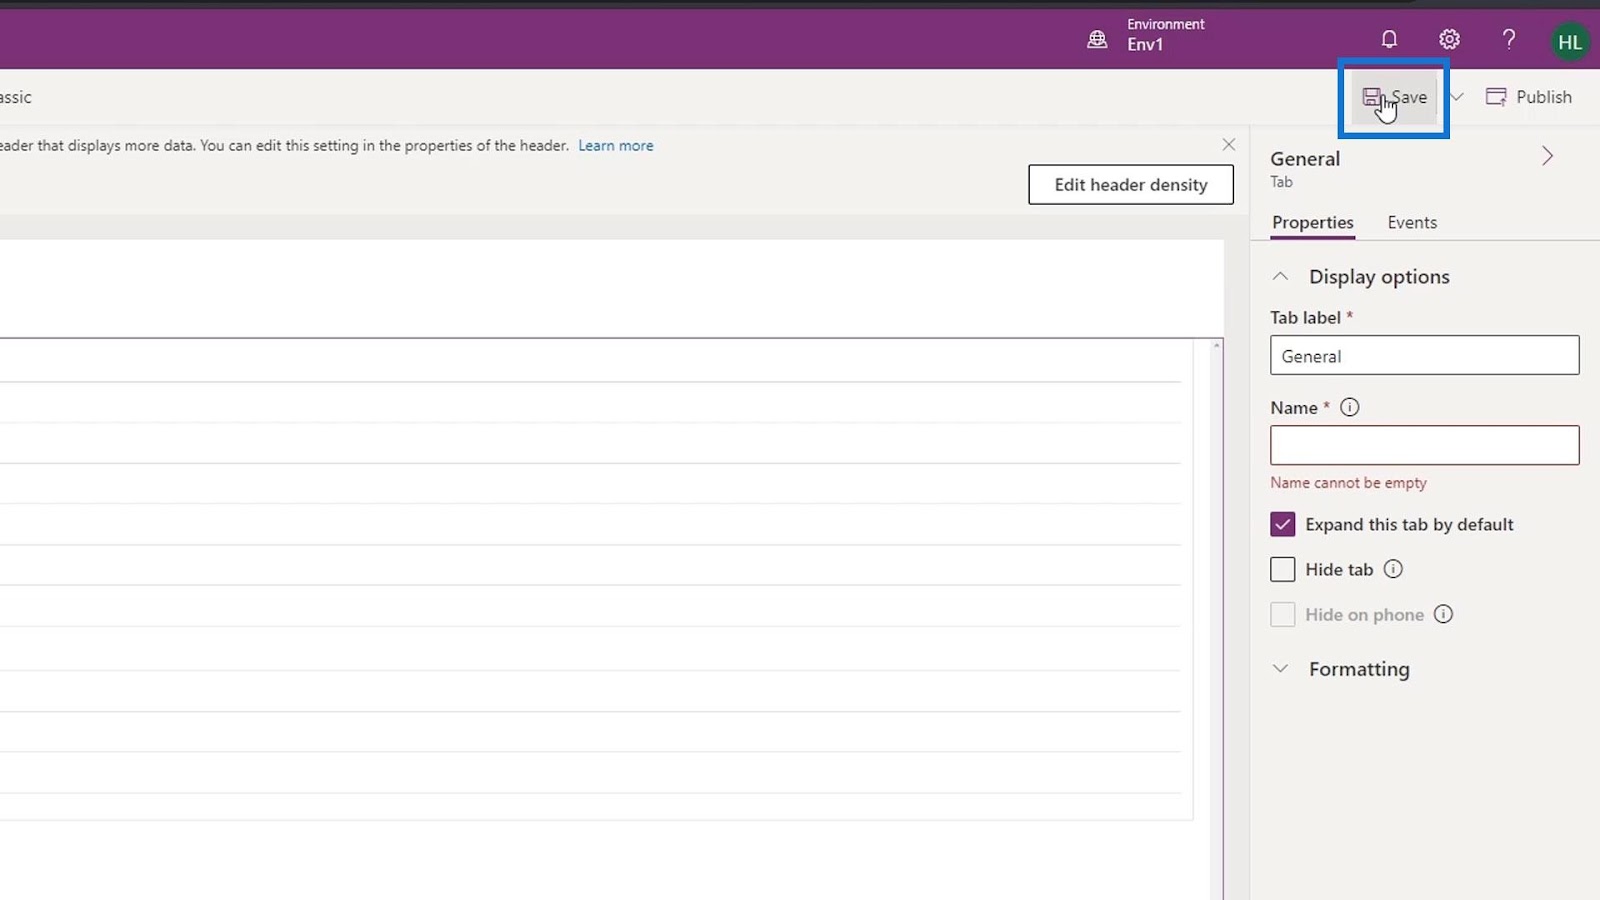
Then, click the Publish button.
***** Related Links *****
PowerApps Integration In Microsoft Power Automate
PowerApps Data Cards And Property Assignment
Power Apps Forms And Data Cards In The Detail Screen
Conclusion
All in all, we learned how to create a PowerApps form that we can associate with our current entity fields. We’re also able to understand its importance for our CDS entity.
The PowerApps form is used to gather user inputs and update the underlying entity or table with the information from the users.
As a result, we now have everything we need in order to create an actual business process flow.
All the best,
Henry