Are you tired of drowning in a sea of paperwork and struggling to keep your data organized? Enter InfoPath — the ultimate solution to streamline your form-filling woes.
So, whether you’re a tech-savvy professional or a casual user, InfoPath’s user-friendly interface and intuitive features will leave you wondering how you ever survived without it.
Microsoft InfoPath is a software application that enables you to design, distribute, fill, and submit electronic forms containing structured data in a user-friendly manner. Initially released as part of the Microsoft Office 2003 family, InfoPath allows advanced business users and developers to collaborate seamlessly by designing sophisticated forms without writing code.

In this article, we’ll take you on an exciting journey through the world of InfoPath, a powerful tool that revolutionizes the way you create and manage forms.
So get ready to bid farewell to manual data entry and embrace the simplicity and efficiency of InfoPath!
InfoPath Fundamentals

With Microsoft InfoPath, you can create customized electronic forms for various purposes. InfoPath is a part of the Microsoft Office suite and integrates with various Office applications such as SharePoint, Word, and Excel.
In InfoPath, you can easily design and customize forms by dragging and dropping various form controls, like textbooks and dropdown lists, onto the canvas.
Also, you can group related controls using containers, such as panels or sections, which help organize your form and make it easier to navigate.

Forms can be designed to display specific data or fields based on the status of a workflow, thus providing a more streamlined and efficient user experience.
In addition, InfoPath is able to work with XML data, which means that when users fill out and submit a form, the data is stored in an XML file.
These XML files can then be easily integrated with other Microsoft Office applications or even exported for use in other programs.
You can also publish InfoPath forms to a SharePoint server, allowing you to easily share them with team members and collaborate in real-time.
Now let’s look at how to create and design InfoPath forms.
How to Create and Design Forms in Microsoft InfoPath
In this section, we will explore how you can create and design forms in Microsoft InfoPath.
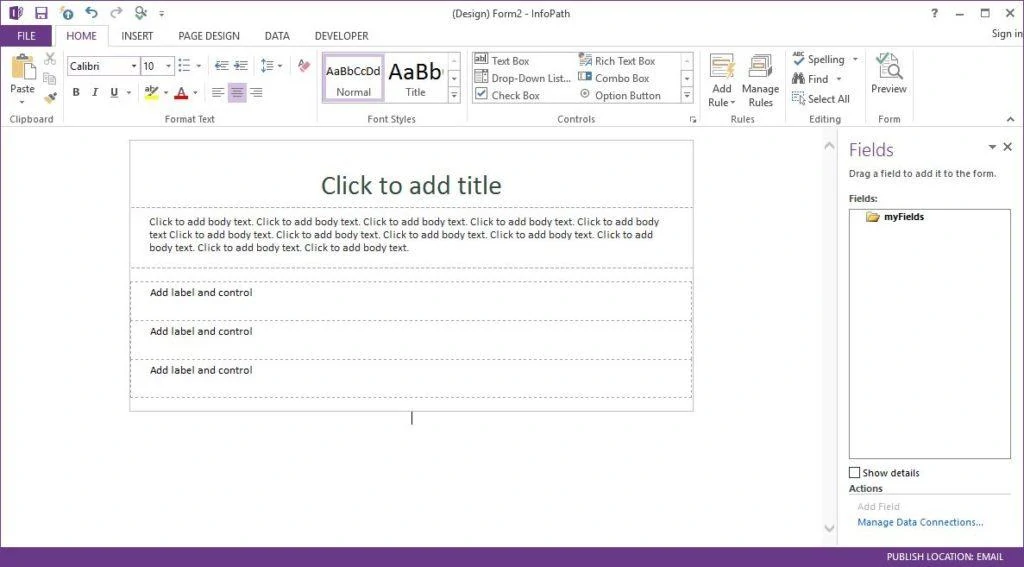
To create and design a form in InfoPath, consider these steps:
Step 1: Create an InfoPath Form Template
To start designing and creating forms in InfoPath, you must work with form templates.
An InfoPath form template is a file with a .xsn file name extension, and it defines the data structure, appearance, and behavior of finished forms (*.xml files).
You can create your form templates in design mode, which is the InfoPath design environment.
Step 2: Create Custom Forms
Once you have your form template in place, you can create forms.
The custom forms can be linked to SharePoint lists or libraries, making it simple for you to organize and use the data they collect.
Step 3: Conditional Formatting
You can apply formatting to certain fields or elements in your form based on specific conditions.
For instance, you can change the font color if a due date is approaching or hide a section if certain information isn’t applicable to a user.
Step 4: Use Rules And Functions
You can use rules and functions to create dynamic, responsive forms that adapt to user input.
They enhance your form’s capabilities and improve the overall user experience.
Rules in InfoPath allow you to perform various actions, such as setting field values, submitting data, and hiding or showing sections based on conditions.
For instance, you can create a rule to show a message when a specific condition in the form is met, providing you with helpful feedback and improving the form’s usability.
Functions in InfoPath help you manipulate data and perform calculations to streamline your form’s performance.
Functions can be used with date and time, text, math, and field operations. These built-in functions enable you to create complex formulas without any programming skills.
For example, you can calculate the number of days between two dates using the datediff function, or retrieve a user’s display name by using the userName function.
How to Publish and Deploy InfoPath Forms
Publishing and deploying your InfoPath form templates are essential steps in making them available for use within your organization.
To begin the publishing process:
- Open your form template in InfoPath
- Click the File tab, and then select Publish.
You have several options available, such as Quick Publish, which publishes the form to its current location, or you may choose a specific publishing location according to your requirements.
For form templates that require administrator approval, you will need to follow a specific process.
- You can publish the form template to a shared network folder, where the server administrator can then upload it to the server running InfoPath Forms Services.
- Once uploaded, the administrator can deploy the form template, making it available for use.
When working with form templates that contain managed code, you should follow the following deployment process:
- In the Visual Studio 2012 code editor, switch to InfoPath
- Click the File tab then click Publish
- Select the desired publishing location.
Once the form template is compiled, the Publishing Wizard will launch. You can follow the steps in the Publishing Wizard to deploy your form template with the included code.
Working with Data in Microsoft InfoPath
Now let’s talk about how to work with data in InfoPath, including data sources, data connections, and data validation.
Data Sources
In InfoPath, you can use various external data sources to help you gather data and manage your form data efficiently.
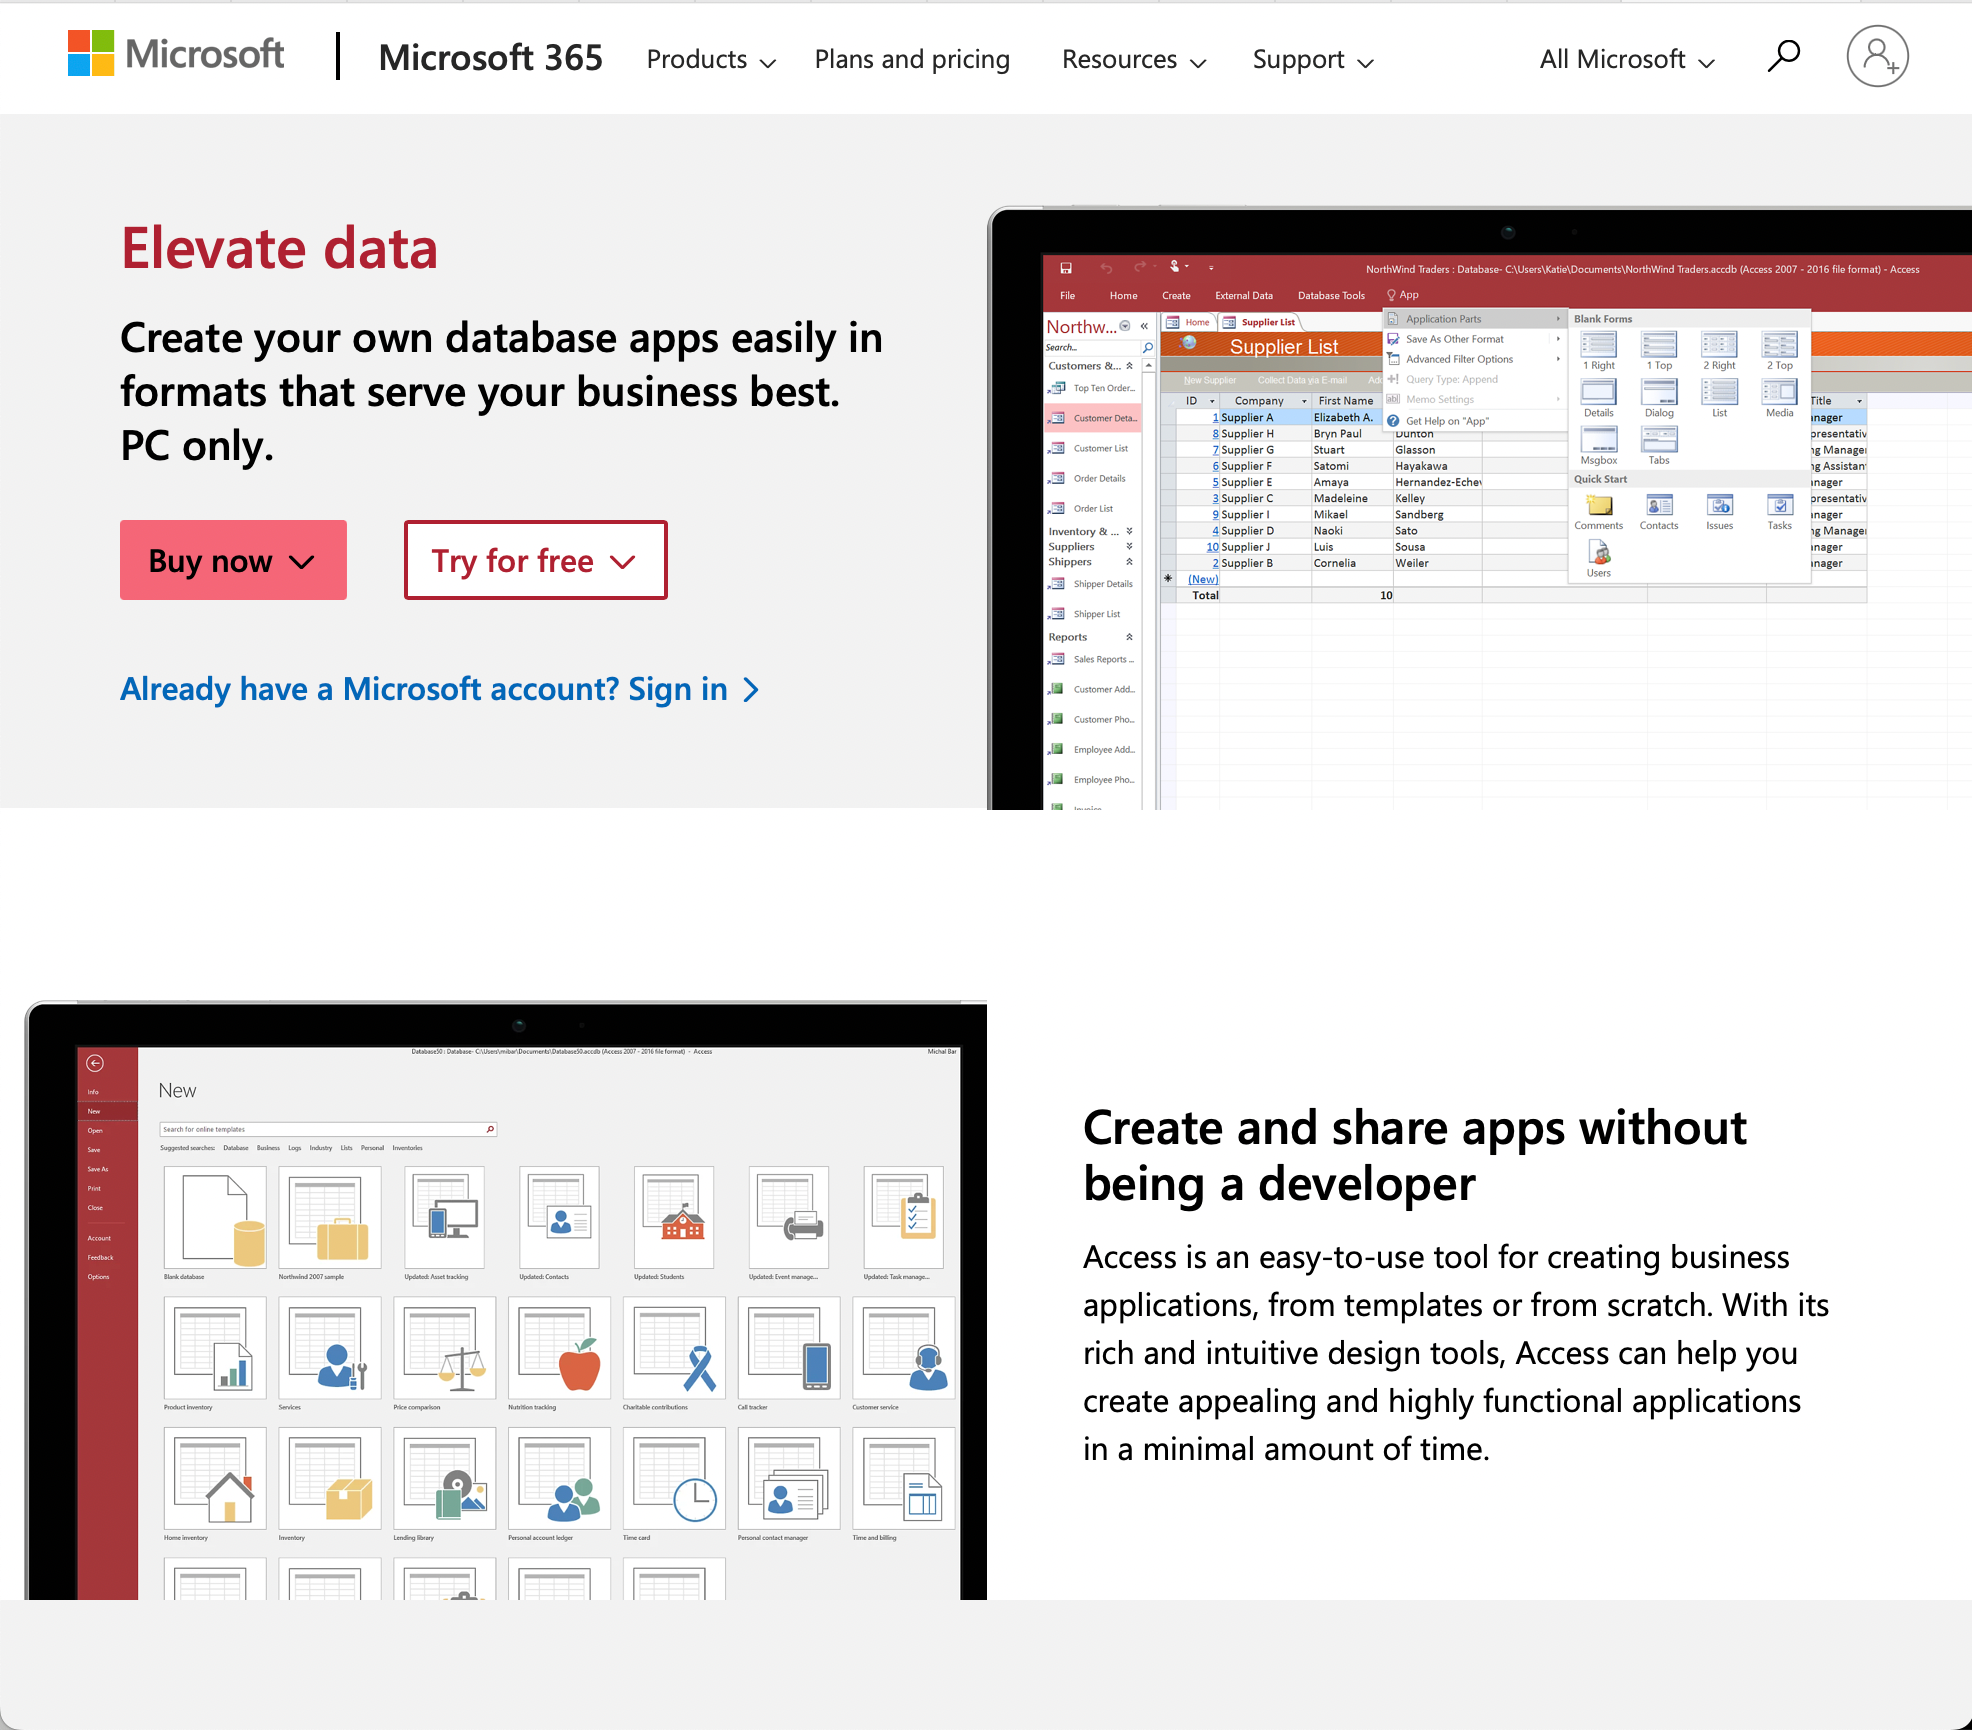
Some of the supported data sources include:
- Microsoft Office Access databases
- Microsoft SQL Server databases
- A web service
- Document libraries or lists on a server running Microsoft Windows SharePoint Services
- XML files
To leverage these data sources, you’ll first need to create a data connection to establish the link between your InfoPath form and the external data.
Data Connections
Data connections allow you to exchange data between your InfoPath form and external data sources.
To create a data connection, follow these steps:
- In the InfoPath Designer, go to the “Data” tab.
- Click “Data Connections” then choose “Add.”
- Select the type of data source you want to connect to.
- Follow the prompts to specify the details of your data source and how you want to interact with it.
You can configure your data connections to either submit data to the external data source or retrieve data from it. This allows you to have a seamless and efficient flow of information from your form to the desired external source.
Data Validation
Data validation ensures that the information entered in your InfoPath form is accurate and adheres to specific rules or conditions.
To add data validation to your forms:
- Select the form field or control that you want to apply validation rules to.
- Go to the “Properties” tab and click on “Data Validation.”
- Add the appropriate validation rules based on your form requirements.
You can set up various types of validation rules, such as:
- Requiring a field to be completed before submission.
- Restricting text input to specific formats, like email addresses or phone numbers.
- Limiting numeric input to a specific range of values.
2 Advanced Features of Infopath
Along with all the features and capabilities we have already discussed, Infopath offers some advanced features that are bound to elevate a user’s experience.
In this section, we will talk about the following advanced features of Infopath:
- Code
- .NET Framework
1) Code
In InfoPath, you can define rules, actions, and calculations to automate processes and ensure data validation.
To go beyond the built-in functionality, you can leverage custom code options.
By writing your code using programming languages like C# or Visual Basic, you can extend your forms’ capabilities, create custom event handlers and apply more complex validation logic.
When developing custom functionality, it’s essential to keep security in mind. Typically, you would authorize and deploy your forms at the “full trust” level, allowing the form to access system resources necessary for the code to execute correctly.
However, be cautious, as improperly managed full-trust deployments can lead to security vulnerabilities.
2) .NET Framework
InfoPath is built on the .NET Framework, which provides a powerful and flexible platform for creating robust forms.

Utilizing this framework, you can integrate your forms with various web services, databases, and a wide range of Microsoft Office products to achieve truly dynamic and tailored solutions.
To create advanced forms, consider leveraging .NET Framework libraries and classes to work with XML data, interact with SharePoint services, and perform custom calculations.
Infopath Accessibility
Infopath is no doubt a useful tool. Let’s now delve into how accessible it is using web browsers and mobile devices.
Accessing Infopath Forms in a Web Browser
InfoPath Forms Services allows you to access and fill out forms directly in your web browser, eliminating the need for Microsoft Office InfoPath to be installed on your computer.

These form templates that can be filled out in a browser are called browser-enabled form templates.
To create browser forms:
- Begin by designing a browser-compatible form template in InfoPath, ensuring that all fields and functionality are tailored for web use.
- Publish the form to a server with InfoPath Forms Services running.
Mobile Compatibility of Infopath Forms

As an InfoPath user, you want to ensure that your forms are compatible with mobile devices.
To create a form that is compatible with mobile devices:
- Make sure your form template has the appropriate compatibility setting enabled.
- Specify a mobile device setting for the form template. You may need administrator approval.
- Create a document library to store completed forms. Don’t forget to set up submission options for the form template.
- Publish the form template to a server.
Following these steps ensures that your form will be accessible and functional on mobile devices.
InfoPath Integrations
InfoPath doesn’t work in isolation but can seamlessly integrate with other software and systems to enhance its functionality and make your life even easier.

In this section, we will explore some key integration options available for Microsoft InfoPath.
Specifically, we will go over the following:
- SharePoint Integration
- Microsoft Office Suite Integration
- Microsoft Power Automate Integration
- Enterprise and Office 365 Integration
1) SharePoint Integration
InfoPath plays exceptionally well with the SharePoint server platform, a popular collaboration platform. You can publish your InfoPath forms directly to a SharePoint library, allowing for easy access, storage, and sharing.
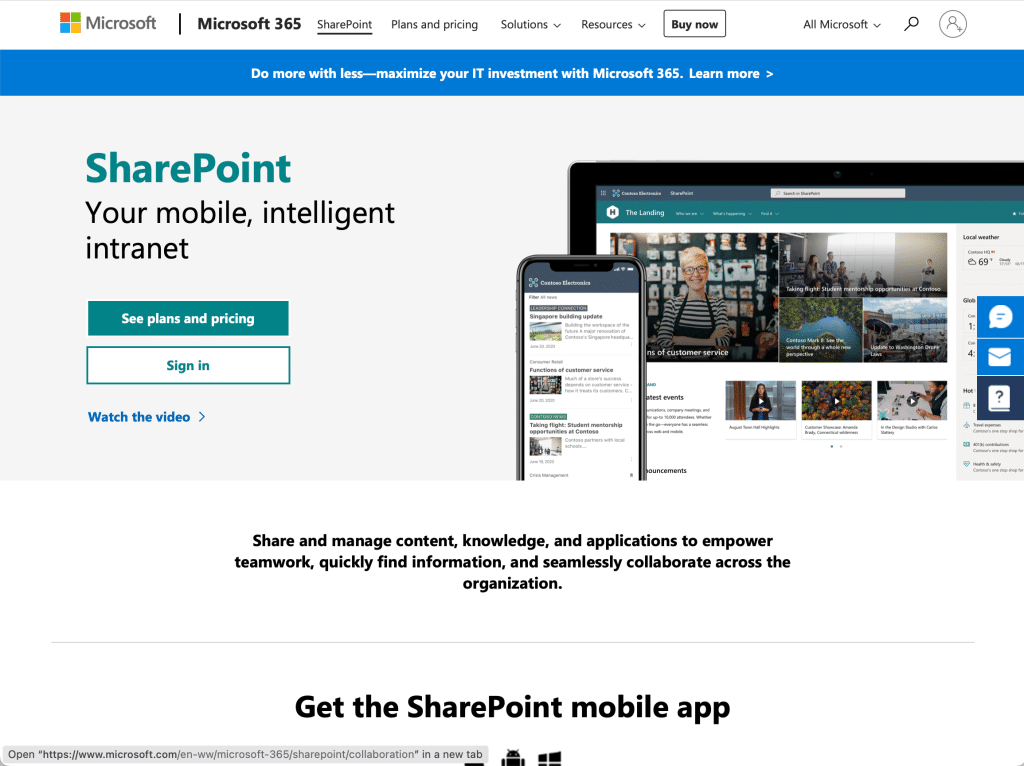
When working with InfoPath and SharePoint Lists, you can create custom forms that connect to an existing SharePoint list.
For instance, you can link SharePoint lists using lookup fields to establish relationships between different lists and display relevant data to the users.
This integration with the Sharepoint site enables teams to collaborate on forms, track changes, and even set up automated workflows for form submissions.
2) Microsoft Office Suite Integration
As part of the Microsoft Office family, InfoPath integrates smoothly with other applications like Excel, Word, and Outlook.
You can export form data to Excel for further analysis and reporting, merge form data into Word documents, or even send form responses via Outlook for efficient communication.

3) Microsoft Power Automate Integration
Formerly known as Microsoft Flow, Power Automate offers seamless integration with InfoPath.
You can create automated workflows to trigger actions based on form submissions, such as sending email notifications, updating databases, or even posting data to external systems.
4) Enterprise and Office 365 Integration
InfoPath is designed to work harmoniously within the broader ecosystem of Microsoft’s enterprise solutions and Office 365.
You can leverage the security, scalability, and collaboration features of these platforms to enhance InfoPath’s capabilities.
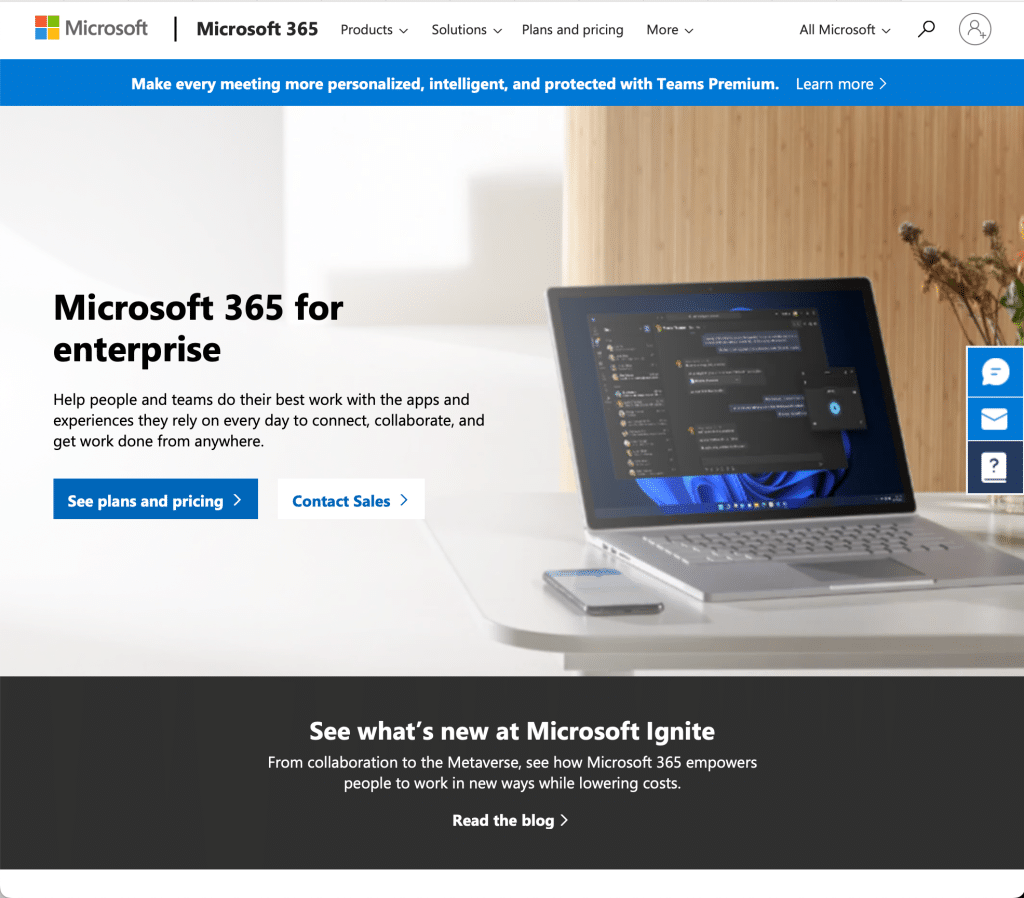
Whether it’s integrating with Azure Active Directory for user authentication or utilizing Microsoft Teams for collaboration and communication, InfoPath seamlessly integrates into your enterprise environment.
By integrating InfoPath with Microsoft Power Automate, Enterprise, and Office 365, as well as other tools and systems, you can enhance its functionality, automate processes, and improve overall efficiency.
What Are The Alternatives of InfoPath
As technology evolves, so do the tools we use. Microsoft announced that InfoPath 2013 is the last version released, and it will not be supported past April 2026.
However, there are strong alternatives to InfoPath.
Here are two top contenders to consider:
1) Microsoft Power Apps and Power BI
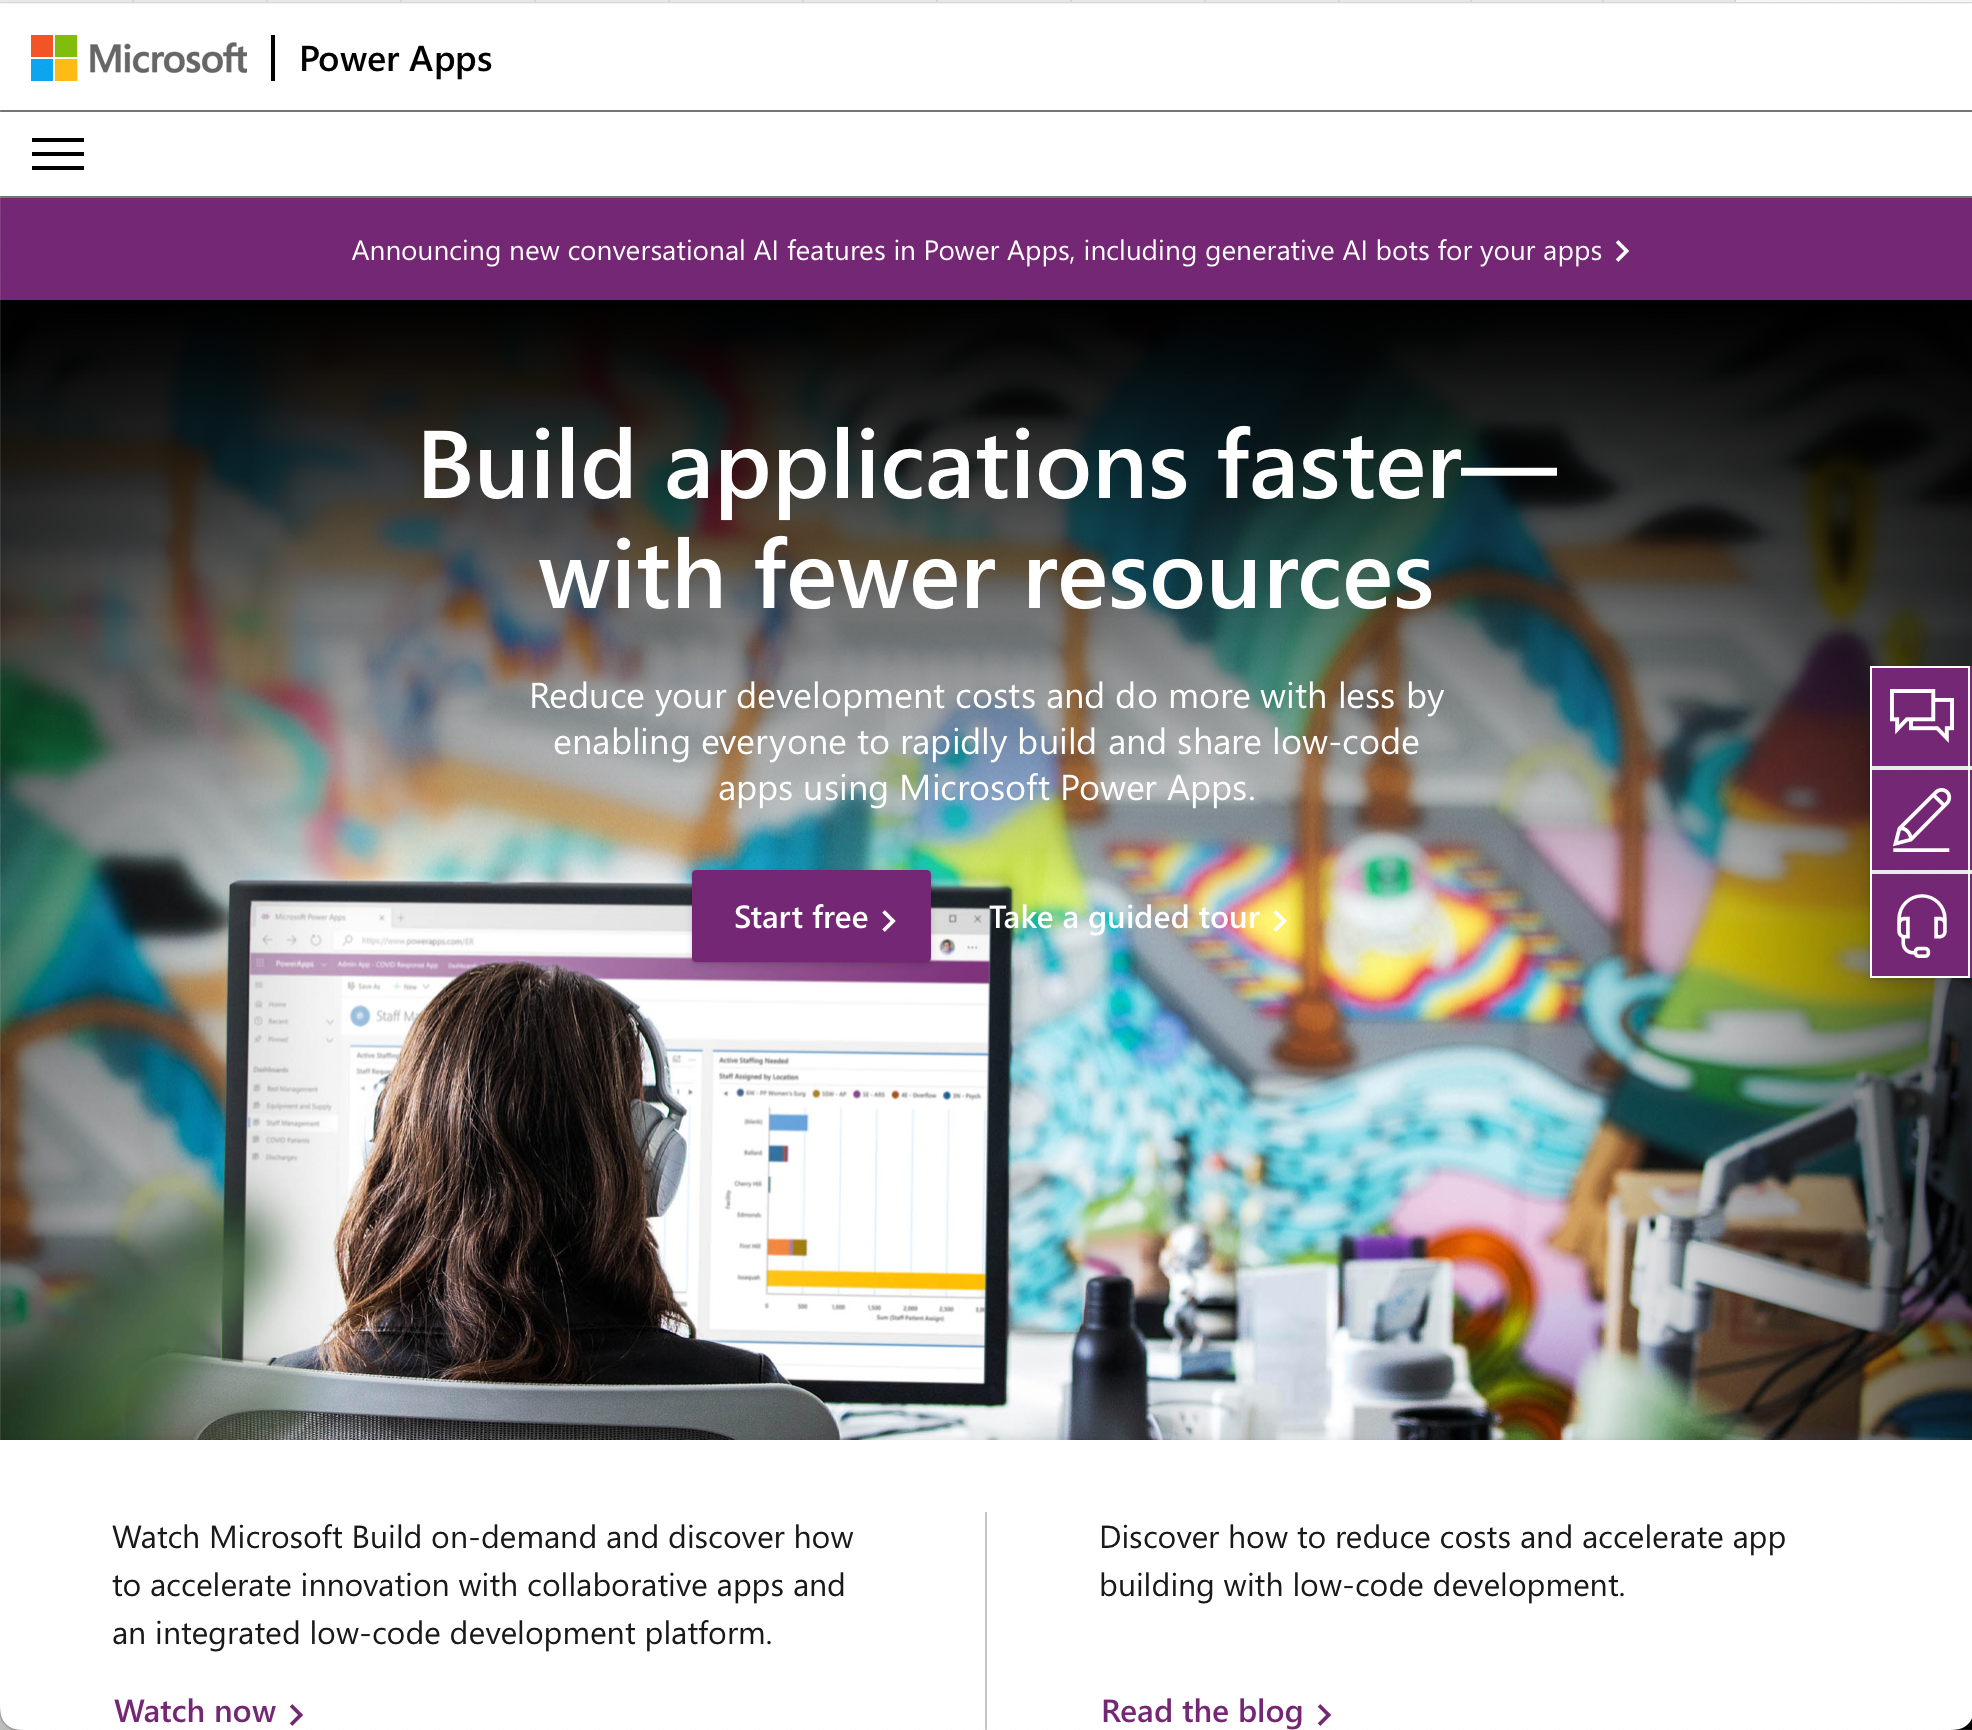
Microsoft Power Apps is the powerful and modern successor to InfoPath. It allows you to build custom business applications with ease, including forms and workflows.
Power Apps offers a low-code or no-code approach, making it accessible to a wide range of users.
With a user-friendly interface, extensive integrations, and robust functionality, Power Apps empowers you to create professional-grade forms and automate processes.

In conjunction with Power Apps, Power BI can be utilized for effective data visualization and analytics.
This powerful tool easily integrates with various data sources and helps you transform raw data into meaningful insights through interactive reports and dashboards.
Learn more about Power Apps by watching the following video on our channel.
2) Google Forms
Google Forms is a free and straightforward alternative to InfoPath.
It’s part of the Google Workspace suite, offering a user-friendly interface and easy collaboration features.
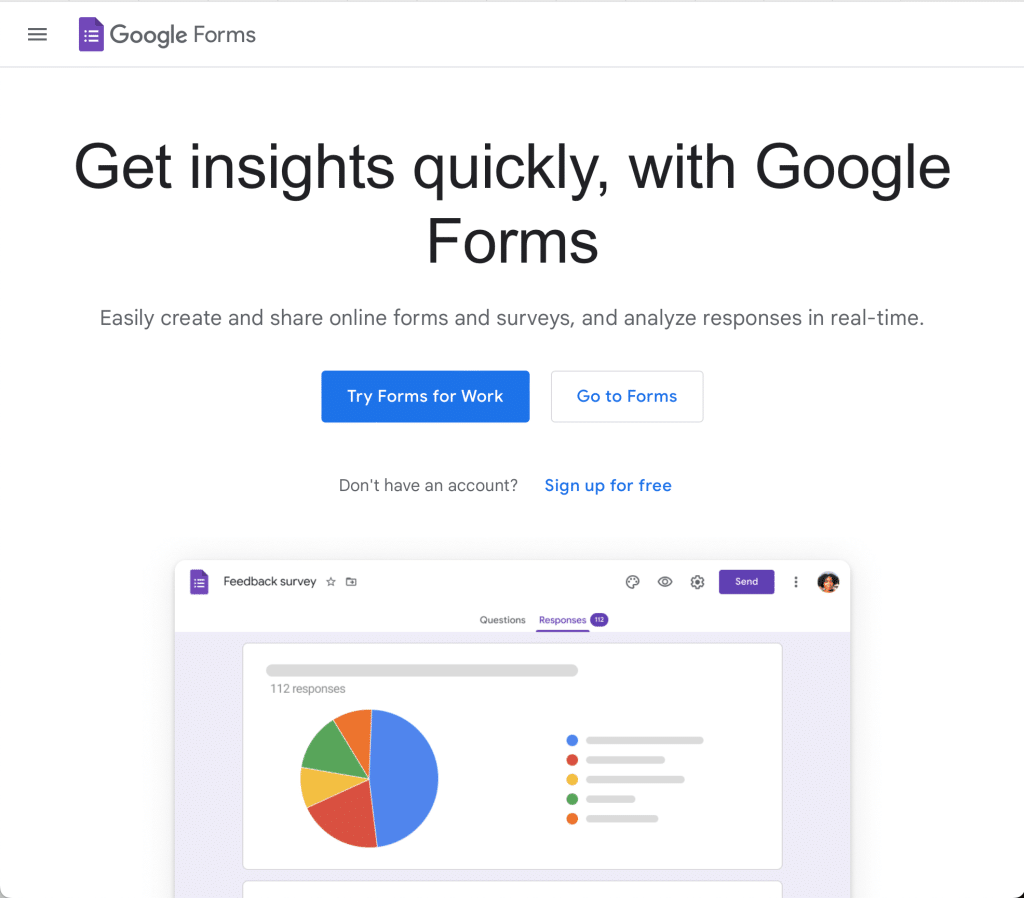
With Google Forms, you can create custom forms for surveys, registrations, feedback, and more.
It supports various question types, allows for conditional logic, and provides basic data analysis.
Final Thoughts
InfoPath provides users with a powerful solution for creating and managing electronic forms. Its user-friendly interface, customizable form fields, and integration capabilities make it a popular choice for streamlining data collection and workflows.
While InfoPath is being phased out by Microsoft, its impact on form management cannot be denied. As technology continues to advance, exploring alternative solutions can ensure a smooth transition to modern and robust tools that meet the evolving needs of businesses and individuals alike.
Frequently Asked Questions
In this section, you’ll find some frequently asked questions that you may have when working with InfoPath forms.

Is InfoPath still supported?
Yes, InfoPath is still supported by Microsoft, but its development has been discontinued.
Microsoft InfoPath 2013 is the last version released, and it will officially be supported until April 2026.
Although no new features are being added, existing functionality should continue to work.
What alternatives are available to replace InfoPath?
Microsoft has introduced several alternatives to Microsoft InfoPath, including SharePoint Lists, and Microsoft Power Apps.
These tools let you create custom forms and automate workflows in a similar manner to InfoPath but offer more modern, mobile-friendly experiences.
How does InfoPath work with Office 365?
InfoPath continues to be compatible with Office 365. However, since it’s no longer being actively developed, you may want to consider looking to migrate InfoPath forms to alternative tools within the Office 365 suite, like Power Apps, to create and manage custom forms.
Which versions of SharePoint support InfoPath?
InfoPath is supported in SharePoint 2010, 2013, 2016, and SharePoint Online (Office 365).
While both InfoPath and SharePoint continue to be supported, it’s worth exploring alternative tools and solutions for custom forms and workflows, like Power Apps and Flow.
Can I create custom forms without InfoPath?
Definitely, you can create custom forms without InfoPath using various tools and technologies available within the Microsoft ecosystem.
Some popular alternatives include SharePoint Lists and Microsoft Power Apps.
These options provide flexible, mobile-friendly experiences for creating custom forms and automating workflows.


