
Blank rows in an Excel spreadsheet can be more than just a nuisance; they can disrupt your data analysis and make your reports look unprofessional. Whether you’ve inherited a messy spreadsheet or accidentally created extra rows, removing them doesn’t have to be a tedious task.
To remove all the blank rows in Excel, follow these steps:
- Create a new column header as “Helper” at the end of the column headers of your data set.
- In the first cell of that column, enter the COUNTA function and select the first row of the data range as the range.
- Copy the formula to the below cells.
- Select the entire data range and apply filter buttons.
- Using the filter button, filter rows with Zero (0).
- Select the filtered rows.
- Right-click and open the Context Menu.
- Select “Delete Row”.
- Click “OK” for the “Delete entire sheet row?” message.
- Delete the helper column.
In this article, you’ll learn further quick ways to take out these empty rows in Excel.

This will help your data look neat and easy to understand.
Let’s get started!

5 Ways to Remove Blank Rows in Excel
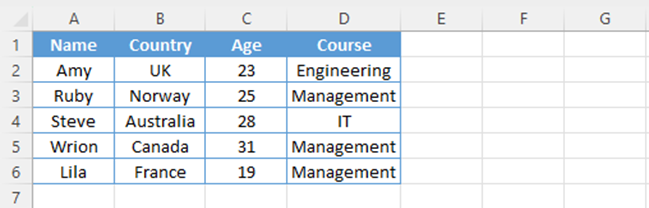
There are several methods to delete sheet rows in Excel. A blank row means that the entire row contains only the blank cells.
There’s a misconception that you can use the Go To Special dialog box to choose empty cells and delete empty rows in Microsoft Excel. But avoid using this method, because it will delete rows even if there’s just one empty cell. This could lead to losing your data.
In this article, we’ll discuss simple and correct methods that you can use to delete blank rows.
- Manual deletion
- Using Key column
- Using Helper column
- Using VBA code
- Using Power Query Editor
Let’s learn each method step by step.

1. Manual Deletion
If you have smaller datasets or when you have only a few blank rows to remove, manually deleting blank rows is the best way to remove empty rows.
You don’t need any complex formulas or advanced techniques for this method. Below, we’ll discuss the steps involved in manual deletion.
Step 1: First, you need to identify and select the blank rows in your Excel sheet. You can click on the row header to select the entire row.
If you need to select multiple blank rows, hold down the Ctrl key and repeat the selection process for each row.
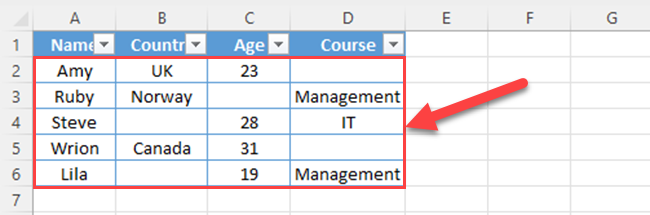
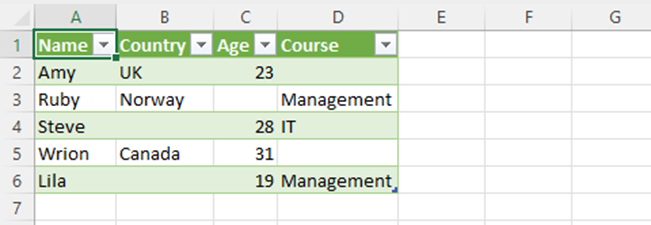
In the below data set, there are two blank rows: row number 4 and 7.
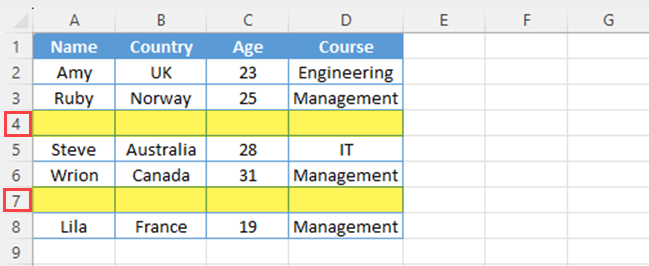
So, first, select row number 4 and hold down the Ctrl key and select row number 7.
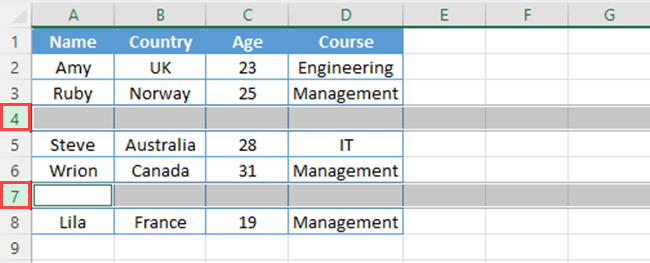
Step 2: Right-click on one of the selected rows to open the context menu.
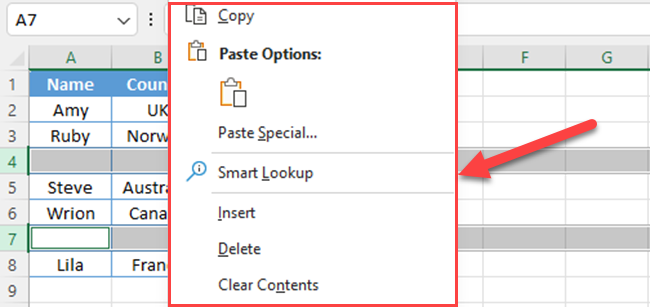
Step 3: In the menu, click on the Delete option.
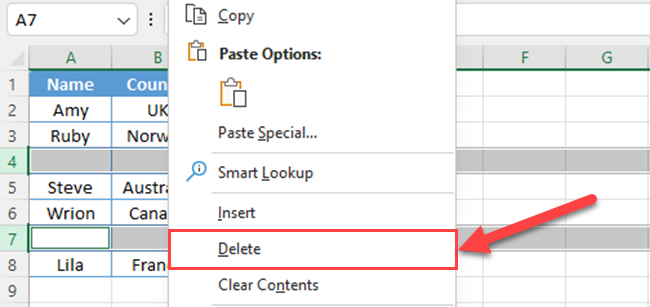
And that’s it! You’ve deleted the selected blank rows from your Excel sheet.
Keep in mind that manual deletion is most practical for smaller datasets or when you have a limited number of blank rows to remove.
For more extensive datasets or situations where you have numerous blank rows scattered across your sheet, use one of the below methods.
2. Use Key Column to Remove Empty Rows in Excel
Most of the data tables have a key column that’s used to uniquely identify each record in the table. If you prefer to remove blank rows using a key column, follow these steps:
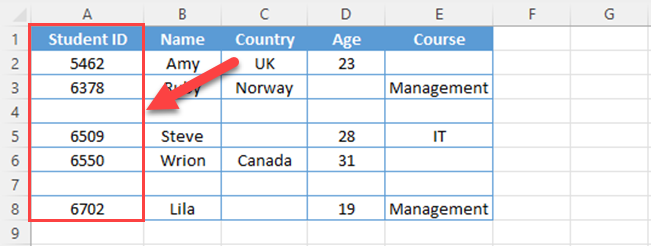
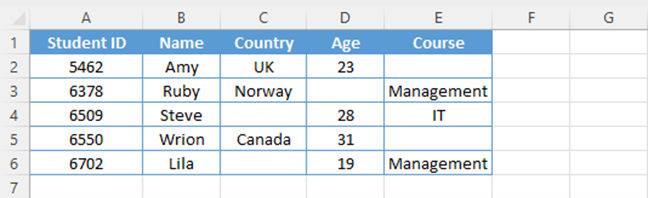
Step 1: Identify a column with unique values or a column that’s important for sorting your data within your dataset.
In the below table, the Student ID column is the Key column.
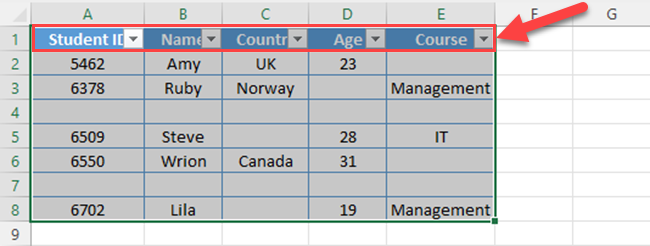
Step 2: Select the entire data set and apply the Filter buttons. The Keyboard shortcut to apply the Filter buttons is Ctrl+ Shift + L.
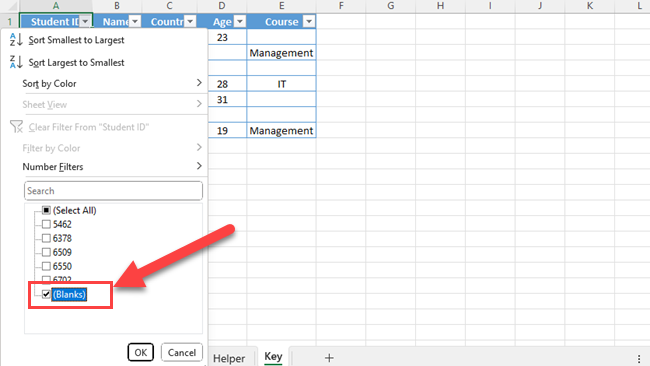
Step 3: Click the Filter button of the key column and select only the Blanks. To do that, first, uncheck the “Select All” and then check the “Blanks”.
Step 4: Select the filtered rows.
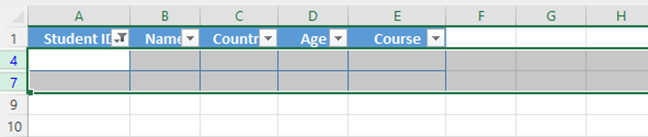
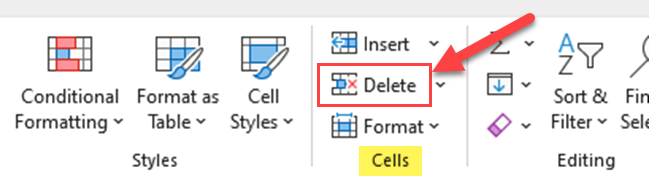
Step 5: Go to the Home tab.

Step 6: Go to the Cells group and click “Delete”.
Step 7: Remove Filters. You can use the same keyboard shortcut for applying Filter buttons (Ctrl +Shift + L) to remove filters.
After removing filters, you can see all the non-blank rows of your data table.
If your Excel tables don’t have key columns, then you have to use the below method.
3. Use Helper Column to Remove Blank Rows in Excel
One approach to removing blank rows is by using a helper column.
Follow the below steps to delete blank rows using this method.
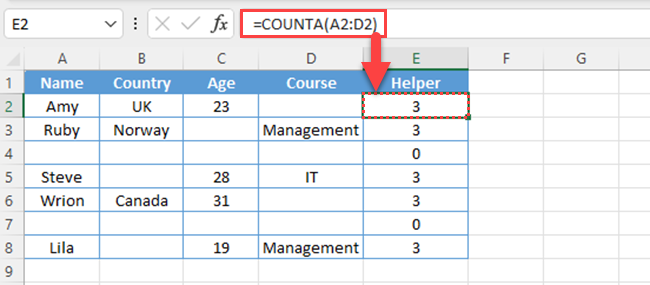
Step 1: Create a new column header as “Helper” at the end of the column headers of your data set.
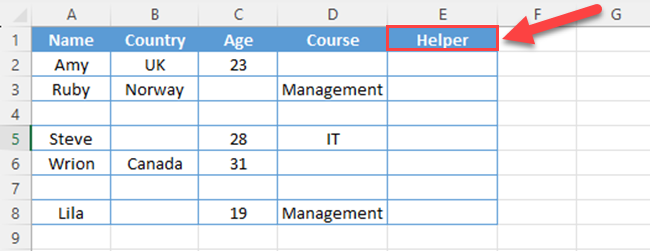
Step 2: Enter the below formula in the helper column. This formula helps to count non-blank cells in the row.
=COUNTA(A2:D2)

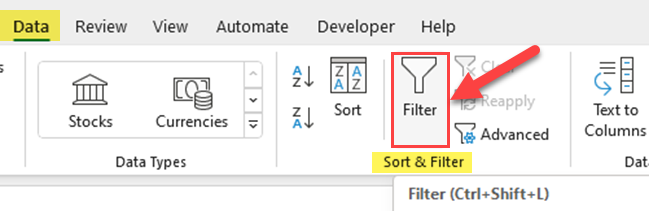
Step 3: Select the entire data range and apply filter buttons. You can go to the Data tab and click the Filter icon from the Sort & Filter group.
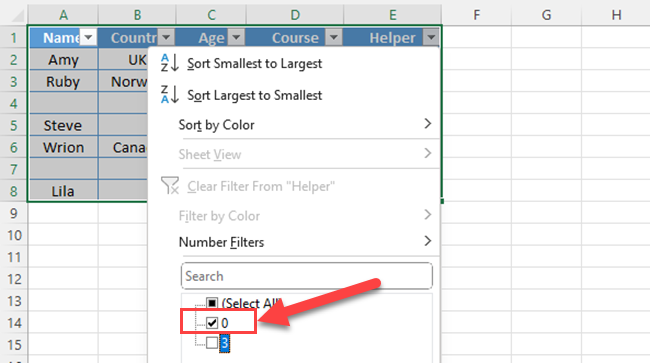
Step 4: Using the filter button of the helper column, filter rows with Zero (0).
Step 5: Select the filtered rows.
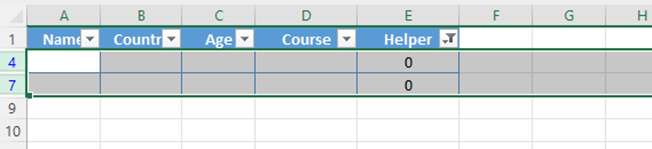
Step 6: Press Ctrl + Minus sign (-) to delete the selected rows, then delete the helper column.
Now, all the blank rows are removed from your Excel worksheet.
By applying these Excel formula methods, you can confidently and efficiently remove blank rows from your worksheets while maintaining a clear and organized dataset.
Stay cautious when deleting large amounts of data to avoid removing important information inadvertently. Always double-check your selections before confirming any deletions, and consider creating backup copies of your work to safeguard against potential issues.
4. Use VBA Code to Remove Blank Rows in Excel
Another easy way to remove blank rows in Excel is to use a VBA code.
You can use the below VBA code for that.
Sub DeleteBlankRows()
Dim A As Long
With ActiveSheet
	For A = .Cells.SpecialCells(xlCellTypeLastCell).Row To 1 Step -1
		If WorksheetFunction.CountA(.Rows(A)) = 0 Then
		ActiveSheet.Rows(A).Delete
	End If
Next
End With
End Sub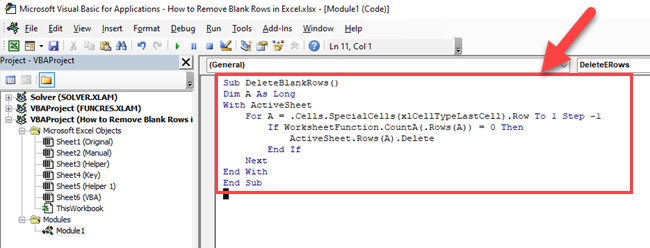
5. Use Power Query Editor to Delete Blank Rows in Excel
Power Query Editor is a robust and versatile tool within Excel that you can use to clean and manipulate data to fit your needs.
Importing data into the Power Query Editor is a straightforward process.
Users can click on the “Get Data” option in the Excel Data tab to access various data sources. Once the desired data source is selected, the data will be imported into the Power Query Editor for further processing.
If you have imported your data into the Power Query, removing all the blank rows is very easy. Follow the below steps.
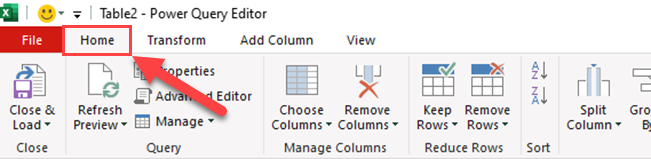
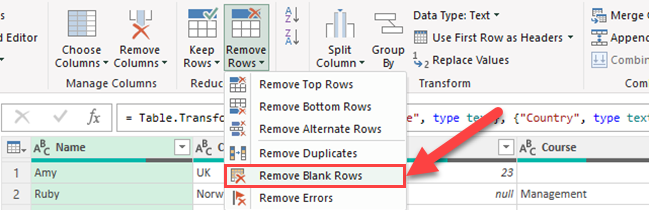
Step 1: Go to the Home tab of the Power Query Editor.
Step 2: Go to the “Reduce Rows” section and click “Remove Rows”.
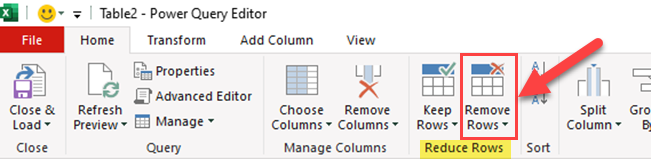
Step 3: Select “Remove Blank Rows ” from the list.
When you “Close and Load”, you’ll get the data table without empty rows.
In summary, the Power Query Editor simplifies data import and transformation in Excel, enabling users to manage and process large quantities of data with ease.
The transform group and import data features make the Power Query Editor an indispensable tool for any Excel user working with complex data sets.
Final Thoughts
Now you know five methods to remove blank rows in Excel. When you have a small data set, you can use manual methods to delete blank rows. Otherwise, you can use other advanced methods such as VBA code, Power Query Editor, etc.
Before deleting rows, double-check the accuracy of the selected range. If you mistakenly delete non-blank rows, you’ll lose your valuable data. So, it is prudent to save a copy of your sheet before removing blank rows from your Excel file.
Would you like to learn how to automatically remove all empty columns in Power Query? Check out the video below:
Frequently Asked Questions
How do you delete thousands of blank rows in Excel?
To delete thousands of blank rows in Excel, you can use the ‘Go To Special’ feature. First, select the range of cells where you want to find the blank rows, or simply click on a single cell to search the entire worksheet.
Then, press ‘F5’ or go to ‘Find & Select’ > ‘Go To Special’ > ‘Blanks’ and click ‘OK’. This will select all blank cells within the range. Right-click on one of the selected cells, choose ‘Delete’, and then select ‘Entire Row’.
This will remove all the blank rows in the selected range, streamlining your spreadsheet.
How do I remove blank rows from a spreadsheet?
To remove blank rows from a spreadsheet in Excel, you can use the ‘Find & Select’ tool. Click on a single cell within the area you want to search or select the entire range. Then, go to the ‘Home’ tab, click ‘Find & Select’ > ‘Go To Special’ > ‘Blanks’, and click ‘OK’.
This will highlight all blank cells in the selected range. Right-click on one of the highlighted cells, choose ‘Delete’, and then select ‘Entire Row’.

This action will remove all the blank rows within the selected area, making your spreadsheet more organized and efficient.
How do I remove blank rows from a filter in Excel?
If you want to remove or exclude blank rows from a filter in Excel, you can do so by applying the filter to your data range and then using the drop-down menu in the column header.
Click on the drop-down arrow in the filtered column, and you’ll see a list of checkboxes for all the unique values, including a checkbox for blanks.
Simply uncheck the box next to ‘(Blanks)’ and click ‘OK’. This will filter out the blank rows, displaying only the rows with data in the filtered column


