
Dealing with large Excel files can be challenging, especially when you have to share or load them quickly. In this article, you will learn six effective methods to reduce Excel file size without losing important data.
You don’t need to have expert Excel skills to understand and apply these techniques. The methods presented are simple and easy to follow, making them accessible for users with various experience levels.
Reducing your Excel file size will help you:

Save space
Make it easier to share work
Fix slow & tacky Excel files
Let’s get into it.
Understanding Excel File Size

Various factors contribute to your heavy Excel file size. Knowing what contributes to your Excel spreadsheet will help you identify the strategies to reduce the size effectively.
Here are some key factors that can impact your Excel sheet file size:
Data and content: The more data, objects, data cache, and embedded images you have in your workbook, the larger the file size will be.
Formulas: Using complex and lengthy formulas can increase the file size, especially if you apply them across a large number of cells. Moreover, unnecessary formulas also contribute to a larger file size.
Formatting: All the formatting, such as cell styles, conditional formatting, and merged cells, can increase file size.
Hidden or unused data: Hidden or unnecessary worksheets, rows, or columns containing excessive data can also be a decisive factor.
Pivot Cache: Pivot tables are linked to a cache of data, which can significantly increase the size of your file. Removing the pivot table cache can help the cause.
File format: Your Excel file format can also impact your file size. The file in binary format (.xlsb) is generally smaller than the default XML format (.xlsx).
By understanding these factors, you can effectively apply different strategies to reduce your Excel file size, making it more manageable and efficient.
Now let’s get reducing!
6 Ways to Reduce Excel File Size
The 6 ways to reduce Excel files are:

Optimize Excel Formulas
Manage Data and Formatting
Compress Images and Objects
Split up Large Excel Files
Save Files in Different Formats
Delete Pivot Table Cache
Let’s run through these methods so that you can choose the optimum way to reduce the file size of your excel file.
#1 – Optimize Excel Formulas
Optimizing Excel formulas is a great way to reduce the file size of your workbook and improve its performance.
This section will cover three methods: Simplify Formulas, Use Efficient Functions & Remove Unnecessary Formulas & Convert Them to Values.
Simplifying Formulas
Complex formulas can increase your Excel file size and slow down your workbook.
Follow these steps to simplify your formulas:
Break down long formulas into smaller and more manageable parts.
Avoid using unnecessary nested functions. Instead, use helper columns or rows to perform intermediate calculations.
Use cell references to avoid repeating the same calculation multiple times.
Using Efficient Functions
Choosing the proper functions can significantly impact your workbook’s performance & save space. Here are some efficient functions with their usage:
Use INDEX and MATCH instead of VLOOKUP or HLOOKUP to perform more versatile and efficient lookups.
Utilize SUMIFS and COUNTIFS rather than using multiple SUMIF or COUNTIF functions. Also, use SUMIFS and COUNTIFS to streamline your conditional calculations.
Employ IFERROR instead of nesting multiple IF functions to handle errors. Also, opt for IFERROR to provide a default value when an error occurs.
Remember to use these tips and strategies when working with Excel formulas to maximize efficiency and maintain readability.
Remove Unnecessary Formulas & Convert Them to Values
Too many formulas in your Excel sheet can drastically increase its size.
Removing formulas and converting them to values can save you tons of space. Here’s a step-by-step guide for that:
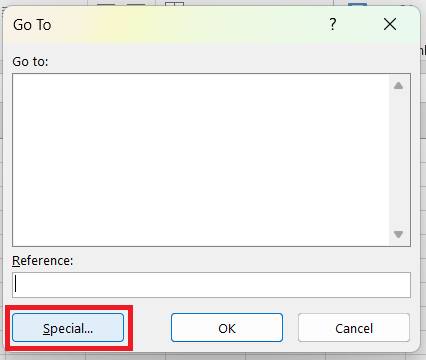
1. Open your Excel file and choose the entire sheet. Press F5 and wait for the Go to window to appear. Then, select Special.
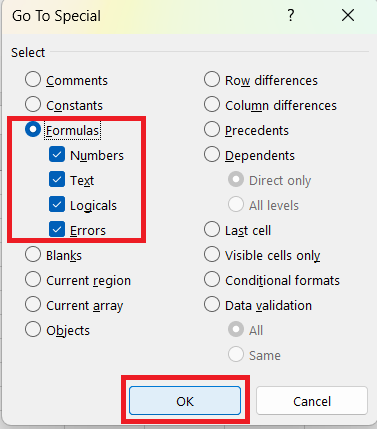
2. Choose the Formulas radio box and click OK.
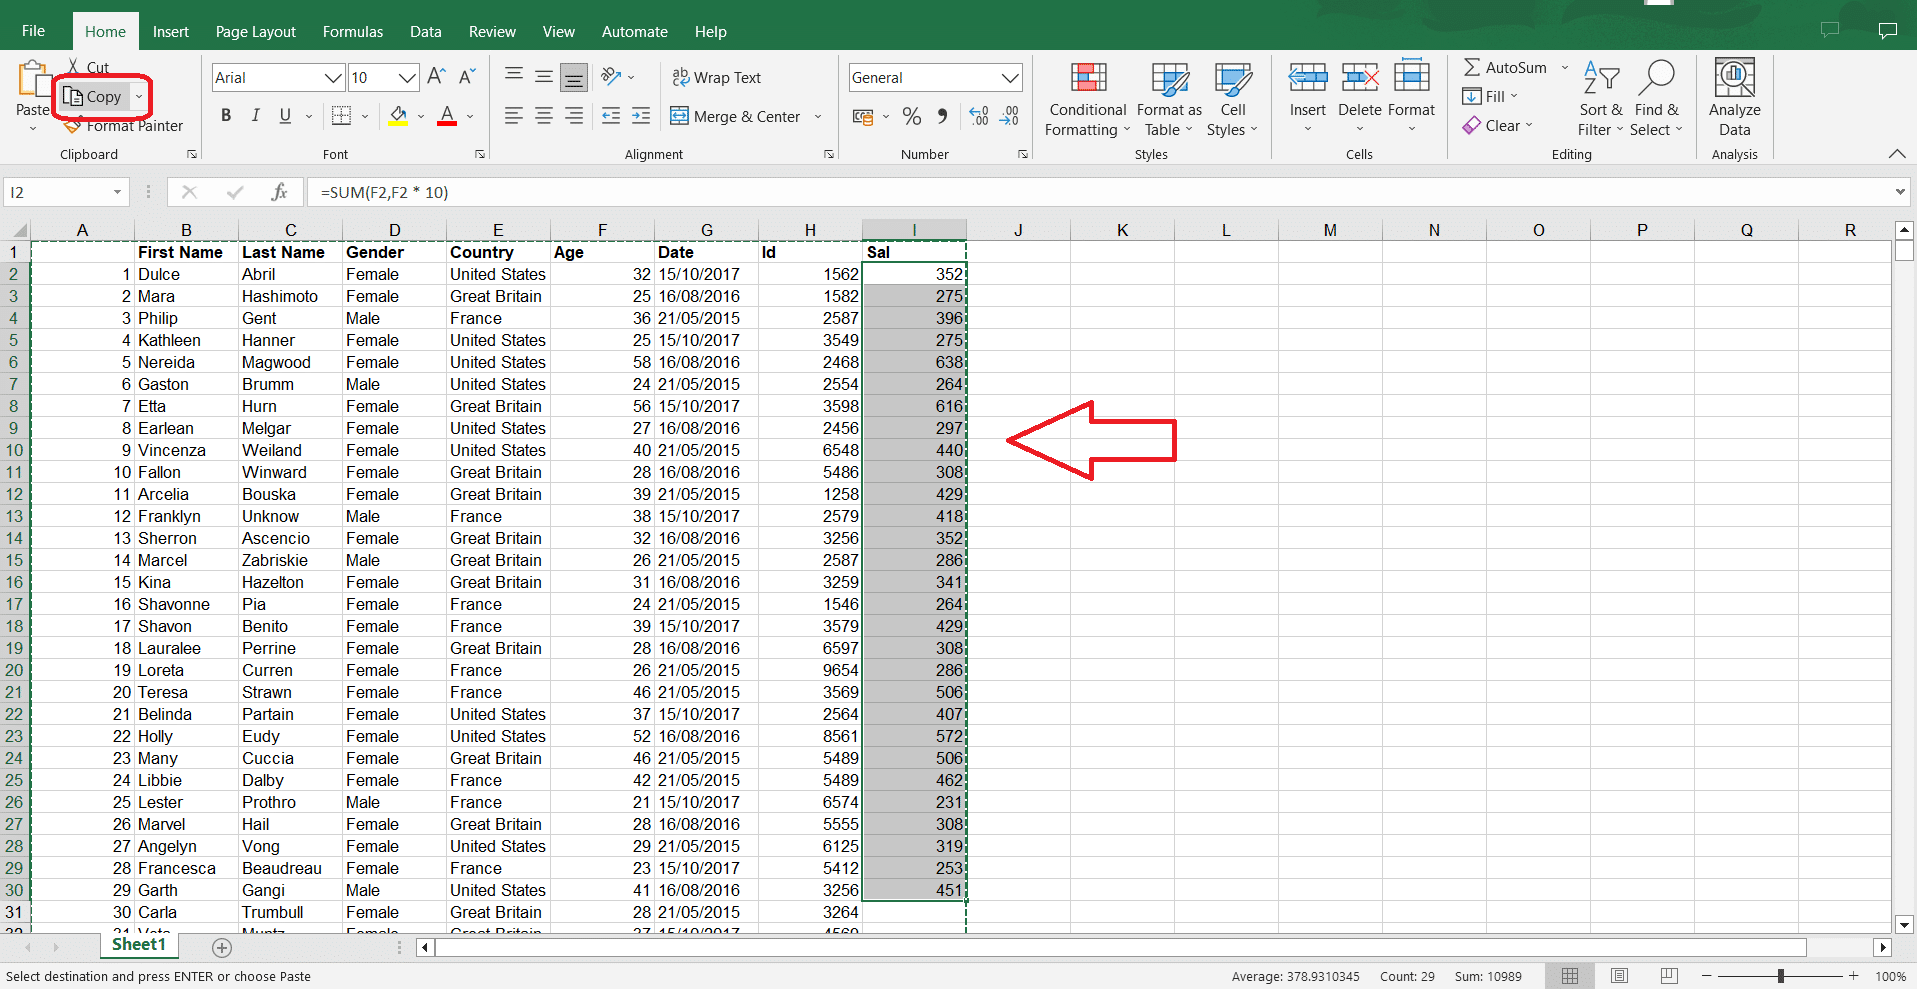
3. Rows/Cols with Formulas will be selected. Select the Copy button on the Home tab.
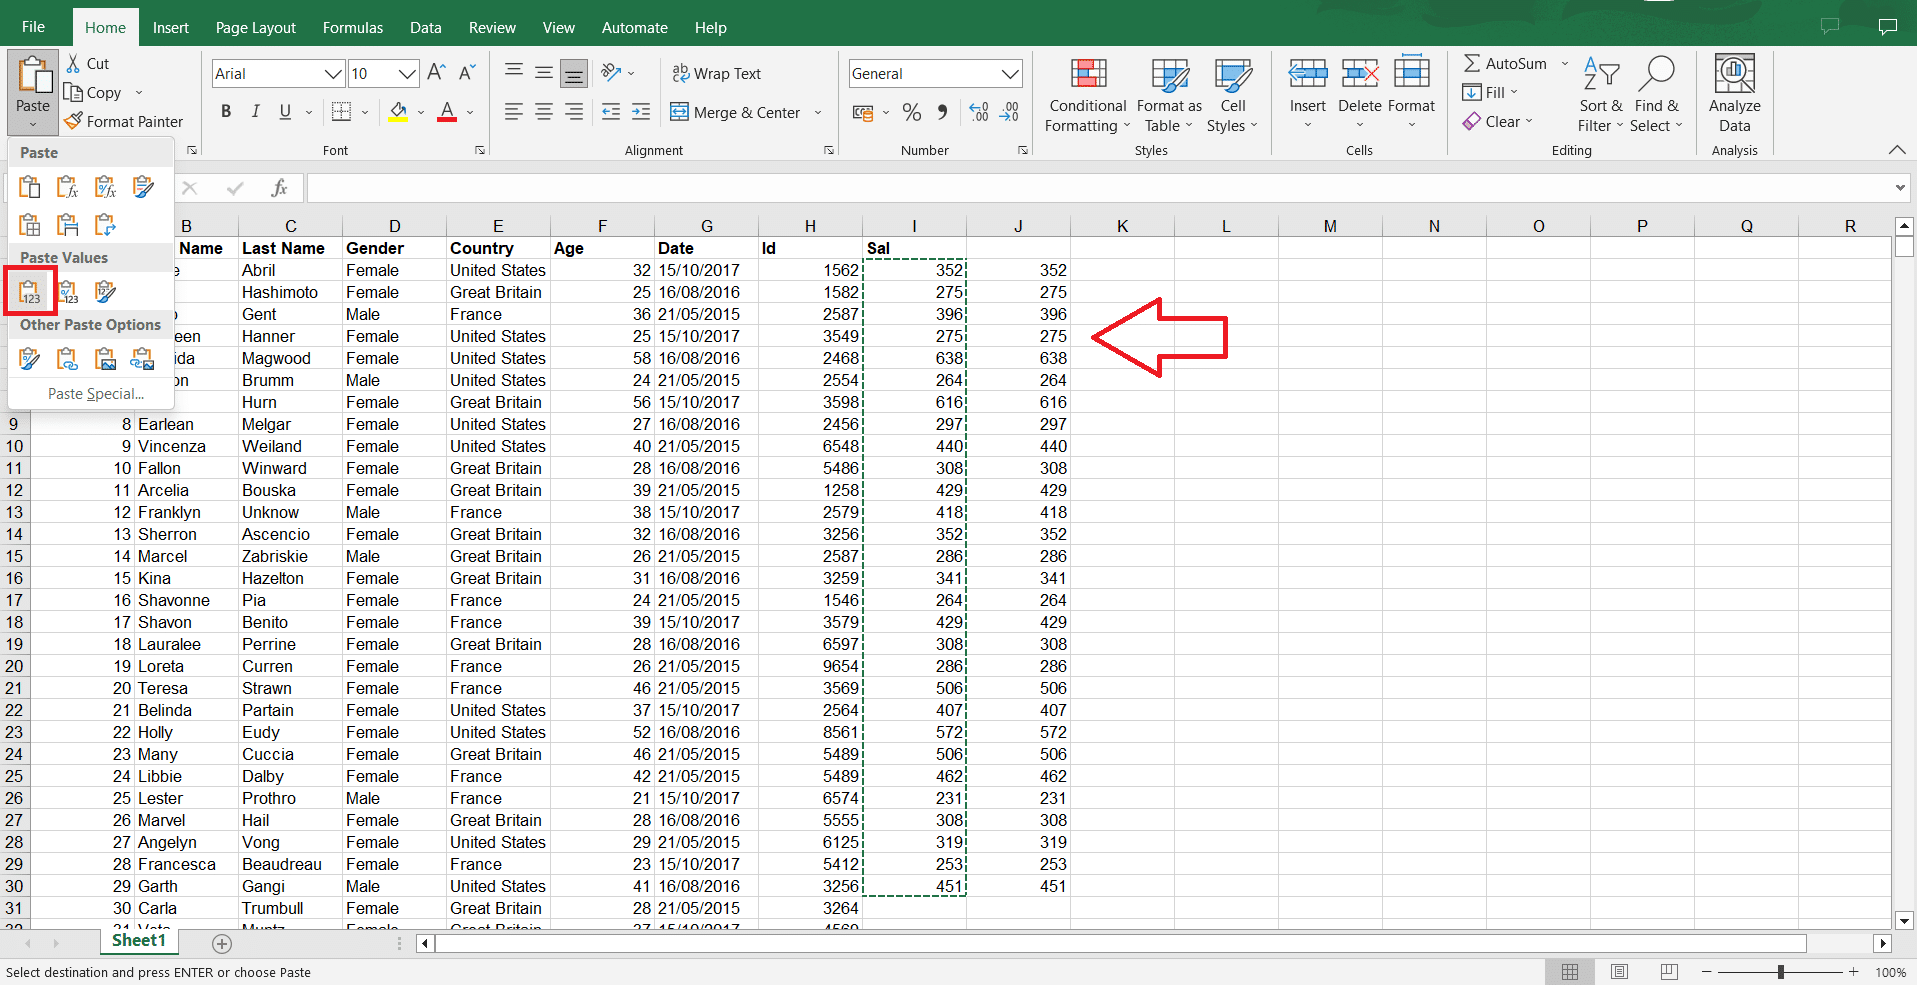
4. Choose an empty cell and select the Paste Drop Down.
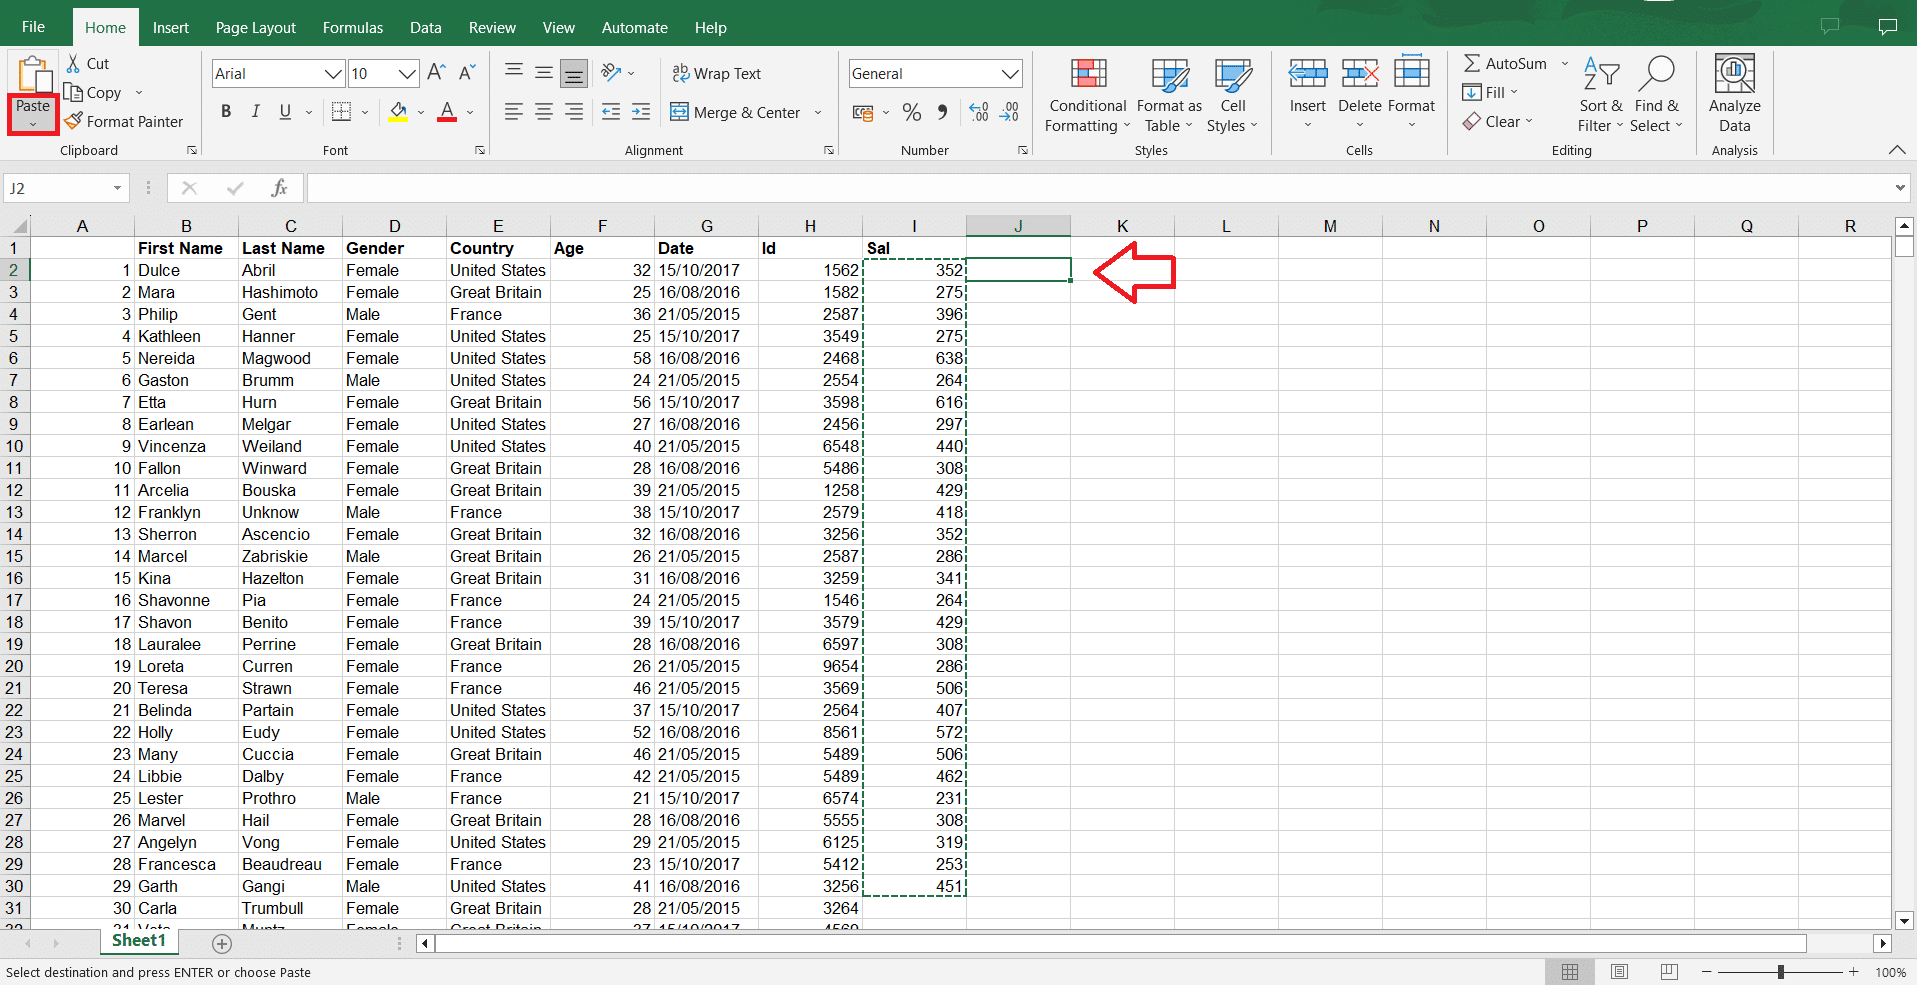
5. Under Paste Values, select the Paste Value logo.
#2 – Managing Data and Formatting
Managing your Excel file data and formatting can hugely impact the overall size.

Here are three ways to reduce Excel file size by managing data and formatting:
Removing Unused Rows and Columns
Removing unused rows and columns is important to reduce the size of your Excel file. Here’s how you can achieve that:
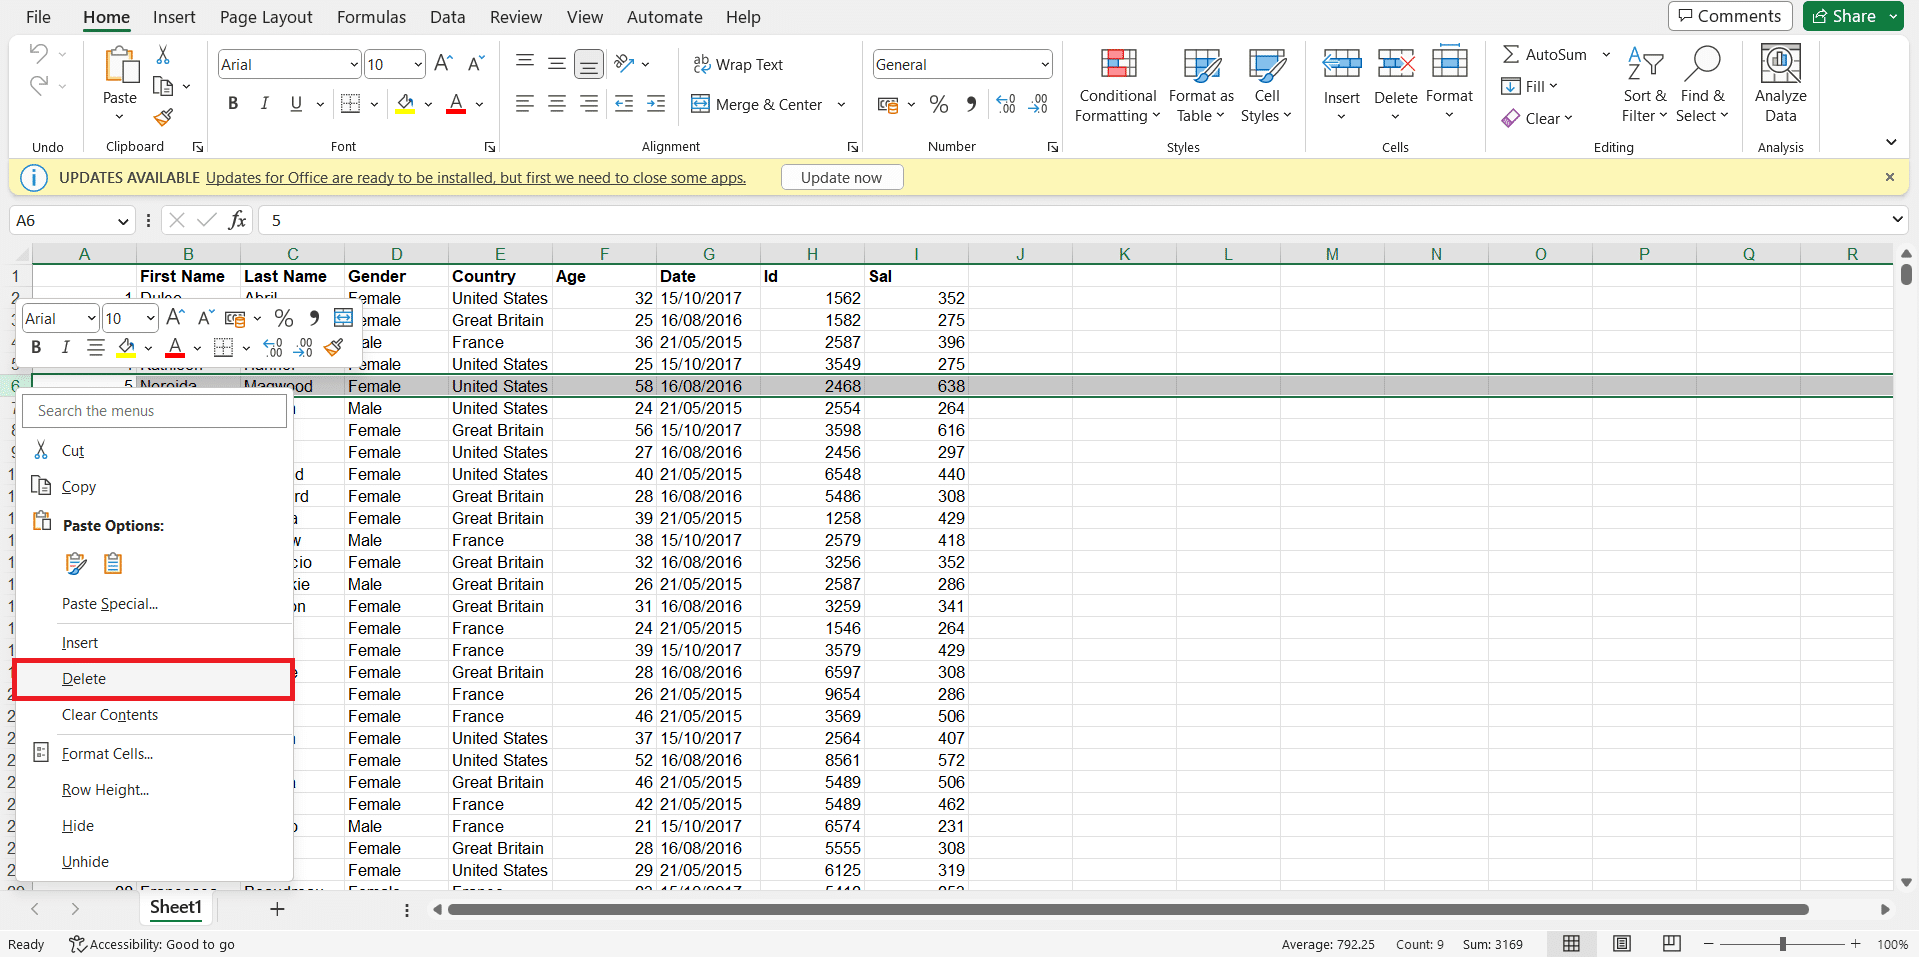
1. Select the unused row or column by clicking on its header.
2. Click the right button on the mouse. Then, select Delete.
Reducing Formatting Complexity
Another way to reduce your Excel document’s file size is by simplifying its formatting. Keep these pointers in mind:
Reduce the number of fonts, font sizes, and colors used in your workbook.
Remove cell background colors and borders that are not necessary for visual organization.
Eliminate unnecessary conditional formatting rules.
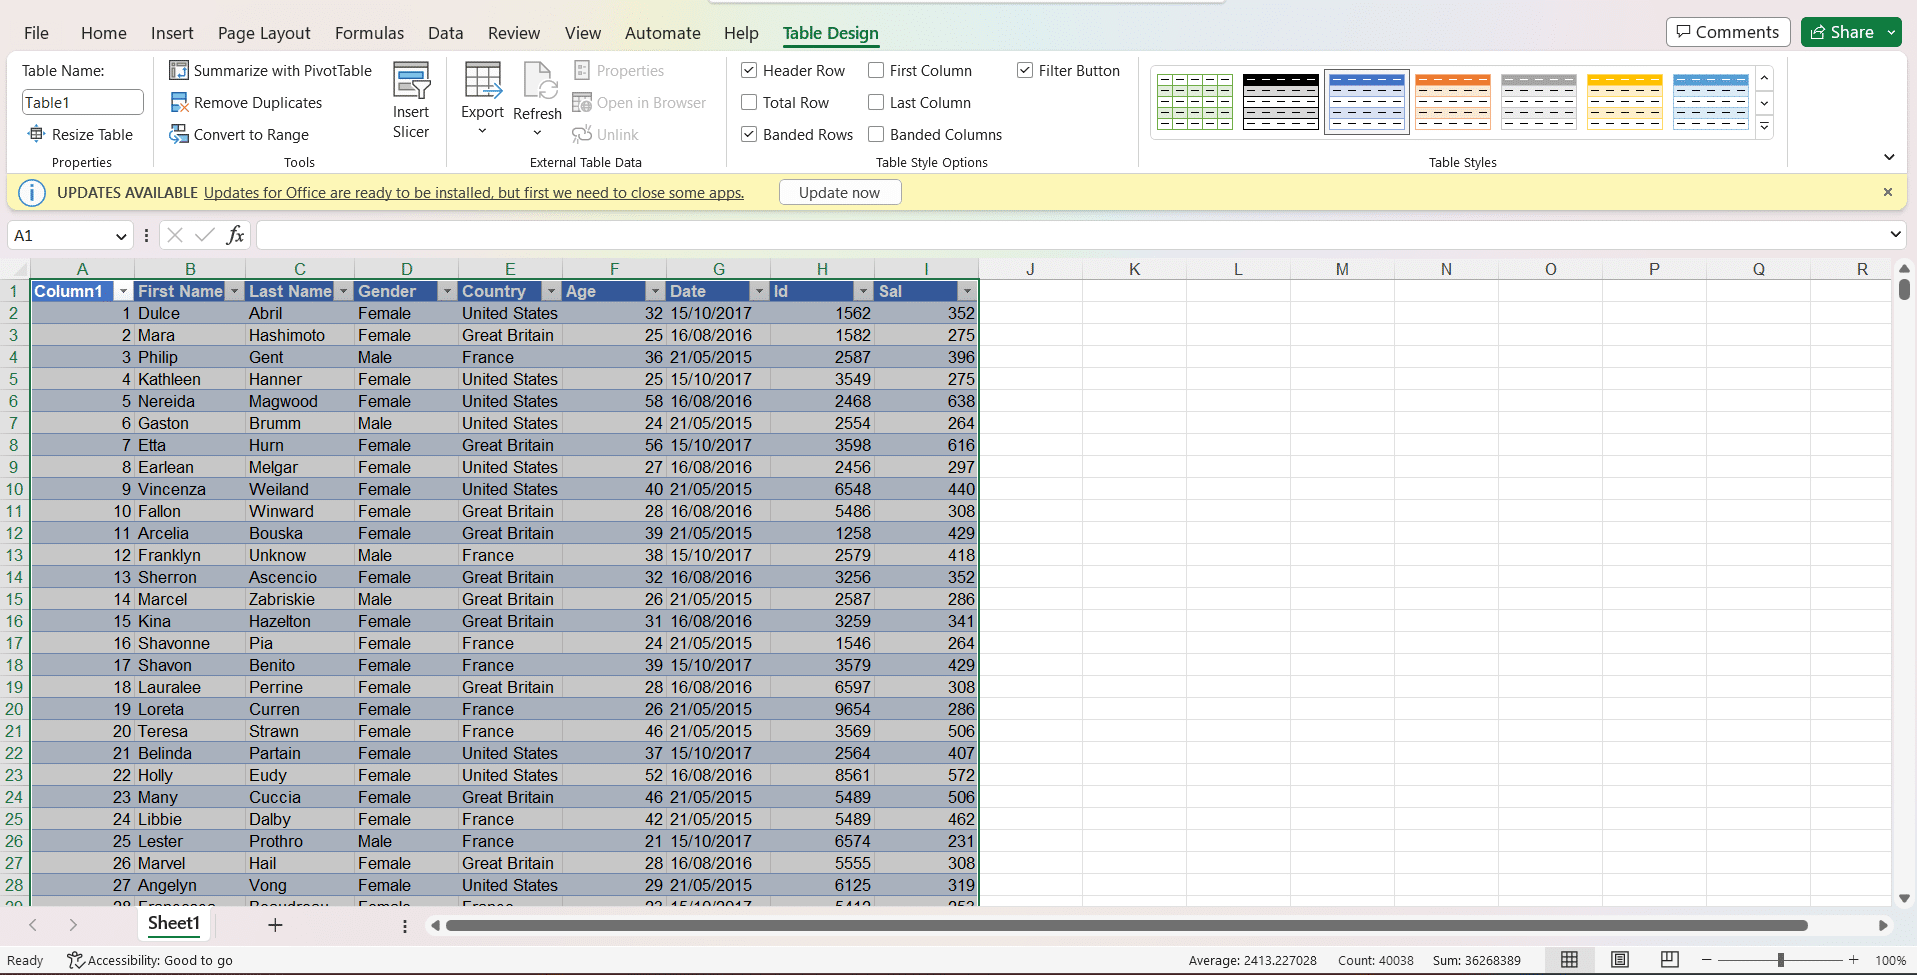
Converting Data to Tables
By converting your data to tables, you can utilize efficient Excel features like sorting, filtering, and structured referencing, which can help to minimize the file size and improve navigation.
Here’s how to convert data to tables:
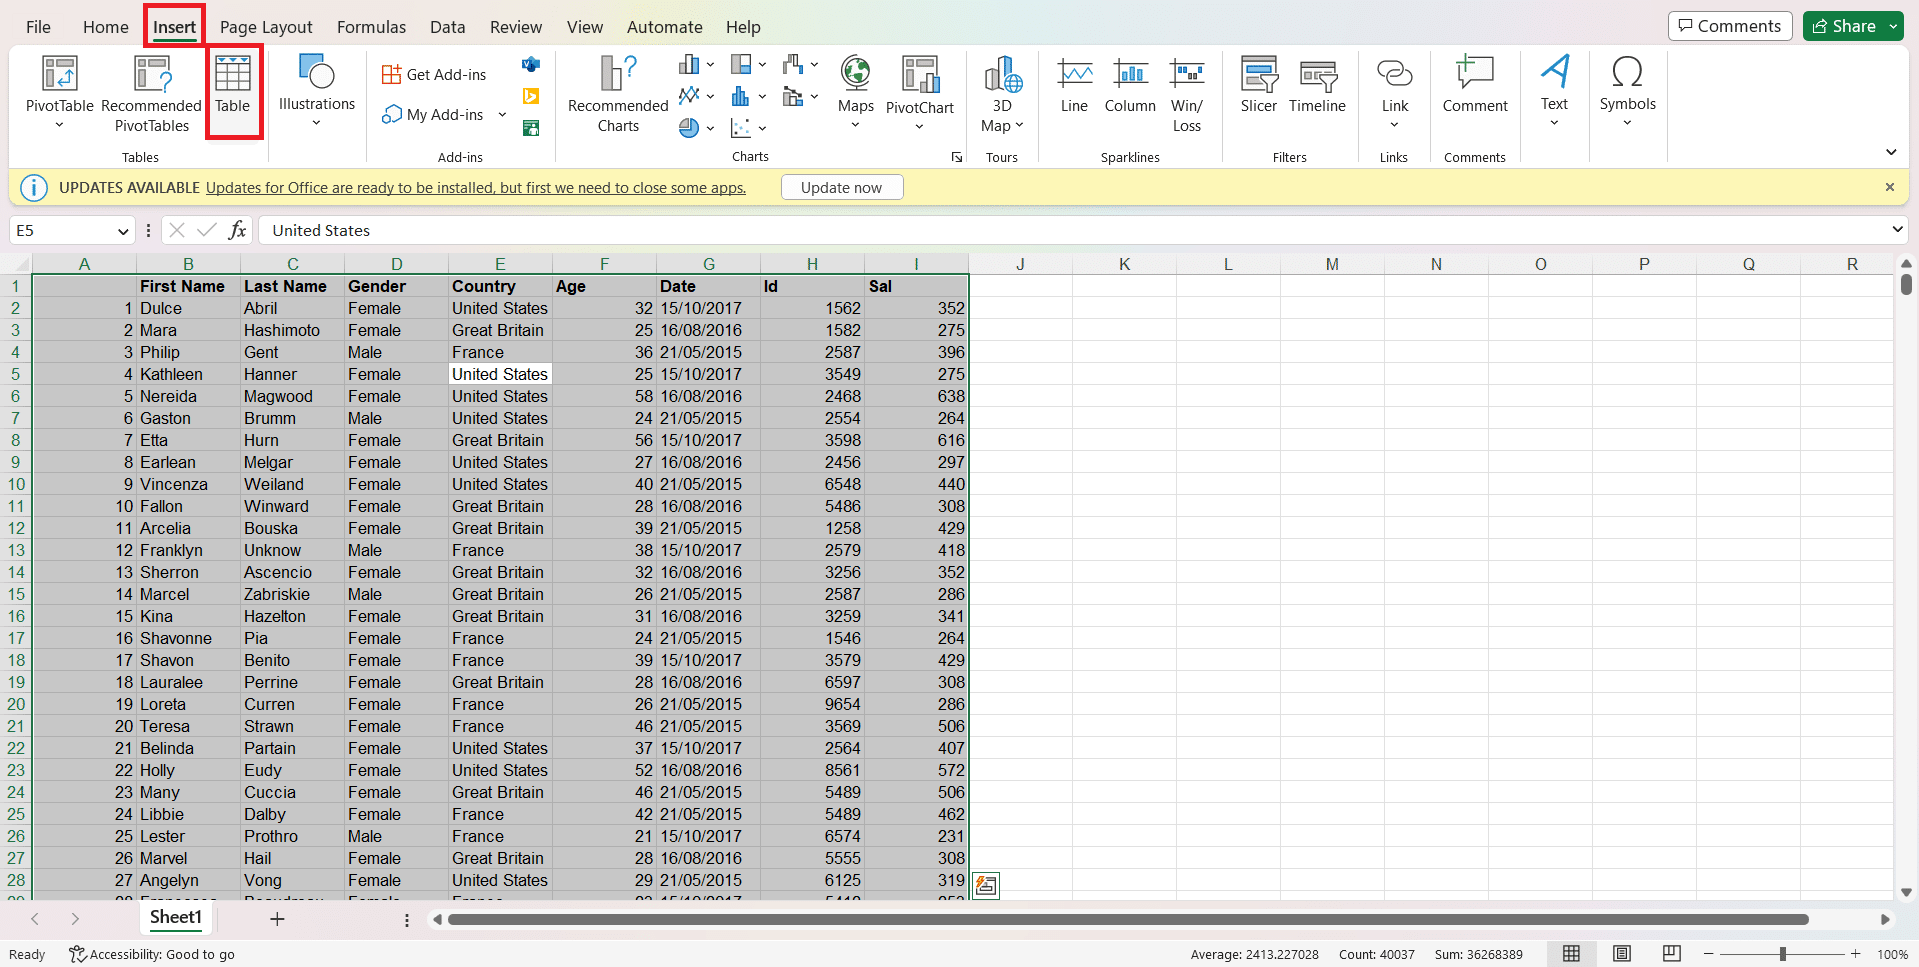
1. Select the data range you want to convert to a table.
2. Go to the Insert tab and click on the Table button.
3. Check the box for My table has headers if your data range contains header rows, then click OK.
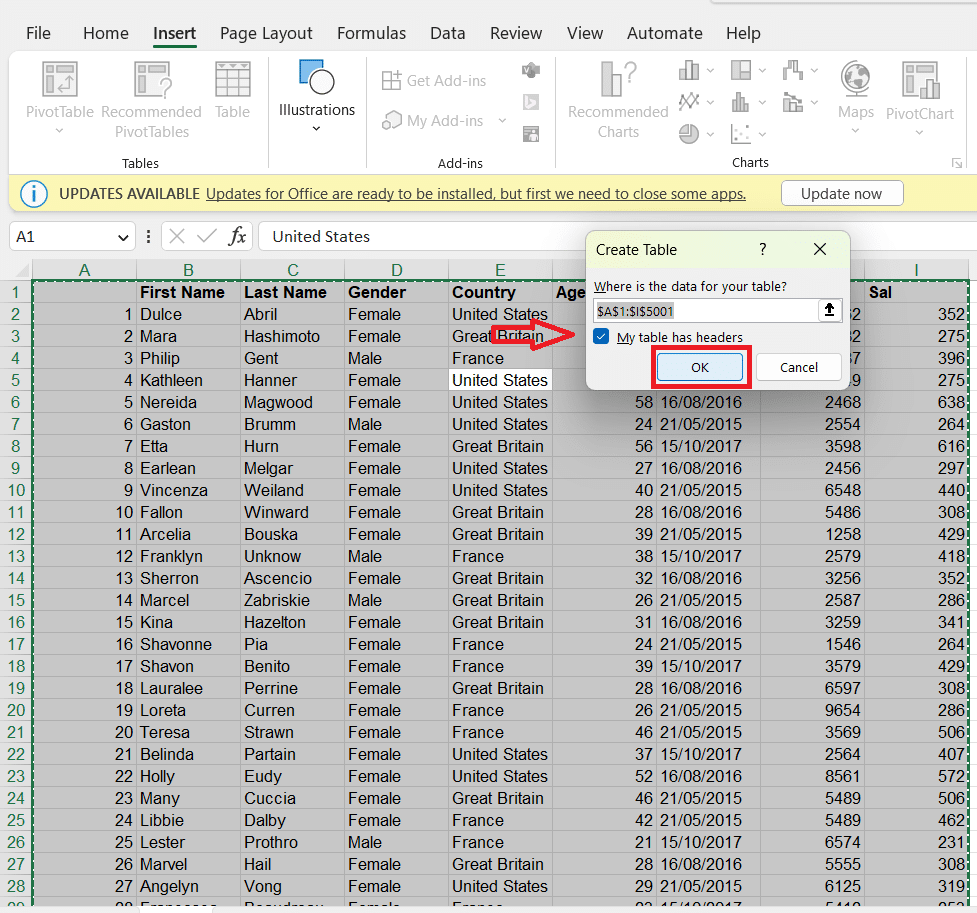
4. Your data will be converted to a table.
#3 – Compressing Images and Objects
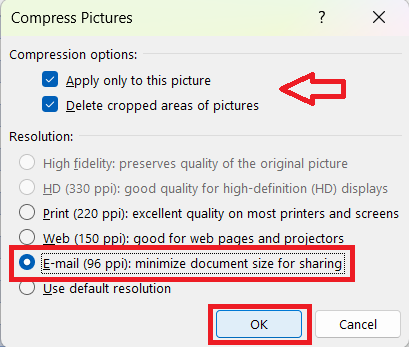
Compressing images within the spreadsheet can reduce your Excel workbook’s file size. To compress images, follow these simple steps:
1. Select the image or images that you want to compress.
2. Go to the Format/Picture Format tab, which will appear as soon as you select an image.

3. In the Adjust group, click on the Compress Pictures dialog box.

4. Choose the compression options that suit your needs, such as applying the compression only to the selected picture or to all pictures. Don’t forget to select E-mail (96 ppi). Then, click OK.
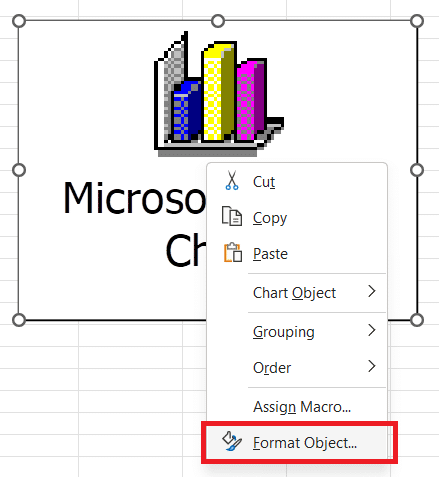
Besides images, embedded objects like charts and shapes can also be optimized to minimize file sizes. Follow these steps to compress objects:
1. Select the object or objects that you want to compress and right-click on them.
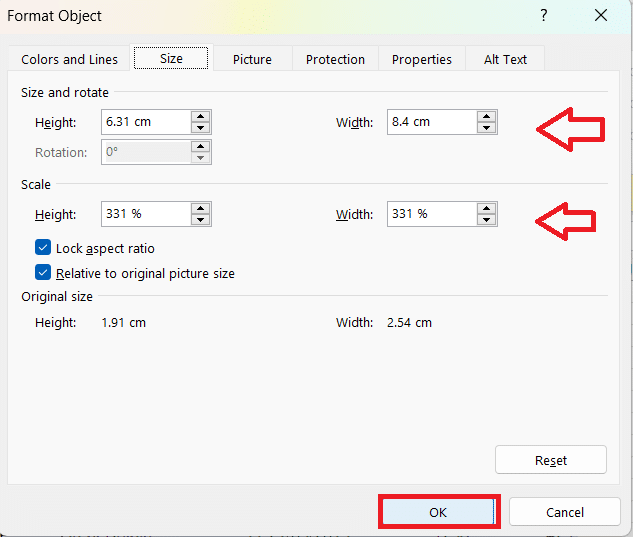
2. Click Format Object.
3. Go to the Size tab.

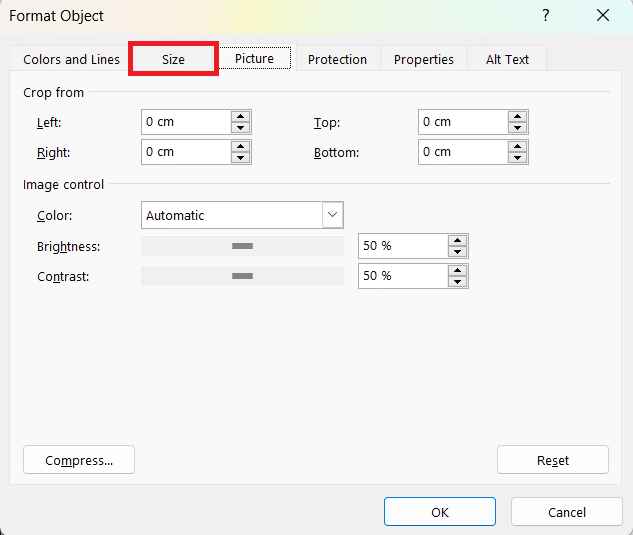
4. Choose the appropriate size options for your object, considering the trade-off between file size and visual representation. Then, click OK.
#4 – Splitting up Large Excel Files
When dealing with a large Excel file, breaking it into smaller, more manageable files can help reduce the overall size. Here’s how:
1. First, analyze your data and determine logical points to break up the file. These points might be based on regions, time periods, or other factors that are relevant to your data.
2. Once you have identified these points, create a new Excel file for each of these smaller sections. You can do this by selecting the data corresponding to each section and then press Ctrl+C to copy it.
3. Open a new Excel workbook, and press Ctrl+V to paste the data into the new file. Save each new file with a meaningful name to identify its contents.
Tip: Remember to remove the original data from your initial Excel file once you have split it into smaller files.
After completing these steps, your original large file will be separated into smaller and more manageable files, leading to better performance and easier sharing.
#5 – Saving Files in Different Formats
One way to reduce the size of an Excel file is by saving it in different formats. A few formats can help you keep the file size smaller without losing the data stored in the file.
Binary Excel Workbook
Instead of saving your Excel file in the default XLSX format, consider saving it as a Binary Excel Workbook (XLSB file format). The XLSB format compresses the data better and tends to open and save faster, particularly for large files.
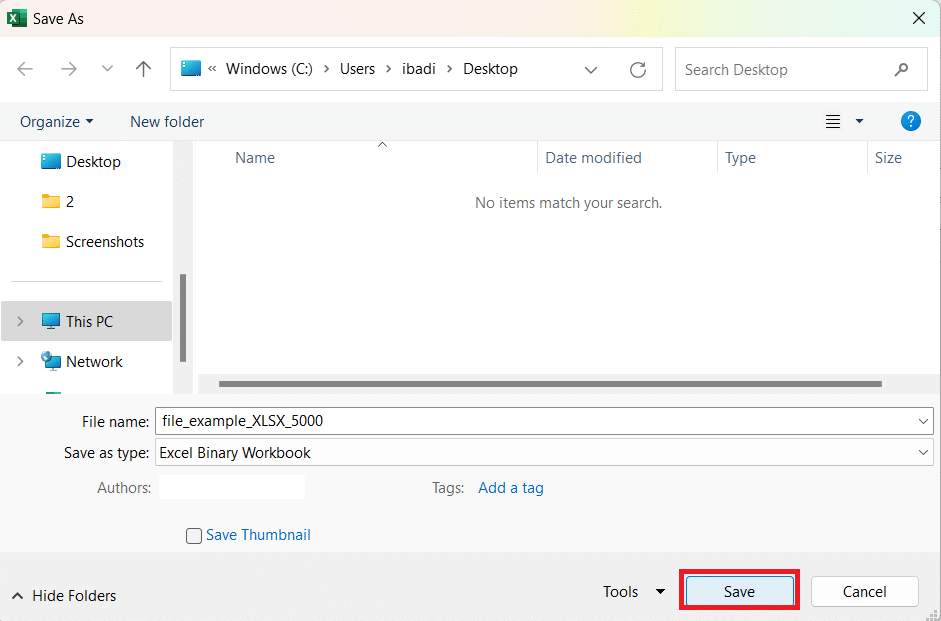
To save your file in XLSB format, follow these steps:
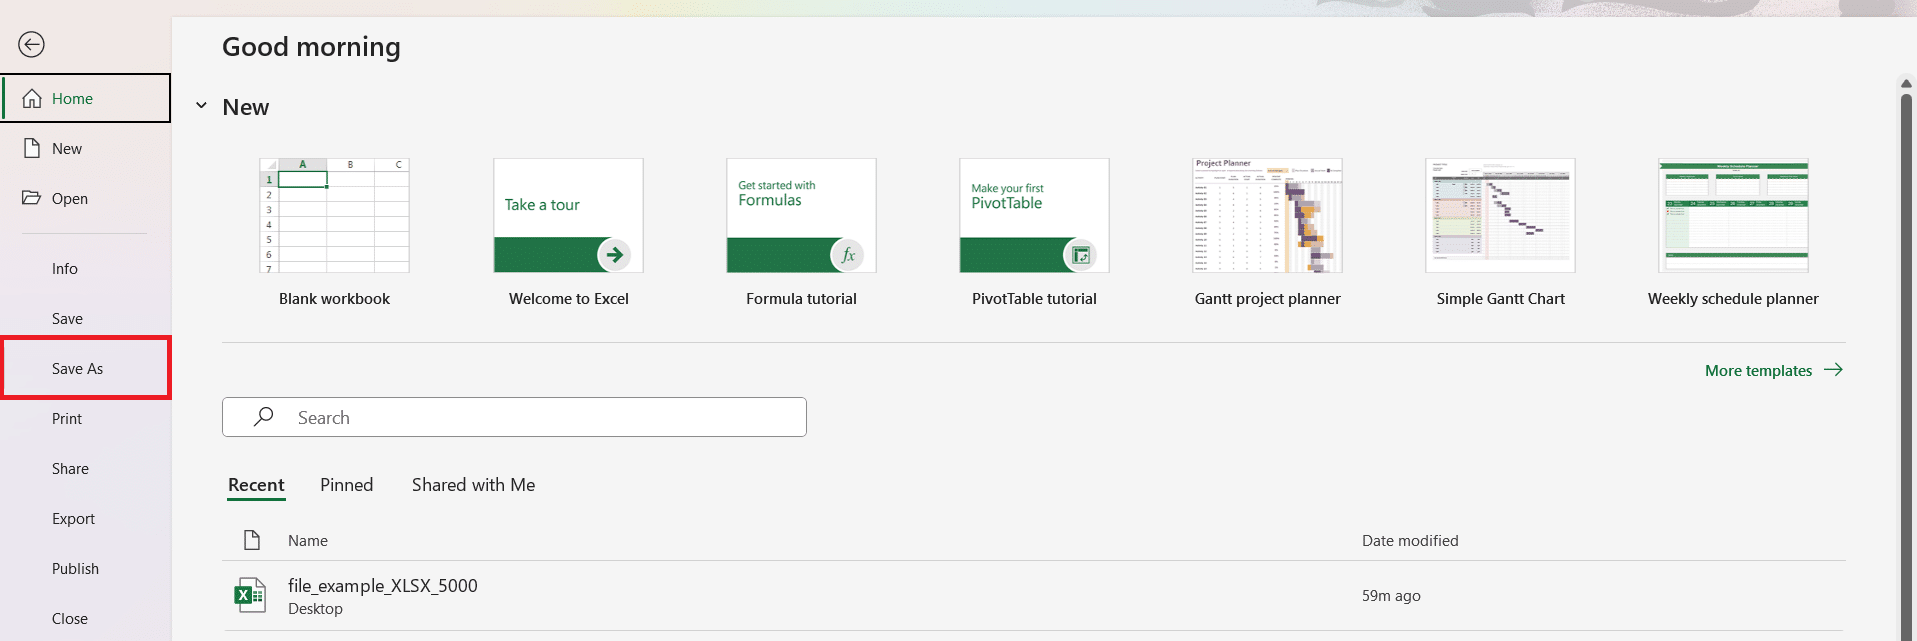
1. Click on the File tab.

2. Select Save As.
3. Select More options.
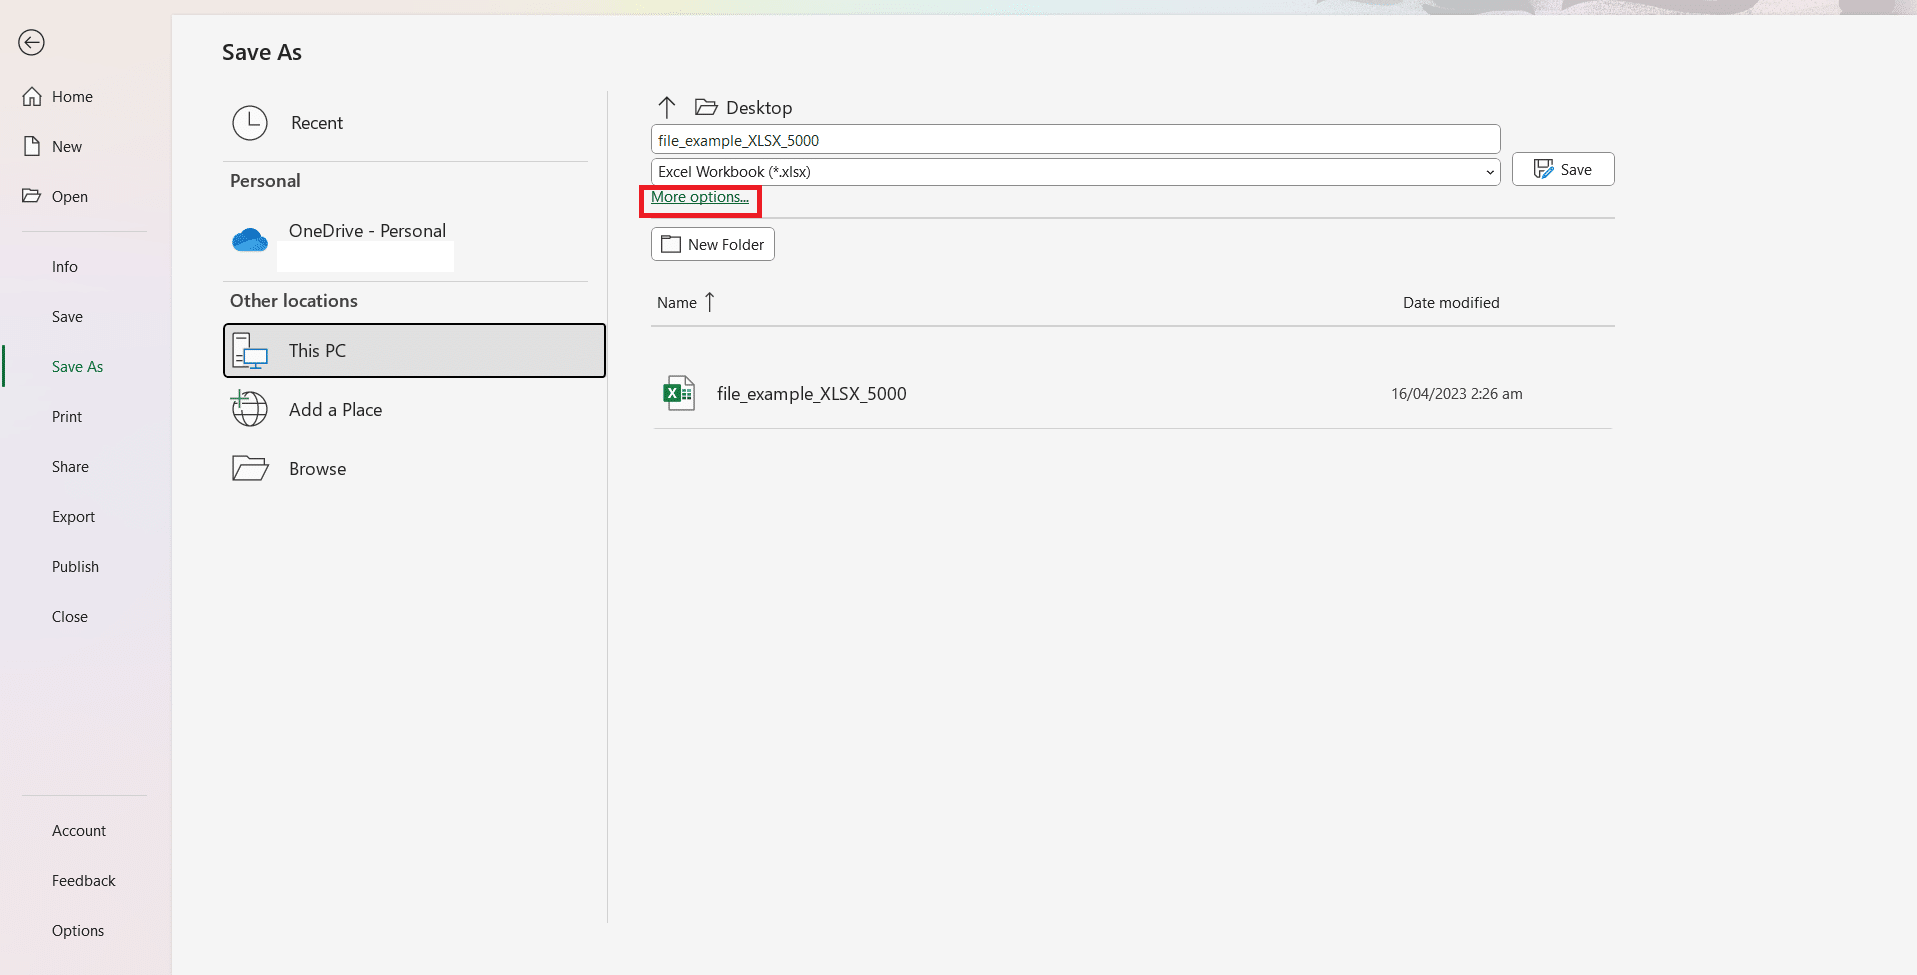
4. Choose file destination and select the Save as type block.
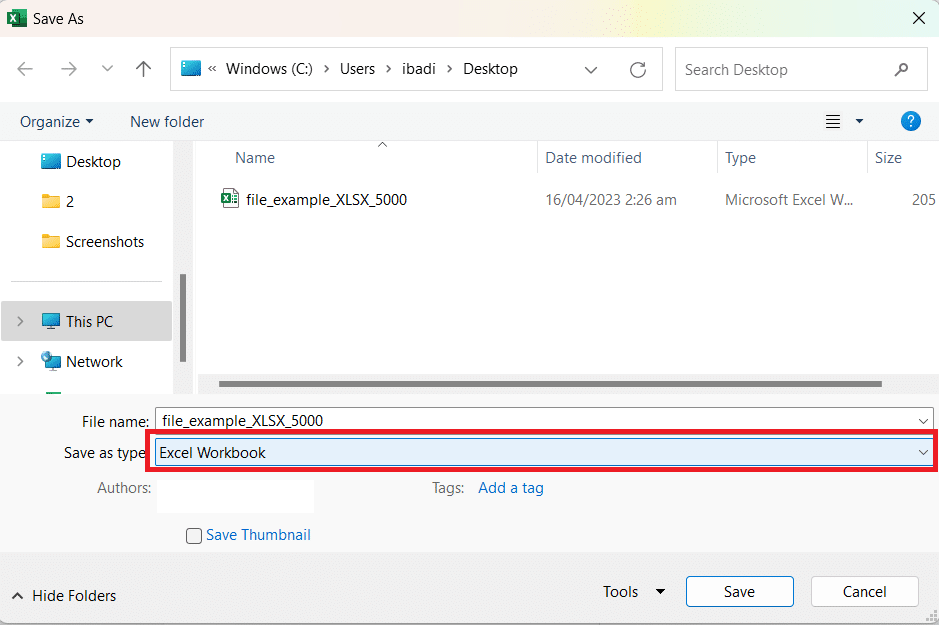
5. In the Save as type drop-down menu, select Excel Binary Workbook.
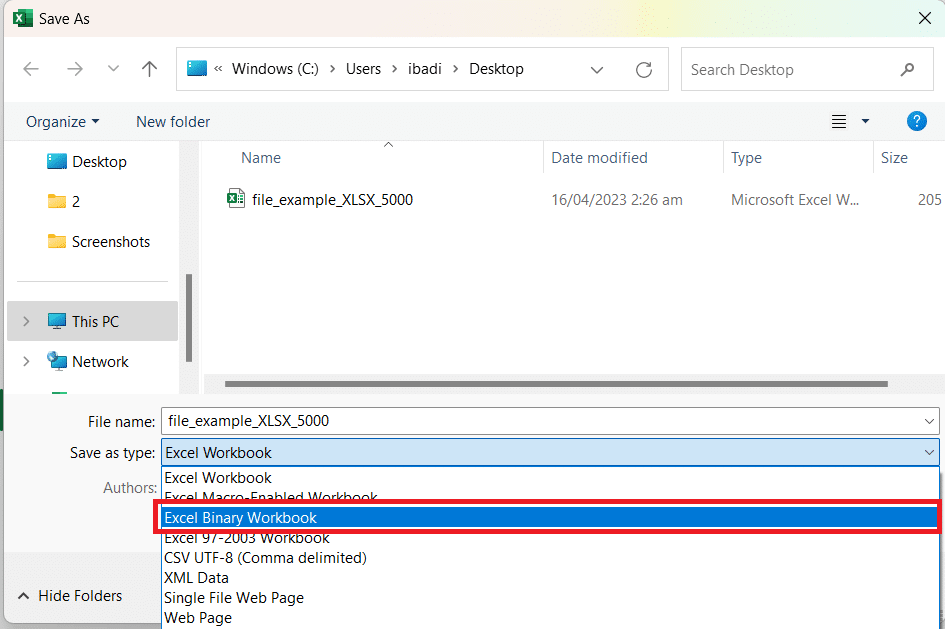
6. Click Save to complete the process.
CSV Format
Another option for reducing file size is to save your data as a Comma Separated Values (CSV) file. This format is particularly useful for removing any unnecessary formatting, as it only retains the raw data separated by commas.
To save your file in CSV format, follow these steps:
1. Go to File > Save As > More options > choose a file destination and click Save as type block.
2. Select CSV (Comma delimited).
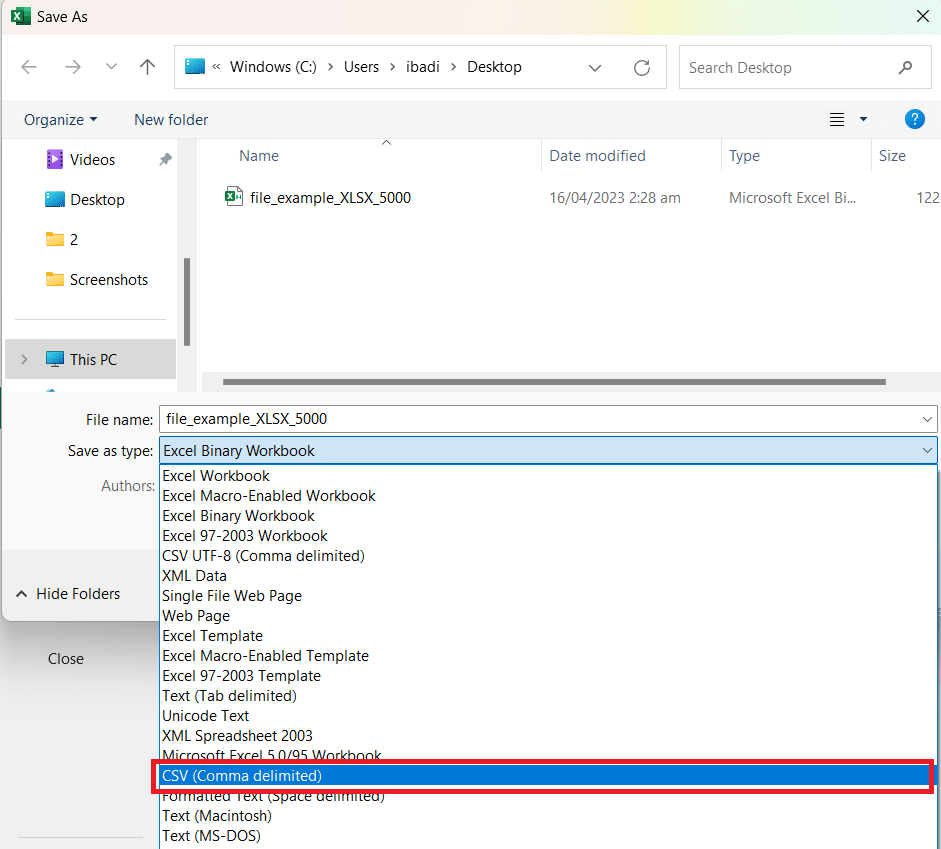
3. Click Save to complete the process.
Note: The CSV format isn’t suitable for files with complex formulas, macros, or formatting.
#6 – Delete Pivot Table Cache
A Pivot Table is a powerful tool to help you calculate, analyze and summarize data. But when you create one, it automatically creates Pivot Cache – an object holding the copy of the original source data.
Changes you make on a Pivot Table aren’t directly linked to the Original source data. Instead, they are to the Pivot Cache.
So, here’s how to remove the duplicate data and save some space when working with Pivot Tables:
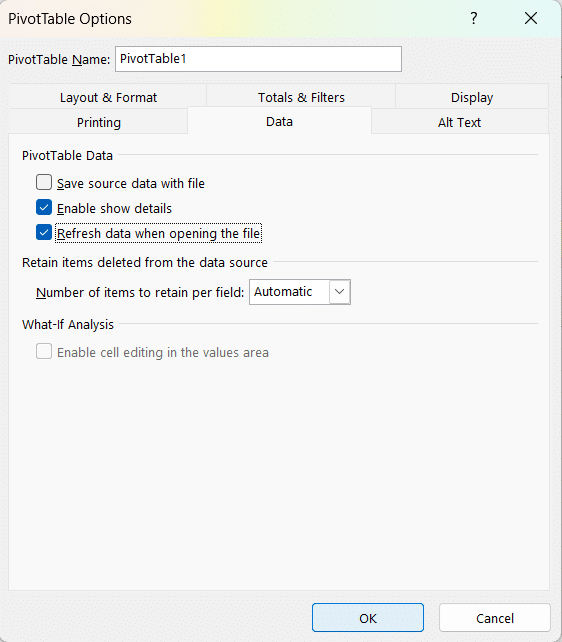
1. Select the Pivot Table and choose the PivotTable Analyze tab. Click Options under PivotTable.

2. Select the Data tab.
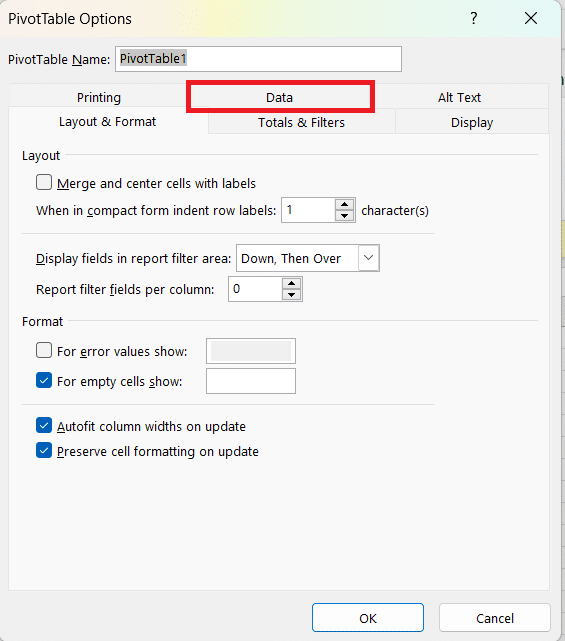
3. Uncheck save source data and select Refresh data when opening the file.
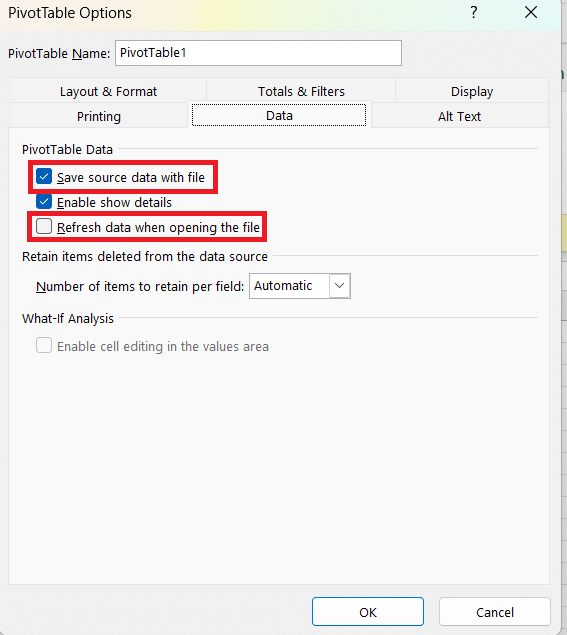
4. Click OK to save.
Let’s Round it Up
In this article, you’ve learned six methods on how to reduce the size of an Excel file. Applying these techniques can help improve Excel’s running speed and make sharing your files with others more manageable.
Remember to:
Delete or clear unnecessary data, including blank and hidden cells
Compress images
Save your file in the Excel Binary Format
Check and optimize formulas
Remove conditional formatting
Keep your Pivot Cache clean
By following these steps, you can effectively reduce your Excel file size and ensure a more efficient and organized experience with your spreadsheets.
Looking to further your learning, how about Counting Distinct Values in Excel? Check out our video about it below.


