In today’s blog, you will learn how to automatically save email attachment to SharePoint using Power Automate. By using a Power Automate flow, I save plenty of time in my day-to-day activities, and I hope it can also do the same for you. You can watch the full video of this tutorial at the bottom of this blog.
Overview
Everyday, I receive several emails with attachments and what I regularly do is take these attachments and save them to a SharePoint folder.

But instead of going through each email individually, saving the attachments to SharePoint, and updating the files daily, I created a one-time flow in Power Automate to automate this tedious task.
So for every email that comes in from a specific sender, the flow takes the attachment, moves it to SharePoint, and overwrites the existing file in that folder. And then I use the data that’s stored in that file to update my Power BI files. Let’s go into the steps on how this Power Automate flow was set up.
Save Email Attachment To SharePoint And Delete Email
Start by opening Power Automate Online. As you can see in My flows, there are several flows that I use everyday. For example, the first three flows in my list use the same Power Automate template that we’ve been talking about.

I created them using a Power Automate template that takes email attachments, saves them to SharePoint, and even deletes the email afterward so I won’t have to worry about deleting them.
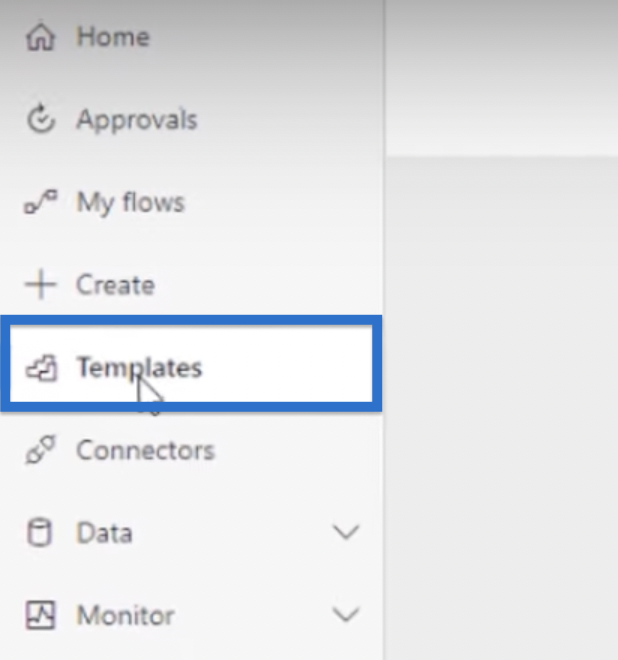
To access this template, click Templates, then type save email attachments in the search bar.
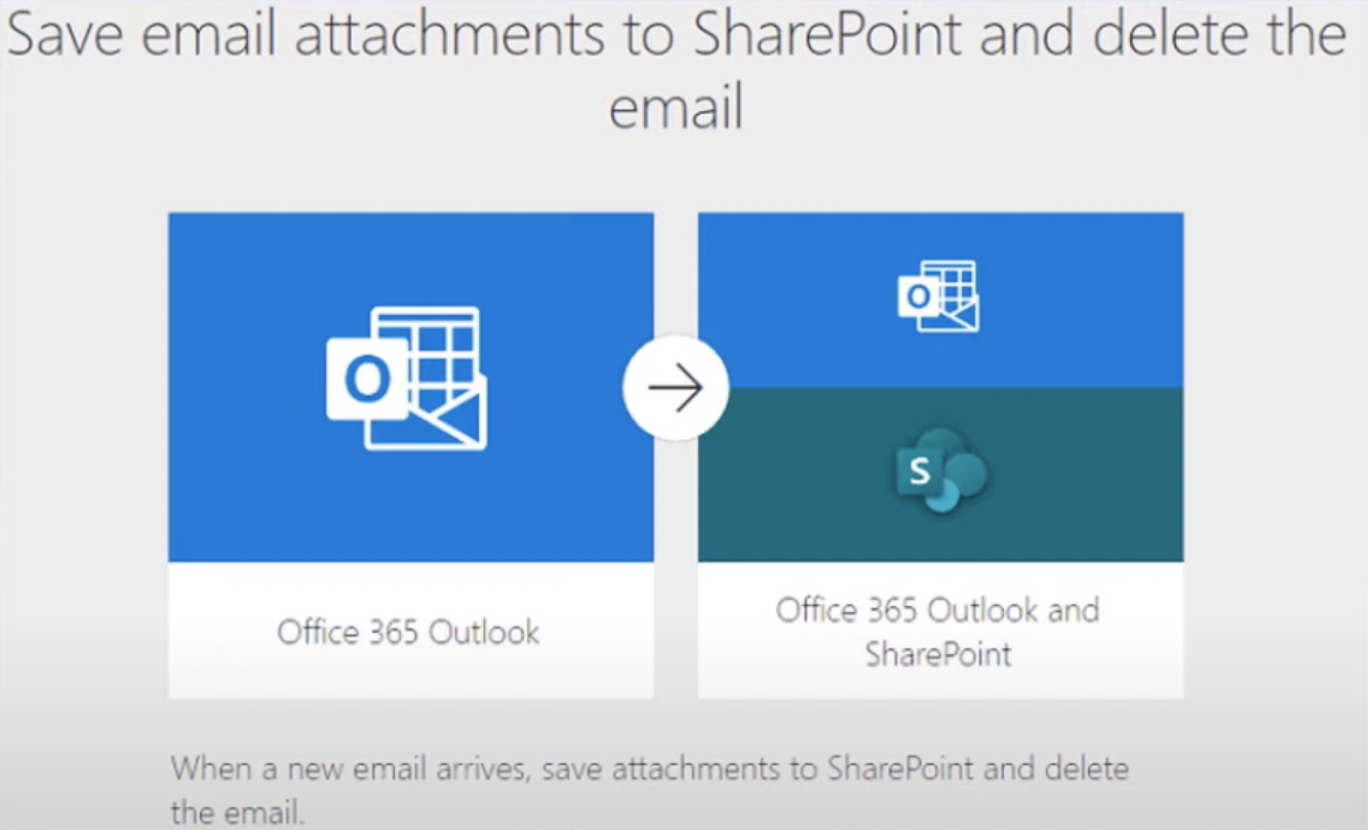
Several related Power Automate templates will show up in the results, but we’ll focus on Save email attachments to SharePoint and delete the email.

And instead of creating this from scratch, we’ll take an existing one and see how it is set up and how this flow has performed over time.

Power Automate Flow Example: LawtonAR
Let’s consider one of my flows as an example. LawtonAR is one of the flows that I have created and has been running for some time now.
Opening this will show us the description, which is the template that we have chosen earlier. We can also see the date it was created on August 20, and we know it has been running since then.

If we scroll down, we’ll see the flow’s day-to-day run history, the duration of the process, and the status of whether it succeeded or failed.
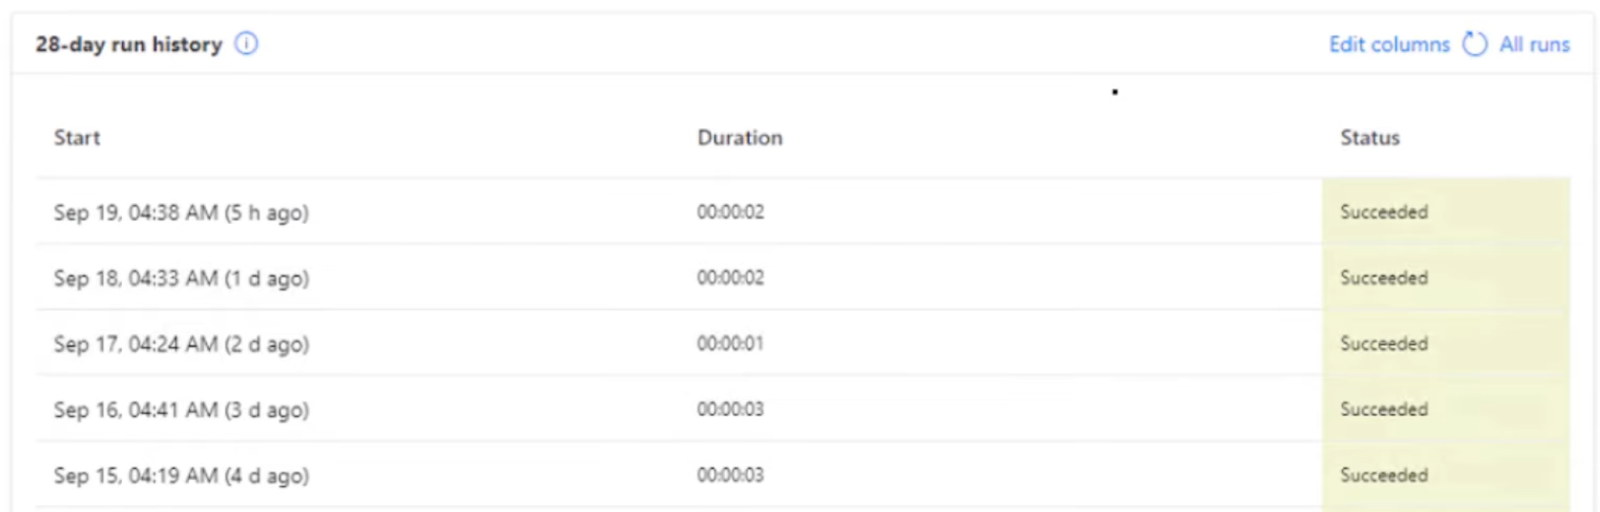
Focus on the Duration column, and notice the amount of time needed to accomplish the process. Once the email hits the inbox, it takes 2 to 3 seconds for the flow to take the attachment, save it to SharePoint, and then delete the email.
I need this flow because I have clients using QuickBooks Online, and I have some custom reports in there that send me email every day. However, QuickBooks Online doesn’t support email scheduling at present.
Typically, the emails arrive between 4:30 – 5:00 AM my time, which provides enough time for the files to be saved in SharePoint before the daily Power BI refresh.
So that’s the overview of our sample, LawtonAR. Let’s now proceed with the process of setting up a similar Power Automate flow.
Creating a Flow Using Power Automate Template
Start by clicking Edit to open the flow and the steps that you have to set up for this particular flow. There are three main steps that we have to take for this flow.
Step 1: When An Email With Attachment Arrives
The first is When a new email arrives. Click on this step to open the advanced options.

For this example, let’s choose Inbox for the Folder. In the To field, choose the correct email address, especially if you have more than one email address saved.
Choose Yes on Include Attachments because that’s what we want to move to SharePoint. The Subject Filter contains the same subject line of the email as they arrive. Set the Importance to Normal and choose Yes to Only with Attachments.
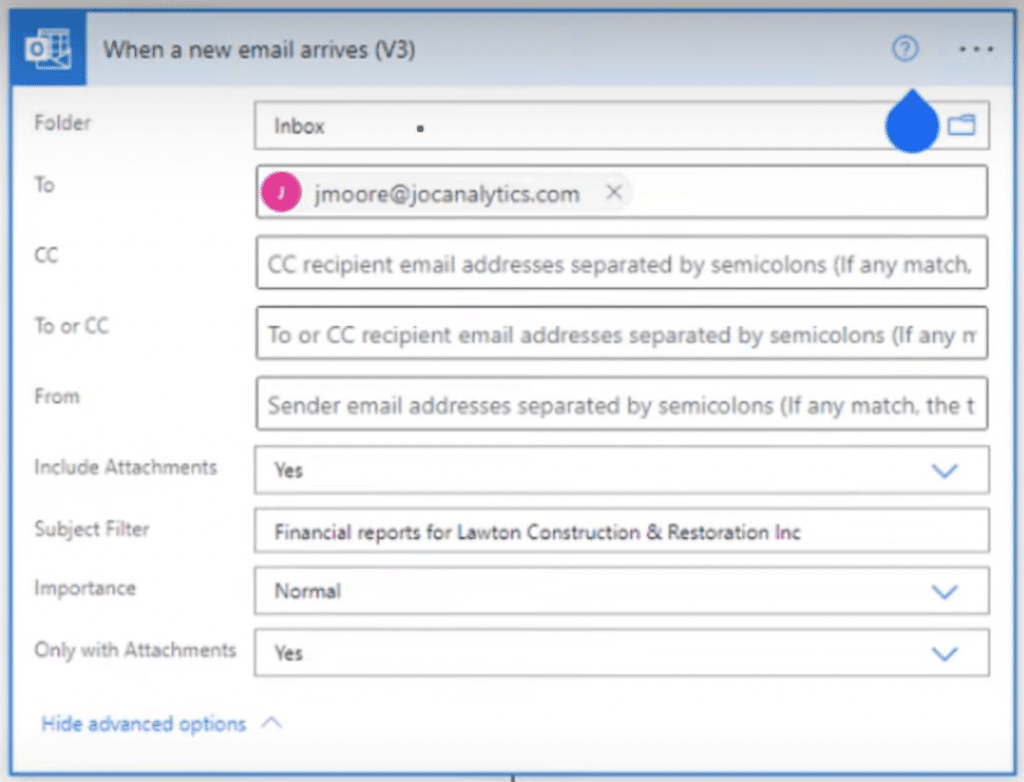
And that’s everything we need to fill up for this first step.
Step 2: Saving Email Attachment To Sharepoint
Once the email arrives, the second step tells us where to move or take the attachments. If you have an email that comes with five different attachments, it could move each one of these files from one point to the assigned location.

Open the second step, Apply to each attachment on the email. Once it opens, you can see that Attachments is already placed under Select an output from previous steps.
Left click beside Attachments to open the list of Dynamic content and Expression. Open the Create file substep. In the Site Address, add the SharePoint address to use. Also fill in your preferred Folder Path with where you want the attachments to be moved to.

For the File Name, go to the list of Dynamic content and choose Attachment Name. For the File Content, choose Attachment Content.

To summarize the second step, we take the attachment from the original email, then designate it to where and what folder we want this to be added to in SharePoint. Then, we save it with the Attachment Name and Content.
Step 3: Deleting The Email
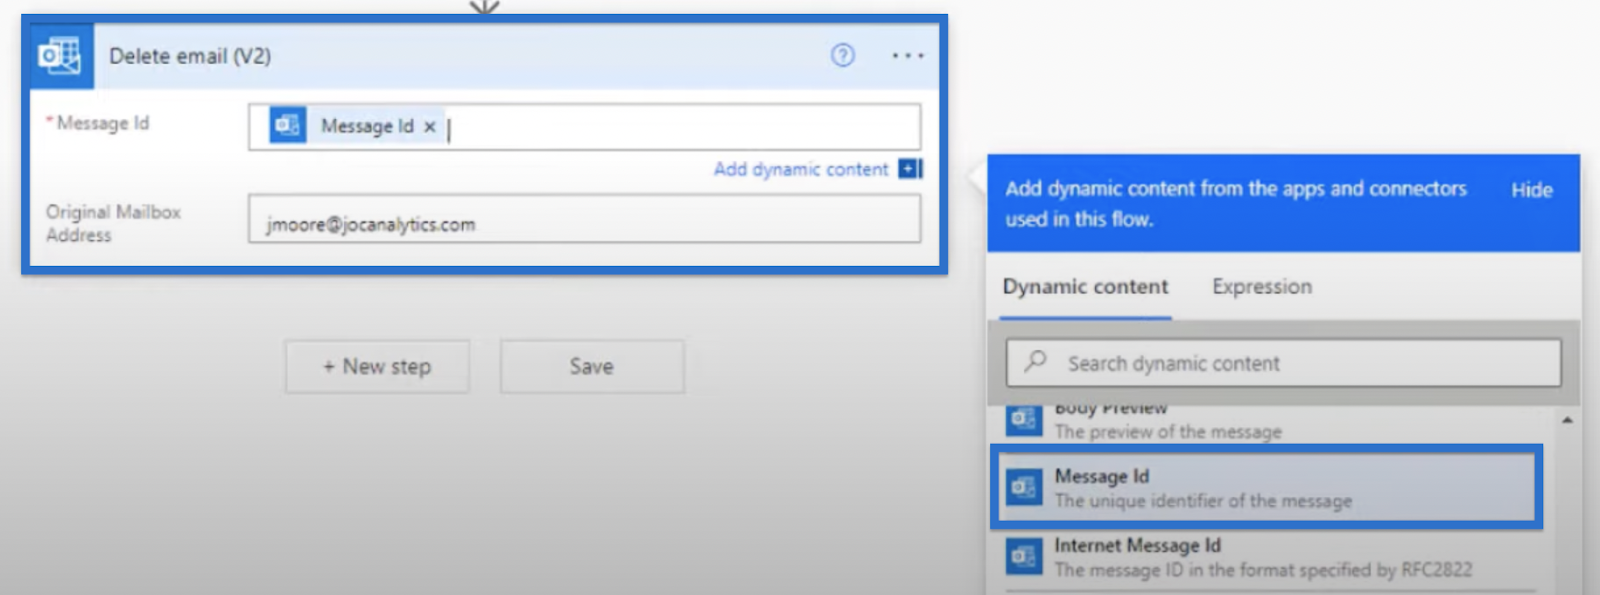
Finally, we’ll Delete Email in the third step. Open this step as we did in the previous two.

Then for the Message Id, choose it from the Dynamic content list. This Message Id has The unique identifier of the message which will help in the email deletion later. Then add the appropriate email address in the Original Mailbox Address field.
What’s great about this flow is once you have this set up and run, you won’t need to worry about scheduling. That’s because the flow will only take place once an email is sent to the intended email address, with the specified subject filter and an attachment. Only then will it save email attachment to SharePoint.
Using Desktop Flow After Saving The Email Attachment To SharePoint
Once the files are saved, I have other desktop flows that then take the files from our temporary folder, (FilesToMove) to the appropriate folders where the files should be saved for processing.
If I open my Files in my computer, I’ll go to my SharePoint folder > Power Reports – Documents > .FilesToMove. I currently have a file saved and named ReconAR.

Once saved in this folder by our first flow, my desktop flow takes this file from here and then moves it to the appropriate folder. So, if I go back to Power Reports – Documents, I can open another folder named RECON.

Inside this folder, we can see that the desktop flow worked and the ReconAR is already moved.

***** Related Links *****
Microsoft Power Automate: Workflow Automation
MS Power Automate Vs. SharePoint Automate
Power Automate Actions | A Deep Dive Tutorial
Conclusion
In conclusion, Power Automate can be a powerful tool to automatically save email attachment to SharePoint. By creating a simple flow using the When a new email arrives trigger and the Create file action, you can easily set up a system to automatically save attachments to your desired SharePoint folder.
This Power Automate template can save you time and effort by eliminating the need to manually download and upload attachments, and can also help to ensure that important documents are properly stored and organized. With Power Automate, it’s easy to automate this process and streamline your workflow.
All the best,
Jarrett Moore