
Creating a page border around your data or specific cells can emphasize your content and improve the overall presentation.
In Excel, a page border refers to a decorative line or design that surrounds the entirety of a printed page or a specified range. You can use page borders for aesthetic purposes, especially when preparing a document for presentation or printing. Users can customize the style, width, and color of the borders through the “Page Layout” tab.
In this article, we’ll show you step-by-step how to create a page border, don’t worry, it’s easy!

Let’s get into it!

How to Make Page Borders in Excel
You can follow the steps given below to make a page border in Excel.
Step 1: Selecting Page Size
You must first select a page size for your sheet.
To do this, navigate to Page Layout and click on the Size dropdown menu.
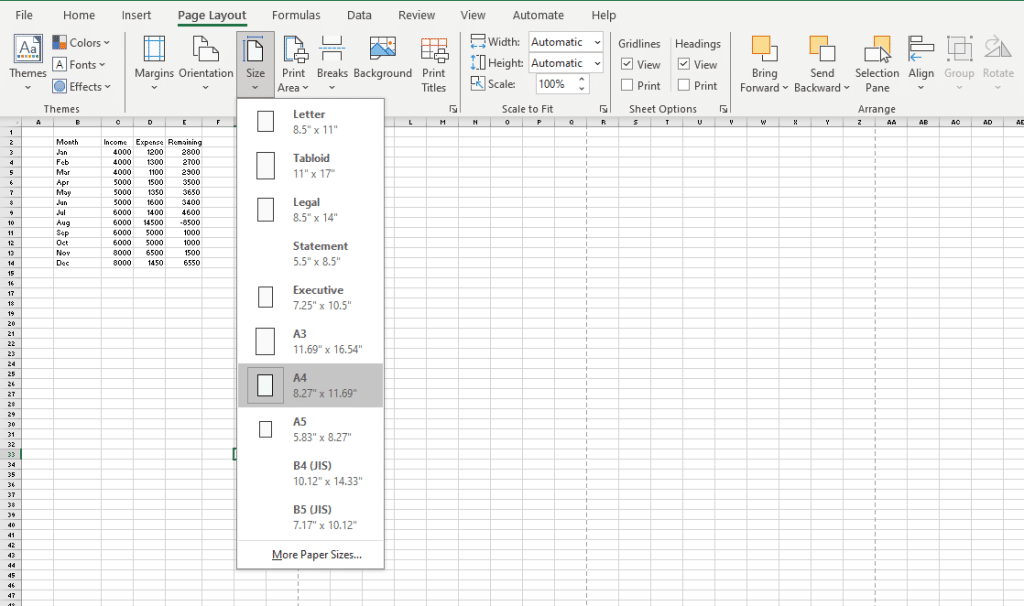
You can select your desired page size by clicking on it.
When you select a page size, you will see gridlines appear on your Excel worksheet, as shown below:

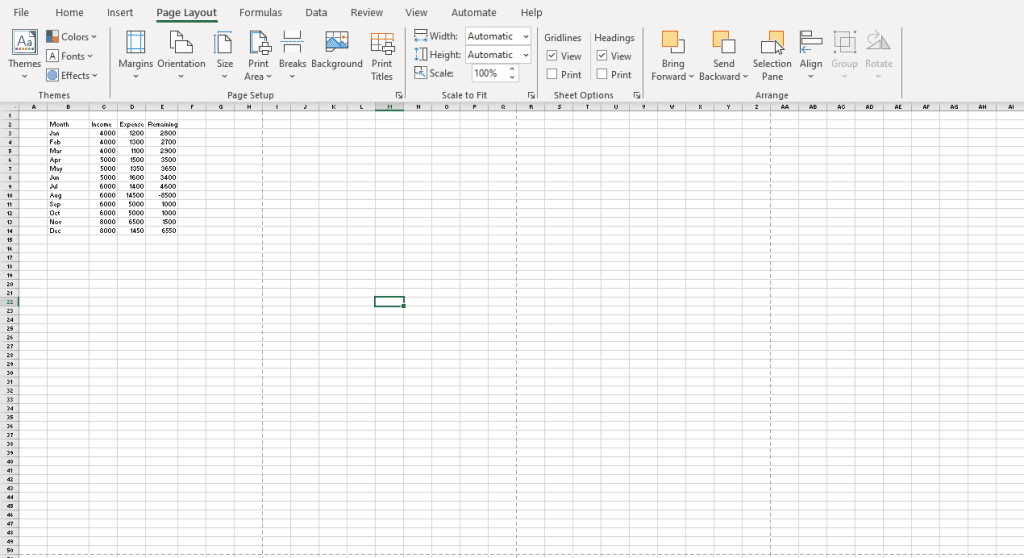
Each horizontal and vertical gridline forms one page. You can see that multiple pages can fit on a single Excel document.
Step 2: Making The Page Border
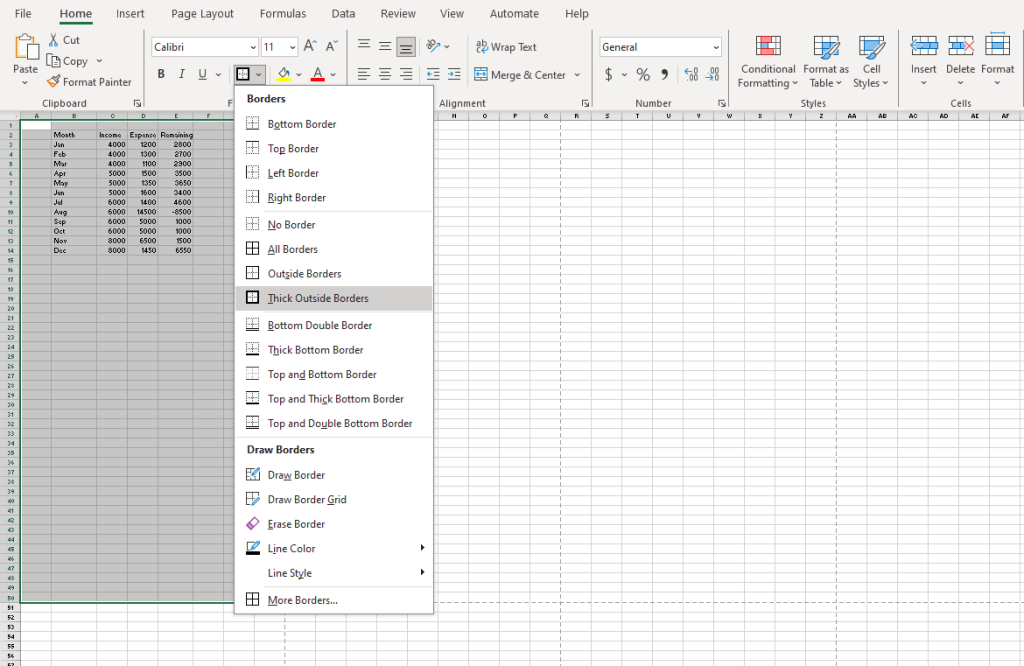
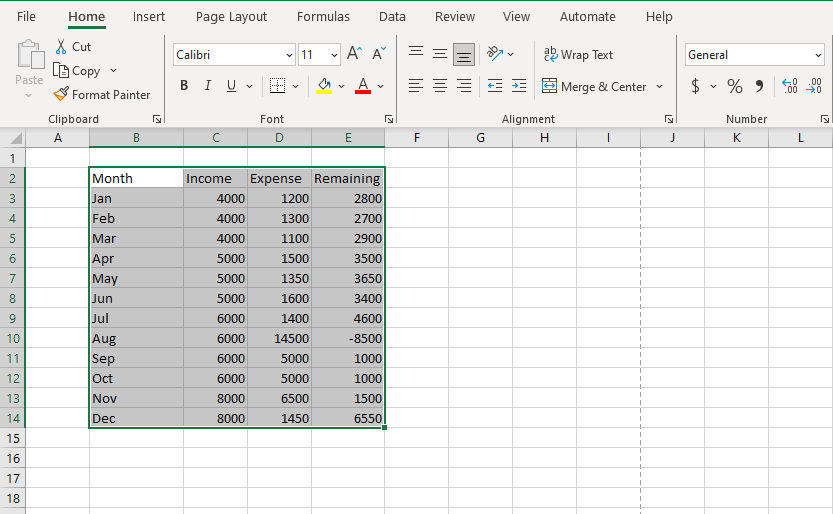
To make the page border, select all the cells in the horizontal and vertical gridline as shown below:

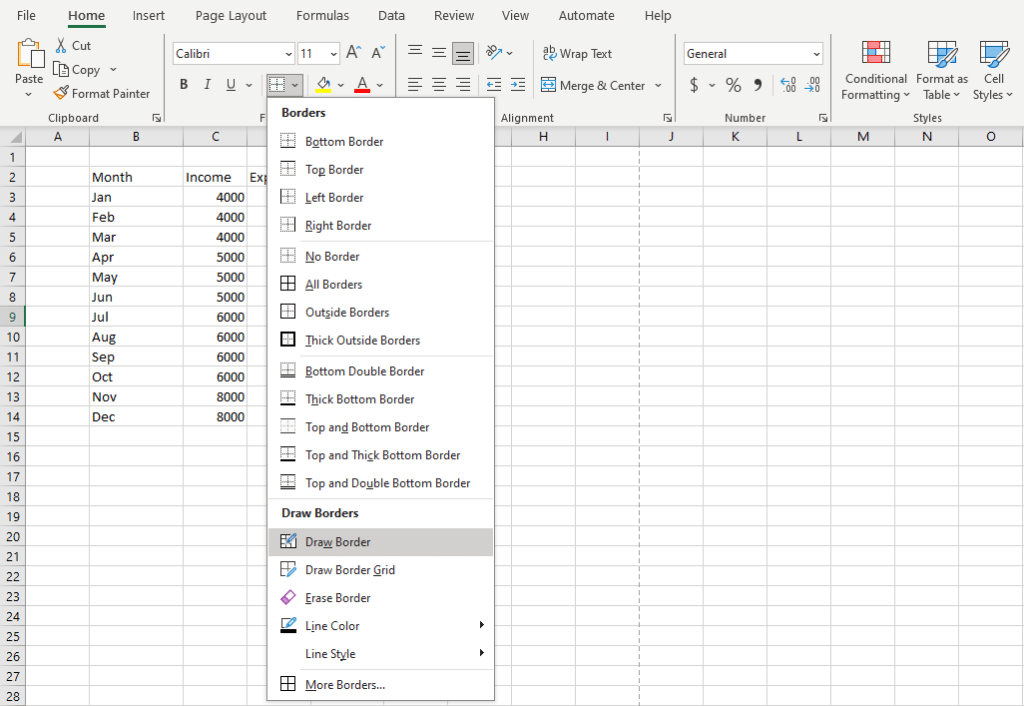
Next, navigate to the home tab and click on the border tab. Select a border of your choice.
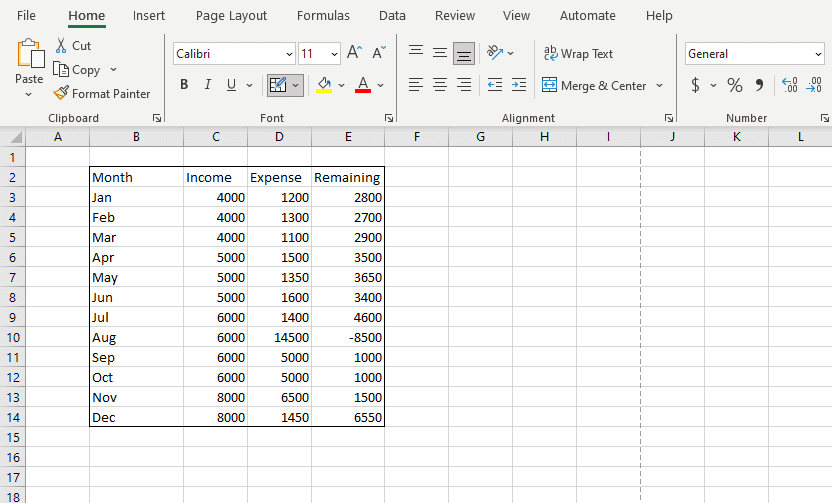
You will see a border appear around your selected cells.
Step 3: Testing The Page Border
To test how your page border will appear on a page, you can use the Print option.
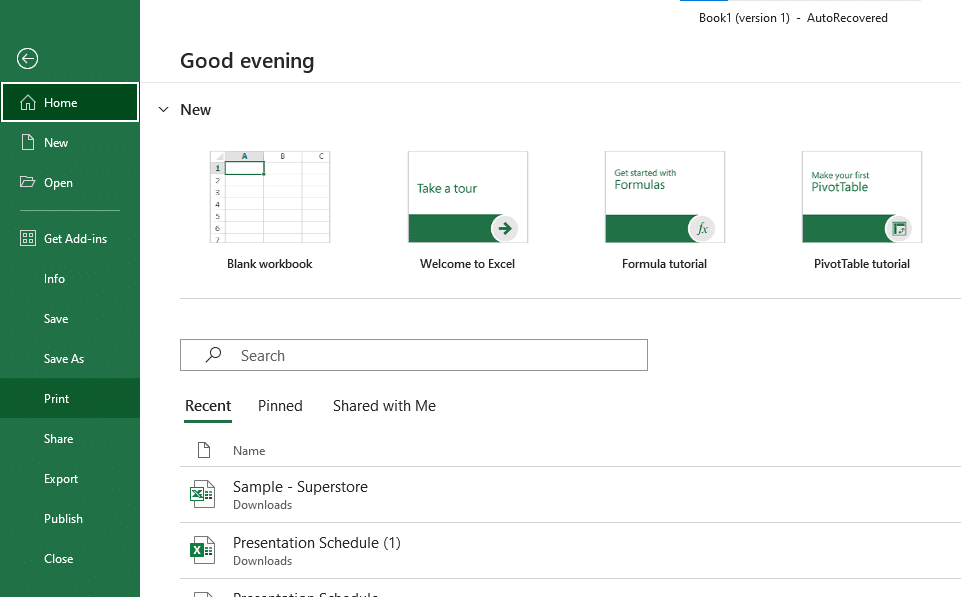
Click on File at the top-left of your screen.
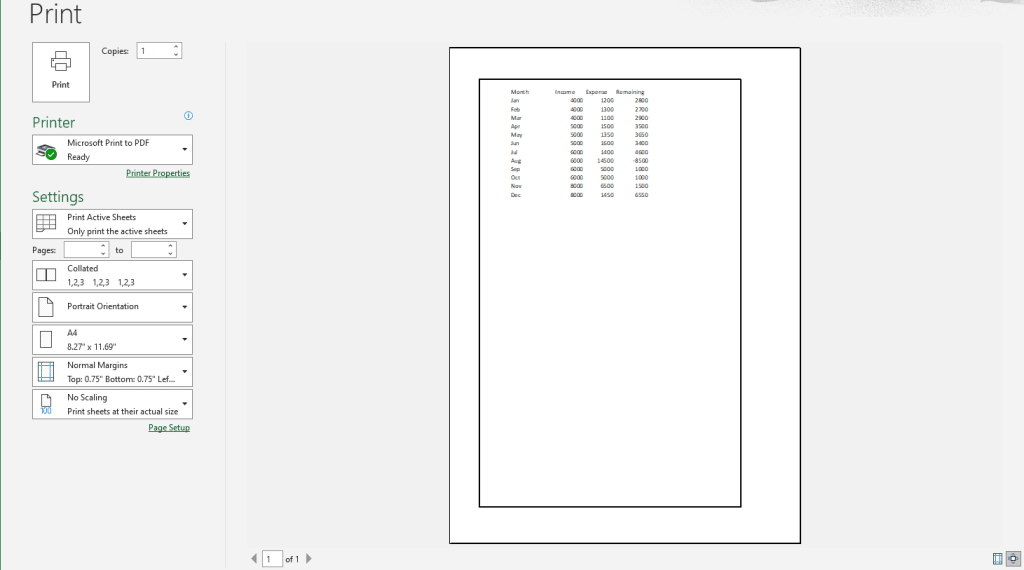
A page setup dialog box will open up. Next, click Print.
Excel will show how your page will appear when printed.
2 Ways of Making Borders in Excel
There are multiple ways of making borders in Excel. In this section, we will review 2 of them.
Specifically, we will go over the following:
- Using Predefined Borders
- Making Manual Borders

1) How to Make Borders Using Predefined Excel Borders
Excel comes with predefined borders that allow you to automatically create borders around your desired cells.
Follow the steps given below to make a page border using predefined Excel borders:
Step 1: Select Your Desired Cell
You must first select the cells you want to make a border around.
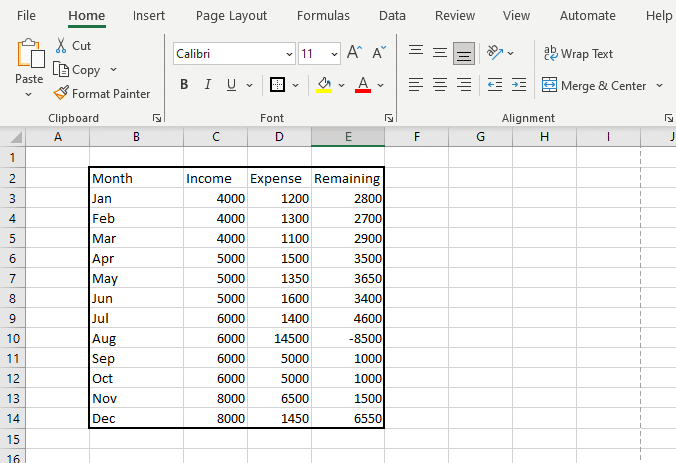
To do this, simply select one cell and drag it across your desired range as shown below:
Step 2: Select Your Desired Border From Home Tab
Next, navigate to the home tab and click on the borders icon.

You will see a list of predefined borders available to you.

Select your desired border type and you will see a border appear around your selected cells.
2) How to Make Manual Borders in Excel
Excel allows you to make manual borders as well.
Follow the steps given below to make manual page borders in Excel:
Step 1: Click on The Borders Icon
You must click on the borders icon in the home tab and then select Draw Border.
Step 2: Creating The Border
When you click on Draw Border, you will notice your cursor turn into a pen icon.
You can drag the pen icon around your desired cells to create a border.
Final Thoughts
Understanding page borders in Excel might seem like a minor detail, but it can elevate your work. Imagine you’re presenting a report or sharing data with colleagues—adding a border can instantly improve its professional appeal.
Page border is one of the Excel skills that lets you make your work stand out. By learning and using this feature, you’re adding a layer of polish to your presentation. These minor details can highly improve your data story.
They’re a simple addition that can make a significant impact.
Frequently Asked Questions
In this section, you will find some frequently asked questions you may have when making page borders in MS Excel.

How to remove a page border in Excel?
To remove a page border in Excel, go to the “Page Layout” tab, click on the Borders button, and choose “No Border.”
This will remove the border from the selected cells or ranges.
How to add a page border in Excel 2010?
- Open Excel 2010 and navigate to the “Page Layout” tab.
- Click on “Print Area” and then “Set Print Area” to select the cells for which you want to add a border.
- Click on the “Borders” dropdown menu in the “Page Setup” group.
- Choose from a selection of border styles, colors, and thicknesses to customize the border to your preference.
How to insert a page border in Excel 2007?
- Open your Excel 2007 workbook and select the cells to which you want to add a border.
- Go to the “Page Layout” tab.
- Click on the “Borders” option located in the “Page Setup” group.
- Select the desired border style, color, and thickness, and apply it to your selected area.
Where is the ‘All Borders’ format option in Excel?
The ‘All Borders’ option can be found under the Home tab. You should just follow these steps:
- Select the cells you want to format with borders.
- Go to the “Home” tab.
- In the “Font” group, click on the dropdown arrow next to “Borders.”
- Choose the “All Borders” option from the list.
How to create print borders in Excel?
- Open your Excel worksheet and select the cells that you want to print with borders.
- Go to the “Page Layout” tab.
- Click on “Print Area” and then “Set Print Area” to define the area you want to print with borders.
- Go to the “Borders” option located in the “Page Setup” group, and choose a border style and color to customize your print borders.
How to add page border in Excel 2016?
- Open Excel 2016 and navigate to the “Page Layout” tab.
- Click on “Print Area” and then “Set Print Area” to select the cells for which you want to add a border.
- Click on the “Borders” dropdown menu in the “Page Setup” group.
- Choose border styles, colors, and thicknesses to customize the border to your preference.


