Printing information in JavaScript is an essential skill for showcasing data on a webpage or debugging your applications effectively.
Whether you’re creating a simple website or a complex web application, properly utilizing JavaScript’s printing methods can significantly increase the functionality and UX of your projects.
You can print information out in JavaScript using the innerHTML property and the windows.alert() and document.write() methods. You can also print data out to the browser’s console using the popular console.log() function or print out webpage content using JavaScript’s window.print() function.

Mastering these techniques will prove beneficial when working with JavaScript in web development.
So, let’s dive into them!

4 Ways to Print in JavaScript
In JavaScript, printing serves different purposes. It can be used to display information on screen, to debug code during the development process, or to create printer-friendly versions of documents.
There are a few methods to output data to the browser console or webpage using JavaScript. They are:
- Using the console.log() function
- Using the windows.alert() function
- Using the innerHTML property
- Using the document.write() function
Let’s take a closer look at these methods.
1. Using the console.log() Function
console.log() is a built-in function in JavaScript that allows you to print output to the browser’s console. JavaScript provides the console.log() method for debugging purposes, which allows you to print messages, variables, and object values to the browser’s console.

It’s an excellent tool to track values and understand the flow of your application without interrupting its execution.
To use the browser’s console, open a new tab and tap the F12 button on your keyboard to open the developer tools.
Once you’ve opened it, select the Console tab and enter the following command:
console.log("Hello world!");Output:
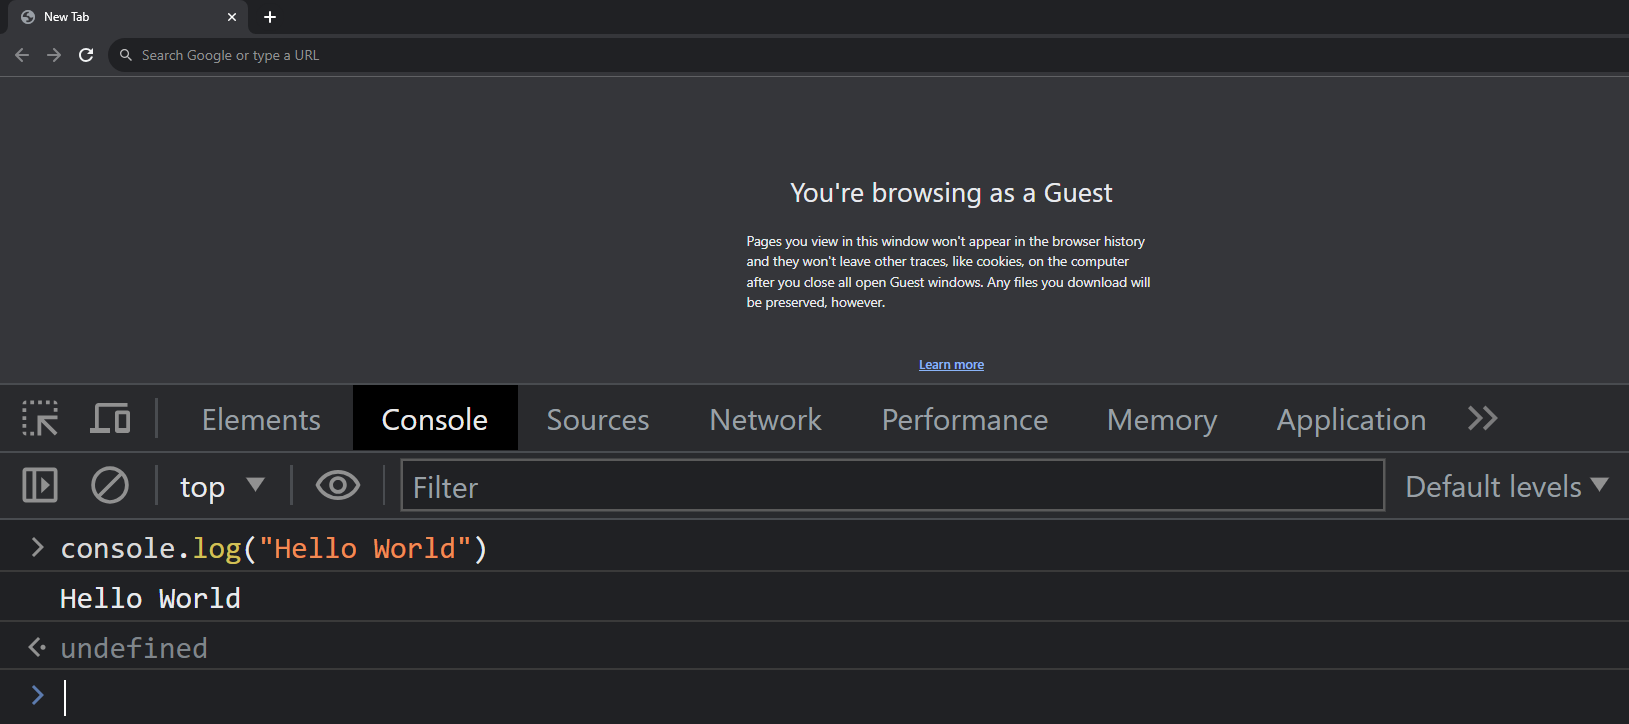
We can see the message written inside the function clearly displayed in the browser console tab.
Next, let’s look at a practical method in HTML script:
<!DOCTYPE html>
<html lang="en">
<head>
        <meta charset="UTF-8">
        <meta name="viewport" content="width=device-width, initial-scale=1.0">
        <title>console.log() Example</title>
</head>
<body>
        <h1>
                Some text.
        </h1>
        <button onclick = "console.log('The button was clicked' );">Click me</button>
</body>
</html>
Output:
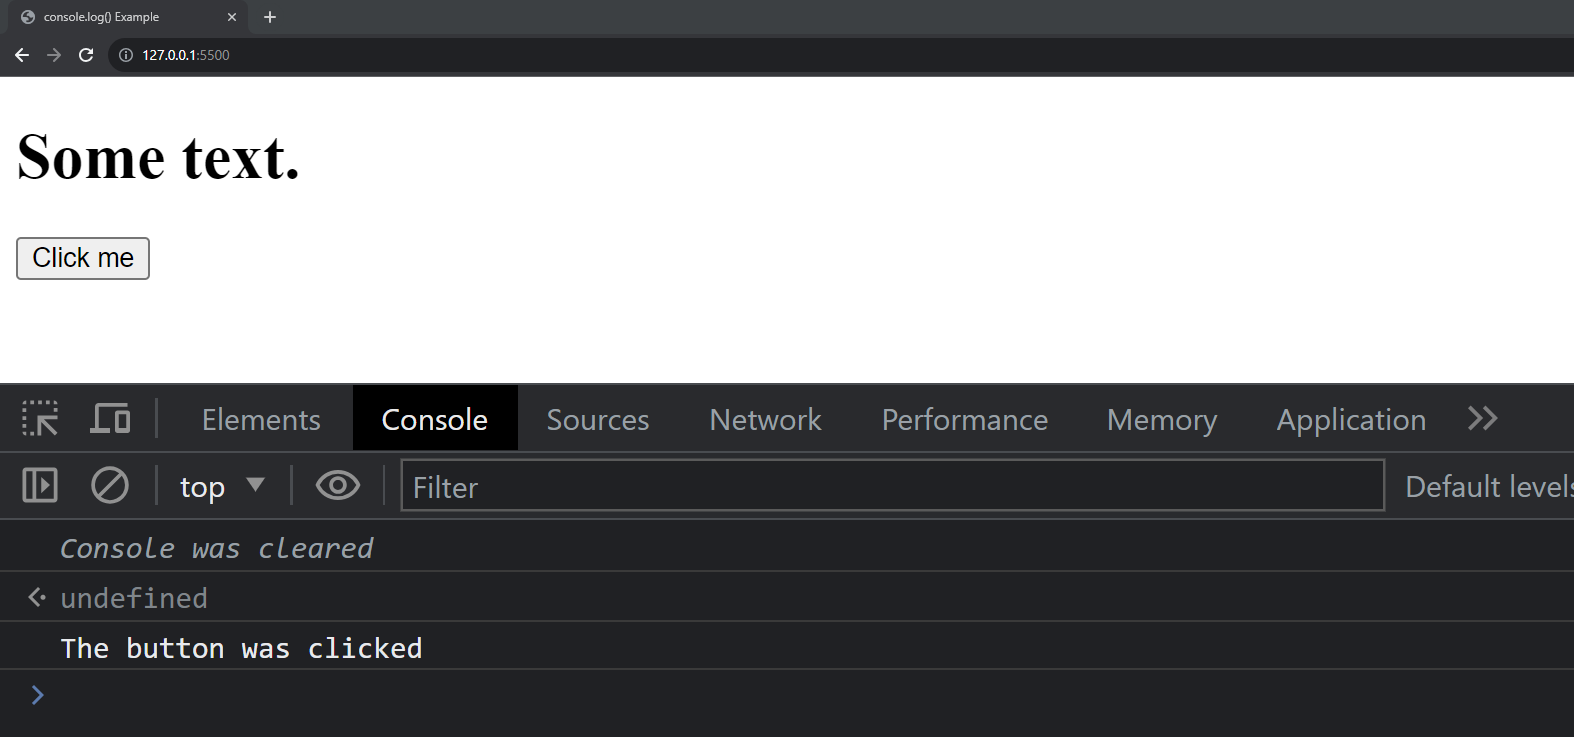
In the example above, anytime the user clicks the HTML button element, it logs a message to the console.
2. Using the windows.alert() Function
In JavaScript, the window.alert() function allows you to display a message to the user in a popup dialog box. It’s a valuable way to provide essential information or a simple confirmation when required.
You can use it as follows in your HTML code:
<h1>
      Some new text.
</h1>
<script> window.alert("Hey, I have some news!") </script>
Output:
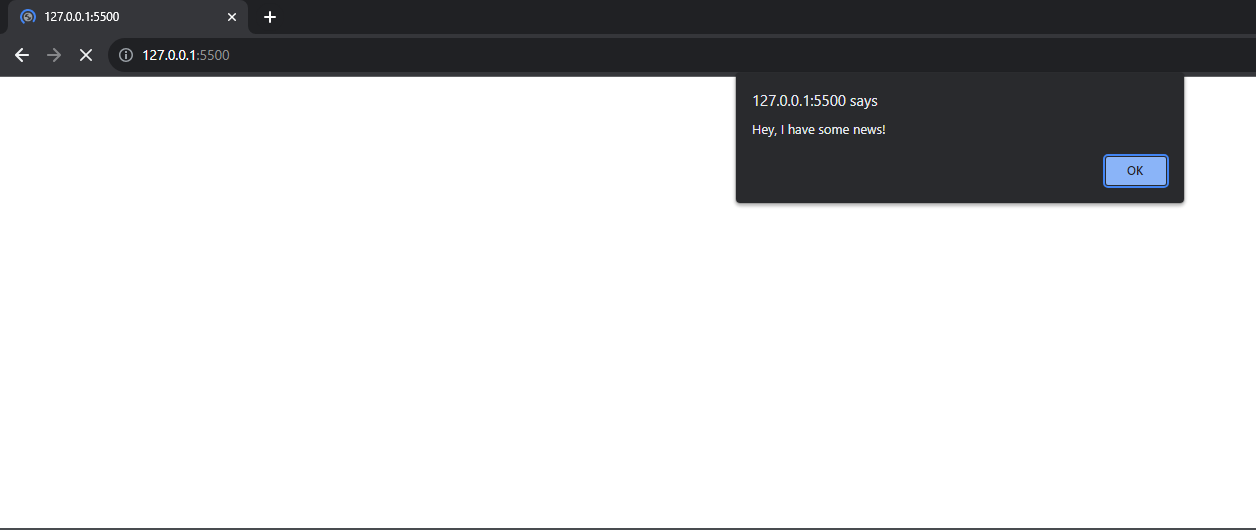
However, this is not an ideal method for printing as it can be intrusive to users and cannot be customized easily.
Also, remember that the alert() function will pause the execution of your code until the user closes the dialog box.
So, use it sparingly and avoid it for large-scale applications.
Note: The window Keyword is optional. You can also write it as alert(“Message”).

3. Using the innerHTML Property
The innerHTML property is used to access and modify the HTML content of an element in your HTML document.
You can use this property to create printable content on your web page by manipulating the content within an HTML element.
For example:
<div id = custom-div></div>

<script>
    document.getElementById("custom-div").innerHTML = "<h1>Your custom content</h1>";
</script>
Output:
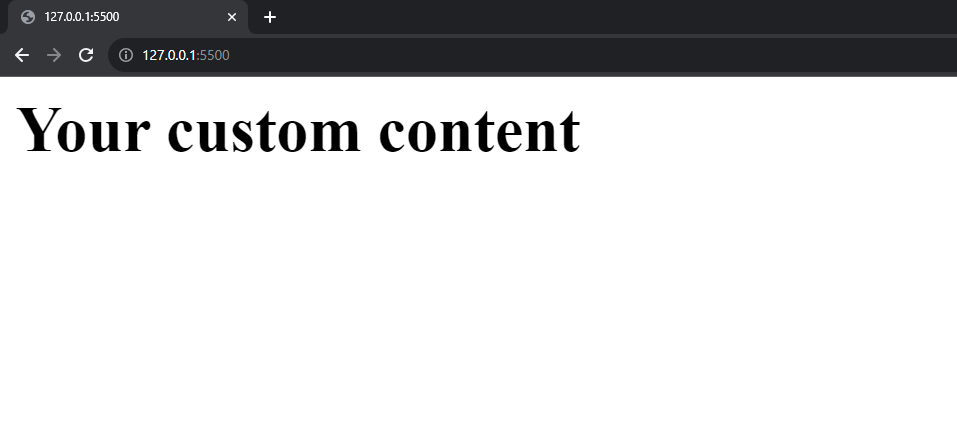
This code snippet modifies the HTML content of an element with the ID attribute custom-div, replacing it with a new <h1> header with custom content.
By modifying an HTML element’s innerHTML property like this, you can print information like the current date and time directly on a web page.
Keep in mind that you should always verify the desired HTML element exists before modifying its content.
4. Using the document.Write() Method
The document.write() method is another way to create printable content in an HTML browser using JavaScript.
This method writes HTML content directly to your document, effectively replacing your existing content with the new content.
To use this method, simply call document.write(“<yourContent>”); with the desired content as a string argument.
For example, write the following in your text editor:
document.write("<h1>Your custom content</h1>");Results in the following in your browser:

Keep in mind that using document.write() can completely overwrite your HTML document’s content, so use this method cautiously.
If it is called after the page is done loading, it will overwrite everything on your webpage.
Using document.write() is generally considered an outdated method. Consider modern alternatives such as innerHTML for most cases.
How to Use JavaScript Print a Webpage and HTML Content
In this section, we’ll delve into the straightforward yet powerful ways you can use JavaScript to print both entire web pages and specific HTML content.
Read on to learn how you can implement these functionalities with just a few lines of code.
1. Window.Print() Method
The window.print() method is a convenient way to print your HTML document directly from the browser. Using the JavaScript print() function, you can create a print layout for web pages suitable for physical printing.
To use this method, simply call window.print(); in your JavaScript code or attach it to an HTML element that triggers the print action.
For example, you can create a “Print this Page” button:

<button onclick="window.print();">Print this Page</button>Output:

When the user clicks this button, the browser’s print dialog box will open, allowing them to print your HTML document as displayed on their current window.
This function can be used to print the entire web page or specific elements, such as PDF files, in a user-friendly format.
By utilizing these methods, you can effectively print content in an HTML browser using JavaScript.
Choose the method that best suits your particular use case, and remember to always test your code to ensure proper functionality.
2. How to Print Specific HTML Content
When you want to print specific HTML content on a web page using JavaScript, you can use the window.print() function.
Bear in mind that this function will print the full page.
To print only specific content, like a div element, you can create a new window or an iframe, copy the desired content into that new element, and trigger the print action.
To make this even simpler, you can encapsulate this process in a function and call it when needed:
function printDivContent(divId) {
  const content = document.getElementById(divId).innerHTML;
  const printWindow = window.open('', '_blank');
  printWindow.document.write('<html><head><title>Print</title></head><body>');
  printWindow.document.write(content);
  printWindow.document.write('</body></html>');
  printWindow.document.close();
  printWindow.print();
}
Now you can call printDivContent(‘yourDivId’); to print the content of the div with that specific ID.
You can also use this approach not just for tables, but for any HTML element that you want to print. Just replace the tableId and <table> with the corresponding ID and HTML tag.
The key is to use the outerHTML property to get the entire element, including its tags and attributes, and then pass it to the new window or iframe for printing.
3. How to Manage Loading While Printing
In JavaScript, it’s essential to manage the loading of elements and resources before attempting to print them.
You can use window.onload or DOMContentLoaded events to make sure that everything is fully loaded before executing your print function:
window.onload = function() {
  // Your print function here
};
document.addEventListener('DOMContentLoaded', function() {
  // Your print function here
});
Final Thoughts
As we wrap up this guide, it’s clear that printing in JavaScript plays a vital role in the development process.
By utilizing functions like ‘console.log()’ and understanding DOM manipulation, you’re well-equipped to display information accurately to the user or diagnose issues in your code.
Keep these techniques in mind as you write, test, and refine your JavaScript applications!
If you loved this, you can also check out our article on Bard vs ChatGPT: The Differences Compared.
Would you like to learn more? Check out the latest content from our YouTube channel below:
Frequently Asked Questions
How can I print a variable in JS?
To print a variable in JavaScript, you can use the console.log() method.
Pass the variable as an argument to the function:
var myVariable = "Hello, World!";
console.log(myVariable);
How can I print out a different page using JavaScript?
When you want to print content from another page, the window.open() function can be used to achieve this. This method creates a new browser window and loads the specified URL.
After the content is loaded, you can call the print() method on the new window object to initiate the printing process. Here’s a simple example:
function printExternalPage(url) {
  var printWindow = window.open(url);
  printWindow.onload = function() {
    printWindow.print();
  };
}
How can I print out a text file using JavaScript?
To print a text file using JavaScript, you need to fetch the file using the fetch() function.
Next, you can display it in a new window or an iframe by calling the print() method afterward.
Let’s have a look at this:
async function printTextFile(url) {
  const response = await fetch(url);
  const content = await response.text();
  var newWindow = window.open("", "_blank");
  newWindow.document.write("<pre>" + content + "</pre>");
  newWindow.print();
}