Disabling a button in JavaScript is a simple yet effective way to improve user experience and prevent users from taking unwanted actions.
The best way to disable a button in Javascript is by setting its “disabled” property to “true.” You can also disable a button by using the setAttribute function or placing the disabled attribute right within the button’s HTML tag.
In this article, you will learn how to use these techniques to disable and enable buttons using JavaScript, with clear explanations.

We’ll also provide some excellent examples to back up what you’re going to be learning.
So, let’s dive in!

Understanding the HTML Button Element
Button elements are an essential part of most websites, as they enable user interactions such as submitting forms and navigating pages. In HTML, you typically create buttons using the <button> or <input> tags. Here’s a simple button example:
<button id="myButton">Click me!</button>Output:
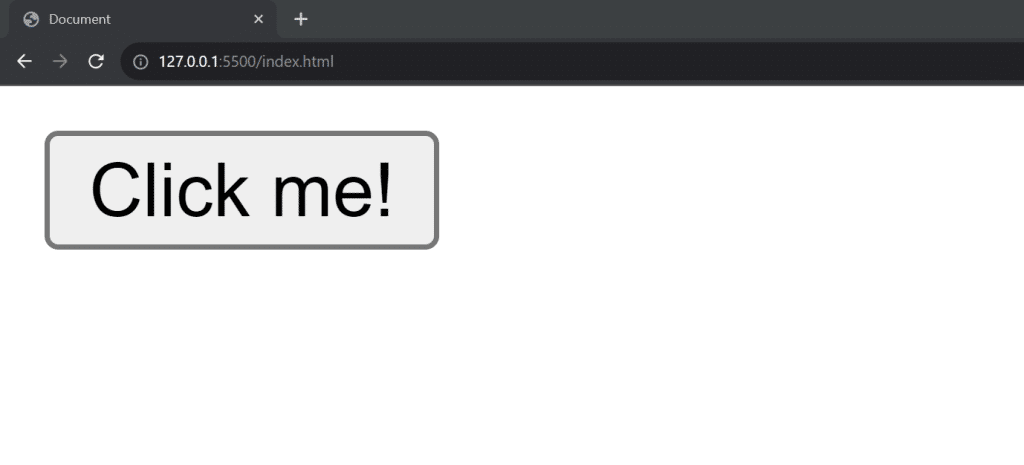
The button comes up when you run the HTML file in the browser. We can also add a function into the body of the button to perform a certain task after you click on the button.
You might only want this function performed once, or you might want a certain set of conditions fulfilled before the function is performed. That’s why you need to learn how to disable the button using Javascript

How to Disable a Button in JavaScript
Using HTML
The simplest way to disable an HTML button is to add the disabled attribute right within the button’s HTML element. Here’s how you can do this:
<button disabled>Sorry. You can't click me!</button>Output:
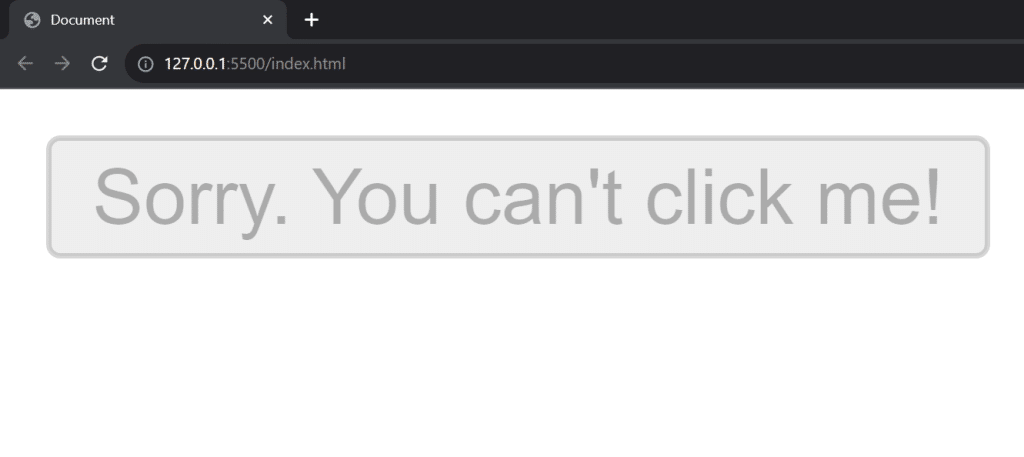
In the image above, the button is greyed out and it is now a disabled element. This means you cannot click it or use it any form. To re-enable the button, you’re going to need to use Javascript to change its state.
Using the Disabled Property
Another way to disable a button in Javascript is to use the disabled property. This property determines the active state of a button. By setting the button disabled property to true, you can disable a button, making it unresponsive to user interactions.
To disable a button using this property first select the button element using getElementById or other DOM selection methods. Next, set the button’s disabled property to true.
This will make the selected button unusable and un-clickable. To enable the button again, you can set the disabled property to false. Let’s look at a simple example:
const button = document.getElementById("myButton");
button.disabled = true;
Output:
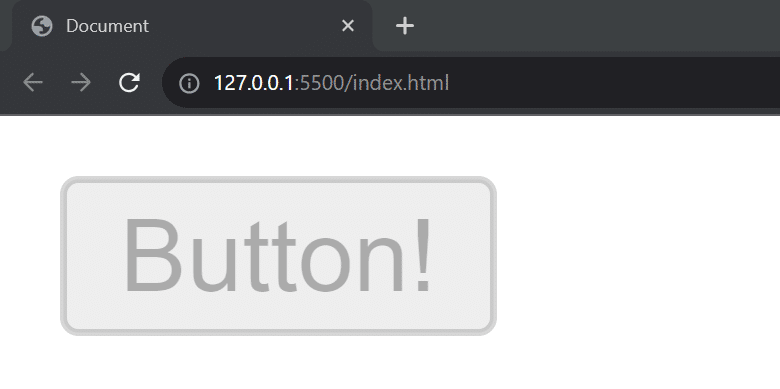
Here, we’re selecting the button element with the ID “myButton” and setting its disabled property to true. As a result, the button becomes inactive and unresponsive to user input.
Now suppose you want to enable the button on the web page. In this case, simply set the disabled property to false:
button.disabled = false;Using SetAttribute and RemoveAttribute
Another approach to enable or disable a button in JavaScript is by using the setAttribute and removeAttribute methods. This is simply another way you can manipulate the disabled attribute in the html button.
The setAttribute function takes two parameters, the attribute name and its value. The removeAttribute function takes one which is the attribute name. You can use these functions to either modify and remove the disabled attribute.
Here’s how you can use it via the getElementID function from the HTML dom:
// Disable the button
document.getElementById("myBtn").setAttribute("disabled", true);
// Enable the button
document.getElementById("myBtn").removeAttribute("disabled");
When you use the removeAttribute button with the disabled parameter, it removes the disabled parameter and enables your button.
These methods provide an alternative way to manipulate the disabled state of a button, giving you more control over the element.
Examples of How to Disable a Button Using Javascript.
We’ve already learned the basics of disabling buttons in Javascript, so it’s time to put them to work.

In this section, we’ll be looking at some examples and scenarios on how to disable buttons in real-life applications.
Disabling Buttons After One Click
Let’s say you have a webpage where you want to disable a button after a user clicks on it once or any set amount of times. Here’s how you can implement it.
<body>
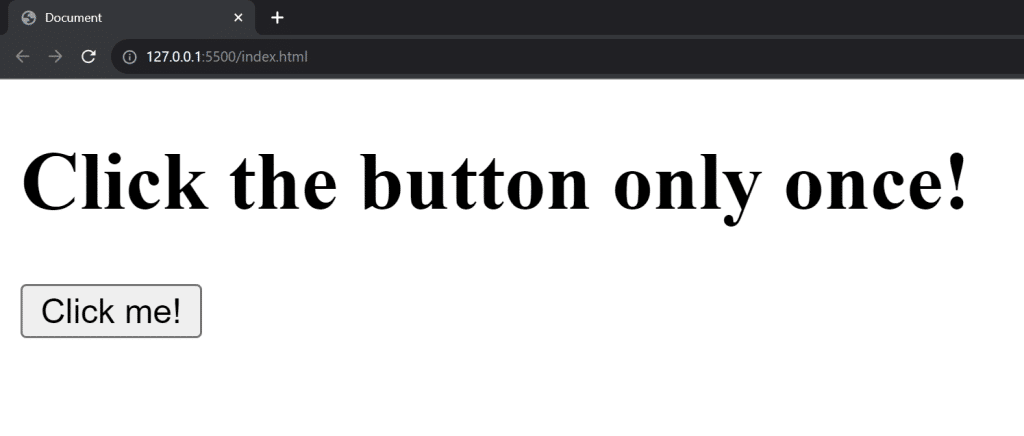
<h1> Click the button only once!</h1>
<button id='btn' onclick="disable()">Click me!</button>
</body>
<script>
function disable(){
let btn = document.getElementById('btn')
btn.disabled= true
var h1 = document.createElement('h3');
h1.appendChild(document.createTextNode('You have clicked the button. Now its disabled..'));
document.body.appendChild(h1)
}
;
</script>Output:
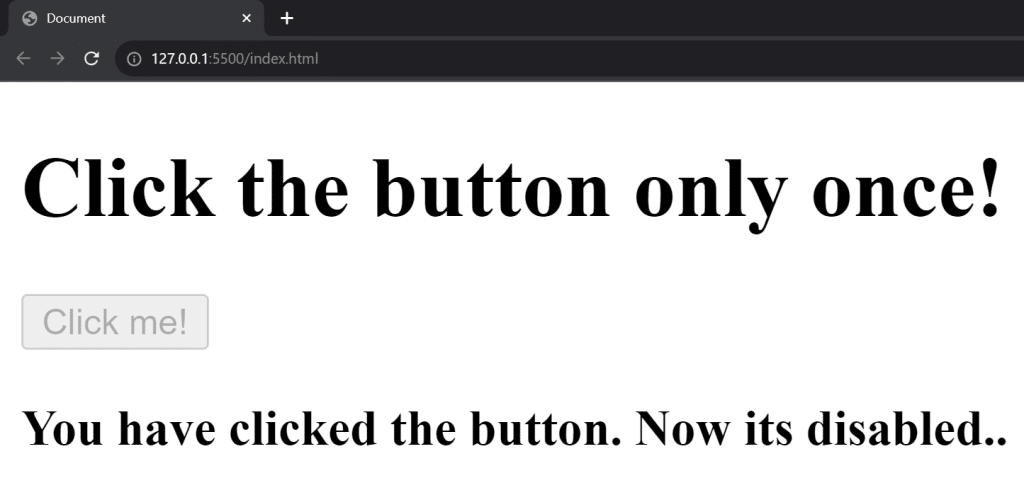
After you click the button, we can see that it is immediately greyed out and we get a message that the button is disabled.
Disabling Buttons Until a Condition is satisfied
You can choose to disable a button in your code until one or more conditions are satisfied. This can come in handy when validating user input and ensuring input fields are properly filled before the user submits:
Here’s an example with an event listener;
<body>
<h1>Write Your First Name</h1>
<span>
<label for="">Name:</label>
<input type="text" id ='inp' placeholder="Start with capital letter">
</span>
<button id='btn' disabled>Submit</button>
</body>
<script>
const inputName = document.getElementById('inp')
const button = document.getElementById('btn')
addEventListener('input', ()=>{
if(inputName.value.length>2){
if(inputName.value[0]== inputName.value[0].toUpperCase()){
button.removeAttribute('disabled')
}
else{
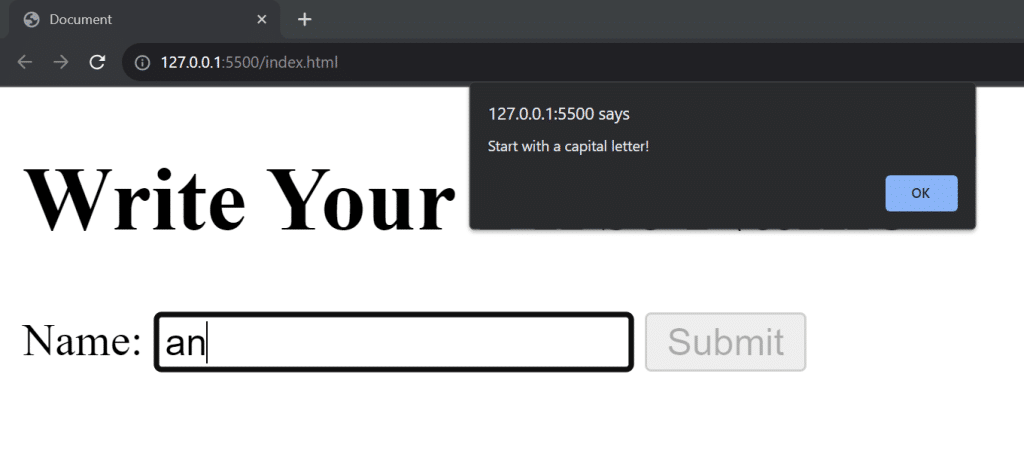
alert('Start with a capital letter!')
}} })
</script>In this example, the button is disabled from the start. If you enter a first name without a capital letter in the input field, it will show an alert and the button will not be enabled.
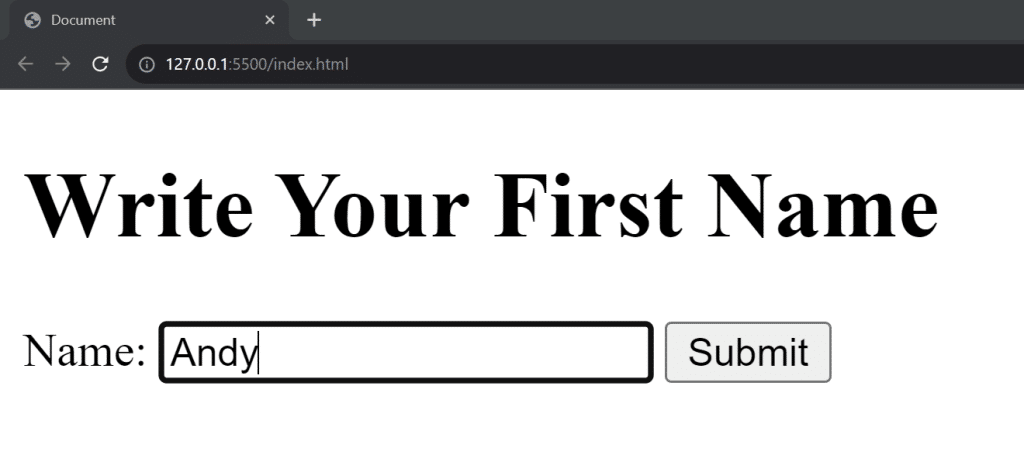
However, once you provide an input that starts with a capital letter, the button becomes active.
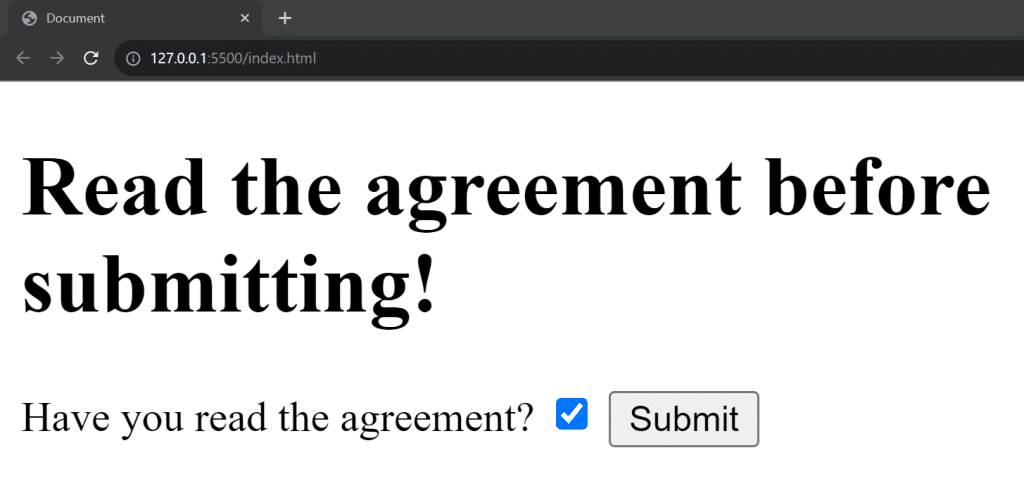
Validating a Check Button
In this example, we have a button that only activates when the checkbox is selected. Let’s look at it:
<body>
  <h1>Read the agreement before submitting!</h1>
  <span>
    <label for="">Have you read the agreement?</label>
    <input type="checkbox" id ='inp' placeholder="Start with capital letter">
  </span>
  <button id='btn' disabled>Submit</button>

</body>
<script>
  const radioInput = document.getElementById('inp')
  const button = document.getElementById('btn')

  addEventListener('change', ()=>{
    button.disabled = !radioInput.checked
    })
</script>
As we can see in the output, Javascript disables the button when the checkbox is unchecked. So, the user has to check it to proceed with the website’s flow.
Final Thoughts
Disabling a button in JavaScript is a fundamental skill if you want to design functional and interactive websites.
Now, you have learned all the essential techniques to enhance user experience and prevent unwanted actions.
With this knowledge, you can now effortlessly implement this functionality, ensuring a smoother and more responsive user interface for your web projects!
Are you a Data analyst? If yes, don’t miss out on the future of data analytics. Check out our guide to Microsoft’s new data platform, Microsoft Fabric.
Frequently Asked Questions
What is the method to enable a button after disabling it in JavaScript?
To enable a button after disabling it, simply set the disabled property of the button element to false. You can also ue the setAttribute() function with an empty string. For example:
document.getElementById('myButton').disabled = false;
document.getElementById('myButton').setAttribute("disabled", "")
How to disable multiple buttons using JavaScript?
To disable multiple buttons, you can loop through an array of button elements and set their disabled property to true. For example:
const buttons = document.querySelectorAll('.myButtons');
buttons.forEach((button) => {
  button.disabled = true;
});
Can I disable a button using CSS or HTML instead of JavaScript?
Yes, you can disable a button using HTML by adding the disabled attribute to the <button> tag:
<button id="myButton" disabled>Click me</button>
However, you cannot disable a button using CSS. You can only style the appearance of a disabled button using the :disabled pseudo-class.