
Imagine manually entering repetitive patterns in a spreadsheet, only to discover a tool that can predict and complete the pattern for you in a flash. Welcome to Flash Fill in Excel, a time-saving feature that recognizes patterns and automates data entry.
To apply the Flash Fill feature, follow the below steps.
- Go to the adjacent column of the source data.
- Type the desired value that you want to extract or combine from the same row.
- Go to the next row of the same column.
- Press “Ctrl + E”.
You’ll find below, in this article, real examples and tips on how to use this amazing Flash Fill tool in Microsoft Excel.

Let’s dive in!

What is Flash Fill in Excel?
Flash Fill is a powerful data tool in Microsoft Excel for changing and organizing your data. It’s smart and can recognize patterns without the need for complex formulas or macros
This means you don’t have to do as much work yourself when you want to split or put together columns of data.
By simply entering a few examples of your desired output, Excel uses its intelligent algorithm to identify the pattern and fill in the remaining cells.
Some practical applications of Flash Fill include:
- Separating or combining first and last names in a single column
- Reformatting dates into a different layout (e.g., from dd/mm/yyyy to mm-dd-yyyy)
- Extracting specific information from a dataset (e.g., email domains or phone area codes)
Even though Flash Fill is really helpful, it’s important to check its work to make sure it’s correct.

4 Methods of Applying Flash Fill
Flash Fill is designed to save you time and effort by automatically detecting patterns and filling in workbook cells accordingly.
You can apply it using different methods.
In this section, we’ll go over:
- Applying Flash Fill automatically
- Applying Flash Fill using the Flash Fill icon
- Applying Flash Fill using the Home tab
- Applying Flash Fill using the Flash Fill keyboard shortcut
1. Applying Flash Fill Automatically
To automatically update data using Flash Fill, follow the below steps.
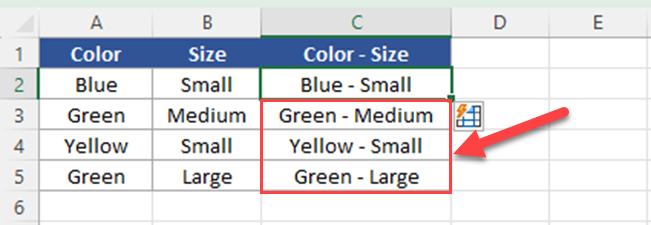
Step 1: Go to the cell next to your data source. In the below table, you can see the available colors of a product with sizes.
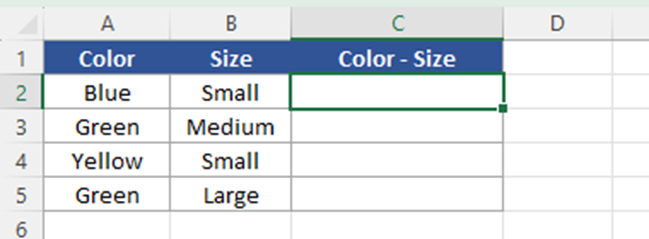
Now, assume you want to combine data in Column A and Column B.
So, you go to Cell C2.
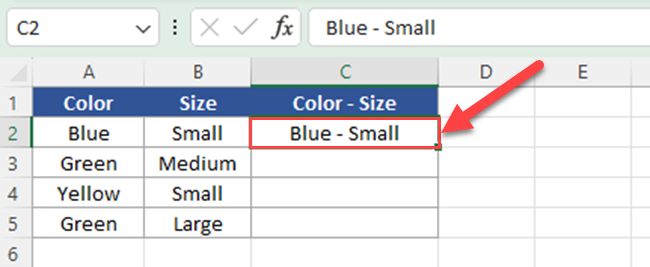
Step 2: Start by typing out the example data you want to be returned. In this case, type the Color and Size in cell C2 manually.
Step 3: Go to the cell below that and type the second color and its size.
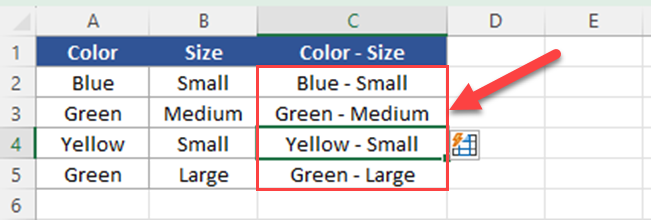
As you begin to do so, Excel should display a preview of data to fill in based on your initial input.
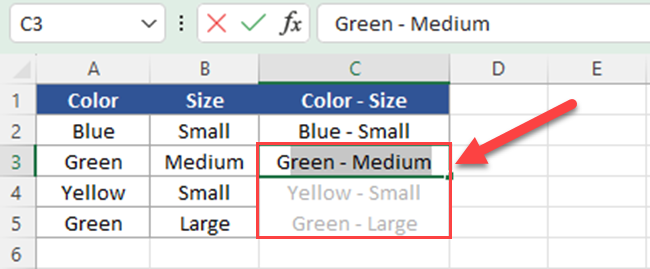
Step 4: You can either press Enter to accept the suggested pattern or continue typing to refine it.
If you’re typing and you don’t see the Flash Fill options popping up, it means the Flash Fill feature isn’t enabled. You need to turn it on to use it.
Enabling and Disabling Flash Fill
By default, Flash Fill is enabled in Excel. However, if you wish to disable or re-enable this feature manually, you can do so by following these steps:
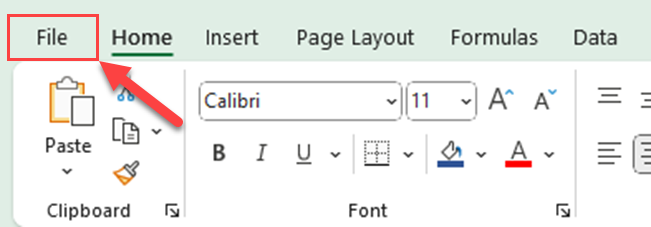
1. Go to the File menu.
2. Click Options to open the Excel Options dialog box.

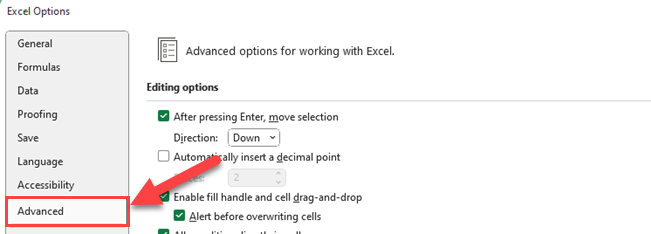
3. Click on the Advanced tab from the left sidebar of the Excel Options dialog box.
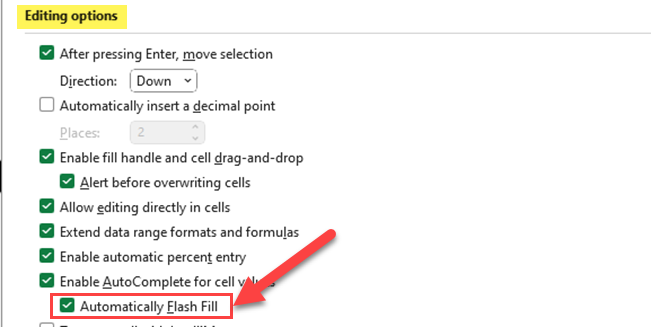
4. Go to the Editing Options section and check (to enable) or uncheck (to disable) the “Automatically Flash Fill” box.
2. Applying Flash Fill Using the Flash Fill Icon
If you prefer manual control Flash Fill at any time, you can do so by clicking the Flash Fill icon.

You can follow the below steps to use this method.
Step 1: Go to the cell next to your data source. In the below table, you can see the available colors of a product with sizes.
Now, assume you want to combine data in Column A and Column B.
So, you go to Cell C2.
Step 2: Start by typing out the example data you want to be returned. In this case, type the Color and Size in cell C2 manually.
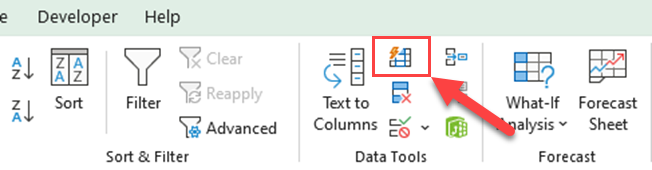
Step 3: Go to the Data Tab.
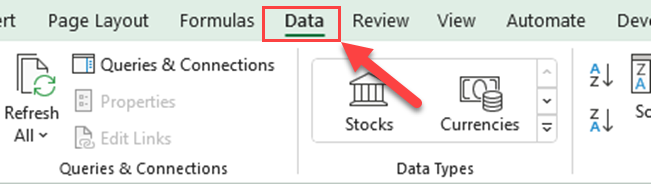
Step 4: Then, click the Flash Fill button in the Data Tools group.
Now, Excel identifies the pattern and fills cells.

3. Applying Flash Fill Using the Home Tab
If you prefer manual control Flash Fill at any time, you can do so by going to the Home tab on the top ribbon.
Read on to learn how to apply the Flash Fill feature using the Home Tab.
Step 1: Go to the cell next to your data source. In the below table, you can see the available colors of a product with sizes.
Now, assume you want to combine data in Column A and Column B.
So, you go to Cell C2.
Step 2: Start by typing out the example data you want to be returned. In this case, type the Color and Size in cell C2 manually.
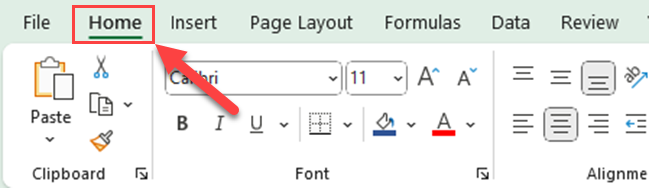
Step 3: Go to the Home tab of the Excel Ribbon.
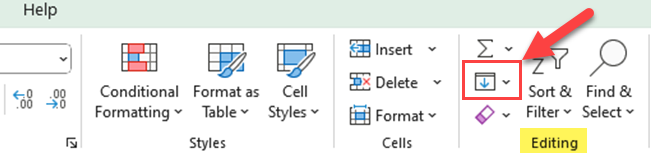
Step 4: Go to the “Editing Group” and expand the Fill options.
Step 5: Select Flash Fill from the drop-down.
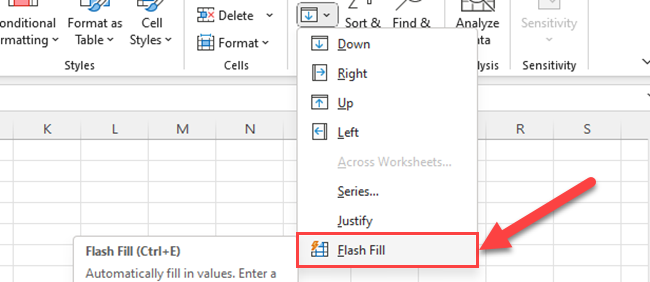
Now, Excel identifies the pattern and fills cells.
4. Excel Flash Fill Shortcut
If you like to use keyboard shortcuts, you can apply Flash Fill using the Flash Fill keyboard shortcut.
Step 1: Go to the cell next to your data source. In the below table, you can see the available colors of a product with sizes.
Now, assume you want to combine data in Column A and Column B.
So, you go to Cell C2.
Step 2: Start by typing out the example data you want to be returned. In this case, type the Color and Size in cell C2 manually.
Step 3: Press Ctrl + E. Now, Excel will identify the pattern and fill the cells.
Now you know four different methods of executing Flash Fill in Excel.
We’ve covered a lot of ground, let’s move on to look at how to use the Flash Fill tool effectively.
How to Use Flash Fill in Excel
Flash Fill in Excel isn’t just a neat trick; it’s a powerful tool that can significantly streamline your workflow.
Whether you’re extracting parts of data, combining text, or formatting numbers and dates, Flash Fill has a role to play.
In this section, we’ll delve into the various applications of Flash Fill, demonstrating how you can harness its capabilities to make your Excel tasks more efficient and intuitive.
You can use the Flash Fill feature in the following cases.

- Using Flash Fill for data extractions
- Using Flash Fill for formatting
- Using Flash Fill for combining and separating data
1. Using Flash Fill for Data Extractions
Flash Fill is a handy tool for quickly extracting data. You can use it to extract names, email addresses, and numbers from your data.
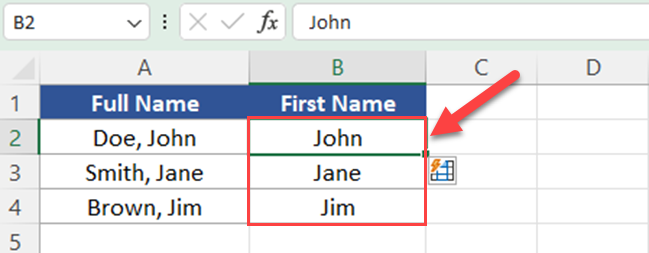
For example, column A of the below table contains full names in the format “Last, First”:

To extract just the first names, type “John” into the Cell B2 of Column B and press CTRL + E. The first name column will now show:
2. Formatting with Flash Fill
Flash Fill can also be used to format texts, numbers, and dates in your spreadsheet.
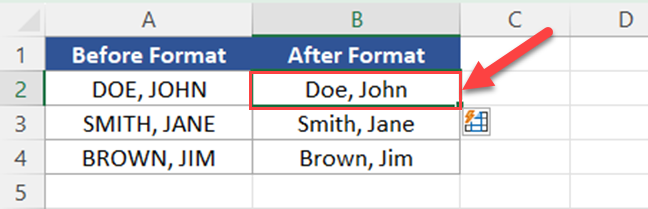
For example, column A of the below table contains full names in the uppercase format.
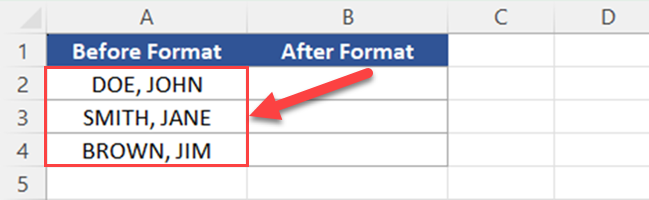
For formatting full names with only the first letter of each name in uppercase, type “Doe, John” in Cell B2, and then press CTRL + E. The new column (Column B) will now show:
3. Combining and Separating Data with Flash Fill
Flash Fill can be used to quickly manipulate, combine, and separate data within their worksheets.
For instance, in the below table, you have a list of first names in one column and last names in another.

Now, in the third column (C), type the full name by manually combining the first name and last name. Press Ctrl + E to activate Flash Fill.
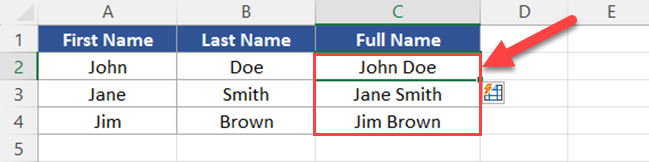
Excel will automatically fill the rest of the column with combined first and last names, maintaining the same format you used in your example.
Final Thoughts
Now that you know about Flash Fill, you can see how helpful it is for saving time on your Excel tasks.
This clever tool helps manage your information without needing complex formulas and advanced Excel formatting.
Remember, while Flash Fill is a robust and helpful feature, it’s not foolproof.
Your ability to provide clear and accurate patterns is crucial to the success of its application.
If you would like to learn more about how to manipulate strings, but in Power BI, check out the video below:
Frequently Asked Questions
How to enable Flash Fill in Excel?
To enable the Flash Fill option in Excel, follow these steps:
- Go to ‘File’ > ‘Options’ > ‘Advanced’.
- Under ‘Editing Options’, check the box ‘Automatically Flash Fill’.
Excel Flash Fill not working, what to do?
If Flash Fill is not working, try the following troubleshooting steps:
- Ensure Flash Fill is enabled (see above).
- Press Ctrl+E to manually activate Flash Fill.
- Check if a pattern is recognizable in the data for Excel to predict.
What is the difference between Flash Fill and AutoFill in Excel?
Flash Fill helps to automatically populate data based on a pattern it detects in your data.
AutoFill, on the other hand, is used to quickly fill cells with a sequence or to copy formulas or values.
How to auto-populate data in Excel using Flash Fill?
To auto-populate data using Flash Fill, follow these steps:
- Enter data into a cell that represents the pattern you want to extend.
- Select the remaining cells in the column where you want the data to auto-populate.
- Press Ctrl+E or go to the ‘Data’ tab and click on ‘Flash Fill’.
What functions can Flash Fill replace?
Flash Fill can replace certain text manipulation functions like CONCAT, LEFT, RIGHT, MID, TEXTAFTER, TEXTBEFORE, TEXTSPLIT, and TEXTJOIN.
It is also helpful for tasks such as capitalization, removing extra spaces, and formatting dates.
How to use Flash Fill without dragging in Excel?
To use Flash Fill without dragging, type the pattern you want in the first cell and press Enter. Then, click on the second cell in the column, and press Ctrl+E.
Excel will now fill in the remaining cells based on the pattern you’ve established.


