In this blog, we’ll discuss how to export SharePoint lists in two ways: exporting to an Excel file and a CSV file. It is an efficient way to send the list or data to another person outside your organization.
Learning the difference between exporting to Excel or CSV file will help you decide which export method is ideal in various situations.
How To Export SharePoint Lists To Excel
First, click Export.
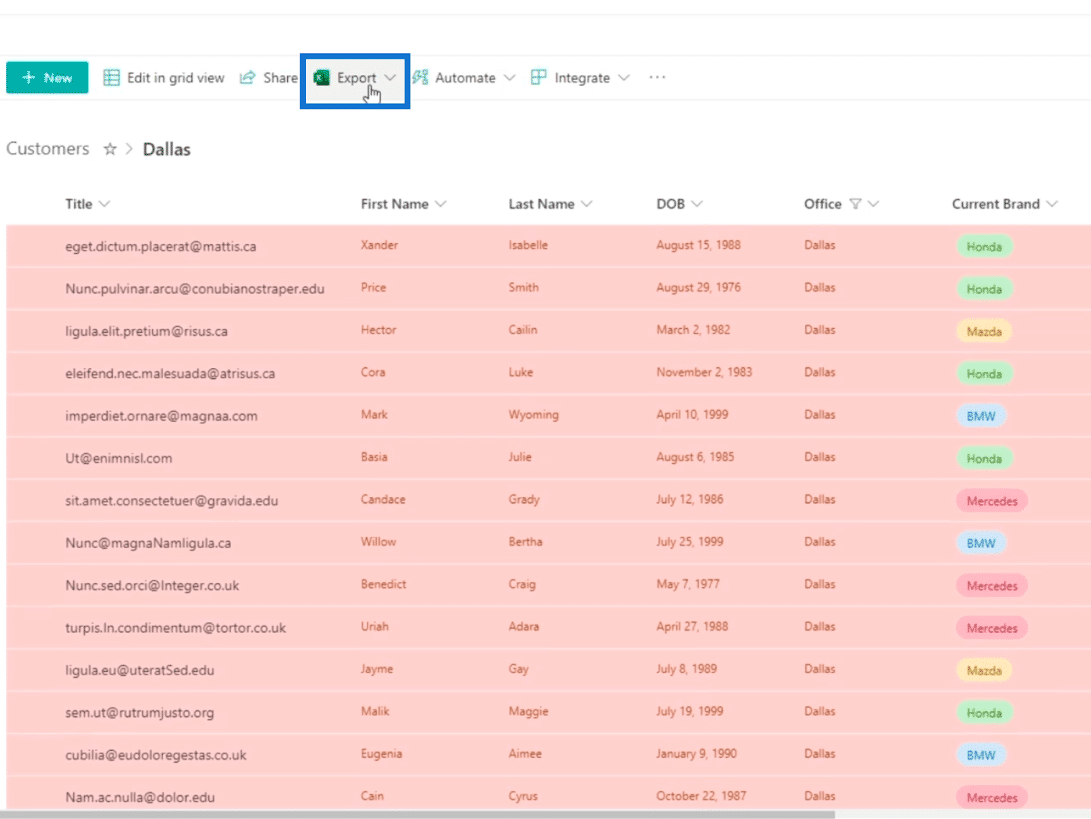
You’ll see two options: Export to Excel and Export to CSV file.
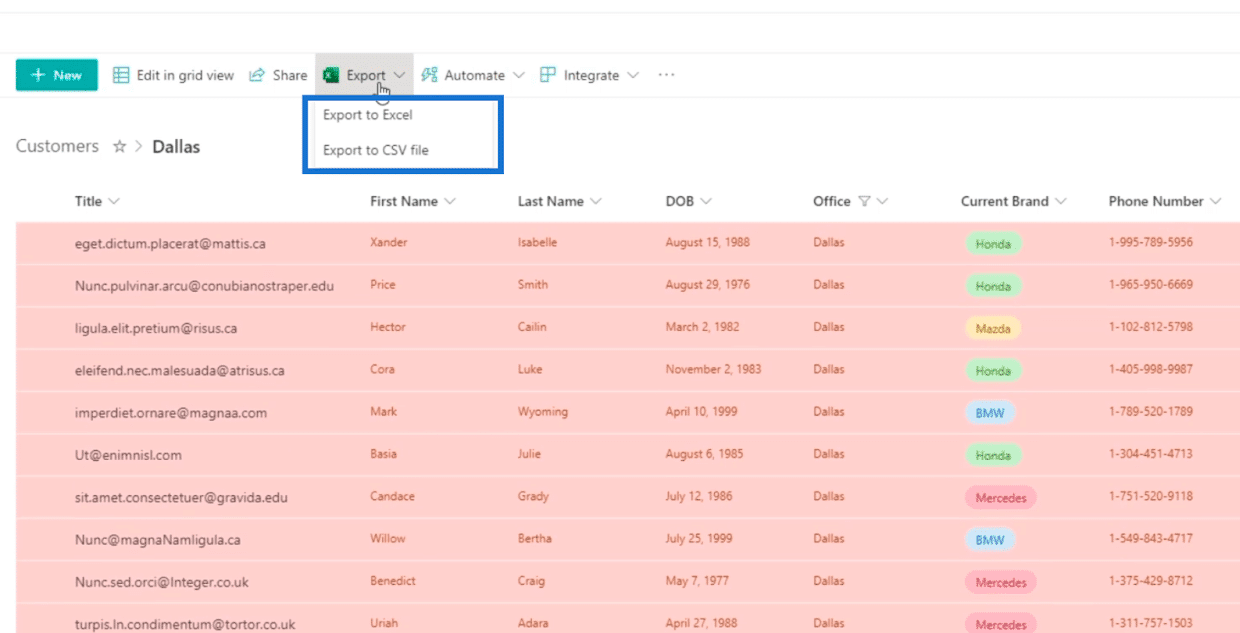
If you are considering the time, a CSV file is much faster to export because it is static. However, if you are considering dynamic, an Excel file is the best choice.
But for now, we’ll choose Export to Excel.
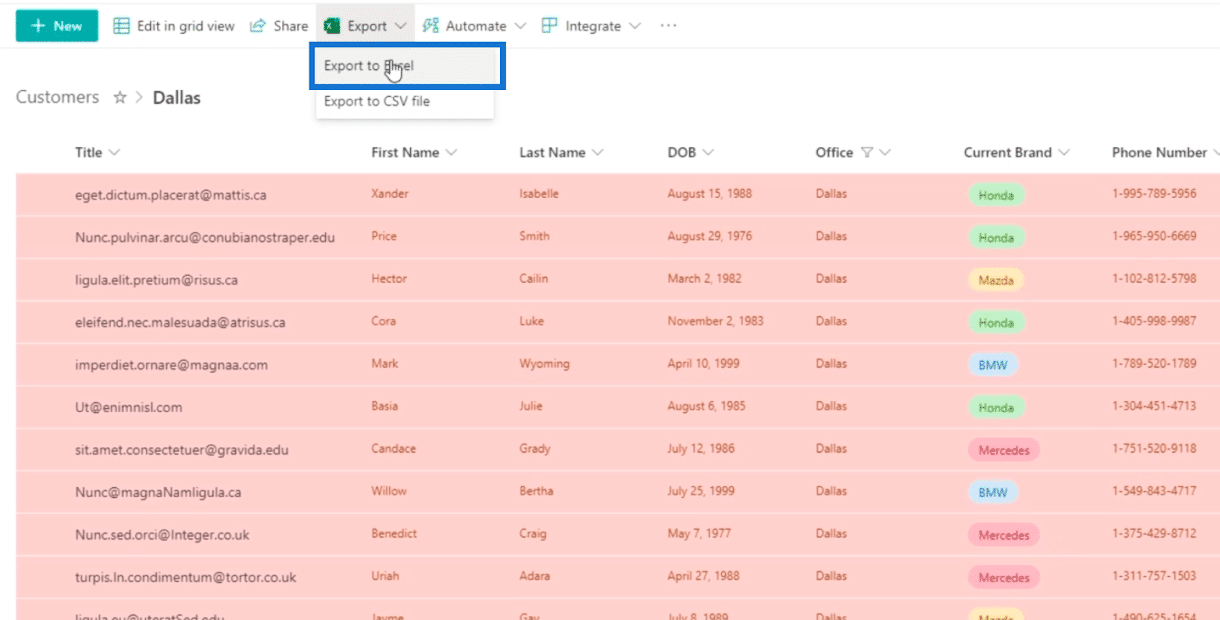
This will actually download a query file, basically a Power Query file in Excel. Log into your SharePoint account or your 365 account in Excel before exporting. You can also log in when you open the downloaded Power Query file.
Next, open the downloaded query file on your Excel to see the exported data.
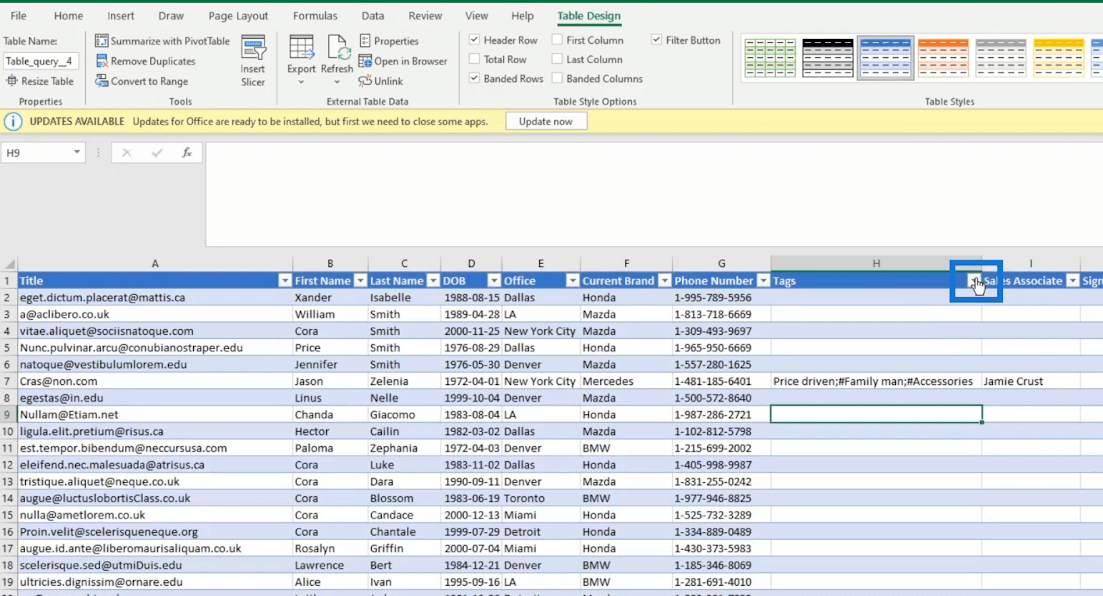
The Tag column is a multi-select column, so the choices are separated with a semicolon and a hashtag (;#).
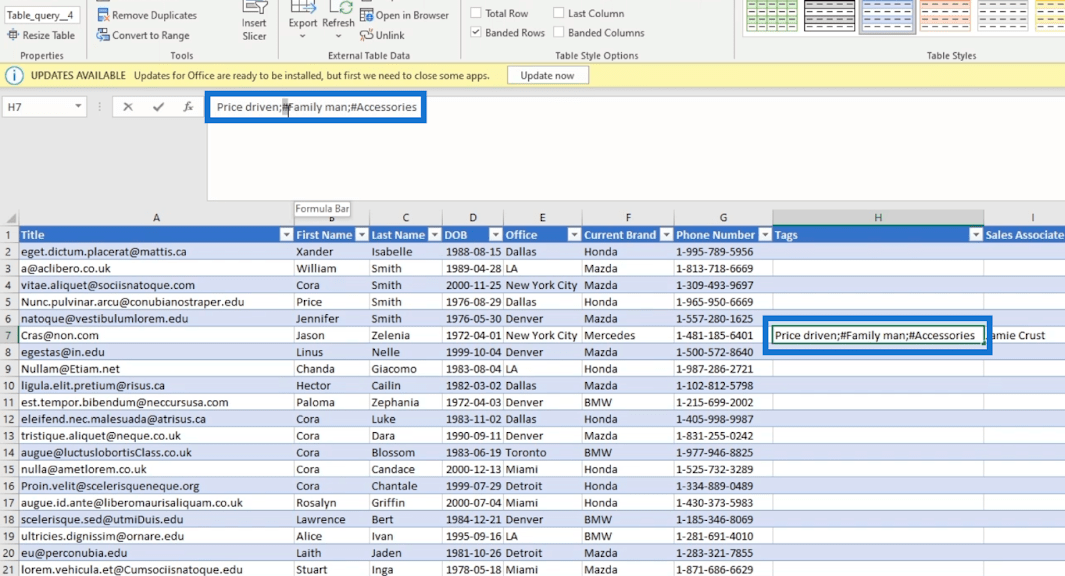
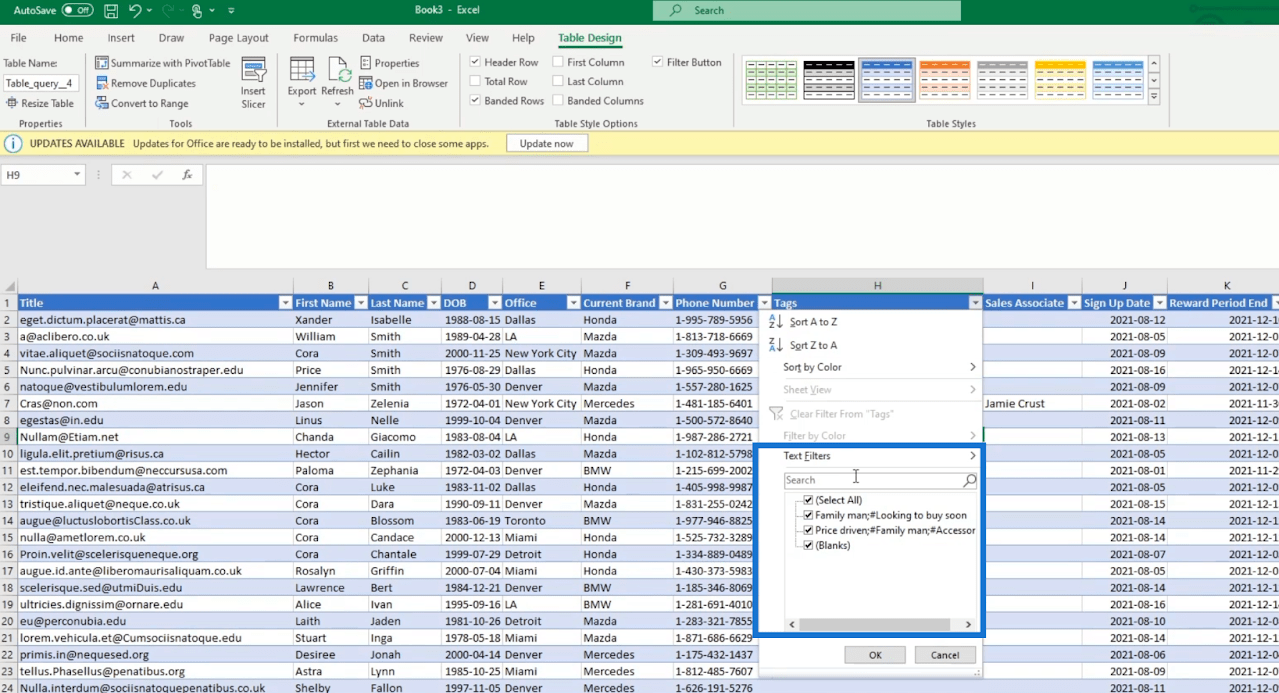
You can also view the options by clicking the column’s drop-down button. In this example, it’s the Tags column.
Then you’ll see the available options.
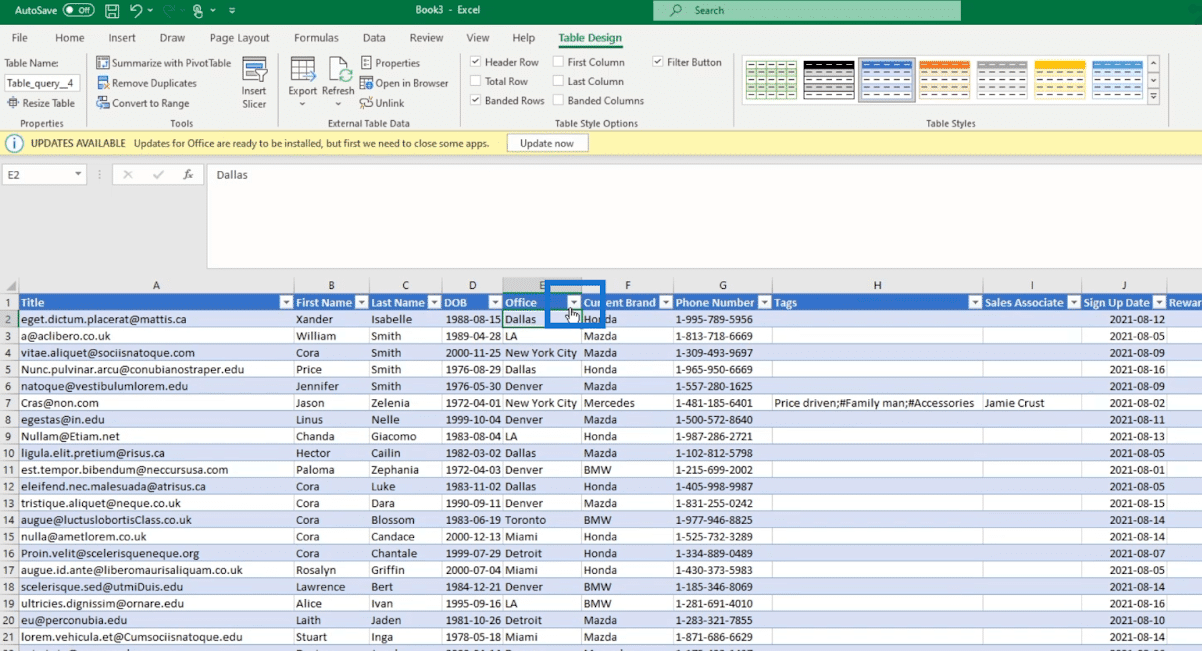
If you want to filter the data your Excel is viewing, you can click the columns you want to use for filtering. In this example, we’ll click the Office column.
Then, check Dallas in the dialog box.
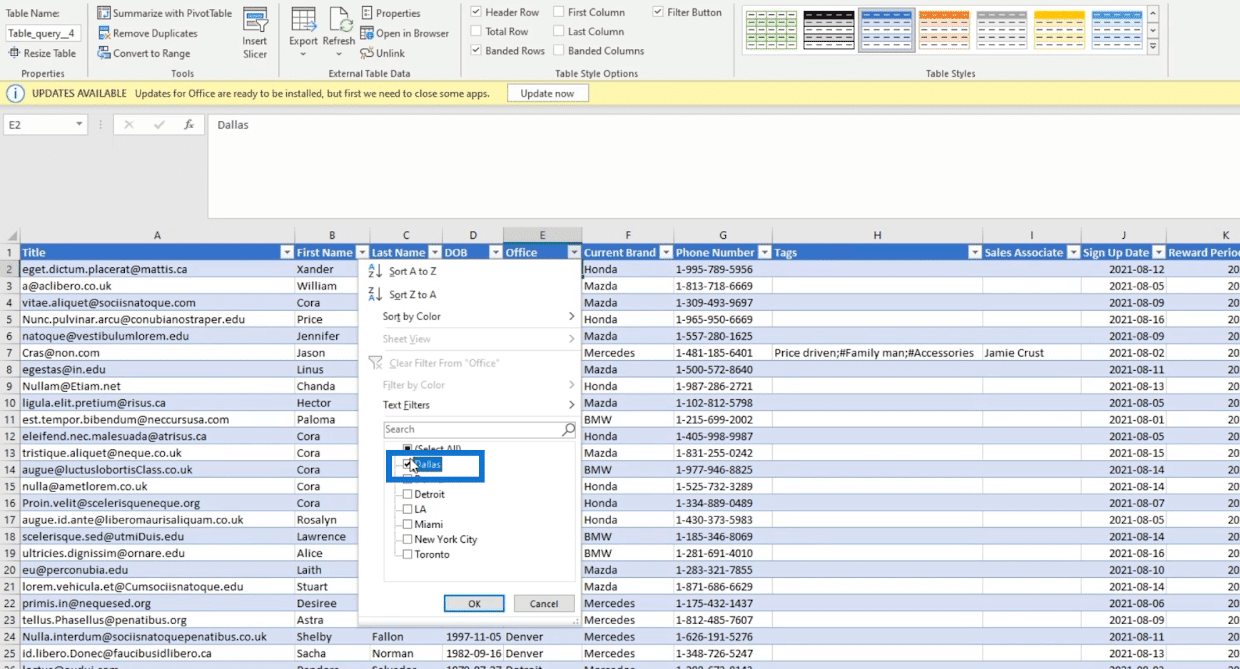
After that, click OK.
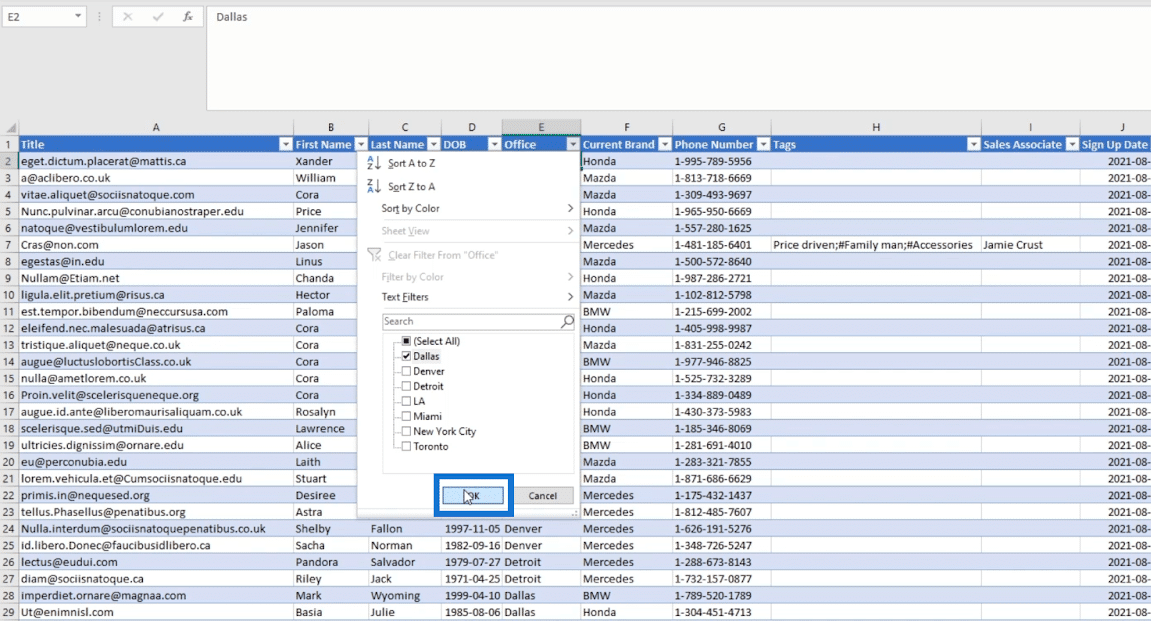
As a result, your Excel will display the items that have the office in Dallas.
Keep in mind that for Power Query files, you should copy the data first if you’re planning to send it to a person outside your organization or company. The copied file will be the one you should send.
How To Export SharePoint Lists To CSV
First, click Export and then click Export to CSV.
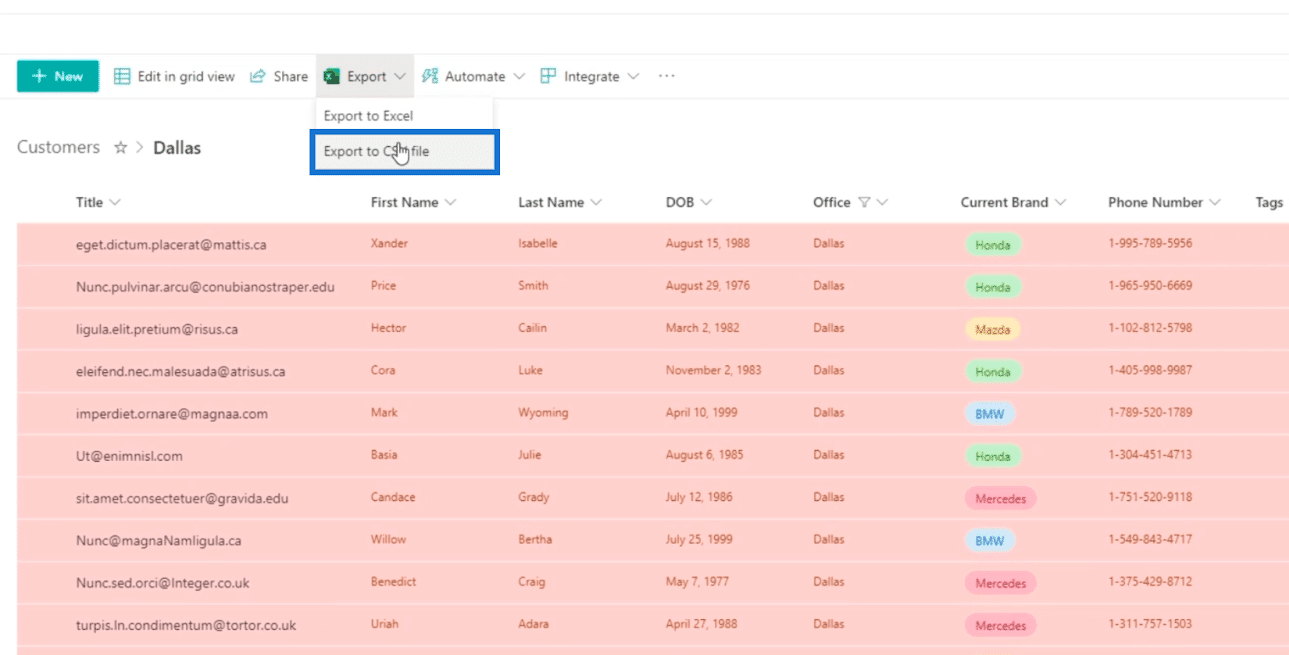
This will download a CSV file. The best part about this is that you don’t need to log in anymore.
And you’ll see the static version of the list.
Keep in mind that when you choose to export to CSV, you are downloading the most recent updated version of your list. Since it’s static, when you update your SharePoint list, you need to redownload it.
Whereas in a Power Query file, every time you update your SharePoint list, it’ll automatically do the same on the file since it’s a Power Query file.
The Difference Between Exporting To Excel And CSV
These are the main differences between the two:
- The Power Query file is like an extension of your SharePoint list, which means any changes made to your SharePoint list will reflect on the Power Query file.
- If you’ll send the Power Query file to a person outside your organization, you need to copy and paste the file to another sheet and send the copied file.
- The CSV file is static. If you’ll send it to another person outside your organization, you don’t need to make a copy of it. You can send it directly to the person.
- You don’t need to log in to access an exported CSV file.
- If there are changes made after you’ve exported the list to a CSV file, it won’t reflect on the CSV file unless redownloaded.
***** Related Links *****
SharePoint List Alerts Setup
SharePoint Lists: An Overview
Version History In SharePoint Lists
Conclusion
To sum up, you’ve learned how to export your SharePoint list to Excel and CSV. If you want to send the data outside your organization, you can choose between the two. However, if you are aiming for a quick one, exporting the list to CSV is the best choice.
By learning the difference between these two, you’ll be able to easily decide which export method is ideal in various situations. If you’d like to know more about this topic and other related content, you can certainly check out the list of relevant links below.
All the best,
Henry


