In this blog, we’ll discuss how you can modify the SharePoint classic design view appearance on your site and make it look more appealing.
Microsoft is slowly moving all of the SharePoint classic settings and appearances to their advanced or standard design view version.
However, as of this writing, you might still encounter a SharePoint site with a classic design view for some reason.
Because of that, there are still a few settings and features that we can only change by going to the SharePoint Classic design site page settings.
Going To Your SharePoint Project Site Settings
To access the SharePoint classic design view Site settings, you can click the gear icon on the top right.
Then click Site Information.
A new panel will appear on the right. Choose View All Site Settings.
After that, you’ll be redirected to the SharePoint classic design page.
Keep in mind that what you’re seeing is the classical design view and not the standard version.
Customizing Your SharePoint Project Site via Classic Design View
First, click Change The Look under the Look And Feel section to change the appearance of your Project Site.
This will show you various themes that you can use to change how your Project Site looks. You can definitely find one that suits your preferences; you can go for an office theme if you prefer to have a more professional look or perhaps one of the darker options.
But for this example, we will choose the Orange theme.
After that, you’ll be redirected to the next page.
However, if you accidentally clicked a theme that you don’t want to use, you can simply click Start Over with an arrow pointing left on the top left of the page. This will return you to the previous page where you can select a theme.
In this page, you’ll see some other settings which you can modify to change your Project Site’s appearance.
You can add a background image by clicking the box with the text “Drop an image here“.
Also, you’ll be able to modify its colors by clicking the Colors drop-down menu. It comes with plenty of color combinations that are suitable for you.
Another setting that will change its looks and accessibility is the Site Layout. If you click the Site Layout drop-down menu, you’ll see 2 options: Seattle and Oslo.
When you choose Seattle, you’ll see that the navigation elements are on the left side.
On the other hand, Oslo is where the elements are on top. Keep in mind that it’s only working for the SharePoint classic version and not for the standard version.

You can also change the font you want to use.
Finally, let’s click Try It Out to check how it looks.
Checking The Changes On Your SharePoint Project Site
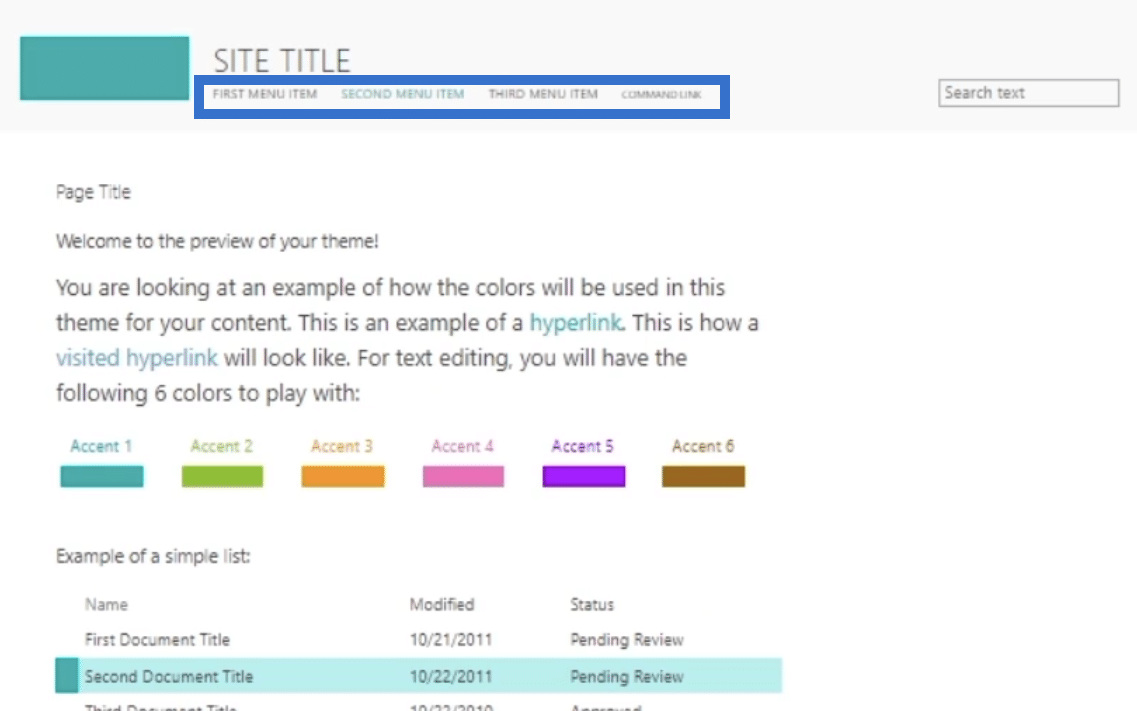
Here’s the preview. You’ll notice that there is a change of accent in some areas.
If you don’t like what it looks like, you can click No, not quite there on the top right. Then you can go back to the previous page.
However, if you already like it, you can click Yes, keep it on the top right.
After that, you will go back to the classical design Site Settings page. This means you have successfully updated your project site’s appearance. To view that, just click the title of your site on the top right. For this example, we named the site as TestSite.
You’ll then see that there’s a change on the page. In our example, you would notice that there is a bluish part.
As mentioned above, Oslo will not work since this is a standard site. But if we go to a page with a classical version, it would work just fine. To switch pages, click the arrow beside the Pages on the left panel.
A drop-down menu will appear. You can choose any page that has the classical version. But in our example, we’ll choose the Expenses Page.
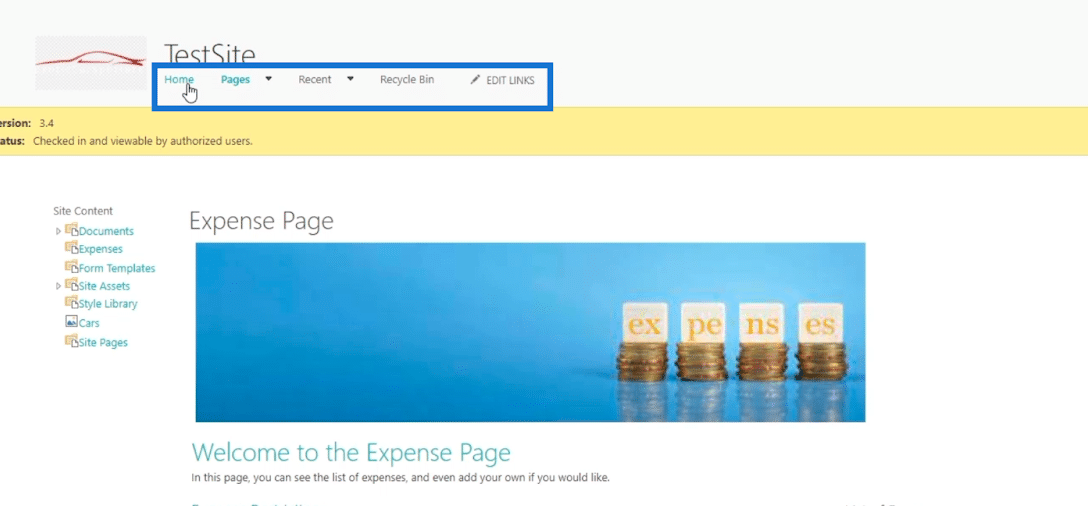
You’ll see that the Oslo Site Layout puts the navigation elements on the top.

Modifying Your SharePoint Site Navigational Elements Via Classic Design View
Other than the theme, you can also change the Navigational Elements. This only works for classical sites and not for standard sites.
After that, you’ll be redirected to the next page.
If you check the Enable Quick Launch, it’ll enable the navigational elements at the top. It’s disabled when it is unchecked.
The next option is the Enable Tree View. This will display the navigational elements on the left panel if checked.
If it is unchecked, the elements on the side will disappear. Let’s try it out!
Finally, click OK.
As a result, you won’t see any element on the side, and the main options moved to the left.
Changing The SharePoint Project Site Quick Launch
To change the Quick Launch settings, click Quick Launch.
After that, you’ll be redirected to a new page where you can adjust the settings.
This is another way to change the view of the navigational elements on top.
The items you see below are the ones you can find on the navigation. You’ll see layers and sublayers.
You can click the layers or sublayers to modify them. In our example, we’ll click the Expenses Page.
Then, you can change the name of the sublayer. In the example below, we’ll change the name using the Type The Description field. We’ll rename it from Expenses Page to Expenses Link.
You can also update in which heading you want it to be by clicking the drop-down menu under the Heading section.
In our example, we’ll choose Pages.
Then click OK.
And now, you’ll see that it has changed to Expenses Link.
It also updates the actual site. Let’s go back to the actual site by clicking our page title (TestSite).
By clicking the Pages on the left panel, we’ll see that the Expenses Page has been changed to Expenses Link.
Conclusion
In this tutorial, you have learned how to modify your SharePoint Site by changing its theme, navigational Elements, and Quick Launch via classical design view.
Keep in mind that there are still settings and features that can only be changed via the classical design view. However, there are also features on the classical design view that could easily be done on the standard view.
All the best,
Henry
***** Related Links *****
SharePoint Home Page Overview And Creation
SharePoint Pages | An Introduction To Its Different Types
Wiki Page In SharePoint | What You Need To Know
***** Related Course Modules *****
SharePoint Introduction For Power BI Users
Power Apps Masterclass
SharePoint Advanced Concepts: Lists, Permissions, Social
***** Related Forum Post Links *****
Can’t Connect To SharePoint Anymore
Combining Parquet Files In Sharepoint
Can’t Access Resources For Sharepoint Intro
For more Sharepoint design queries to review see here….


