In this blog, we’ll discuss the process of setting up your SharePoint list alerts for individual items and for the list itself.
Alerts are simple yet powerful features that you can utilize. If you have data that you want to monitor, you don’t need to constantly check if there were any changes because you’ll receive an update when you set the alert up the right way.
Also, you can use it to alert other people in the organization for any changes made on the list or the item. In our first example, we want to receive an alert regarding a specific customer. So the first thing we need to do is to filter the list.
Setting Up SharePoint List Alerts For Specific Items
First, click Sales Associate.
Next, click Filter by.
From this panel, you’ll be able to filter the column.
Choose the one you want to use. In this example, we’ll use my own account.
Then, click Apply.
Now, you’ll see all the items that are filtered. In this example, there’s only one item from the list.
Next, click the three dots beside the Title.
After that, click Alert me.
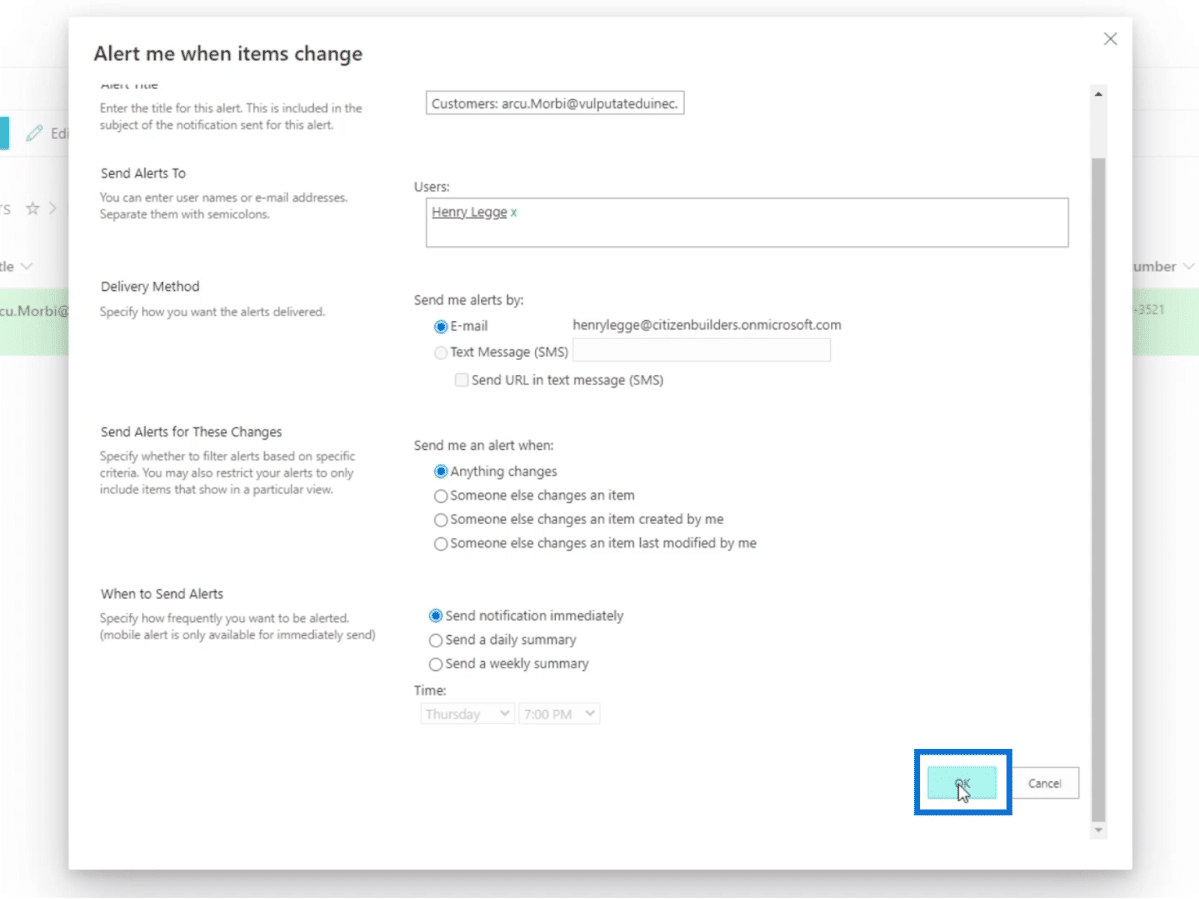
A dialog box will appear where you can set the alert.
Let’s now discuss the five sections of this dialog box.
Modifying The List Alert
The first setting is the Alert Title, which sets the title of the alert.
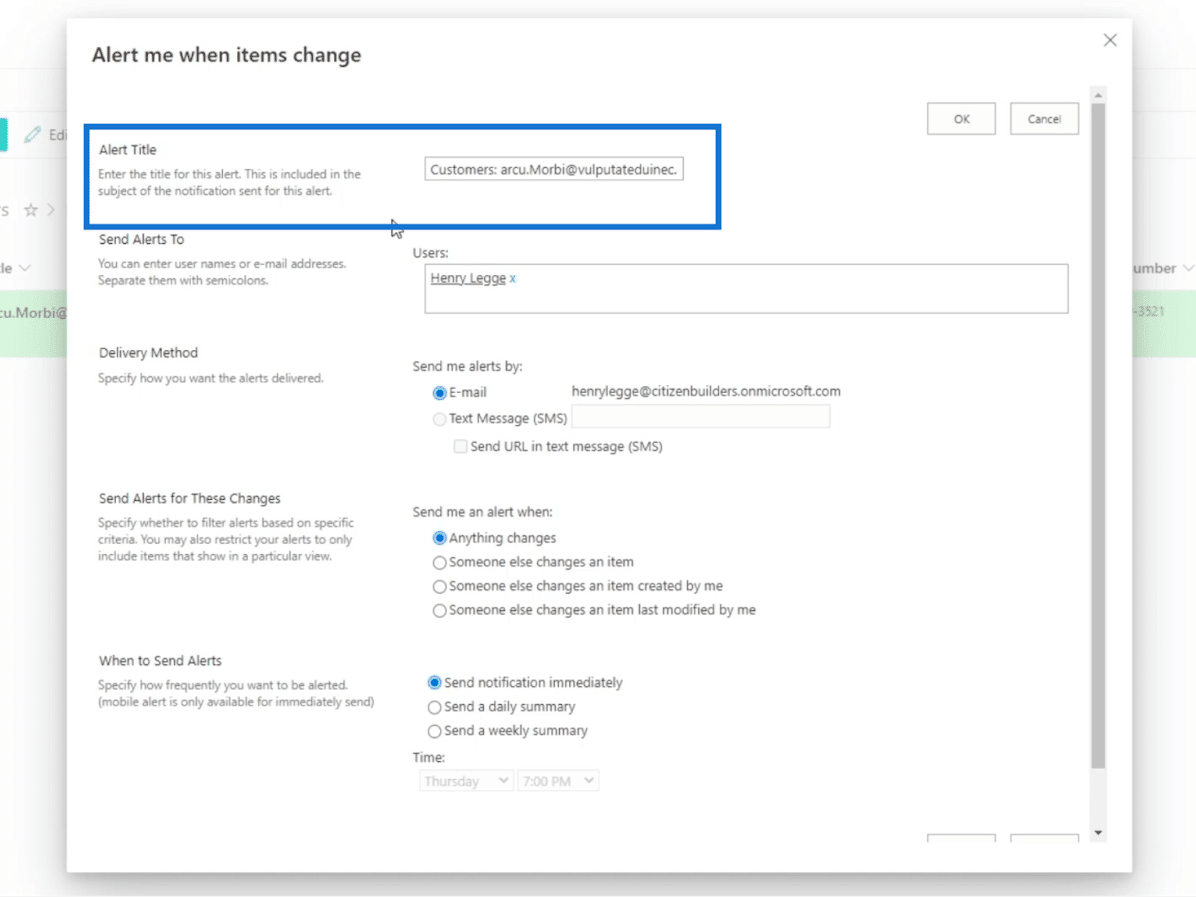
The next one is Send Alerts To. You can put the names of the people you want to receive the alert on the Users text field. In this example, we’ll only send it to us. But keep in mind that you can also send it to other email addresses.
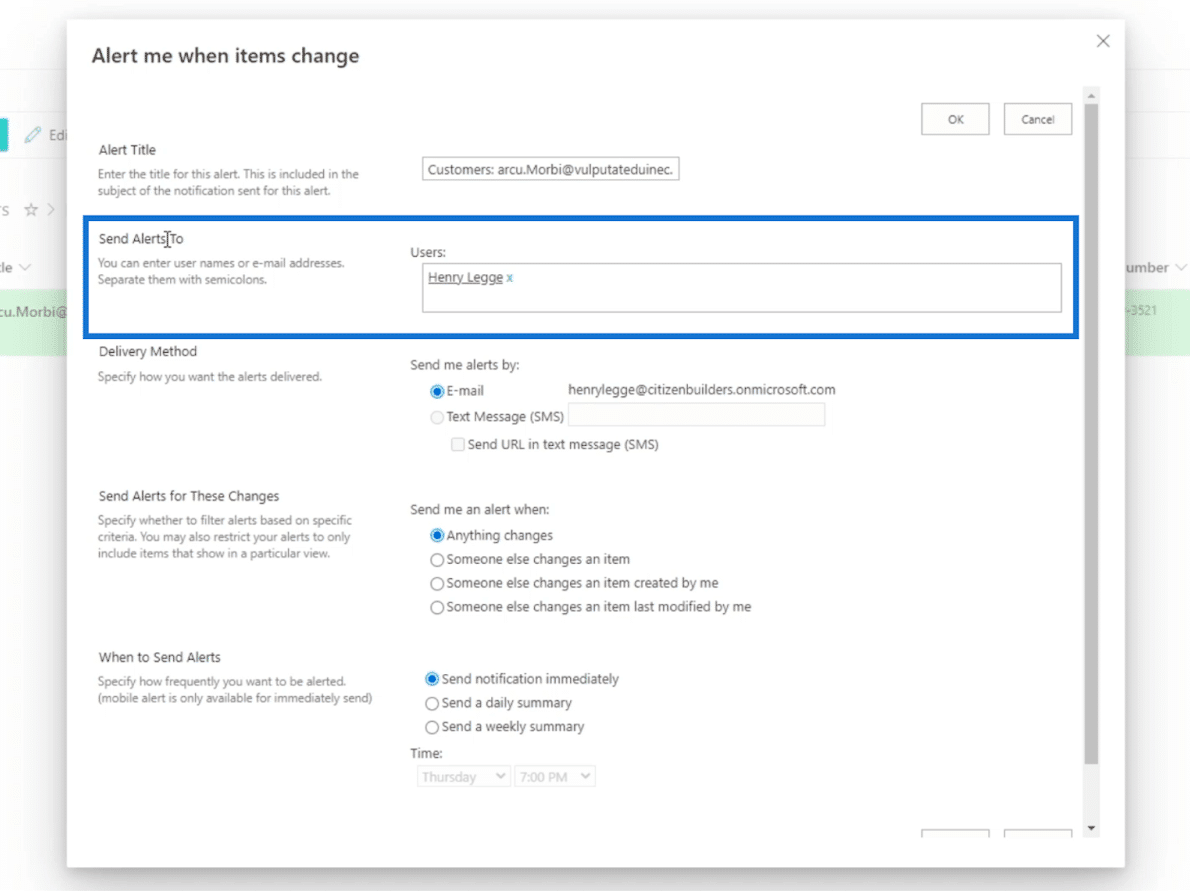
After that, you’ll see the Delivery Method. This is where you’ll receive the alert. You can choose either via E-mail or Text Message (SMS).
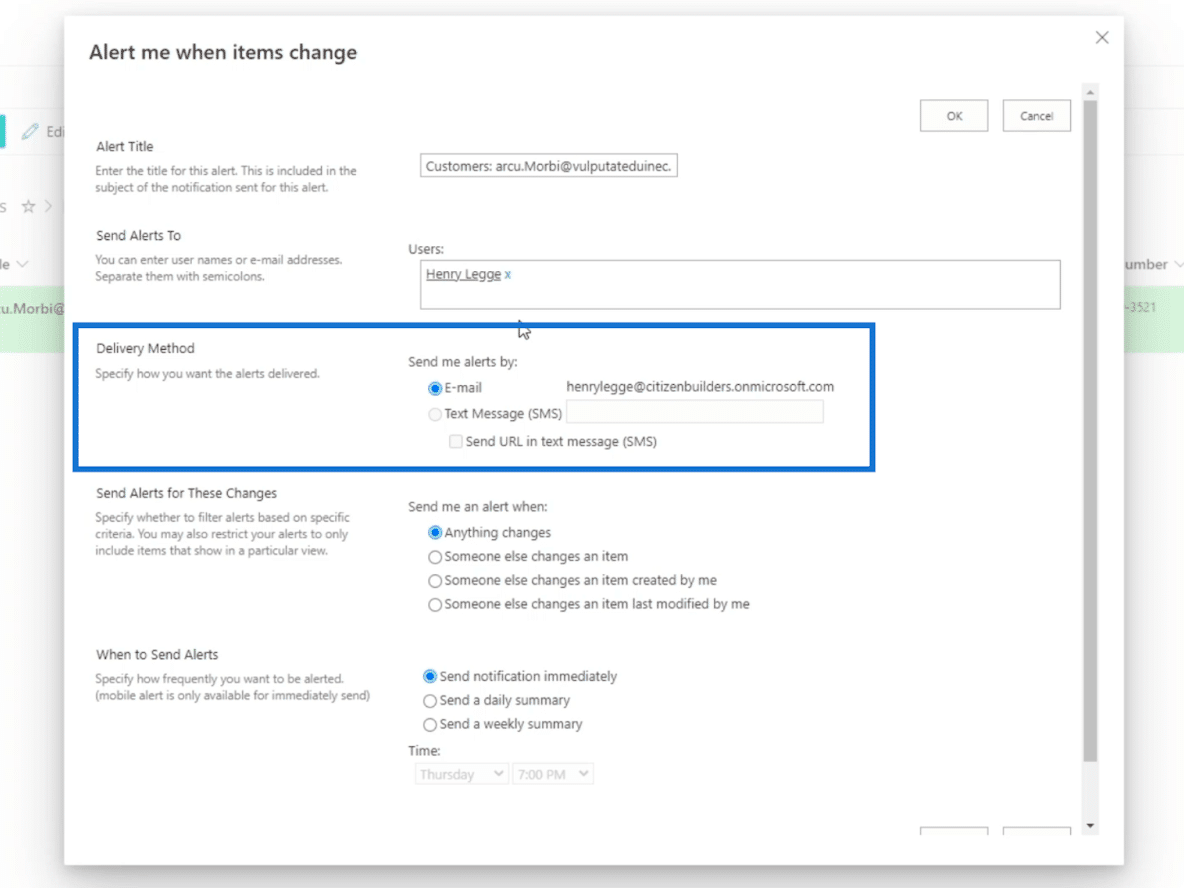
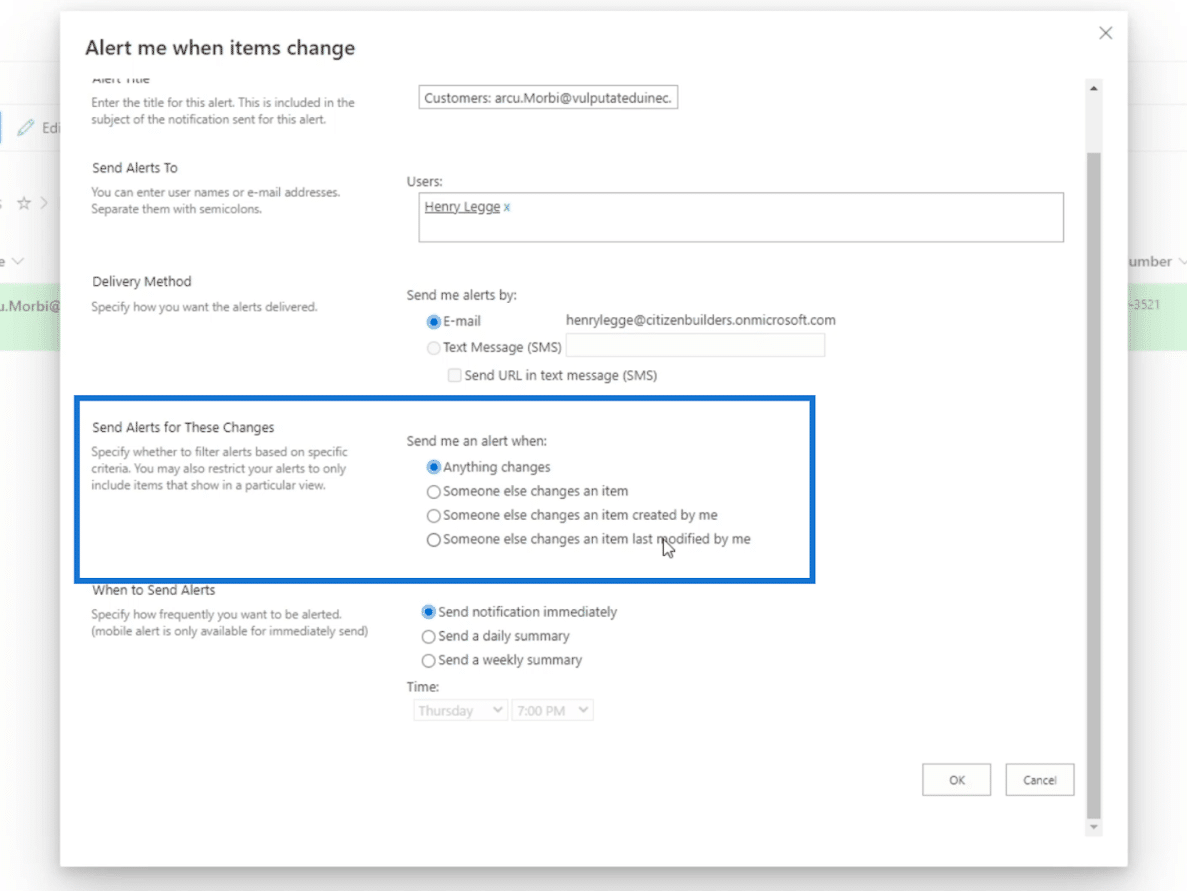
Then, you can set it up according to the changes made on Send Alerts for These Changes section. You’ll have four choices:
- Anything changes is for receiving an alert on any modifications made.
- Someone else changes an item means you’ll receive an alert when someone other than you modifies or adds information on the item.
- The Someone else changes an item created by me is for receiving an alert when someone modifies an item that you made.
- Someone else changes an item last modified by me is an option where you’ll get an alert when someone else modifies an item that’s been previously modified by you..
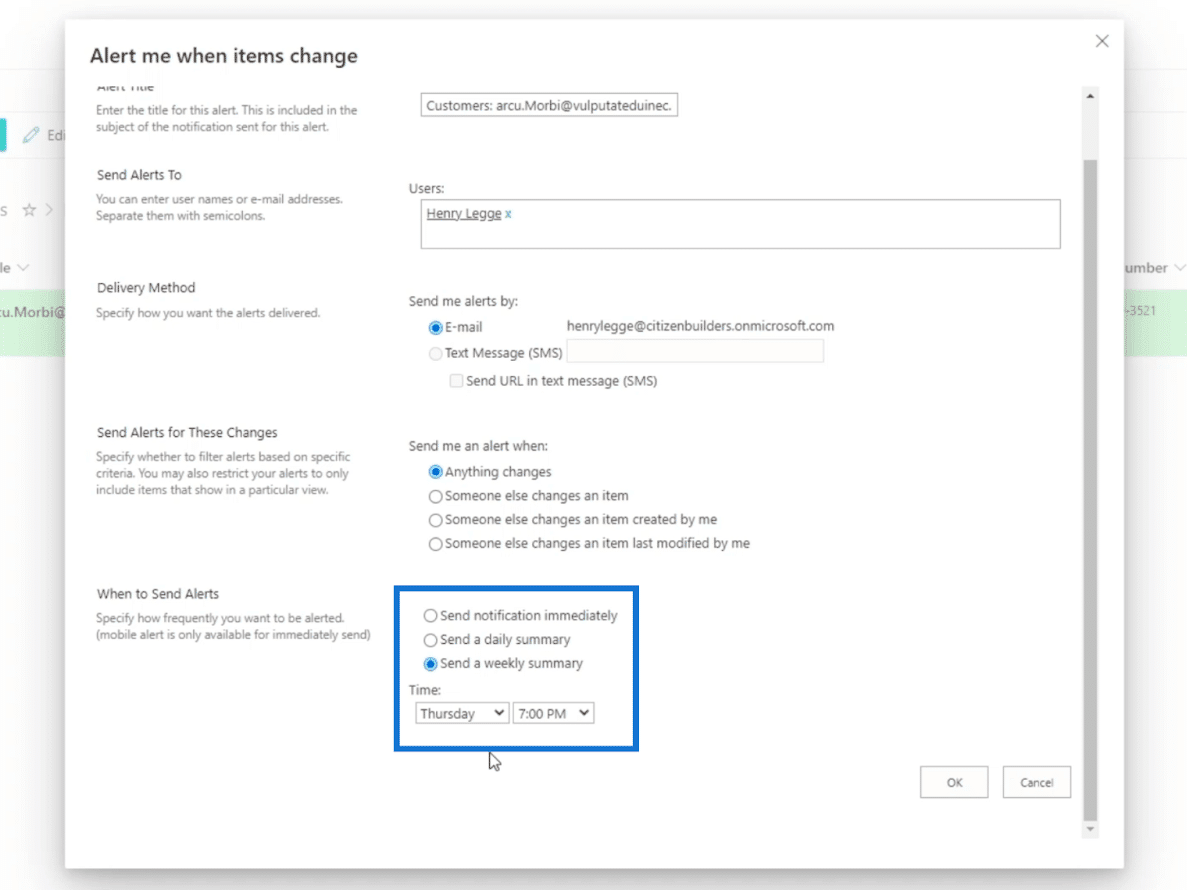
Finally, When to Send Alerts. In this section, you’ll have three options: Send notification immediately, Send a daily summary, and Send a weekly summary.
As the name implies, the first one will send you an alert when changes are made. We don’t recommend using this for items that get modified often. Instead, you can go for a daily or weekly summary.
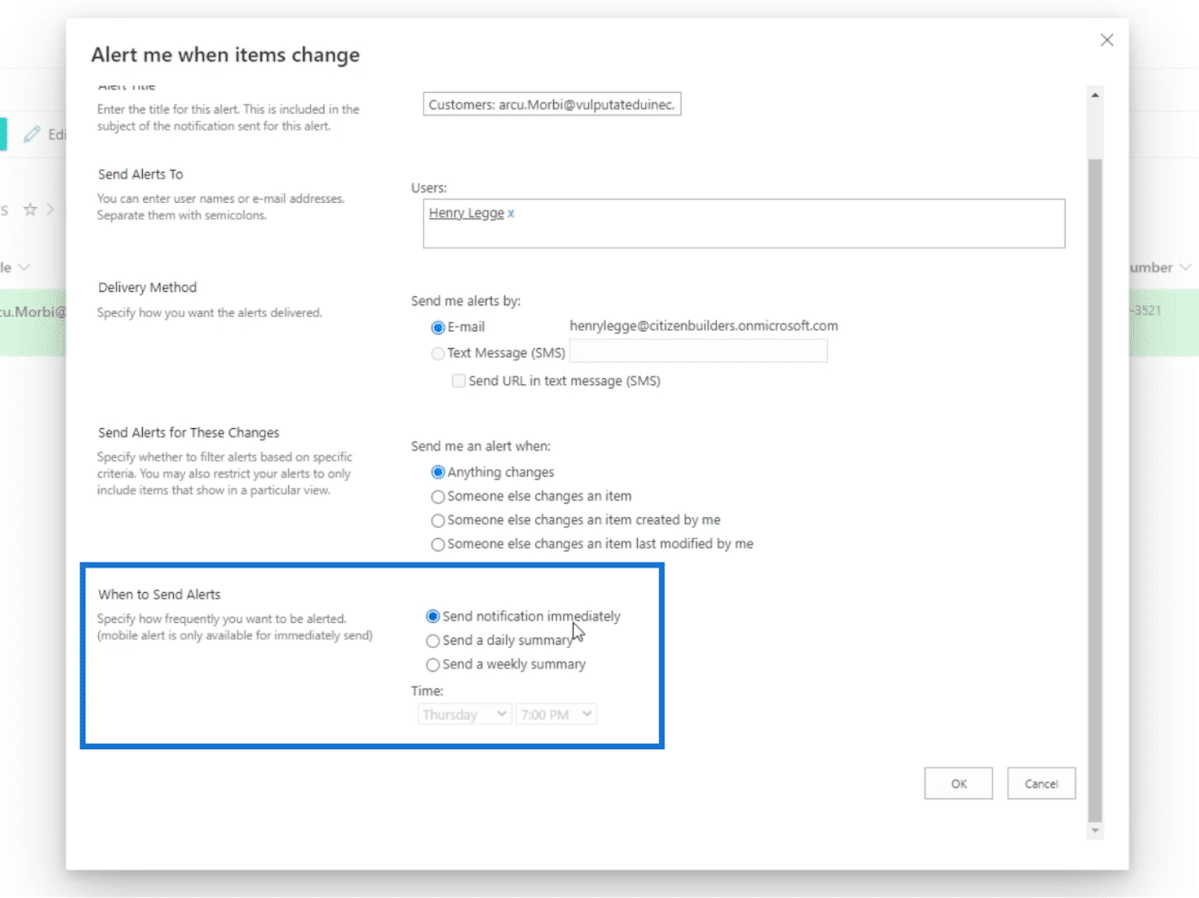
The best part about it is that you can set the time when to send the alert to you when you choose to get an alert on a daily basis.
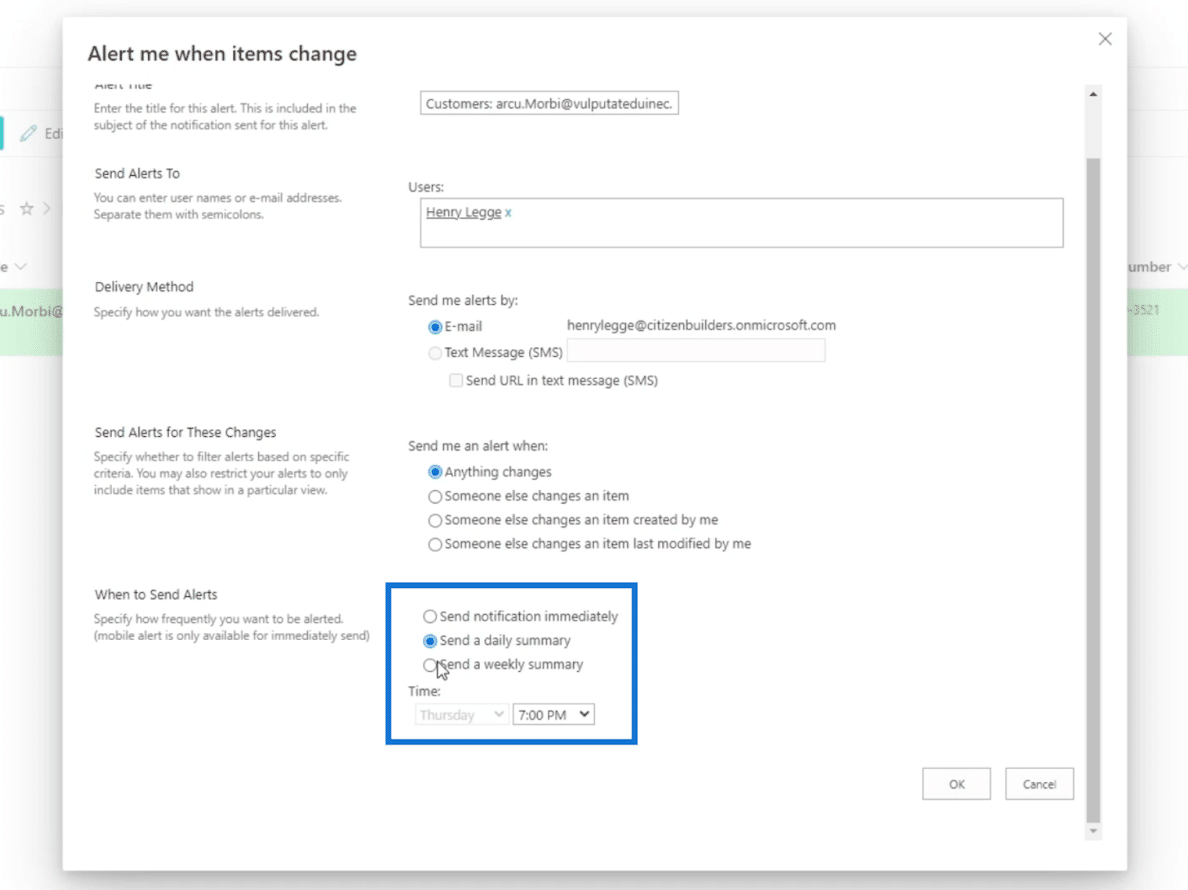
And on a weekly basis, you can choose the day, too.
However, for this example, we’ll stick to the default settings.
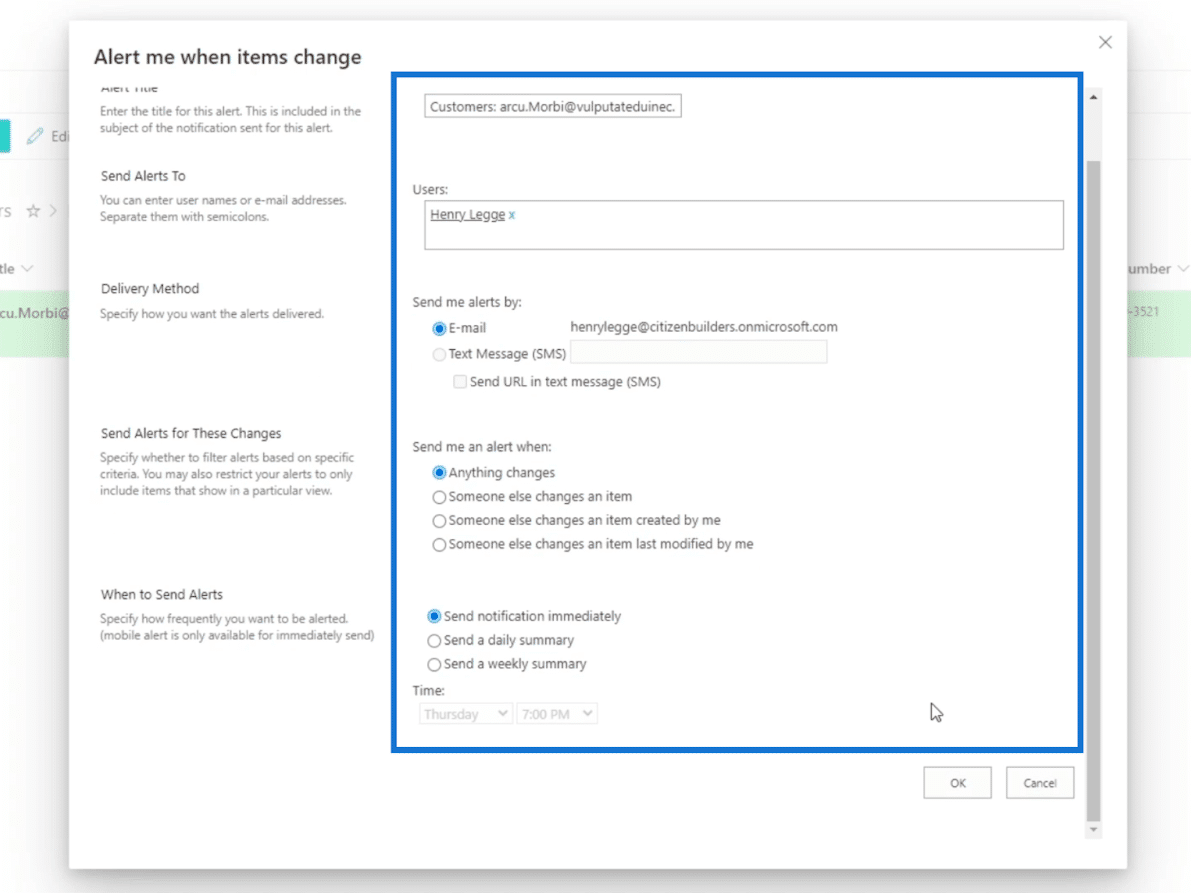
Finally, click OK.
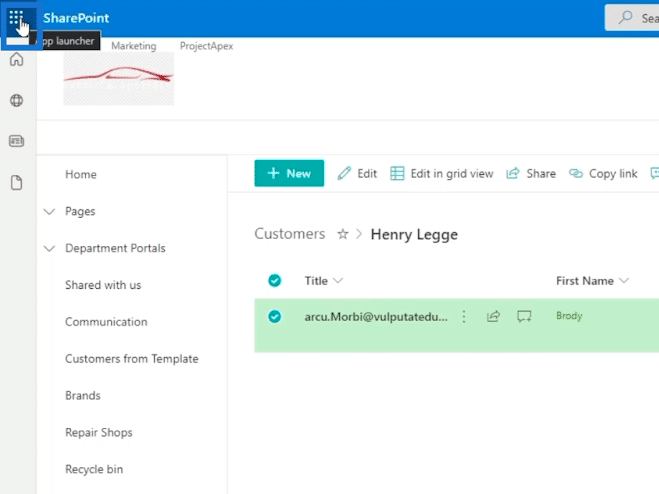
Next, we’ll open our Microsoft Outlook. Just click the Launcher icon on the top left.
Then, click Outlook.
On your Outlook, you’ll see a notification that you’ve successfully created an alert, and what the settings are.
Editing An Item On Your List
First, click the three dots next to the Title of the item you want to edit.
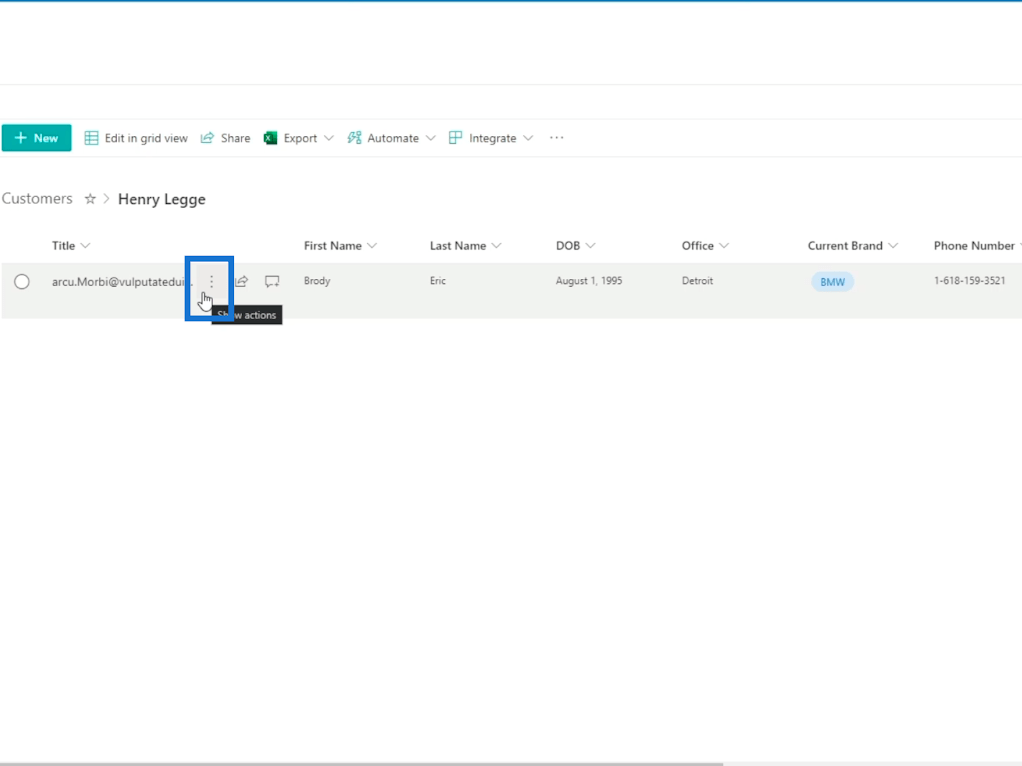
Then, click Edit.
And you’ll see the information of the item on the right panel.
We’ll edit the brand the customer has. So, on the Current Brand field, we’ll change it from “BMW” to “Mercedes”.
Then, click Save.
And you’ll receive an e-mail on Outlook notifying you about the changes made on the item. Keep in mind that in some cases, it could take a couple of seconds to receive the e-mail.
The e-mail contains the changes made on the item, including the person who updated it and when the changes made.
Managing SharePoint List Alerts
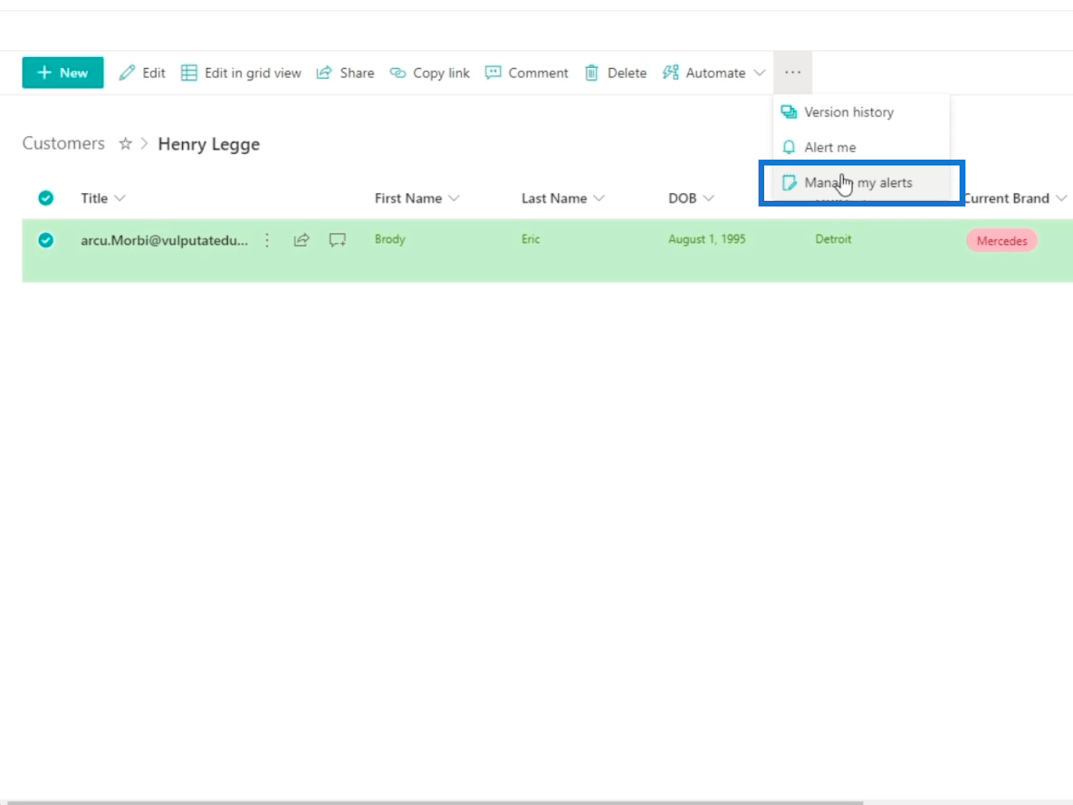
When you want to manage your alerts or perhaps edit the settings, all you need to do is to click the three dots on the top.
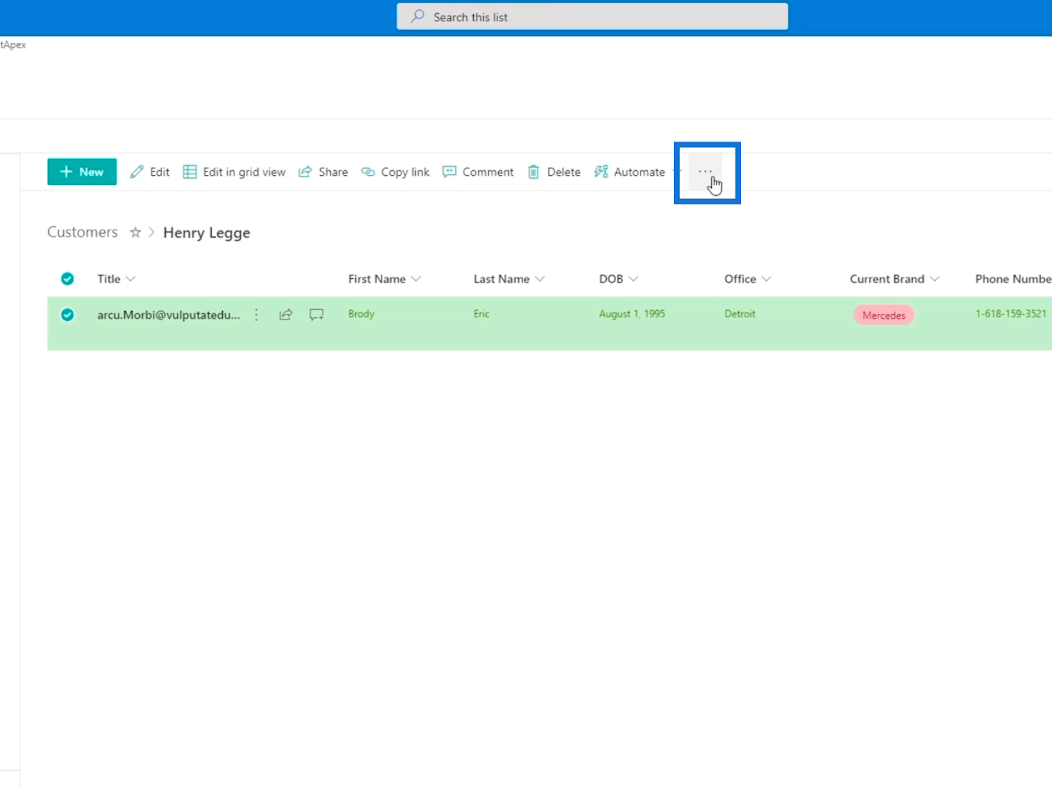
Next, click Manage my alerts.
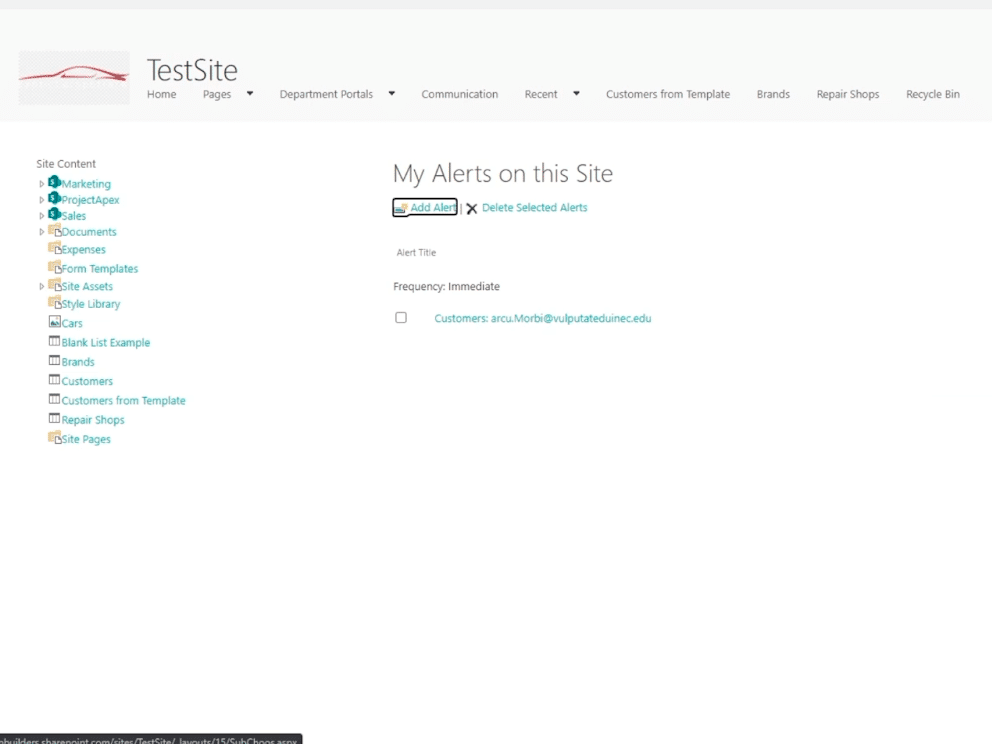
And you’ll be redirected to another page where you can manage your alerts.
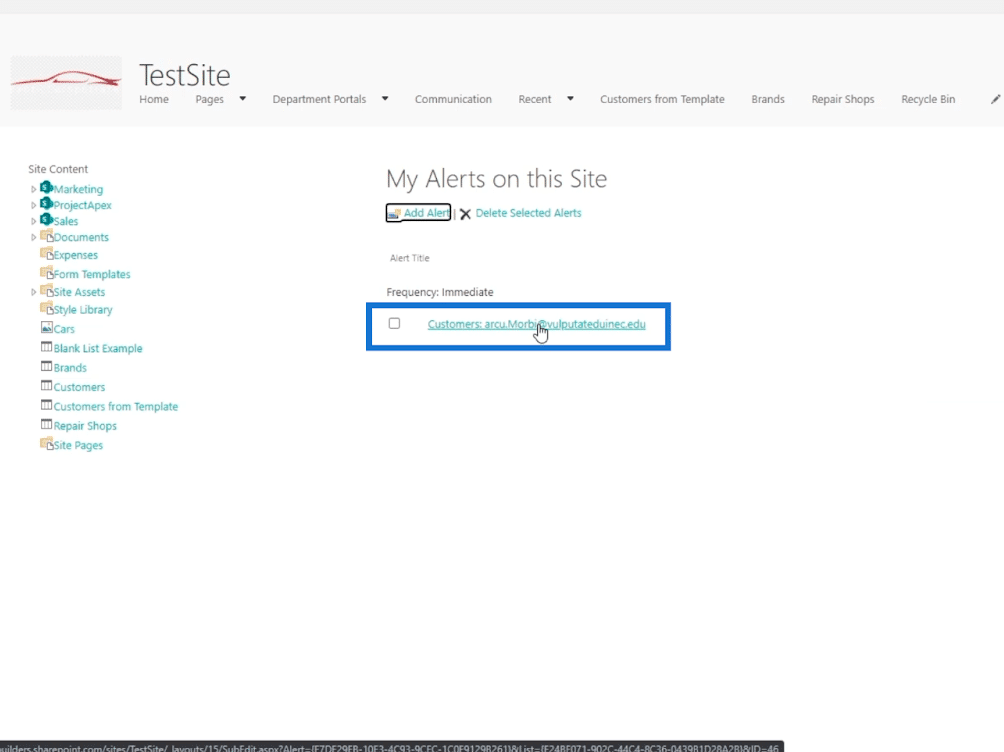
When you click an alert you set up, you can change all the settings you’ve set before. It’s very useful as you don’t need to create a new alert.
Setting Up SharePoint List Alerts For The Whole List
Setting up an alert for the whole list is quite easy.
First, make sure that there are no filters on your list. So let’s click the Filter icon.
Next, unfilter the list.
Then, click the three dots on top, and click Alert me.
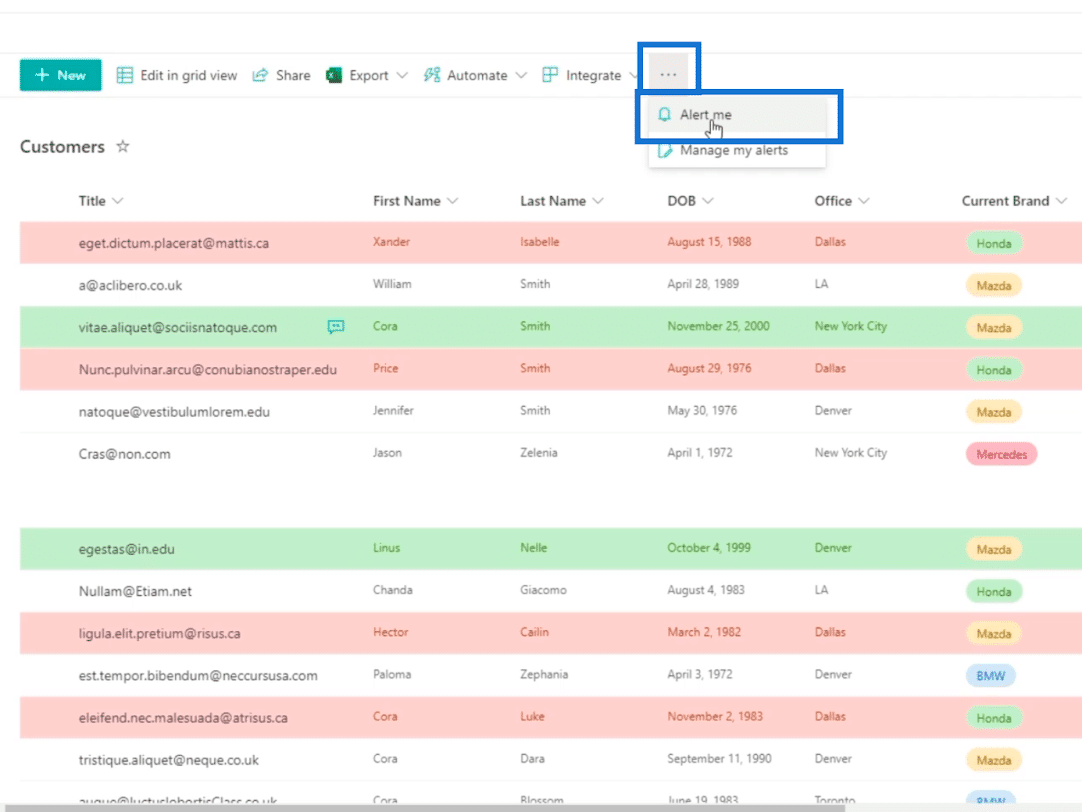
And a text box will open. Here, you can set it up similarly to creating an alert for individual items.
The main difference that you’ll see is the Alert Title. This shows the title of the whole list instead of a single item which we did earlier.
If you have successfully set it up, you’ll receive an email if there are any changes on the list, including adding an item.
***** Related Links *****
Calendar View in SharePoint List
SharePoint Lists: An Overview
SharePoint List Formatting Walkthrough
Conclusion
To sum it all up, you’ve learned how to set up an alert for an item and the whole list. Using this simple feature will give you convenience as you don’t need to check the item regularly. Instead, you can wait for an e-mail notifying you about the changes made.
Aside from the convenience it brings, it can also promote great teamwork. Other members in your organization can receive alerts and work on the item you asked them to. You don’t need to talk to them personally, because a simple alert can get the task done.
All the best,
Henry


