In this tutorial, we’ll talk about the most important app in a SharePoint site which is the Document library. Document libraries come with a ton of features and we’ll also discuss some of those in this blog.
A SharePoint document library is a container for creating, organizing, and managing different types of documents. You can also share the files or documents with other users of your site.
When a new site is created, a document library named Documents will be automatically created. We can also add multiple document libraries if we want to. One of the main advantages of having a document library is to hold files that we can share between our team. It’s very similar to Google Drive or OneDrive.
Just click on the Documents to see what’s inside of the app. For this example, we don’t have anything inside the Documents yet.

Uploading A File In SharePoint Document Library
First, click Upload to add some files.
We can then choose if we want to upload a file, folder, or template. For this example, let’s click Files.
We’ll select some sample files and upload them by clicking the Open button.
Then, we’ll see the uploaded files. Alternatively, we could also upload a folder or a template. Note that we are not limited to uploading any file types. We can upload any file type like images, videos, links, and many others.
Opening And Sharing A File In SharePoint Document Library
Now that we’ve uploaded some files, we can easily open them by just clicking them.
The nice thing about uploading Word, Excel, PowerPoint, or any Office 365 files is that once we open them, we can simply edit it. Also, they look very similar to the Office applications that we have on our computer because it’s just an online version of them. It saves itself automatically, which is similar to a Google document.
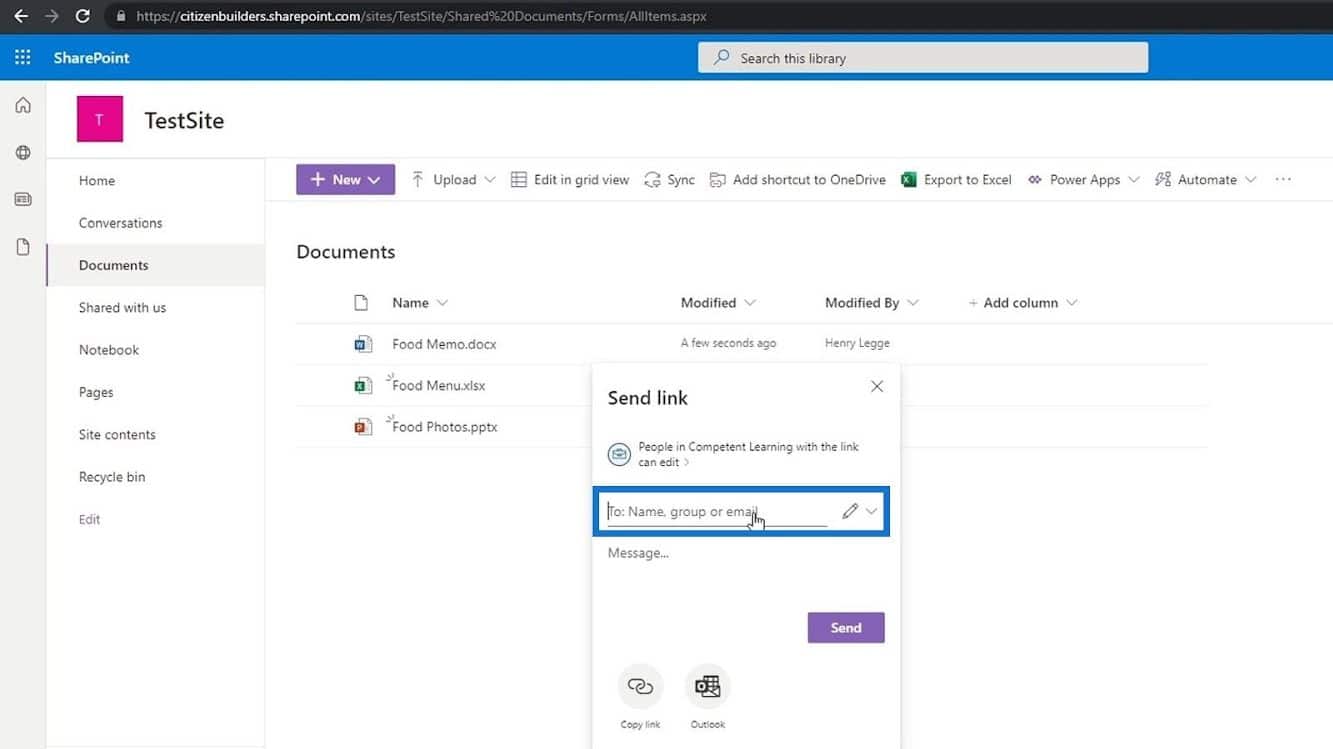
When hovering over a file, we can also see that we have an option for sharing this file with other people.
Just click on it, and add the name, group, or email of the person that we want to share this file to.

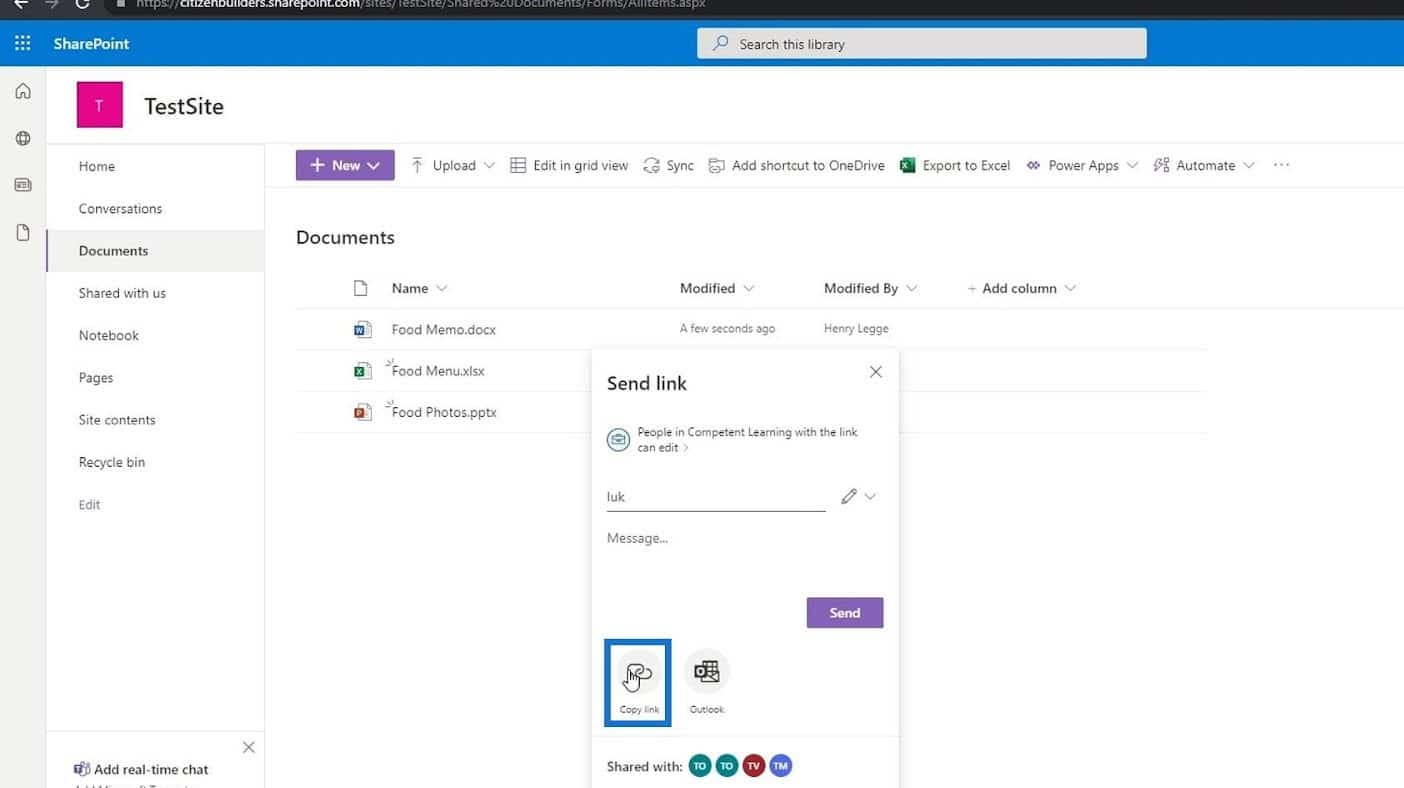
We can also click the Copy link button.

It’ll then give us a link that we can send to different people in our organization.
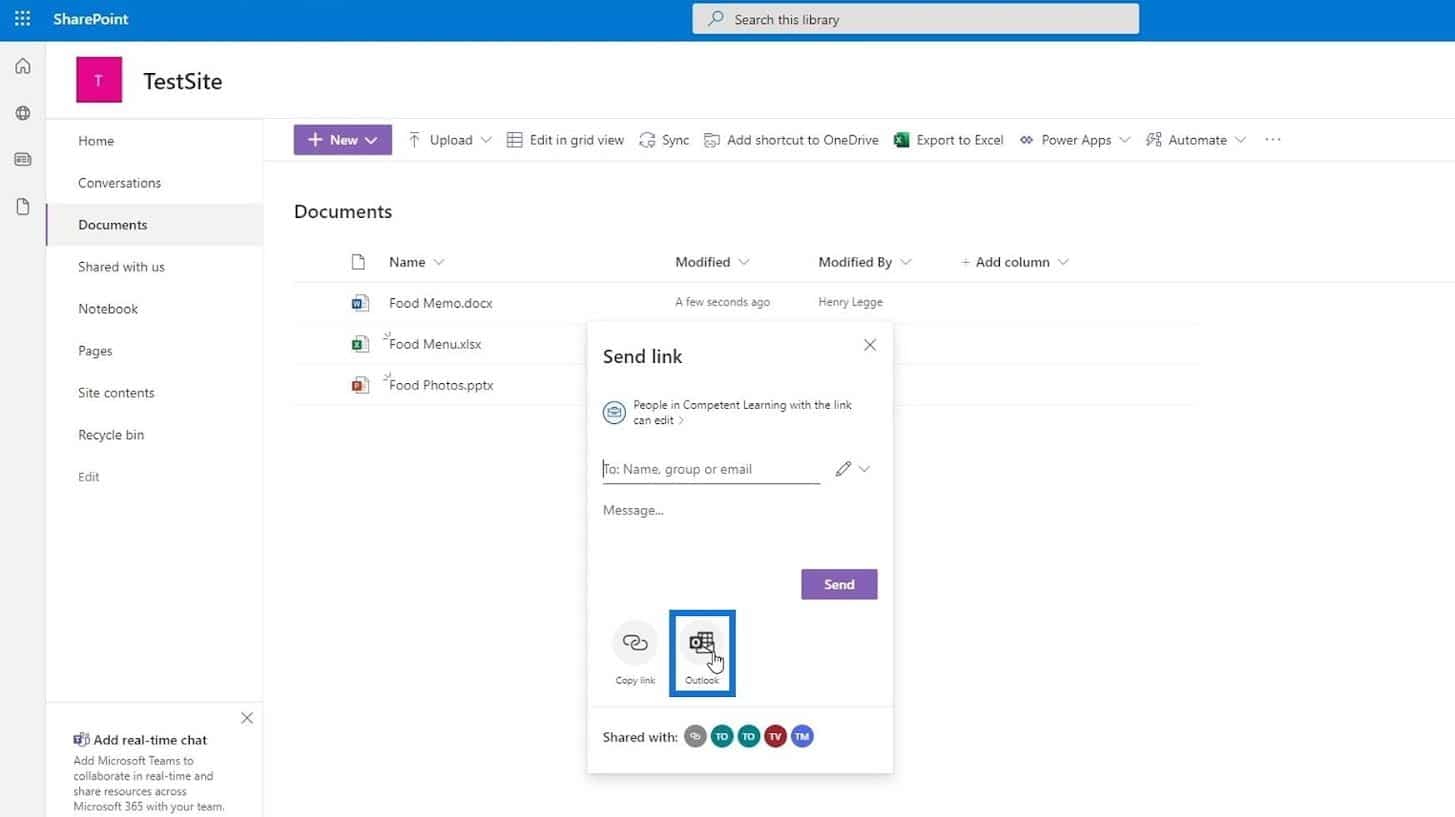
We can also email this file by clicking on the Outlook button.

Moreover, we can have a few other detailed columns about our files like the Modified and Modified By columns.
One of the most powerful features in a document library that makes it better than OneDrive or a Google Drive is the ability to add metadata using columns.
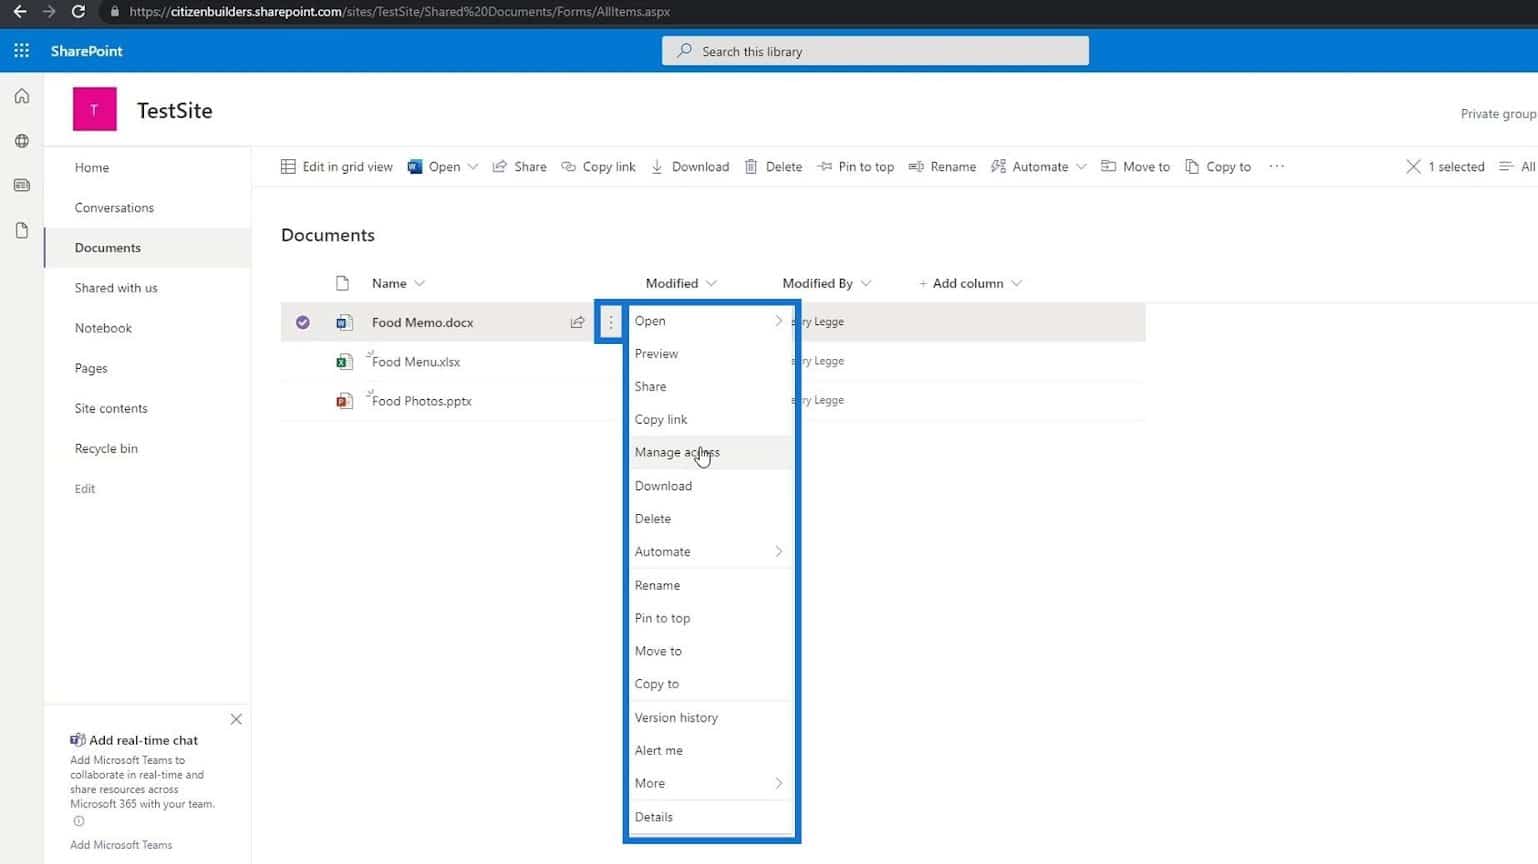
By clicking the ellipsis across the file name, we can access some other options that we can use.

We can also select multiple files, download them, delete them, move them, and many more.
Viewing File Properties
We can view the details of a file by hovering over it, and clicking See details.
It will open up a pane on the right side of the page where we can see a preview of the file, the members who has access to this file, and the file properties.
Let’s go back to the Home page.
Since we already added some files on our document library, we can now see those files on the Documents section of our Home page. This is a part of our page where we can see the files or folders on our document library called Documents. Again, note that Documents is simply just a document library app. We can create other document library apps that we can name differently.
Creating Our Own File Inside A SharePoint Document Library
Earlier, we added some files through uploading. Aside from uploading, we can also add files by creating them manually inside our SharePoint Site. To do that, just click the New button.
We can then select the type of the file that we want to create. For example, let’s create a Word document file.
It’ll then create a new online Word page. For this example, let’s write “This is a test page for Cars”.
Similar to editing a file, this new Word file is also automatically saved. We can then change its file name by clicking this part.
After that, we can change the name of this file to “Car types”.
We can also see the location of this file.
If we go back to our test site, we can see the newly added word file on the list. If you can’t see it, just refresh the page. We don’t necessarily need to upload or create a file on our desktop and upload it. We can add or create them directly on our SharePoint site.
Creating A Folder In A SharePoint Site
The other thing that users can do is to create a folder. Let’s create a sample folder by clicking on it.
Let’s name this folder as Food and click the Create button.
Then create another folder and name it as Cars.
Move the Food Memo file to the Food folder.
Then the Car types file to the Cars folder.
We usually add folders to separate our files. However, there is a better way to do it in a SharePoint site and that is by using Metadata columns.
Using Metadata columns is very powerful and by creating a folder, we’ll lose that aspect. Aside from creating a folder to separate files, we can also create another document library instead. We can create a document library for food and another document library for cars.
Creating Links In A SharePoint Document Library
We can also create a link if we want to. Just click Link.
Then, it’ll ask us to enter the link that we want. For this example, let’s add a Google link, and click the Create button.
The link file will be added to our list. Let’s try to click it.
It will then bring us to the Google website.
If for example we want to create a folder that contains external links, we can just create a new folder and name it as Important Links.
Then, we can move our link files inside the Important Links folder.
Three Ways Of Opening Up A File
There are 3 ways to open up a file. By using SharePoint which is a Microsoft product, it communicates well with other Office products. By default, if we open up a Word, Excel, or PowerPoint file, its online version will be automatically opened.
If we want to choose how we want to open up our file, just click the ellipsis across the file to open the other options.
We can choose if we want to open it in a browser which is the default, open it in app, or in Immersive Reader.
If we click the Open in app option, a popup will appear. This will ask us if we want to open the Word app on our computer. Let’s click the Open Word button.
Microsoft Word desktop app will open the file. You need to sign in with the same account that you’re using on your SharePoint. For this example, we are already signed in.
Similar to the online version, the AutoSave feature is also enabled here.
The online version will automatically save every change that we’ll make. For example, let’s change the word “card” to “cars” and add a new line saying “Here is my second edit for cars”.
We can now close this file by clicking the close button.
If we check our file online, we’ll see the new sentence that we’ve added on our Word desktop app.
The third option for opening a file is the Open in Immersive Reader option.
This is how it looks like if we use that option for opening our file.
This makes it very easy to review, add notes, change the font size, and mainly use for editing stuff. It also has a Play option button. People use this if they don’t want to read it but they want it to be read to them.
Deleting And Restoring A File
To delete a file, we can just right click on a file and click the Delete option.
We can also just select a file and click Delete on the menu bar.
Then, click the Delete button.
As we can see, the file is now removed from the list.
If we accidentally deleted a file, we can also restore it. Just go to the Recycle bin.
It contains a list of the files that we’ve deleted. We can also see the original location of these deleted files.
To restore a file, just select the file that you want to restore then click the Restore option that will be displayed on the menu bar.
The file will be removed from the Recycle bin.
Let’s go back to the Documents and go inside the Food folder.
Then, we’ll see that the file we deleted is back on the list.
***** Related Links *****
SharePoint Tutorial: Creating A New Site
SharePoint Site | Layout And Menu Walkthrough
Microsoft SharePoint Sites: A Brief Overview
Conclusion
To sum up, we’re able to learn some of the available features in a SharePoint document library. Keep in mind that a document library is a secured repository for storing all documents and files safely. It’s also where you and your co-workers can find documents easily, work on them together, and access them from any device at any time.
You can also use a document library to separate your files and folders, and to keep things clean and organized within a SharePoint site. Learning all these aspects of a document library and handling them carefully gives users great control over SharePoint Document Management.
All the best,
Henry


