Visual representations like word clouds are a great way to convey your content’s key ideas and themes at a glance.
You might be familiar with tools like Wordle or Tagxedo, but did you know you can create dynamic and engaging word clouds in PowerPoint?
How to Create a Word Cloud in PowerPoint:

- Create or Open a PowerPoint Presentation
- Download and Install the Word Cloud Pro Add-In
- Import and Add Resources to Your Word Cloud Pro Account
- Use Word Cloud Pro to Create a Word Cloud in PowerPoint
- Save and Share Your Word Cloud in PowerPoint
In this article, you will learn how to auto-generate high-quality word cloud visuals and even an option to generate a 3D word cloud in PowerPoint.
Let’s dive in!
How to Create a Word Cloud in PowerPoint – A Step-by-Step Guide

PowerPoint offers a straightforward method to build a word cloud using WordArt.
The following six steps explain how you can quickly create a WordArt word cloud:
- Open a new or existing PowerPoint presentation.
- Go to the Insert tab on the Ribbon.
- Select WordArt from the Text category drop-down.
- Choose the WordArt style from the gallery and click on the thumbnail.
- In the Edit WordArt Text dialog box, type your words or a single word to create a word cloud.
- After editing the WordArt, select the Artistic Text options, including style, size, color, text effects, shadow, outline, and glow, from the WordArt Tools Format tab on the Ribbon.
Now, let’s explore the dynamic world of word clouds in PowerPoint.
How to Use Microsoft’s WordCloud Generator for Text Data Visualization in PowerPoint

PowerPoint enthusiasts can leverage the WordCloud Generator for PowerPoint to create engaging visualizations from text data quickly. This free add-in creates a word cloud within your PowerPoint document by showcasing the frequency of words in your text.

To get started, first install the WordCloud add-in:
- Click “File” and then select “Get Add-ins”.
- You can also access add-ins directly from the Home tab by selecting “Add-ins”.
- Install add-ins directly from this page or select “More Add-ins” to explore more options.
- Go to the “My Add-ins” tab in the Office Add-ins dialog.
- Select an add-in to view its details and install it??.
These steps should guide you through the process of installing a Word Cloud add-in in Microsoft Office applications.
Moving on, let’s discover the art of creating word clouds in PowerPoint.
How to Work With WordCloud
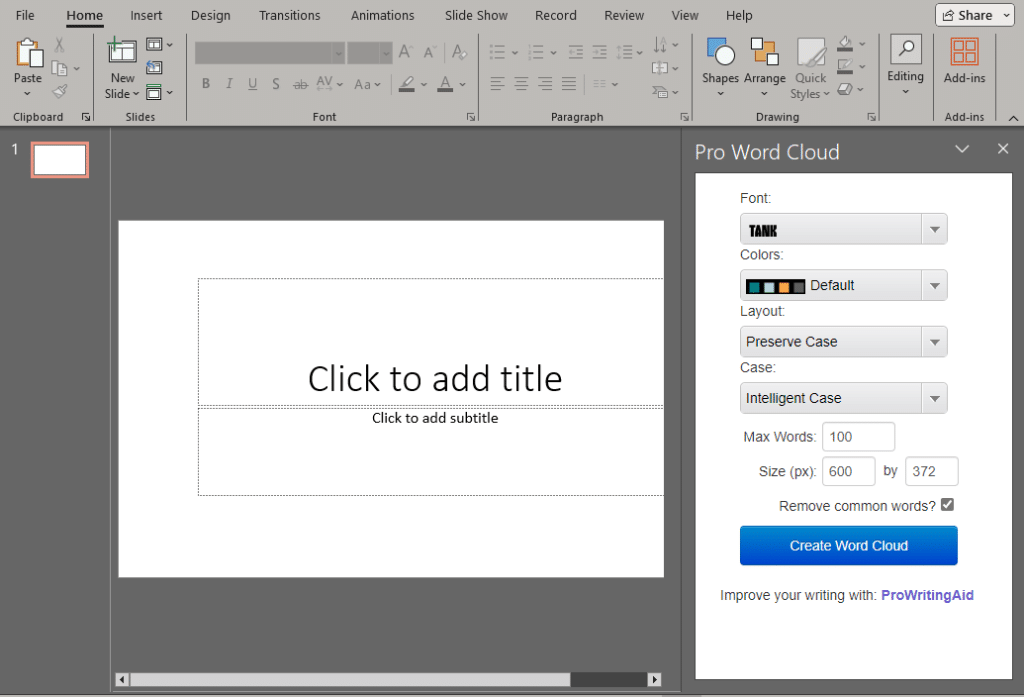
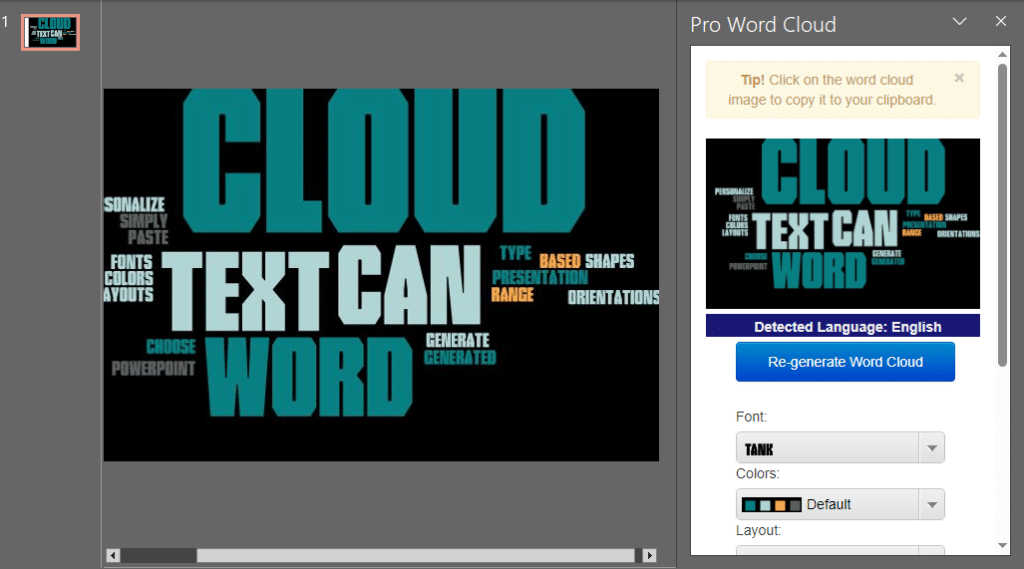
The WordCloud add-in not only helps you visualize your data but also allows you to customize the word cloud visual to suit your needs. Upon accessing the add-in, a new tab opens with the WordCloud Generator.
Here, you can paste or type any text or simply generate a word cloud based on text in your presentation. Once the cloud is generated, you can choose from various colors, fonts, layouts, shapes, and orientations to personalize your word cloud in PowerPoint.
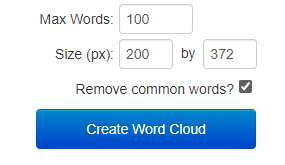
Fine-tune the design by setting parameters such as the number of words, minimum and maximum lengths, or excluded words.
Once you’re happy with your word cloud, click “Insert Cloud” to add it to your presentation, and it will automatically be saved for future use.
Remember to save your presentation file periodically, and enjoy creating refreshing visualizations with the WordCloud Generator for PowerPoint!
Moving on, let’s look at how to further enhance your word cloud.
4 Ways to Customize Your Word Cloud in PowerPoint

Once you create a word cloud, you must customize its appearance and adjust data settings to make the visualization look better and more informative.
You can use the customization options provided by the add-in or apply formatting techniques available in PowerPoint to fine-tune the word cloud.
To customize your word cloud, follow these essential techniques:
- Use custom shapes and variations to make the word cloud more visually appealing (such as formatting, color, text, and size).
- Select different layout types and designs to express your message more effectively (hierarchical, radial, or compact).
- Adjust font size and weight to make meaningful words stand out and create a more balanced layout.
- Manually edit the word cloud to include specific words or remove irrelevant ones.
Next, delve into the specifics of customizing the WordCloud Generator.
How to Optimize a Word Cloud in PowerPoint

You can refine your word cloud in PowerPoint by choosing the most suitable font for your design, manually adjusting the word sizes, and selecting the ideal color palette.
The following three steps will focus on those strategies:

- Size
- Font
- Choose Color
1: Adjust Font and Size
When you create your word cloud in PowerPoint and customize it to further optimize visual impact, selecting the right size for the words is essential.
2: Choose an Appropriate Font
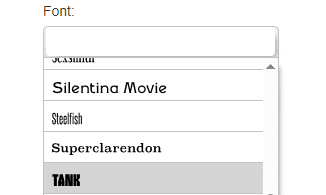
Select from a drop-down list of fonts and pick one that suits your style.
3: Choose an Appropriate Color Palette
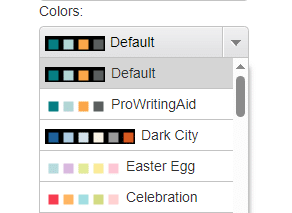
Color is a critical factor in enhancing our understanding and the visual experience. Choose the palette that best fits your brand or the content’s tone, and avoid using too many or too few colors.
In the side panel, scroll down and locate the color picker options. You can select from a drop-down pallet of standard colors.
The goal is to make it easier for your audience to identify key topics or concepts because they are displayed more prominently than others.
Finally, learn how to save and export your masterpiece.
How to Save & Export

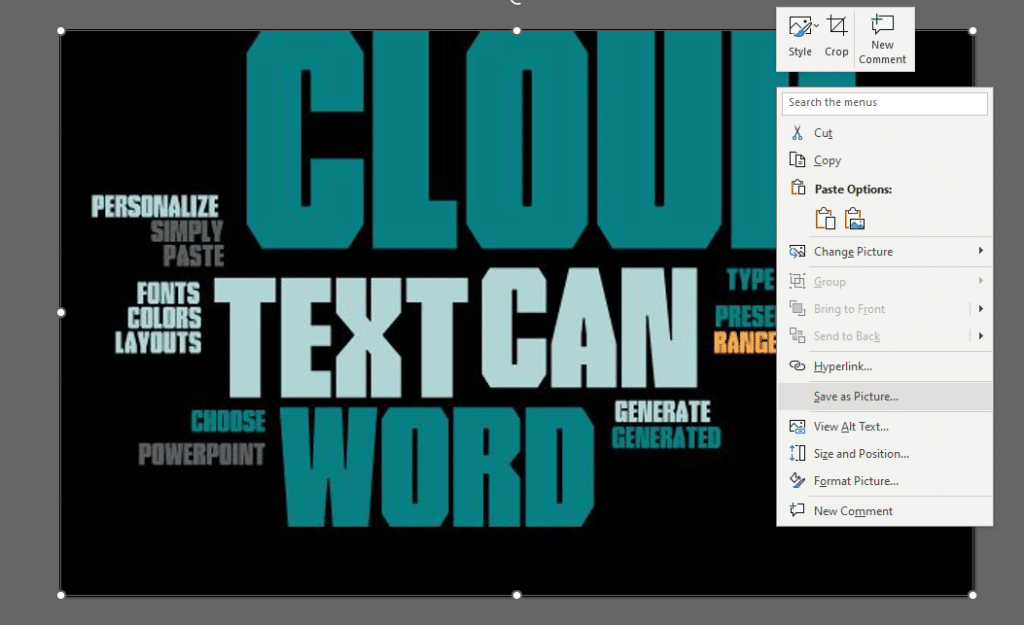
After creating your word cloud in PowerPoint, you’ll want to save a copy, but remember, these shapes are not like typical shapes.
Once you have this image, right-click on it and select “Save Picture as”. Now, you can customize the name and location of the image.
Suppose you want to improve the visual further. In that case, you can even import the image into a photo-editing tool like Canva, where you can add filter frames or make other adjustments before sharing or including it in your presentation.
Flattening and saving a word cloud as an image in some PowerPoint versions can be done directly. Just right-click on the Word Cloud icon, and you should see the option to save the cloud.
Not all versions will have this, though, and you may have to find workarounds or additional online tools to save it as an image.
Remember that the word cloud’s final area will have a rectangular bounding box that does not conform to the edges of the words.
You can use PowerPoint to shape that to match the words’ design, but it won’t be an equal, tight, or precise recreation of those words.
To wrap things up, let’s reflect on some key takeaways on creating word clouds in Excel.
Final Thoughts

Creating a word cloud in Microsoft PowerPoint is a fun and effective way to represent information visually in your presentations.
It allows you to display keywords visually appealingly and makes it easy for your audience to identify the most critical points in your content.
While PowerPoint doesn’t feature a built-in tool for generating word clouds, you can still create one using a variety of workarounds and external applications.
To ensure that your word cloud is engaging and comprehensible, be deliberate in the words you choose and consider their frequencies within the text. Injecting a personal touch, choosing the right size, and using contrasting colors will enhance the effectiveness of your word cloud.
So, embrace the creativity and power of word clouds in presentations, leaving your audience intrigued and delighted with every visual element you craft!

Do you want to learn more about developing data models in the real world? Check out the EnterpriseDNA YouTube channel.
Let’s address some common questions about creating word clouds in PowerPoint.
Frequently Asked Questions
How do I create an essential Word Cloud in PowerPoint?
Start by opening PowerPoint and selecting the WordArt option from the Insert tab. Type or paste your text into the WordArt box and customize the style, size, color, and effects to create your word cloud.
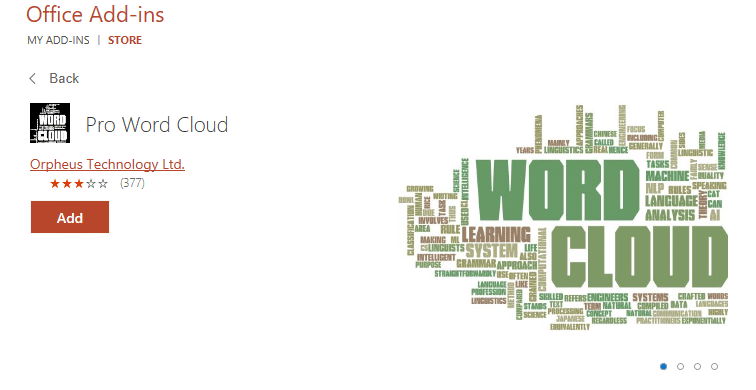
Can I use a specific add-in for creating Word Clouds in PowerPoint?
Yes, you can use the Word Cloud Pro Add-In. Download and install it from the Office Add-ins store, then use it to import and visualize text data as a word cloud in your PowerPoint presentation.
What steps are involved in using Microsoft’s WordCloud Generator for PowerPoint?
To use the WordCloud Generator, install the add-in from the “Get Add-ins” option under the Insert tab. Then, access the add-in, paste your text, and customize your word cloud using various design options.
How can I customize my Word Cloud in PowerPoint?
Customize your word cloud by choosing different shapes, layouts, fonts, and colors.
You can adjust the size and weight of words to emphasize critical terms and edit the word cloud to include or exclude specific words.
What are some tips for optimizing my Word Cloud in PowerPoint?
Focus on choosing an appropriate font and size, selecting a cohesive color palette, and utilizing shapes effectively. Adjust the word sizes manually for better visual impact.
How do I save and export my Word Cloud from PowerPoint?
Right-click on the word cloud and select “Save Picture as” to save it as an image. You can import this image into a photo-editing tool like Canva for further editing.
Are there any limitations to creating Word Clouds in PowerPoint?
While PowerPoint doesn’t have a built-in word cloud tool, external add-ins can be used.
However, the final word cloud may have a bounding box that doesn’t conform precisely to the edges of the words.
What should I keep in mind when creating Word Clouds in PowerPoint?
Be deliberate in choosing words and consider their frequency. Using contrasting colors and varying sizes enhances the effectiveness of your word cloud.
Remember, creativity is critical in making engaging visual elements.