A transparent logo can be a powerful tool in your branding arsenal. It allows your logo to seamlessly blend into various backgrounds, giving your brand a professional and polished look.
Fortunately, PowerPoint offers a simple and effective method for creating transparent logos.To make a logo transparent in PowerPoint, follow these steps:

Open PowerPoint and go to the slide where you want to insert your transparent logo.
Click on the “Insert” tab and select “Pictures” to choose your logo.
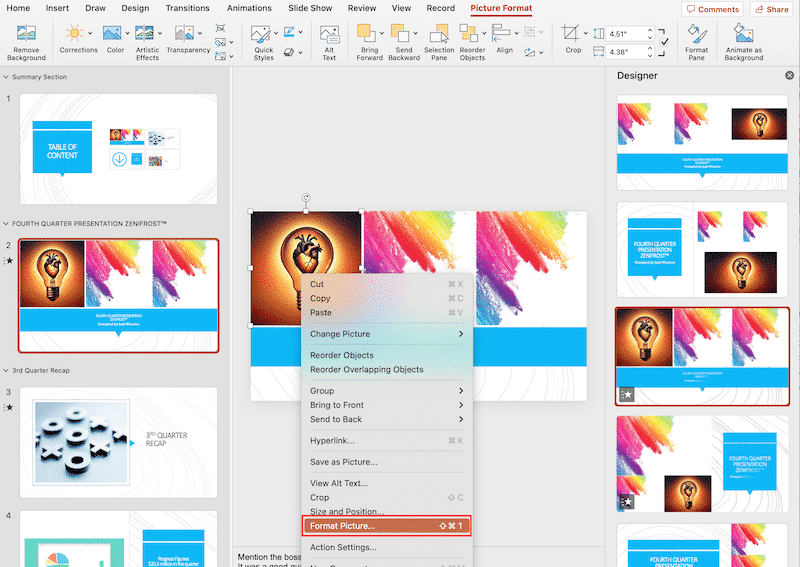
Right-click on the inserted logo and choose “Format Picture.”
In the Format Picture panel, navigate to the “Fill” section.
Click on the “Solid Fill” option and adjust the transparency slider to your desired level.
Click “Close” to apply the transparency effect to your logo.
In this article, we’ll delve into the step-by-step process of making a transparent logo in PowerPoint.
You’ll learn the various tools and features available within PowerPoint that allow you to achieve a professional and polished look for your logo.
Let’s get started!

How to Create a Transparent Logo in PowerPoint
In this section, we’ll explore the step-by-step process of creating a transparent logo in PowerPoint.
We’ll go over the various tools and features available to you, and you’ll learn how to apply transparency to your logo, ensuring a professional and polished look for your brand.
Step 1: Preparing Your Logo
Before you begin the process of making your logo transparent in PowerPoint, it’s important to have your logo file ready and prepared.

Also, always ensure that you have a high-resolution version of your logo in a format that supports transparency, such as a PNG file.
If your logo is not in a format that supports transparency, you can convert it using a graphics editor like Adobe Photoshop or GIMP.

Remember that the quality of your transparent logo in PowerPoint depends on the quality of the original logo image.
It’s important to have a high-resolution logo image to ensure that your transparent logo looks professional and polished.
Step 2: Inserting Your Logo
To insert your logo into a PowerPoint slide, follow these steps:
Open PowerPoint and navigate to the slide where you want to place your logo.
Click on the Insert tab in the PowerPoint ribbon.
Select Pictures to open a file browser window.

Browse to the location of your logo image file and click Insert.
Your logo will now be inserted into your PowerPoint slide.
Step 3: Applying Transparency to Your Logo
To make your logo transparent in PowerPoint, follow these steps:
Select your logo by clicking on it.
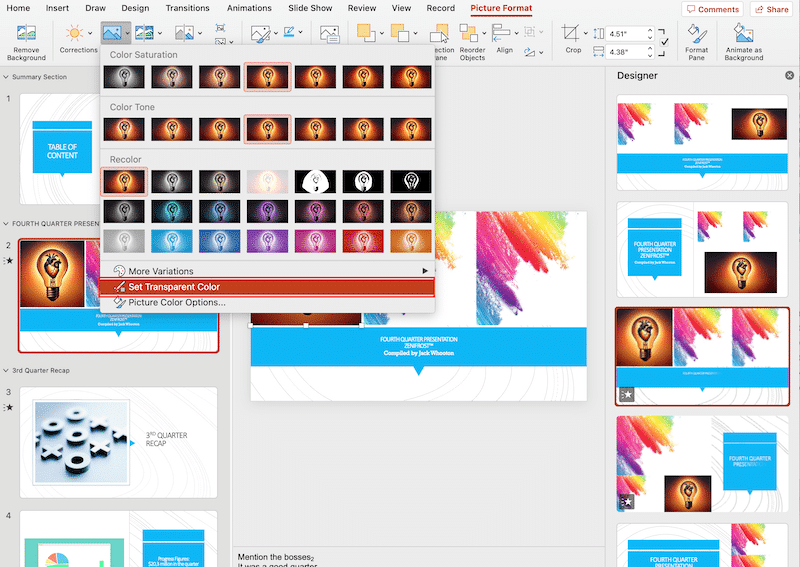
Click on the Picture Format tab in the PowerPoint ribbon.
In the Adjust group, click on the Color dropdown menu.
Select the Set Transparent Color option.
You can also apply transparency by using the Format Picture panel. To do this:
Right-click on your logo and choose the Format Picture option.
In the Format Picture panel, navigate to the Fill section and click on the Solid Fill option.
Adjust the transparency slider to your desired level, and click Close.

By following these steps, you can make your logo transparent in PowerPoint, ensuring a professional and polished look for your brand.
Step 4: Saving Your Transparent Logo
Once you have applied transparency to your logo in PowerPoint, it’s important to save your presentation properly to preserve the transparent effect.
To do this, follow these steps:
Click on the File tab in the PowerPoint ribbon to open the Backstage view.
Select Save As to open the Save As dialog box.
Choose the location where you want to save your presentation and enter a file name.
Click on the Save as type dropdown menu and select PNG.
Click Save to save your presentation as a PNG file. The PNG format supports transparency, so your logo will be saved with its transparent image background.
By following these steps, you can create a transparent logo in PowerPoint and save it properly to preserve the transparency effect.
Tips for Working with Transparent Logos in PowerPoint
In this section, we’ll explore some useful tips and best practices for working with transparent logos in PowerPoint.
These tips will help you create professional and polished presentations, ensuring that your transparent logos look their best.
1. Choose the Right Logo Format
When working with transparent logos in PowerPoint, it’s important to choose the right logo format. The PNG format is ideal for transparent logos, as it supports full transparency, allowing your logo to blend seamlessly with any background.

2. Use High-Quality Logo Images
To ensure that your transparent logo looks professional and polished, always use high-quality logo images. High-resolution images will result in a clear and crisp logo, even when scaled or displayed on larger screens.
3. Apply Consistent Branding
Consistency is key to effective branding. When using picture transparency options for logos in your PowerPoint presentations, ensure that the size, position, and colors of your logos remain consistent throughout your slides.
This will create a cohesive and professional look for your presentation.
4. Optimize File Sizes
To maintain the performance of your PowerPoint presentations, it’s important to optimize the file sizes of your transparent logos. Save your logos in the PNG format with a resolution that matches your presentation’s requirements.
This will help reduce the overall file size of your presentation and ensure smooth playback and sharing.
5. Test Your Transparent Logos
Before finalizing your PowerPoint presentation, it’s essential to test your transparent logos on different backgrounds and devices. This will help you identify any issues with the transparency or visibility of your logos and make necessary adjustments.
By following these tips, you can work effectively with transparent logos in PowerPoint, creating professional and polished presentations that showcase your brand in the best possible light.
Final Thoughts
The ability to create a transparent logo in PowerPoint is a valuable skill that can enhance the visual appeal and professionalism of your presentations.
By following the steps outlined in this article, you can easily transform your logo into a transparent image that seamlessly blends with various backgrounds.
Remember to choose the right logo format, use high-quality images, and maintain consistent branding to create a cohesive and polished look.
If you want to learn how to use PowerPoint for your PowerBI reports, check out the video below:
Frequently Asked Questions
How can I insert a transparent logo into PowerPoint?
To insert a transparent logo into your PowerPoint presentation, follow these steps:
Open PowerPoint and go to the slide where you want to insert your logo.
Click on the “Insert” tab and select “Pictures.”
Choose your logo file and click “Insert.”
Your transparent logo will now be added to your PowerPoint slide.
What is the process of making a logo transparent in PowerPoint 2016?
To make a logo transparent in PowerPoint 2016, follow these steps:
Insert your logo into your slide by clicking on the “Insert” tab and selecting “Pictures.”
Select your logo, then click on the “Picture Format” or “Format Background” tab.
In the “Adjust” group, click on “Transparency” then select picture transparency options that work best for you.
Click on the color in your logo that you want to make transparent.
Adjust the “Transparency” slider if needed, then click “OK.”
Keep in mind that the Set Transparent Color Tool works best with clear pictures with colid color backgrounds.
Is it possible to create a transparent logo in PowerPoint on a Mac?
Yes, you can make a logo or picture transparent in PowerPoint on a Mac by following a similar process to the one outlined above. The steps may vary slightly depending on your version of PowerPoint for Mac.
How do I save a logo with a transparent background in PowerPoint?
To save a logo with a transparent image background in PowerPoint, follow these steps:
Insert your logo and make it transparent as described in the previous answers.
Click on the “File” tab, then select “Save As.”
Choose a file format that supports transparency, such as PNG or TIFF.
Click “Save” to save your logo with the background transparent.
You can remove a background by going to the Picture Tools Format tab and using the Remove Background tool. This tool is a great option for logos with a complex background.