One of the essential tools for managing text in PowerPoint is the text box. With the help of a text box, you can easily manage and manipulate your text.
To wrap text in a PowerPoint text box, follow these steps:
Open the PowerPoint application and create a new slide or select an existing slide where you want to add a text box.
Go to the Insert tab on the Ribbon.
Click on the Text Box icon in the Text group.
Click and drag on the slide to create a text box of the desired size.
Start typing your text, and it will automatically wrap within the boundaries of the text box.
In this article, we’ll explore this feature and provide step-by-step instructions to ensure you can effectively wrap text within your text boxes.

Let’s get into it!

Understanding Text Wrapping in PowerPoint
Text wrapping in Microsoft PowerPoint is a useful feature that allows you to control how text flows within a text box or other shapes.
There are four main options for wrapping text in PowerPoint:
Do not wrap: The text does not wrap and will continue outside the boundaries of the text box.
Square: Text wraps around the text box, following the shape of the box.
Tight: Text wraps closely around the shape of the text box, adjusting to the edges.
Through: Text wraps around the text box, even if there are other objects in the way. This is useful for creating complex layouts.

The ability to wrap text in PowerPoint gives you flexibility in creating visually appealing slides.
2 Methods to Wrap Text in a Text Box in PowerPoint
There are 2 main methods you can use to wrap text in a text box in PowerPoint.
1. Using the Wrap Text Option in the Ribbon
You can wrap text in a text box using the Wrap Text option in the Ribbon.

Click on the text box.
Go to the Format tab in the Ribbon to view all the formatting options.
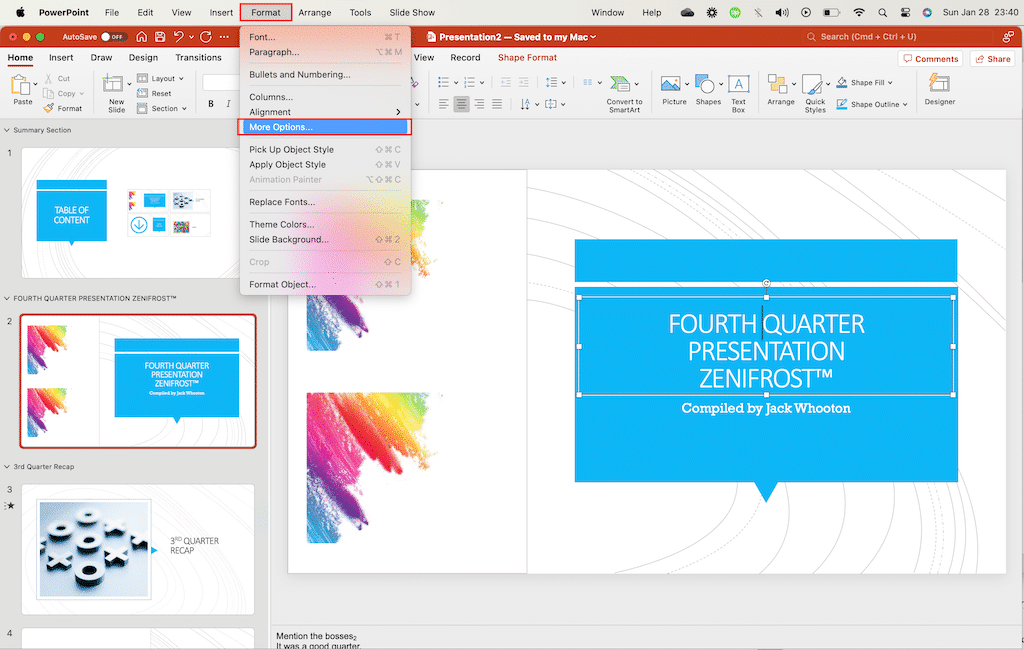
Click on More Options to access the Text Direction icon in the Text group.
Select the desired text wrapping option from the drop-down menu.

This method allows you to easily adjust the text wrapping settings for your text boxes.
2. Using the Wrap Text Option in the Home Tab
You can also use the Wrap Text option in the Home tab to wrap text in a text box.
Click on the text box.
Go to the Home tab in the Ribbon.
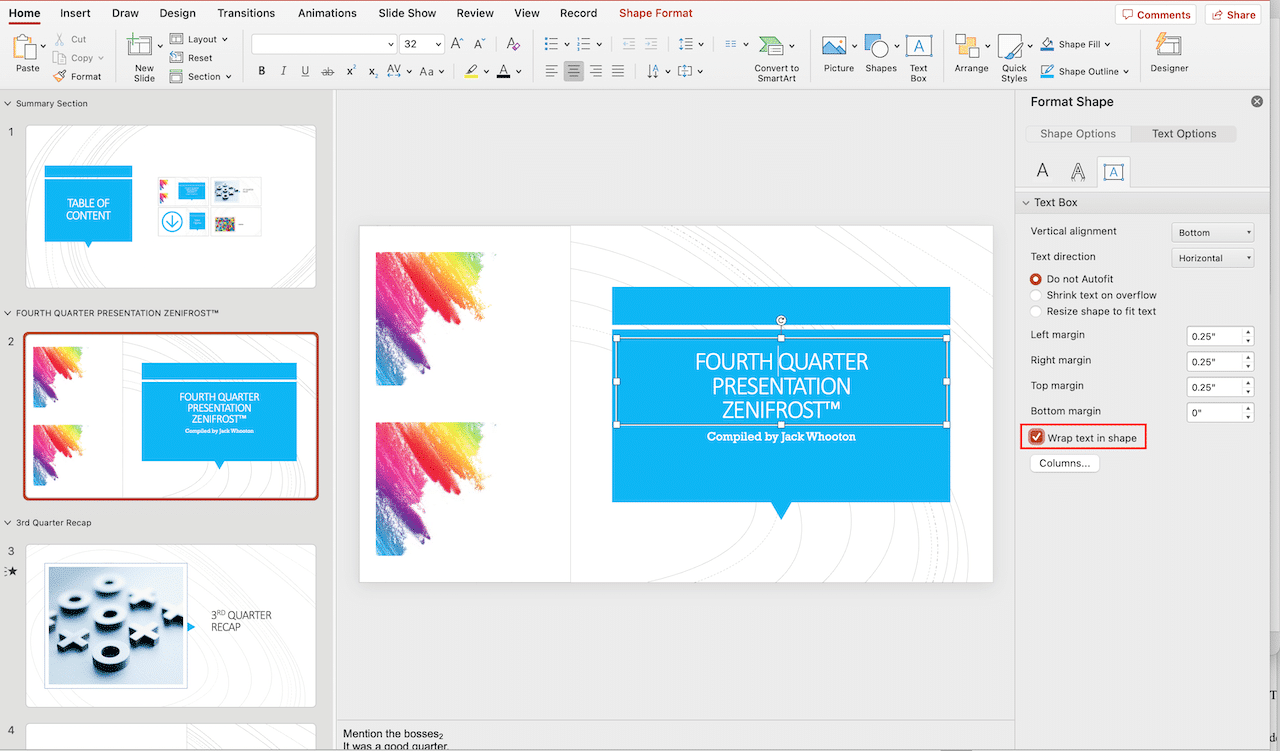
Click on the Text Wrap icon in the Paragraph group.
Select the desired text wrap option from the drop-down menu.
This method provides a more direct way to apply text wrapping to your text boxes. This should also automatically deal with aligning text in the text box.
By using either of these methods, you can easily wrap text in a text box to create professional and visually appealing PowerPoint presentations. Keep in mind that these methods can also be used for wrapping text in Microsoft Word too.
How to Adjust Text Box Size and Position
To ensure that your text wraps correctly within a text box, it’s important to properly adjust the text box size and position.
Follow the steps below to adjust the size and position of a text box in PowerPoint:
Click on the text box to select it.
Click and drag the resize handles on the sides and corners of the text box to adjust its size. You can also use the Size group in the Format tab to enter specific dimensions for the text box.
To move the text box, click and drag it to the desired location on the PowerPoint slide.
You can also use the alignment tools in the Arrange group of the Format tab to align the text box with other objects on the slide.

By properly adjusting the size and position of your text box, you can ensure that your text wraps neatly and enhances the overall look of your presentation.
Final Thoughts
Mastering the art of wrapping text in a PowerPoint text box is a crucial skill for creating visually appealing presentations.
This feature gives you control over how your text flows, making it easier to convey your message in a clear and organized manner.

By understanding the various text wrapping options available and following the step-by-step instructions provided, you can confidently create professional-looking slides.
If you’d like to learn more about working with PowerPoint, check out the video below on how to use a PowerPoint presentation to share information with your team in a Power BI report:
Frequently Asked Questions
Can I wrap text around an image in PowerPoint?
No, PowerPoint doesn’t offer a built-in feature for wrapping text around an image like some word processors do. However, you can manually wrap text by simulating the effect. To do this you can create multiple text boxes around the image or manually adjust the position and size of your image and text boxes. This will create the impression of wrapped text.
How do I prevent text from spilling out of a text box?
To keep multiple lines of text contained within a text box while creating presentations, ensure the box is large enough to accommodate the text. If the text still overflows, adjust the font size, line spacing, or manually insert line breaks as needed using the space bar.
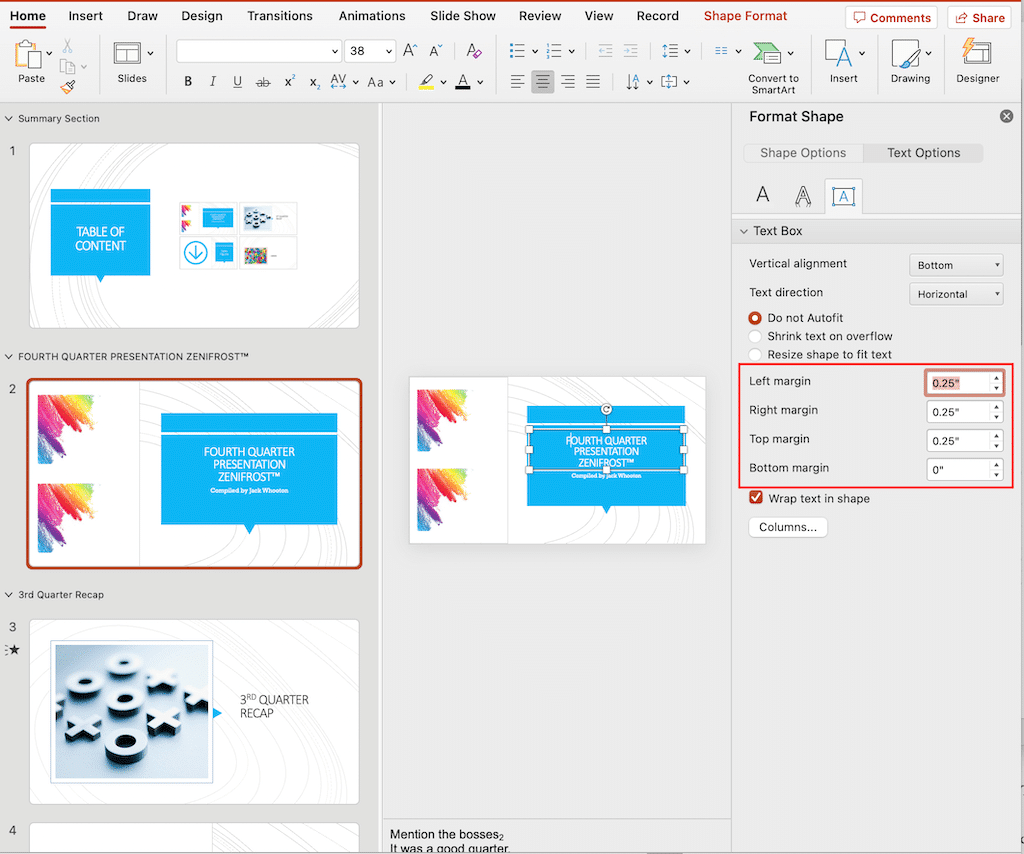
Is there an auto-fit text option for text boxes in PowerPoint?
Yes, you can enable the auto-fit feature for text boxes. When this feature is turned on, the text box will automatically adjust its size to fit the text. To enable auto-fit, right-click on the text box, select “Format Shape,” and check the “Autofit” option in the Text Box tab.