
When working with an Excel worksheet, you may find yourself needing to enter more than one line of text within a single cell. In this article, you will learn a few simple techniques to help you achieve this. Moreover, we’ll share how to import data with numerous lines and some tips to improve readability.
Adding multiple rows of lines in a single cell is helpful in organizing and presenting data. And there are three primary methods for adding multiple lines in an Excel cell.
Let’s explain them with real-world scenarios.

What Are The 3 Primary Methods to Add Multiple Rows in Excel?
Using the Alt+Enter Method
Utilizing the Wrap Text feature
Working with formulas like Concat and Char
Each approach offers its own advantages and can be applied in different situations, depending on your needs and preferences.
By mastering these techniques, you can significantly enhance the formatting and presentation of your Excel documents.
Read on to learn more about these valuable functions and discover how easily they are incorporated into your everyday spreadsheet work.
#1 – Using the Alt+Enter Method
To add multiple rows of lines in an Excel cell, use the Alt+Enter method.
This is a simple and effective way to insert multiple rows of lines, allowing you to incorporate line breaks within a cell.
To insert blank rows within a single cell using Alt+Enter, follow these steps:

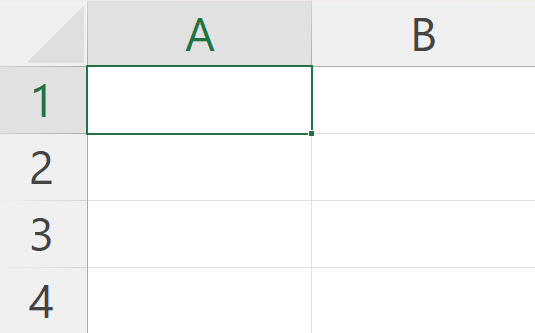
1. Click on the cell where you need to enter multiple rows of text.
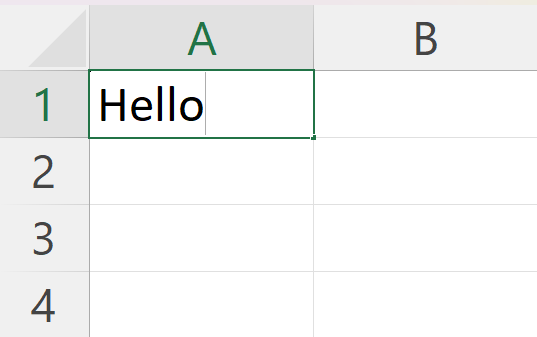
2. Type the first line of text.
3. Press the Alt+Enter keys, which will add a separate line allowing you to start typing the next line of text within the same cell.

4. Repeat the process of pressing Alt+Enter to insert as many lines as needed.

5. When you are done entering text and are satisfied with the number of lines, press the Enter key to finish.

By following the Alt+Enter method, you can effectively organize your data with numerous lines in Excel cells. This will contribute to a more readable and well-presented spreadsheet for both you and others who may interact with your data.
#2 – Employing the Text Wrap Feature
You can employ the Text Wrap feature to add multiple rows within an Excel cell. Text Wrap automatically formats the cell to display text on multiple lines as needed. Here’s how to make use of the Text Wrap feature:
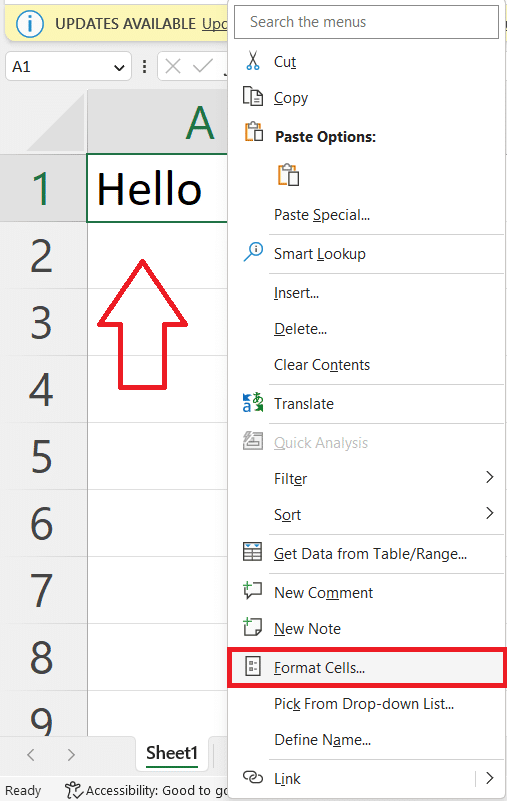
1. Select the cell or range of cells you want to format. Then, click the right button on your mouse and select Format Cells.
2. Open the Alignment group.
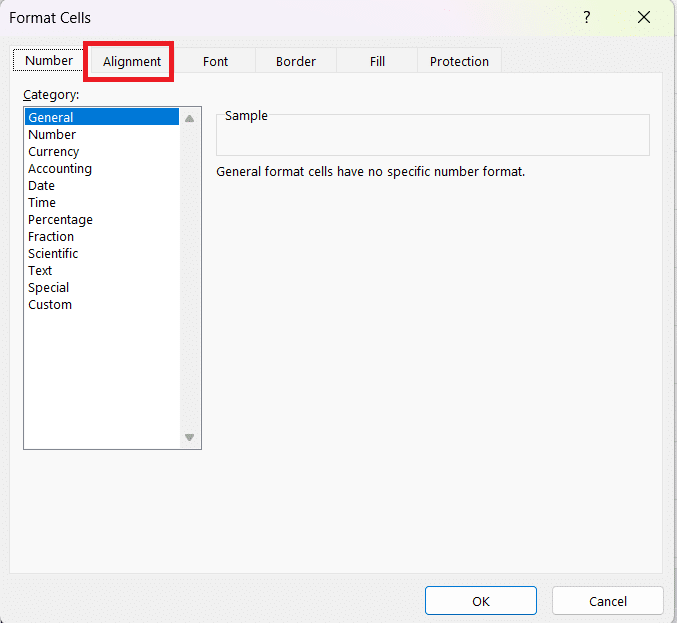
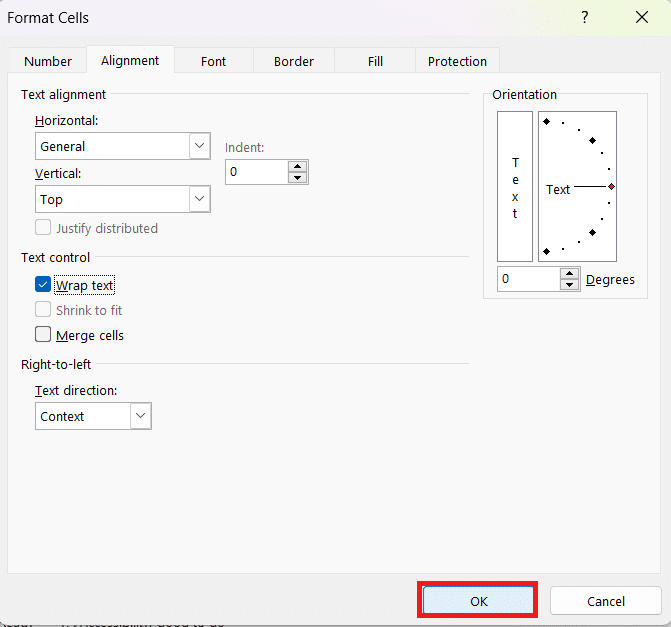
3. Select Vertical to open the drop down menu and choose Top. Then, check the Wrap text option.
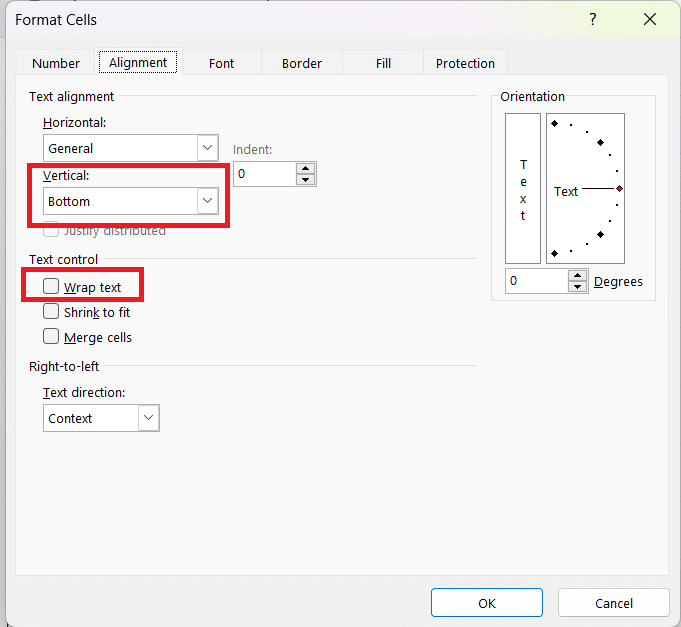
4. Click OK to save changes.
As you type into a cell with Text Wrap enabled, the data will automatically adjust to appear on multiple lines. The cell will expand to accommodate its content and keep everything visible.
#3 – Working with Formulas
When working with Excel, you may often need to insert multiple lines within a cell, especially if you are dealing with formulas. This section will discuss two useful functions for handling such tasks: the CHAR and Concat.
1.Char Function
The CHAR function is useful when working with multiple lines in Excel cells. You can efficiently create multi-line cells by using the CHAR function with the ASCII code for a line break.
Follow these steps to use the CHAR function:

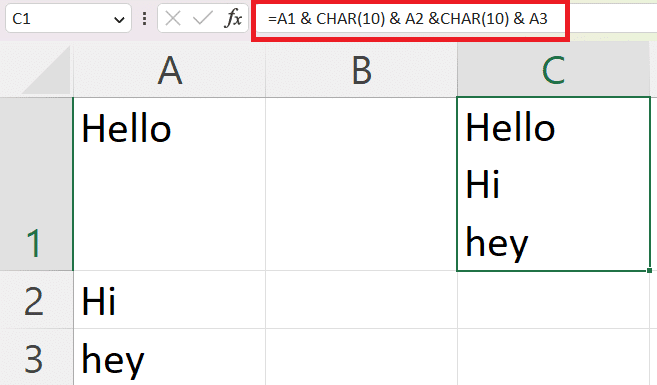
1. Select the cell where you want to insert the line break.
2. Type values/cell references and add =CHAR(10) with them using &. The number 10 is the ASCII code for the line break character.
2.Concat Function
The Concat function allows you to join two or more strings together. This can be particularly useful when you need to insert multiple rows in a single cell.
To use Concat, follow these steps:
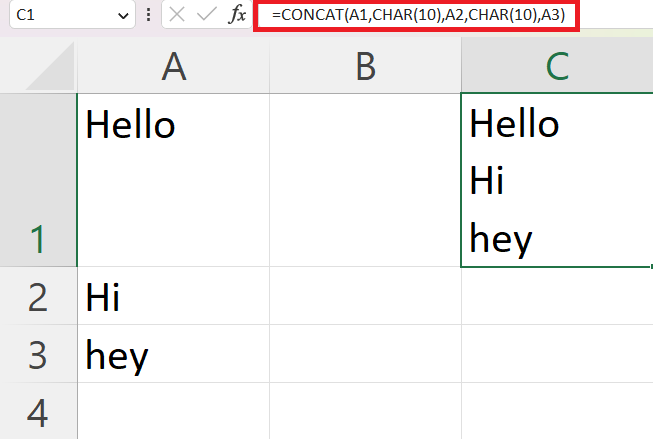
1. Select the cell where you want the combined text to appear.
2. Type the formula =CONCAT(text1, text2, …), replacing text1, text2, etc., with the text or cell references you want to combine.
3. Use the CHAR function with the number 10 as its argument to insert a line break between the texts (e.g., =CONCAT(text1, CHAR(10), text2, CHAR(10), …).
4. Press Enter to see the result.
Remember to enable the Wrap Text feature for the cell to display the line breaks properly. To enable Wrap Text, right-click the cell, choose Format Cells, and then check the Wrap text option on the Alignment tab.
Importing Data with Multiple Lines
When working with Excel, you might need to import data that contains multiple lines. This process typically involves bringing the data into Excel cells and preserving the line breaks.
Importing multiline data can sometimes be tricky, especially when the data needs to be arranged into columns. In such cases, you may want to consider the following steps:
1. Import the data into Excel in its original format.
2. Use the Text to Columns feature to split the multiline data into separate columns.
3. Apply formulas or use VBA code to join or split specific lines as needed.
By following these steps, you can effectively import and manage data with multiple lines in Excel, ensuring the readability and organization of your spreadsheet.
Formatting Tips for Readability
When you’re working with multiple lines in a single Excel cell, it’s essential to consider the readability of your data.
Here are some formatting tips to help make your data clearer and more organized:
1. Use appropriate font and alignment: Make use of a consistent font style and size for your text to ensure readability. Align your text either left, center, or right depending on the type of data you’re presenting.

2. Make use of borders and colors: Highlight important data points or differentiate between data categories by applying cell borders and background colors. This can help the reader easily distinguish between different sections of the data.
Example: For a list of sales representatives and their performance metrics, you can use borders and colors to separate the names and figures visually. Coloring alternating rows can make the data easier to follow as well.
3. Insert line breaks as needed: To add multiple lines of text within a single cell, utilize the keyboard shortcut Alt + Enter (Windows) or Ctrl + Option + Enter (Mac). This allows you better to organize your text and present data within one cell, ensuring the reader isn’t overwhelmed with too much information.

4. Adjust row height: When using multiple lines in a cell, adjusting the row height is important to ensure all text is visible. To do this, simply select the cells, go to the Home tab, click Format under the Cells group, and then click AutoFit Row Height.
By following these formatting tips, you’ll be able to create readable and well-organized data that effectively communicate crucial information to your readers. Remember, the key is to keep it simple and visually appealing to ensure comprehension and ease of use.
Let’s Wrap it Up
By now, you should be proficient in adding multiple lines within an Excel cell to enhance the organization and readability of your spreadsheets.
Here’s what we have learned:
Employing the simple shortcut ALT+ENTER (Windows) or CTRL+OPTION+ENTER (Mac) allows you to add line breaks exactly where you want them.
Beyond line breaks, you can also apply Excel’s Wrap Text feature to adjust text automatically within a cell, ensuring your data is presented in the most coherent manner possible.
Using formulas like CHAR and CONCAT to add separate lines within a cell.
Importing data with multiple rows of lines.
Formatting tips to increase readability.
Looking to take your excel skills to the next level? Check out our video below.
Remember that thoughtful organization and clearly presented data are essential for efficient spreadsheet use.
Furthermore, by putting these techniques into practice, you can save time and ensure that your spreadsheets easily convey important information.


