
Ever found yourself struggling to fit lengthy text into the confines of an Excel cell?
Wrapping text is the elegant solution that ensures your data looks clean and professional, without compromising on content.
To wrap text in an Excel spreadsheet, there are 5 main methods:

- Wrap Text Button
- Format Cells dialog box
- Excel keyboard shortcuts
- VBA code
- Manually wrap text
In this article, we’ll delve into the step-by-step process for both automatically and manually wrapping text in Excel cells.
By the end, you’ll know how to easily manage text formatting within your spreadsheets, allowing for a cleaner, more professional look.
Let’s get started!

Understanding Wrap Text Feature in Excel
Wrap Text is a helpful feature in Excel that allows you to display long text within a single cell by wrapping it onto multiple lines. This ensures that all the text remains visible and your spreadsheet remains neat and organized.
There are two main ways to wrap text in Excel:
- Wrap text automatically: Excel can automatically wrap text within a cell when its length exceeds the cell’s width.
- Wrap text manually: You can also manually insert line breaks at specific points in a cell, allowing for greater control over the wrapping of your text.
Read on, and we’ll show you how to wrap text in Excel automatically and manually.

How to Automatically Wrap Text in Excel
Automatic wrapping in Excel can be done in several ways.
The most common methods of automatic wrapping in Excel are:
- Wrap Text Button
- Format Cells dialog box
- Excel keyboard shortcuts
- VBA code
Let’s learn the above methods step-by-step.
1. How to Use Wrap Text Button to Wrap Text
If you want to wrap a text using the Wrap Text button, follow the below steps:
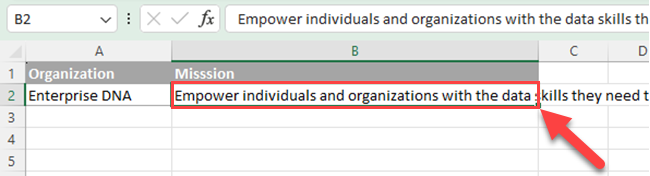
Step 1: Select the cell where you want to wrap the text. For example, if you want to wrap text in Cell B2, select Cell B2.
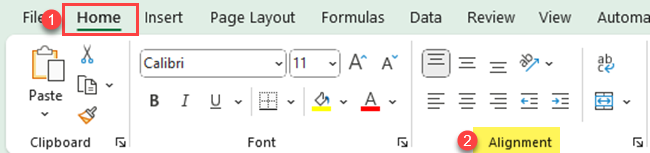
Step 2: Go to the Home tab in the Excel Ribbon and locate the Alignment group.
Step 3. Click the “Wrap Text” button.
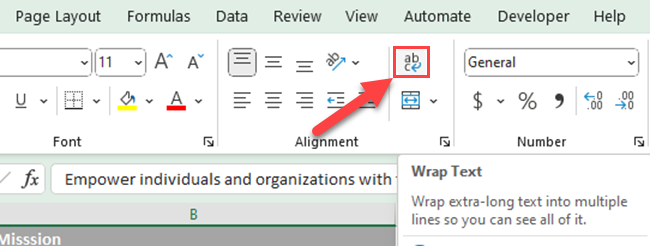
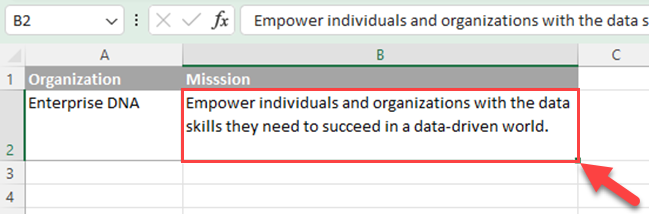
The text in the selected cells will automatically wrap to fit the cell. If the column width is not enough, Excel automatically adjusts the row height for the wrapped text.
2. How to Use Format Cells Dialog Box to Wrap Text
If you want to wrap a text using the Format Cells dialog box, you have to follow the below steps.
Step 1: Select the cell where you want to wrap the text.
For example, if you want to wrap text in Cell B2, select cell B2.
Step 2: Press “Ctrl + 1” to open the Format Cells dialog box.
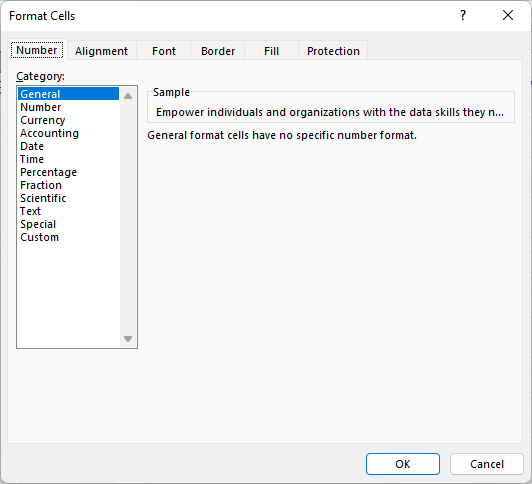
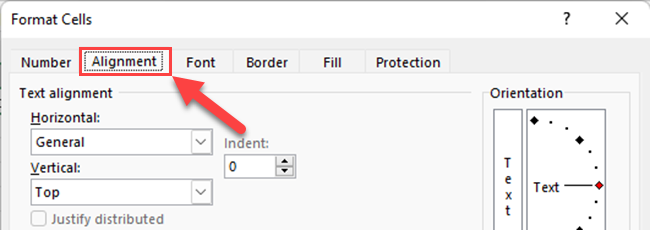
Step 3: Go to the “Alignment” tab of the Format Cells dialog box.
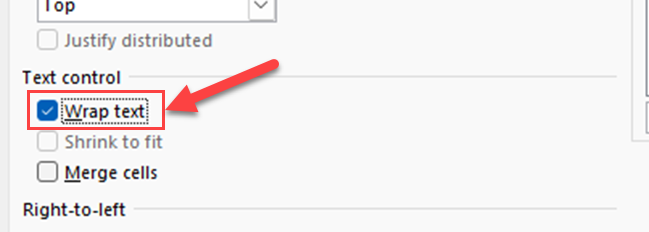
Step 4: Go to the “Text Control” section and select the Wrap Text checkbox.
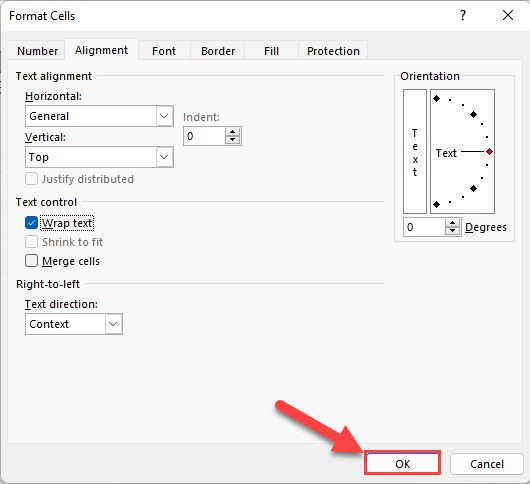
Step 5: Click the “OK” button.
3. Excel Keyboard Shortcut to Apply Wrap Text Formatting
Keyboard shortcuts and hotkeys can expedite tasks in Microsoft Excel by reducing reliance on the mouse.
When working with text, wrapping is an important formatting feature that enables extended text to fit within a cell.
In this section, we’ll go over how to wrap text in Excel using keyboard shortcuts. Follow the below steps:
Step 1: Select the cell where you want to wrap the text.
For example, if you want to wrap text in Cell B2, select Cell B2.
Step 2: Press Alt + H + W. You have to press these three keys one after the other. So, first press the Alt key. Then press H. Finally, press W.
Pressing these keys one after the other, automatically activates the Wrap Text option on the Home ribbon in the Alignment group, wrapping the text in the selected cell(s).
4. How to Use VBA Code to Wrap Text in Excel
VBA (Visual Basic for Applications) is a programming language that lets you automate tasks in Excel. You can use it to write code that performs various actions, including wrapping text within cells.
If you want to wrap a text using a VBA code, follow the below steps:
Step 1: Press Alt + F11 to open the VBA Editor.
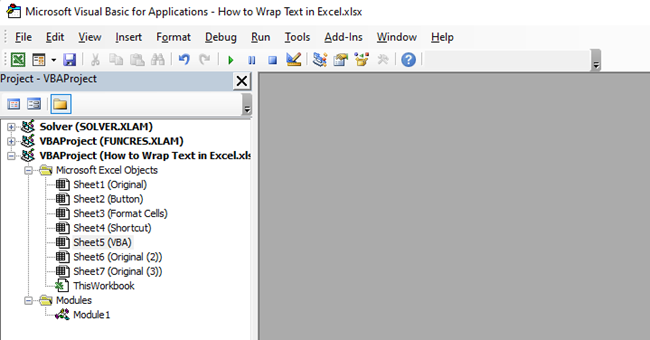
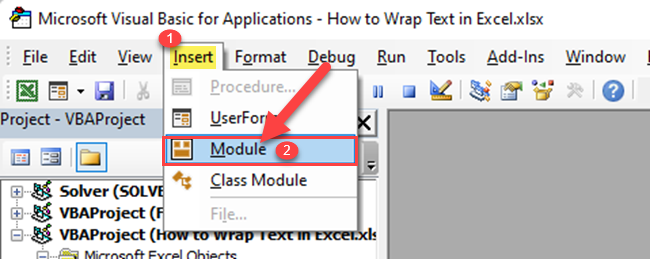
Step 2: Go to the Insert tab and select “Module”.
Step 3: Enter the below code.
Sub Wrap_Text()

Selection.WrapText = True

End Sub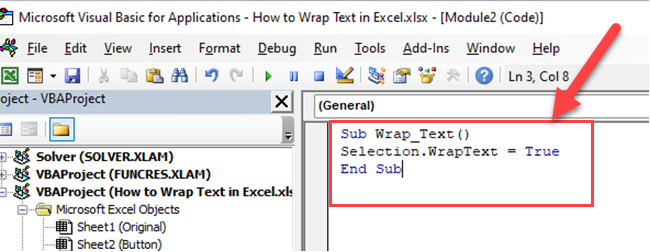
Now, you can save this VBA code in the Excel Macro-Enabled Workbook(*.xlsm).
So, when you run the above macro, Wrap Text formatting will apply to the selected cells.
All the above four methods automatically wrap text in Excel.

Next, we’ll learn how to do manual wrapping in Excel.
How to Manually Wrap Text in Excel
1. Manually Wrap Text in Excel
Sometimes, you may want to wrap text manually.
In such cases, you have to enter a manual line break.
To wrap the text manually in Excel, follow the below steps:
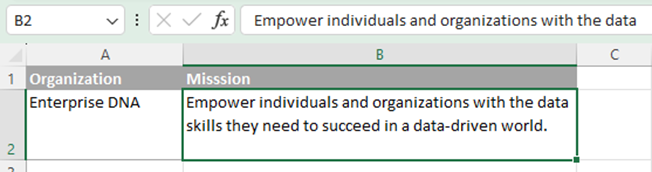
Step 1: Double-click the cell in which you want to insert a line break or press F2.

You should see the cursor at the end of the text just like in the image above.
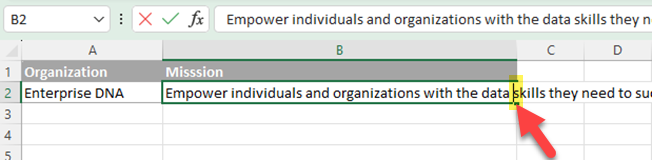
Step 2: Click the location in the cell where you want to break the line.
For example, if you want to wrap the text that comes before the word “skills,” keep the cursor right before that word like in the below image.
Step 3: Press Alt + Enter to create a line break at the desired position. You have to press the Alt and Enter keys together.
Microsoft Excel will insert a manual break and the cell’s text is wrapped from the chosen point.
To automatically adjust the cell size (cell width and row height), click AutoFit Row Height.
Final Thoughts
Wrapping text in Excel is more than just a cosmetic adjustment; it’s a vital tool that enhances readability and ensures that your data is presented in a clear and concise manner.
We’ve explored how to wrap text in Excel using automatic text wrapping methods such as the Wrap Text button, Format Cells dialog box, Excel keyboard shortcuts, and VBA code.
We also went over how to manually wrap text by inserting a line break.
The techniques we’ve discussed offer flexibility and control, allowing you to tailor your spreadsheets to your specific needs.
Remember, the key to effective data presentation lies in the details, and mastering text wrapping is one of those essential skills that can make a significant difference.
Would you like to learn how to create a custom text cleaning function in Power Query? Check out the below video:
Frequently Asked Questions
How do you wrap text in a cell?
To wrap text in a cell, select the cell(s) you want to format, then go to the Home tab on the Ribbon and click the Wrap Text button in the Alignment group.
What is the shortcut for wrapping text in Excel?
The shortcut for wrapping text in Excel is Ctrl + 1.
It will open the Format Cells dialog, where you can switch to the Alignment tab, select the Wrap Text checkbox, and click OK.
Why can’t I wrap text in Excel?
If you’re unable to wrap text in Excel, make sure the cell doesn’t have Merge & Center applied.
Also, check if the height of the row is set to a fixed value instead of AutoFit. Adjust these settings, and then try wrapping text again.
How do I wrap text and AutoFit in Excel?
To wrap text and AutoFit in Excel, first, apply the Wrap Text option by selecting the cell(s) and clicking the Wrap Text button in the Home tab.

Then, adjust the row height by selecting the row(s), right-clicking, and choosing AutoFit Row Height from the context menu.
How to make Excel cells expand to fit text automatically?
To make Excel cells expand automatically, use the AutoFit Row Height feature. Select the row(s) you want to adjust, then right-click and choose AutoFit Row Height from the context menu.


