In today’s blog, you will learn how to add comments to Power Automate desktop flows. In its current setup, Power Automate desktop does not have the feature to comment on flow steps, so learning how to overcome this challenge would be handy. You can watch the full video of this tutorial at the bottom of this blog.
In essence, our goal is to leave an audit trail search that helps explain our Power Automate desktop flow to others who are looking at or taking over our flow.
This is a good way to walk the user through the code and show them the processes, how things are set up, and how the flow works.

Sample Comments For Desktop Flows
Let’s look at this example. You can see here some of the comments I left for this flow’s steps throughout the process. These comments aim to guide another potential user or even myself.
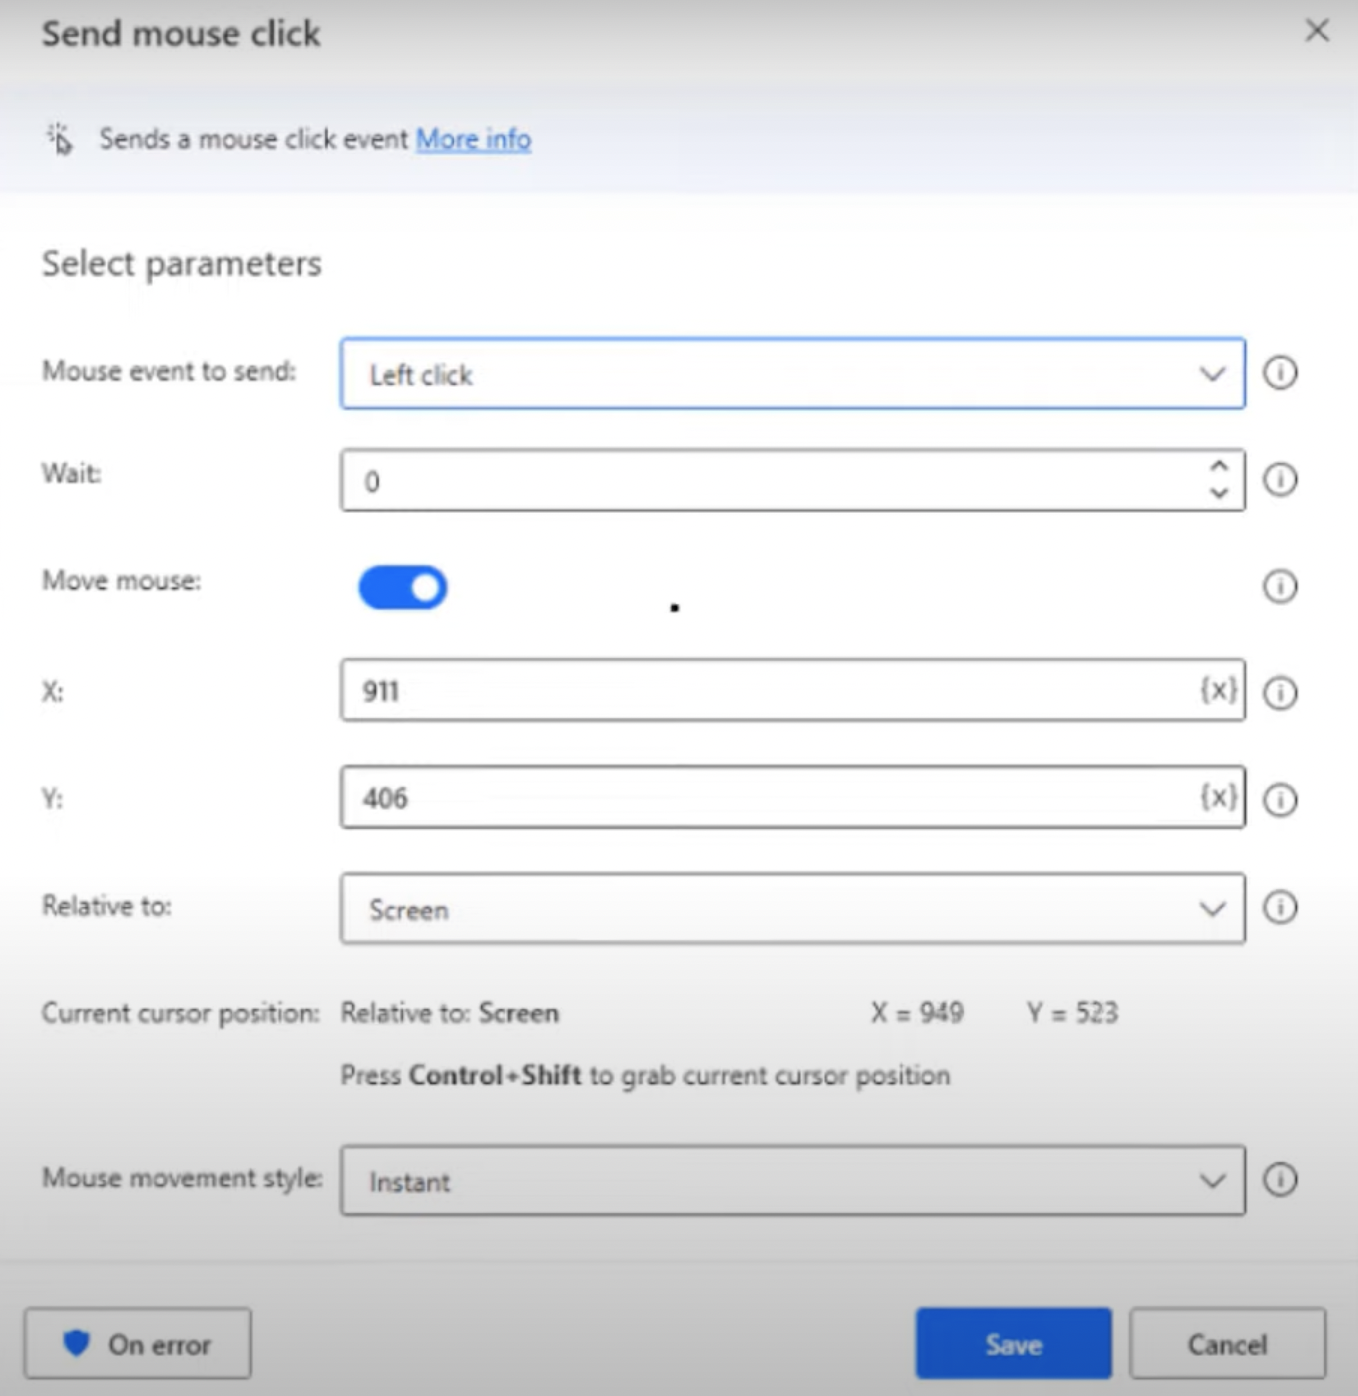
That is because as I navigated through QuickBooks Online, I made a lot of Send mouse clicks which used and saved the x and y axes of the screen.
However, the axes don’t make much sense on their own, so if I go back and look at my code, I won’t be able to understand what they are doing unless I add comments.

Unfortunately, if you open the Send mouse click step, there is nowhere to add a comment in our code like we can in Power BI Desktop, DAX, or Power Query.
There, we can add comments to help explain our measures or what we are doing inside of the query editor, but inside the Power Automate Desktop, that is not possible within the current steps.
But as you can see in the image below, I was able to use steps 5, 8, 11, and 16 to explain the Send mouse click steps that precede them.


For example, in Step 5, I opened up a comment and typed Step 4 = Click on Sign In Button. This way, I’ll know what this mouse click does because it offers no explanation unless a comment is added to it.

Using Flow Control & Comment
We were able to add the comments we saw using Comments in Flow Control. Under Actions, we can see a list of what we can do within Power Automate Desktop. And what’s great about it is that most of the actions available can also be done in Power Automate Online.
Because of that, we can choose either of them because there is no right or wrong answer on which program to use. It is more of an art than it is a science.
In their recent update, Power Automate Desktop expanded their Actions so now, we can type in comment in the search bar and Comment will show up under the Flow control.

Alternatively, we can manually go to Flow control, open the dropdown menu, and see all the other actions that can be added to your flow if you want to. As you can see, Comment is one of them and is listed at the top.

Double-click on Comment and then a comment pop-up window appears. This is where we add our comment to explain the steps that we have.

***** Related Links *****
MS Power Automate Vs. SharePoint Automate
Automated Flow In Microsoft Power Automate
Power Automate Flows Creation From Scratch
Conclusion
Adding comments to your Power Automate Desktop flows can greatly improve the readability and understandability of your automation.
By inserting short, concise notes throughout your flow, you can better communicate the purpose and function of each step to both yourself and other users.
Whether you’re building a complex workflow or a simple one-step process, taking the time to add comments can save you and your team valuable time and effort in the long run.
So next time you’re building a flow in Power Automate Desktop, remember to include comments as a best practice to keep your automation clear and organized.
All the best,
Jarrett Moore