Once you understand how a Flow Diagram looks like, it will be easier to make some changes to it. In this tutorial, you’ll learn how to edit and track Microsoft Flows in Power Automate.
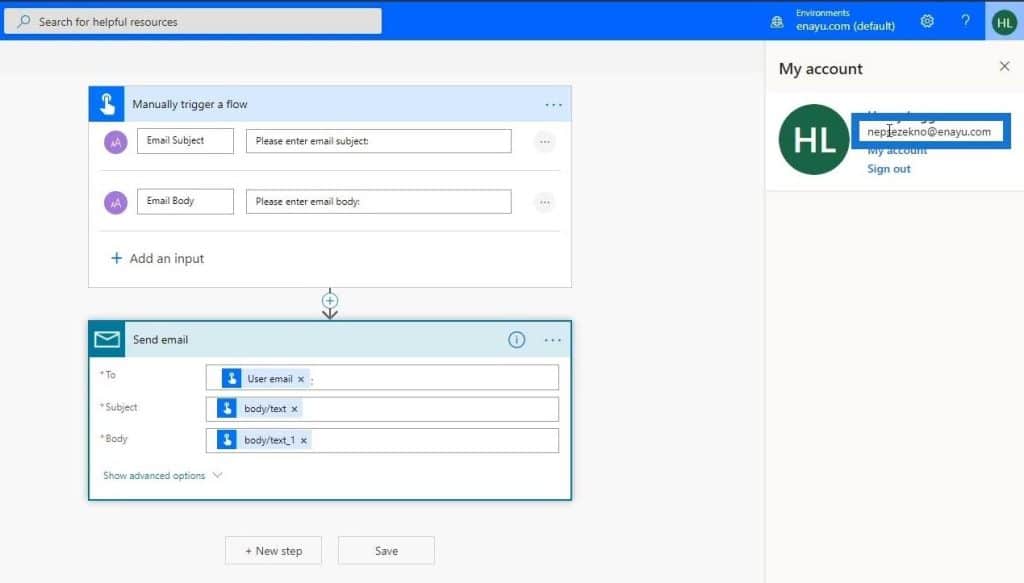
This is an example of a flow that sends an email to a variable called User email.
If we click inside it, we’ll see that the User email is the email address of the user who triggered the flow.
When we triggered the flow, we saw that it sends an email to this email address over here. For you, it will be the email address that you used to sign up.
Editing Microsoft Flows In Power Automate
Now, let’s change this to another email. For this example, I’ll use my personal email instead. You can use or change this depending on your preference.
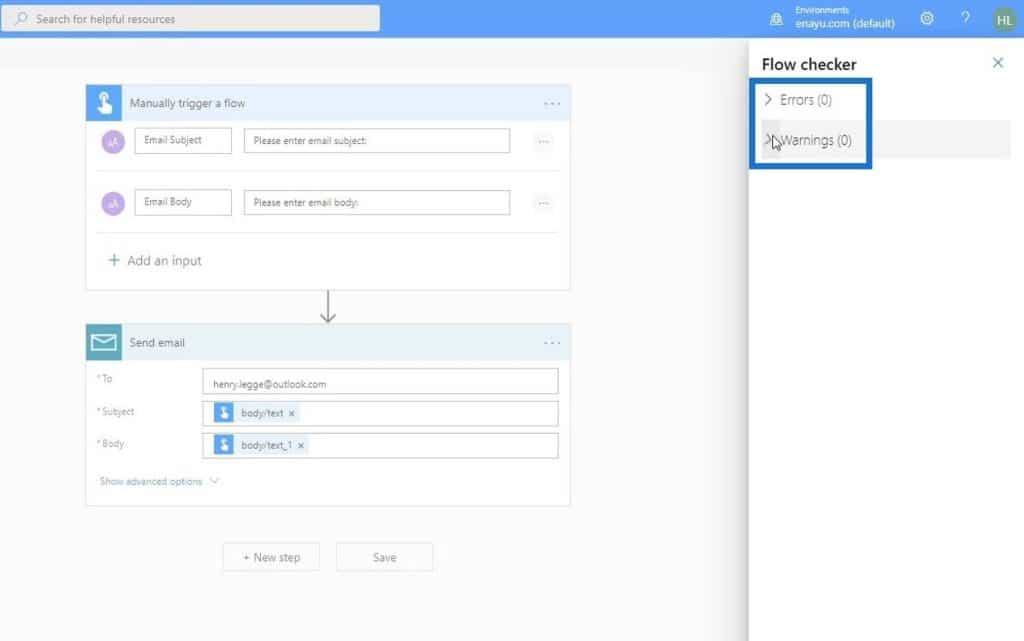
Let’s click the Flow checker just to make sure that there are no errors.
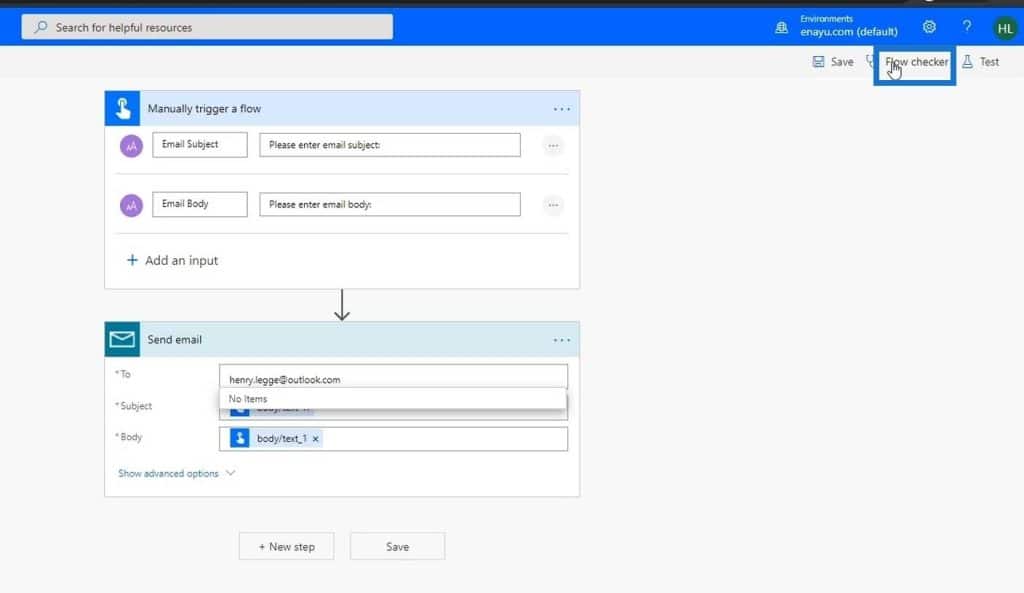
If there’s no error, just click Save.
There are a lot of different things that we can do when editing flows. However, when you’re making a new flow and you have no idea how something works, the best solution is to look at a template that’s similar to what you want to do. You may look at the Flow Diagram and then start from there.
Testing Microsoft Flows In Power Automate
We have now changed our flow. Let’s then test it by clicking the Test option.
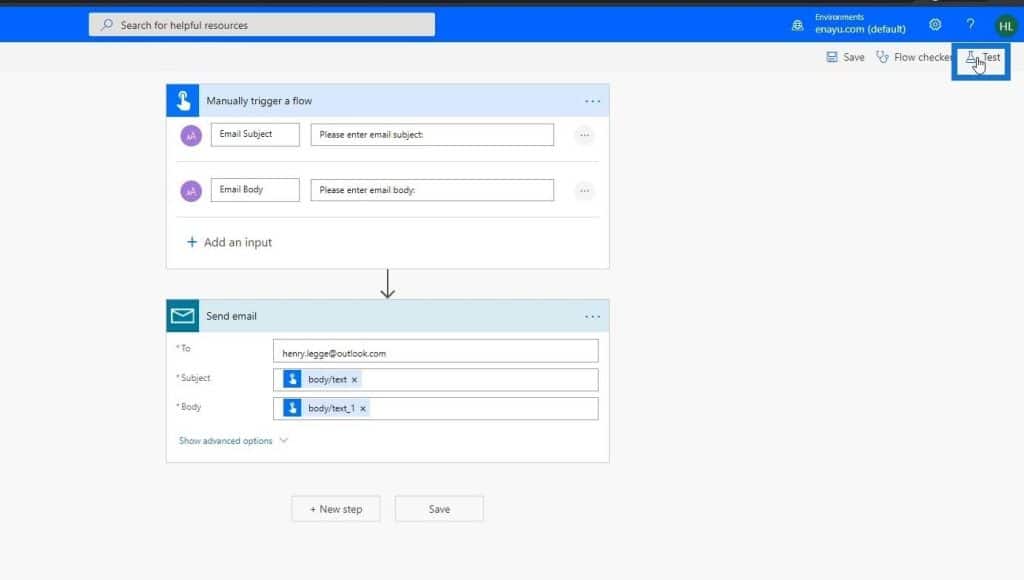
There are two ways to test flows. We can choose to start the flow from the very beginning where it will ask us for the email subject and email body.
We can also use the Using data from previous runs option. This will trigger the flow and use the inputs from a previous run.
For this example, let’s use the data from the action that we previously did, and click the Test button.
As you can see, our flow ran successfully.

After that, let’s go to the Junk Email where we can see that there’s a new email. It should be in the Inbox but it sometimes classifies it as Junk.
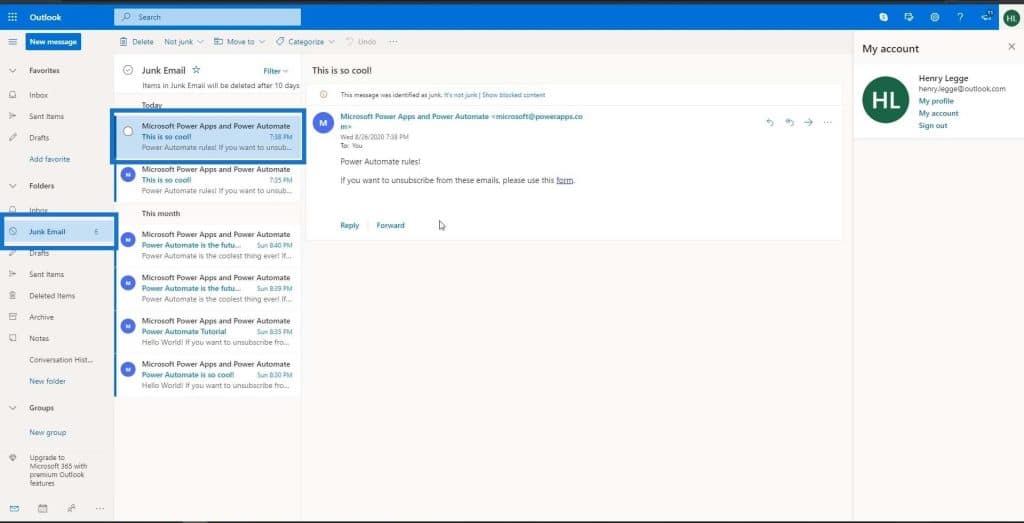
We’ve successfully modified this flow in a way where instead of sending an email to the User Email parameter, it will now always send an email to the email address that we’ve previously added.
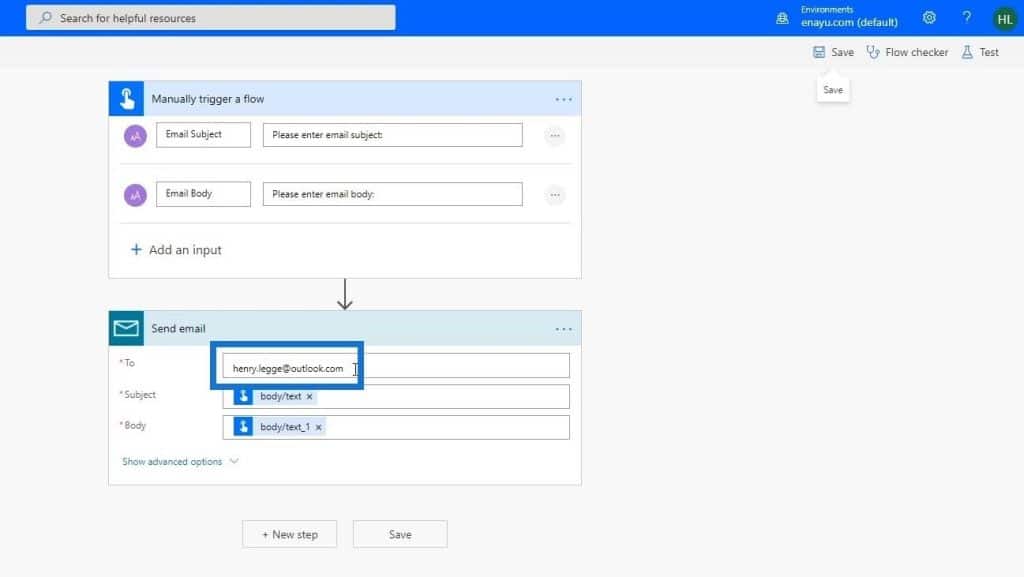
This is just a simple example of modifying an existing flow template based on our needs.
Tracking Microsoft Flows In Power Automate
Another thing that I want to cover in this tutorial is tracking the history of our flows. What’s nice about flows in Power Automate is we can actually see the history. So, if we send this flow to someone else and they run it, we can see their tests.
Moreover, we can see what we have previously written as well. For example, this is what I did 7 minutes ago. Now, let’s take a look at this.
Based on this simple JSON code, we can see that it required these two inputs.
These are what I previously entered.
We can basically use these things and do this for every run that’s created. And the best thing about it is that Microsoft keeps all the records for the last 28 days.
***** Related Links *****
How To Create A Power Apps Account | Power BI Tutorial
Power Apps: Getting Started With This Revolutionary Tool
Power Apps & Power Automate Masterclass Course Rollout
Conclusion
We’ve covered how we can edit Microsoft flows in Power Automate. We can still add and modify lots of things for our flows.
We’ve also discussed how we can track flows in Power Automate. This is indeed a very useful feature, especially if we wanted to know what flow we triggered at a certain time and the underlying process that happened to it.
All the best,
Henry


