This tutorial will show you the process of installing the Python programming language on your PC. You’ll learn how to use some of its tools, like the Independent Development Environment (IDE), which allows you to write codes and see visuals. You’ll also learn how to utilize the benefits of incorporating Python in Power BI.

Installing Anaconda For Python Language In Power BI
The most popular installation of Python programming language that you can find is called Anaconda. You can go to anaconda.com and navigate through the download screen.

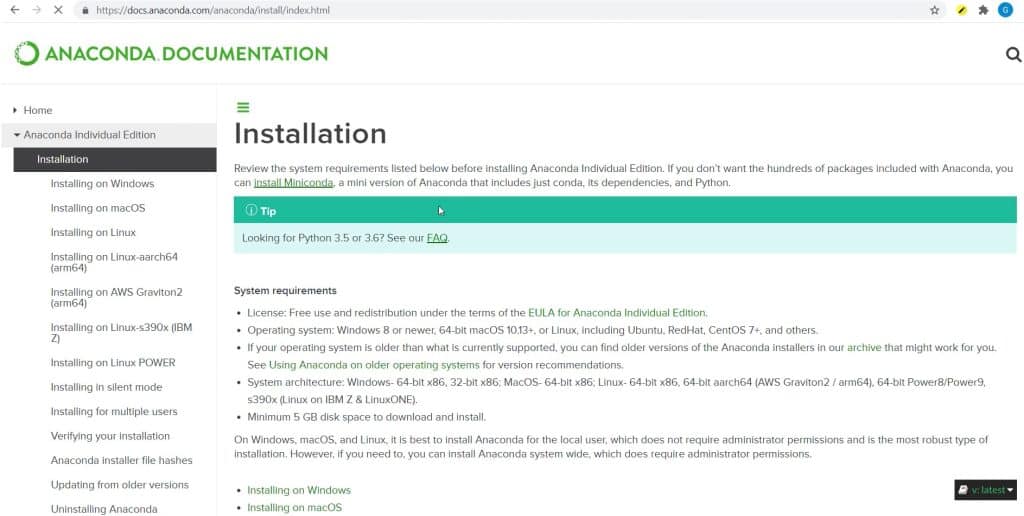
You can also go to Google and search “Anaconda Python Install”. Then, click on the link that says Installation – Anaconda Documentation.

Inside the link are options for you to install Python based on your PC’s OS. Choose the installer of the OS version that you’re using.

If you click the Installing On Windows option and select Download The Anaconda Installer, it will bring you to the anaconda.com download page.

Click the Download button to start downloading Python.

Once the download is complete, click the file to access the installer. Then, click Next on the Anaconda Setup.

Next, click I Agree on the License Agreement.

Select Just Me for the Installation Type.

Once done, choose a destination folder for the installer and press Next.

Select the second option in the Advanced Installation Options and press Install.

Once the installation is complete, press Next.

Then, press Next on the Anaconda Setup.

Lastly, click Finish to complete the Anaconda Setup. You can check the “Anaconda Individual Edition Tutorial” and “Getting Started With Anaconda” options if you want a tutorial about the application.

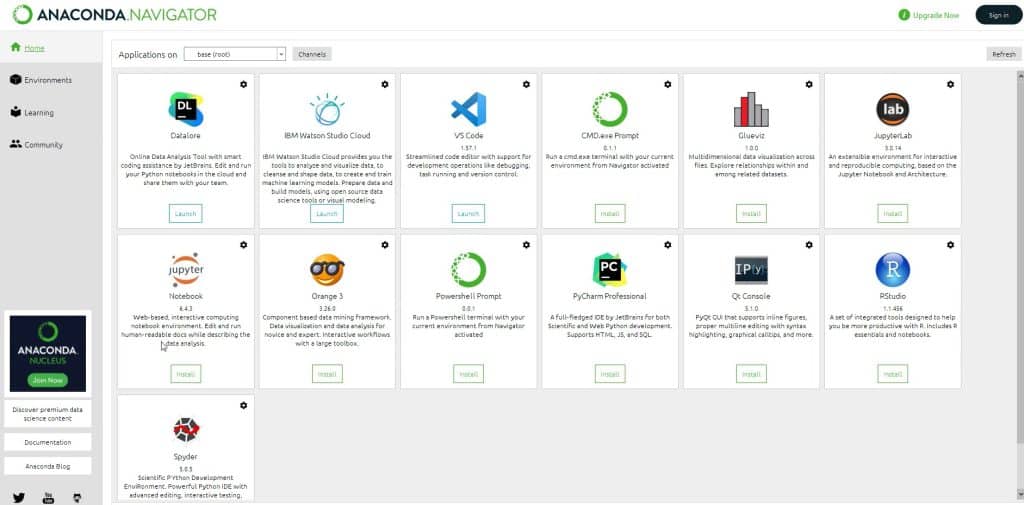
Now, go to your windows bar and search Anaconda Navigator. Then, click and load the navigator.

Installing Jupyter Notebook For Python Language Scripting
Once the navigator loads, you’ll see tools that you can maximize and utilize. The most commonly used tools are Jupyter Notebook and Spyder because they allow you to write Python scripts.

First, install and load Jupyter Notebook and Spyder. To access the tools, you can either launch them in the Anaconda Editor or search them in the windows search bar.
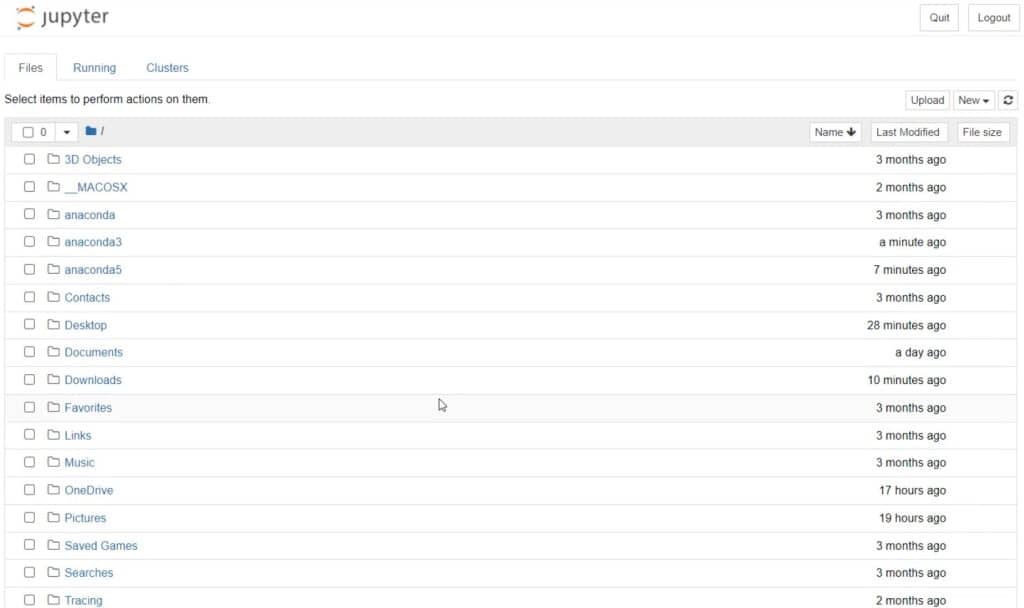
When opening Jupyter Notebook, a black screen will appear and then you’ll see different files in a certain directory.

The working directory exists where the Anaconda app is installed. If you go to This PC, click the C Drive, select Users and choose your username, that’s where you’ll find the Jupyter files.

To create a new notebook in Jupyter, click New and select Python 3.

You’ll then be redirected to a page with a cell for scripting.

You can change the name of the notebook by clicking Untitled and renaming it. This example used the “First Notebook” as the new name.

In the page, you can utilize and maximize the tools in the toolbars. You can see common options like Save and Make A Copy in the File toolbar.

The Edit and Cell toolbars give you options to control the cells.

In the View toolbar, you can toggle the header, toolbar, and line numbers.

The Widgets toolbar allows you to customize the app.

The Trusted sign at the right end of the toolbar tells you that Jupyter Notebook is Javascript-enabled for display. Besides that sign, you can see the version of Python you’re using. In this example, the version used is Python 3.

***** Related Links *****
Python I for Power BI Users – New Course In the Enterprise DNA Education Platform
Create Power BI Reports With These Techniques & Examples
Custom Visual Reports In Power BI
Conclusion
There are a variety of things you can do with the Python programming language installed in Power BI. You’ll discover different ways of making your Power BI reports better and more compelling. Download and install Python in your PC to know and learn more about the language and what it can do.
Gaelim


