In this tutorial, we’re going to talk about the PowerApps Launch function.
The PowerApps Launch function works the same way as hyperlinks. It allows you to launch web pages, apps and other services on your device.
For example, you can use the Launch function to automatically open the phone app and call a phone number through a button on your app. If you’re using a computer, it could launch your Skype to call that number.
Using The Launch Function To Open a Webpage
First, let’s walk through the steps on how you can use the Launch function to open up a webpage. We’ll start off by adding a button to our master screen.
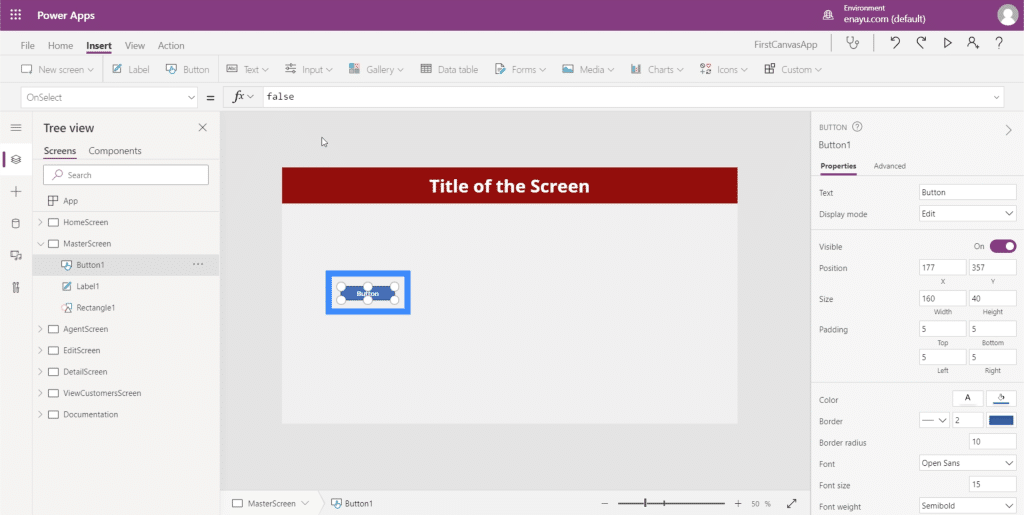
Then, we’ll highlight the button, choose OnSelect from the properties dropdown, and type in Launch on the formula bar.
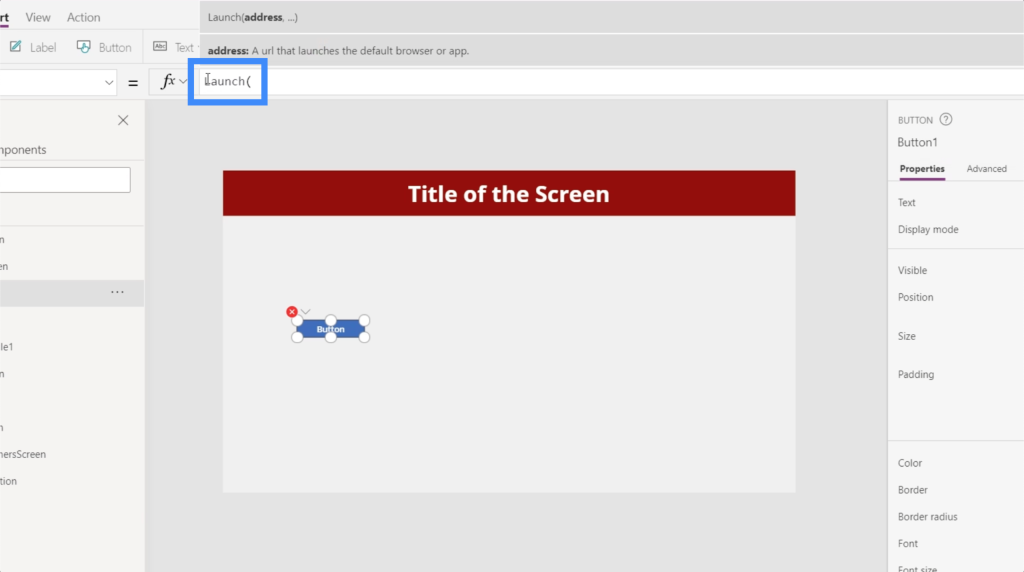
We’re going to need a url that leads to the webpage we want to launch. For now, let’s use Google as an example.
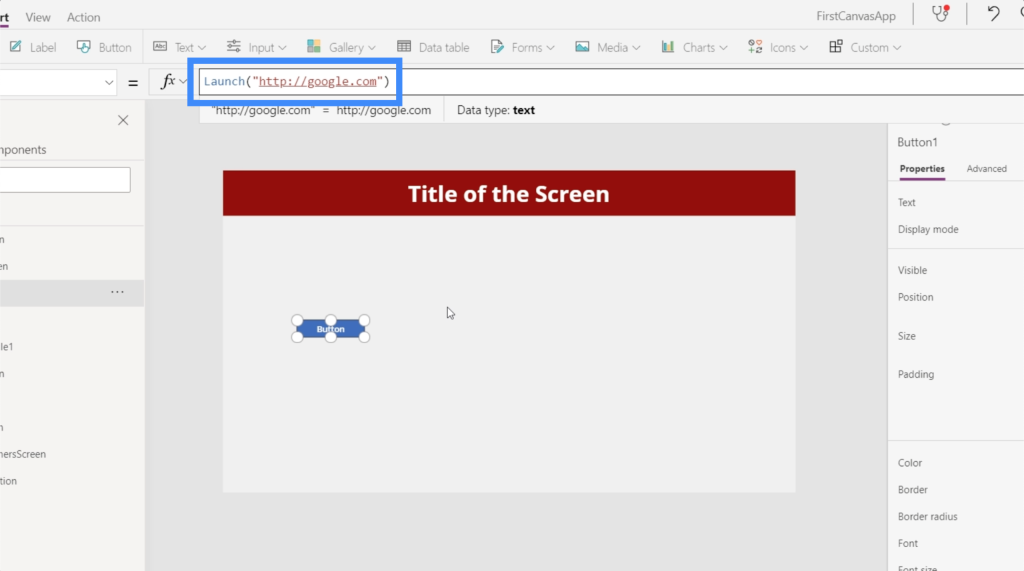
Now, let’s test the button and see what happens when we click on it.
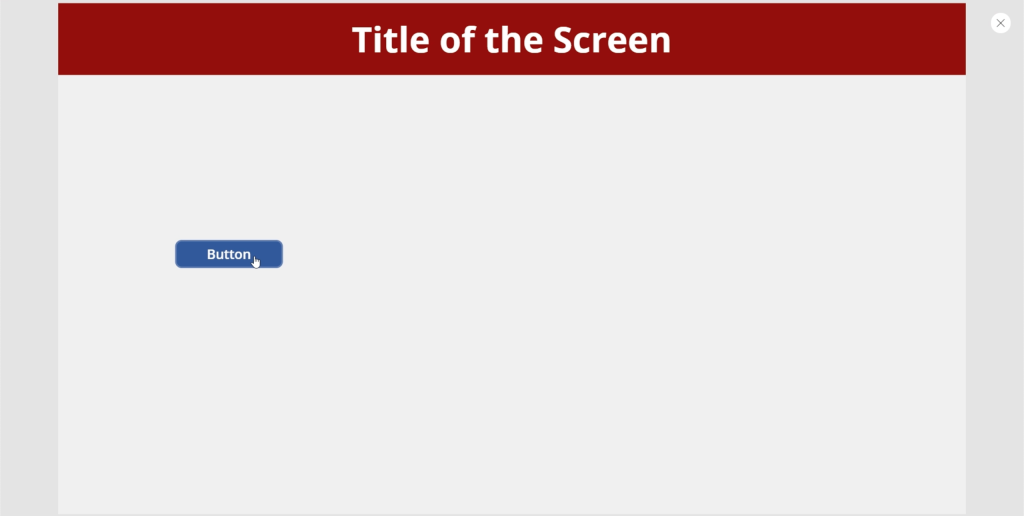
As you can see, it automatically opened Google on our browser.
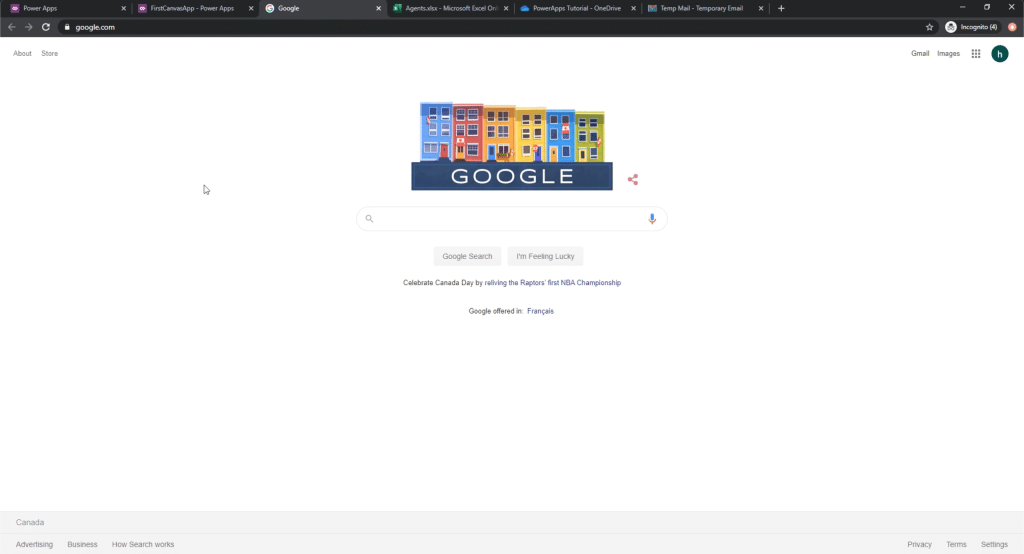
It would do the same thing if we’re on a mobile device. If the default browser is Safari, then it will go ahead and launch Safari and open up Google.
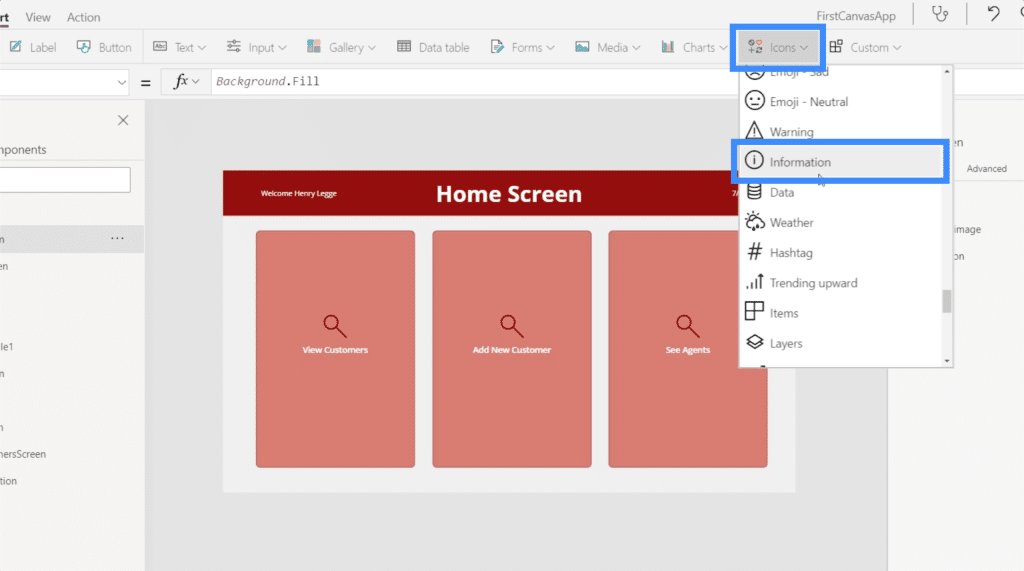
This adds a lot of possibilities to our app. We can, for example, have an icon that leads to our help site. To do that, let’s add the Information icon.
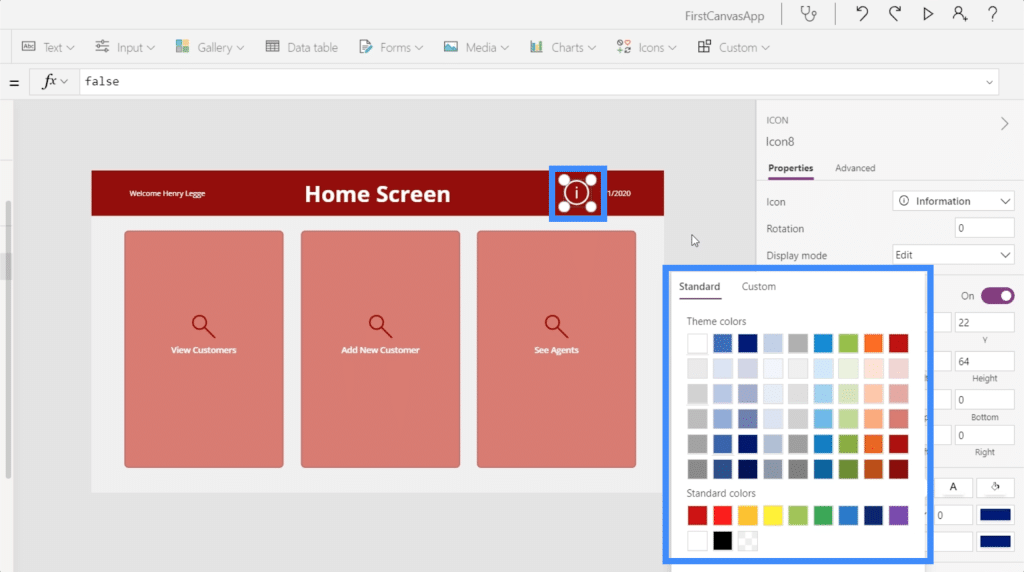
Let’s change that icon’s color to white so that it aligns with the theme on this screen.
Let’s say we’re working on a travel app. We can have this icon lead to travelagency.com/help.
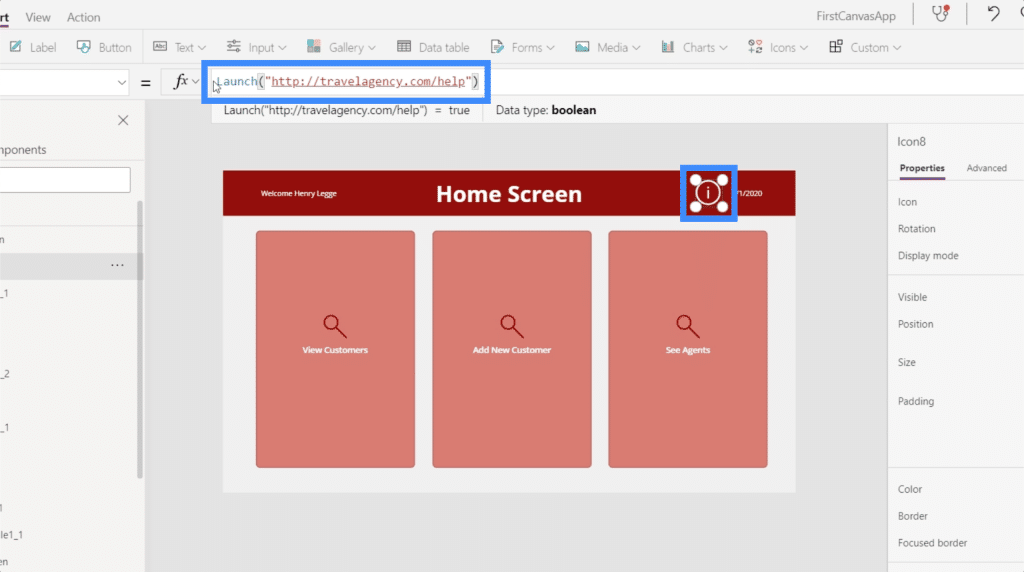
With a functionality like this, your end user can easily access more information that can’t be found from within the app itself.
Using The Launch Function To Call A Number
Aside from allowing you to launch your browser and open a specific webpage, the Launch function also gives you call functionality in your app.
This time, we’ll need to start with “tel” to tell PowerApps that we’re calling a phone number. Then, we’re going to type in a phone number after that.
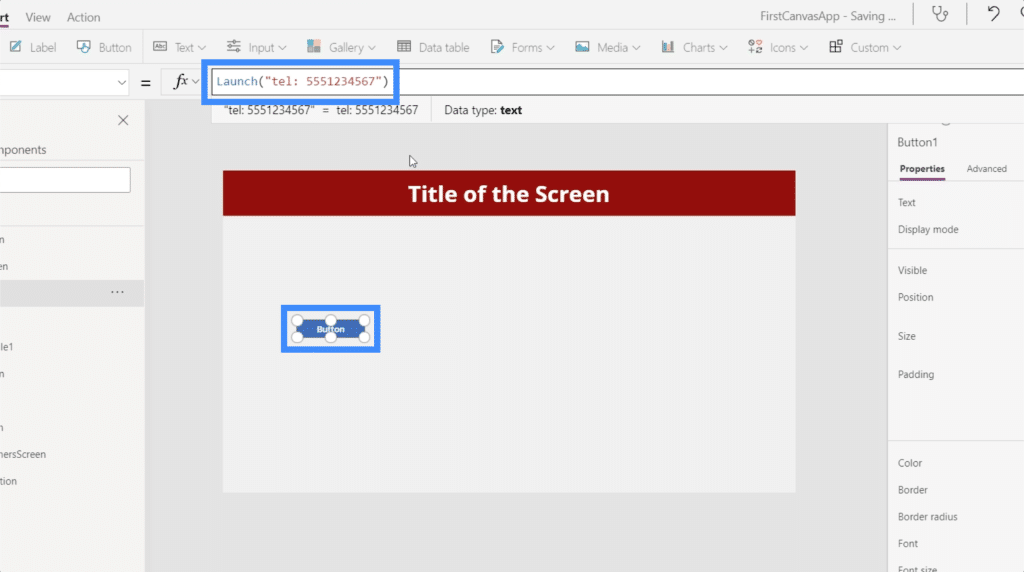
With that formula in place, let’s see what happens when we click the button.
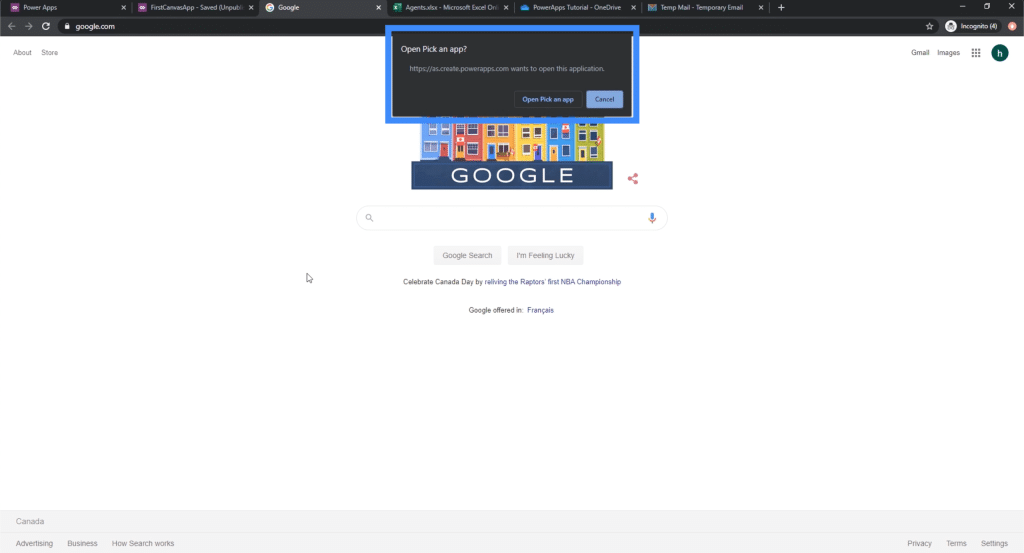
Since we’re on a computer here, it’s asking us to open an app that it can use to call out. So if you’ve programmed your computer to launch Skype every time you need to make a call, it will do the same thing in this case.
We can also dynamically set the phone number so that it dials a number based on which record you select from your app gallery. We discussed this in an earlier tutorial where we talked about the LookUp function.
Using The Launch Function To Send An Email
This time, let’s see how the Launch function will allow us to send an email from the app.
Let’s go to the detail screen where we already have a “Call Agent” button. We’re going to add another button beside it, which we’ll call the “Email Agent” button.
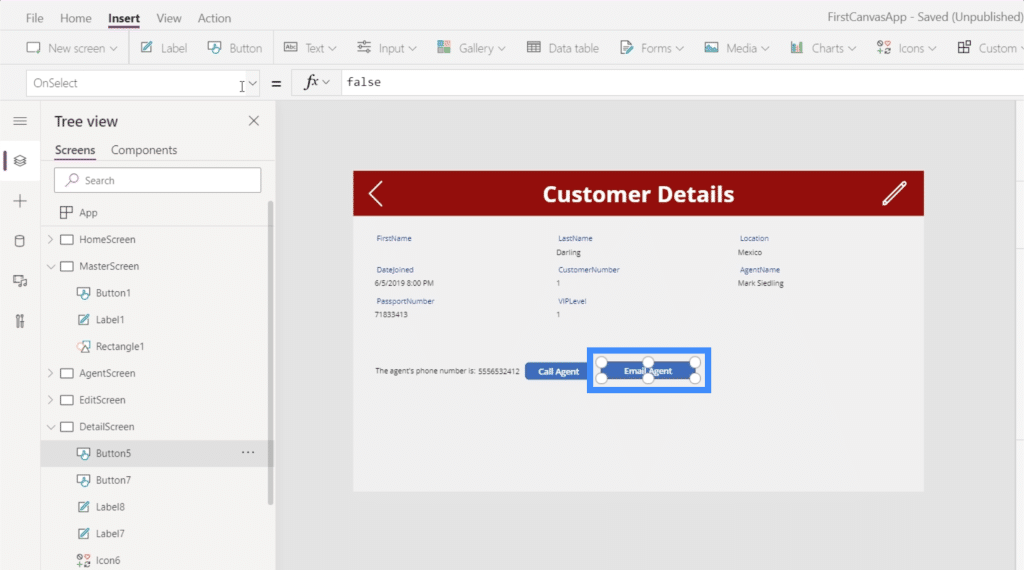
Choosing our button’s OnSelect property, let’s use the Launch function once again. This time, we’re going to use “mailto”, which tells PowerApps that we’re about to send out an email.
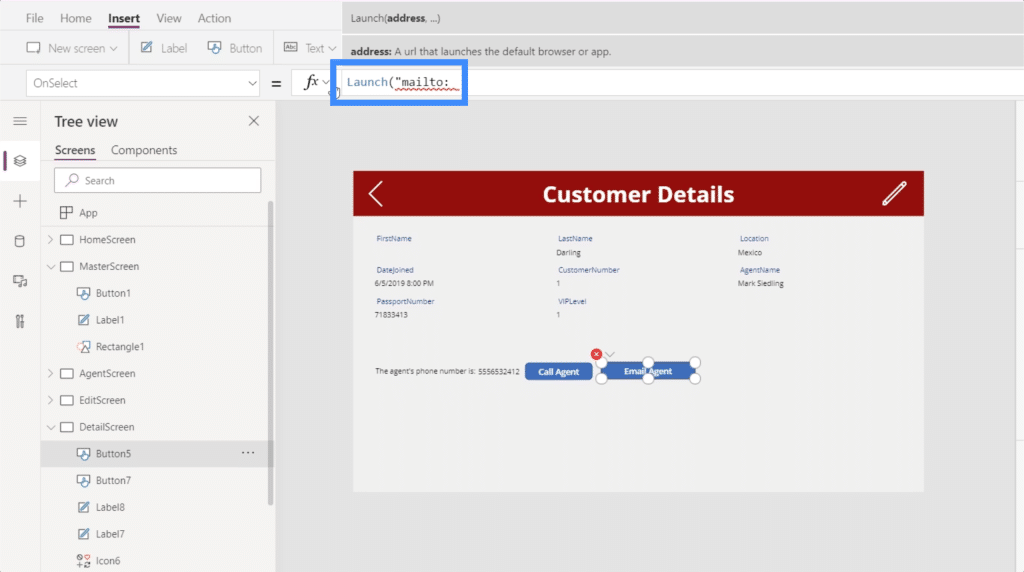
Then, we’re going to add an email address. Let’s use agent@ourcompany.com, then we’ll hit Enter to lock that formula in.
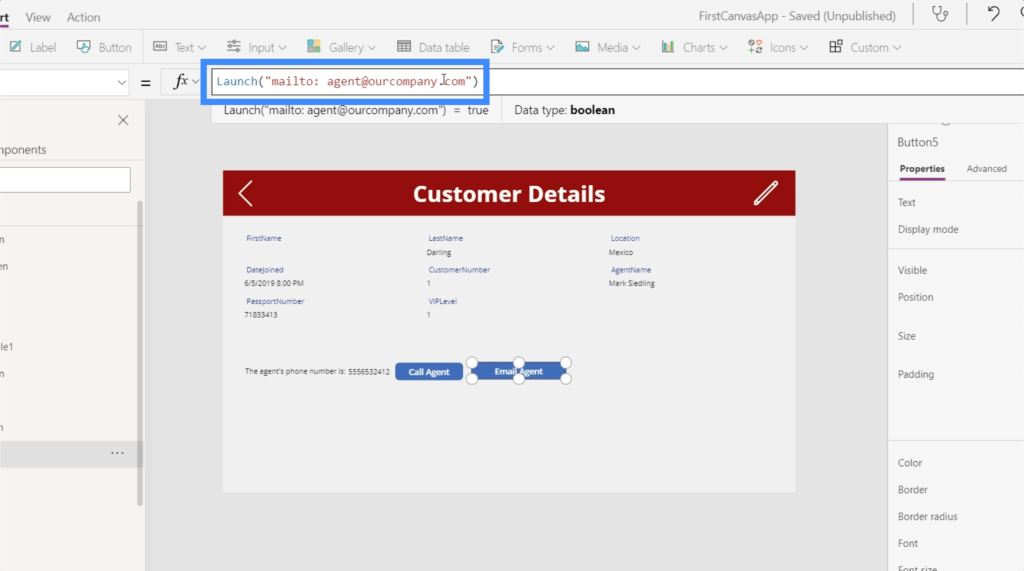
Since we don’t have an email account set up in this computer, it basically launched the email application.
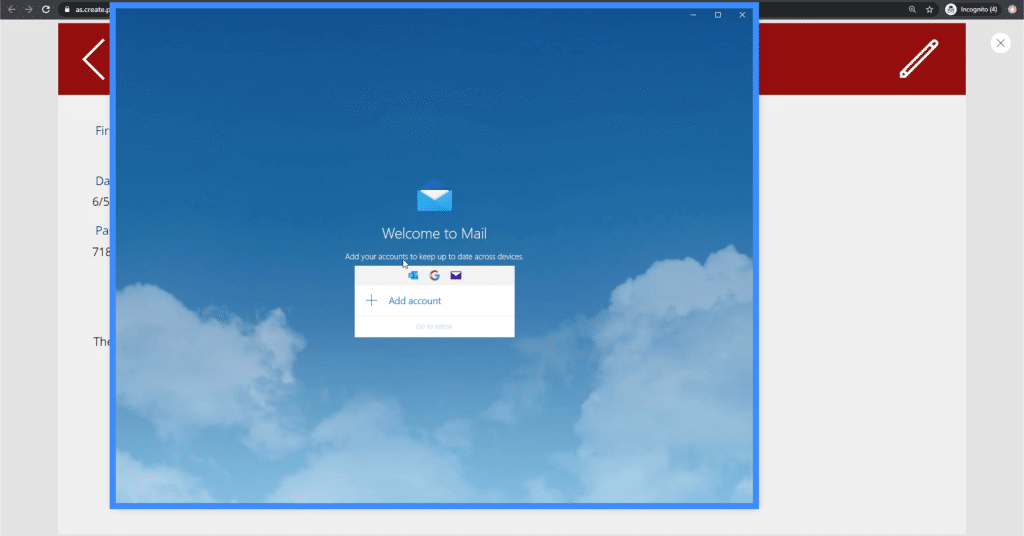
It’s also asking us to set it up.
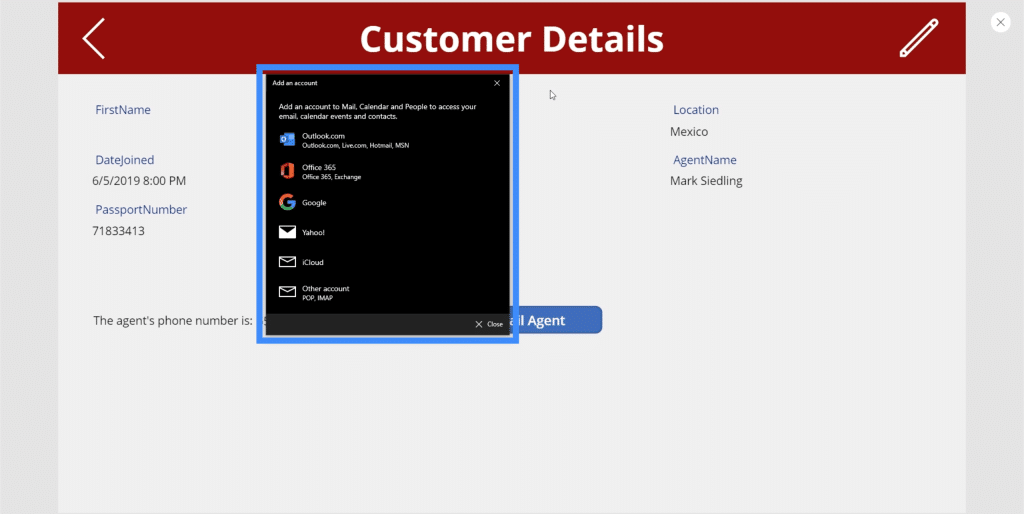
If you do have your email properly set up in your device, then clicking on that button will immediately open up your email, with the email address ready on the recipient field.
Note that you could also set the email dynamically. You can follow the same steps we used to dynamically set up the phone numbers in our records, but this time, using “mailto” instead of “tel”.
Using The Launch Function To Launch Another App
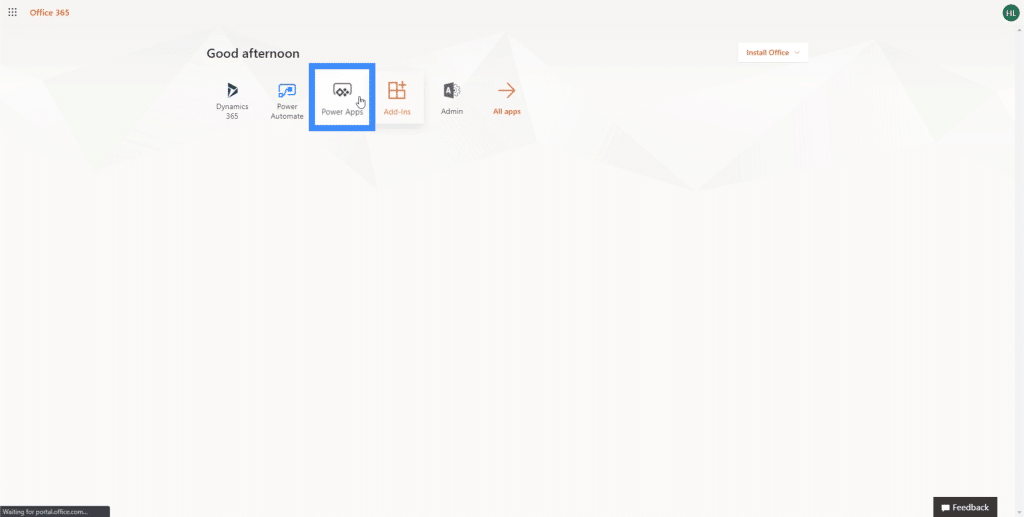
The last thing we’re going to do here is to learn how to use the launch function to launch other PowerApps applications. To start off, let’s go to all of our applications by clicking on this menu on the upper left corner.
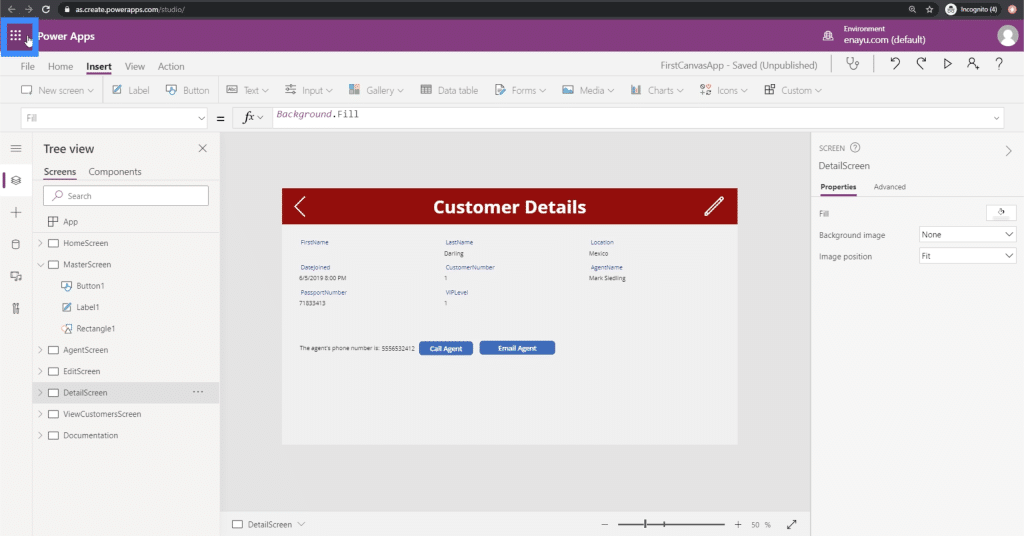
Then, let’s go to PowerApps.
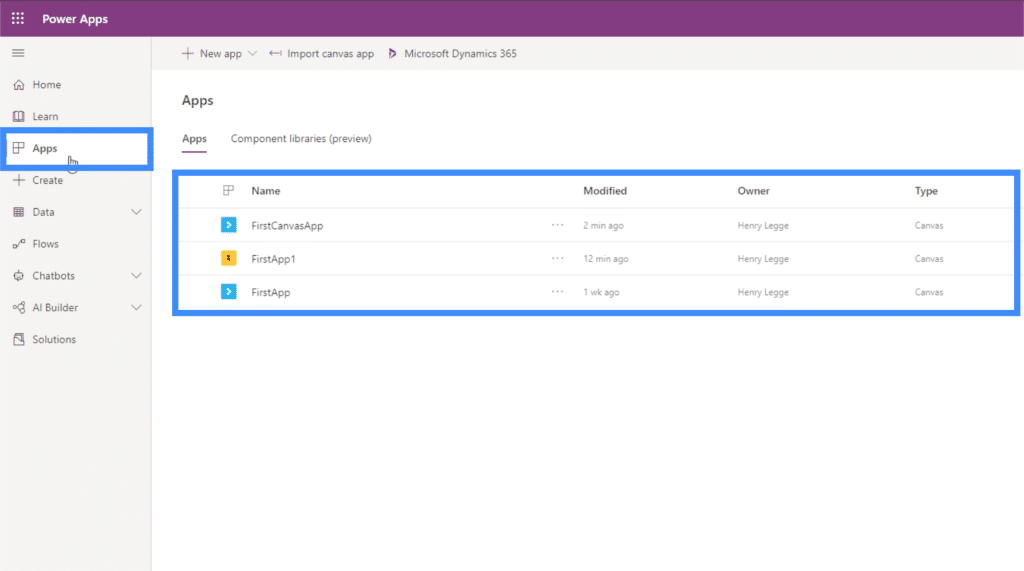
Once inside PowerApps, let’s go to Apps. This will show us a list of all the other apps we’ve created.
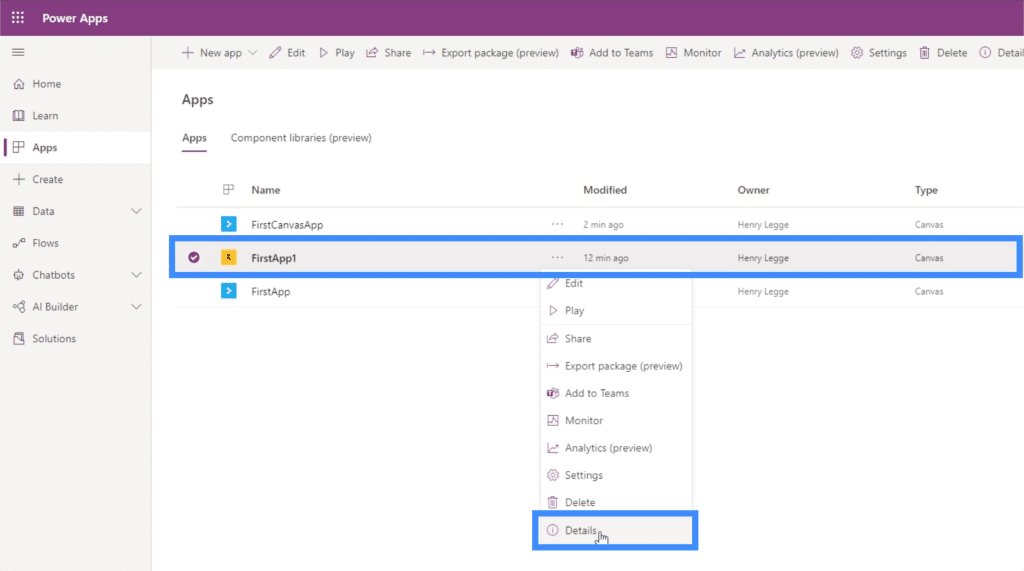
Let’s say we want to launch FirstApp1 from inside FirstCanvasApp. Let’s open the menu for that app and click Details.
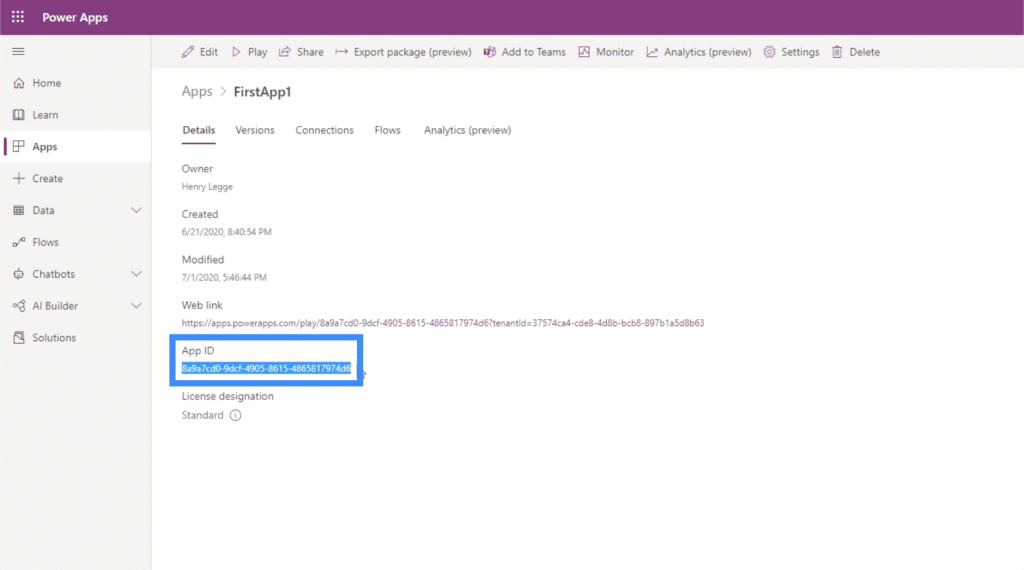
We need to take note of the App ID because this is what we’re going to use to navigate to this app later on.
Going back to the home screen of the app we’re working on, let’s add a button here at the bottom.
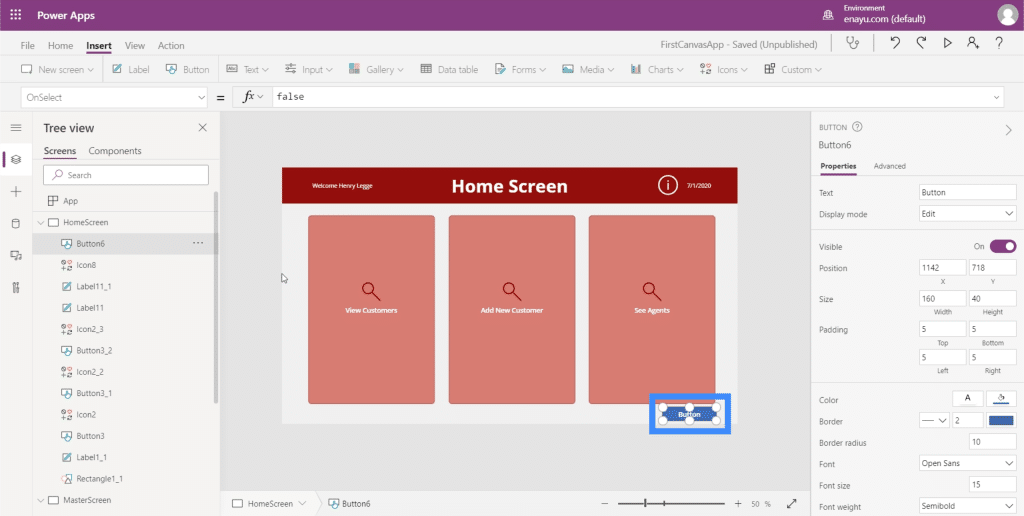
Then, we’re going to use the Launch function and follow it up with the address “/providers/Microsoft.PowerApps/apps/”.
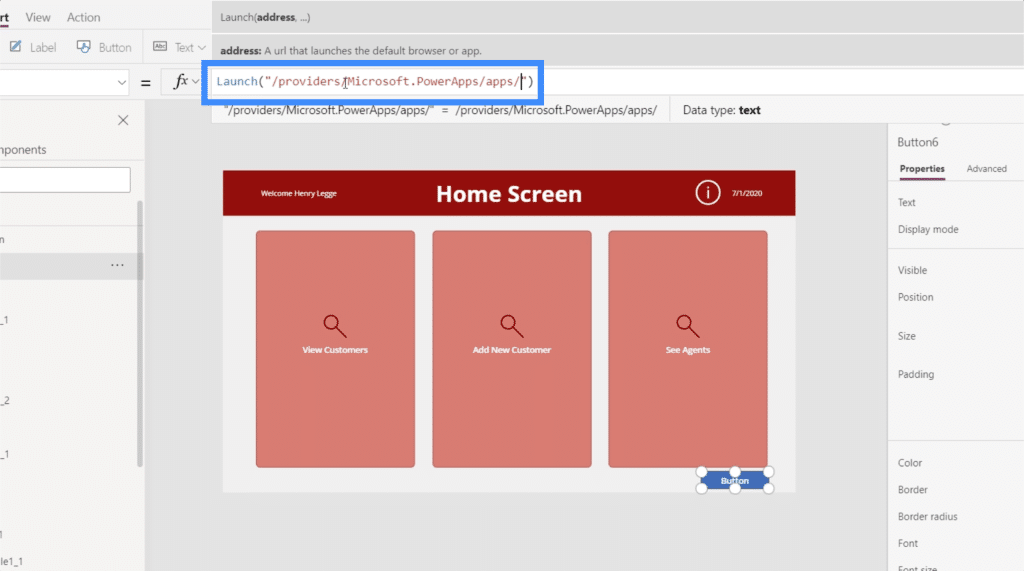
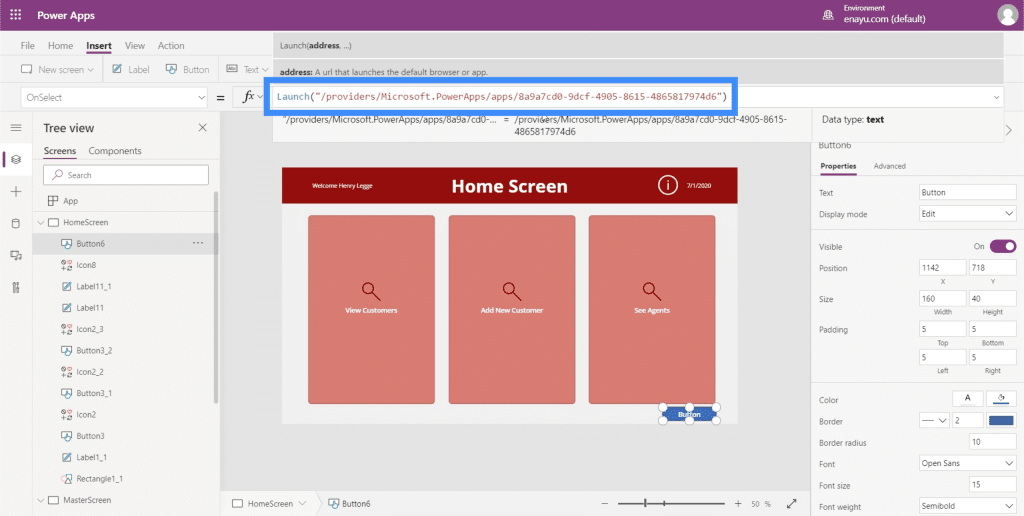
We’ll add the App ID for the app that we want to launch after that. Then, click Enter to lock that formula in.
For easier navigation, let’s change the text on this button to “Launch other app”.
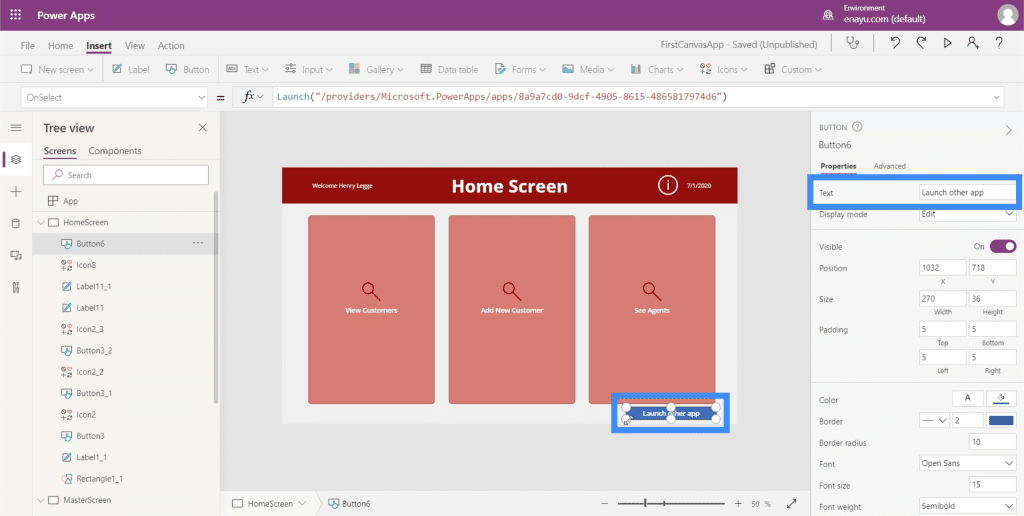
At the moment, we’re inside the studio where we work on our apps. If we click on the “Launch other app” button now, it’s going to launch the studio version of the other app and not the published app that the end user sees.
So let’s publish this app that we’re working on first. We also talked about how to publish apps in another tutorial.
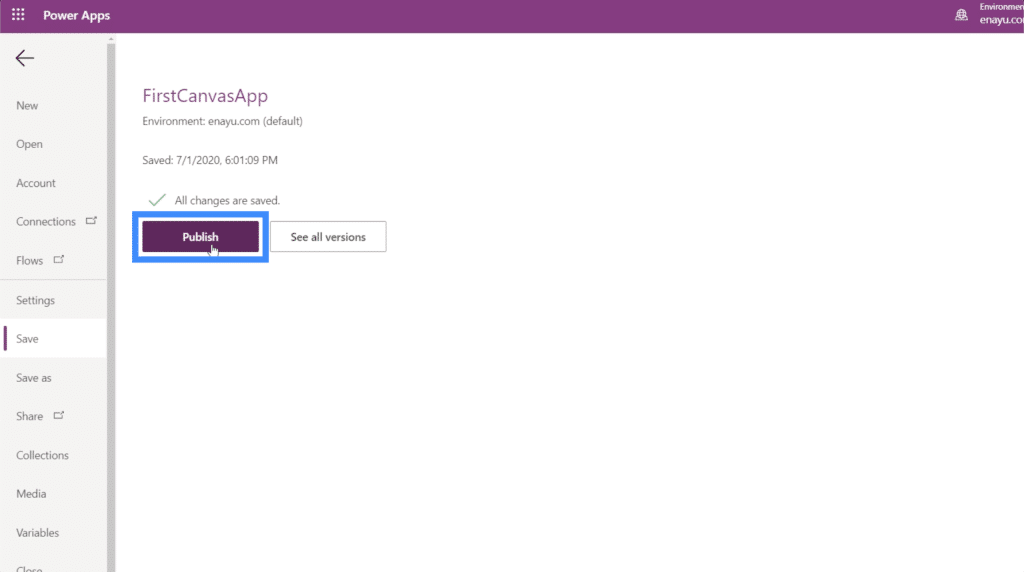
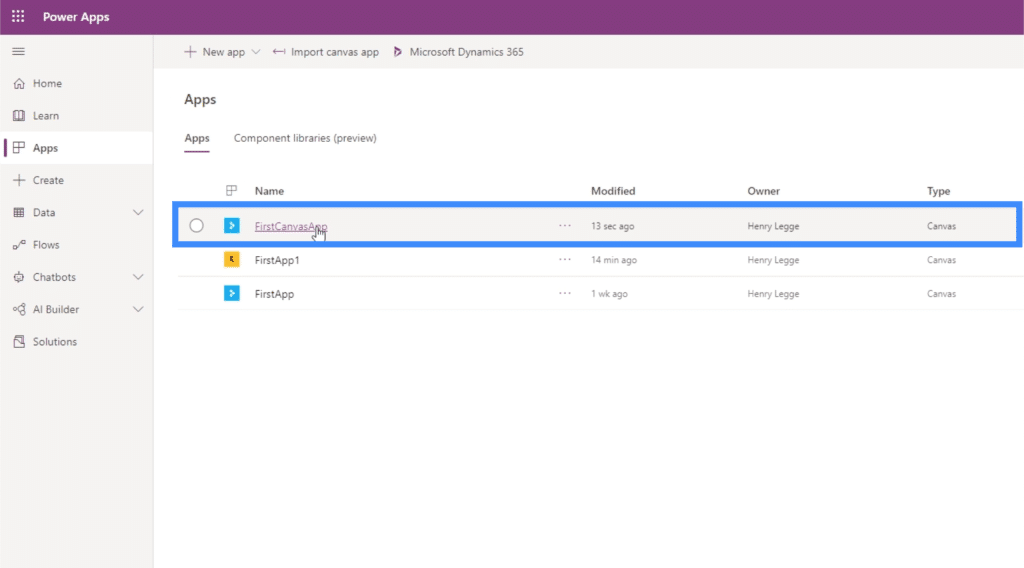
Once that’s published, let’s go back to the list of all of our applications. Make sure that it has fully refreshed, as it sometimes takes time for the app to update after publishing it.
Let’s launch FirstCanvasApp, which is where we created that button.
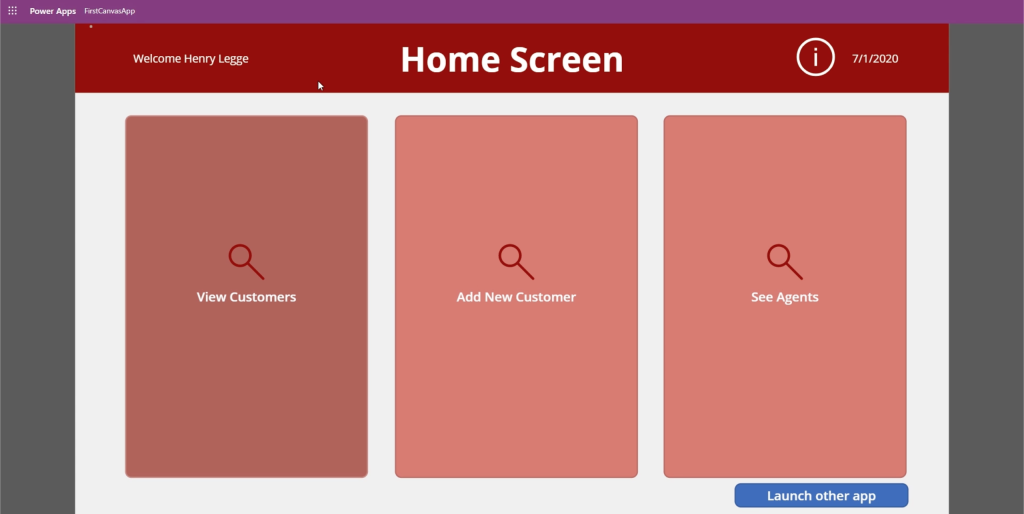
Now, let’s click on Launch other app from the home screen.
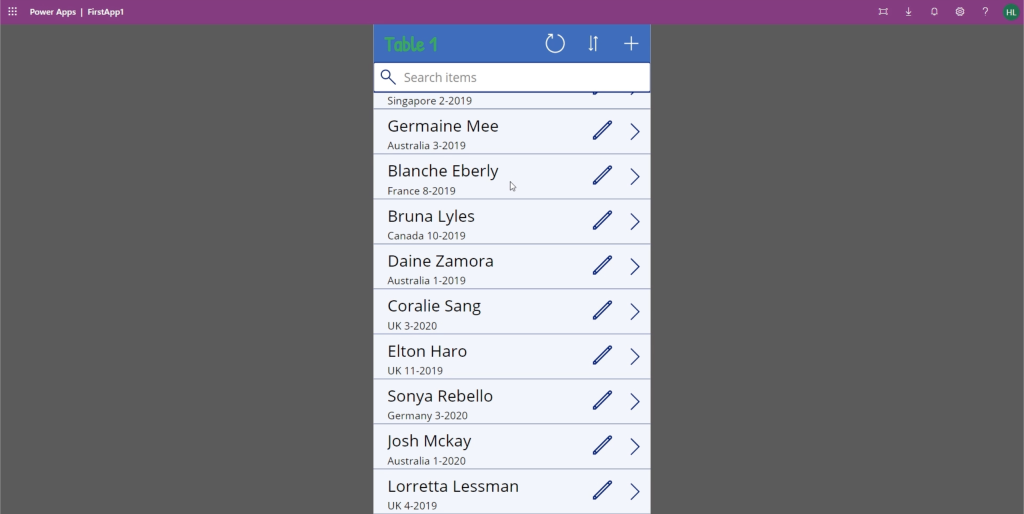
Once we do that, it immediately opens up a new window for the other app.
***** Related Links *****
Power Apps Introduction: Definition, Features, Functions And Importance
Power Apps Environments: Setting Up The App Elements Properly
PowerApps Functions and Formulas | An Introduction
Conclusion
The Launch function truly is helpful in making apps more functional and easier to use. It saves the end user a lot of time by launching other services from within the app instead of having to exit the app and manually opening up a browser, an email app, or a phone app.
It also opens up more possibilities. For example, you can create a number of other applications that complement each other and have one app open all the others. It’s all up to you on how much functionality you want your main app to be.
All the best,
Henry


