In this tutorial, we’re going to talk about PowerApps images and other media elements that we can add to our app.
There is a long list of media elements that can enhance the experience of every end user.
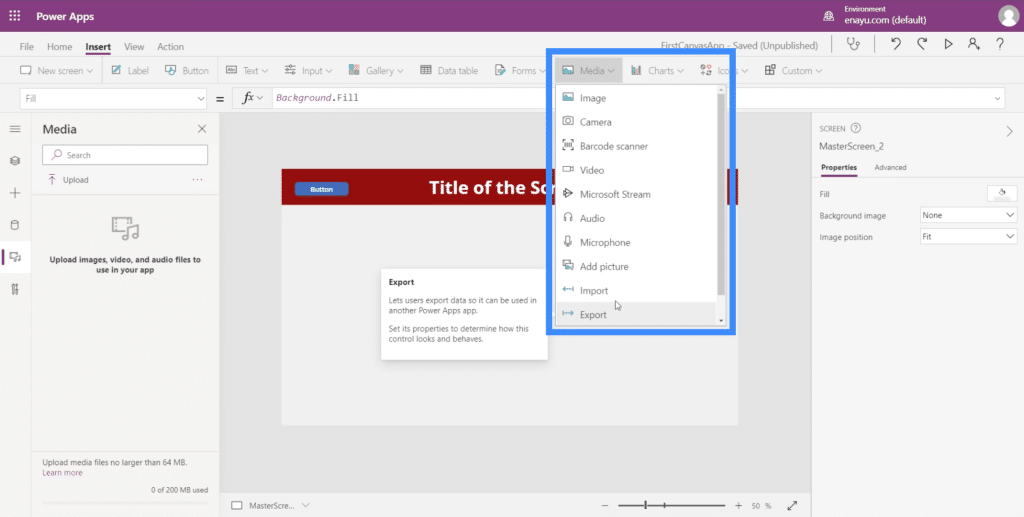
For now, we’re going to focus on PowerApps Images and how it can work hand in hand with elements like pen input, camera, or add picture.
The great thing about PowerApps is that most elements work in similar ways. Even if we don’t cover some of the other elements in this tutorial, it will be easy for anyone to figure out how to use them.
Plus, the Microsoft PowerApps documentation covers everything there is to know about these elements. So you can hop on to that document and find what you need.
Working With PowerApps Images
Let’s start by looking at what PowerApps images are all about.
The image element has a number of properties that we can access on the right pane like transparency, visibility, position, size, and a lot more.
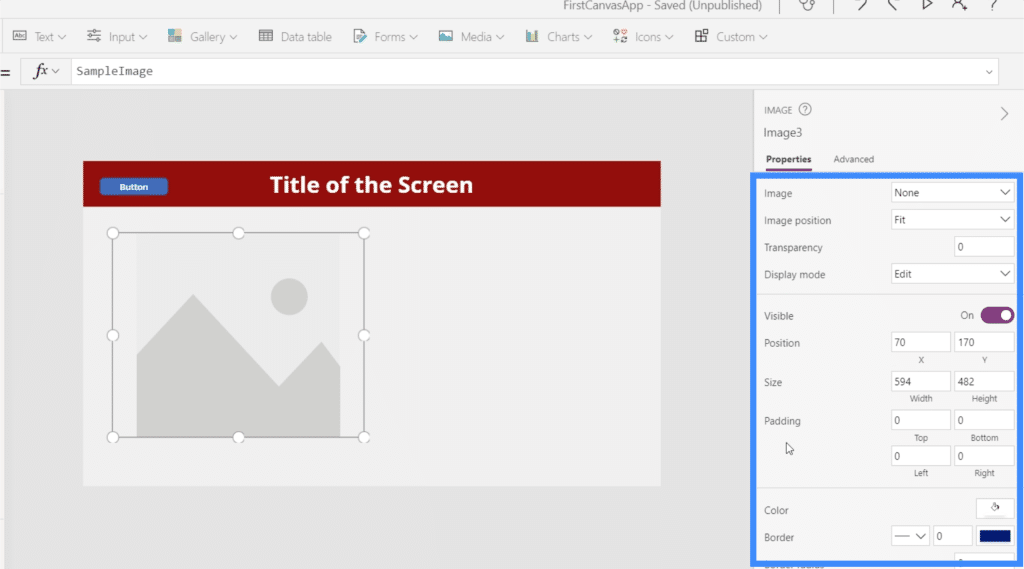
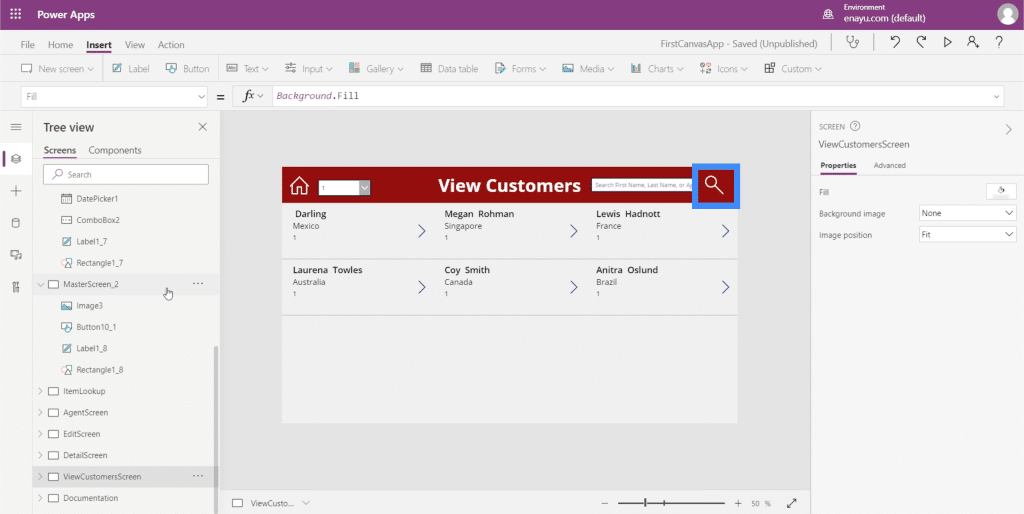
There are so many ways to use the image element. You can use it to display the company logo on your app, for example. You could also use it if you can’t seem to find the right icon from the default icons built within PowerApps. For instance, if you don’t like how the PowerApps search icon looks like, you can upload a different icon that you downloaded somewhere else and use that instead.
Adding PowerApps Images From A Data Source
When you add the image element, it will appear like a blank frame on your screen. It will be up to you to fill this up with an actual image.
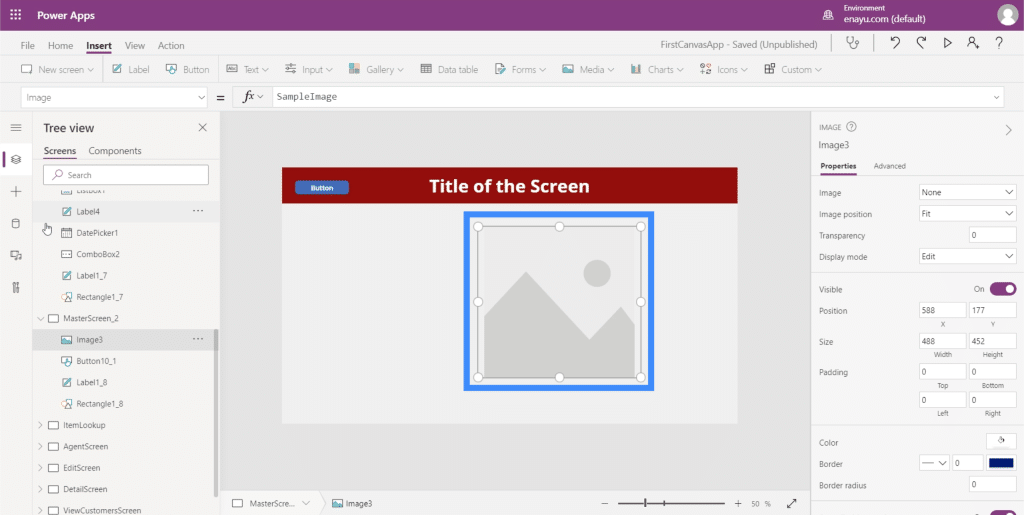
One of the ways to add an image into the frame would be through the Media tab on the left menu.
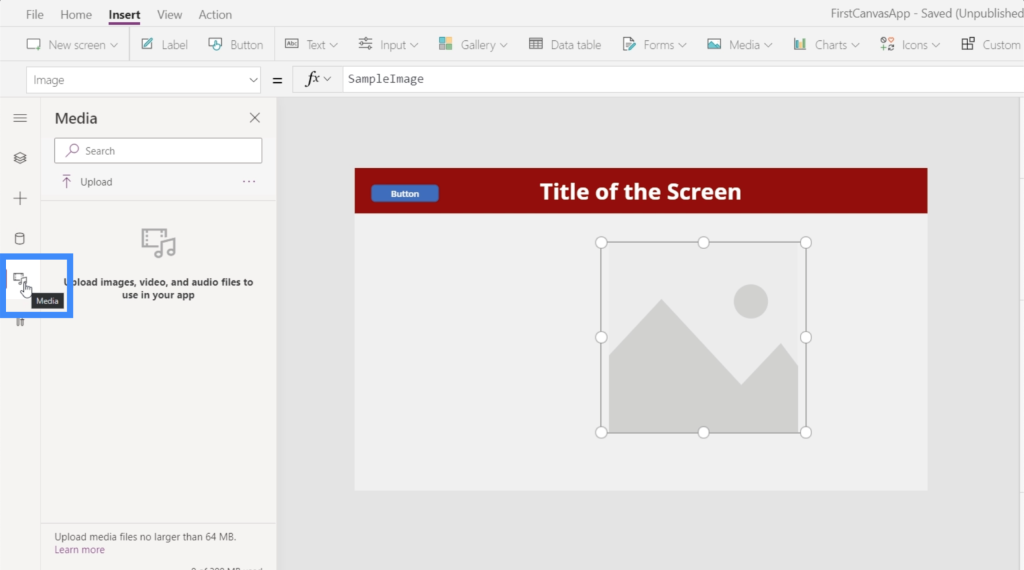
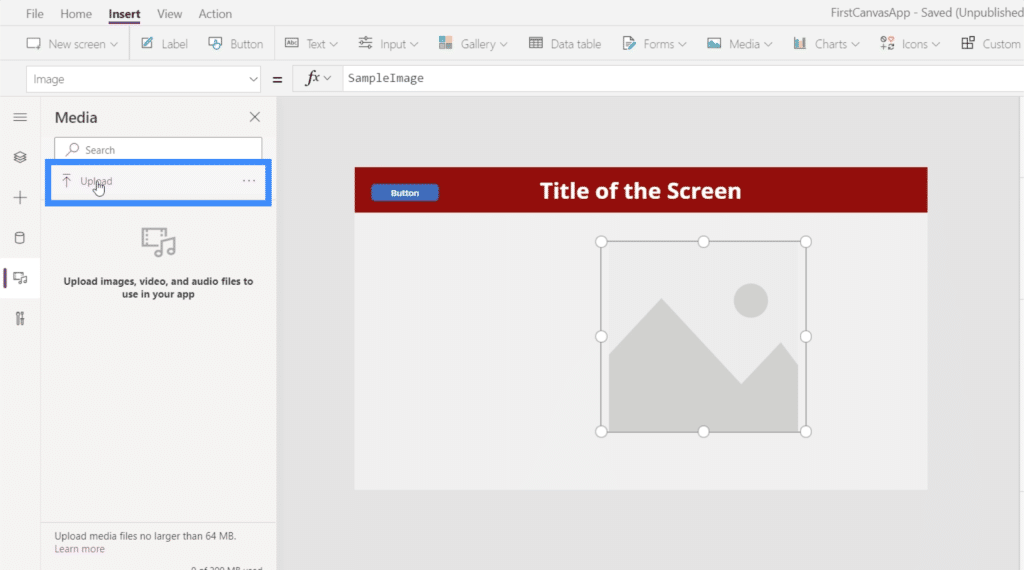
To upload an image from your files, simply click on Upload.
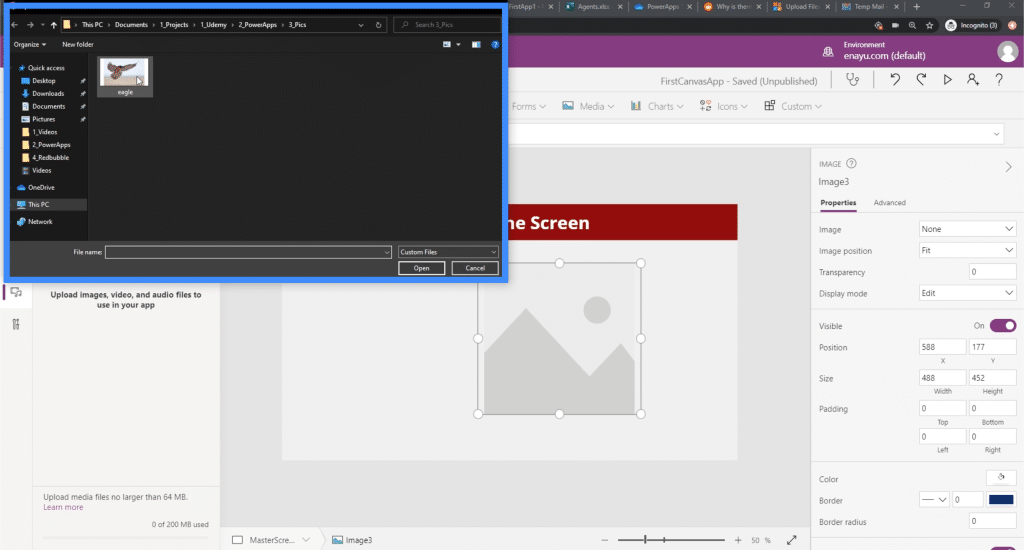
A window will pop out, allowing you to choose an image from your files. For now, let’s use this photo of an eagle.
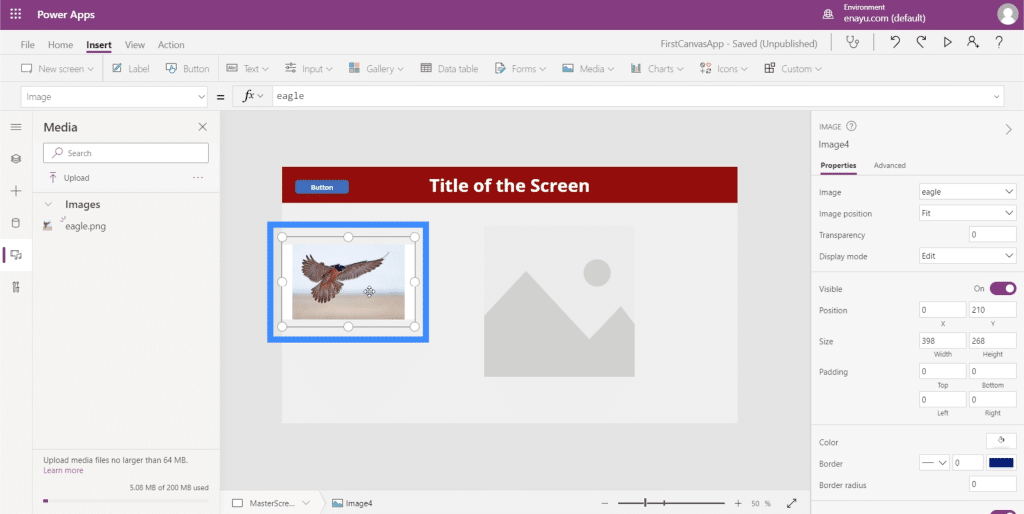
Now, you can see that file listed under Media on the left pane. As you can see, it doesn’t automatically populate the frame from the image element.
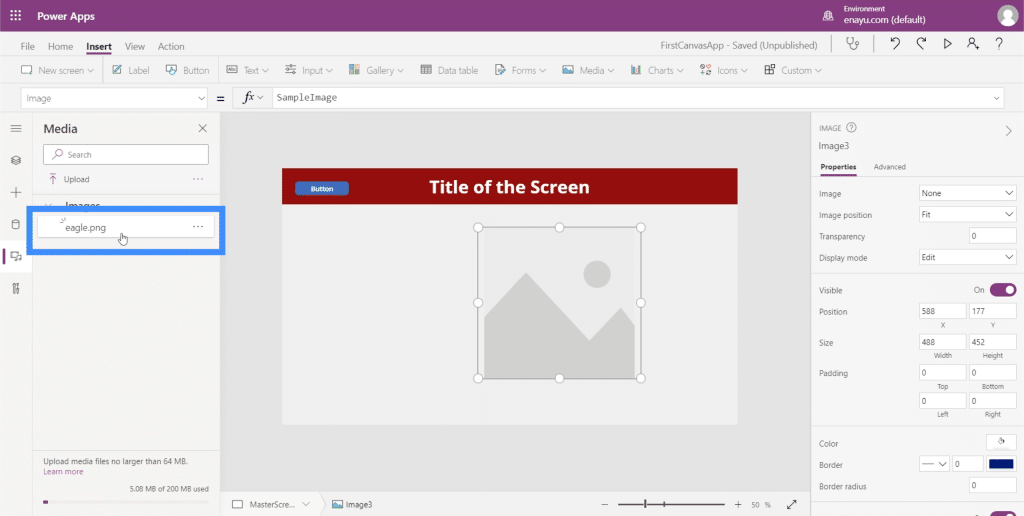
Since we already have the image file on the list, we can simply click on it, and the image appears on the screen.
But the best way to do it would be to go to the right pane and choose it from the image list.
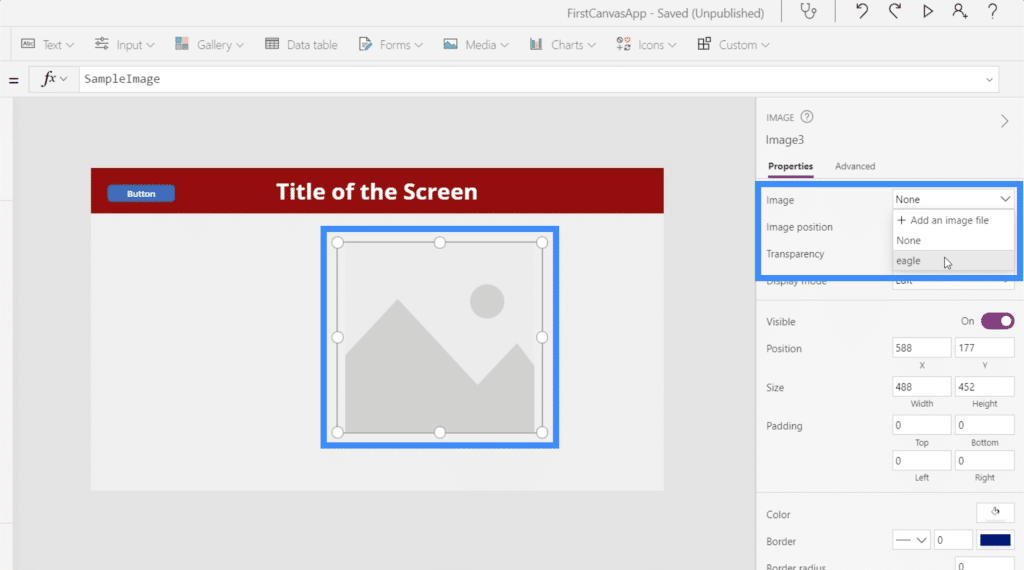
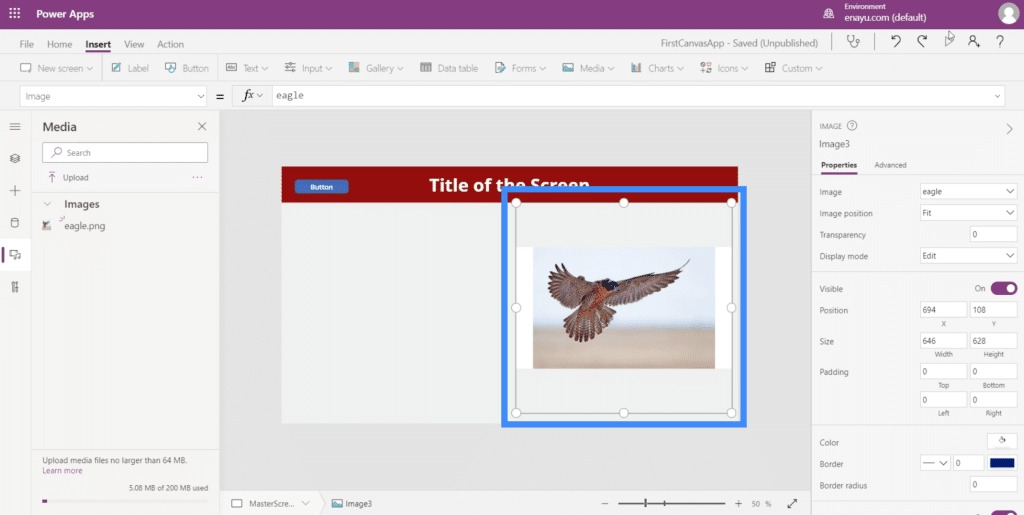
After we choose a file from the dropdown, it will automatically populate the frame.
Using Image With The Pen Input
The great thing about PowerApps images is that they can work hand in hand with other PowerApps elements. Let’s look at how the image element and the pen input can work together.
The pen input allows users to draw or write something on your application.
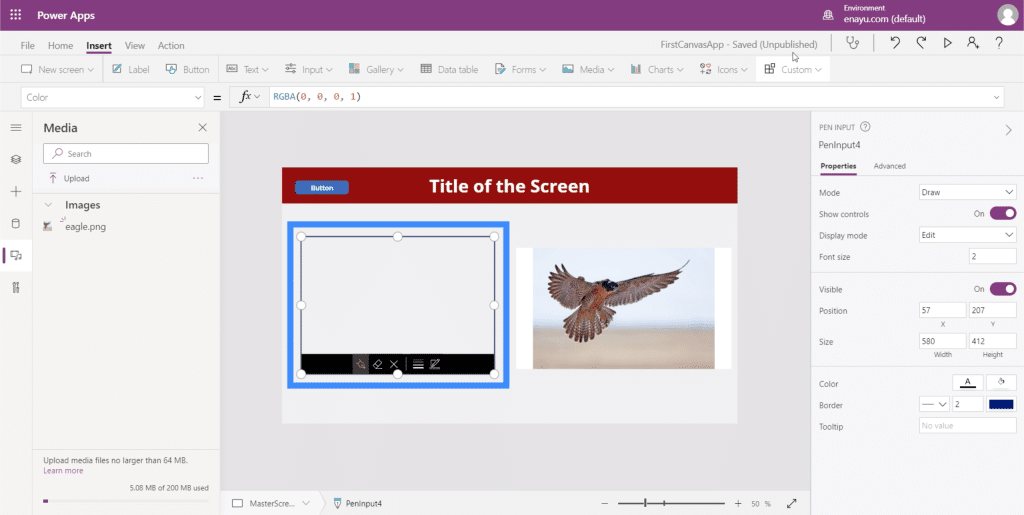
This can be useful especially if you need users to sign or write something on the screen.
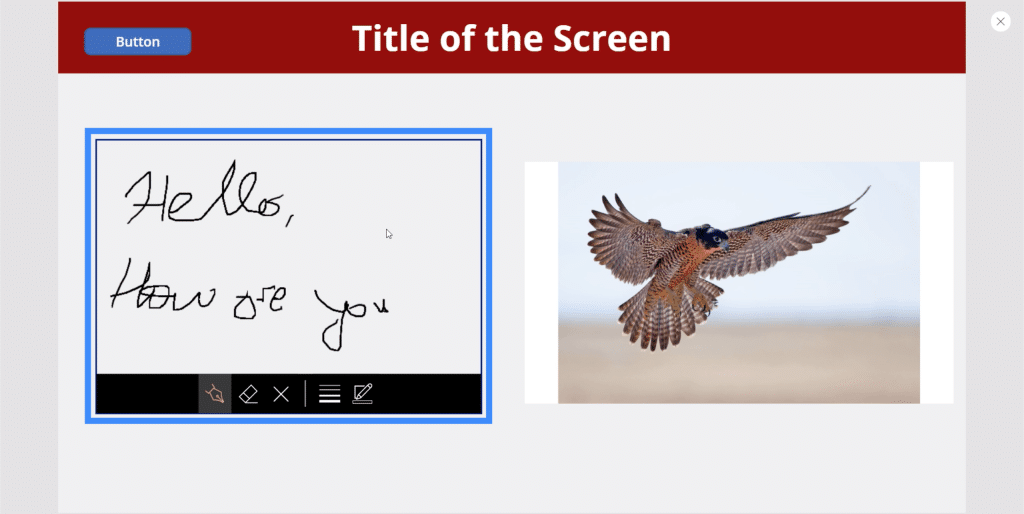
The great thing about this input is that you can save whatever the user wrote on the screen as an image, then save it to a file directory. This is especially useful if you need copies of your users’ signatures for proof of agreement to your terms and conditions, or any similar case.
Let’s see how we can do that. So looking at the left pane, we see that we’re working with PenInput4.
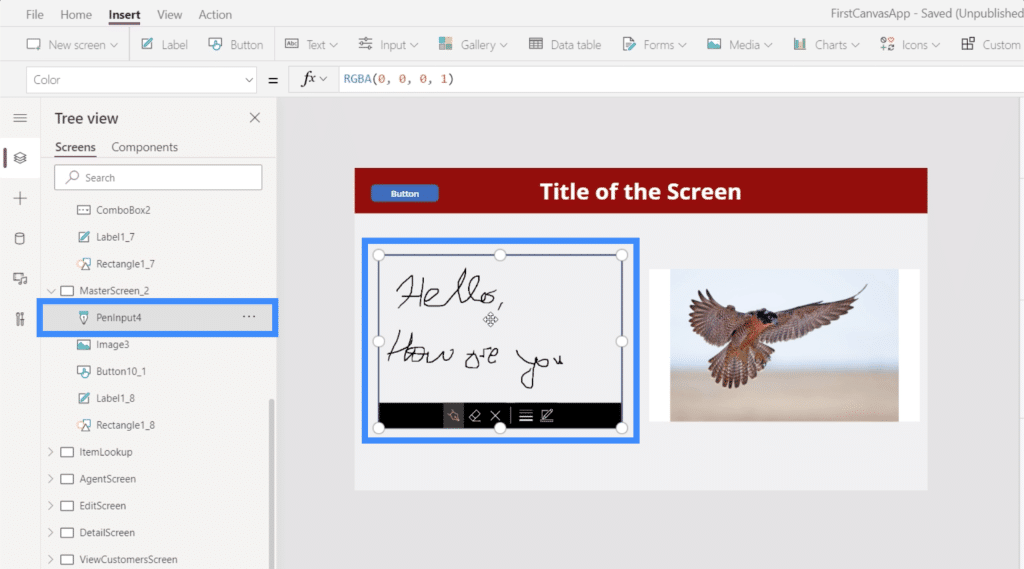
Now let’s highlight the image element and make the Image property equal to PenInput4.Image.
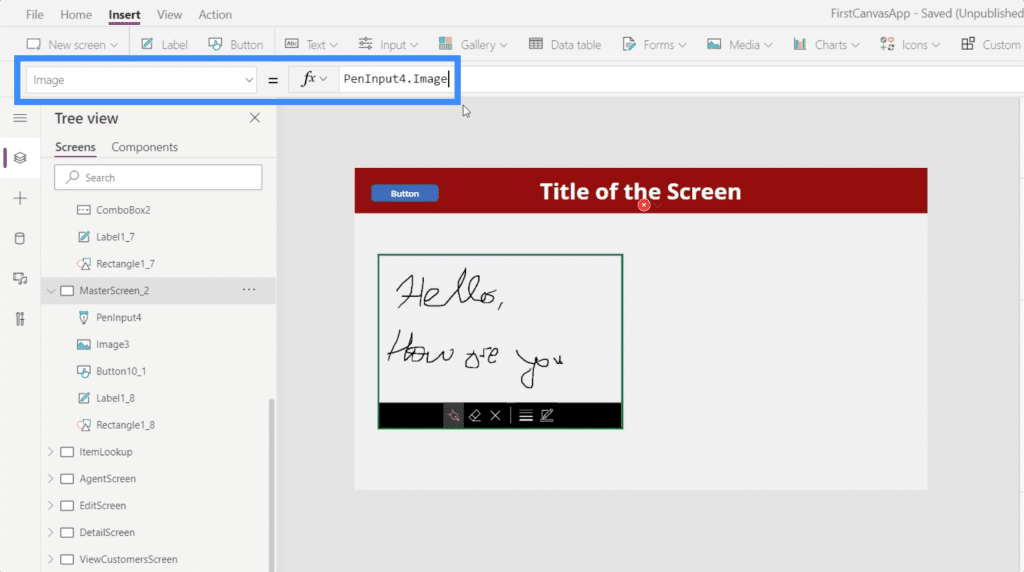
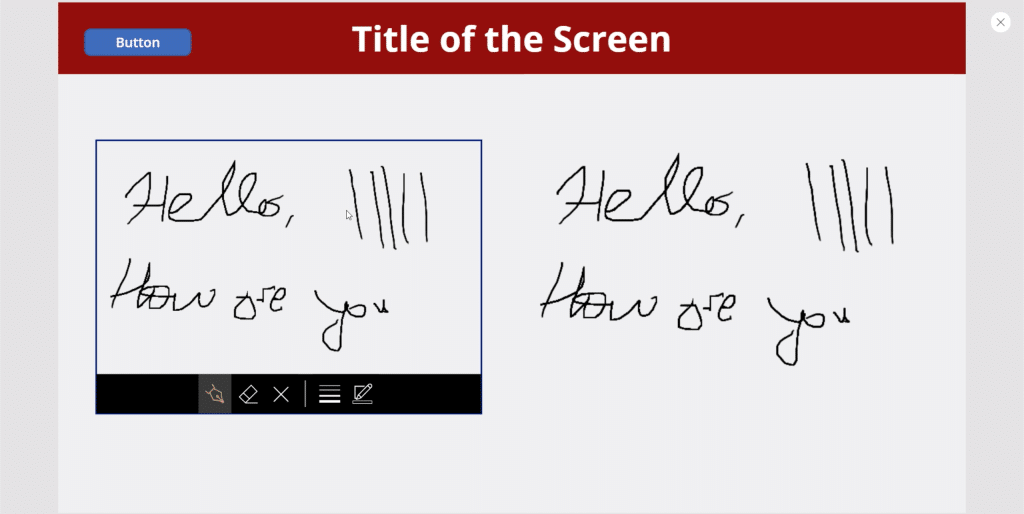
Just like that, the image element on the right now displays exactly what the user writes on the pen input. Every time they add something to what they’re writing, the image element on the right updates as well.
Using Image With The Camera Input
Another element that works well with the image element is the camera input. Basically, it activates the device’s camera and allows the user to take pictures straight from the app.
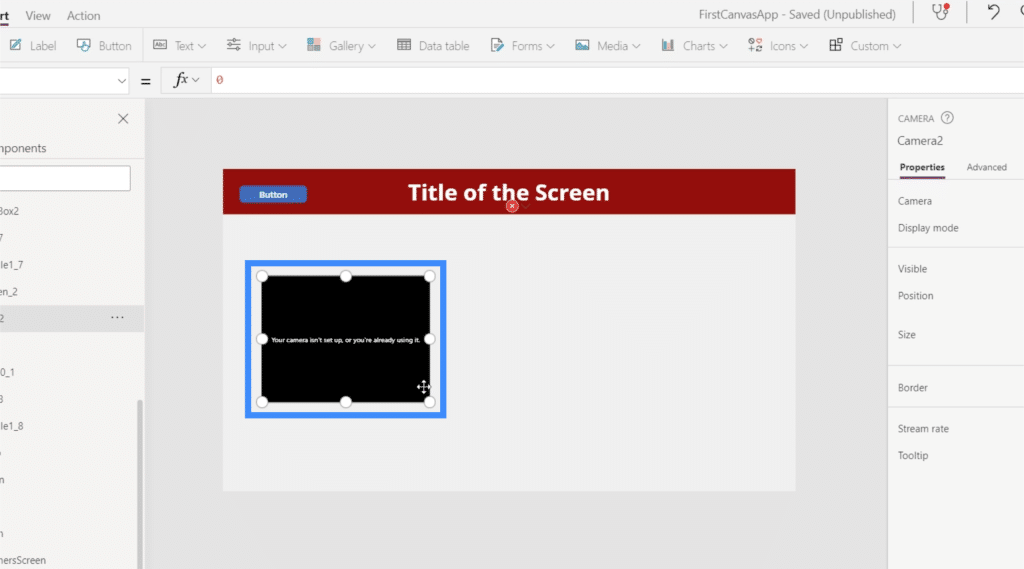
When the camera and image elements are used together, it’s possible to take a photo using the camera element and display that same photo in the image element. From there, we can save the image in the app’s gallery or use it on other screens within the app.
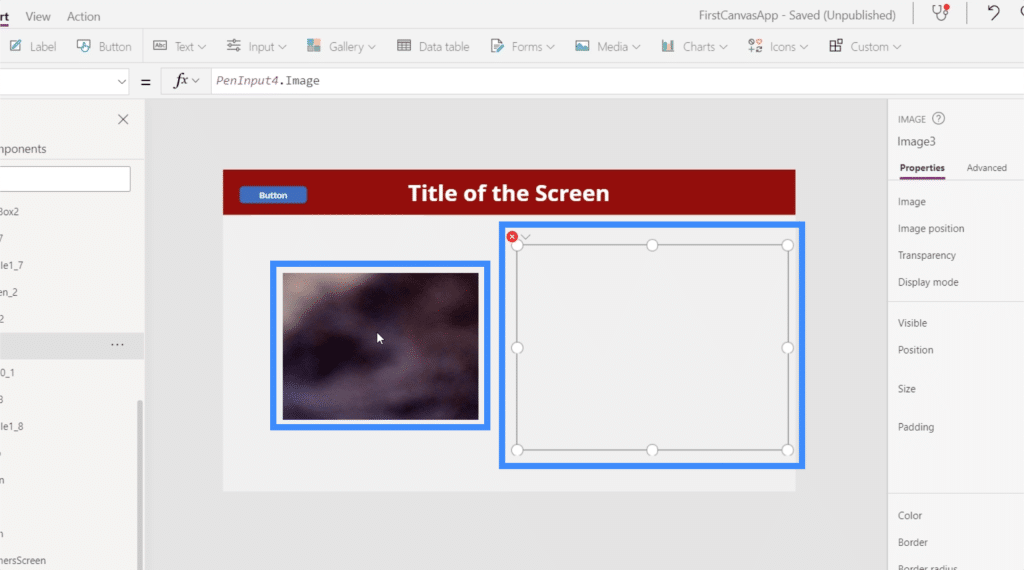
To do that, we just need to highlight the image element and make it equivalent to Camera2.Photo.
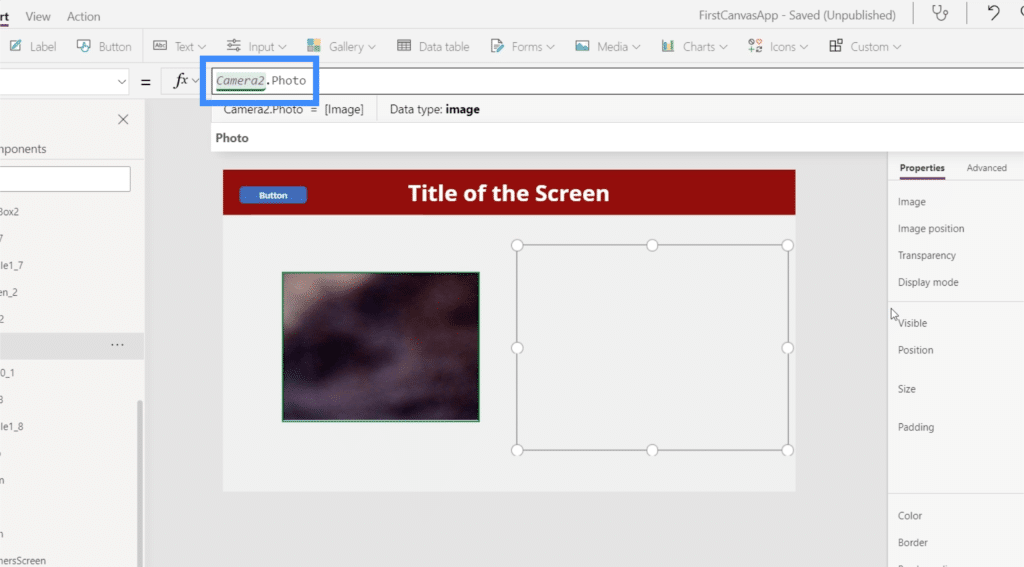
Once that’s done, the image element will display any photo that the camera function takes.
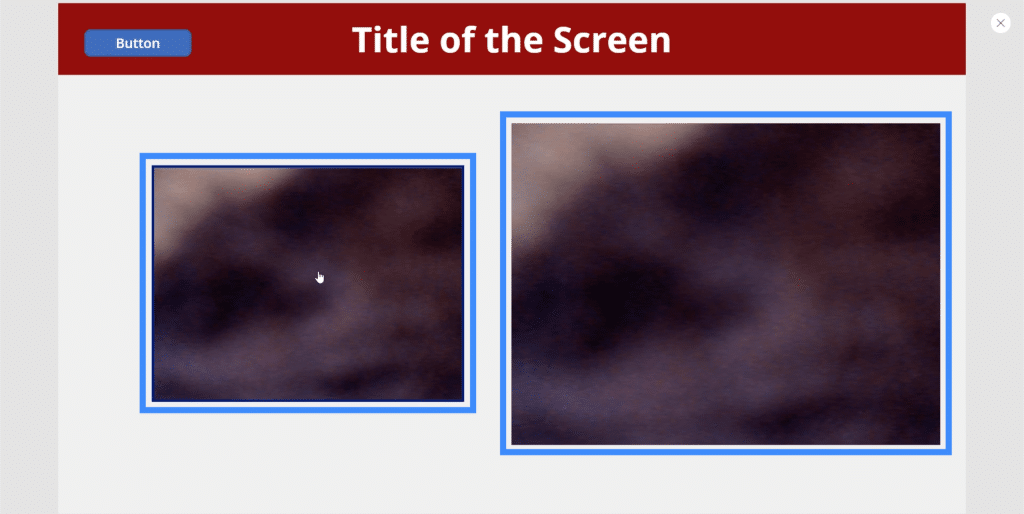
There are so many useful applications for this. For example, you can have users take their own photo and save it in the app for identification purposes. The image element doesn’t even have to be on the same screen. You can have the camera function in one screen and the image element in another.
Using Image With The Add Picture Element
Let’s say some users don’t want to turn their camera on to take their picture and would rather use a photo saved in their device. In this case, it’s also possible to use the add picture element to give them this capability.
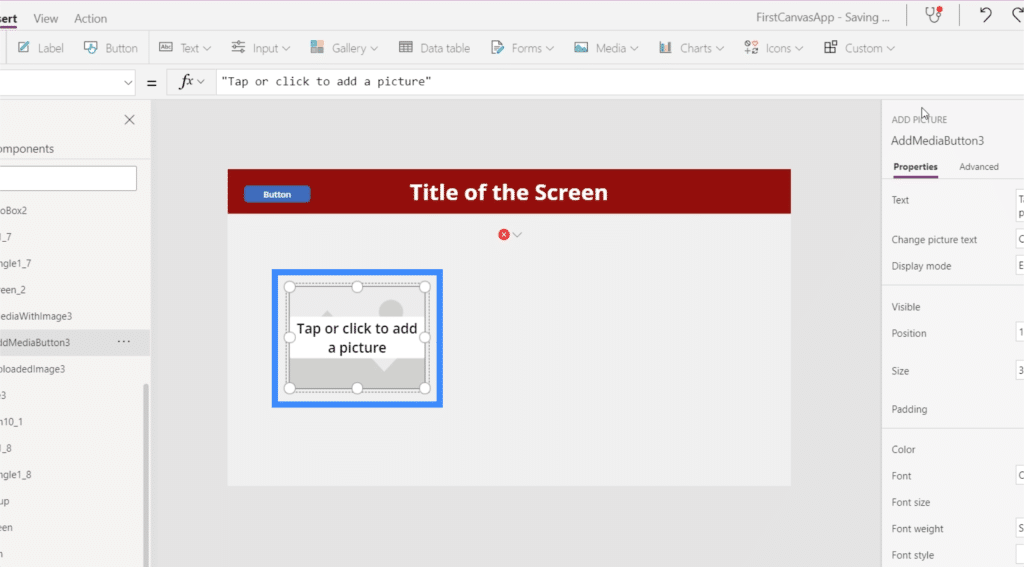
The add picture element allows users to open up their file directory and choose a photo that they want to upload to the app.
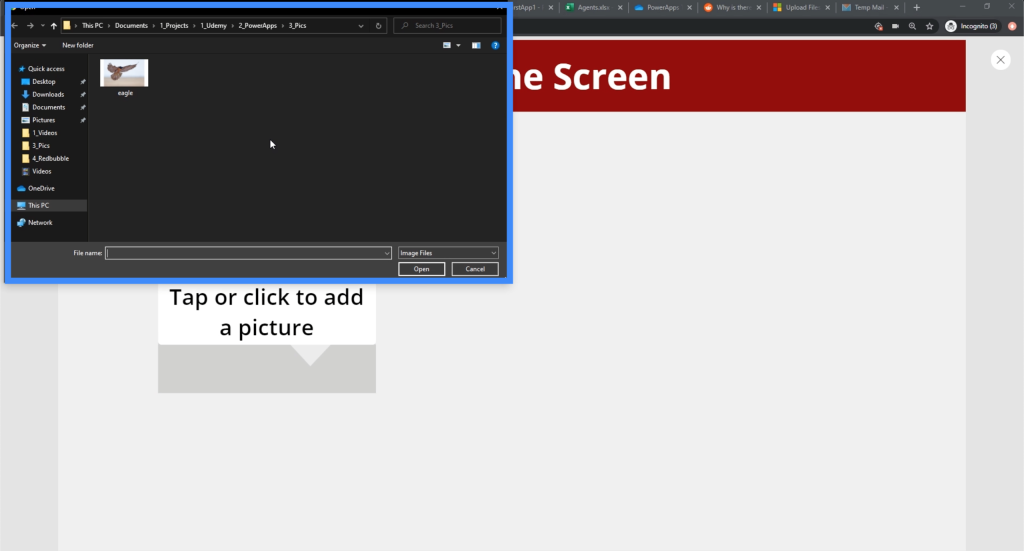
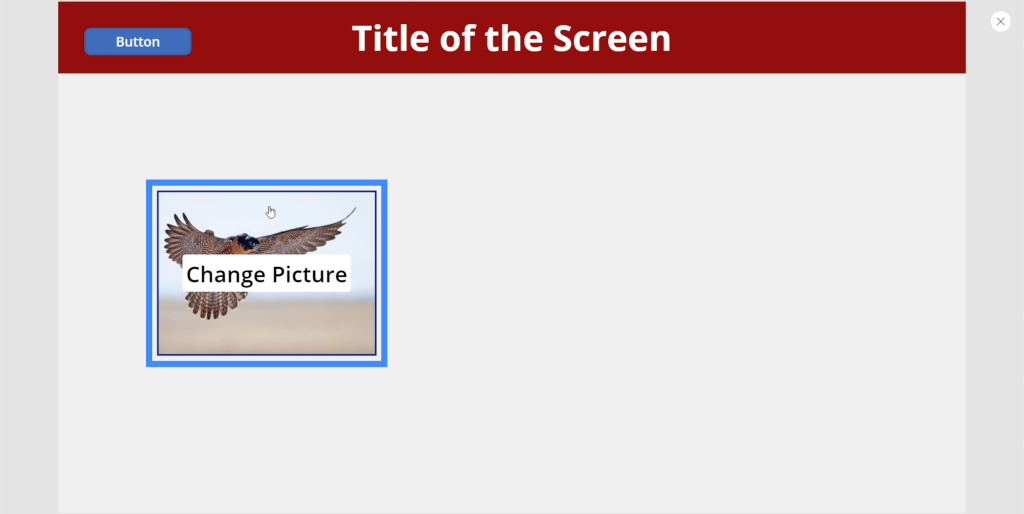
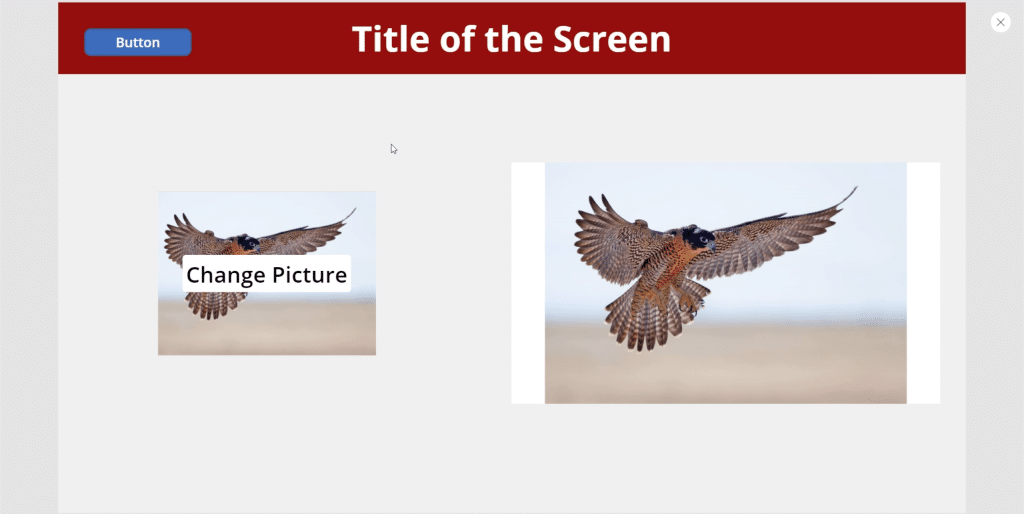
So if we’re the end user, we can choose that eagle photo and it will automatically show up on the screen.
Now, let’s get our image element to display the same photo that the user uploads. We’ll highlight the image element and make it equivalent to UploadedImage3.Image.
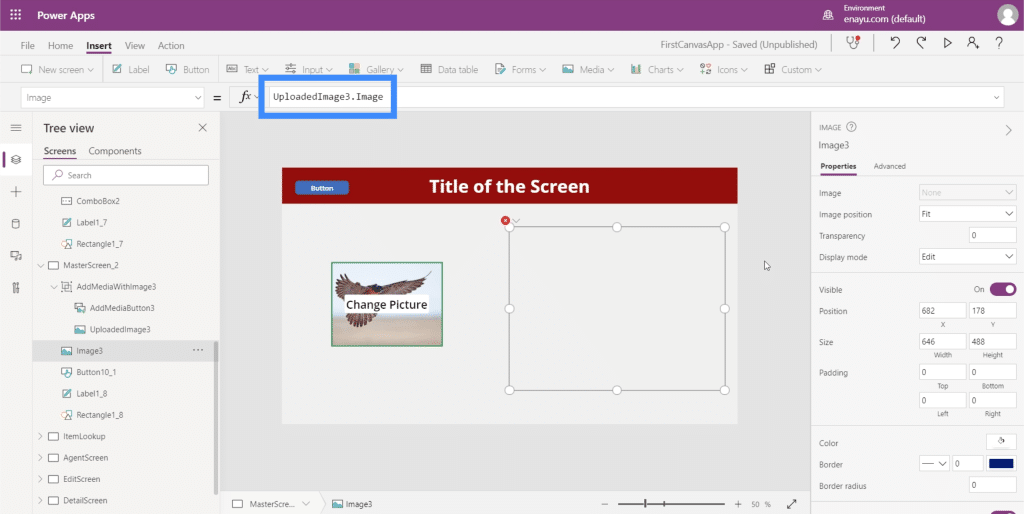
Once that formula is set, the image element will now display any photo that the user uploads through the add picture function.
***** Related Links *****
Power Apps Introduction: Definition, Features, Functions And Importance
Power Apps Environments: Setting Up The App Elements Properly
PowerApps Functions and Formulas | An Introduction
Conclusion
PowerApps images can truly make any app more engaging and more functional for any user. It doesn’t even matter what the app’s overall purpose is.
There are even more possibilities when the image element is used with other media elements like the ones we’ve run through in this tutorial. It makes it easier for end users to use the app the way they want it.
All the best,
Henry


