Power Automate allows flow designers to take inputs from users. In this tutorial, we’ll talk about the different types of workflow inputs that we can use in Power Automate.
There are 6 types of workflow inputs in Power Automate. Each type runs a predefined series of actions for the flow.
For this tutorial, we’ll create a ticketing system. If someone in our organization has an issue, they can access this flow on their SharePoint and they can just click it. Then, we can get all the relevant information for their tickets. It can also be added to Trello or Slack. We’ll do that using an instant flow with different types of inputs.

Creating A Sample Flow
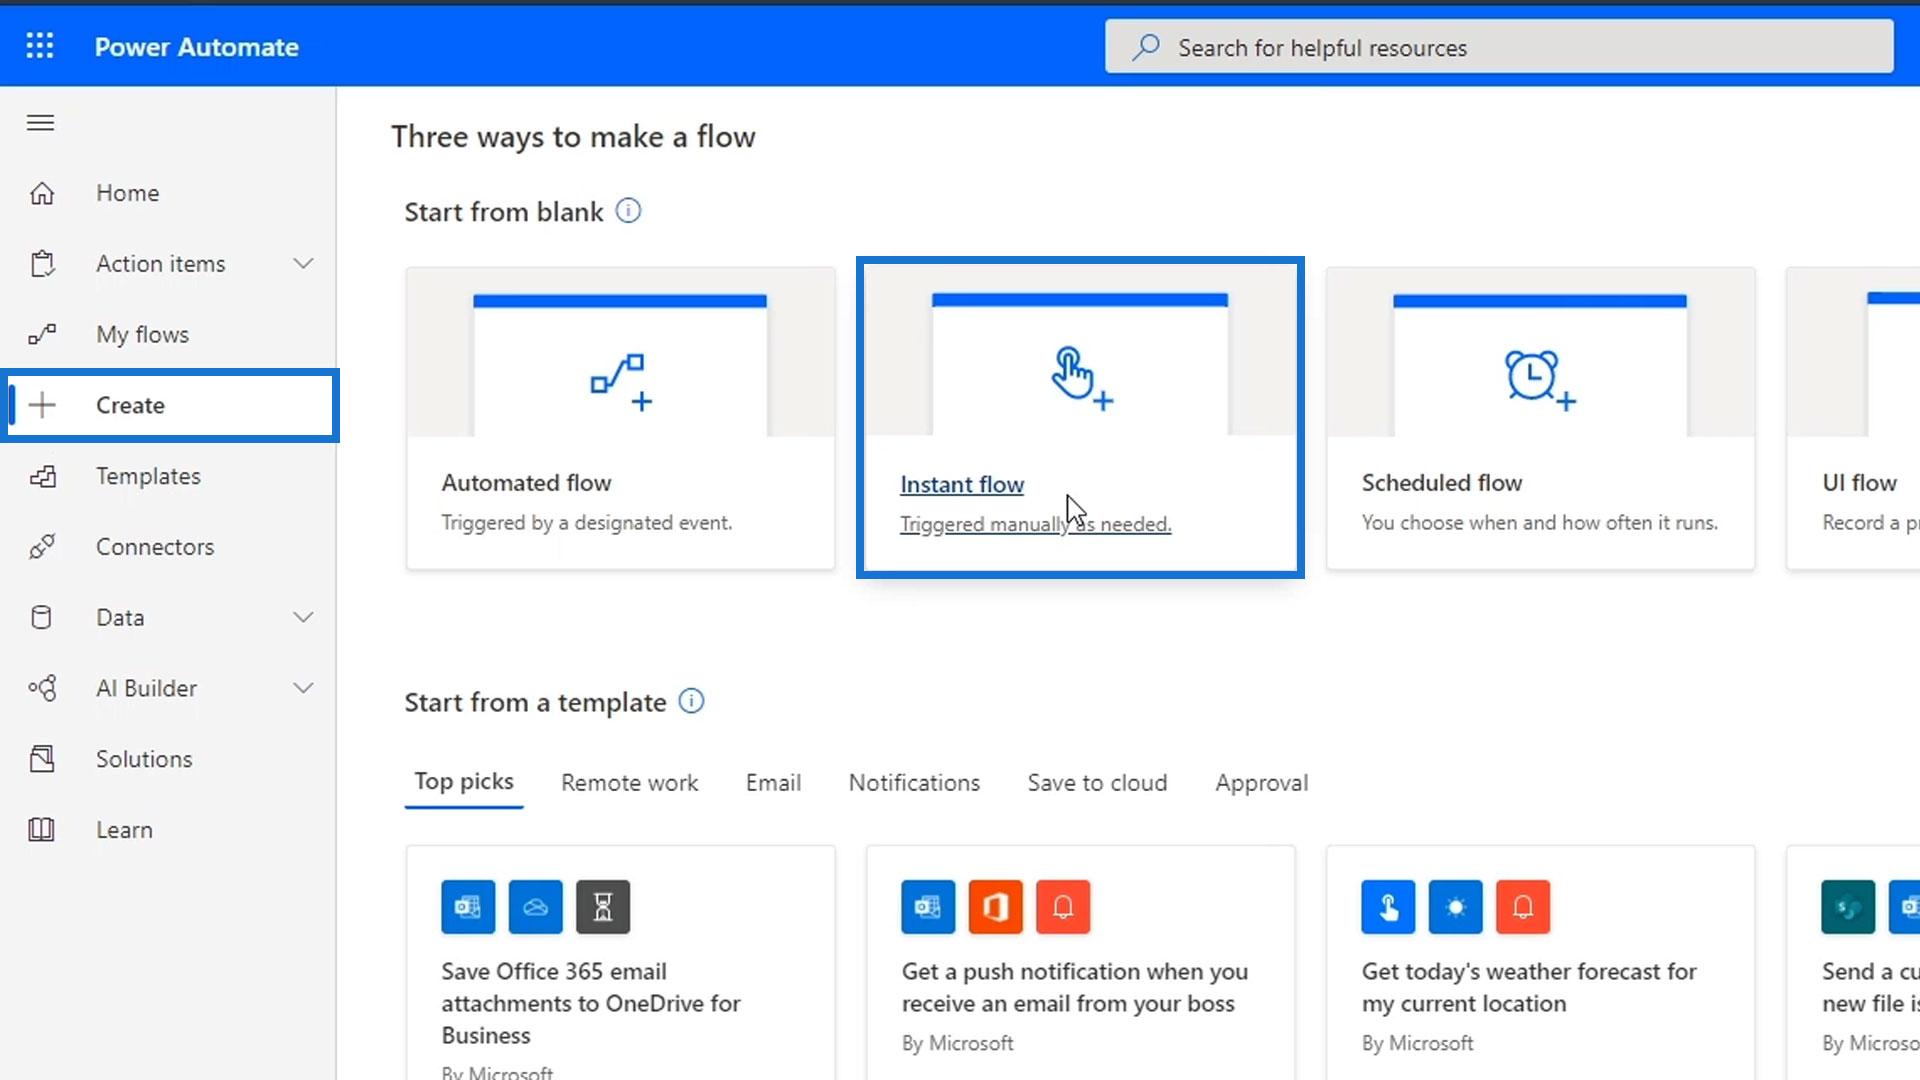
To further understand how inputs work, we’ll create a sample workflow. First, go to the Create page and click Instant flow.
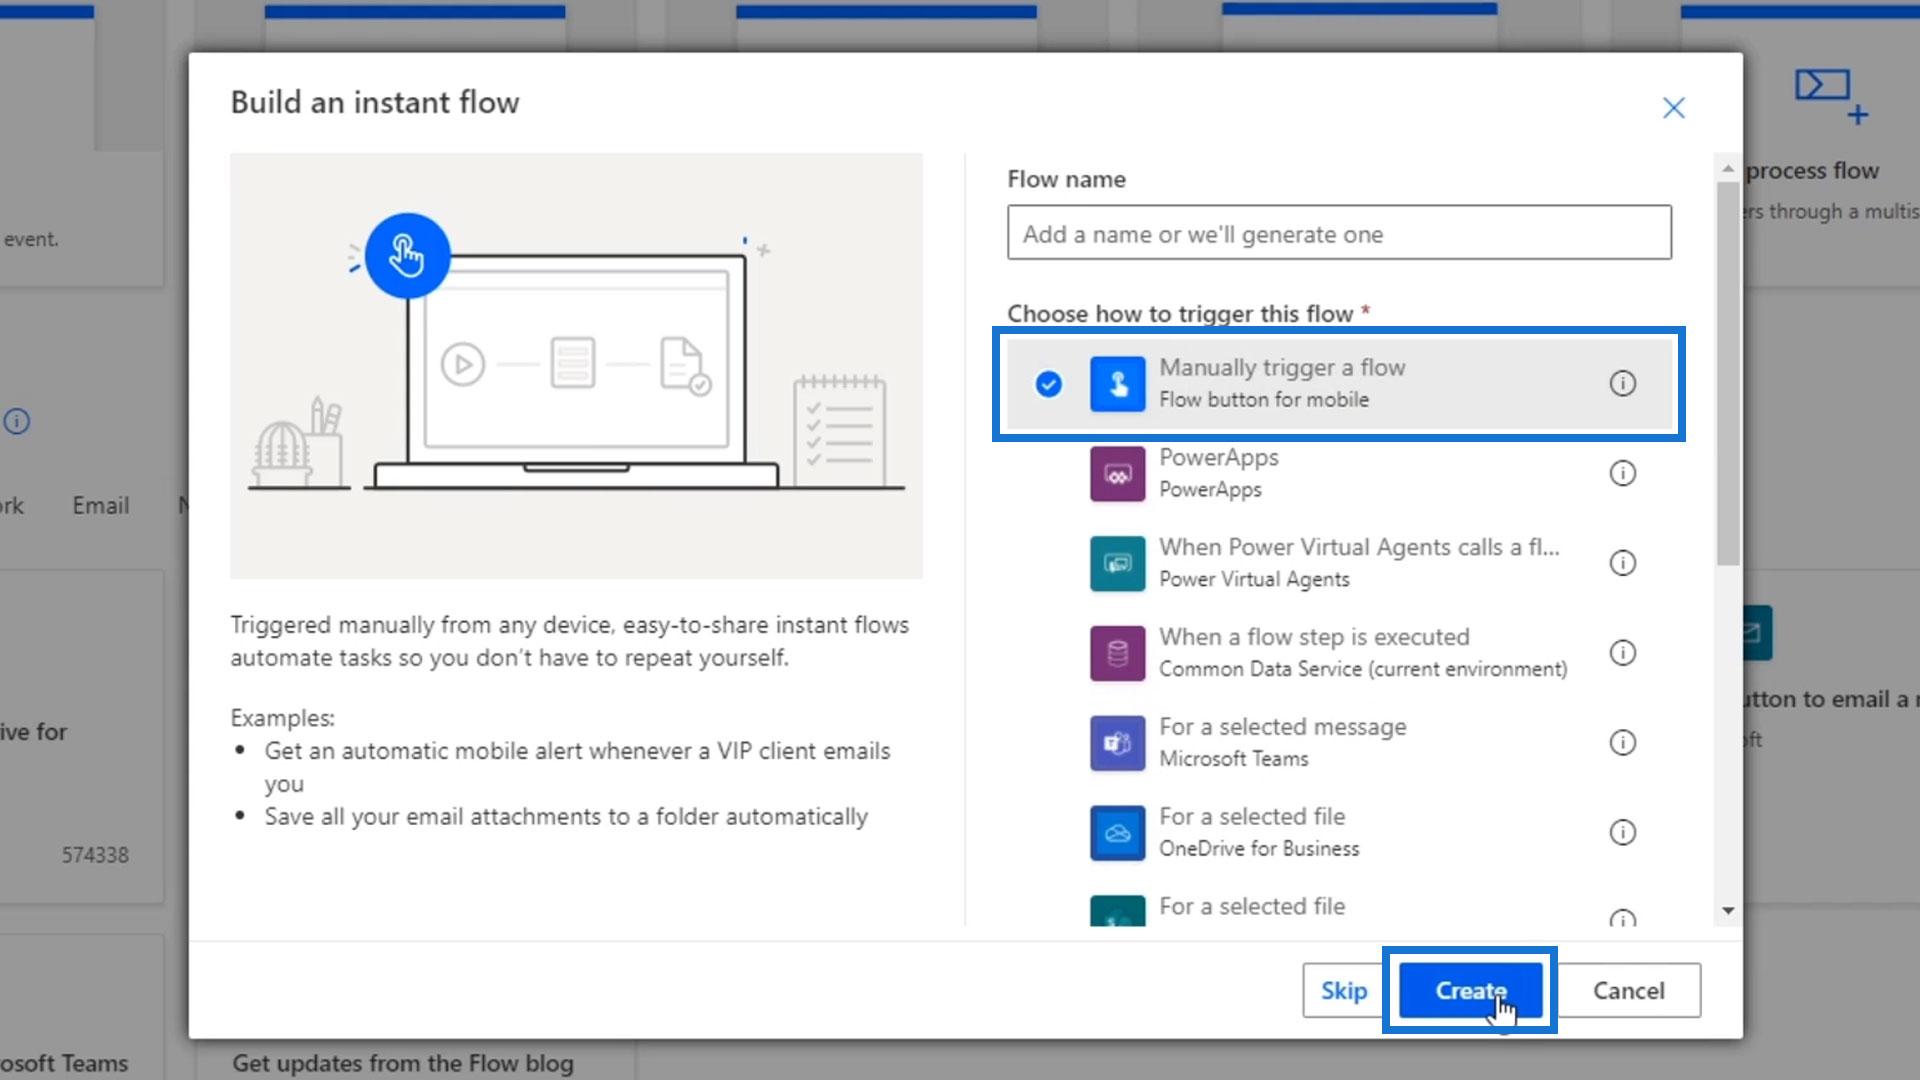
Select the Manually trigger a flow option, then click the Create button.
Then, we’ll be redirected to our flow diagram. From there, let’s click our trigger.
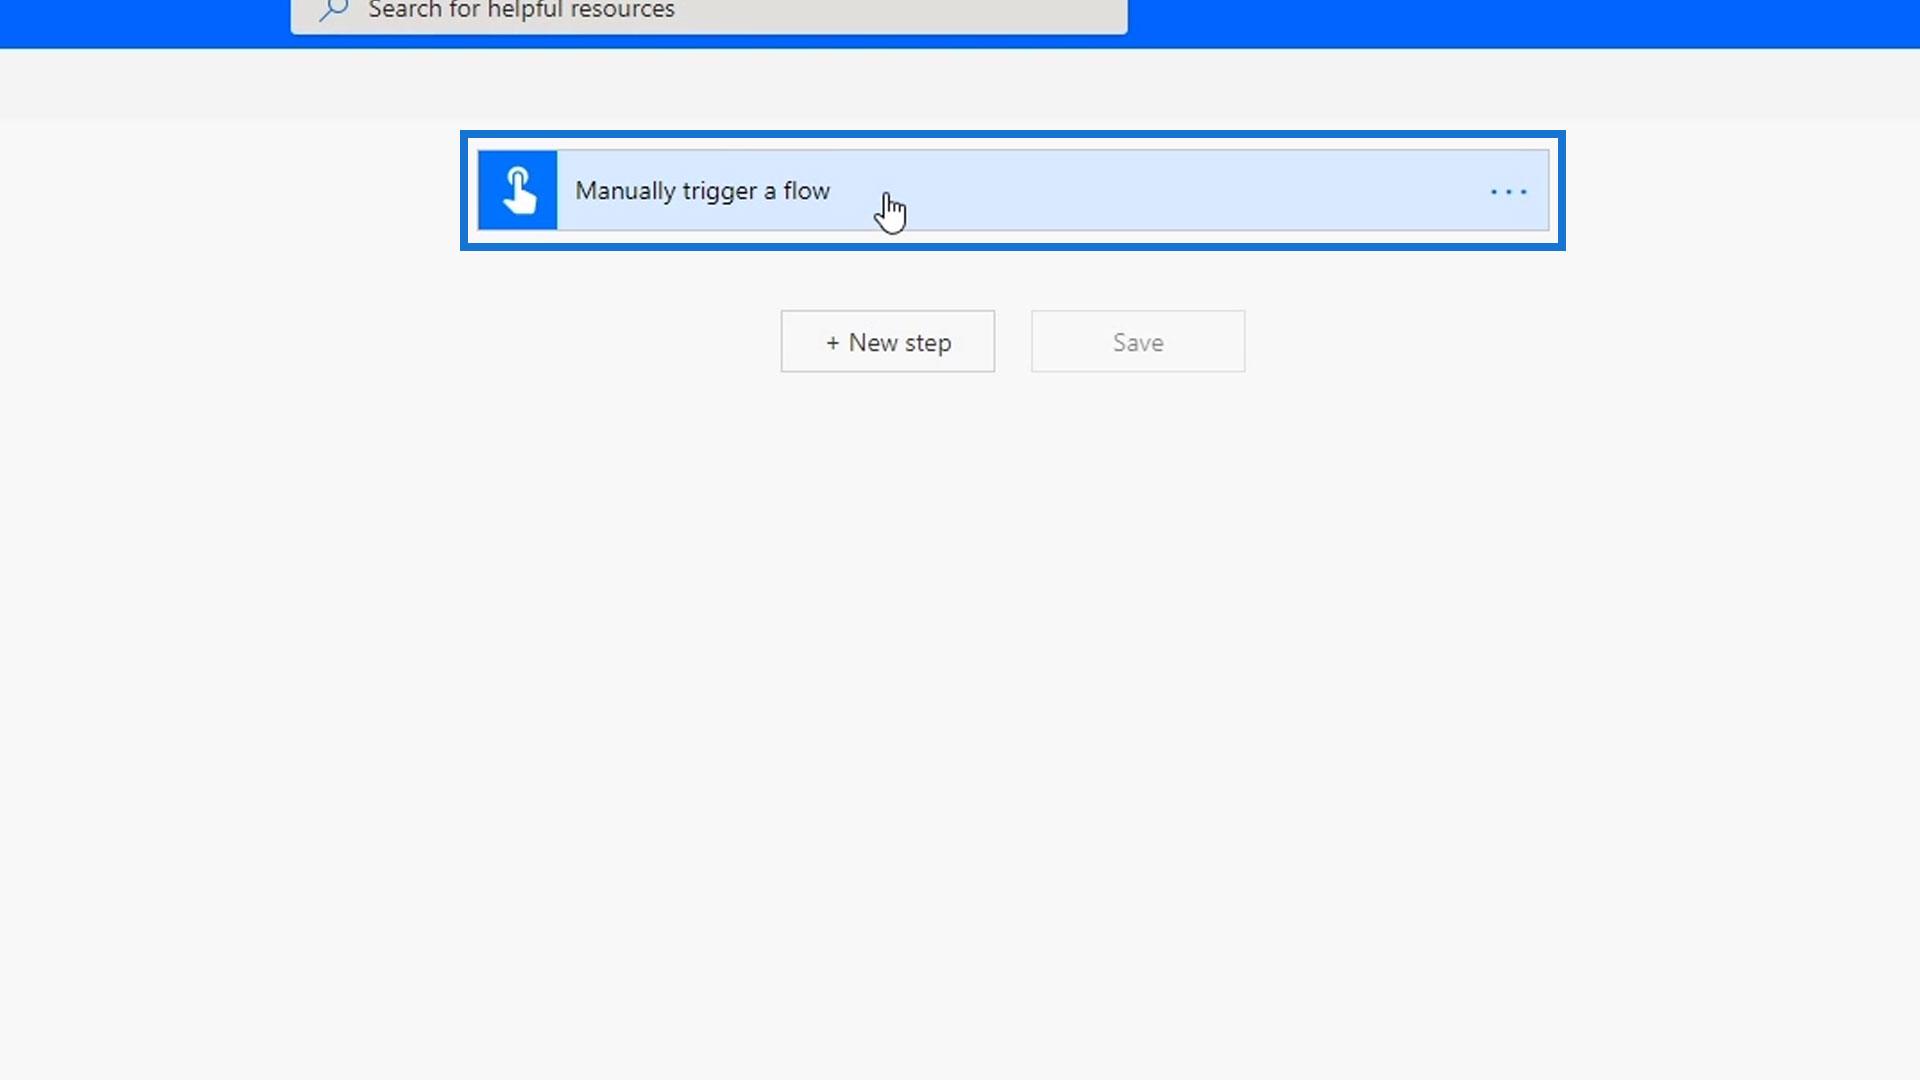
After that, click the Add an input button.

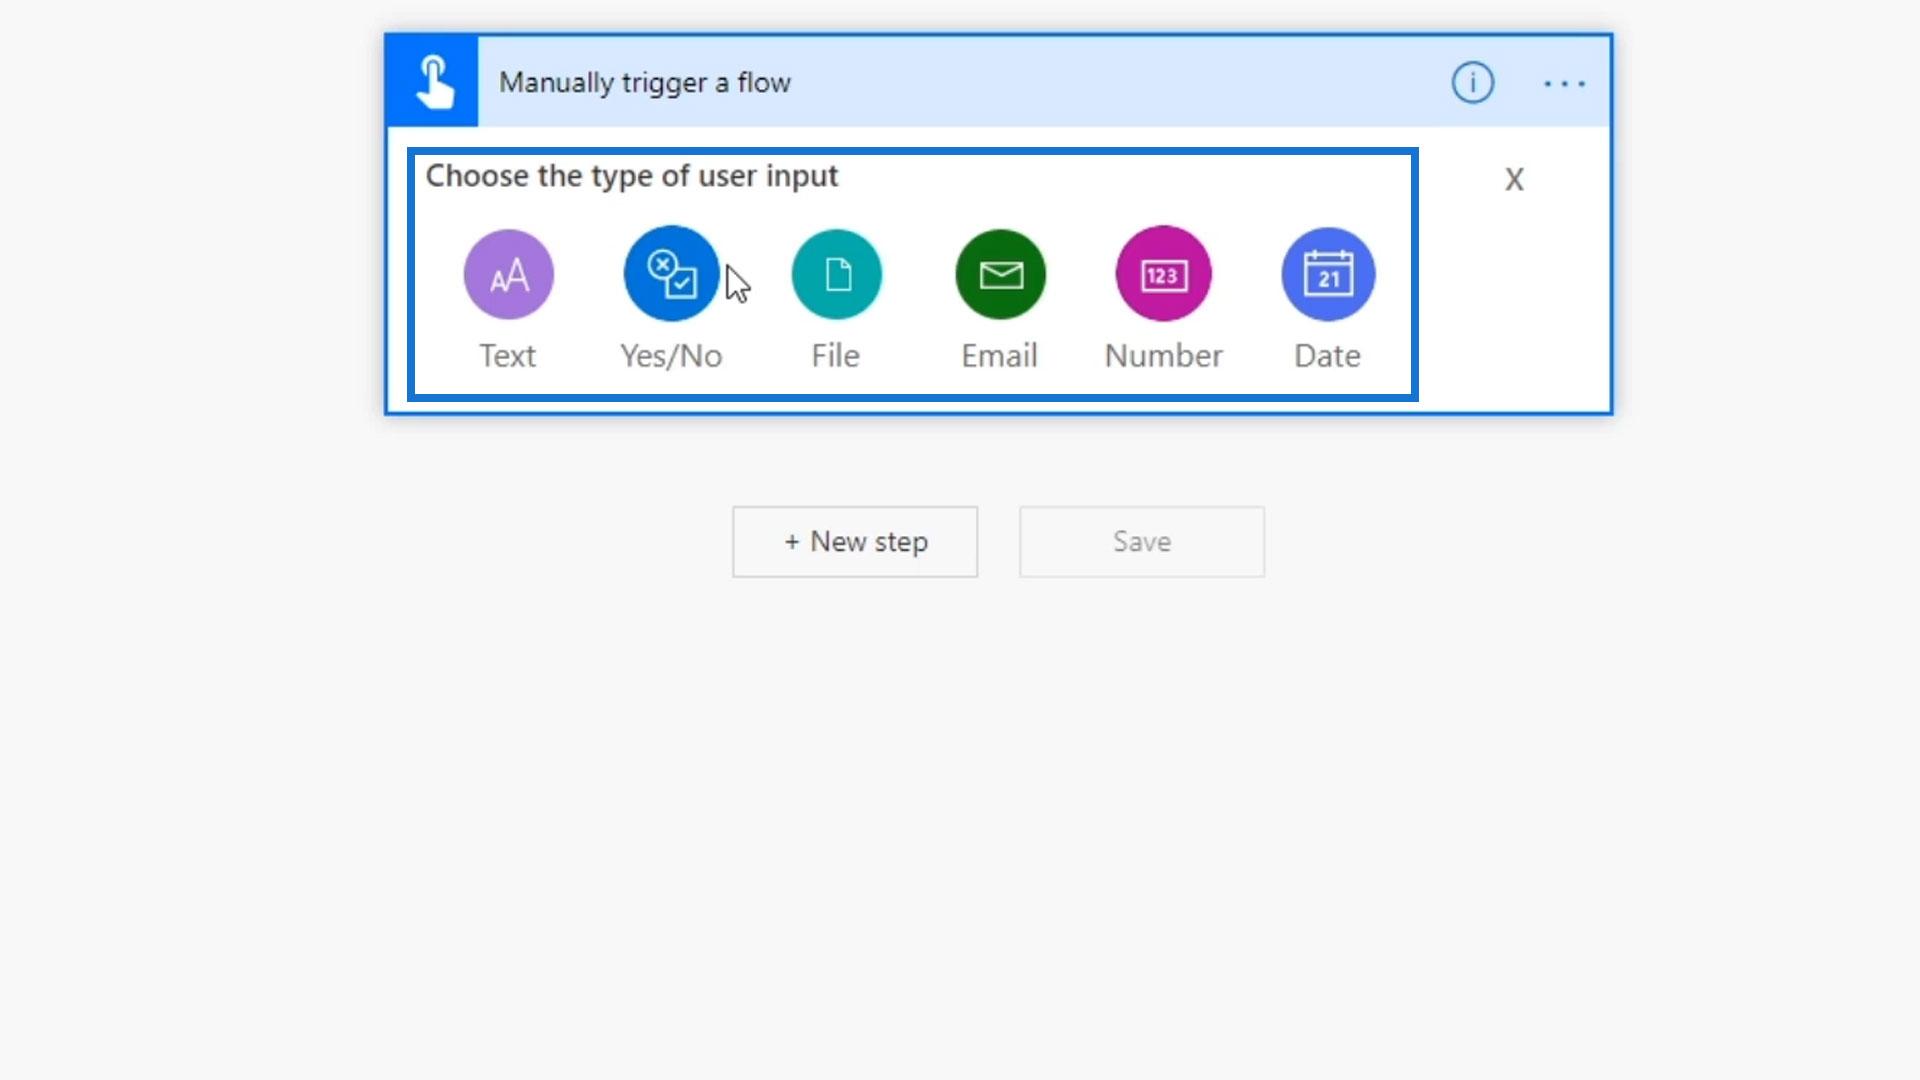
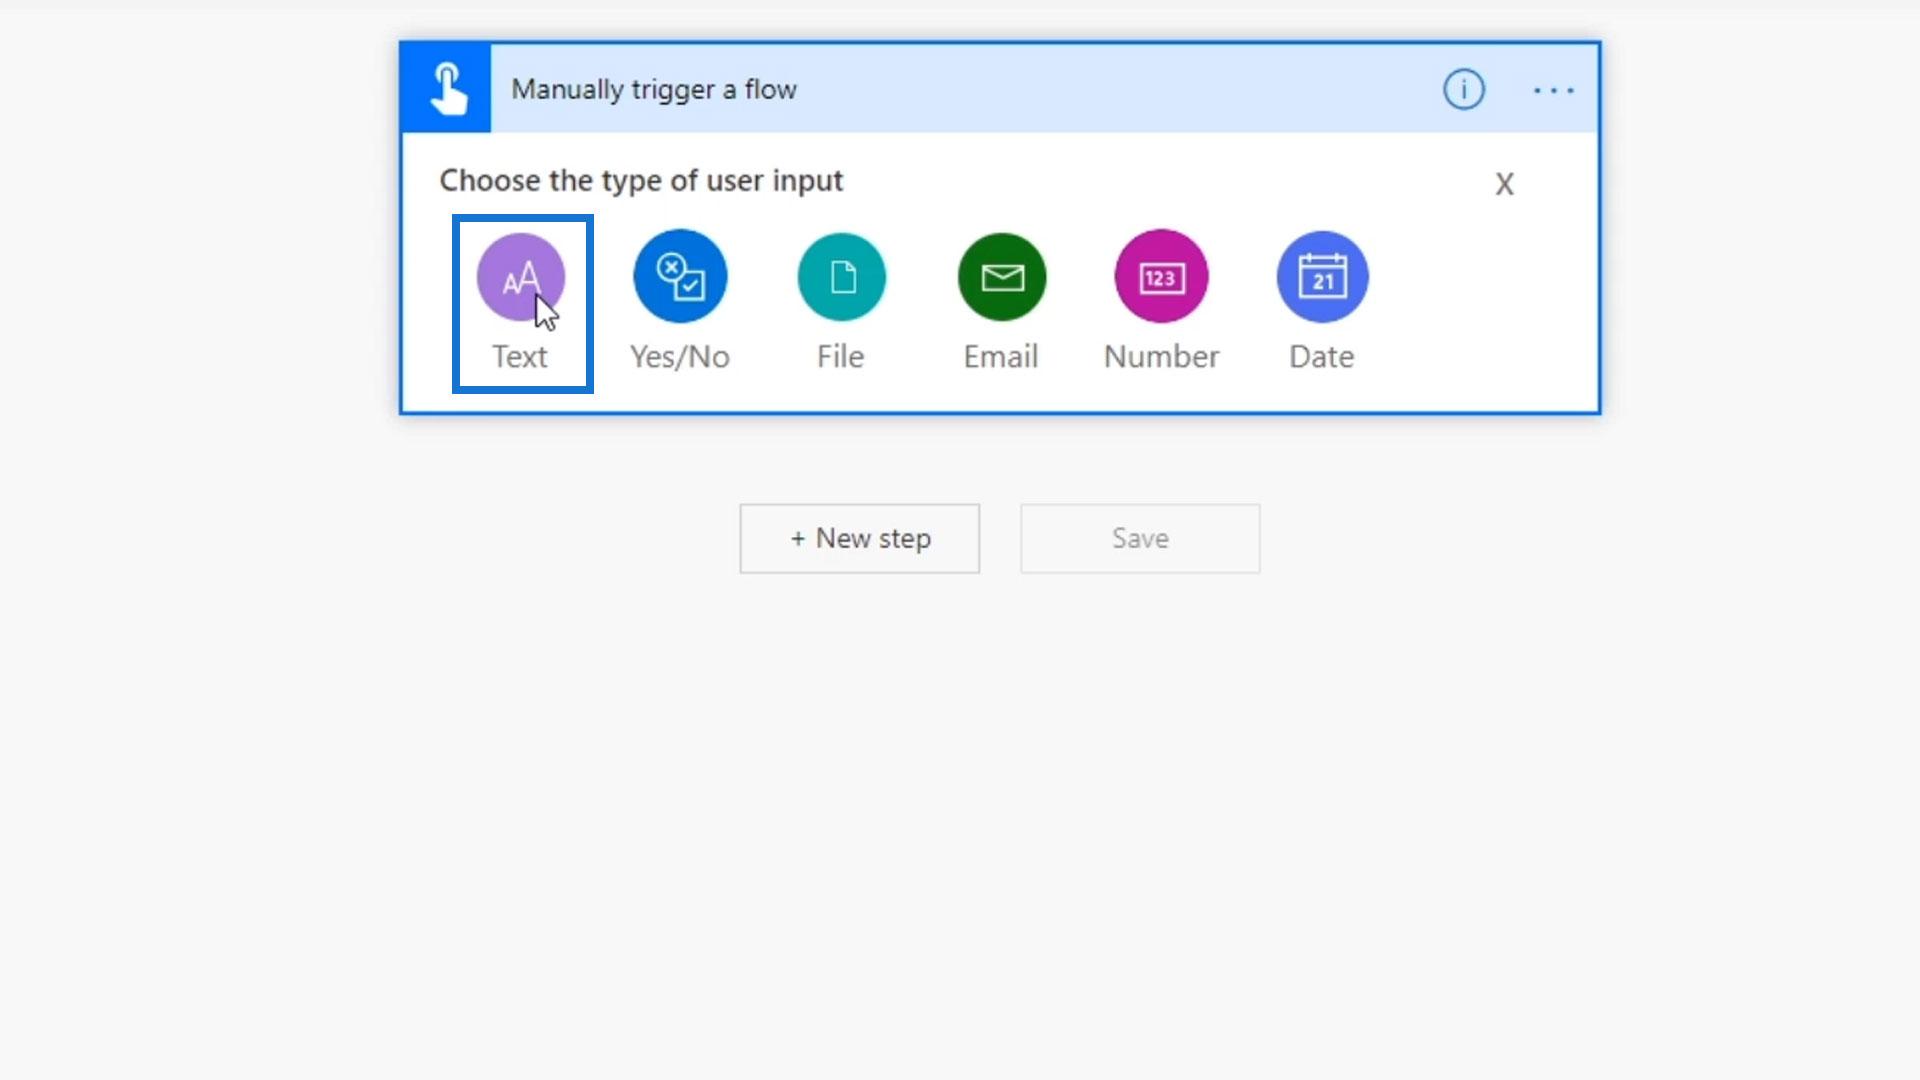
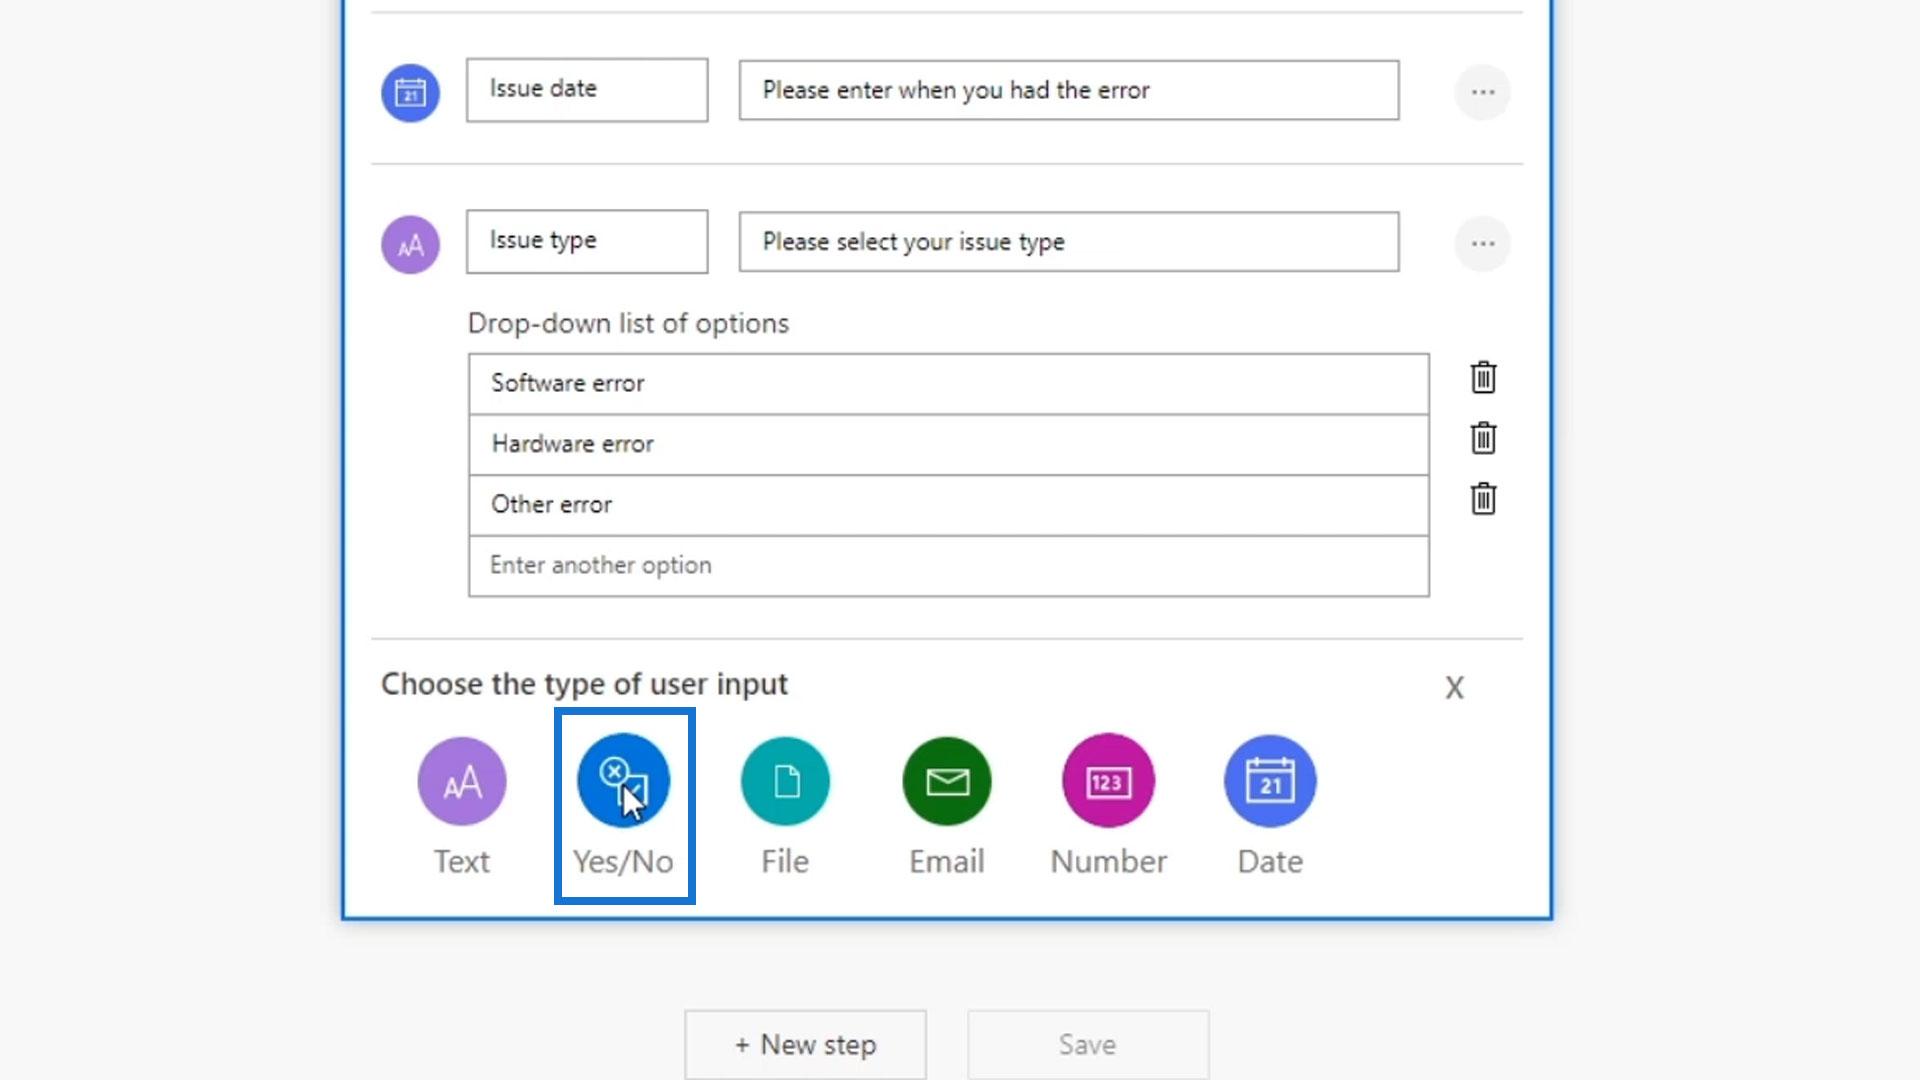
It will then display the different input types that we can use on our trigger. We can use an input for text, yes or no options, file attachment, email, number, and date. These are the standard inputs.
For this example, the employees should manually trigger the flow and put all the needed information about an issue. The issues will then be added to our Trello as tickets instead of manually emailing them to us.
Adding Workflow Inputs In Power Automate
Let’s now add inputs based on what we need for our ticketing systems. First, click the Text inputs.

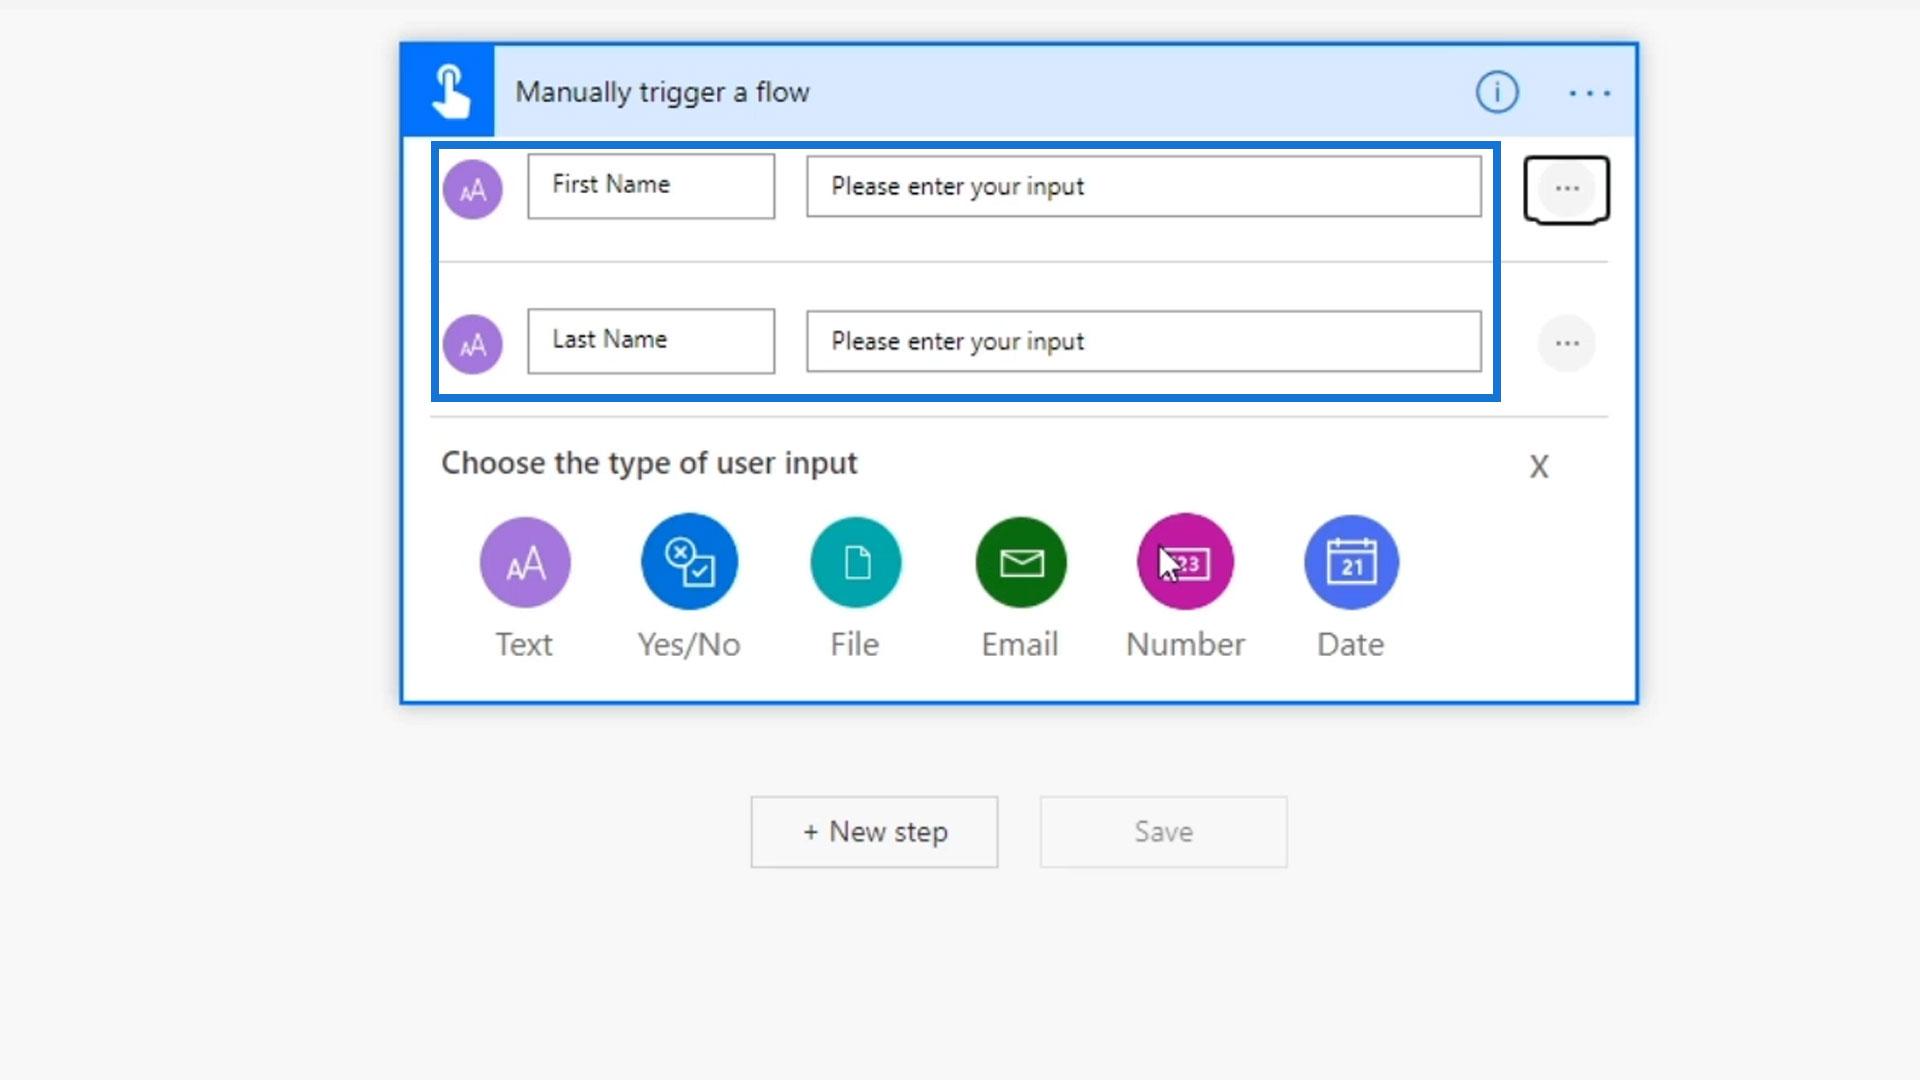
We’ll add two text inputs so the employees can enter their First name and Last name.
Next is to add a Number input.
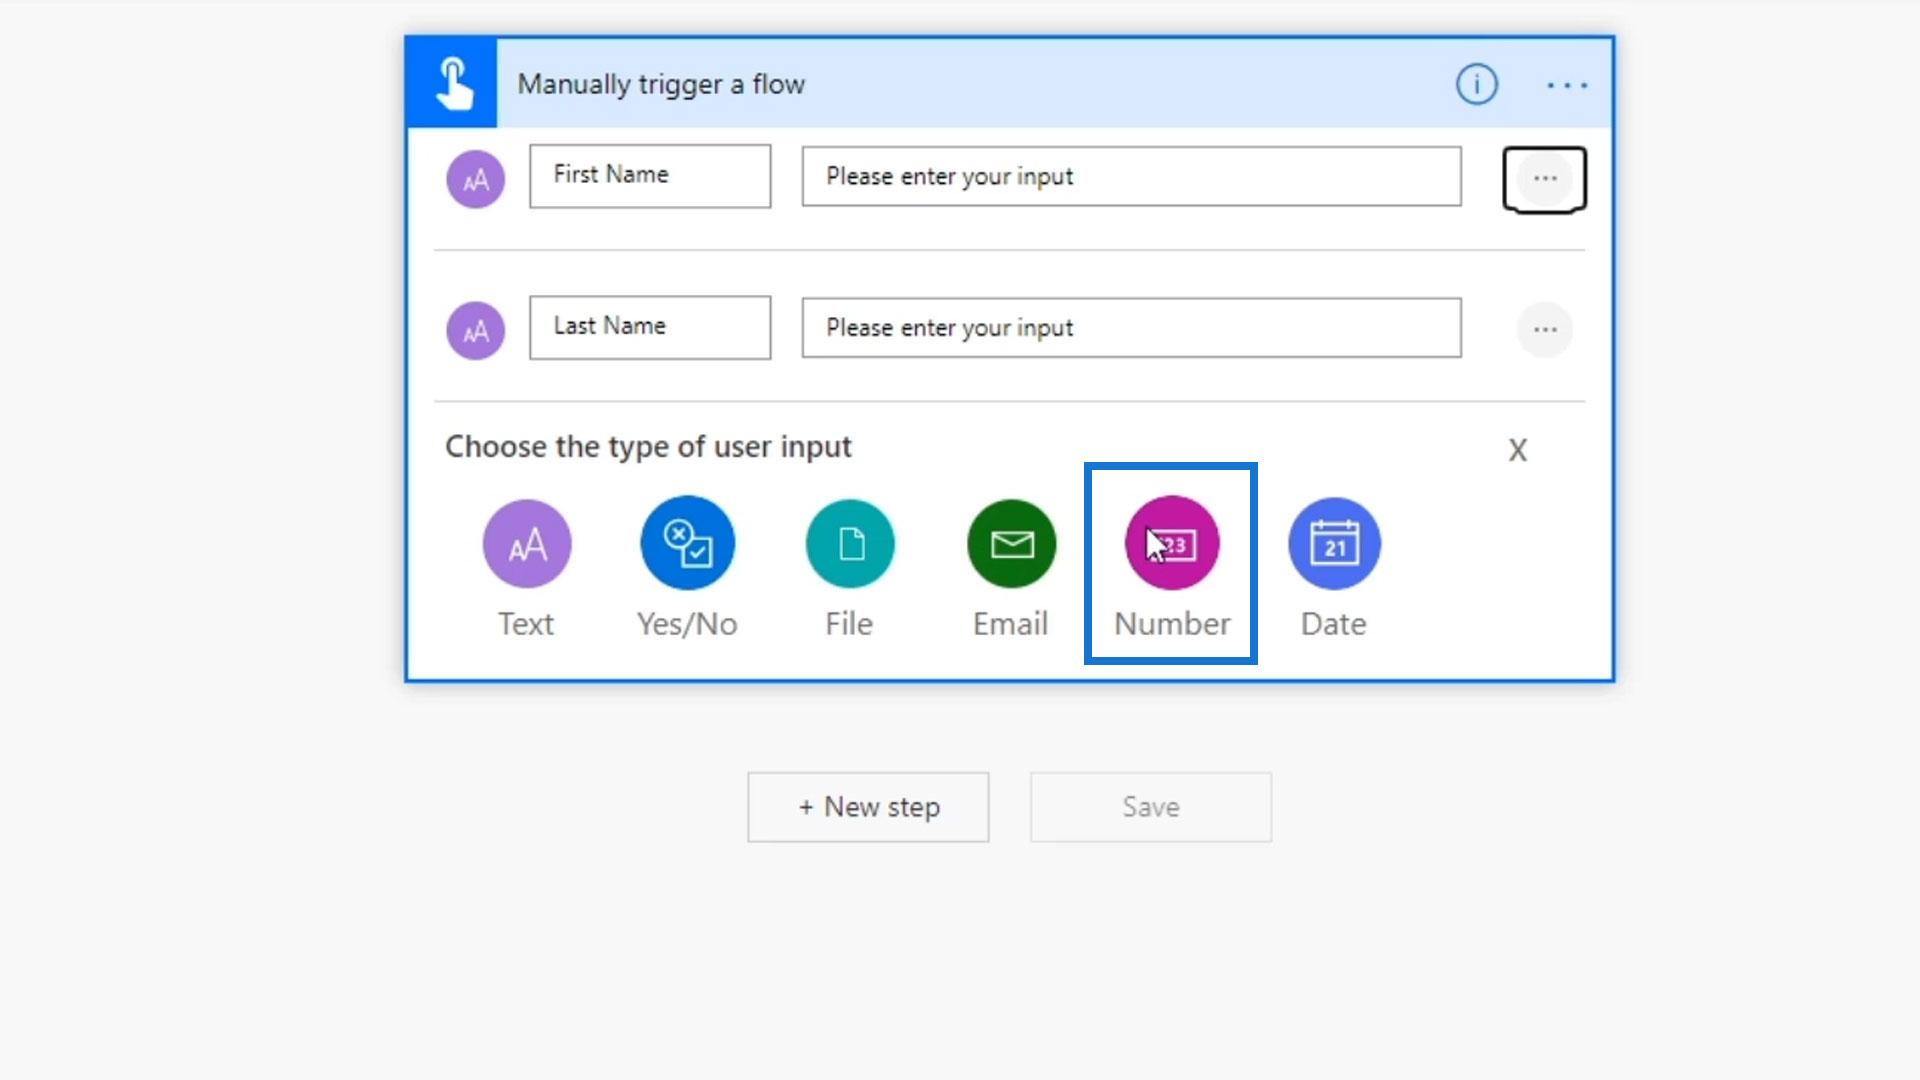
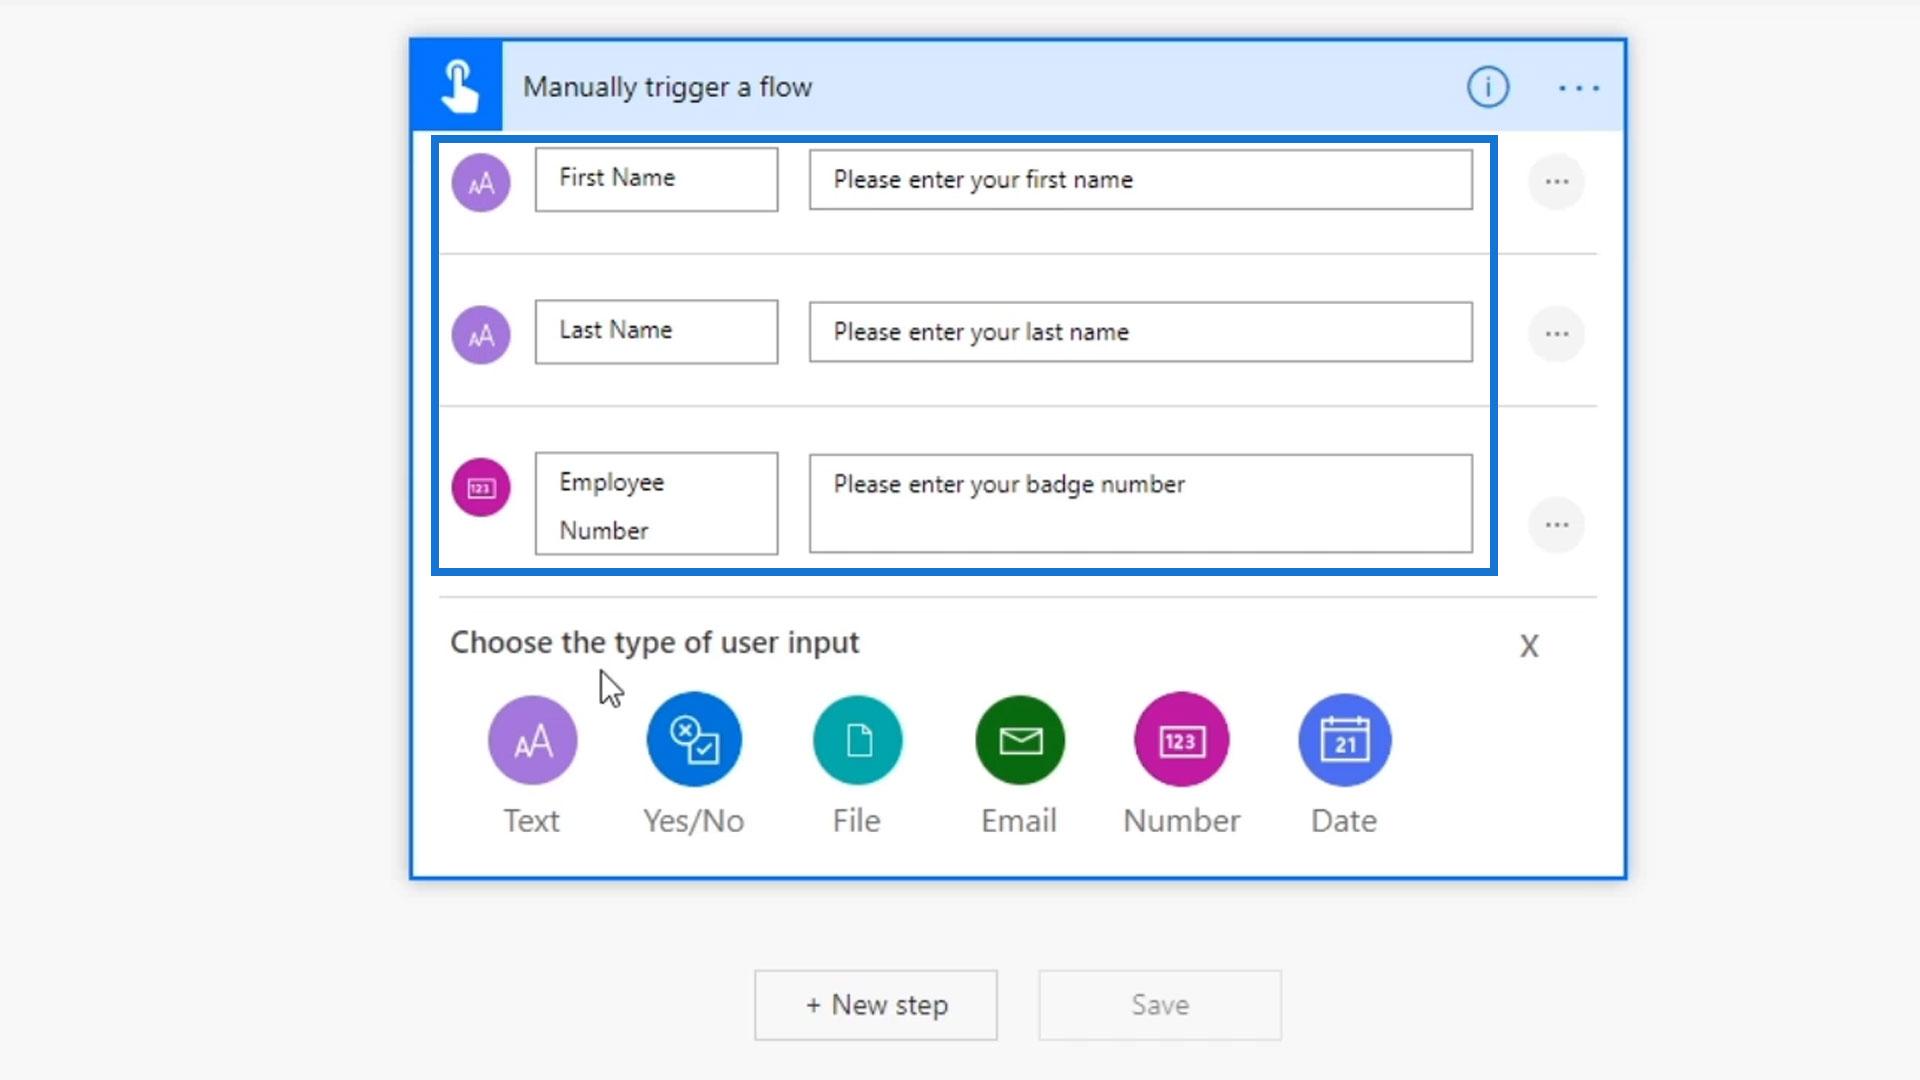
This is for them to enter their Employee number.
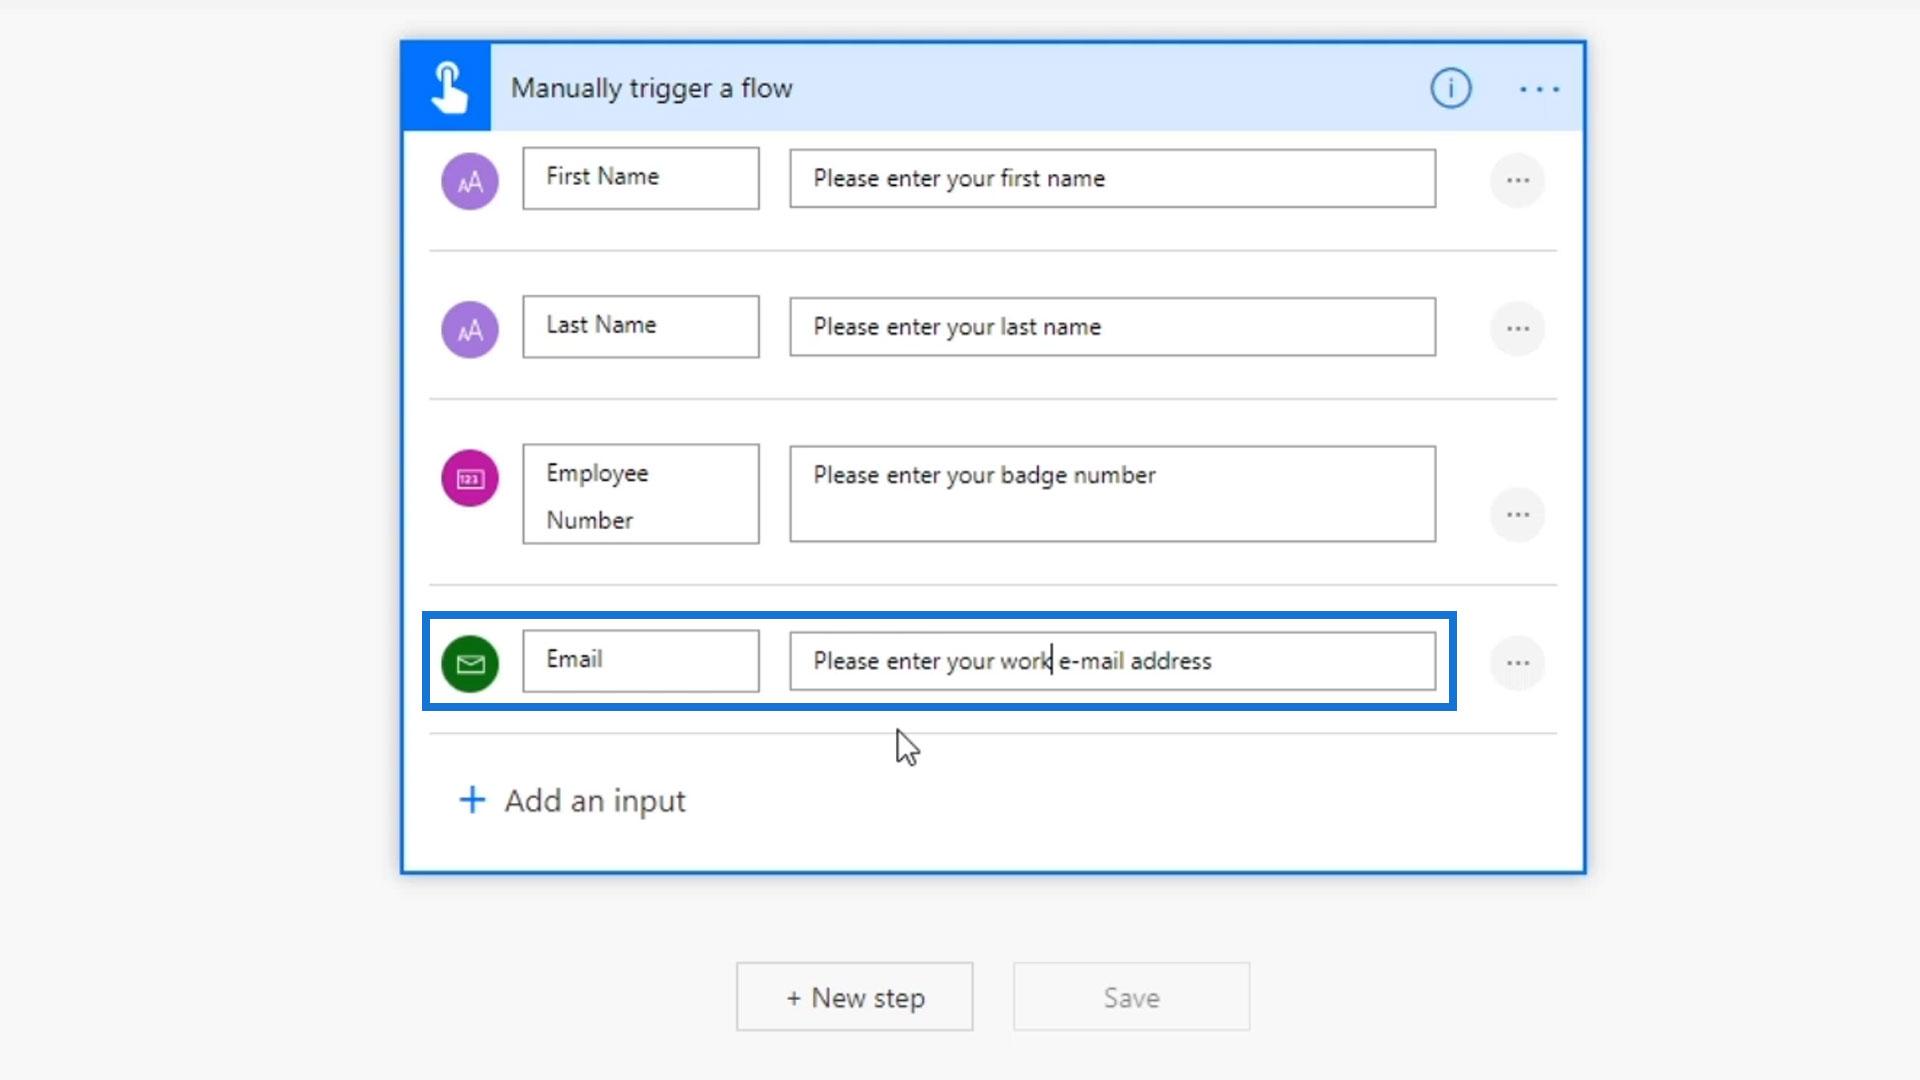
Let’s also add an Email input. We need to use the Email input to make sure that they will enter their valid email address.
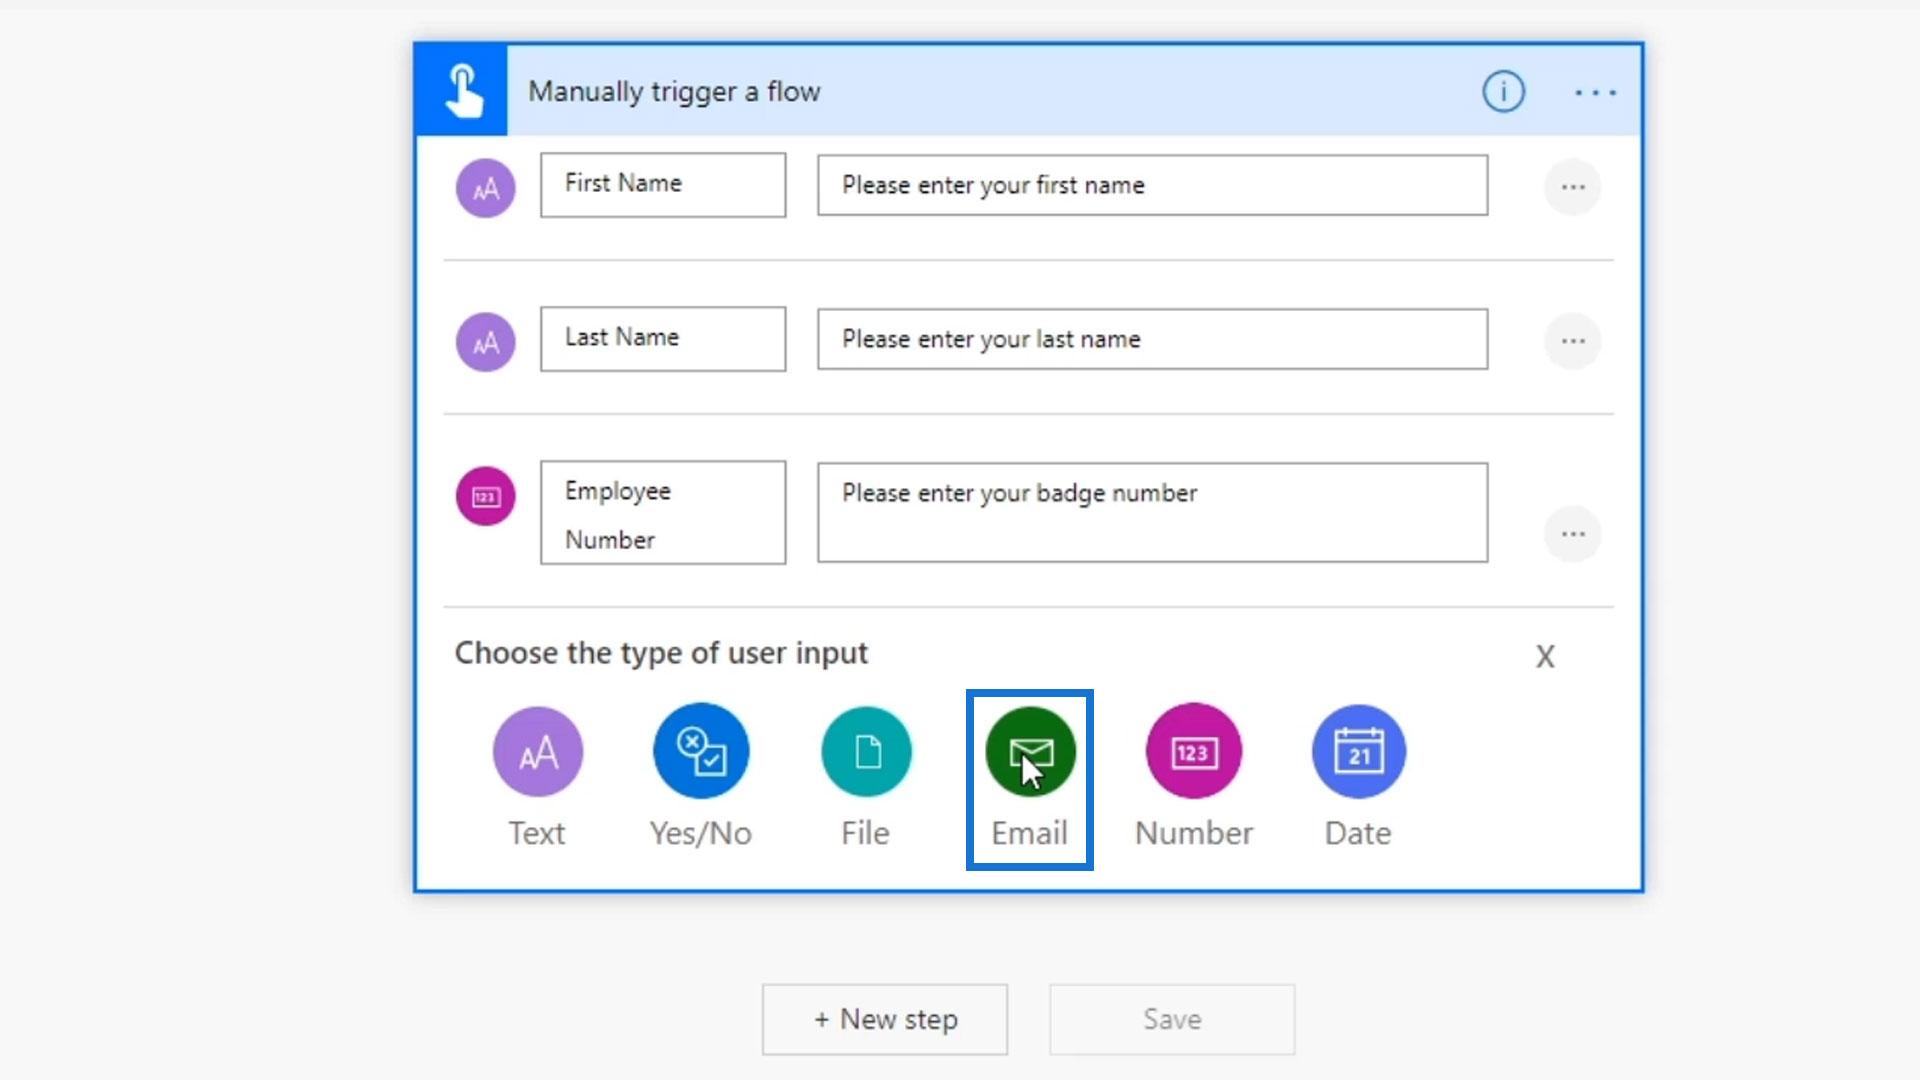
Then, let’s type “Please enter your work email address.”
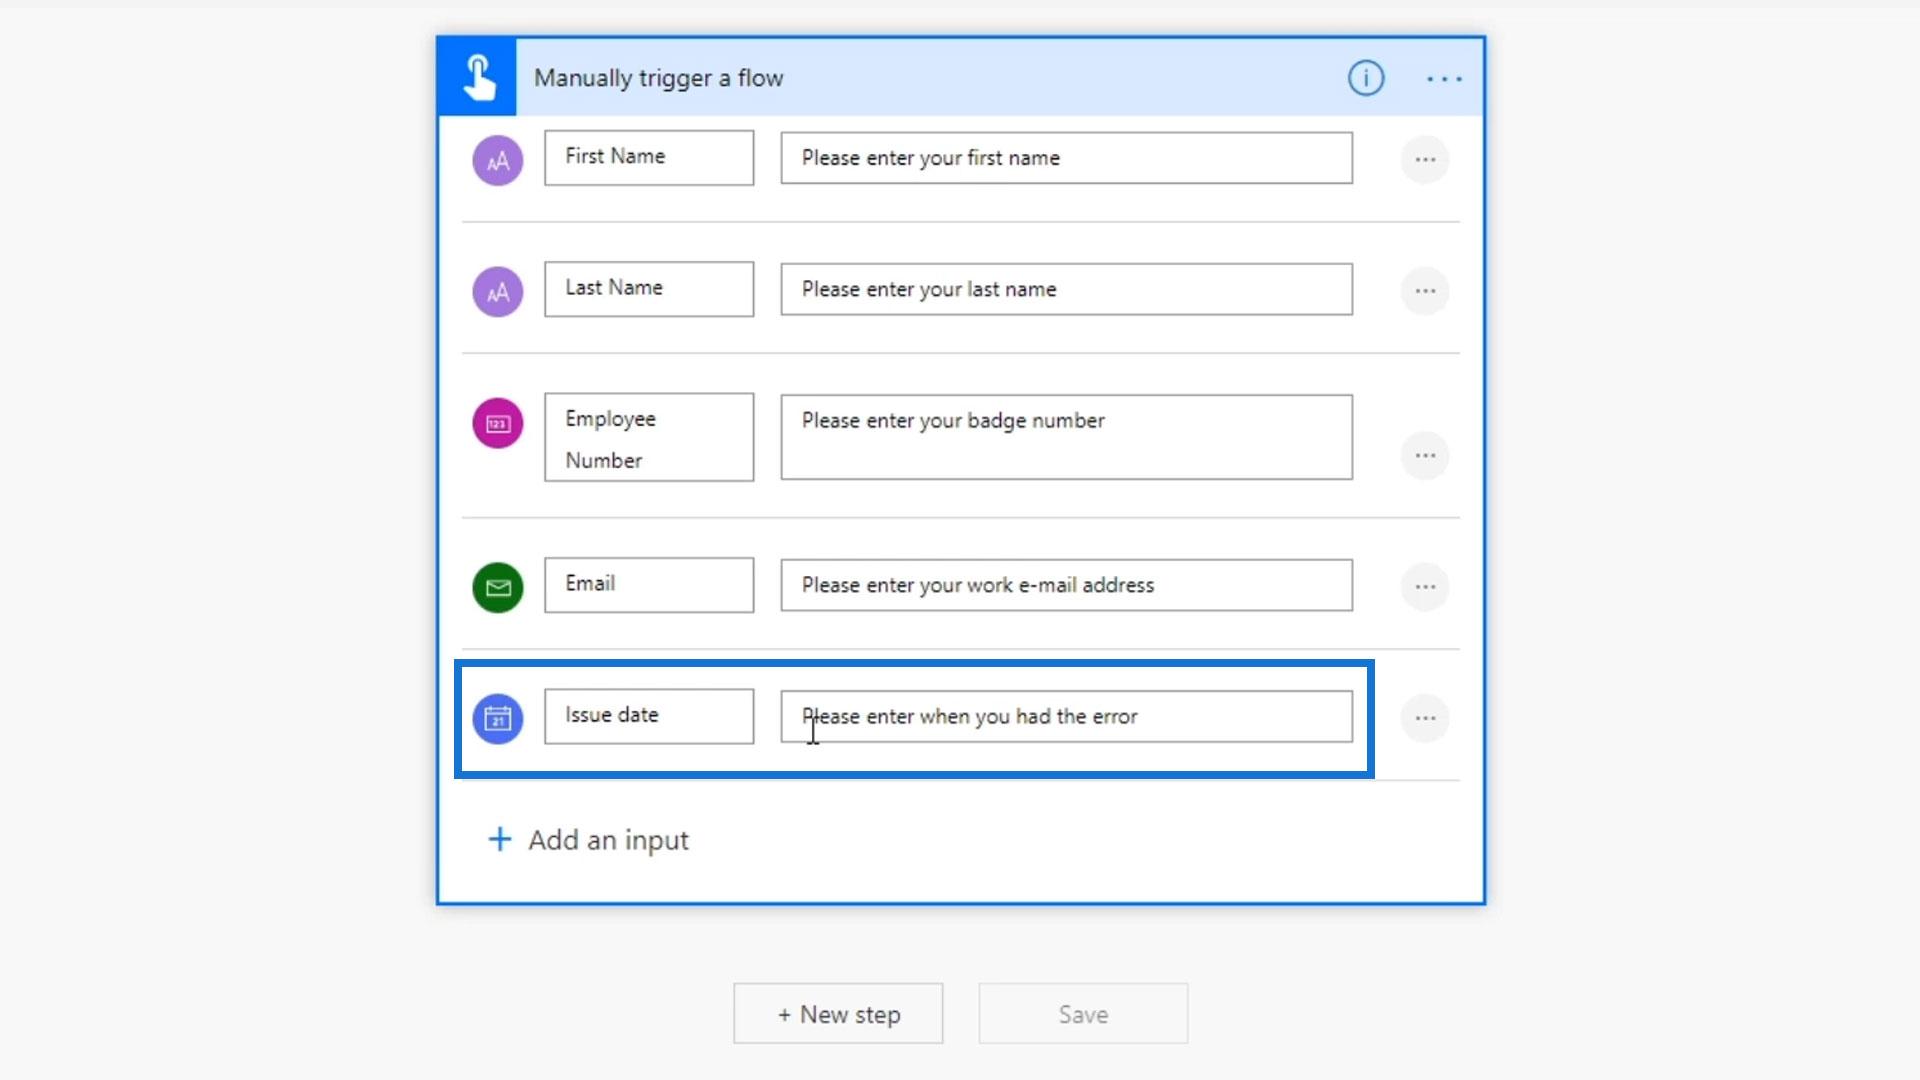
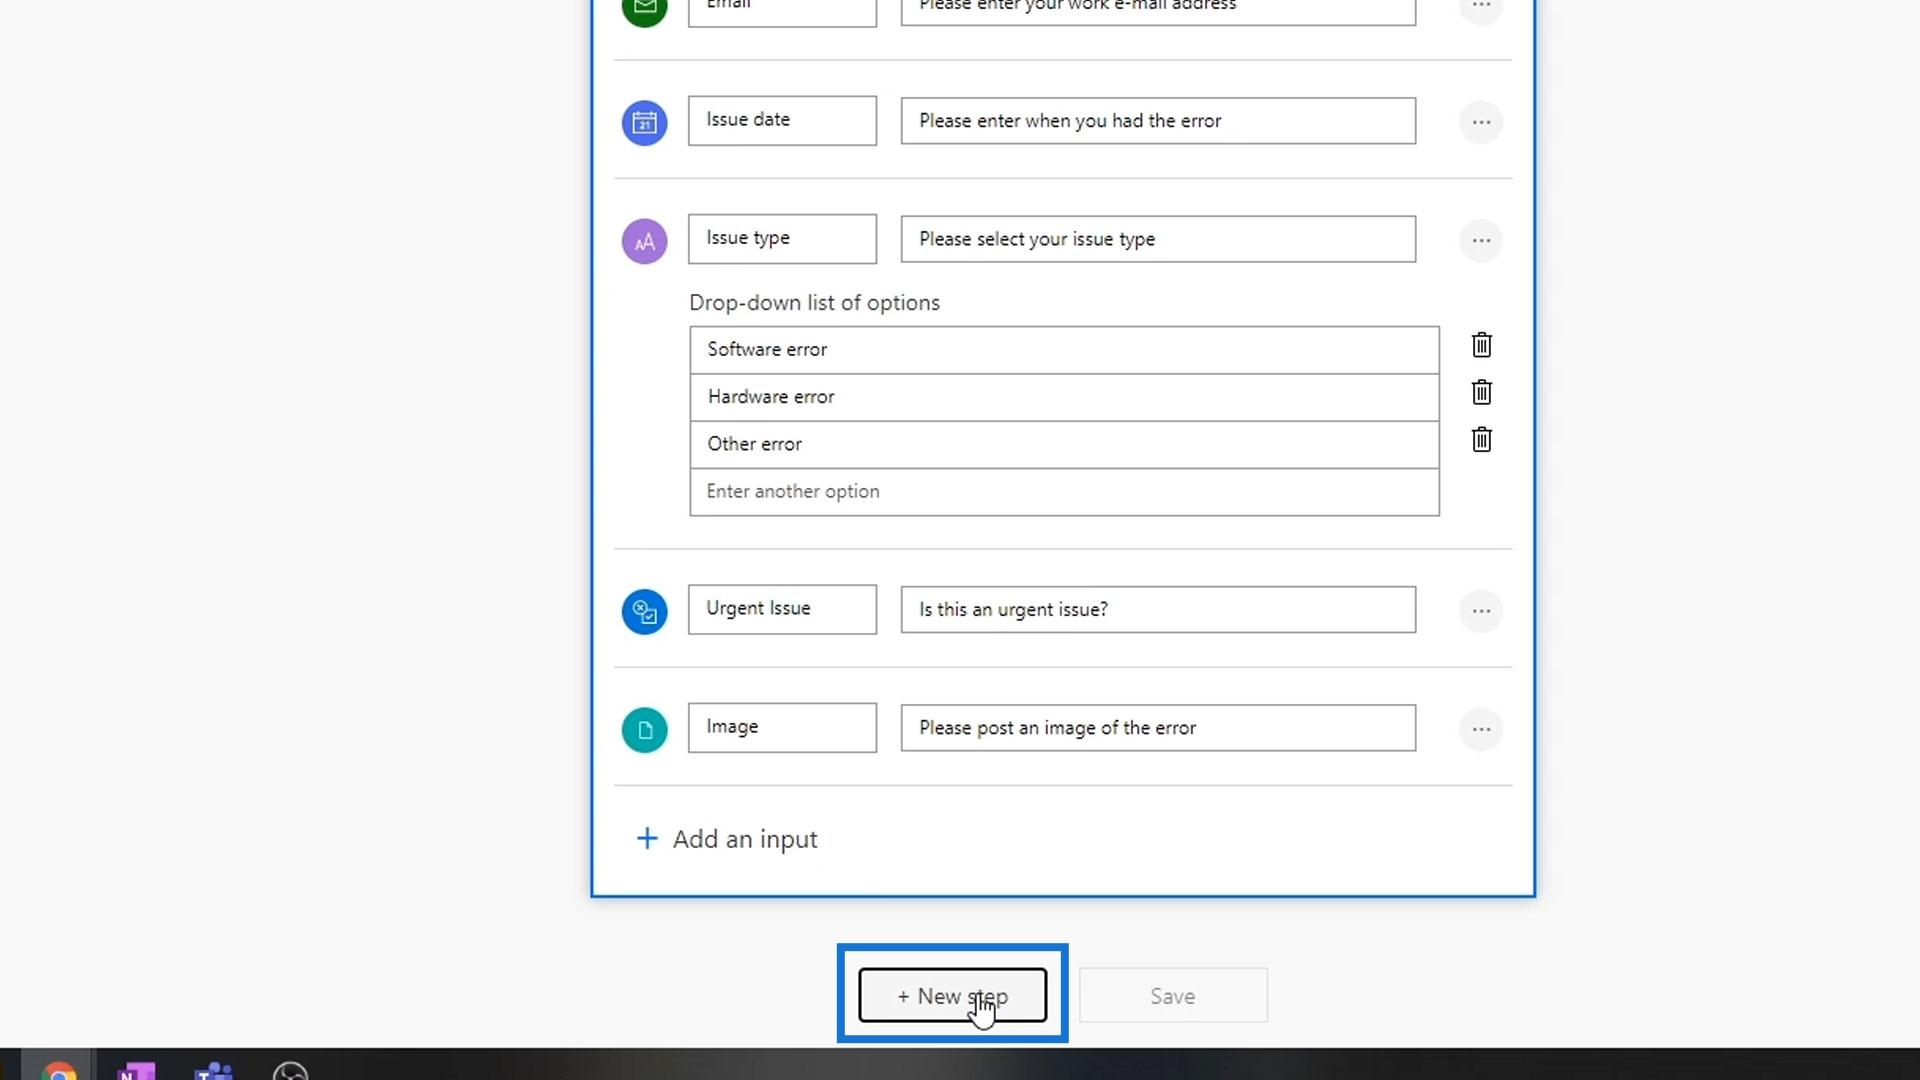
After that, we’ll add a Date input.
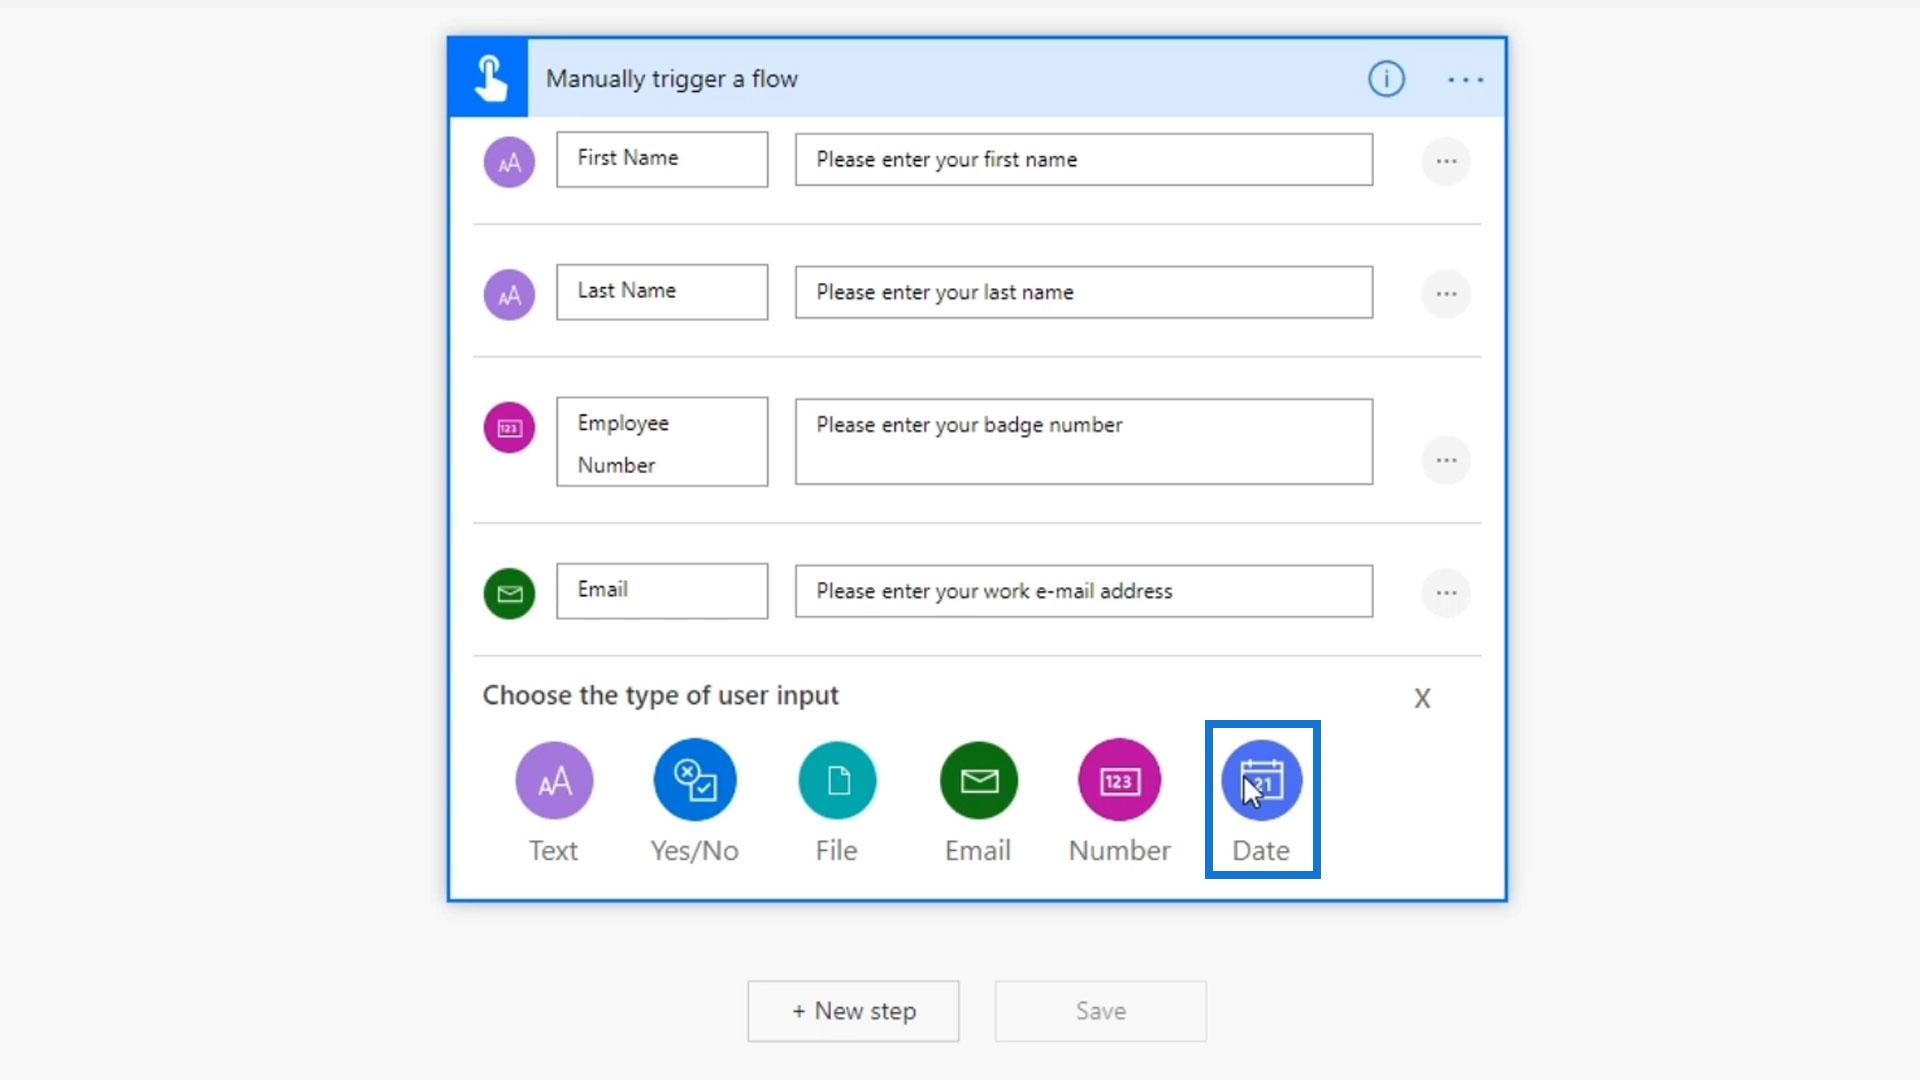
For this input, we’ll ask them to enter the date when they had the error/issue.
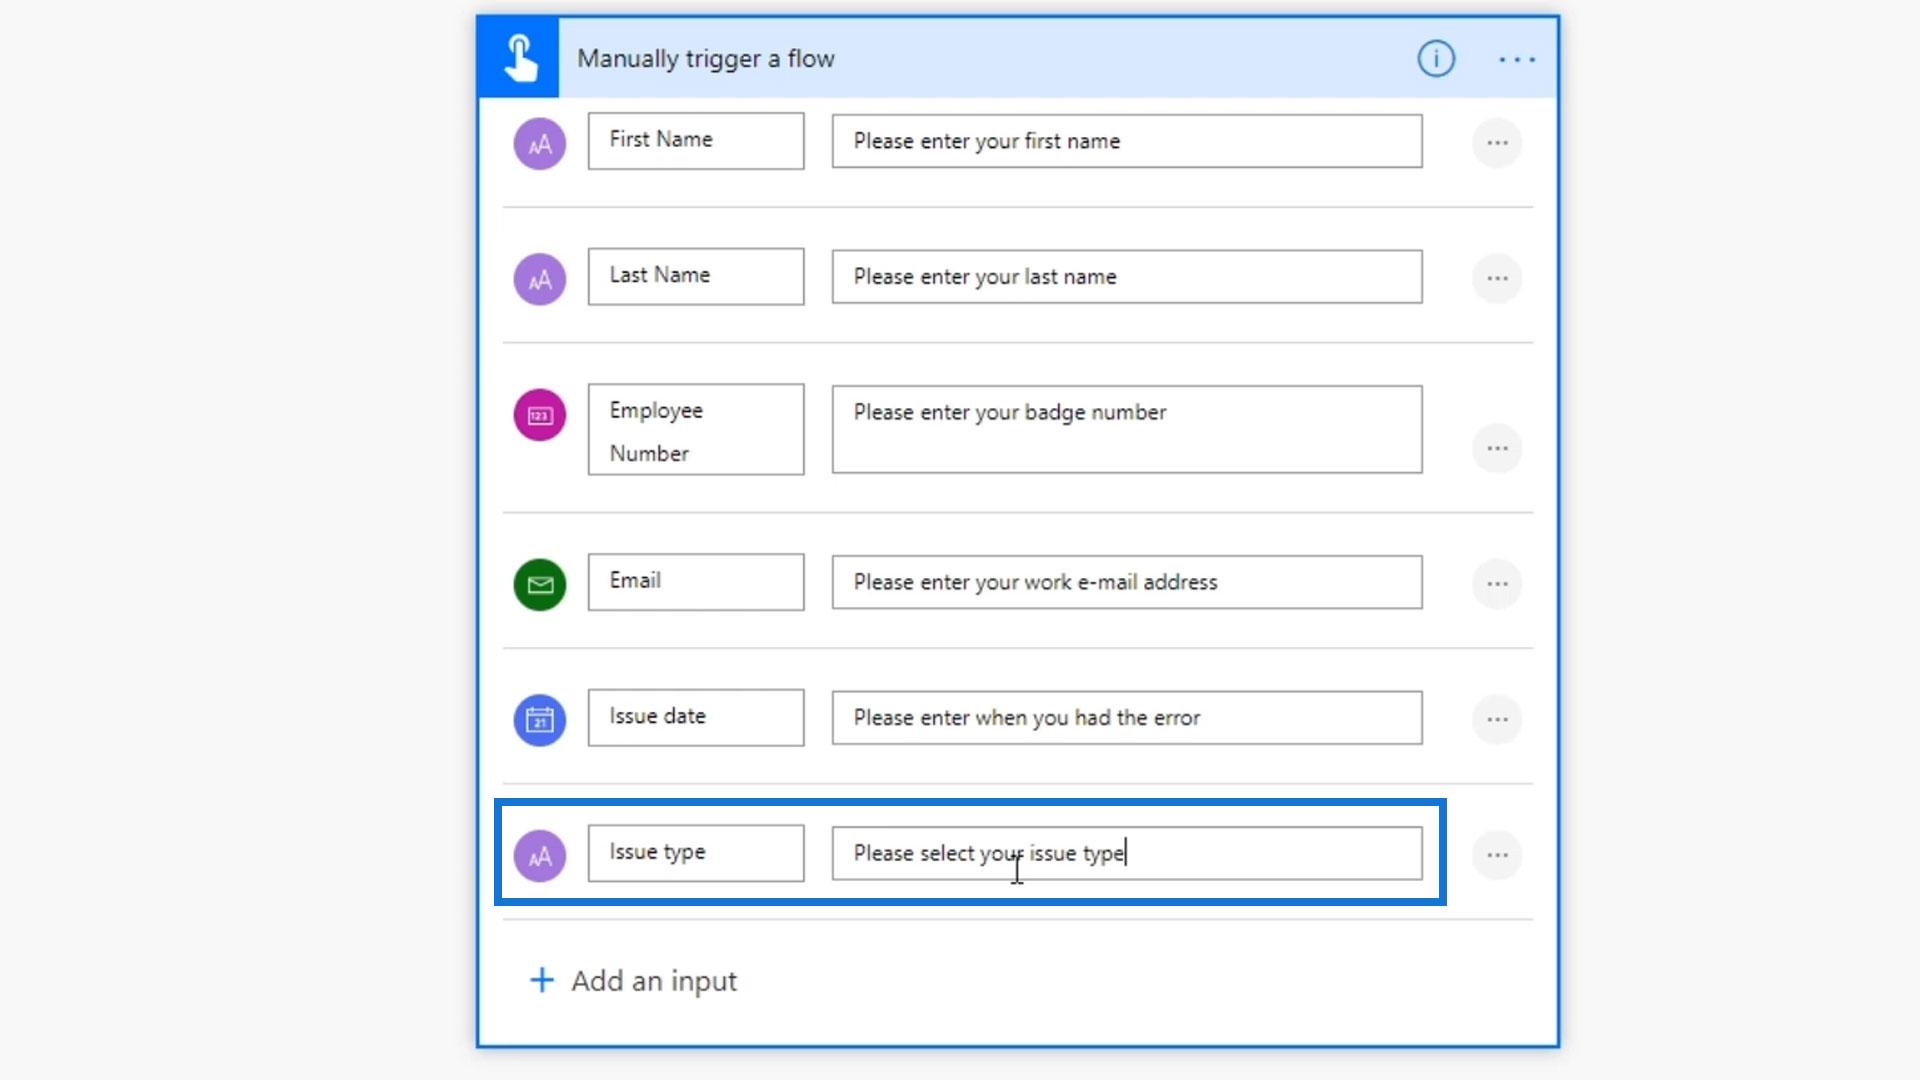
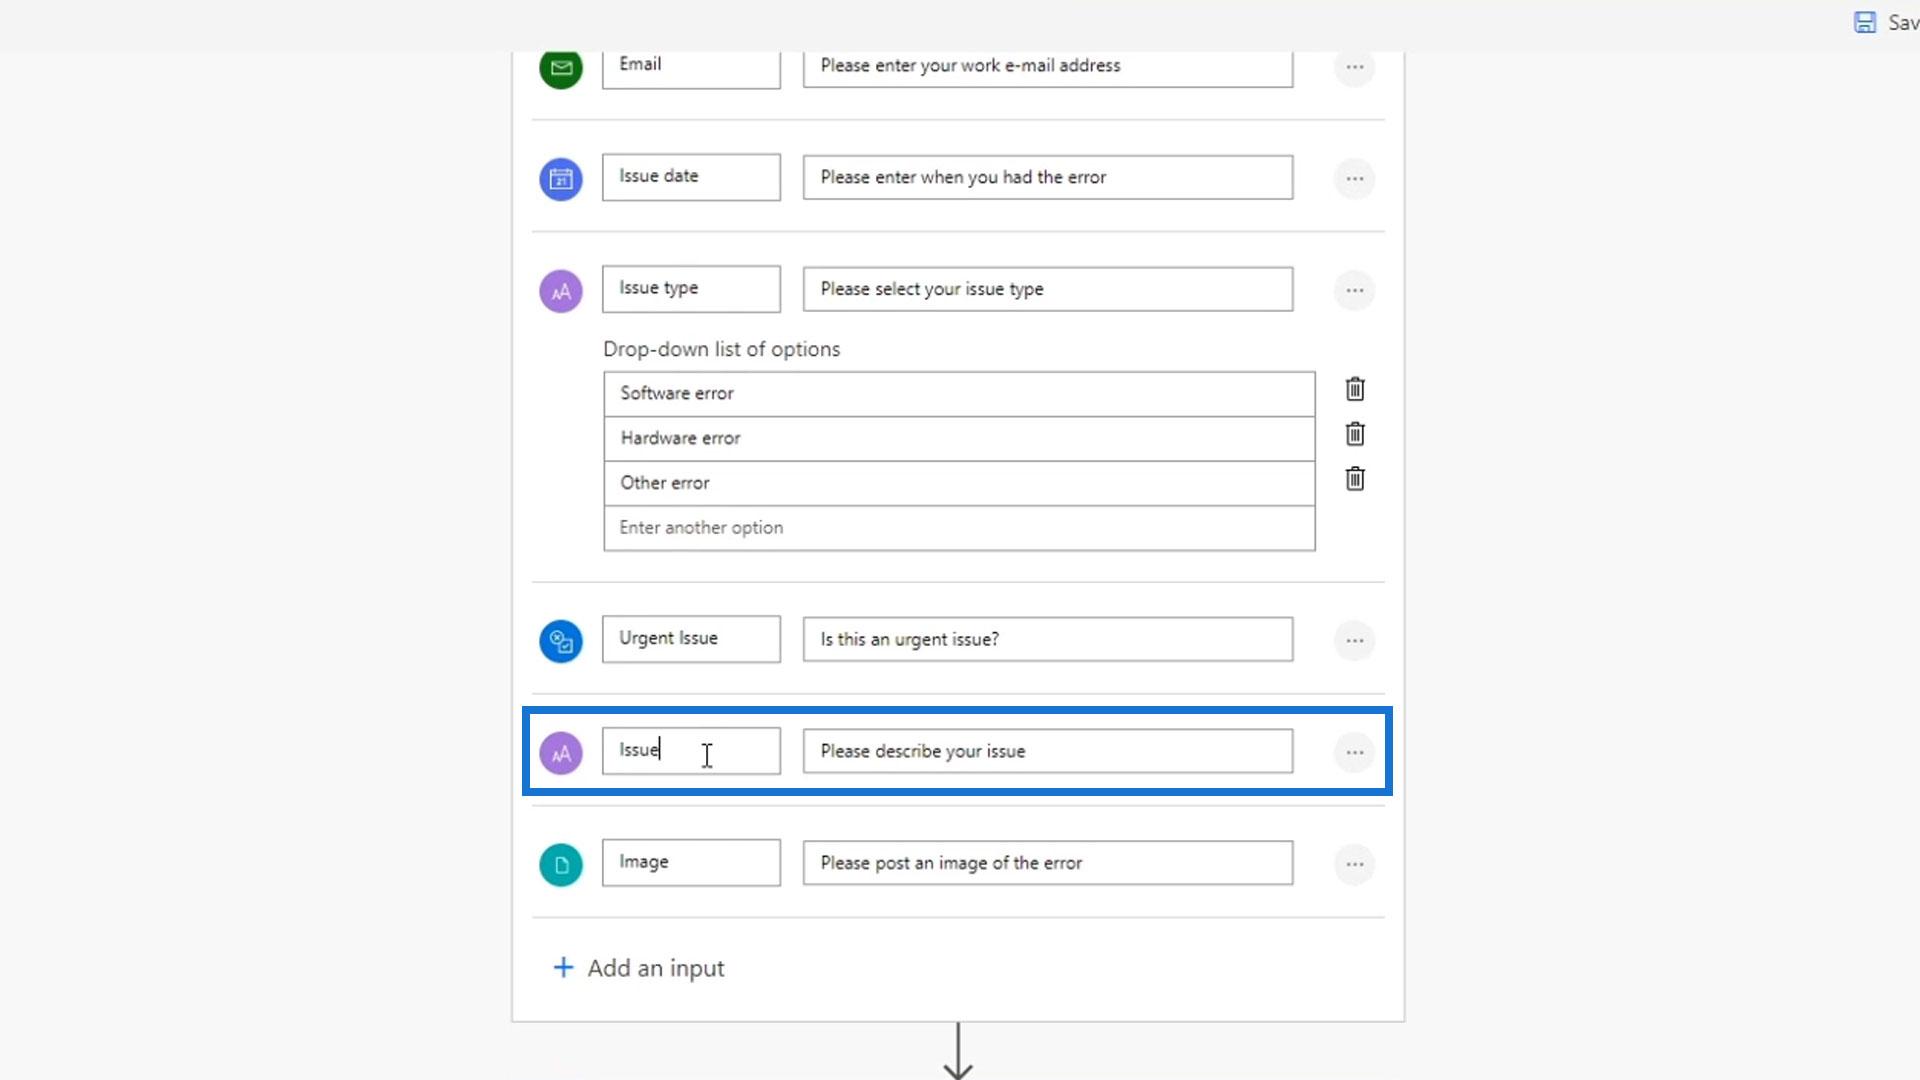
At this time, we’ll make it more complicated by adding another Text input to ask them for the issue type.
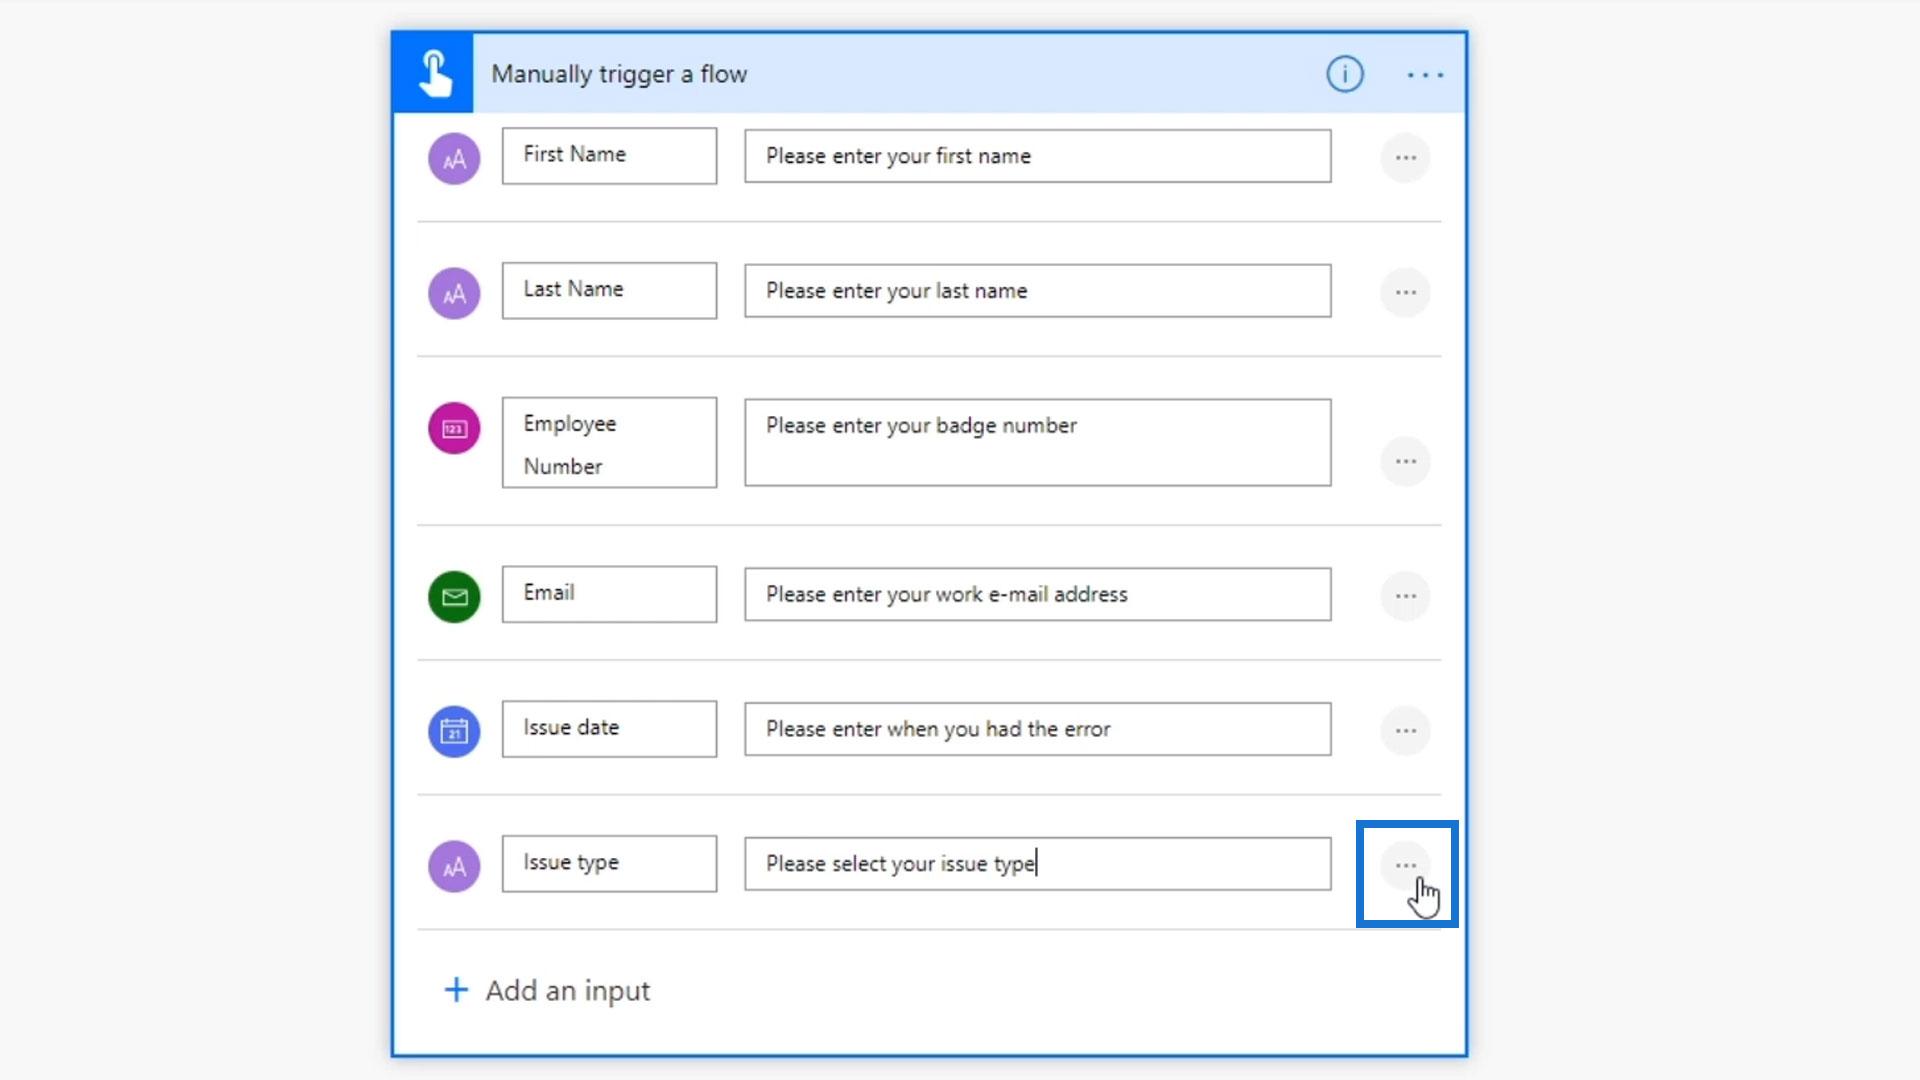
Then, click the 3 dots here.
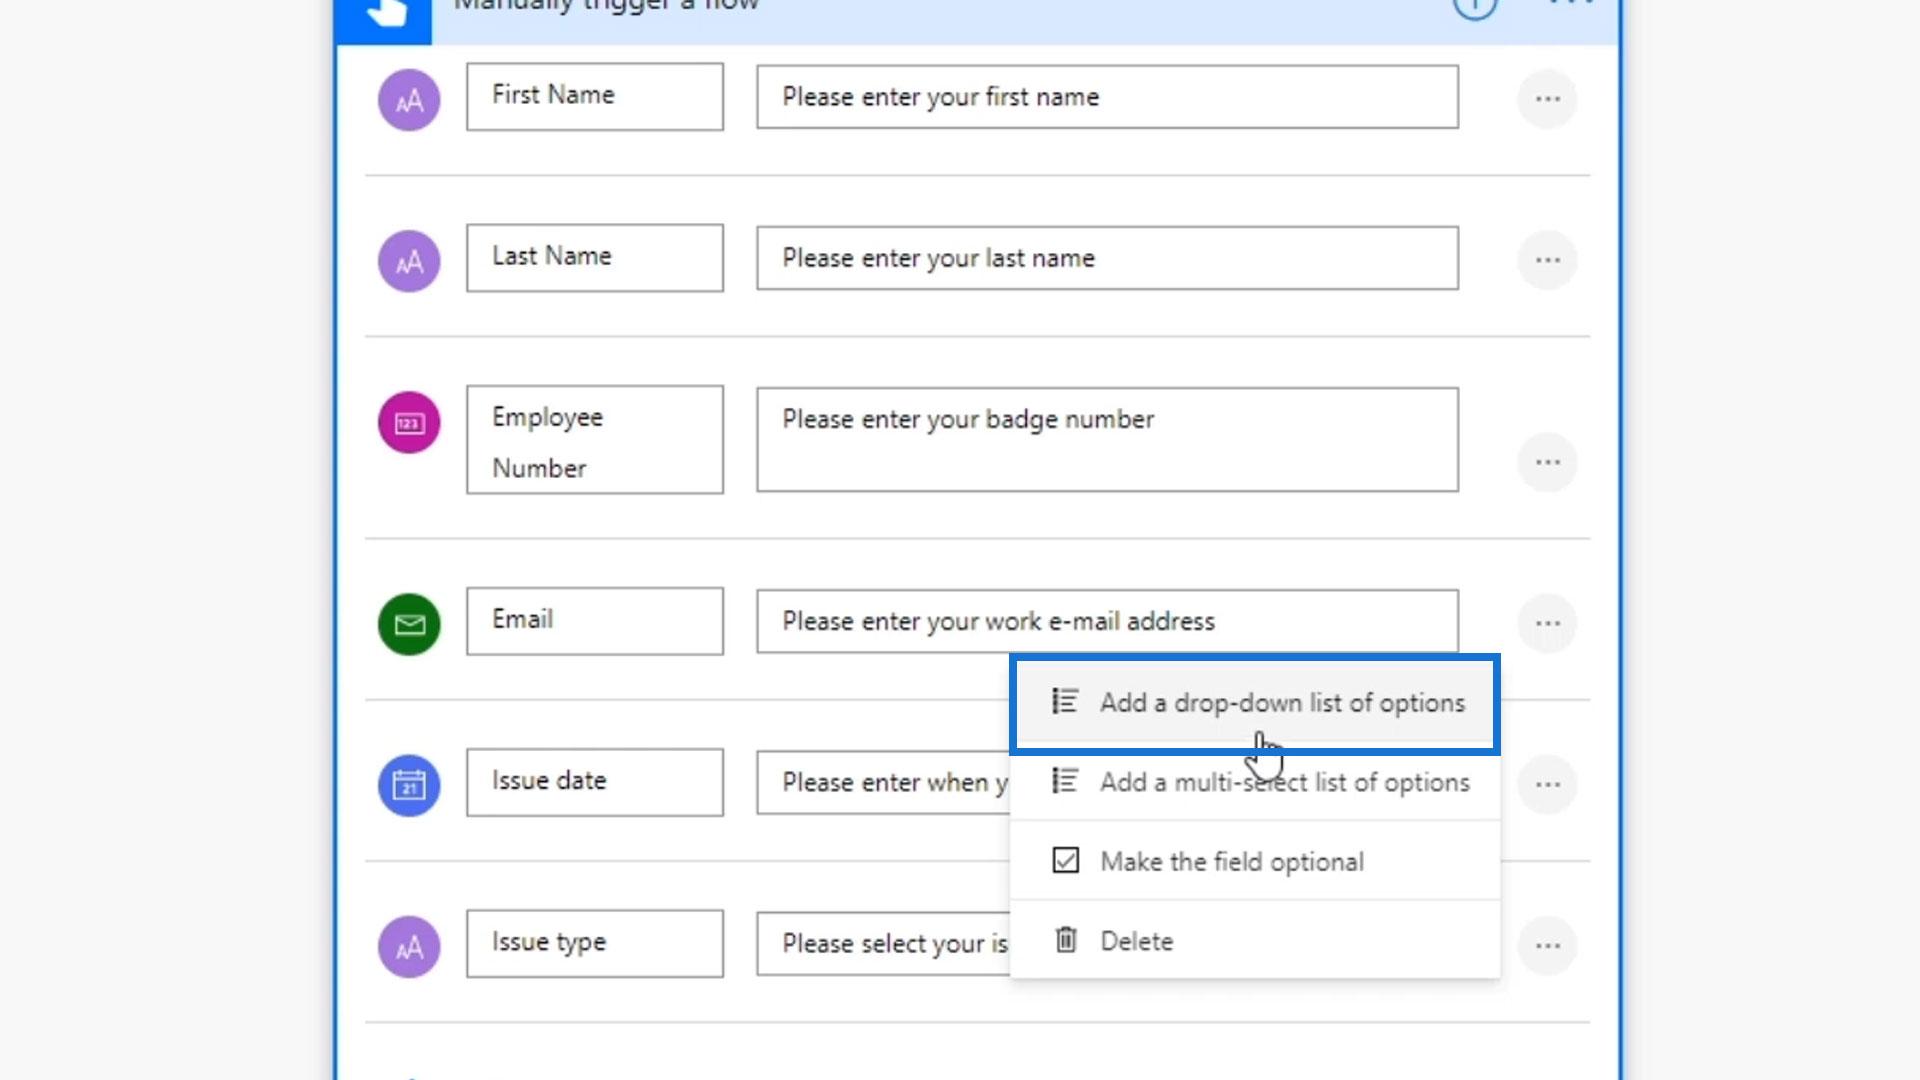
Next, click the Add a drop-down list of options.
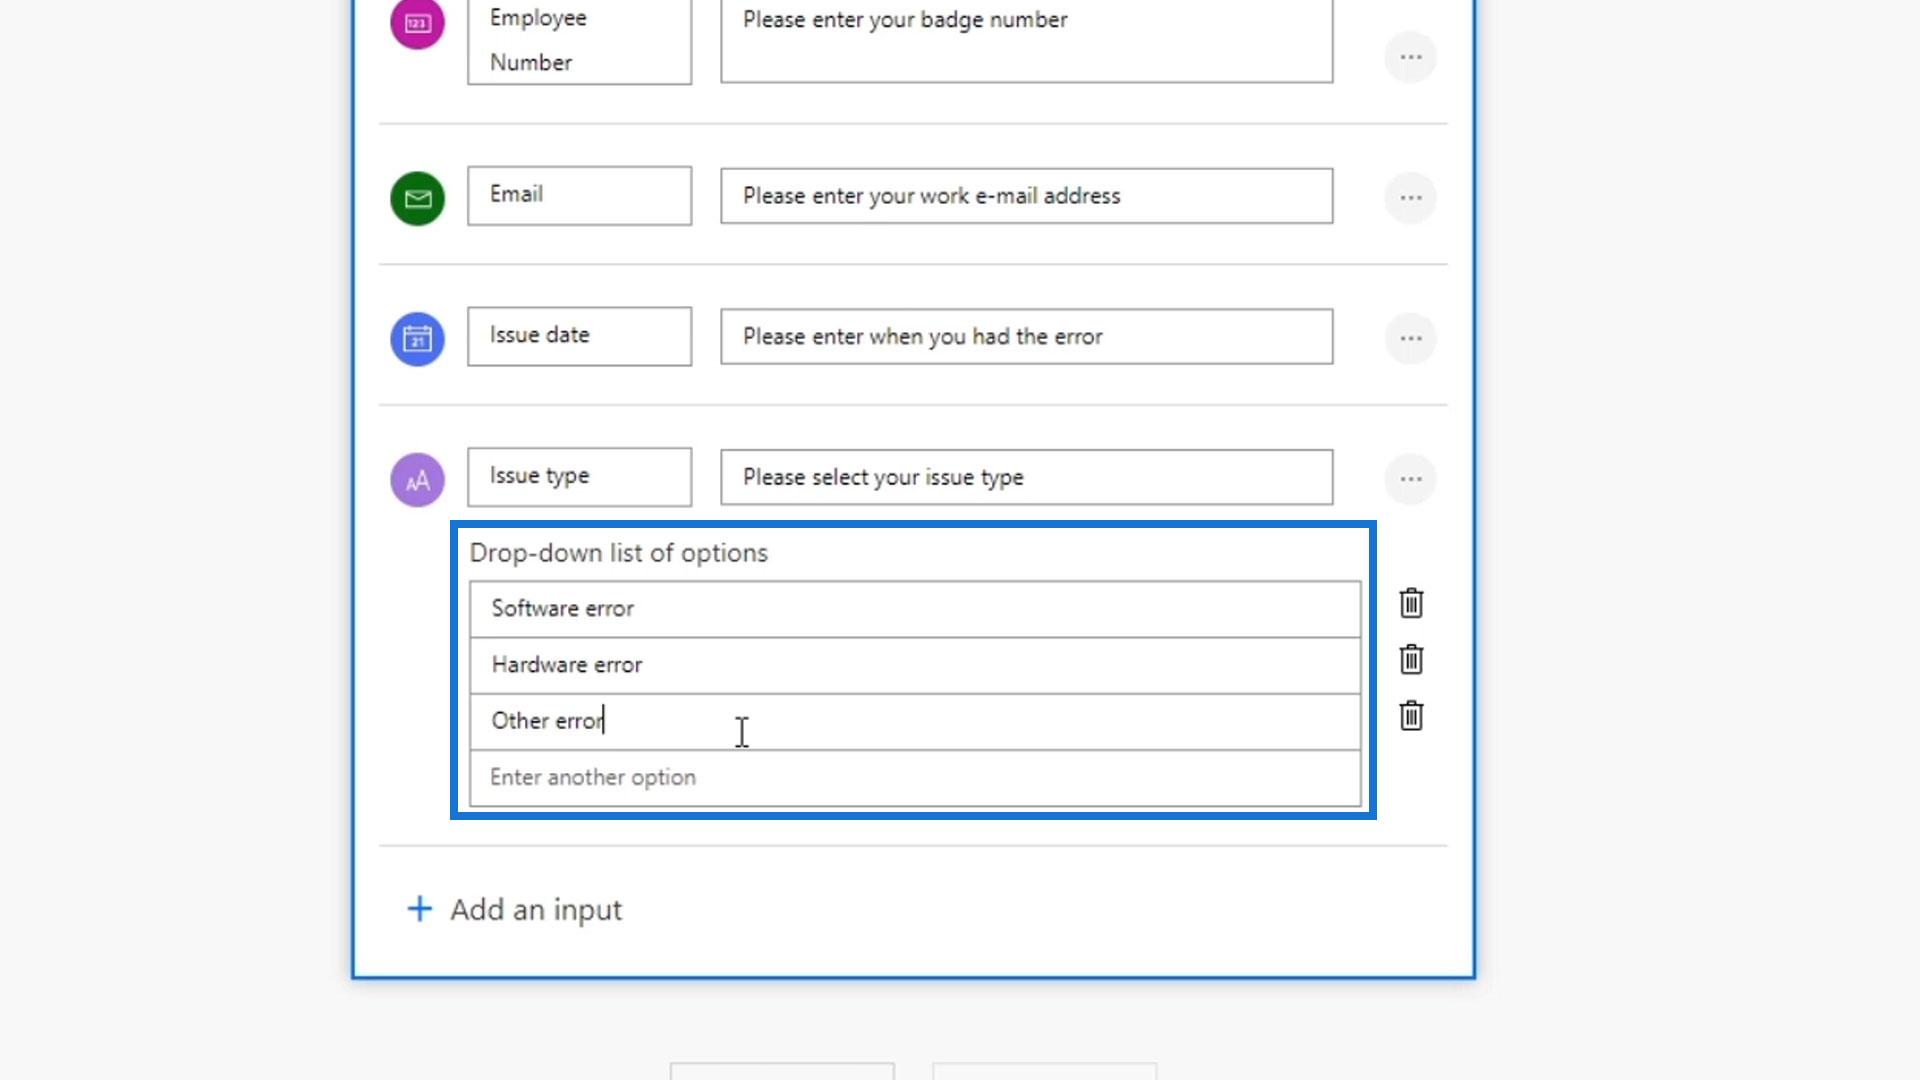
We can then add the different types of issues that they can choose from. Let’s add Software error, Hardware error, and Other error as the options.
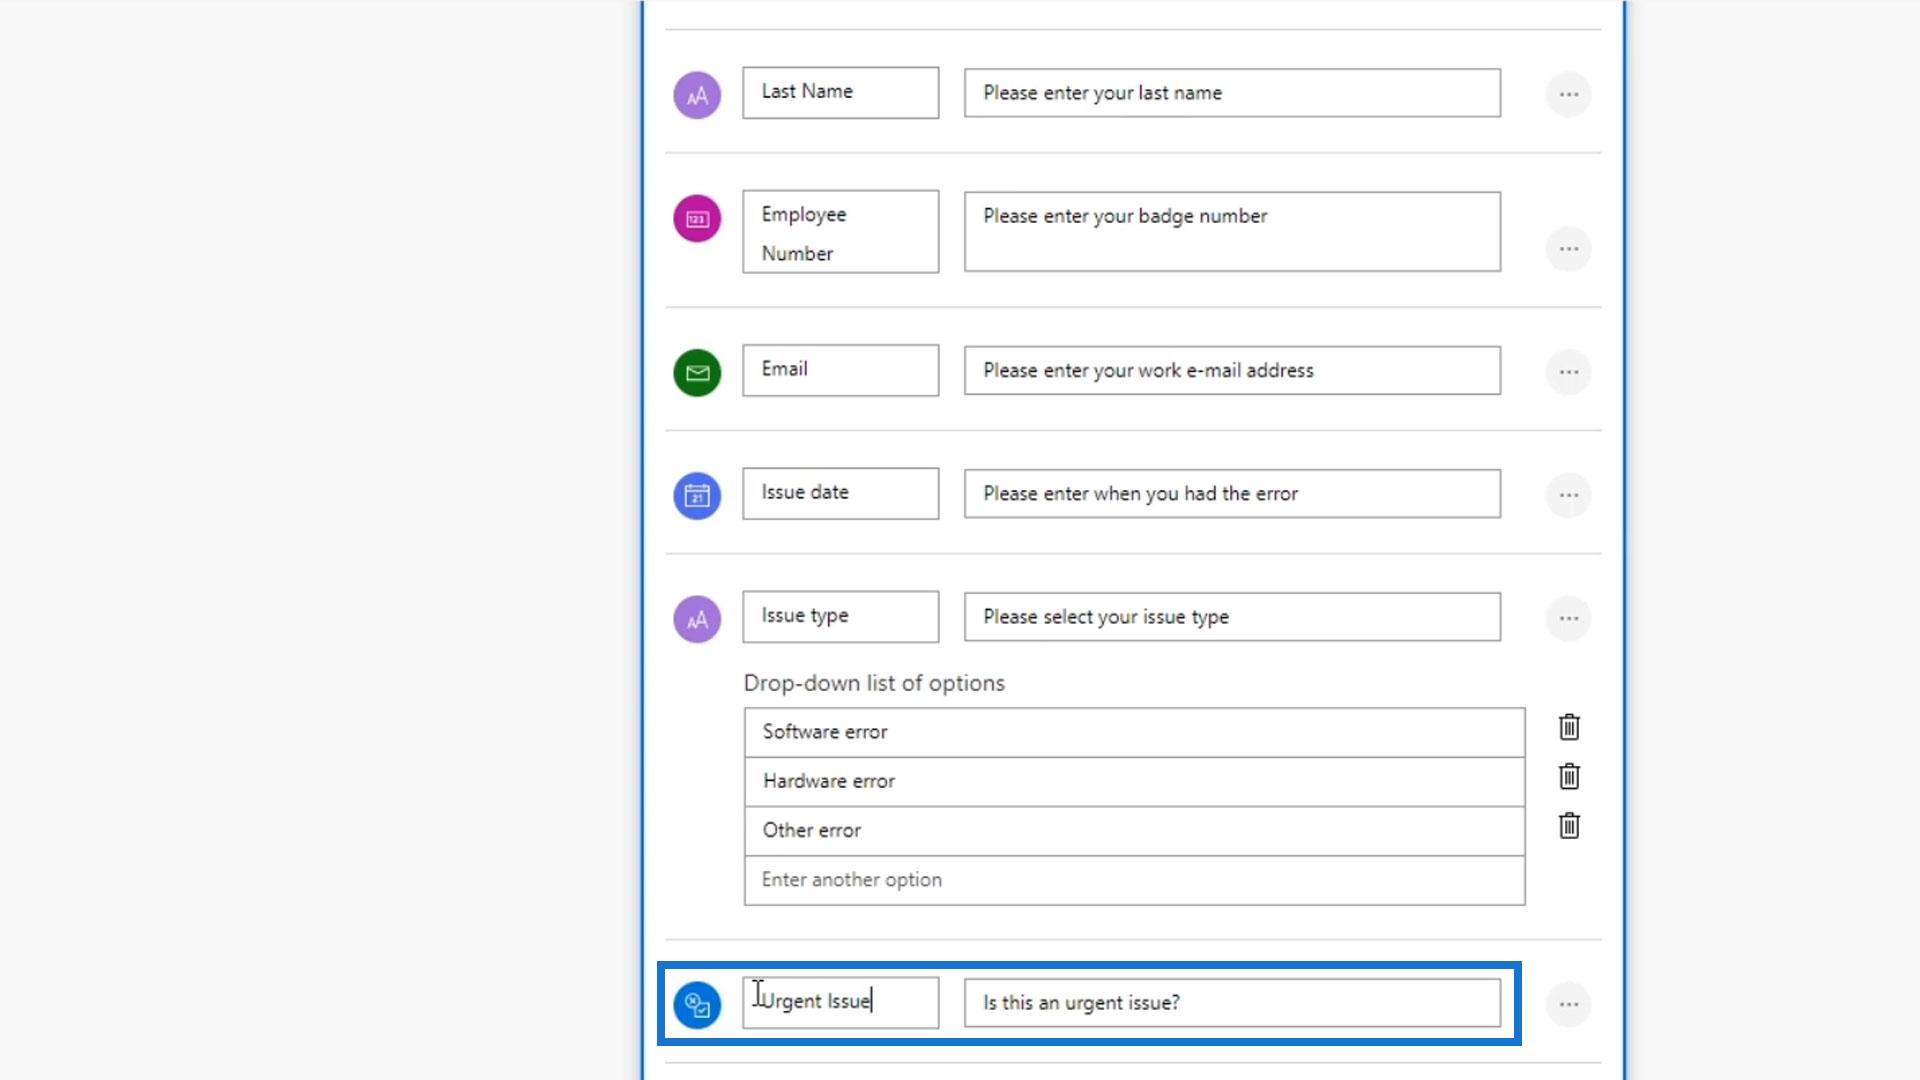
We’ll also add an option for them to specify if the issue is urgent or not. Click the Yes/No input.
Then, let’s type “Is this an urgent issue?” This is for us to know how to prioritize the issues.
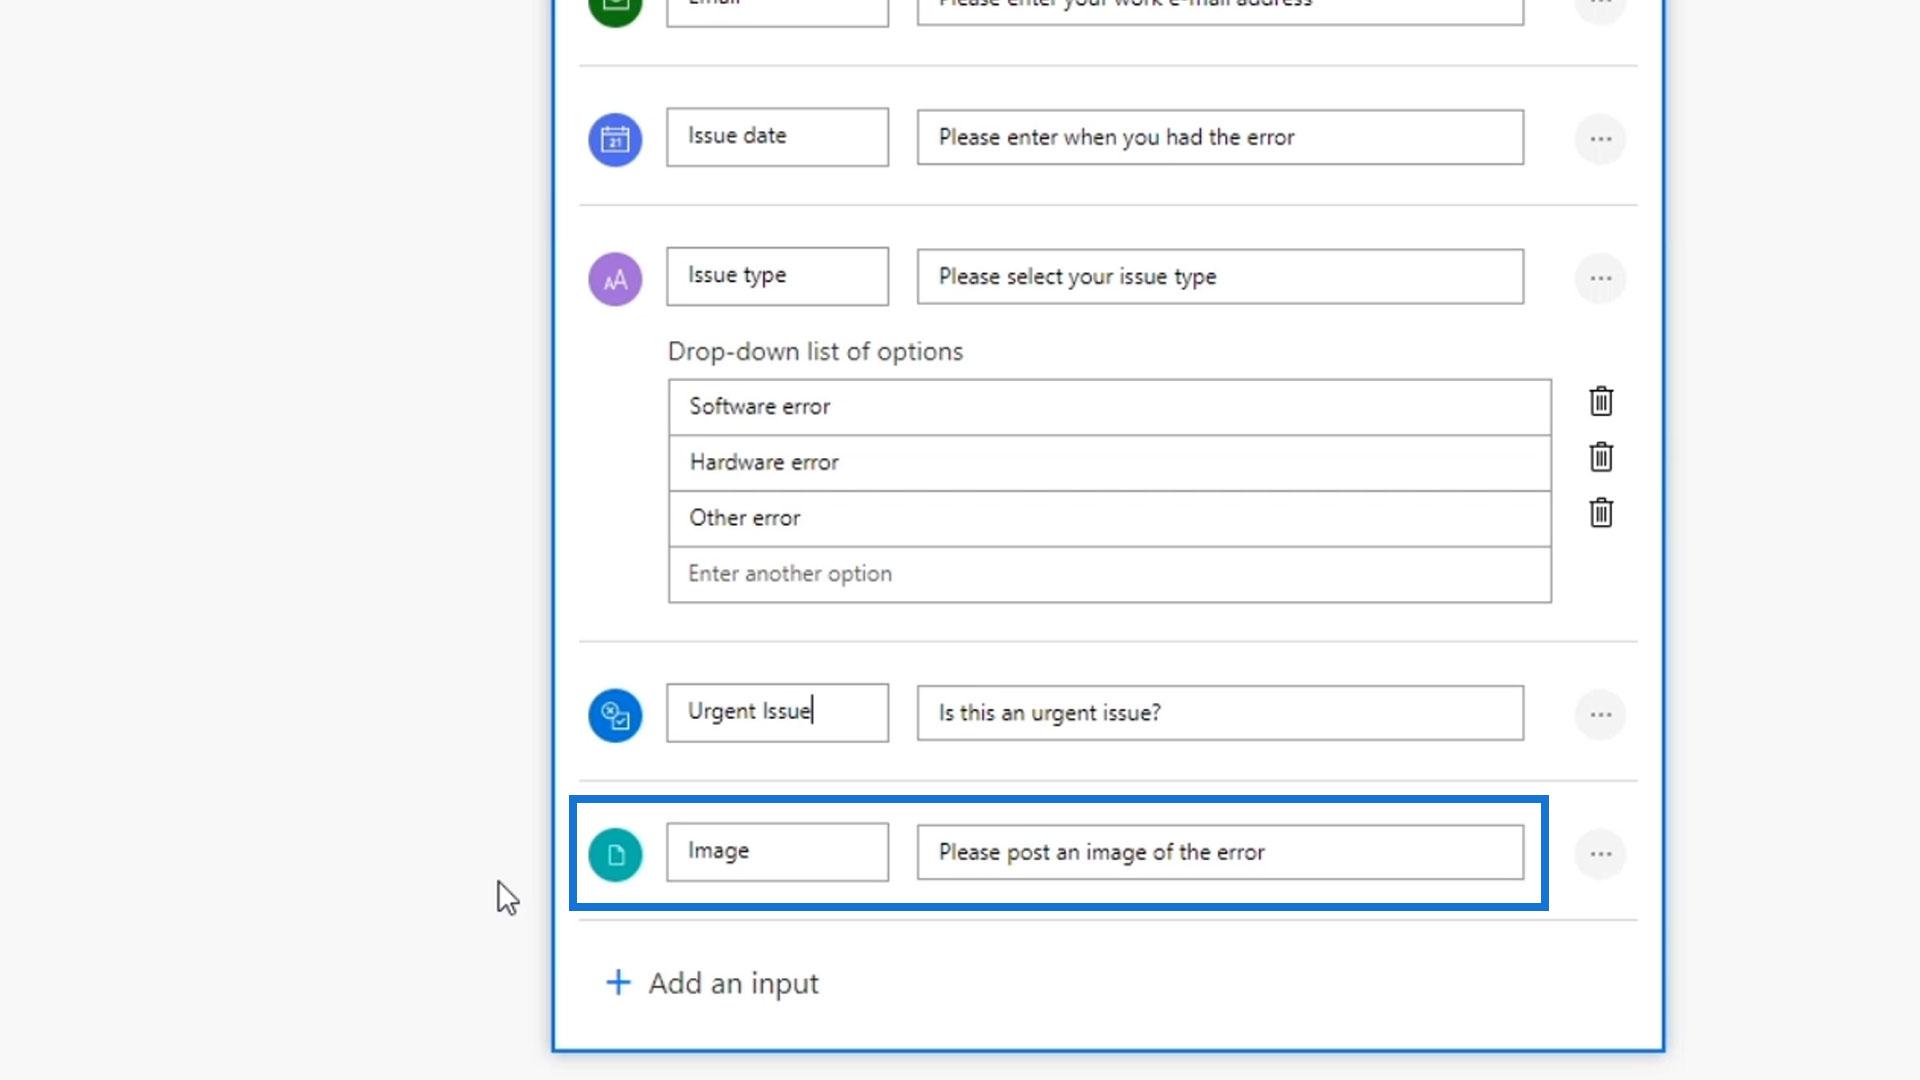
Let’s also add a File input.
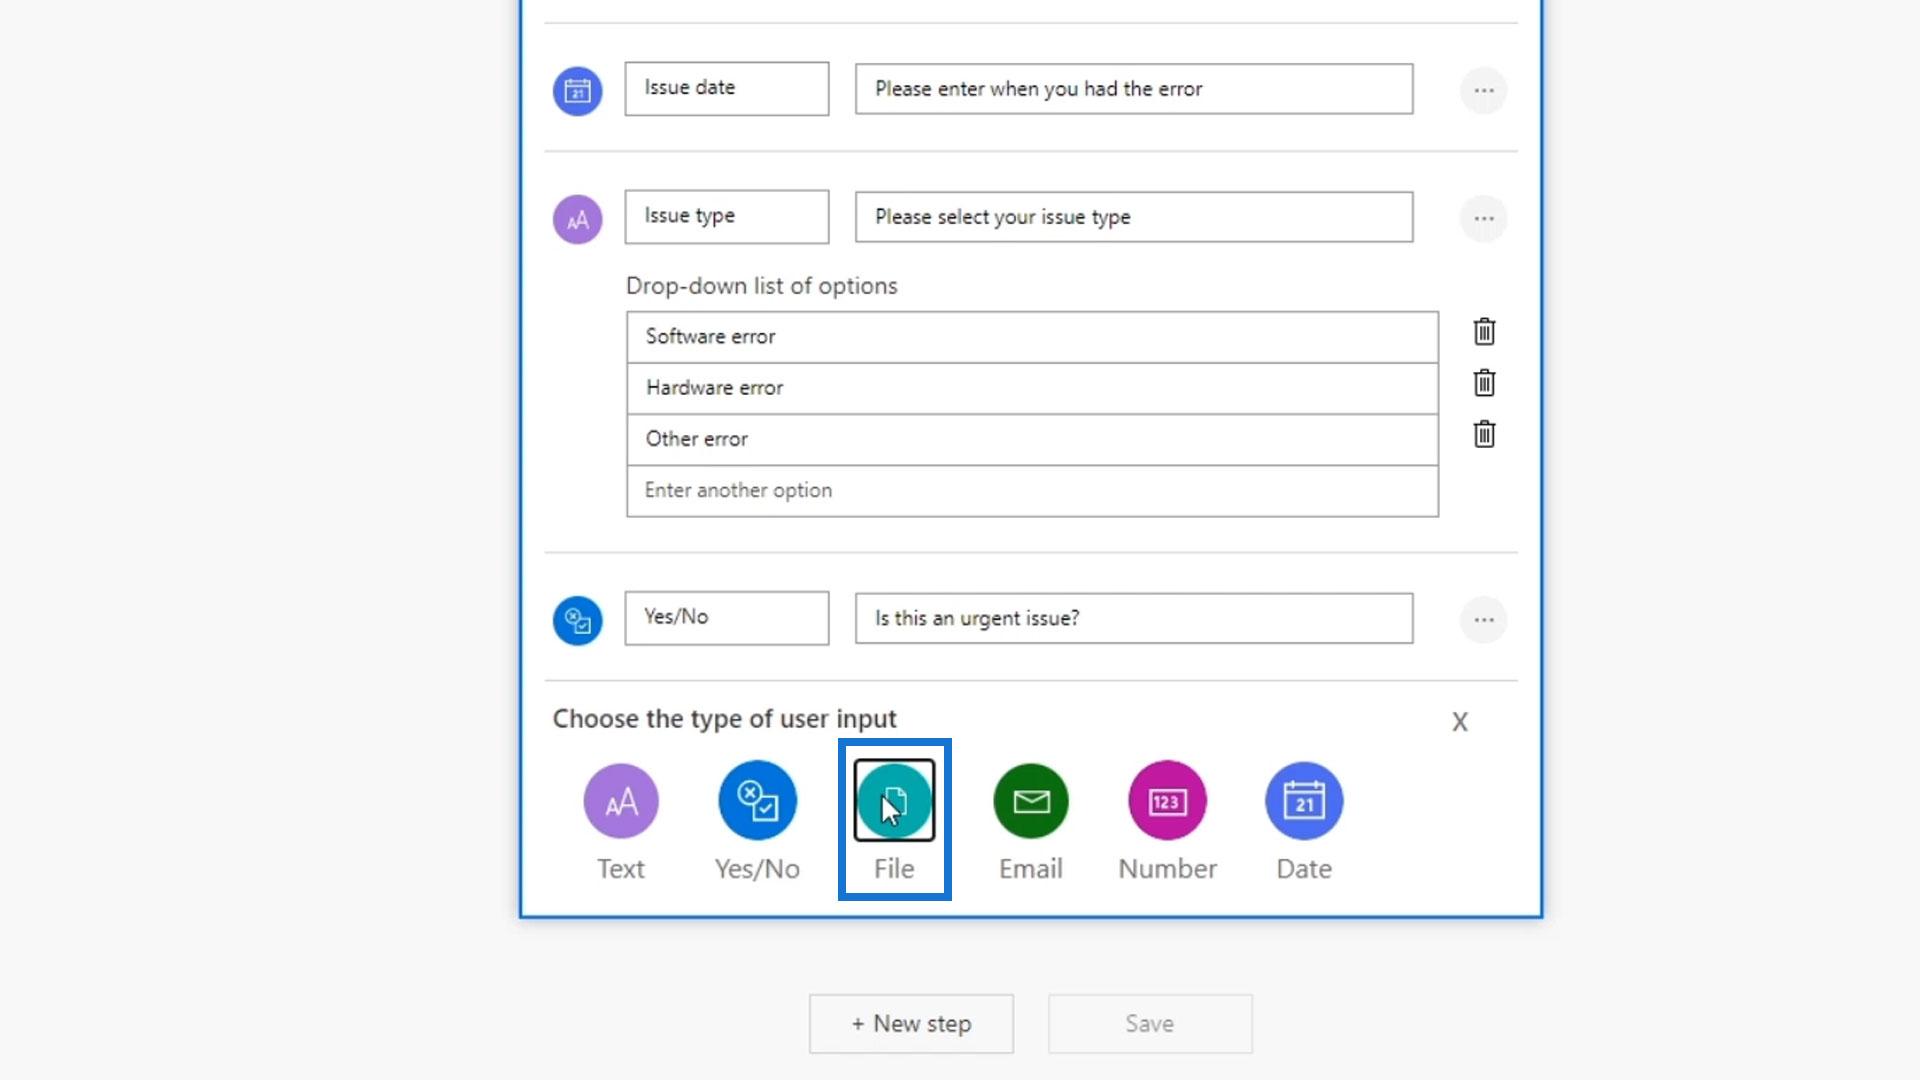
Then, let’s ask them to upload an image of the issue or error they’ve encountered.

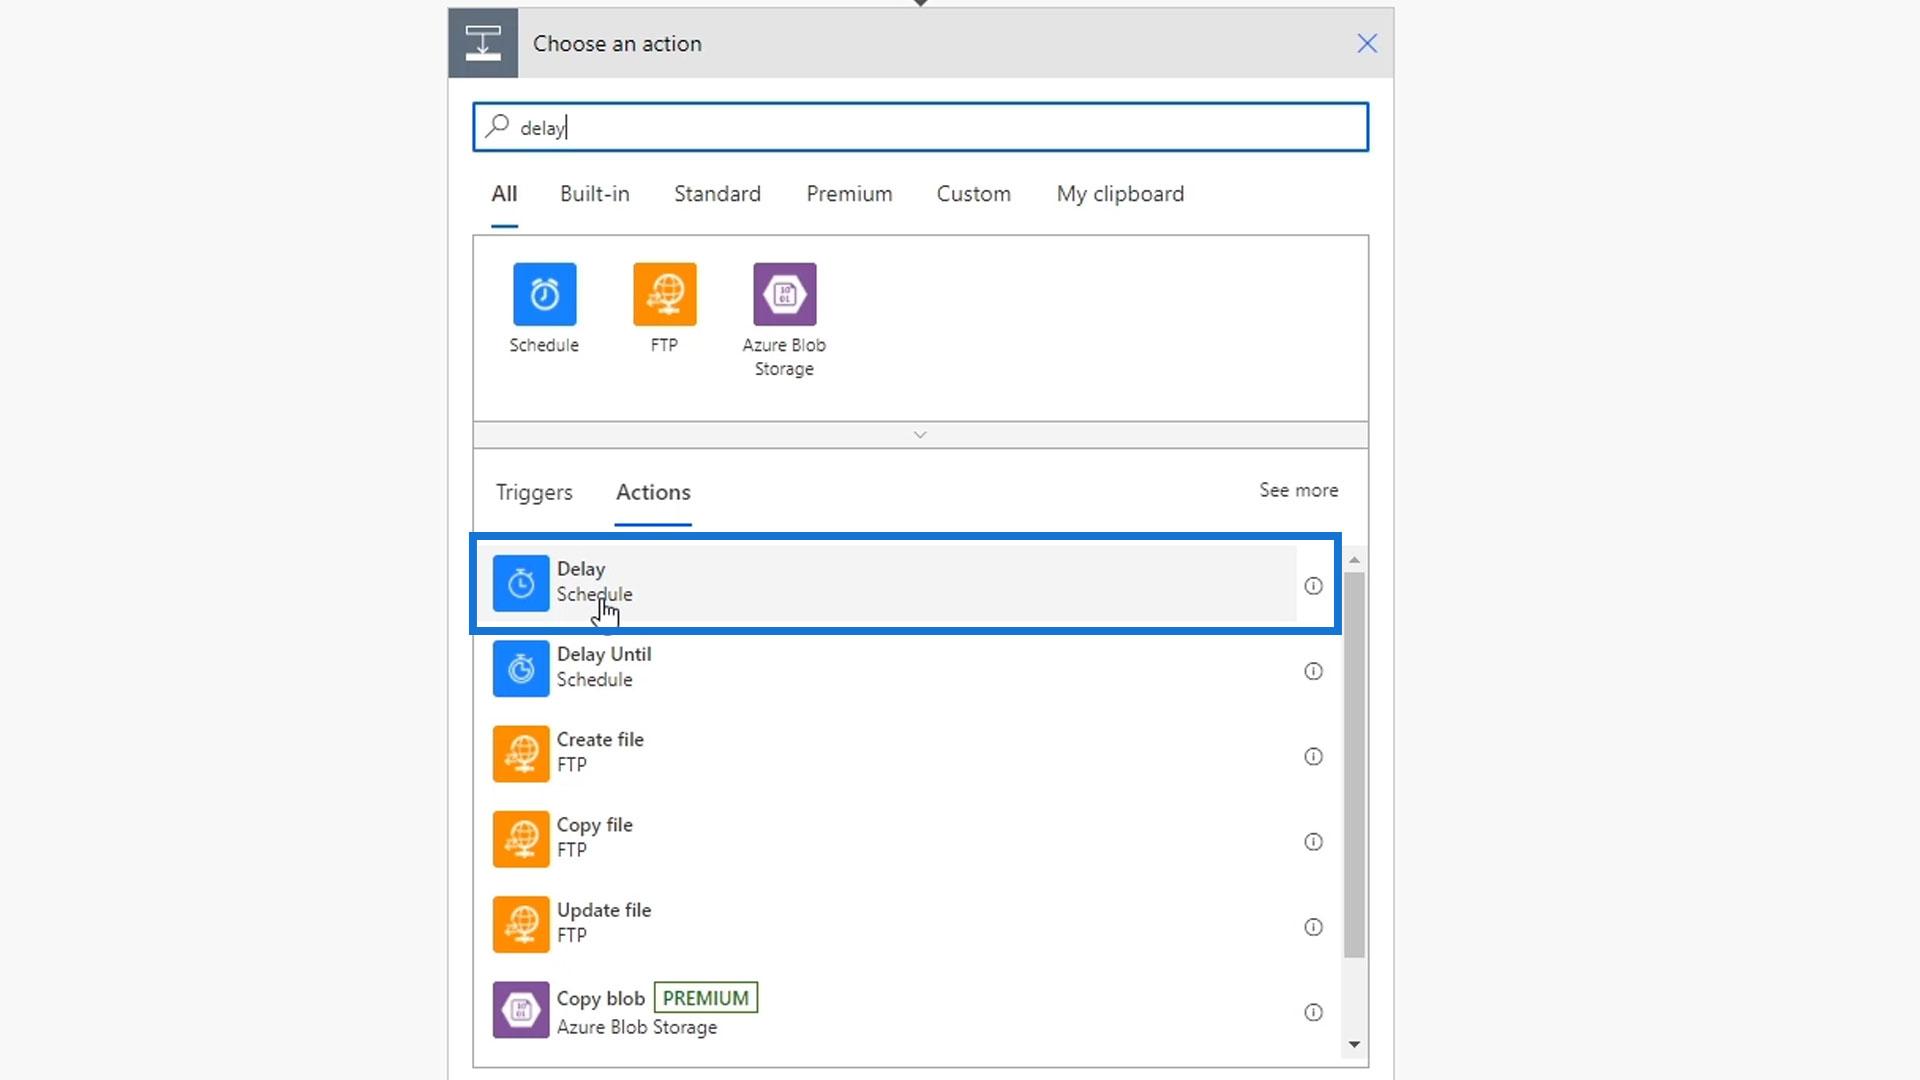
Finally, let’s add an action to our flow. Click the New step button.
Let’s use the Delay Schedule as a sample action for now.
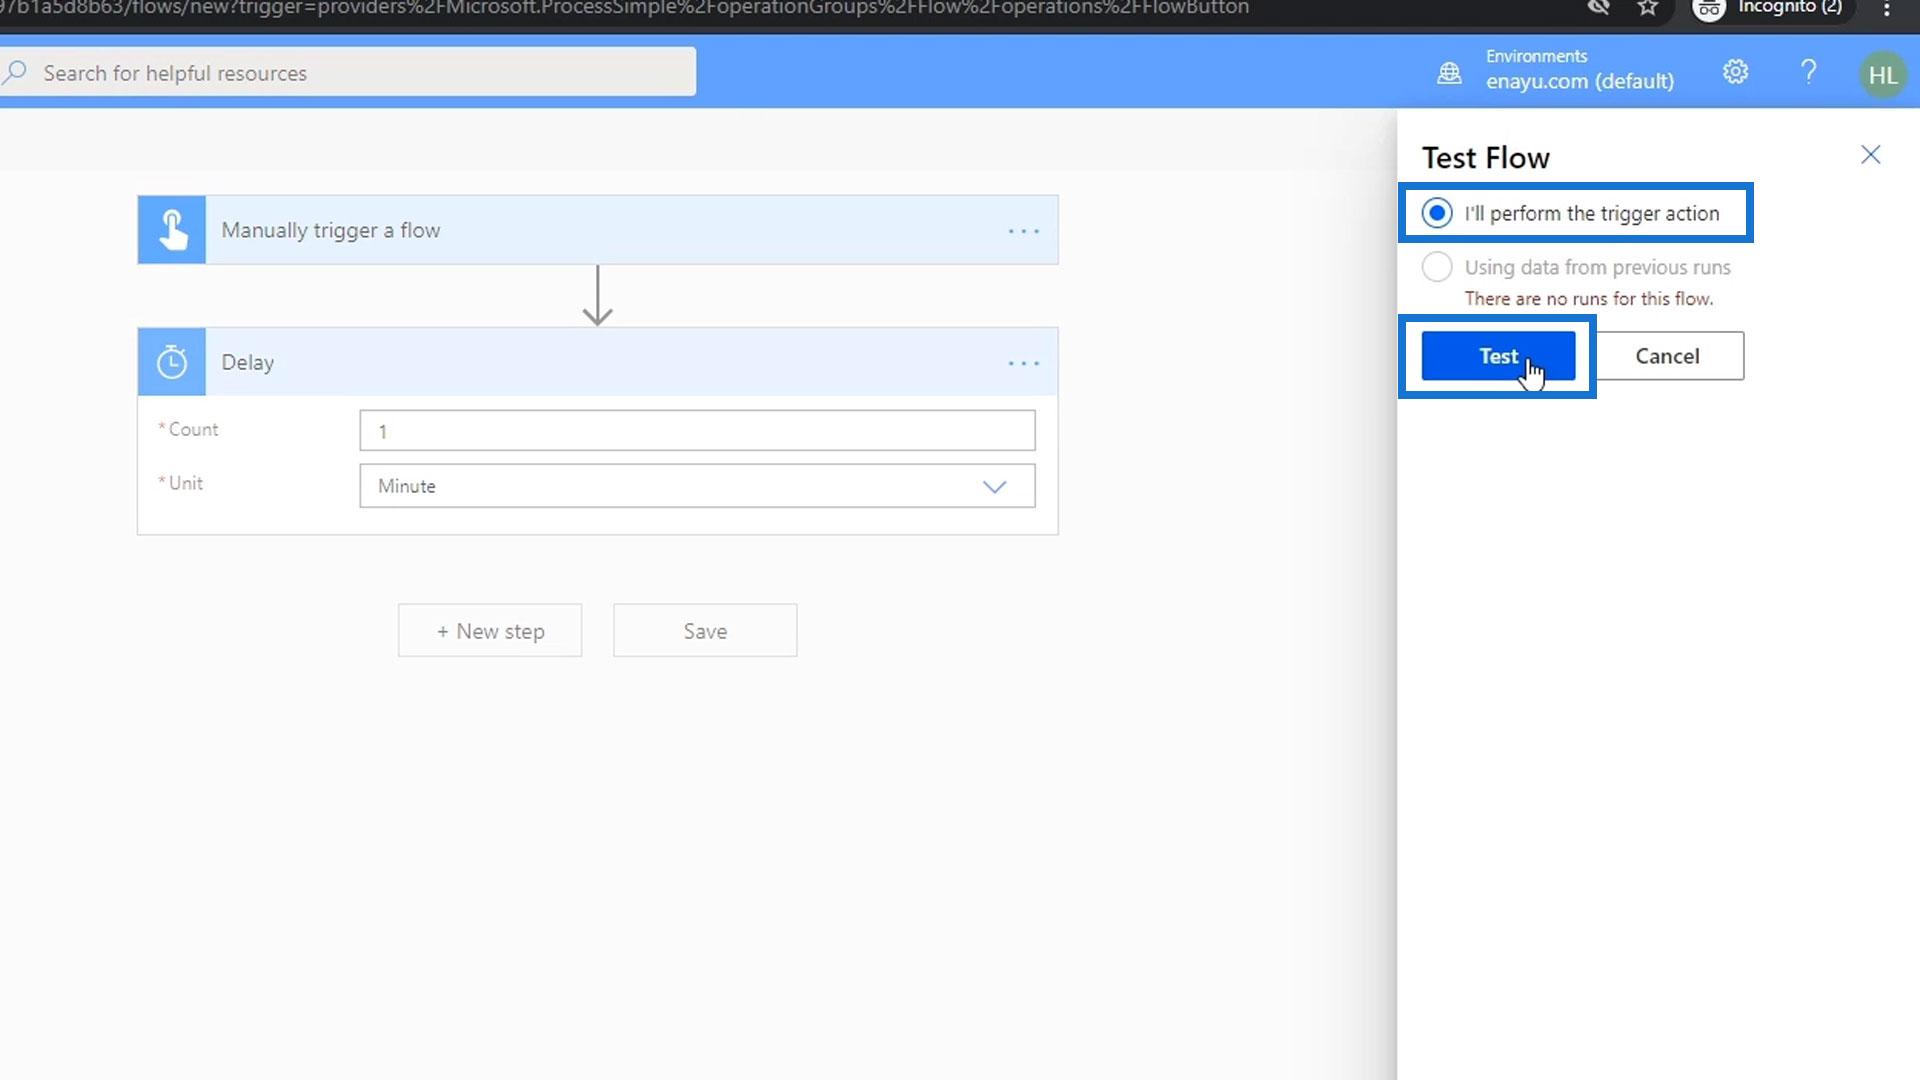
Let’s set this to 1 minute, then click the Save button.
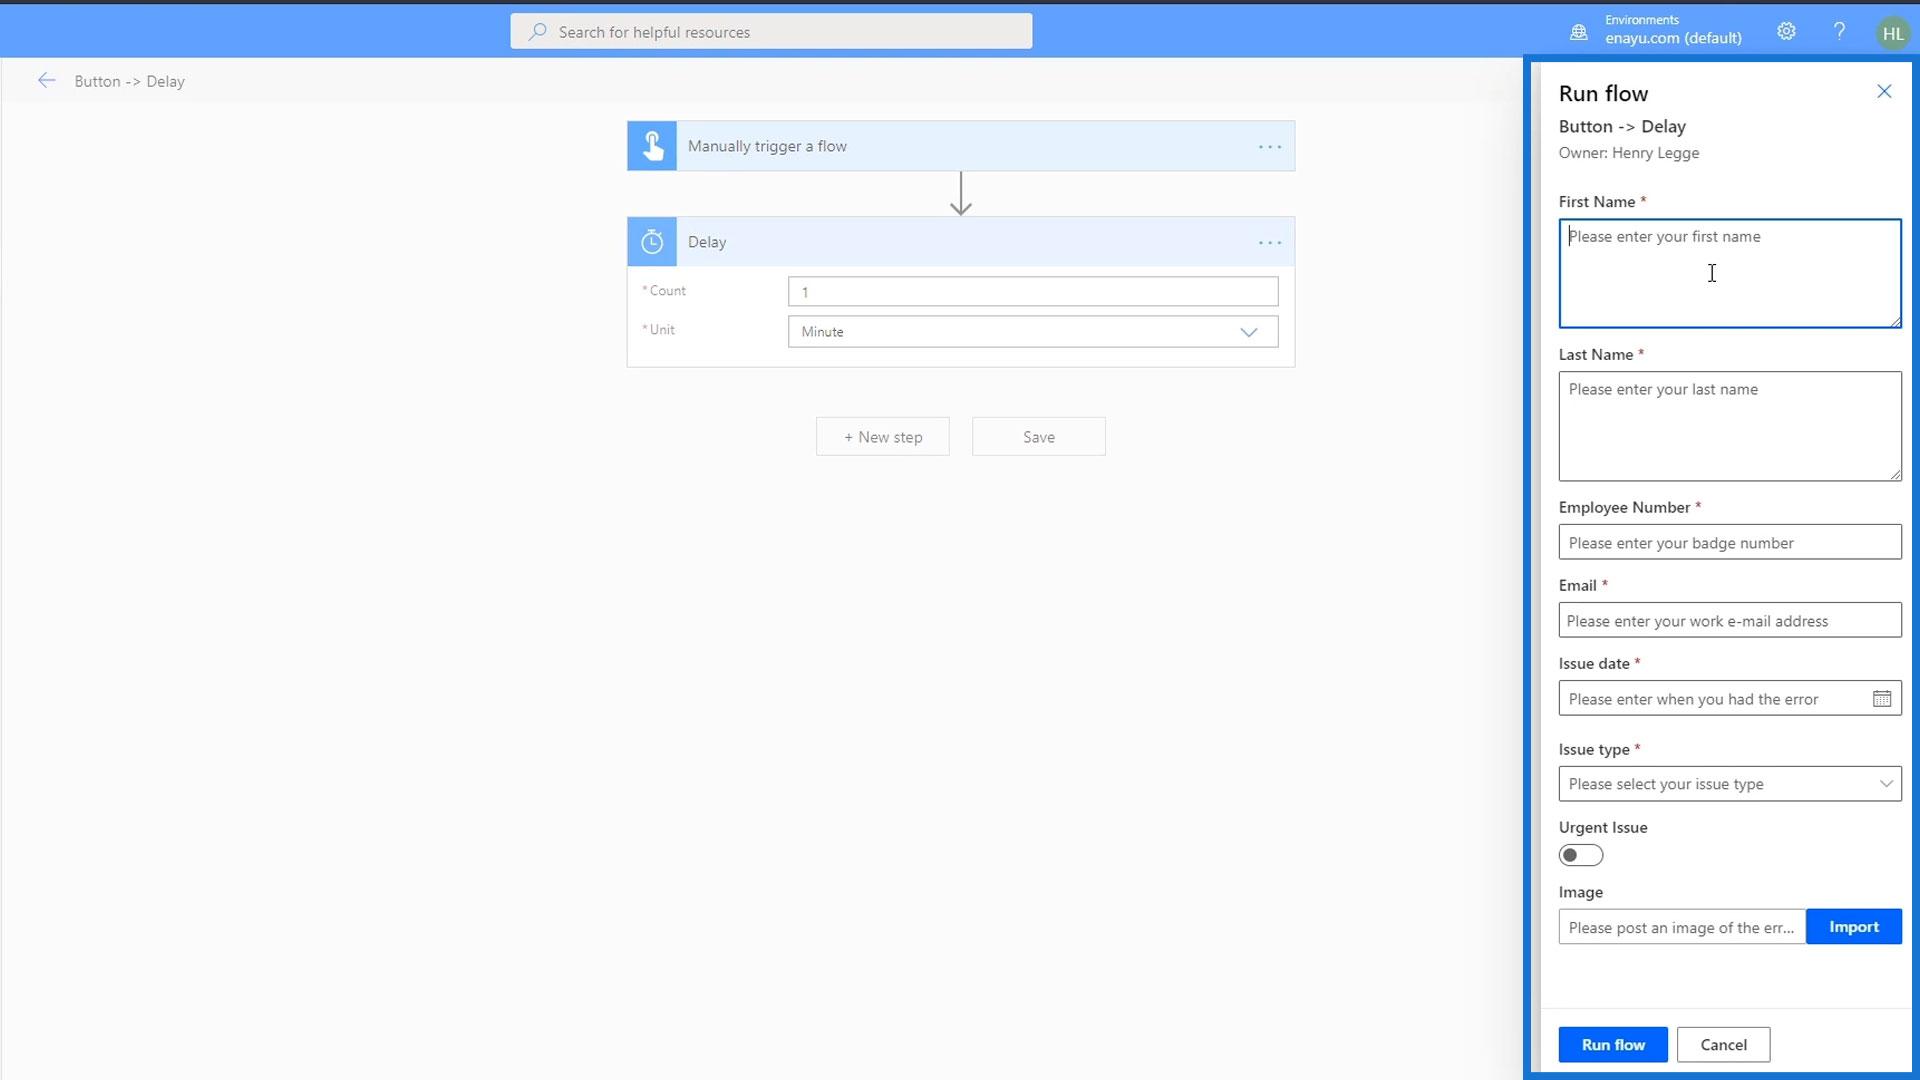
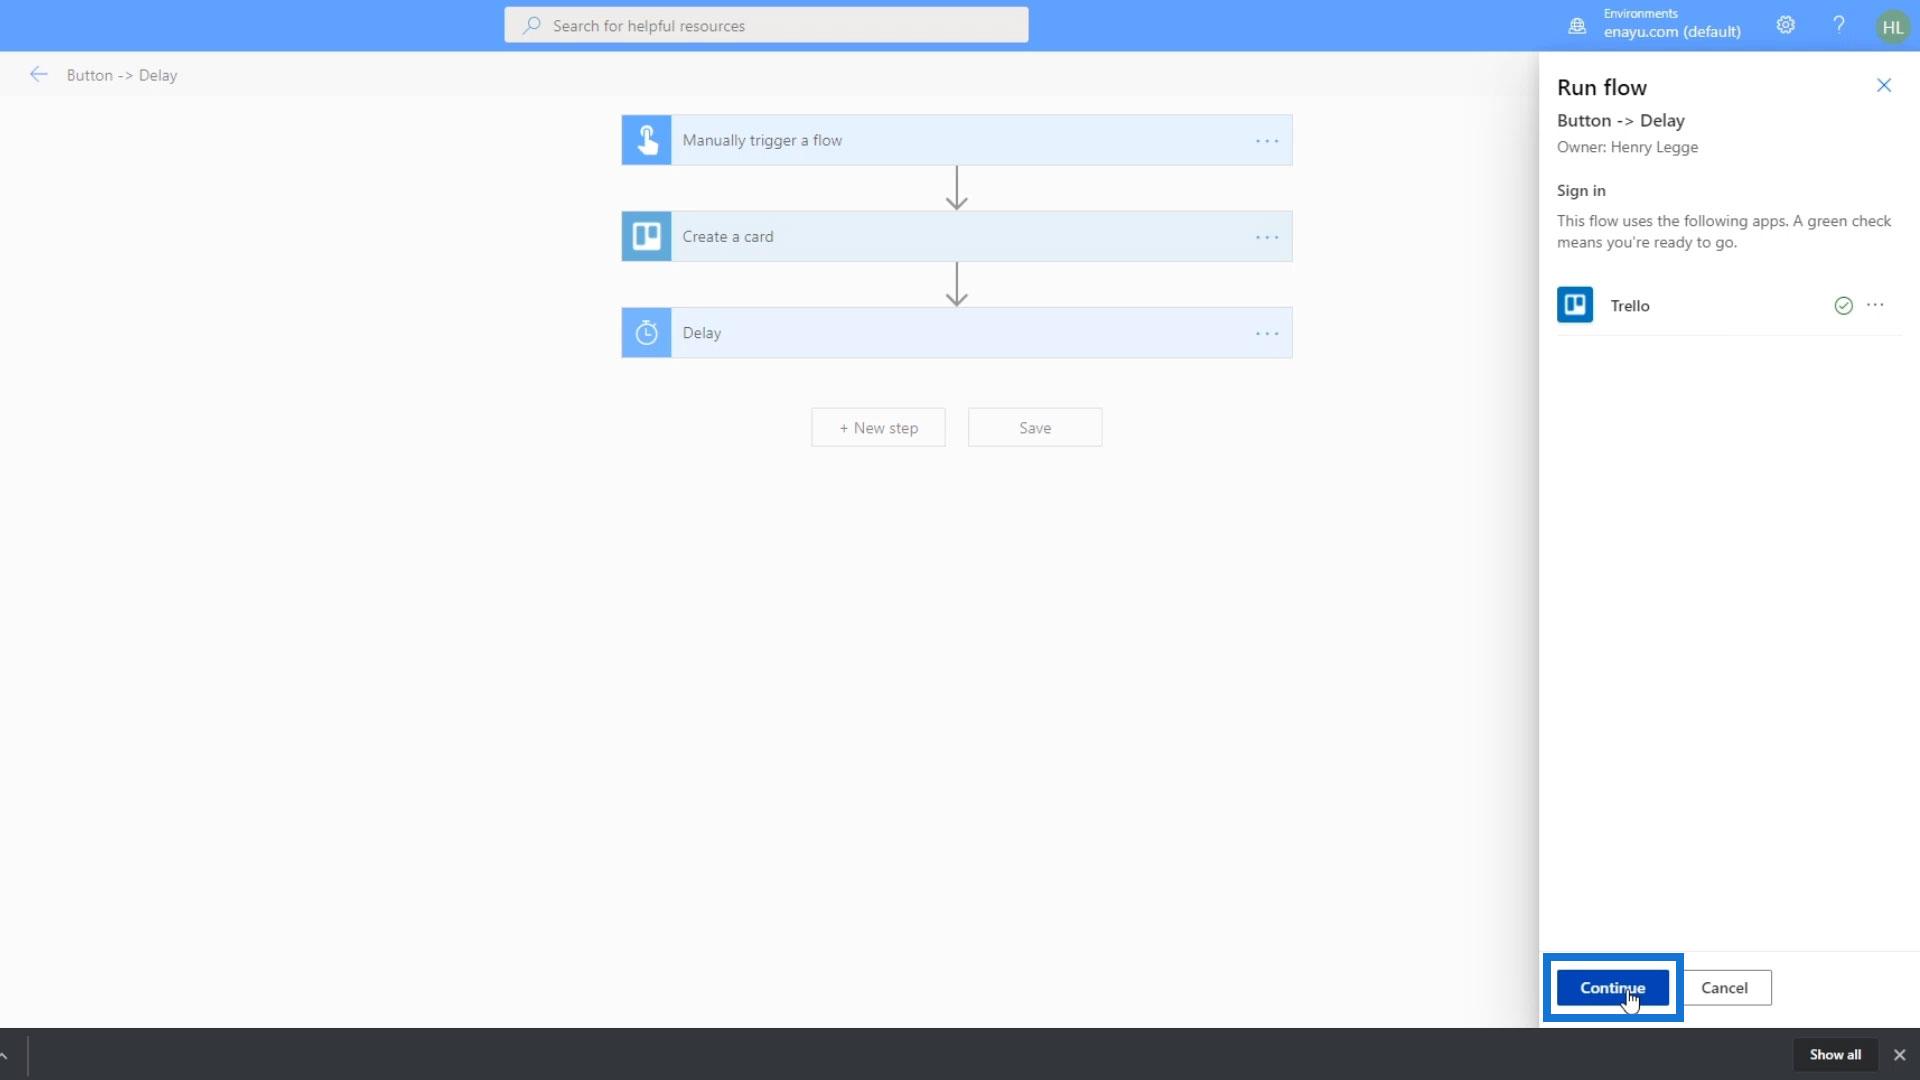
Let’s now test this flow. This is an instant flow so it should be triggered manually.
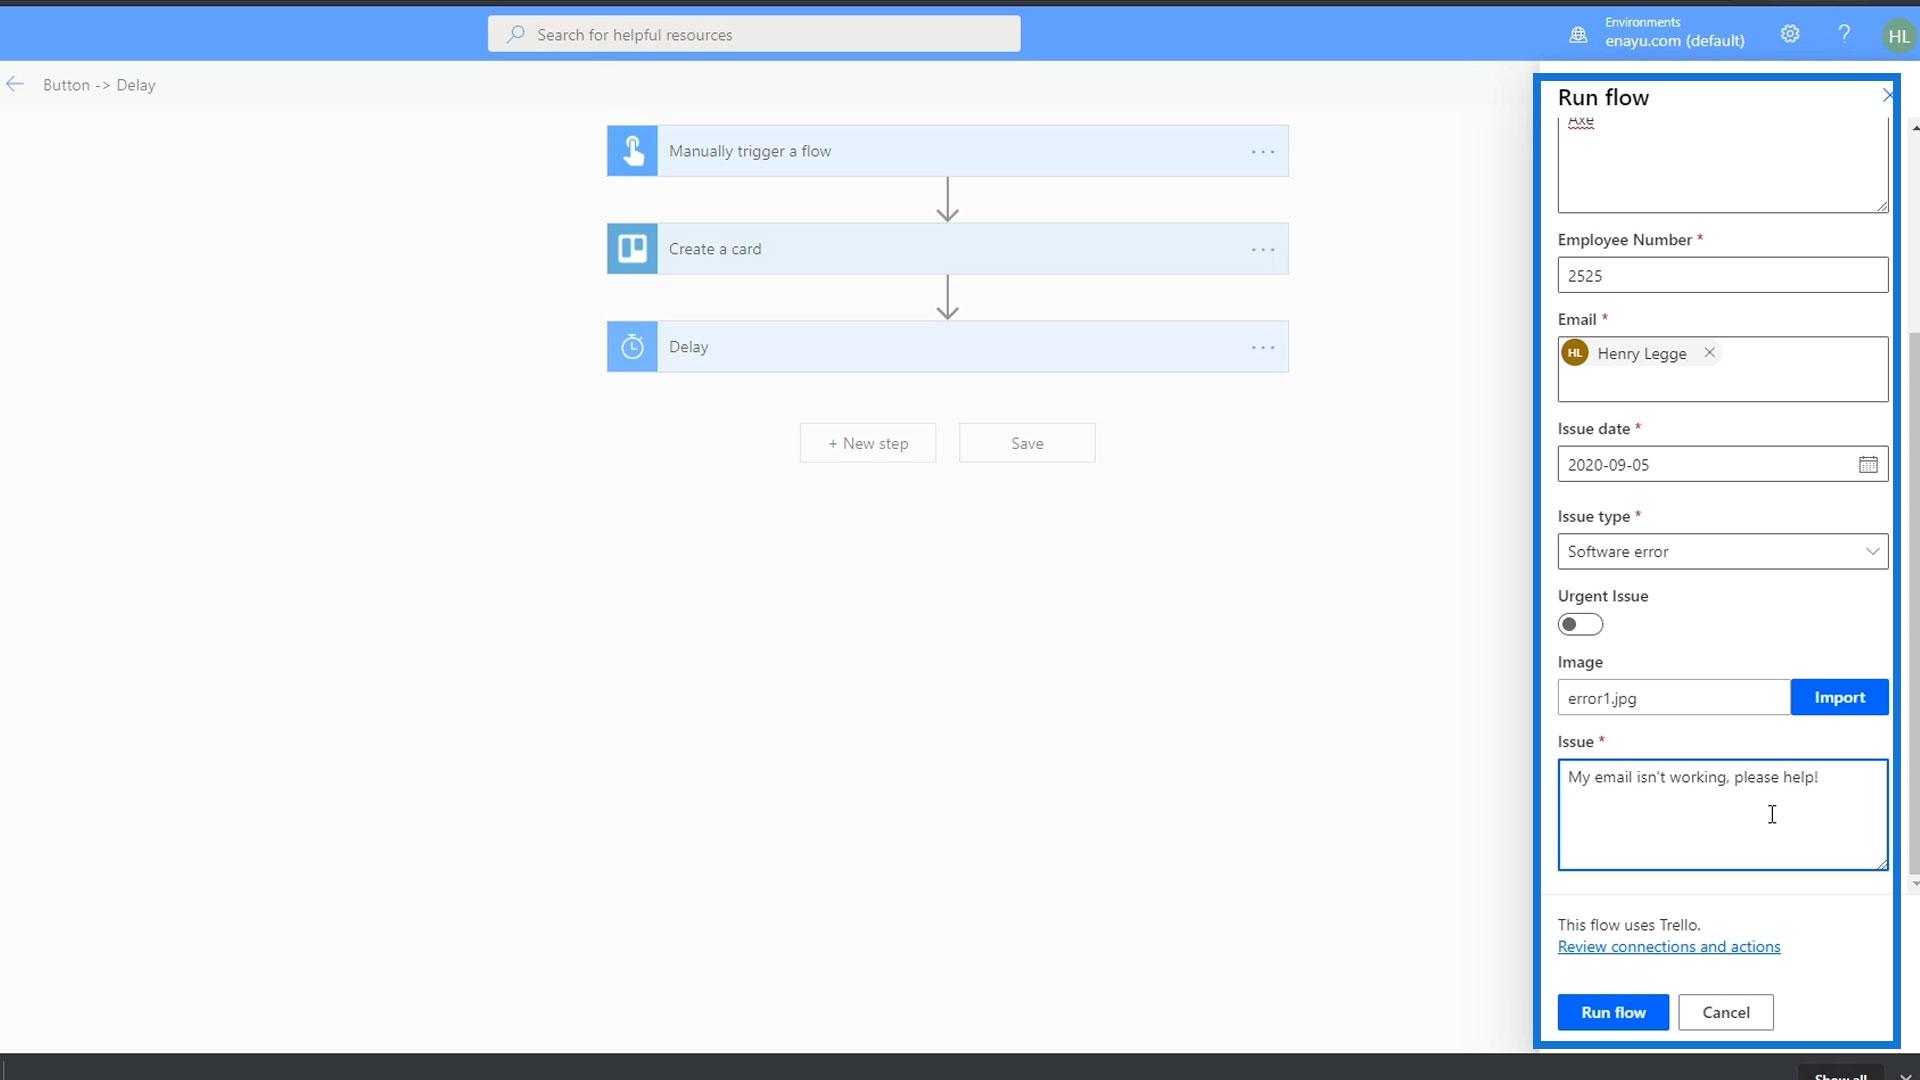
As a result, it’ll ask for the information that we’ve set on this flow.
Adding And Configuring The Workflow Action
Before proceeding to the next step, let’s add another Text input between the Urgent issue and Image upload input fields. This is for the description of the encountered issue.
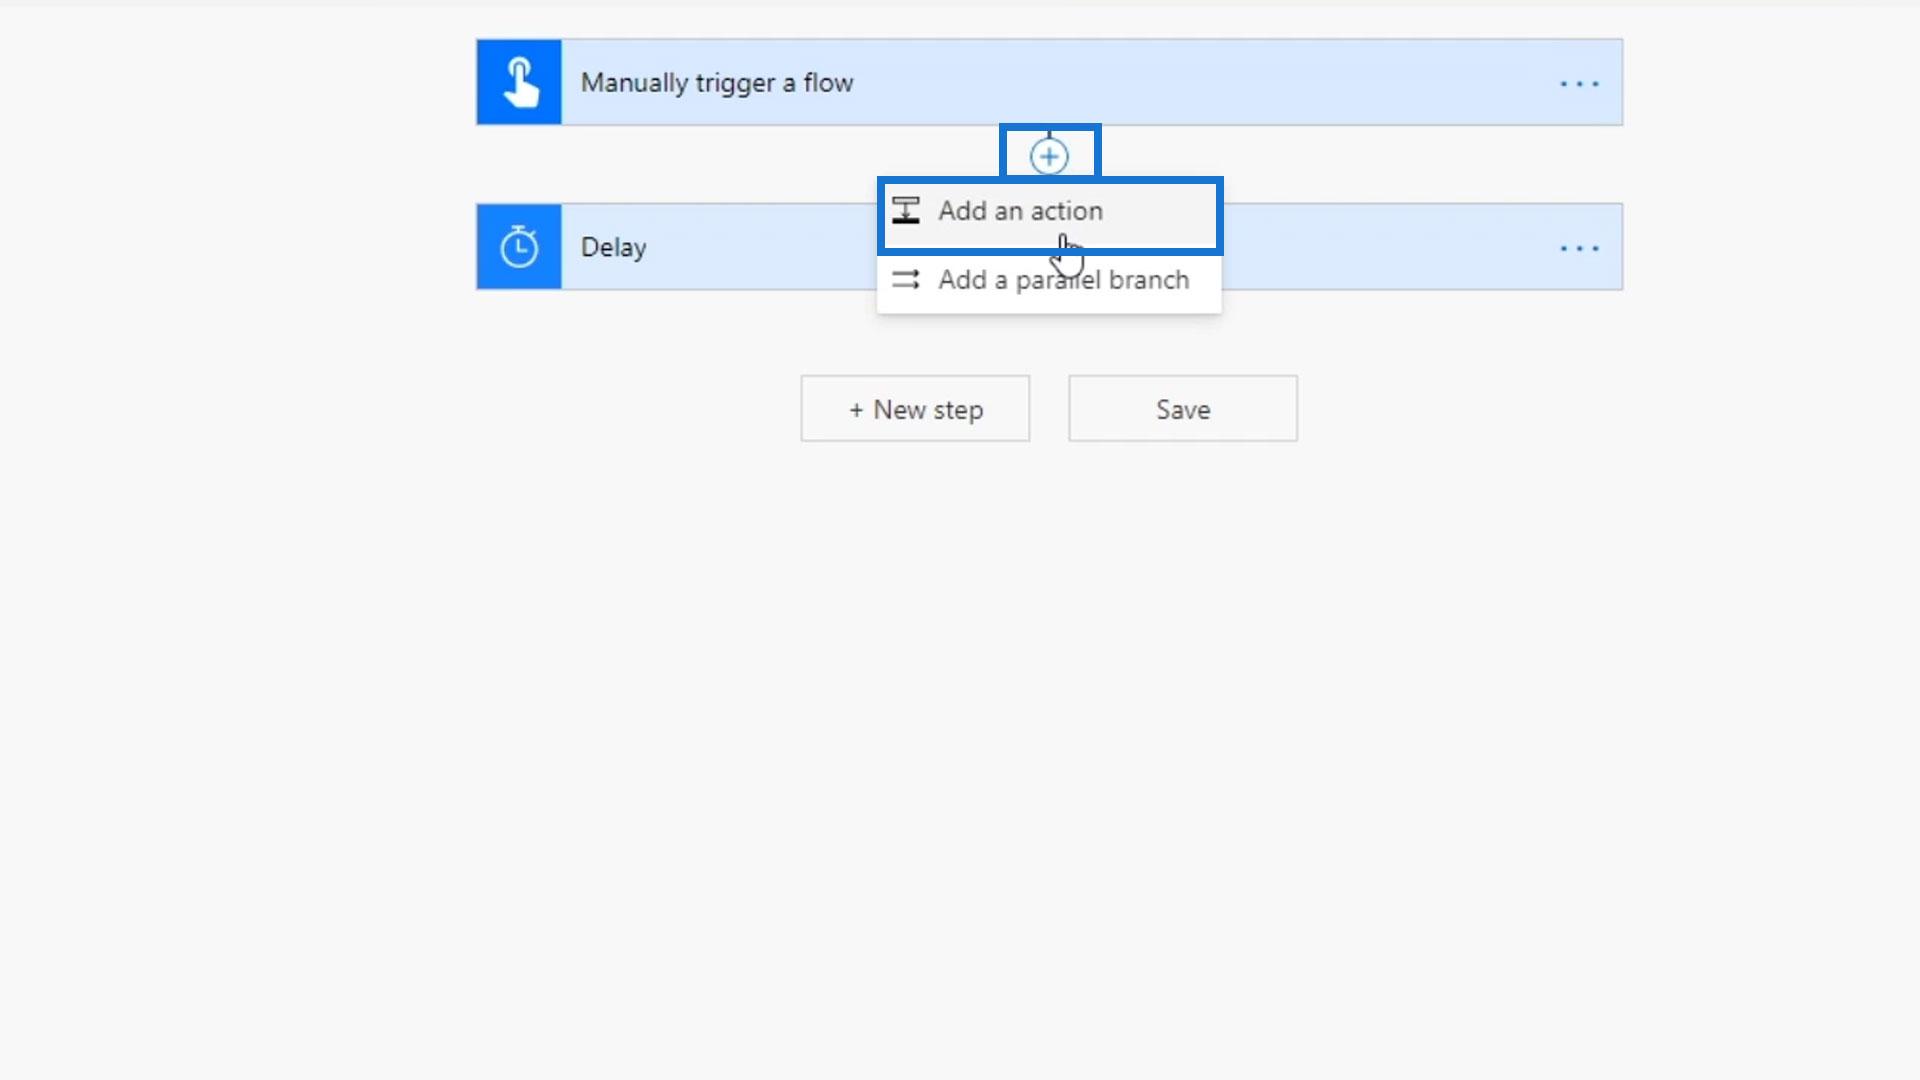
Let’s now add an action for this flow to add a ticket or card on our Trello. First, click the + icon and click the Add an action option.
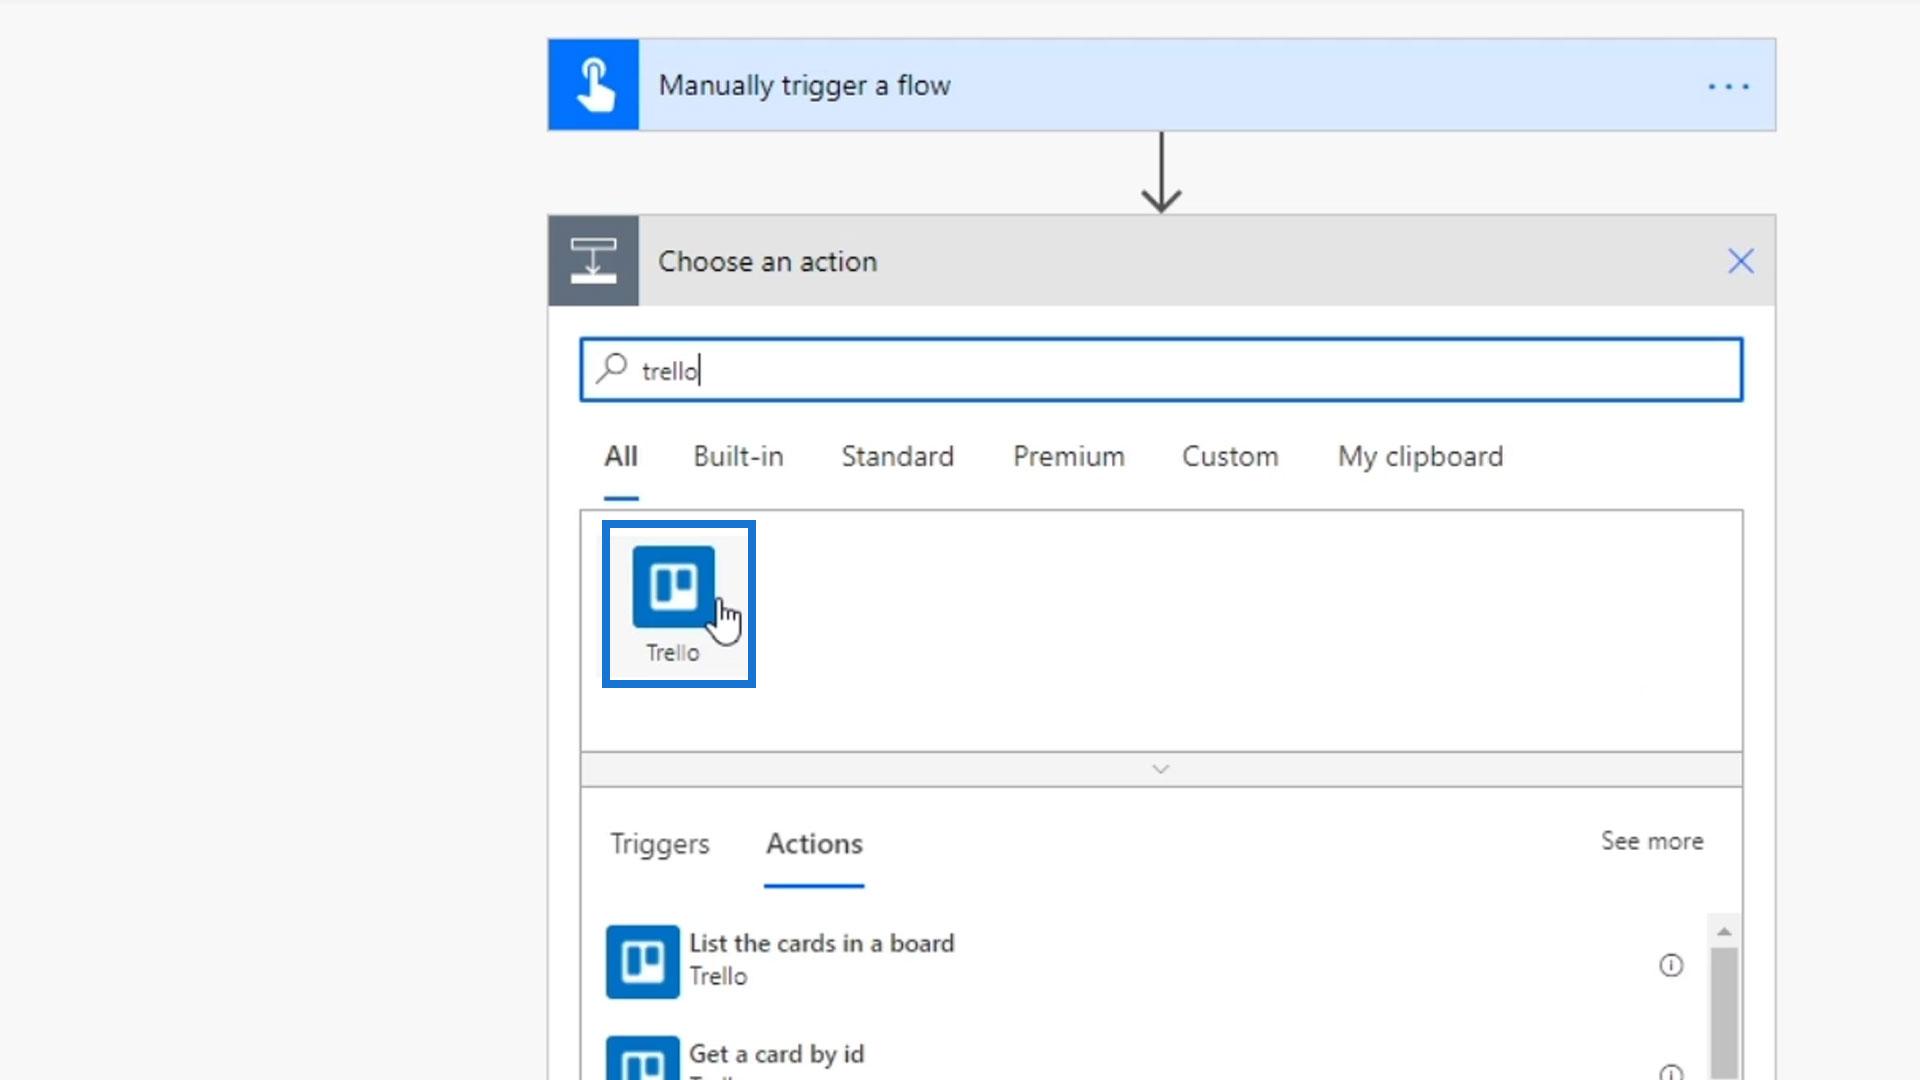
Then, let’s connect this to the Trello connector.
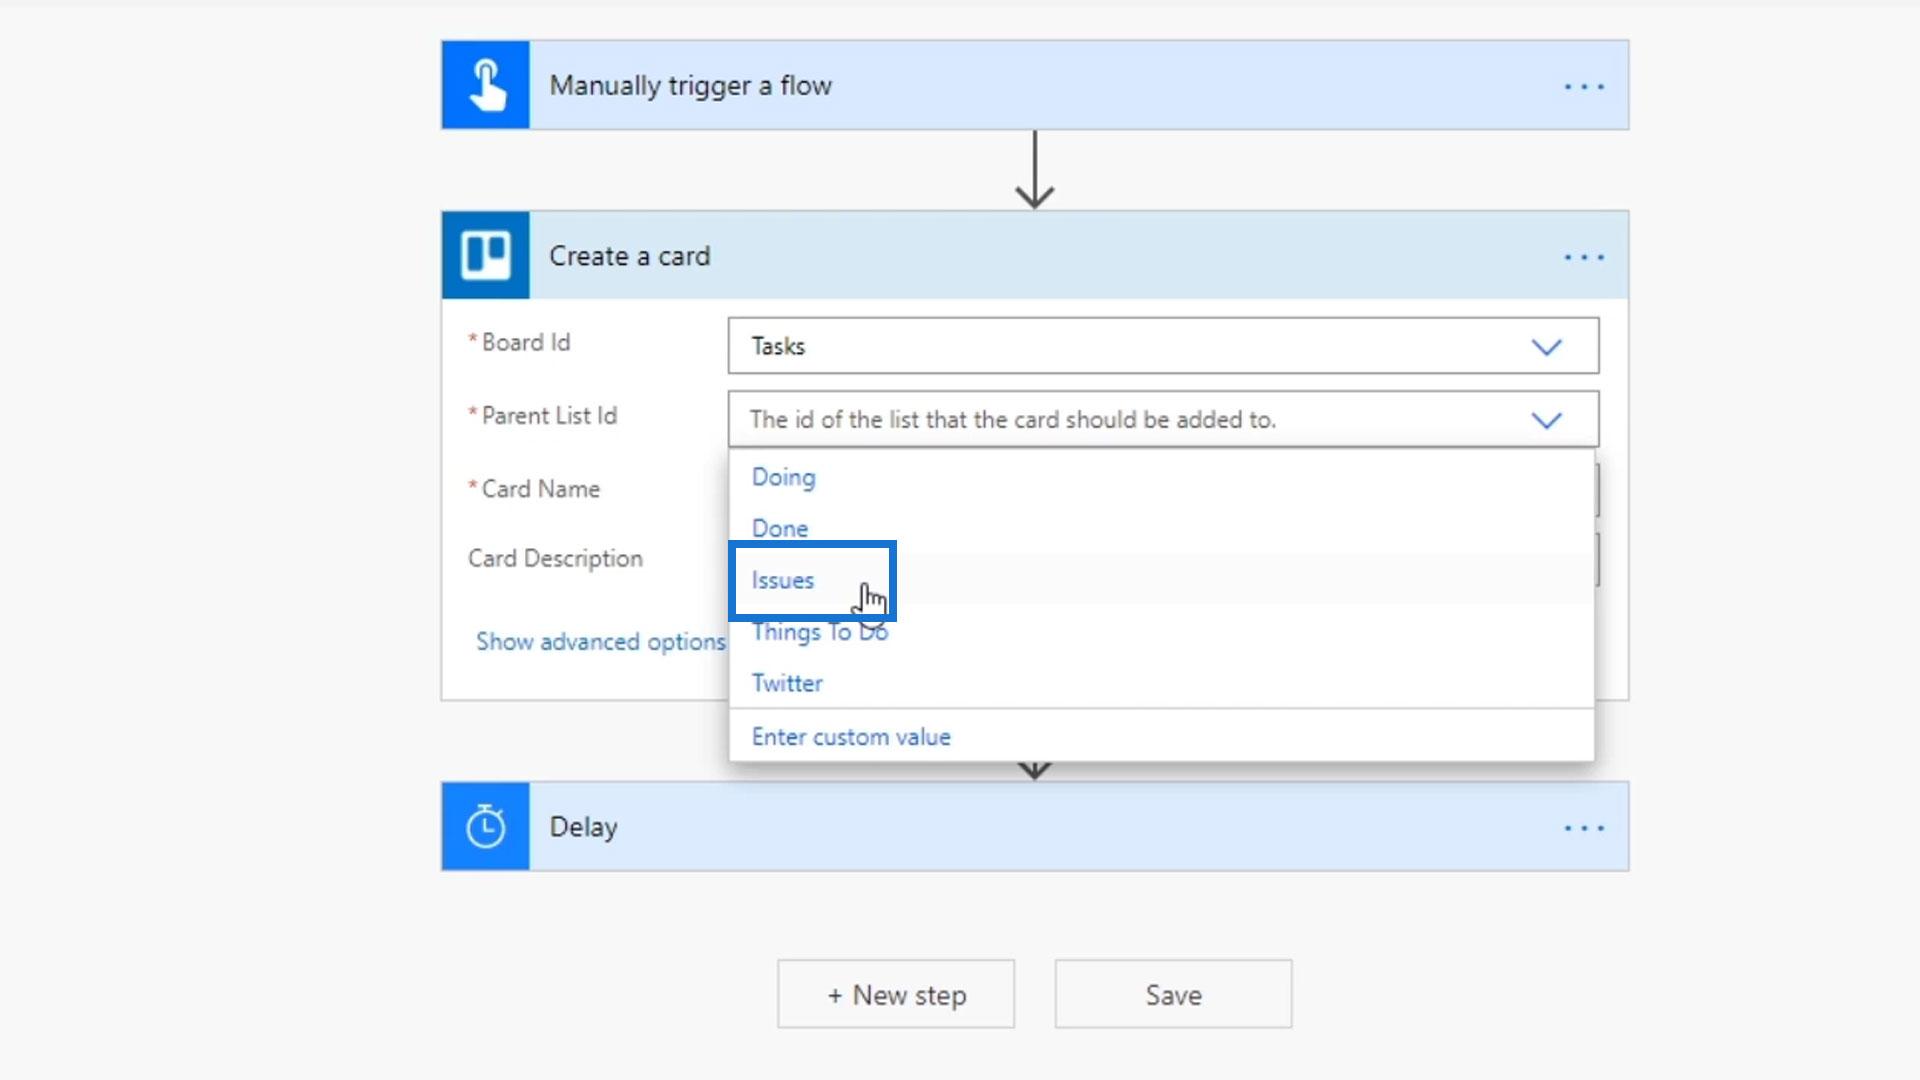
For the Board Id, select Tasks.
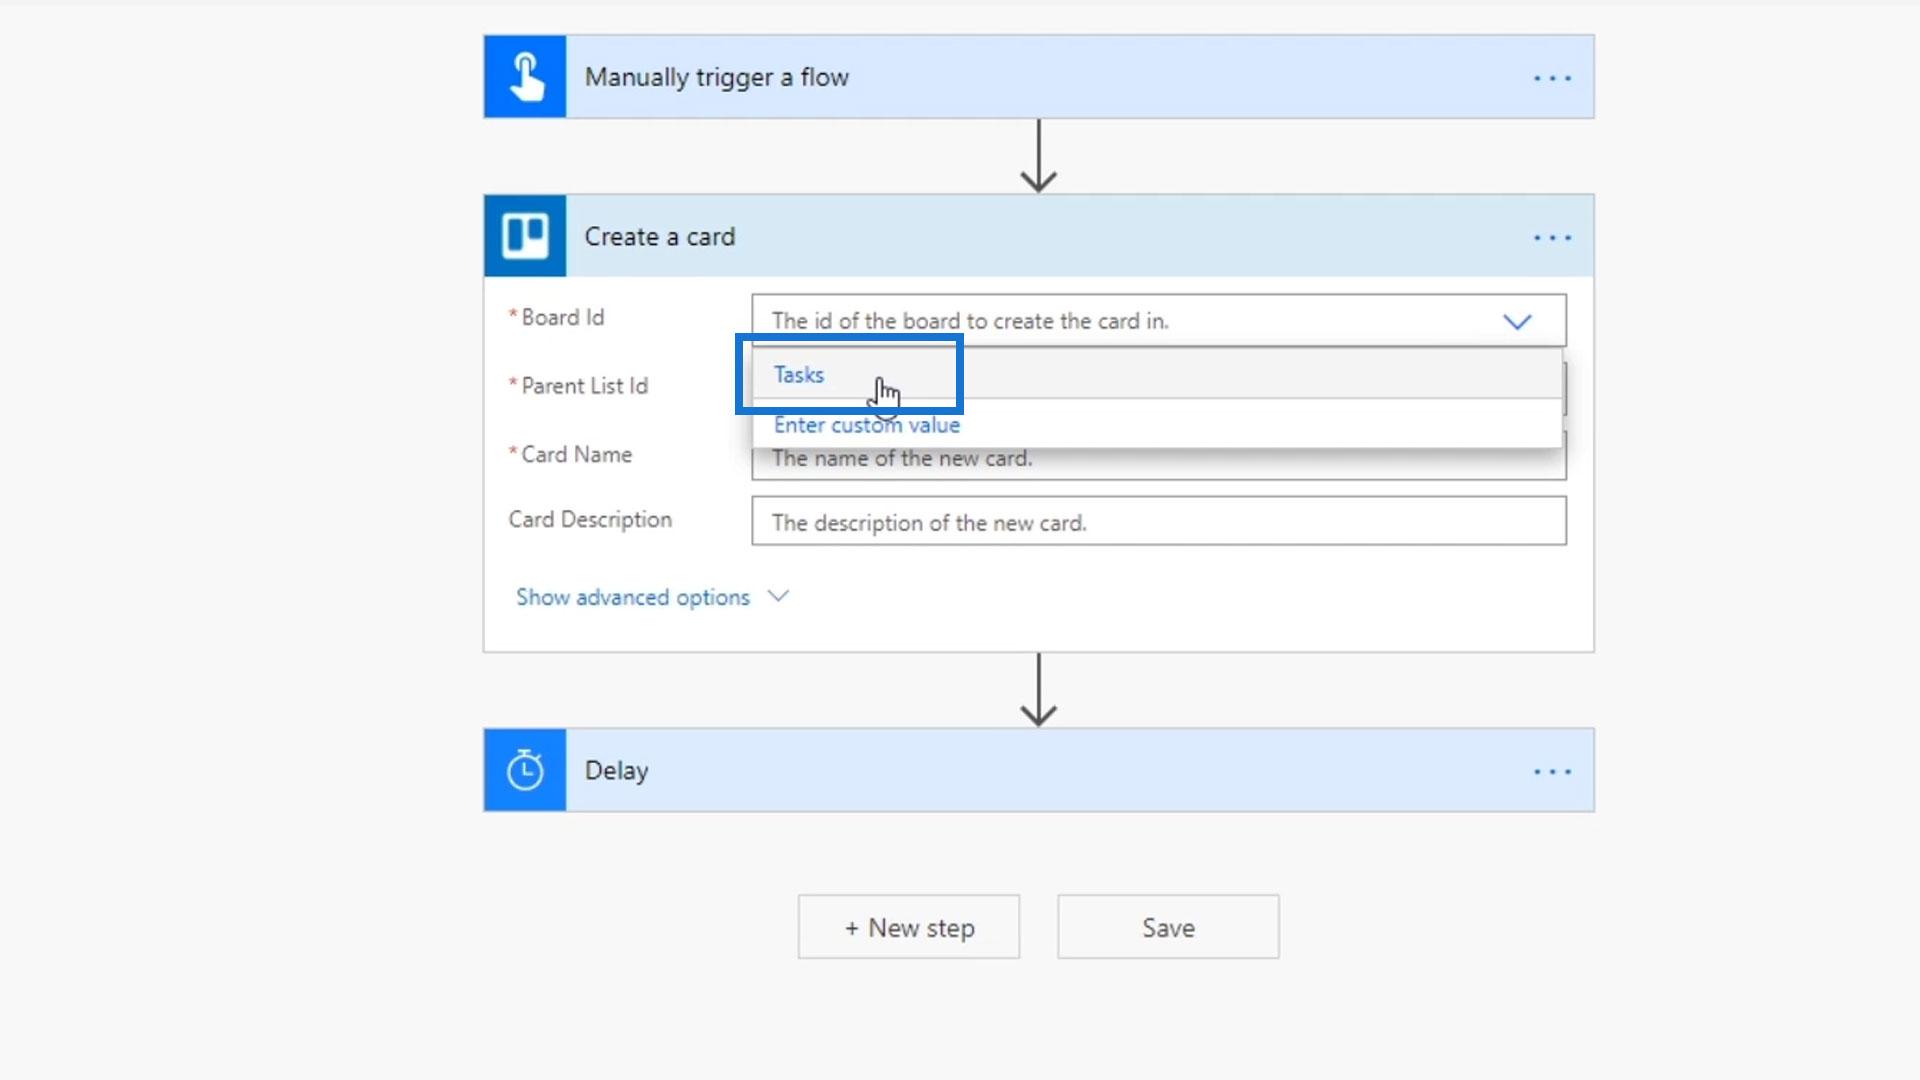
After that, select the Issues as the Parent List Id. Again, the Trello card will be added to this section of our Trello board.
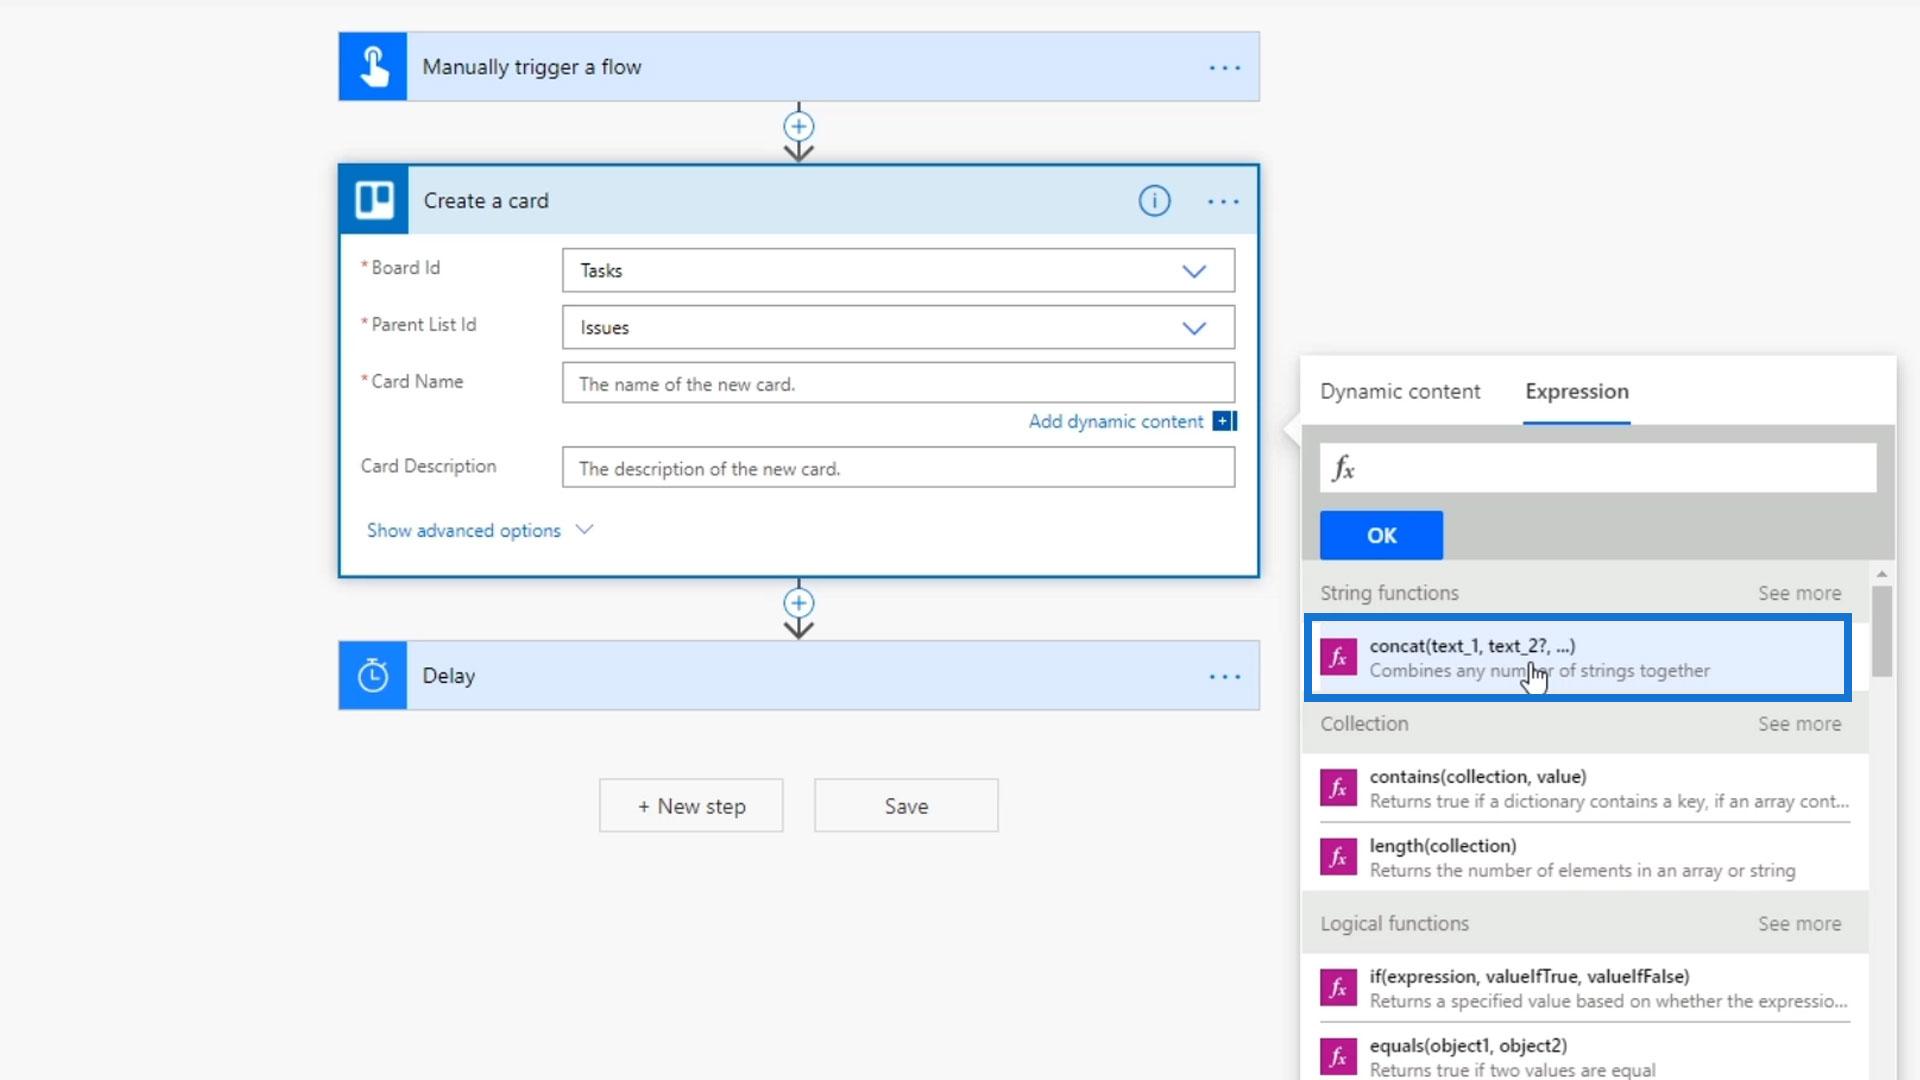
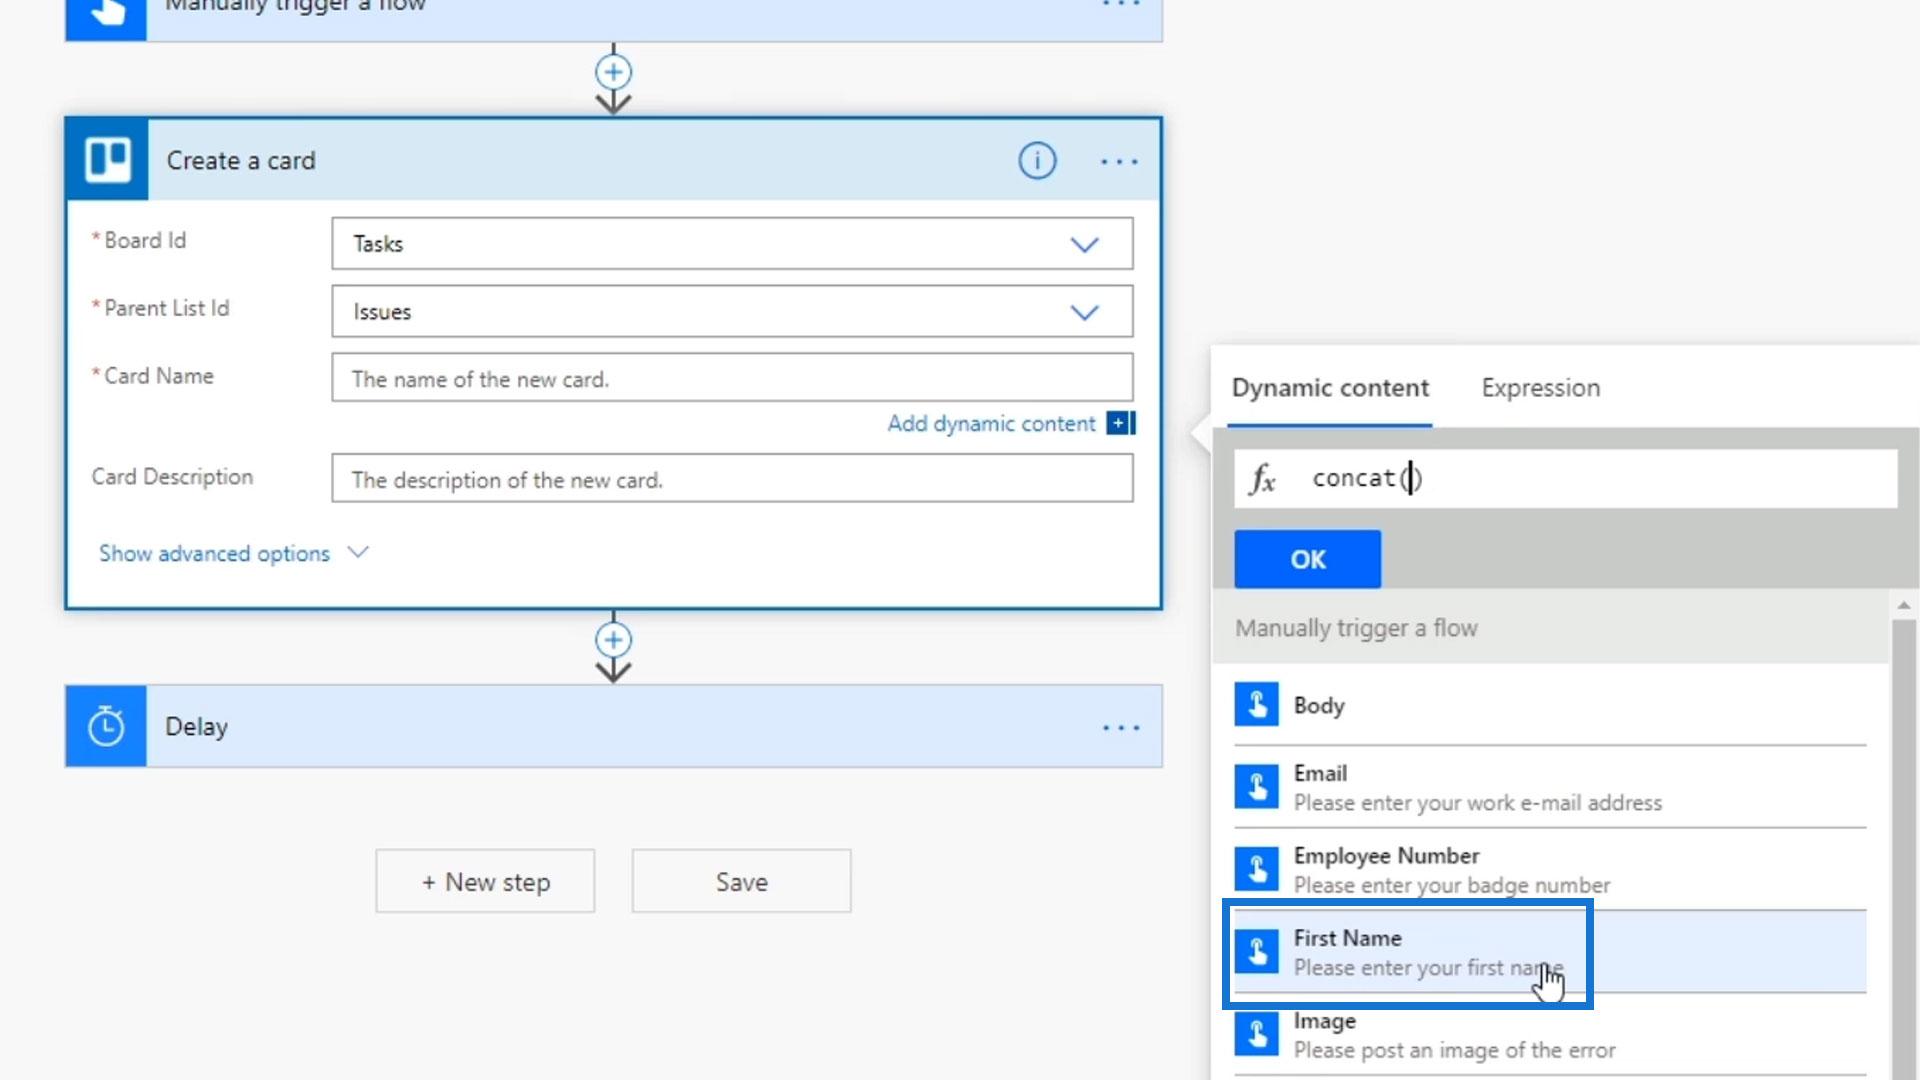
For the Card Name, use the concat expression. Then, let’s concatenate the first and last name of the employee.
To do that, select the First Name variable.
Add space in between as shown from the image.
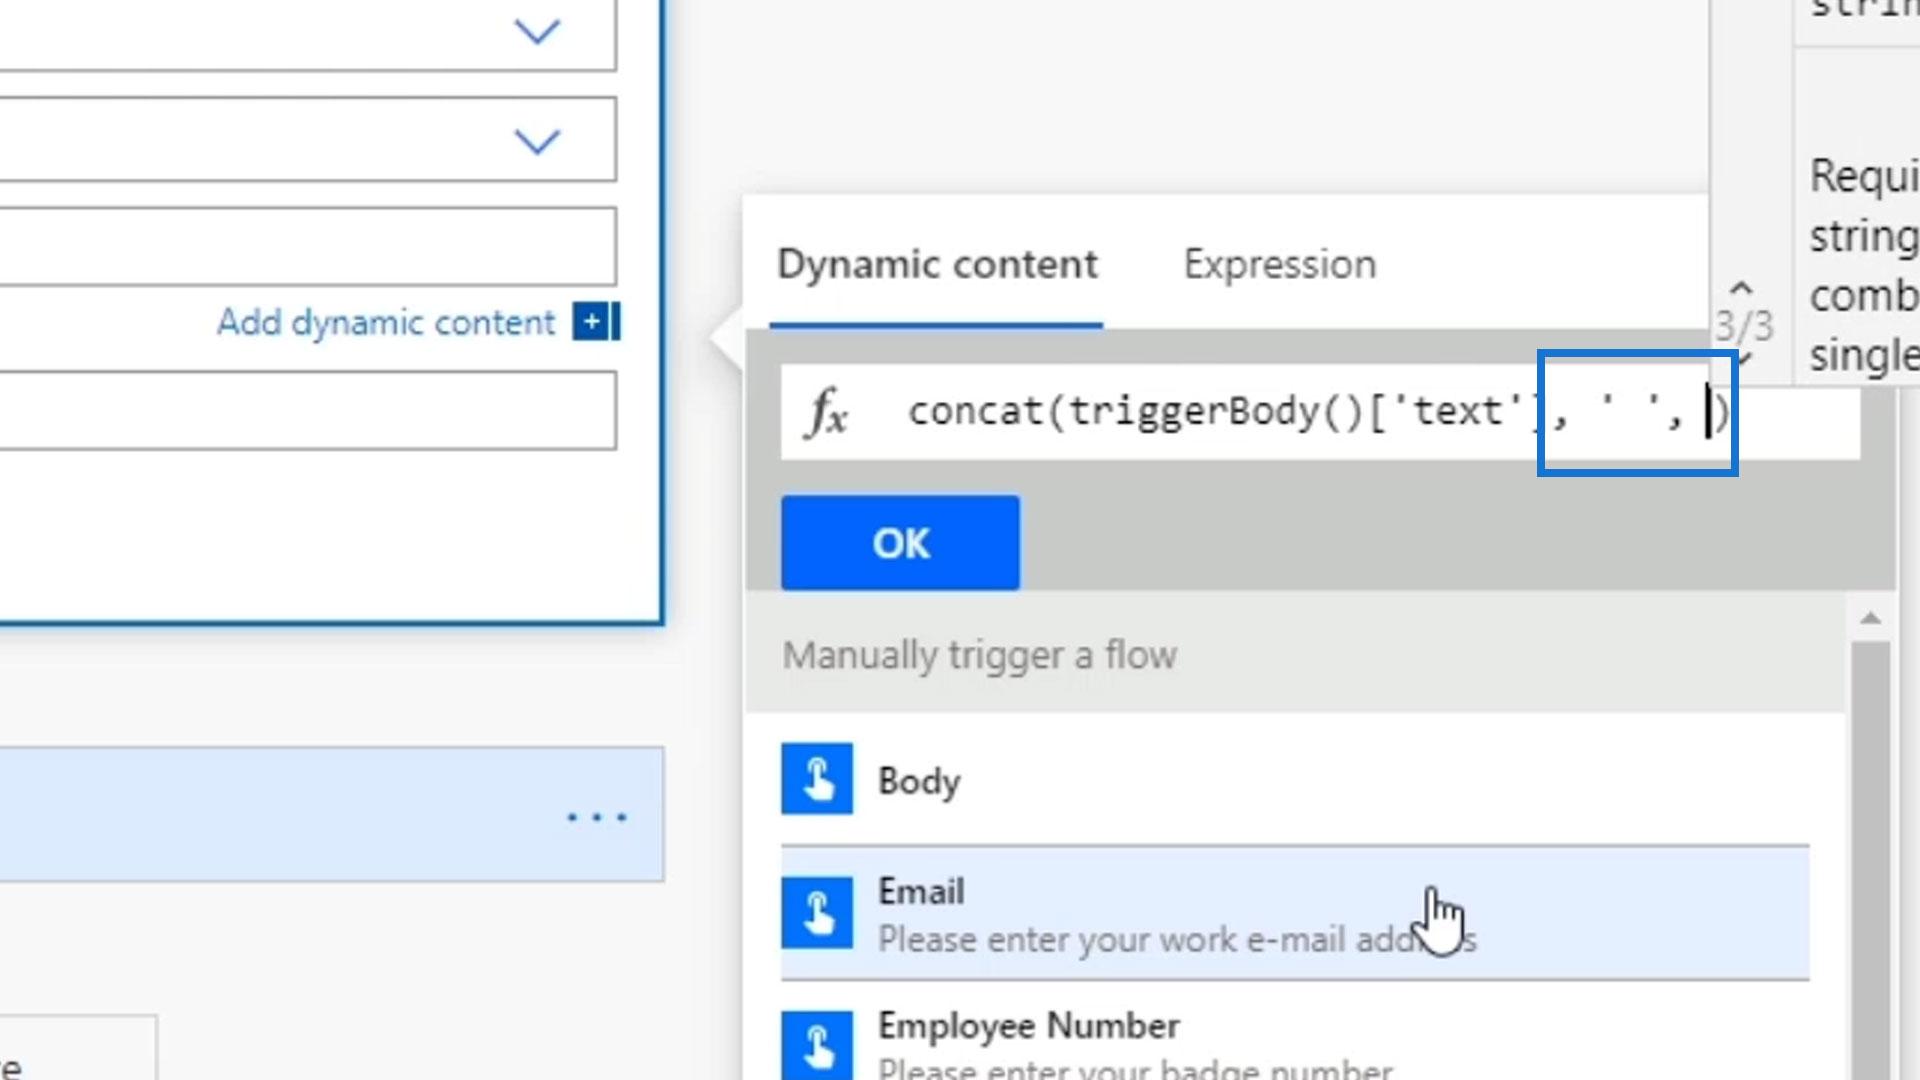
Then add the Last Name variable.
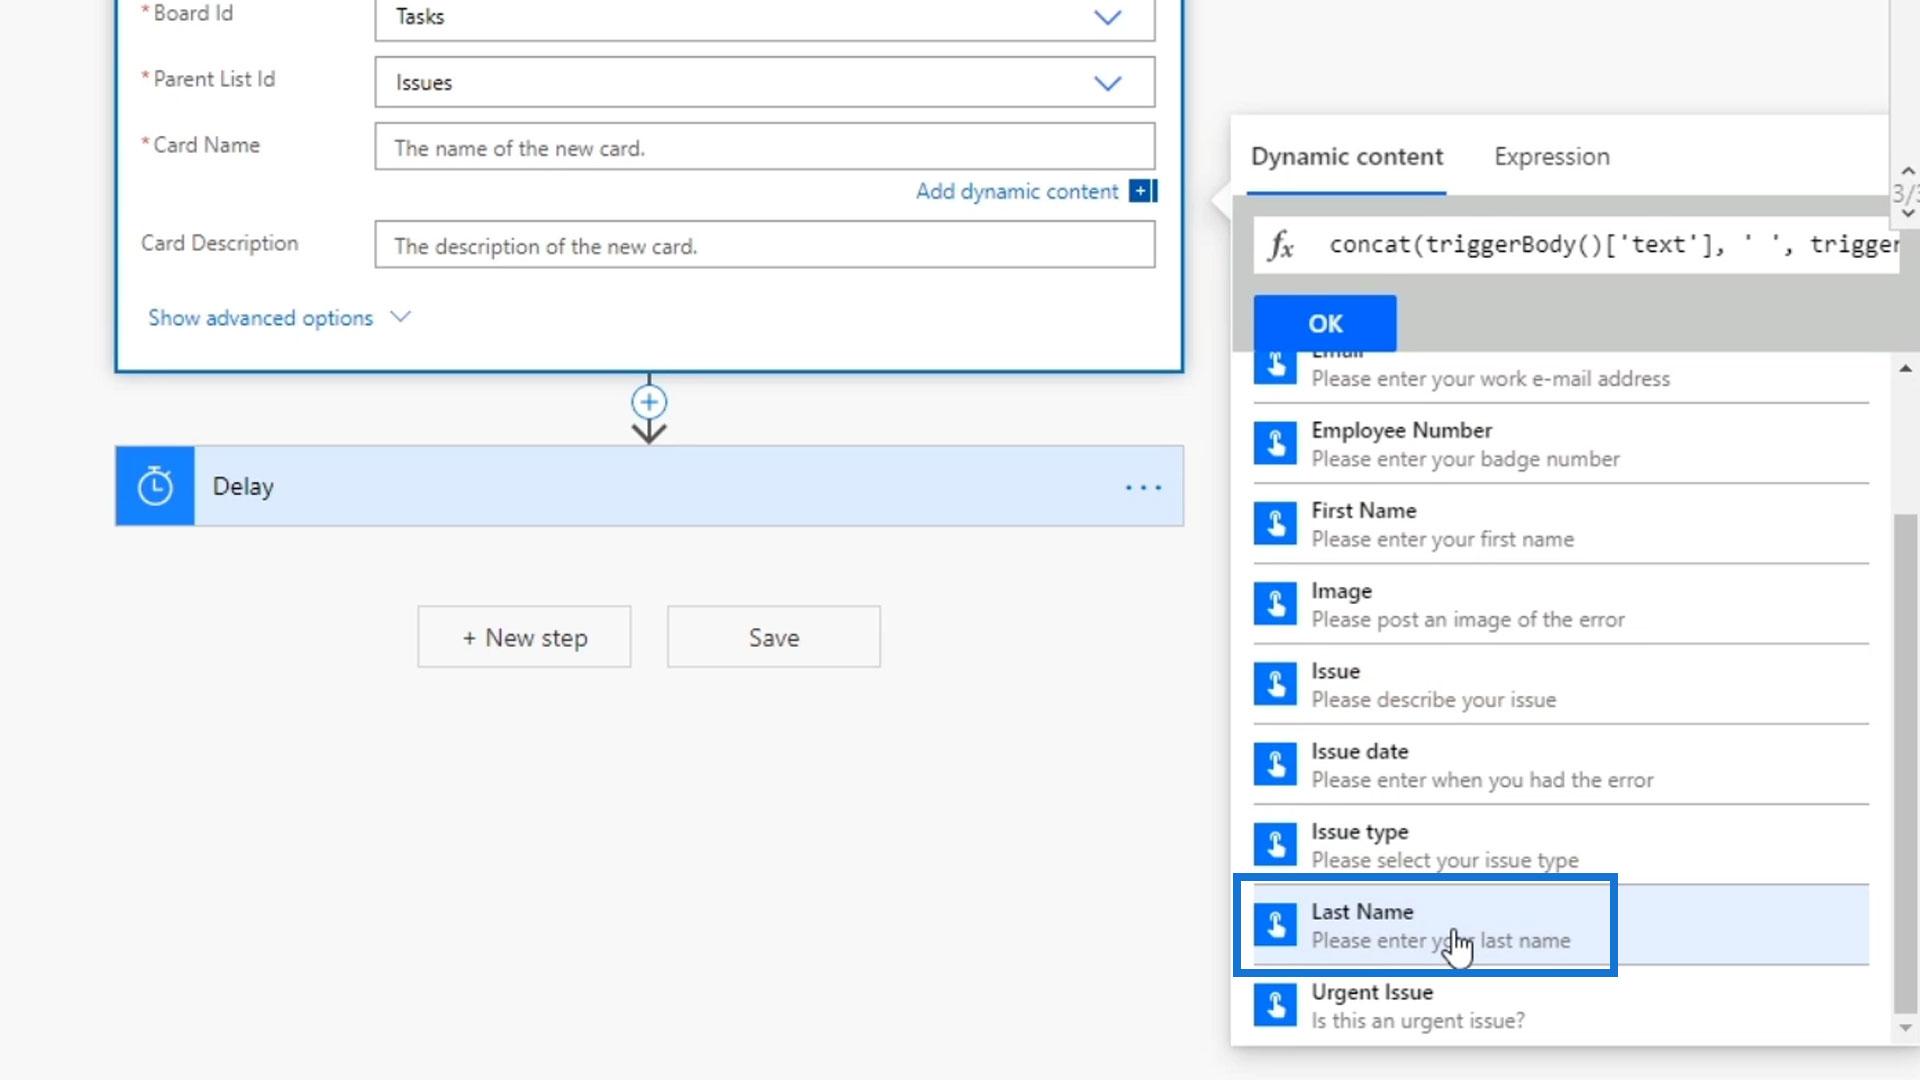
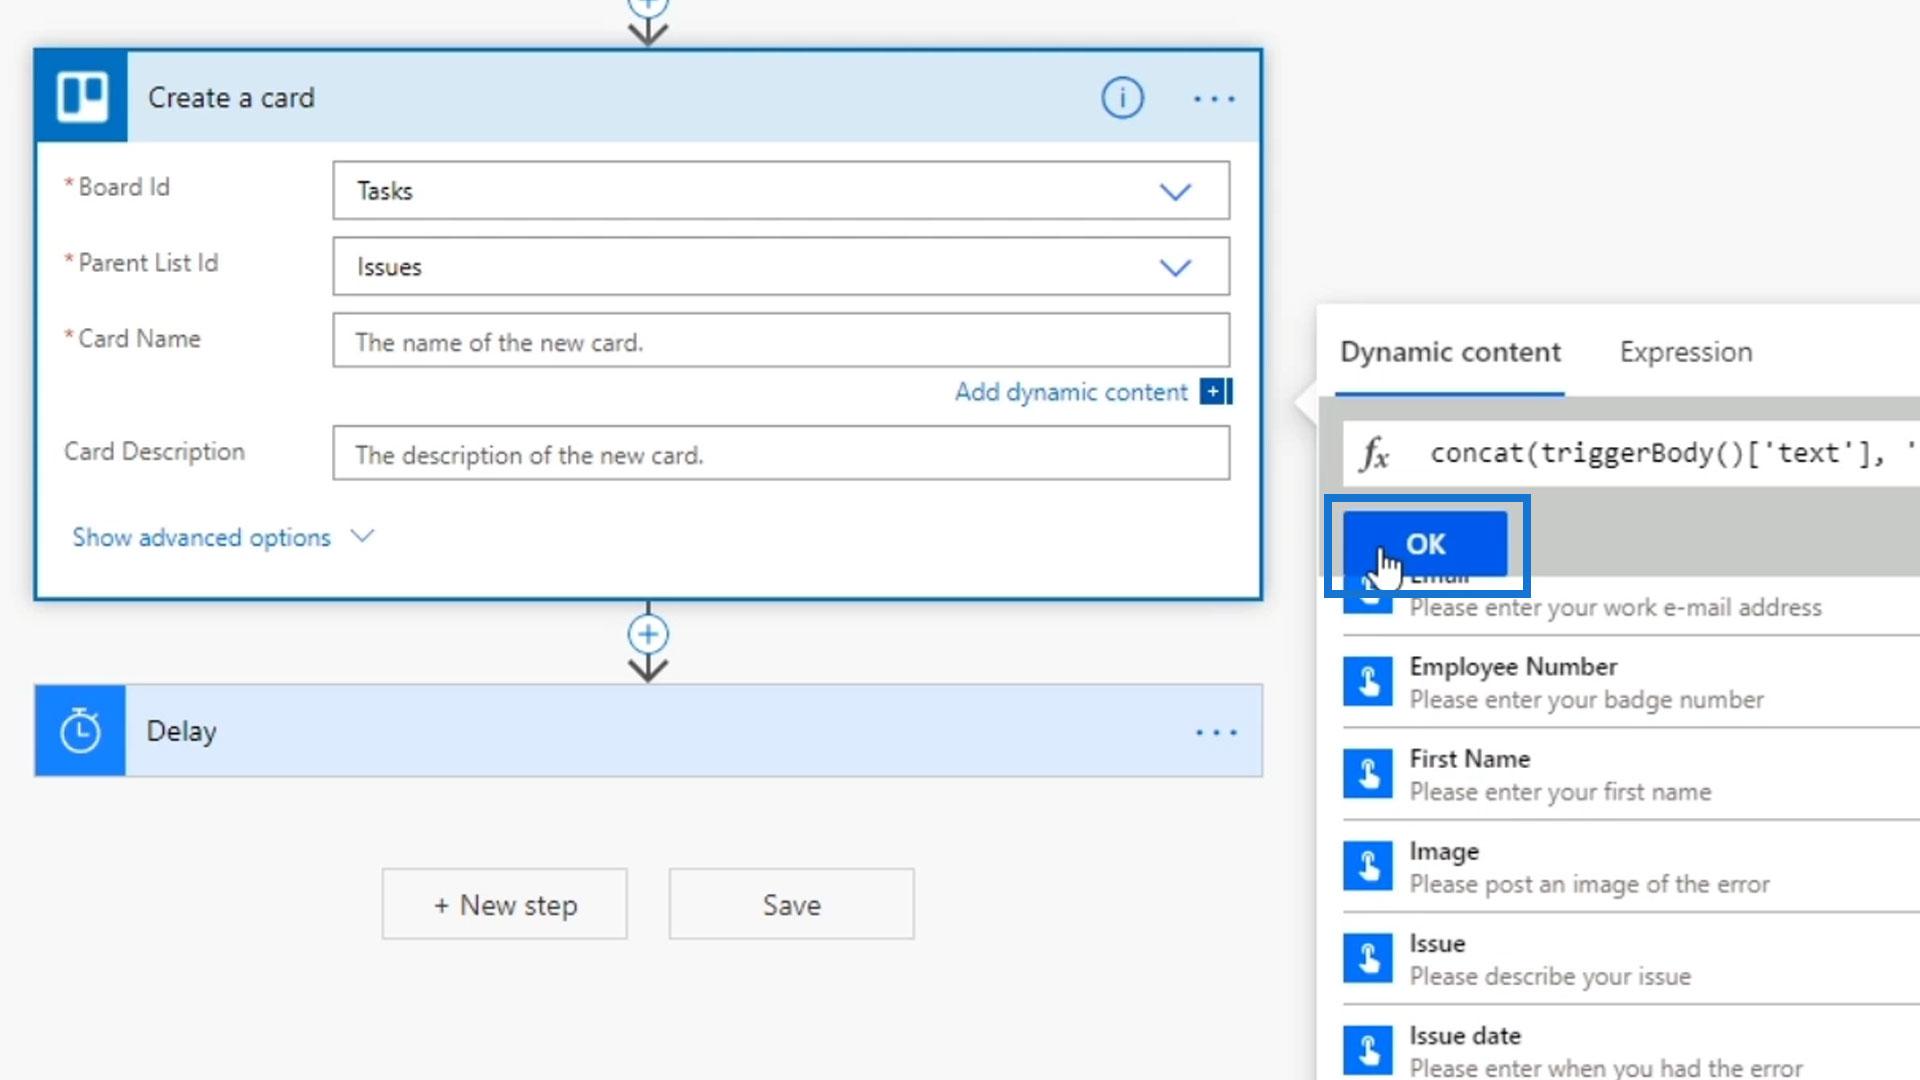
Lastly, click the OK button.
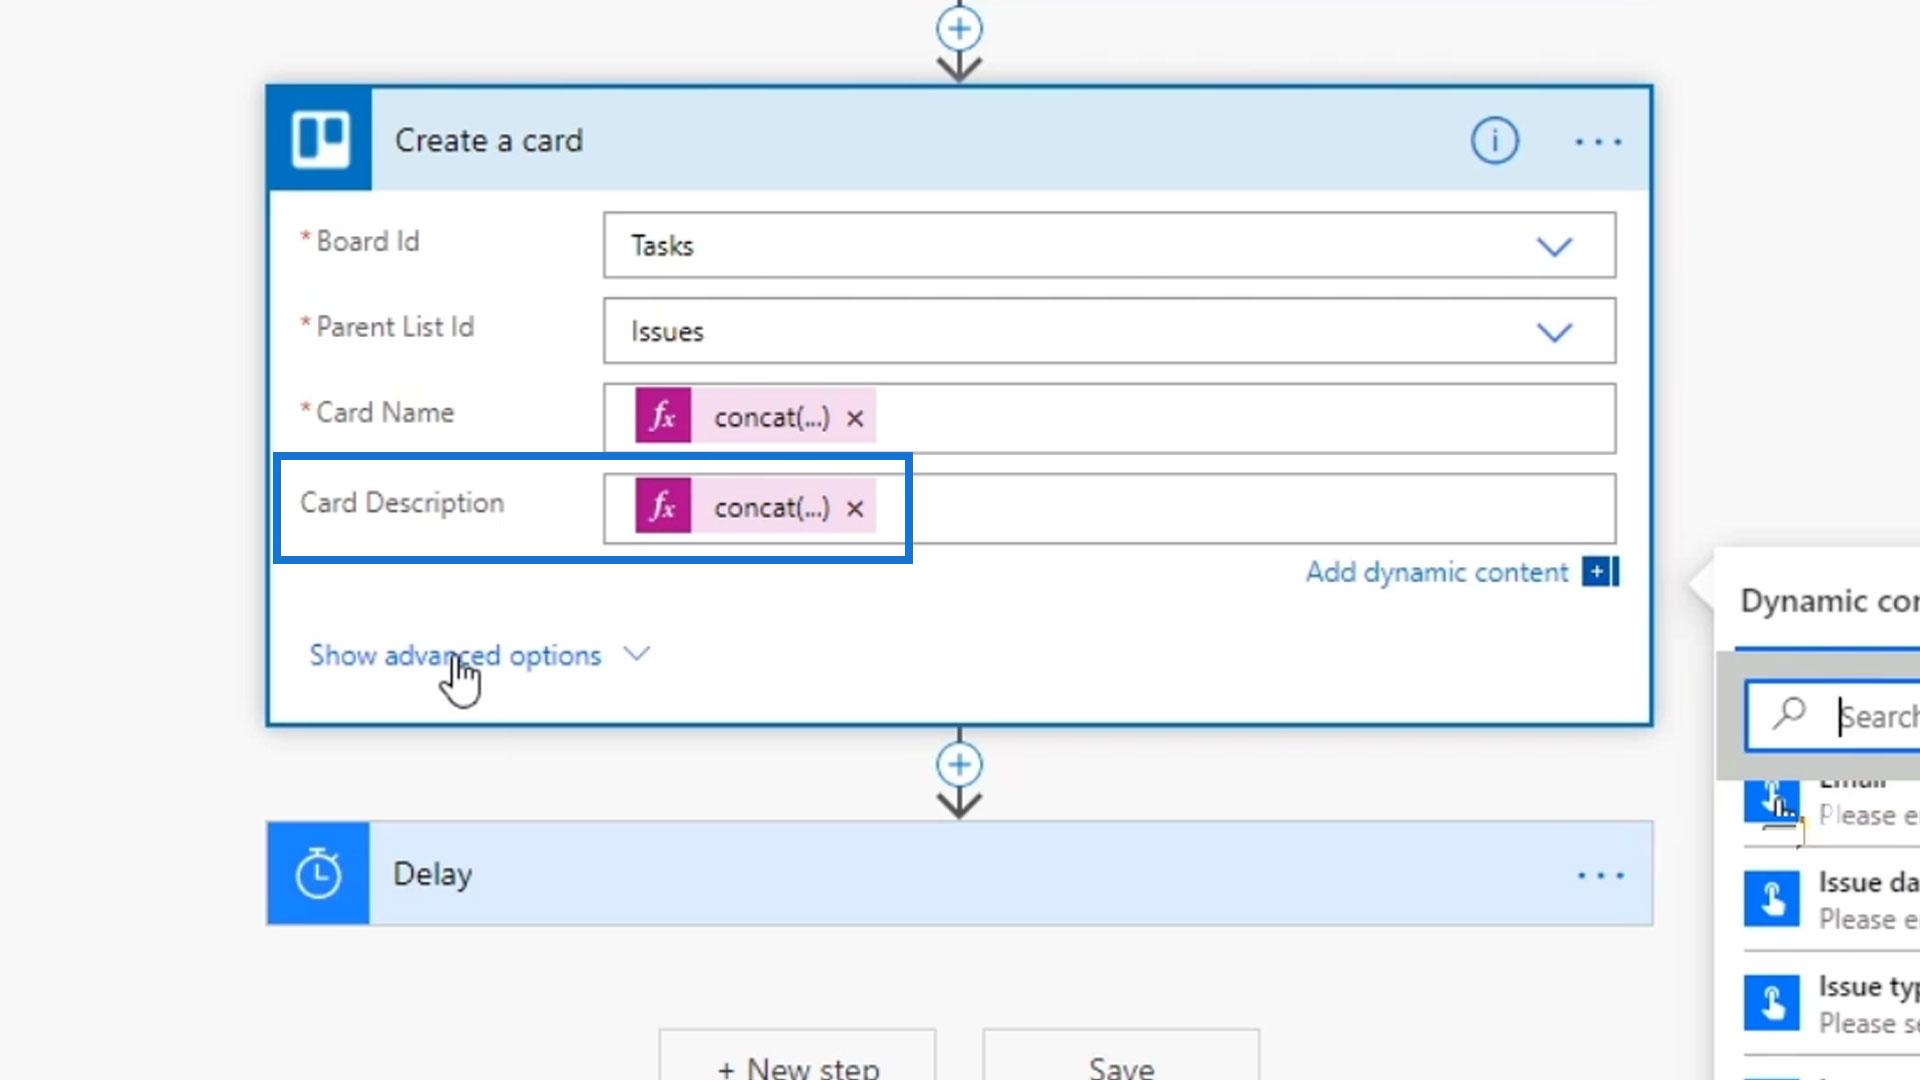
For the Card Description, let’s concatenate the Issue type, Issue description, Employee number, and Email. Don’t forget to add space in between the variables.
Testing The Workflow Inputs
Let’s now test our flow.
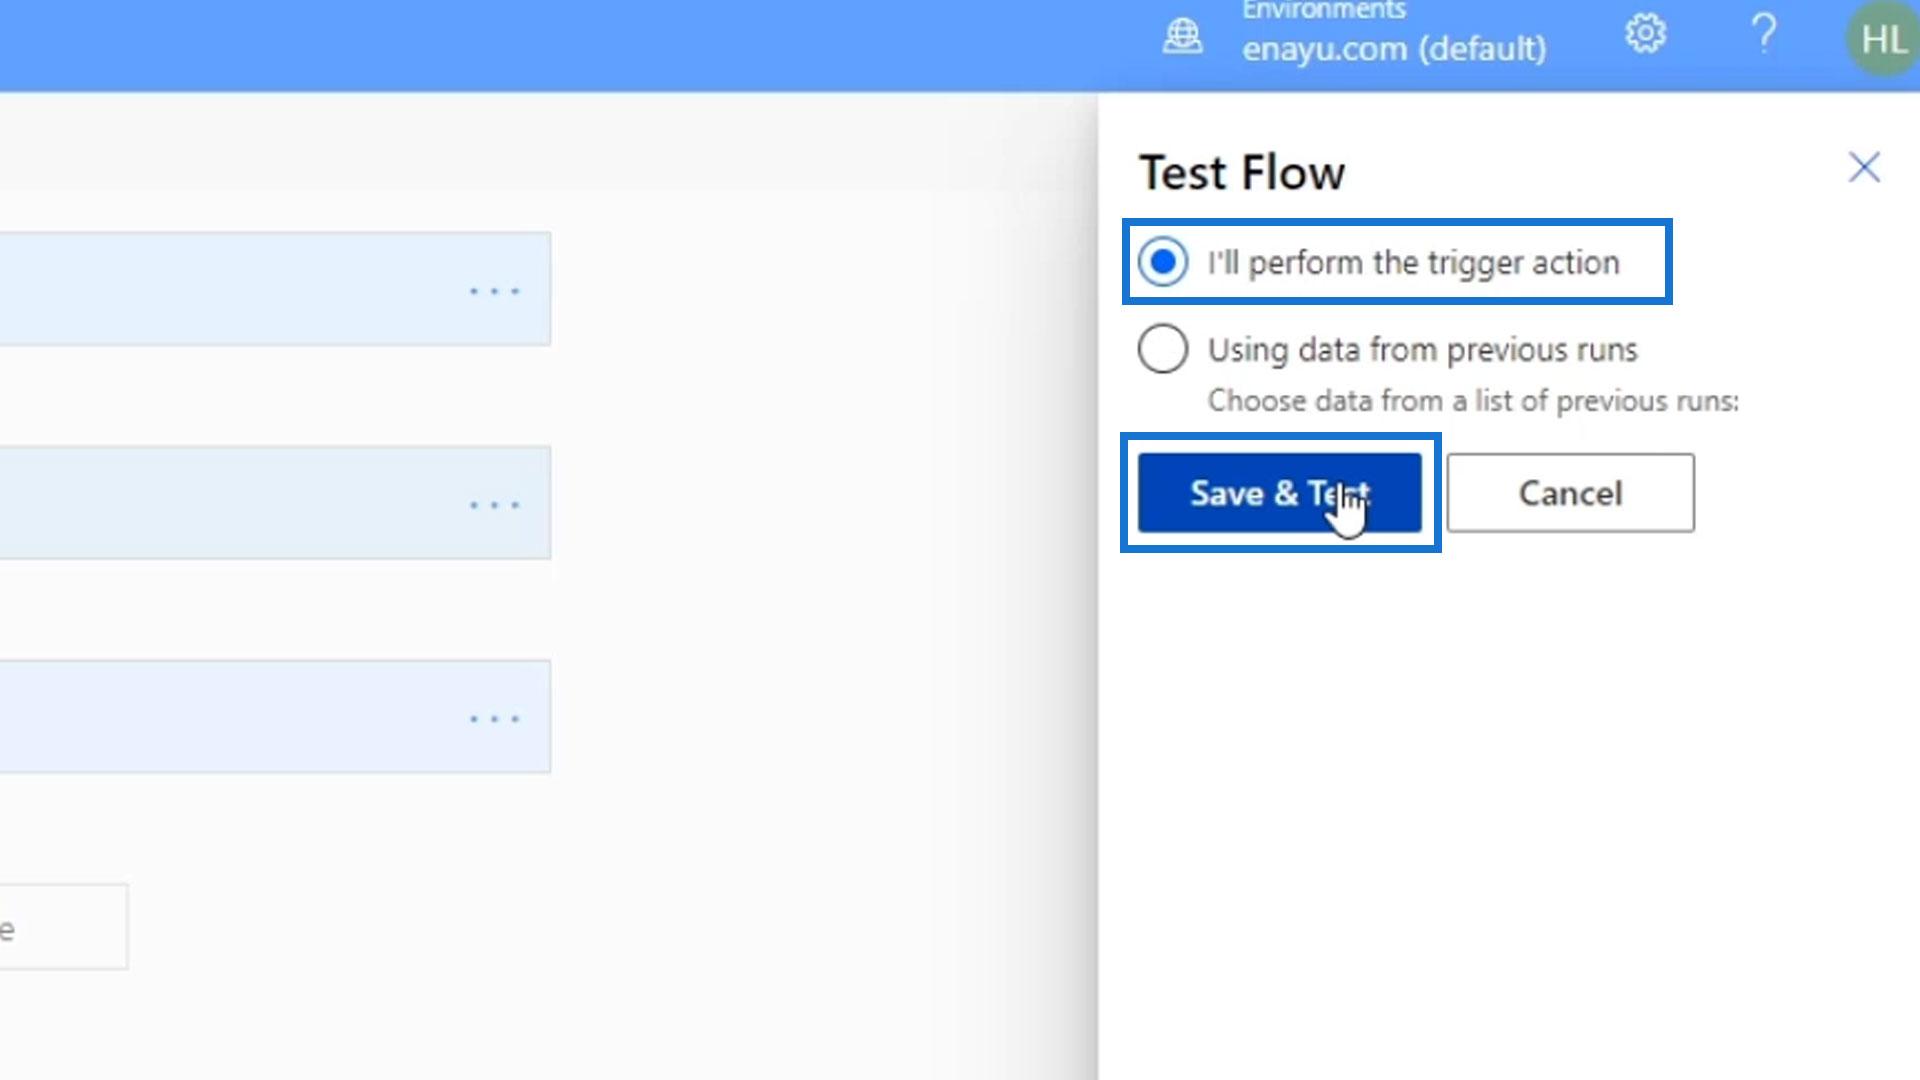
Upon clicking the Test button, this will appear. Just click the Continue button.
Add the needed information such as first name, last name, employee number, email, issue date, issue type, image, and the issue description. Then click the Run flow button.
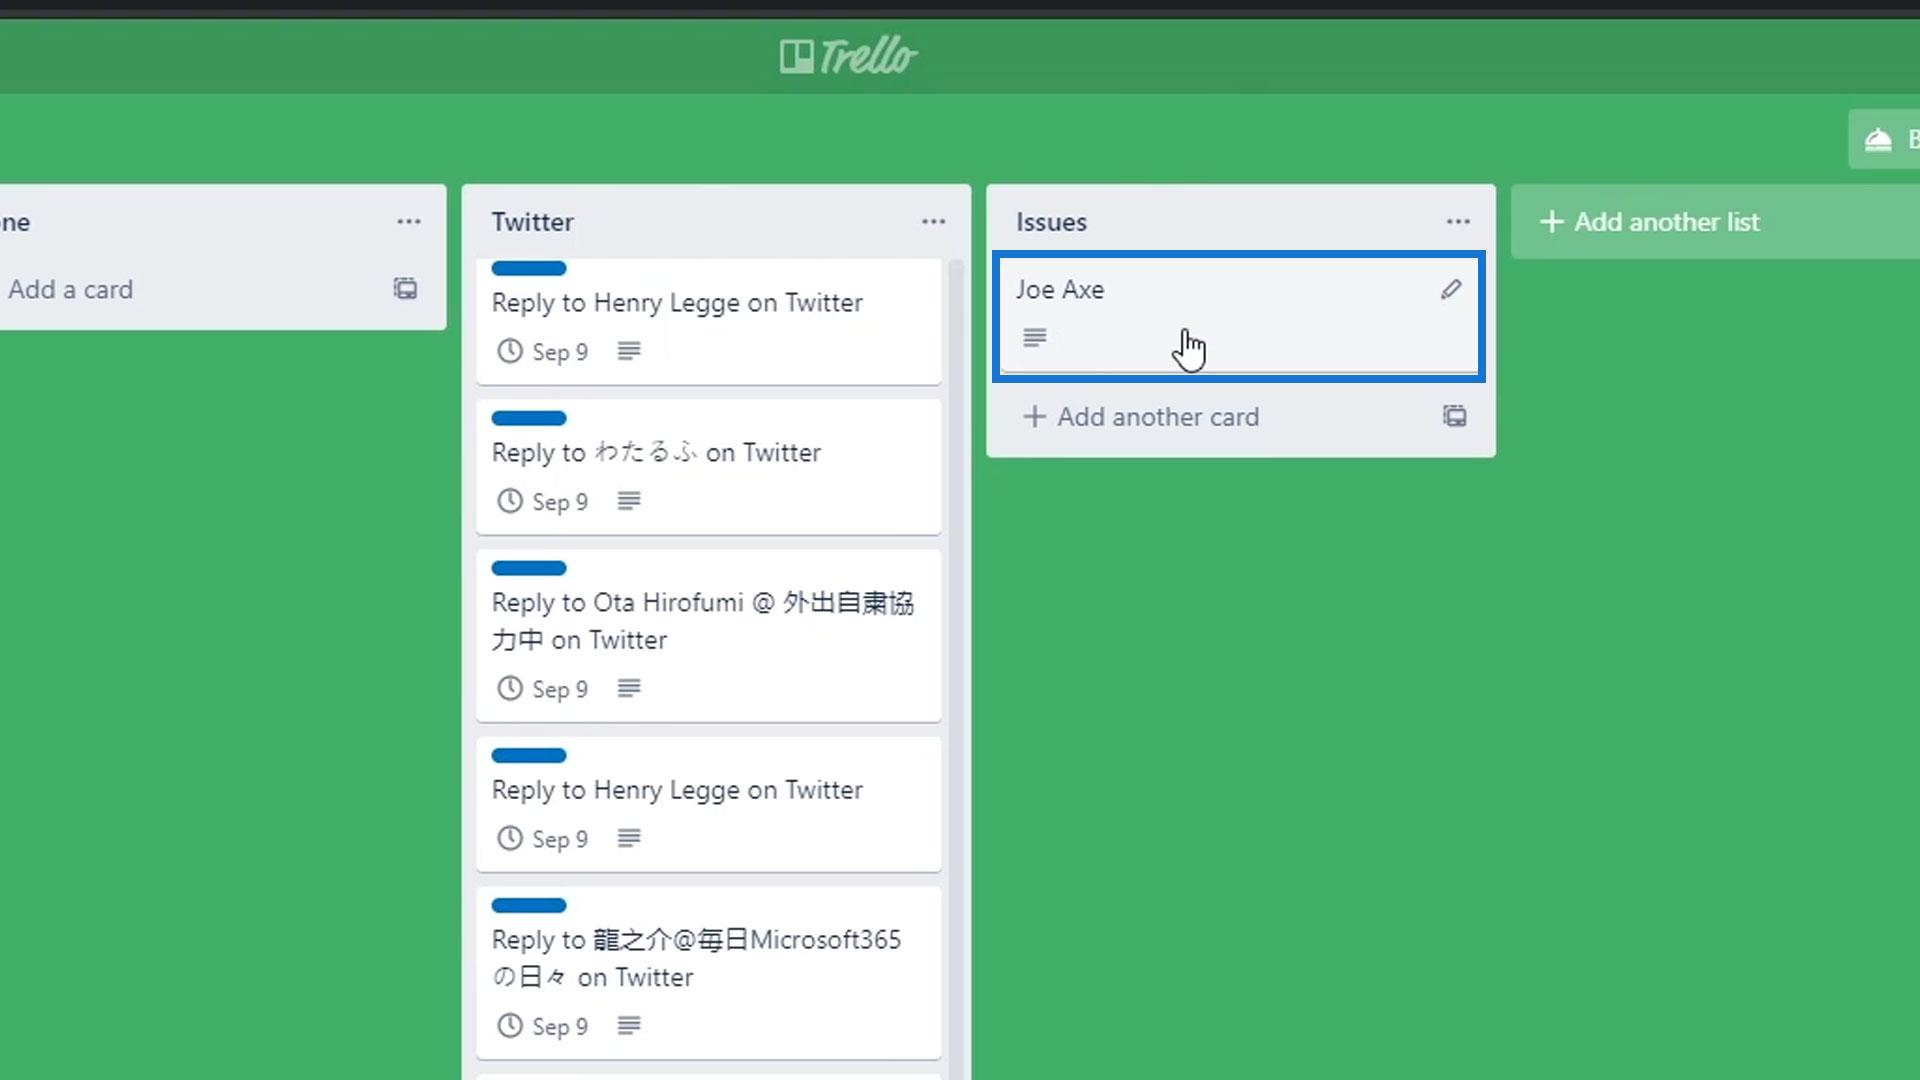
After successfully running the flow, we can now check if a card was added to our Trello board. As we can see, a new card was added under the Issues section. Let’s click on that card..

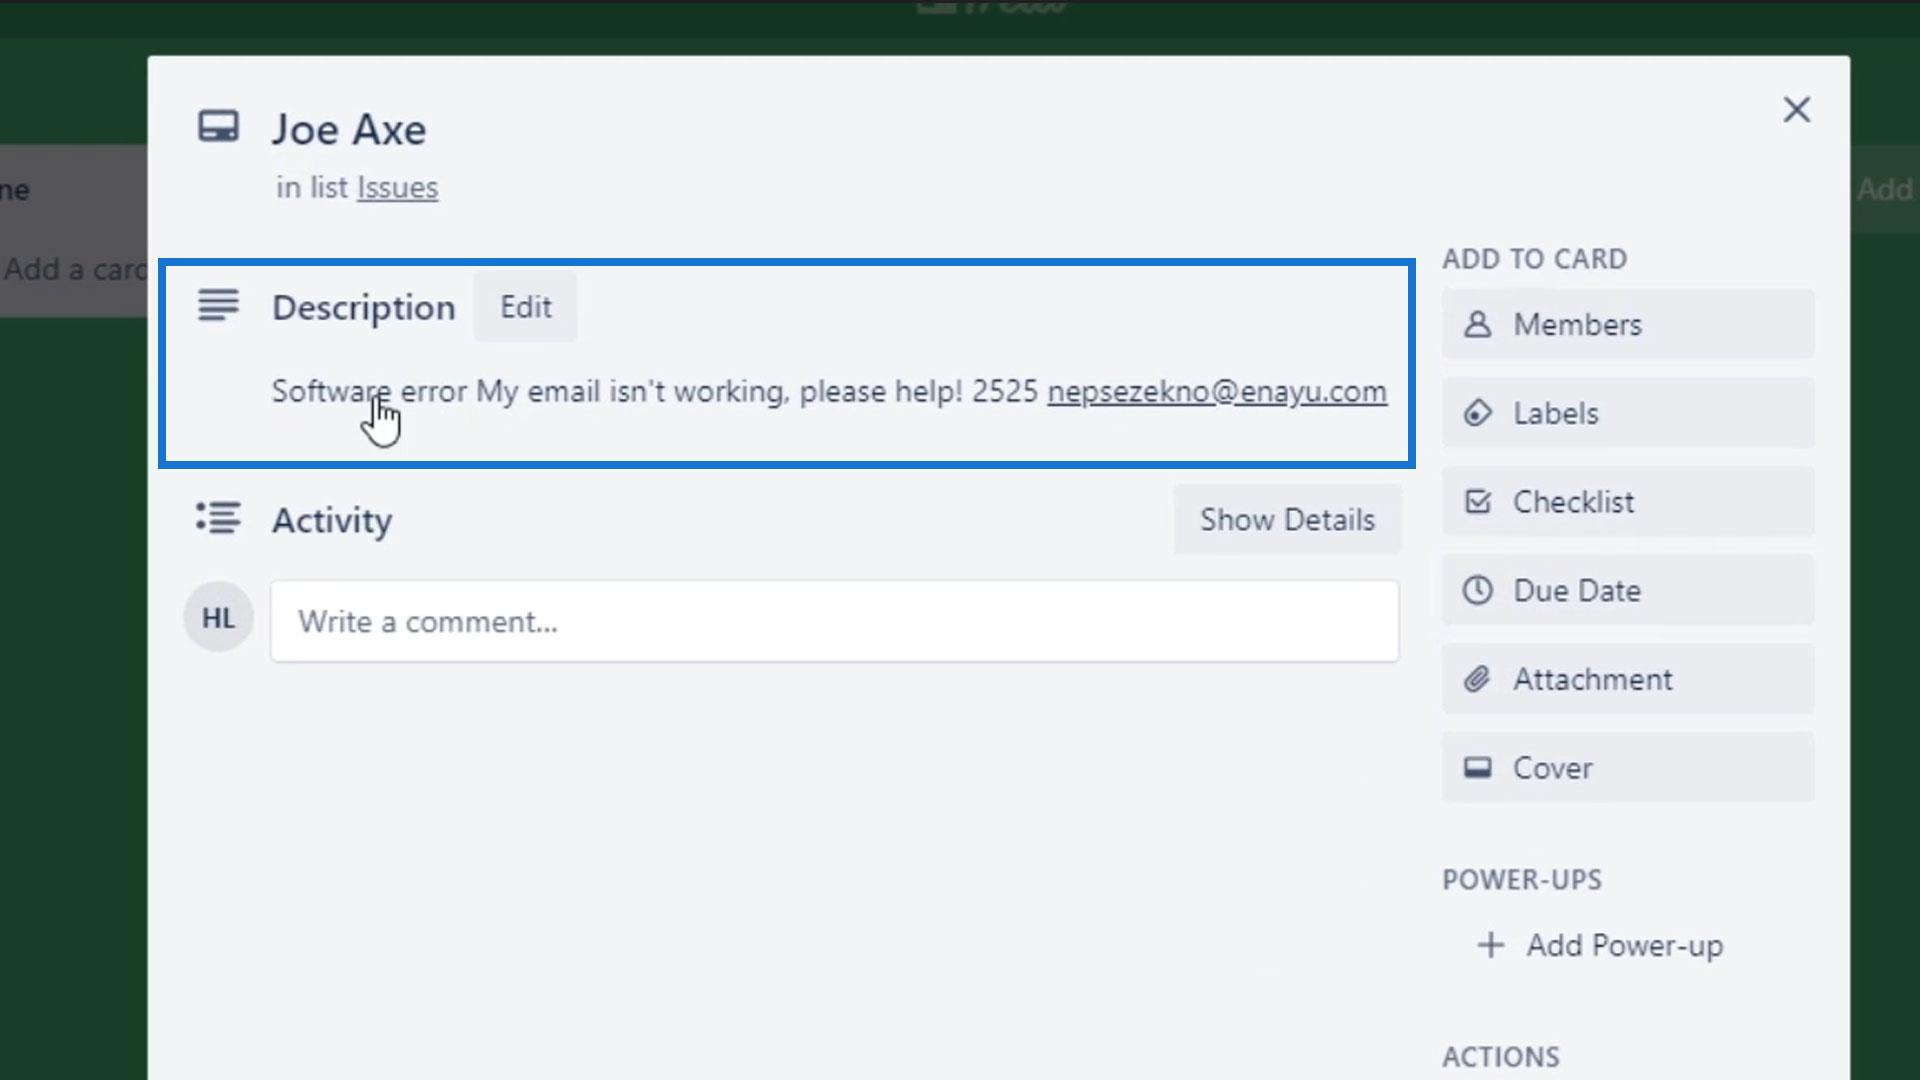
This serves as our issue ticket. As we can see, the Description contains the issue type, issue description, employee number, and email address.
***** Related Links *****
Microsoft Power Automate: Workflow Automation
Scheduled Workflows In Microsoft Power Automate
Microsoft Flows: Editing And Tracking In Power Automate
Conclusion
In summary, we have created a workflow for an issue ticket system that we can share to our employees. The employees can manually trigger this flow to notify us regarding some issues that they’re experiencing.
The key point in this tutorial is that we can have different types of inputs whenever we want to create a manually triggered flow. Hopefully, this helps you understand the usage and importance of inputs in Power Automate workflows.
All the best,
Henry