
In this blog, we’ll talk about preparing the environment by installing SQL Server (Developer Edition), and SSMS (SQL Server Management Studio). We’ll also have a little practice by downloading and restoring AdventureWorks databases (Practice Databases).
SQL Server is system from Microsoft for managing databases. It’s completely free and a full-featured DBMS for developers.
After installing the SQL Server, we’ll also install the SSMS (SQL Server Management Studio). SSMS is used for connecting SQL server. It’s basically an ID environment.

AdventureWorks databases are practice databases that Microsoft has given us that we can install. We can utilize these practice databases to practice whatever we have learned.
Downloading The SQL Server (Developer Edition)
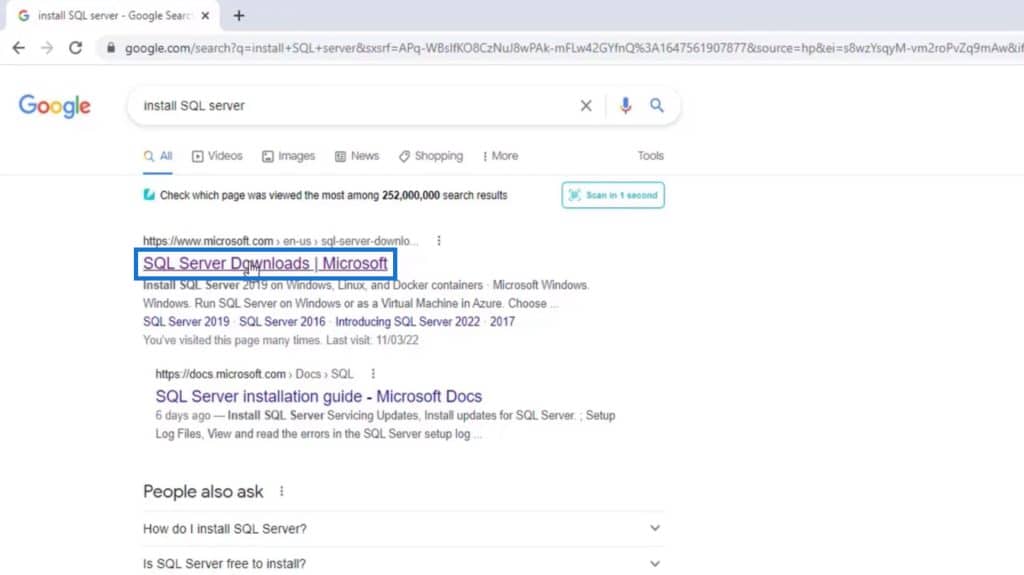
First, let’s download the SQL Server by going to Google and searching for “Install SQL server”.
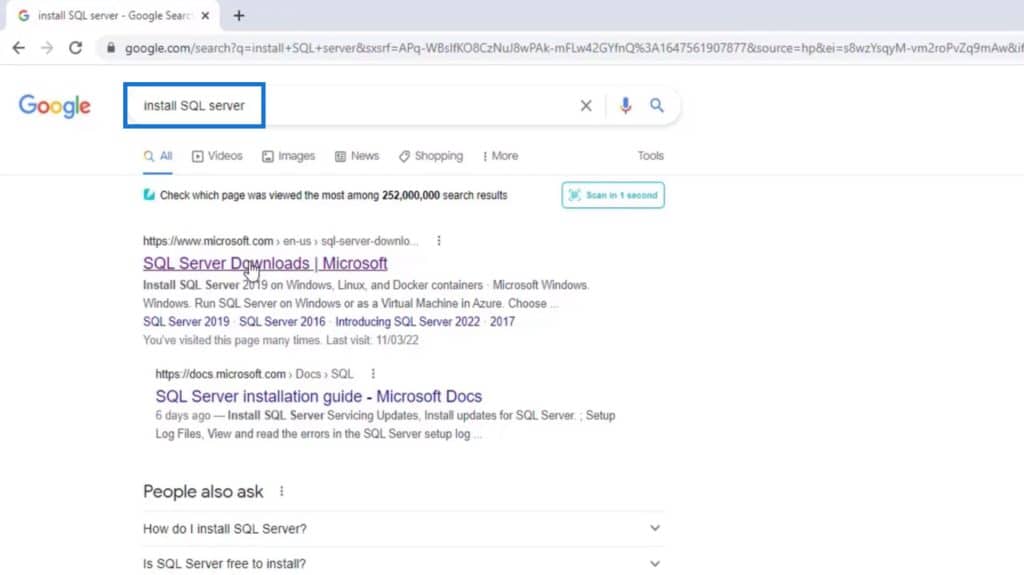
Look for the SQL Server Downloads | Microsoft and click on it.
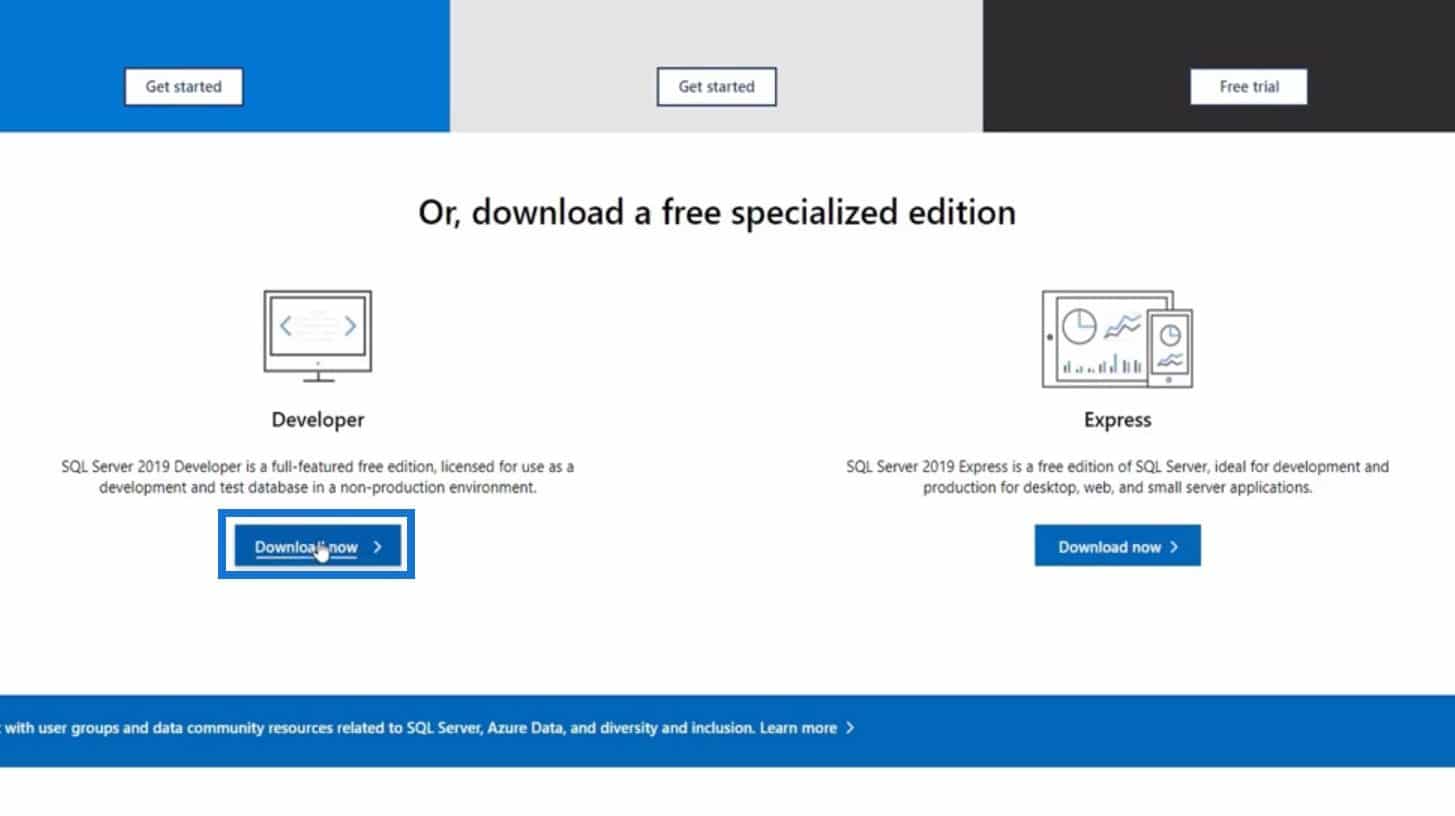
Scroll down to this page and look for the download section. We need to download the developer edition so let’s click the Download now button under the Developer. As of this writing, it will download SQL Server 2019.
Once downloaded, click on the SQL2019.exe file.

Installing The SQL Server (Developer Edition)
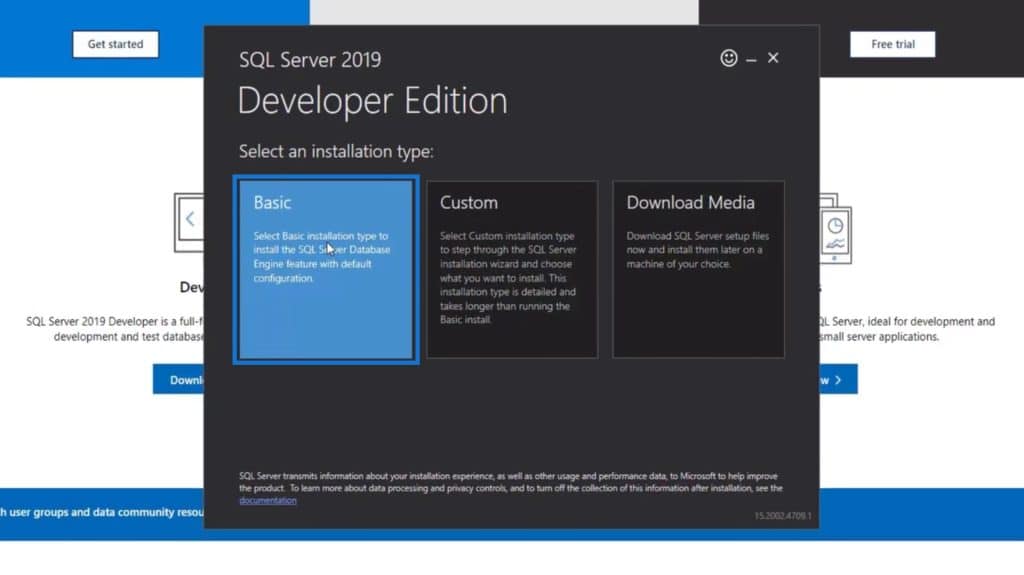
For the installation type, let’s choose Basic.

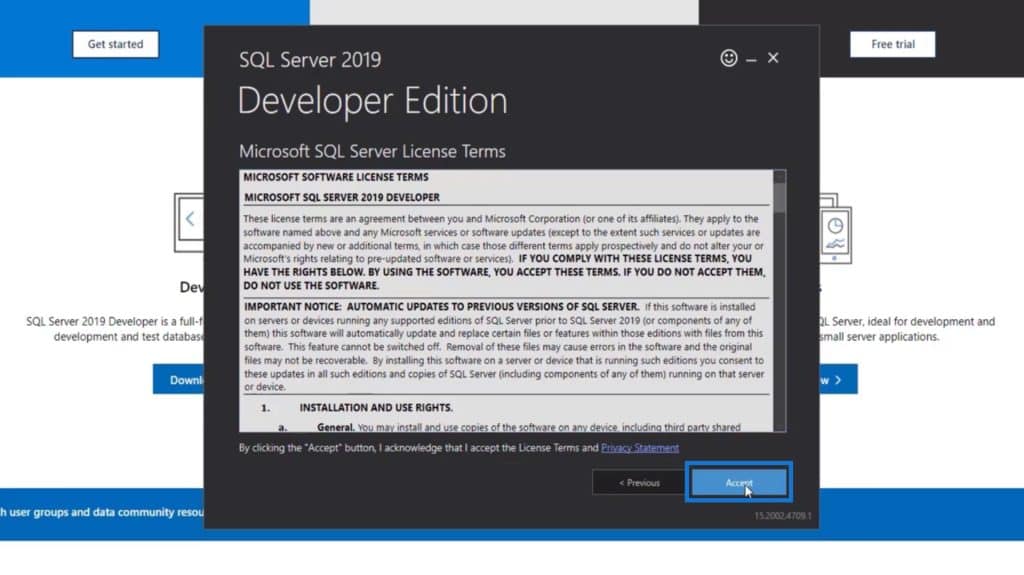
Click the Accept button for the License Terms Agreement.
It will display the install location, minimum free space requirement, and download size. Then, choose the install location on your PC, and click the Install button.

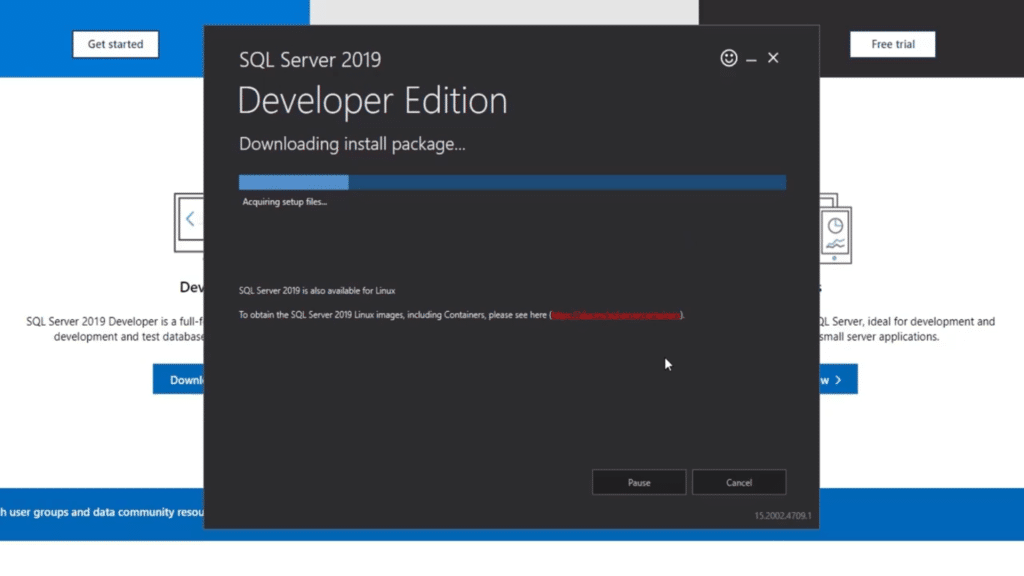
It will then start downloading and installing the system and its packages.
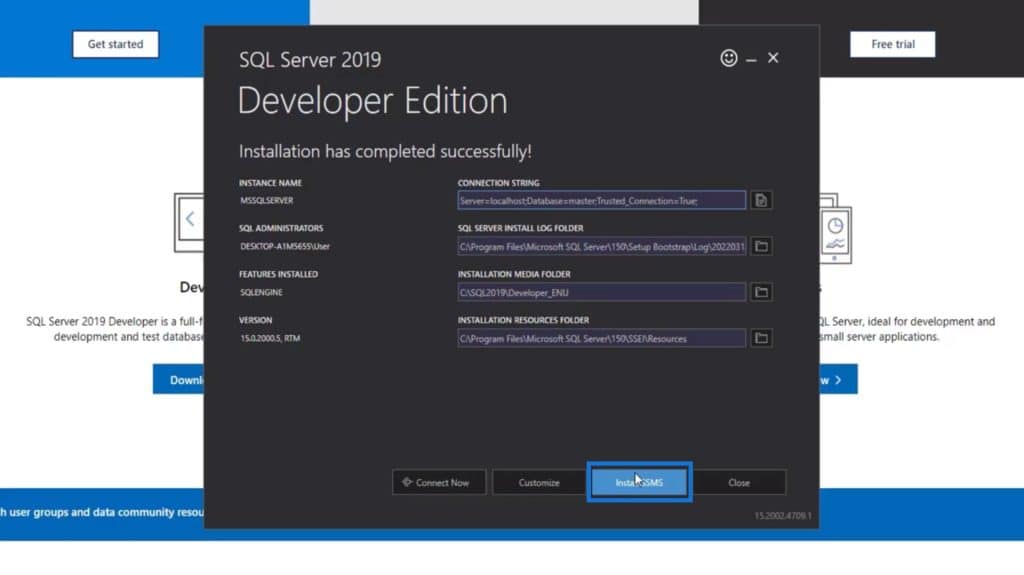
After the installation, a window will appear. This contains some information about our server. The most important thing to remember is the INSTANCE NAME and the Server name.
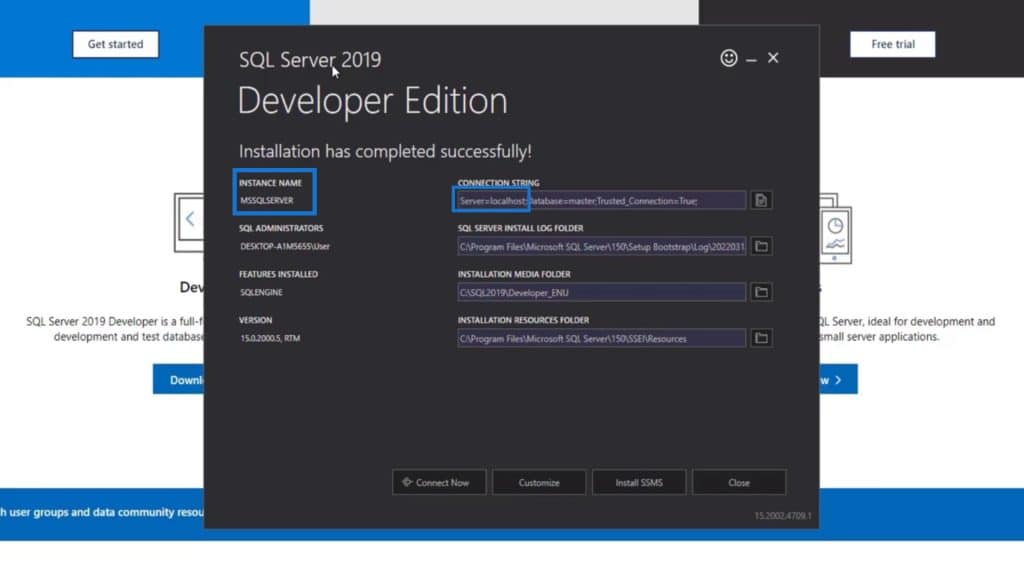
For this example, our INSTANCE NAME is MSSQLSERVER and the Server name is localhost. We need to remember the server name for connecting our server later on.
Downloading and Installing The SMSS (SQL Server Management Studio)
After installing the SQL Server, it’ll also require us to install SSMS. So, let’s click the Install SSMS button.
It will then redirect us to a page from Microsoft where we can download SSMS. Again, SSMS is our ID environment which will be used to connect SQL Server.
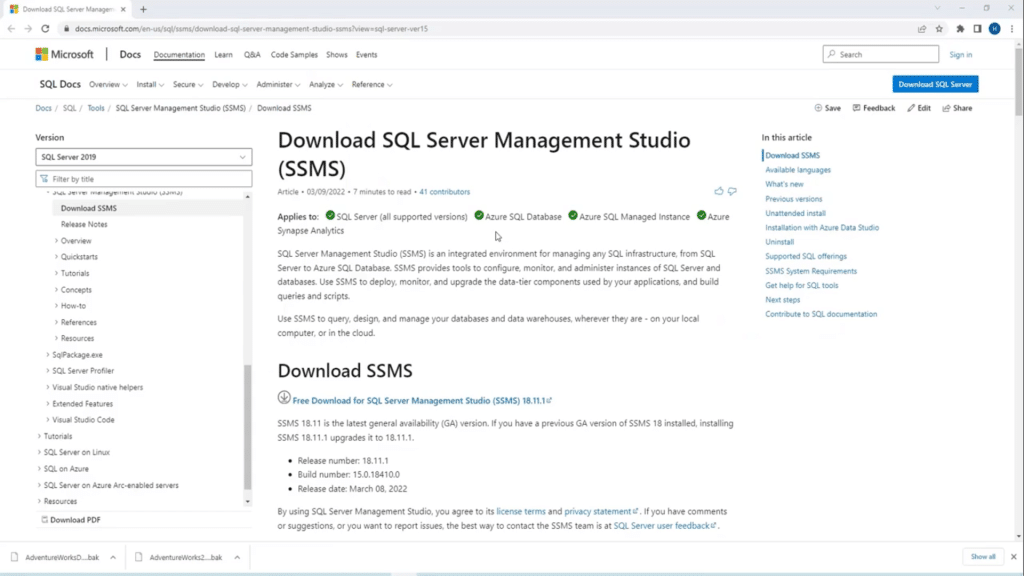
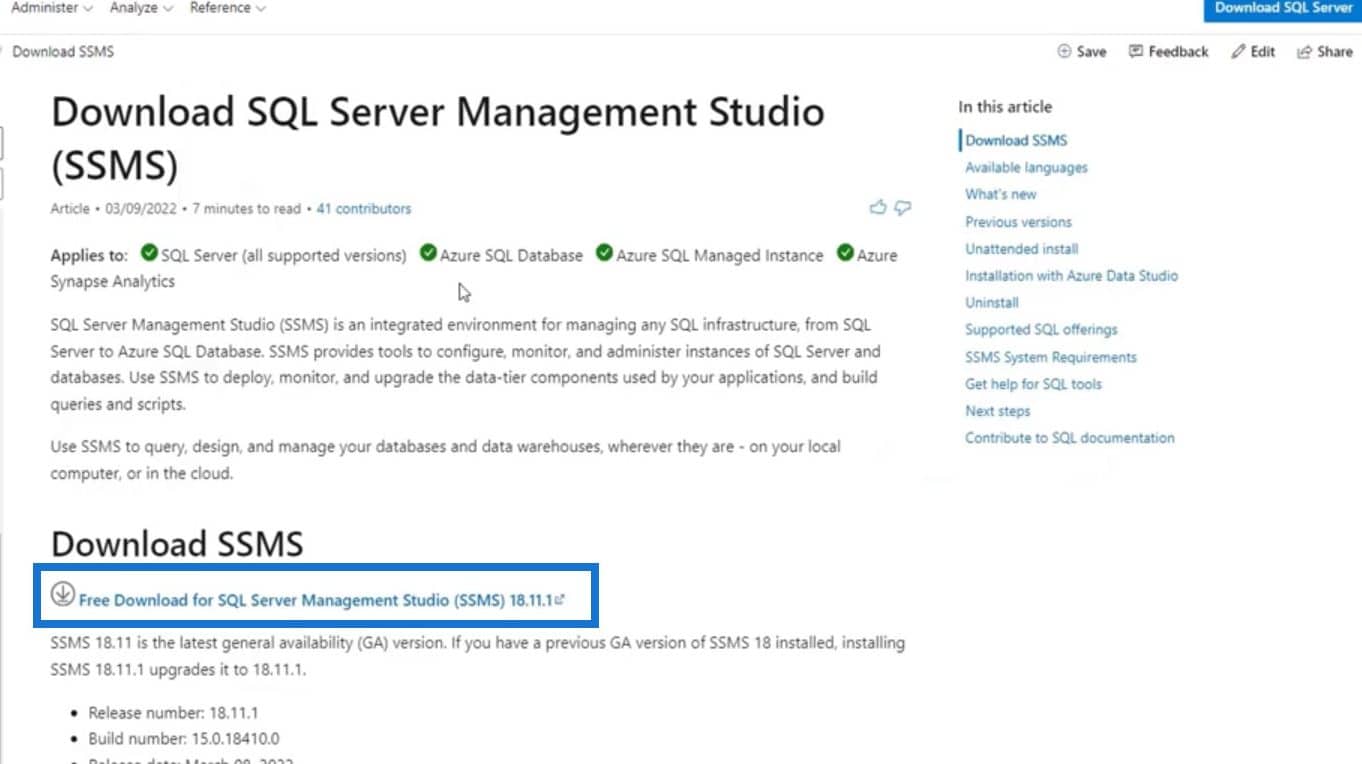
After that, just click on the Free Download link to download SSMS.
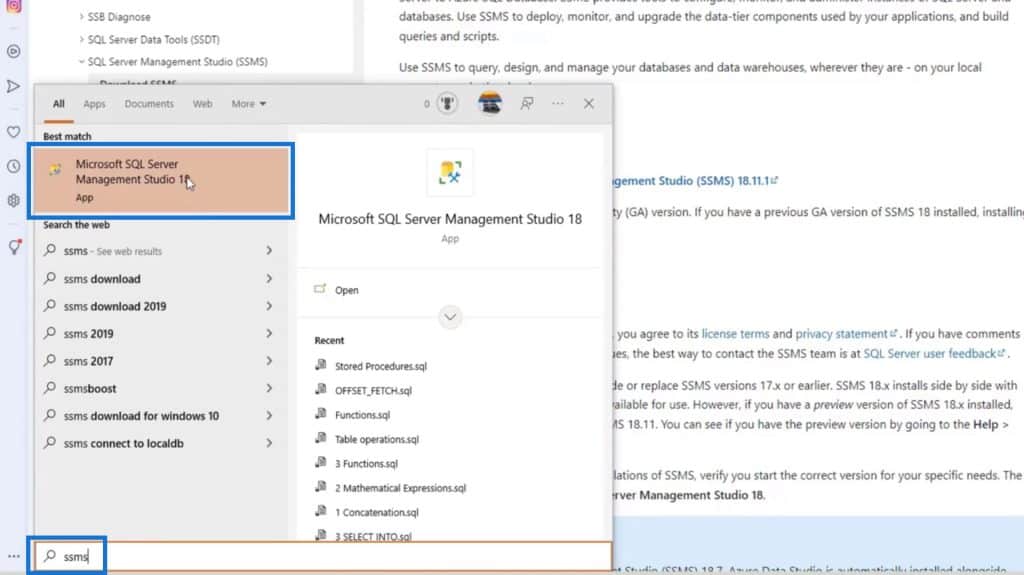
You can then install it on your computer once downloaded. After installing, search SSMS on your computer. Look for Microsoft SQL Server Management Studio application and click on it to open it up.
It will then open the SQL Server Management Studio that we’ll use to connect the SQL Server.
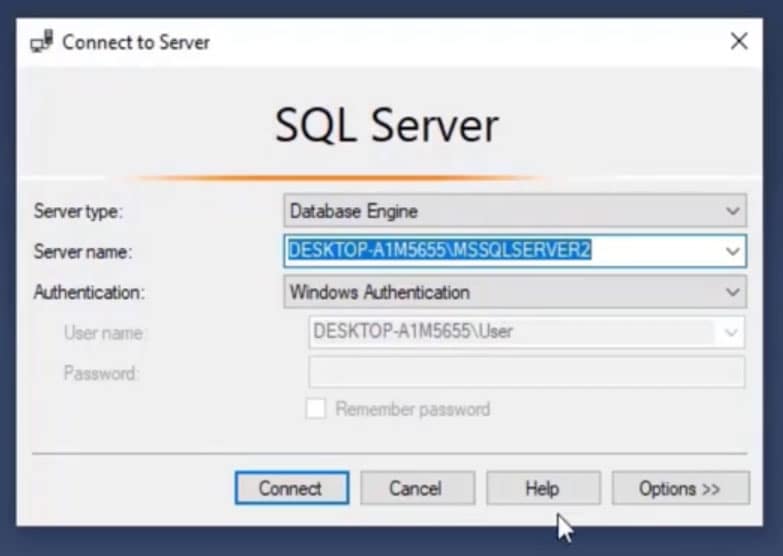
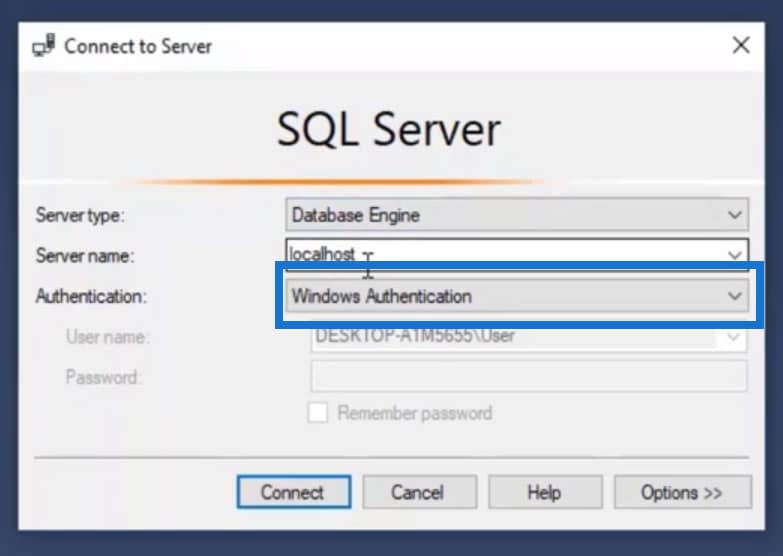
A dialog box will appear asking for the Server type, name, and authentication.
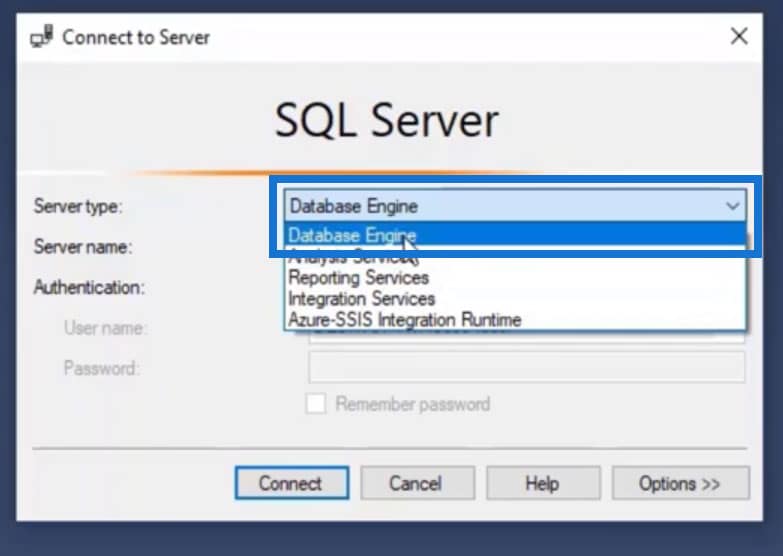
We have different options for the Server type. For this example, we’re only starting to learn SQL so we’ll use Data Engine.
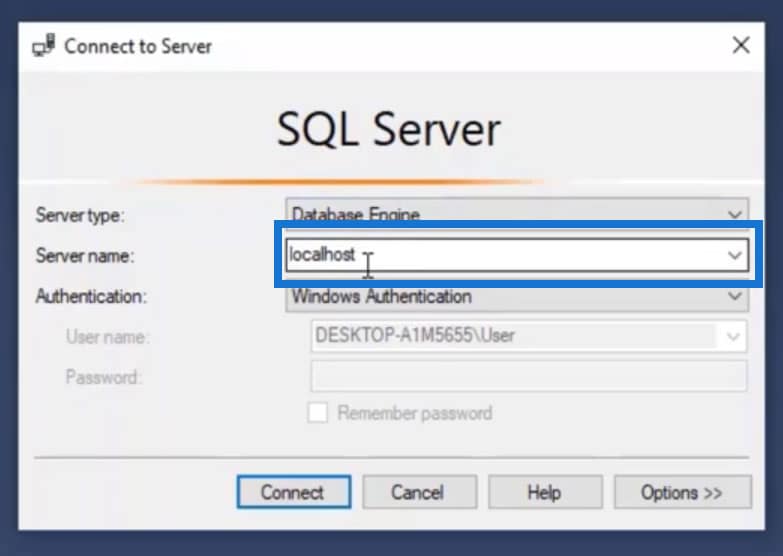
For the Server name, we’ll use localhost because this is where we installed our server earlier. If you’re working in any organization, you’ll be given a server name. You can also have multiple servers like developer server, production server, and many more.
Then, let’s just leave the Authentication to Windows Authentication.
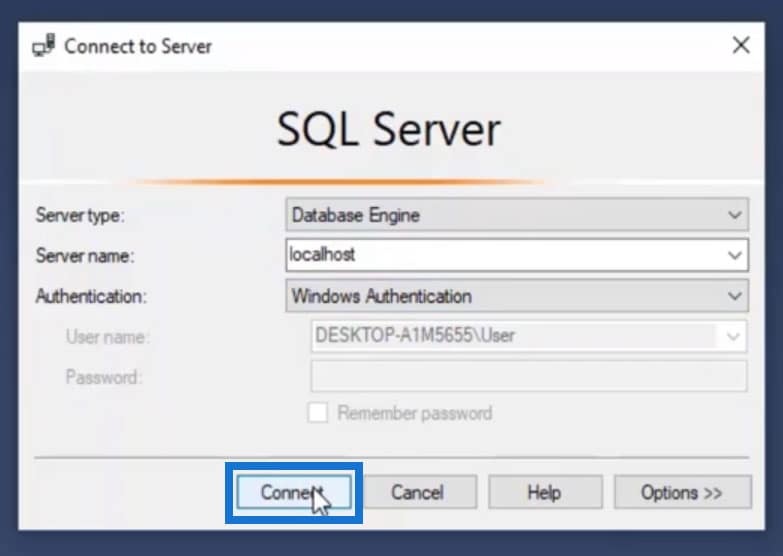
Lastly, click the Connect button.

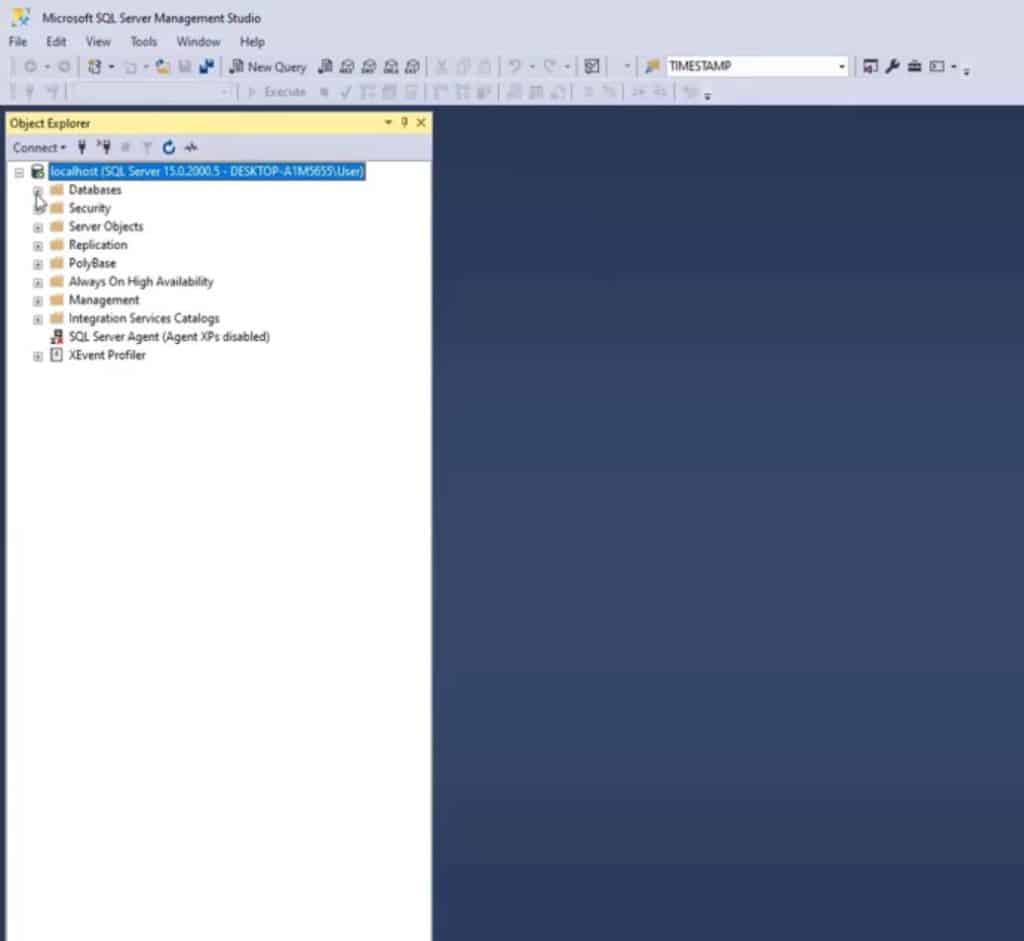
Once connected, we’ll see this window.
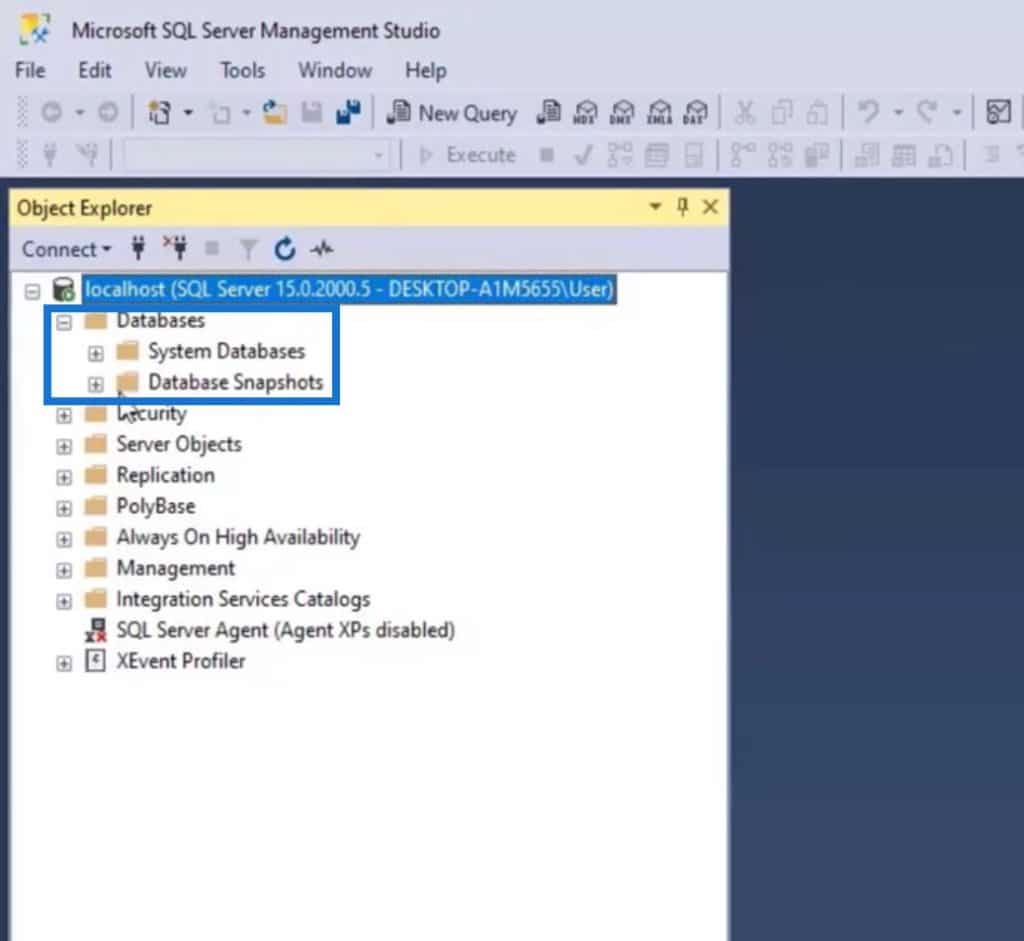
We can see the Databases here. Currently, it only contains System Databases and Database Snapshots folders because we don’t have any database yet.
Downloading Sample Databases For SQL Server
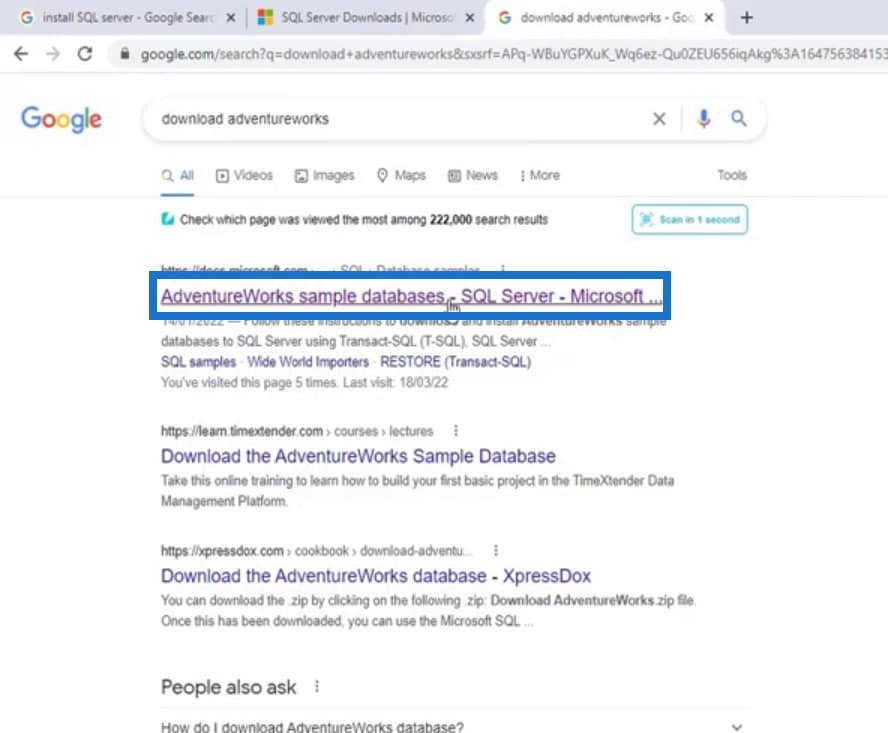
For practice purposes, we can download the AdventureWorks databases provided by Microsoft. Just go to Google and search for “download adventureworks”.

Look for the AdventureWorks sample databases – SQL Server and click on it.
We can download the sample databases under the Download backup files. The only difference between these files is their dates. For this tutorial, we’ll use the 2012 version but you can certainly use any version that you want.
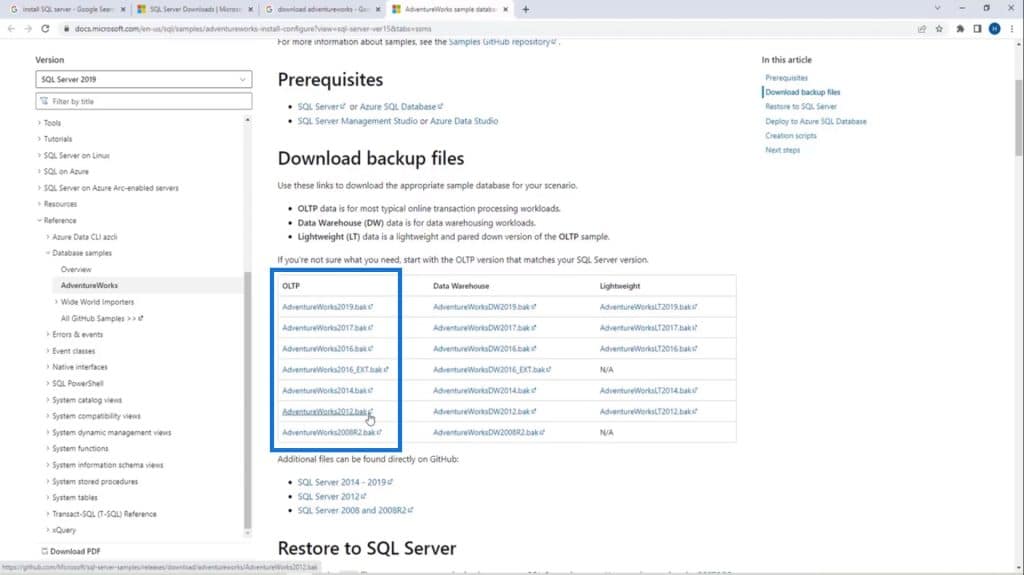
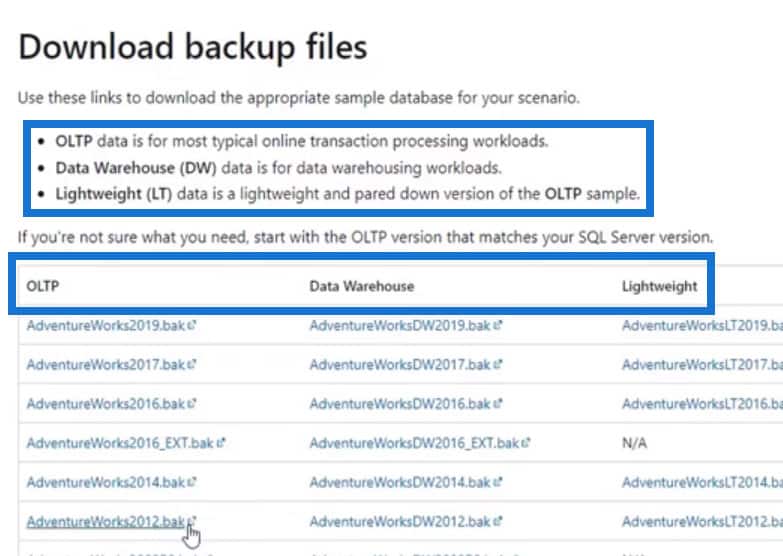
There are 3 types of databases here: AdventureWorks2012 (OLTP), AdventureWorksDW2012 (Data Warehouse), and AdventureWorksLT2012 (Lightweight). OLTP database contains the typical online transaction workloads. DW stands for data warehouse which contains the data warehousing workloads. The LT stands for lightweight which is just a smaller version of the OLTP database. We can download as much as we want here.
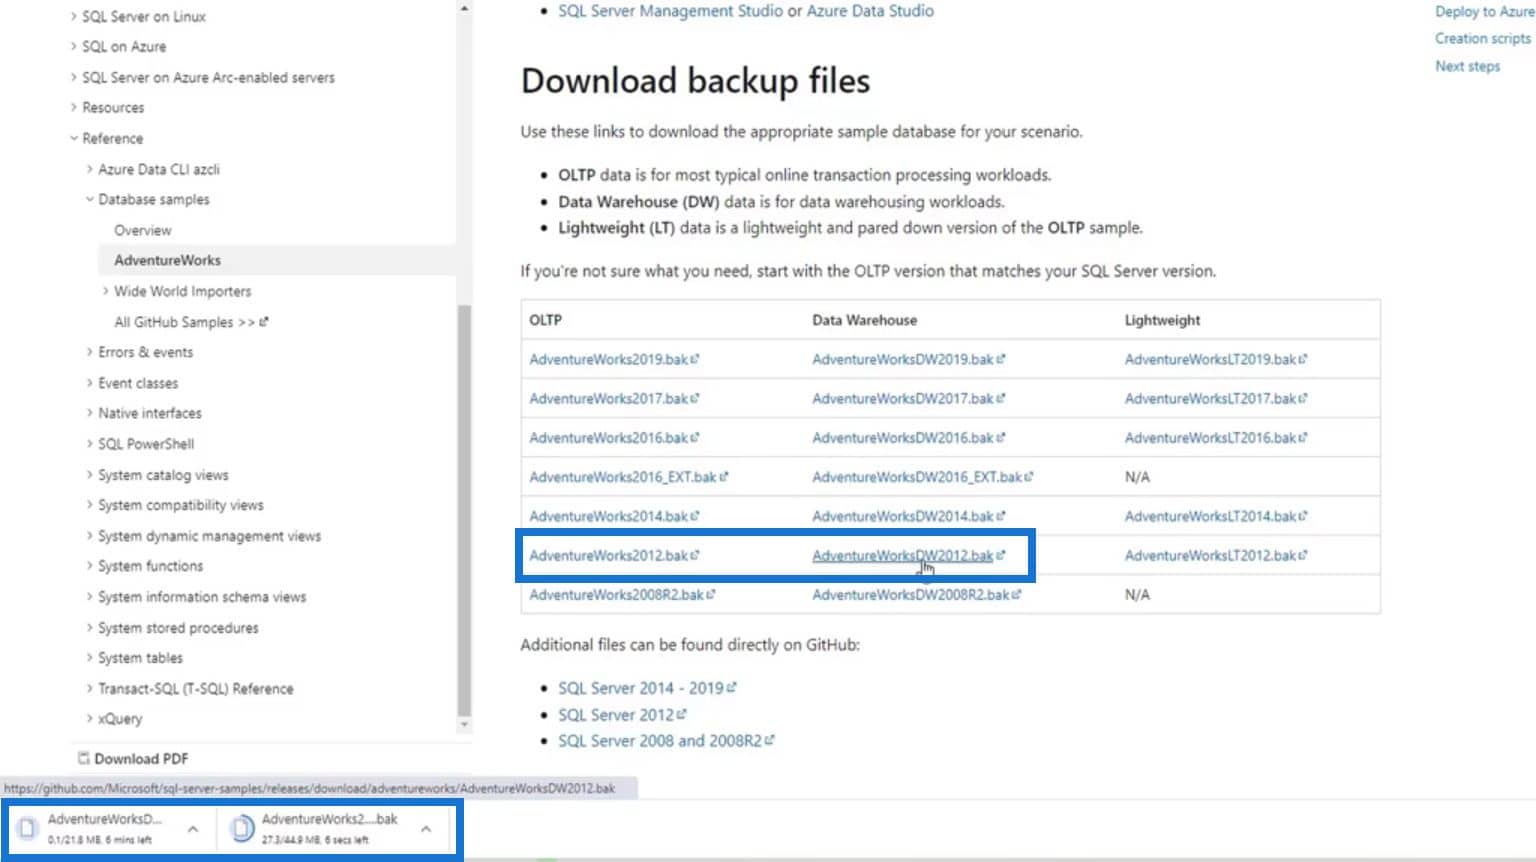
For this tutorial, we’ll download AdventureWorks2012 and AdventureWorksDW2012. Again, these are backup databases from Microsoft that we can restore later on for practice purposes.
Restoring Databases On SQL Server Management Studio
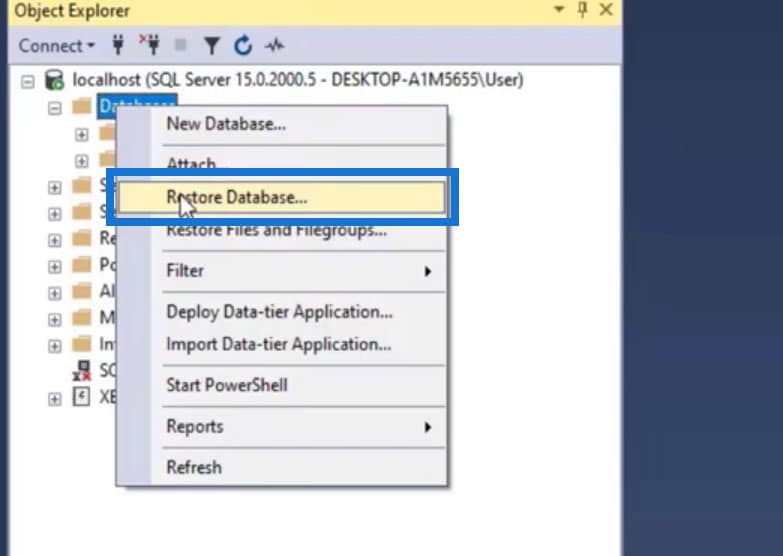
To restore the databases that we’ve downloaded, go back to the SMSS application and right-click on the Databases. Then click Restore Database.
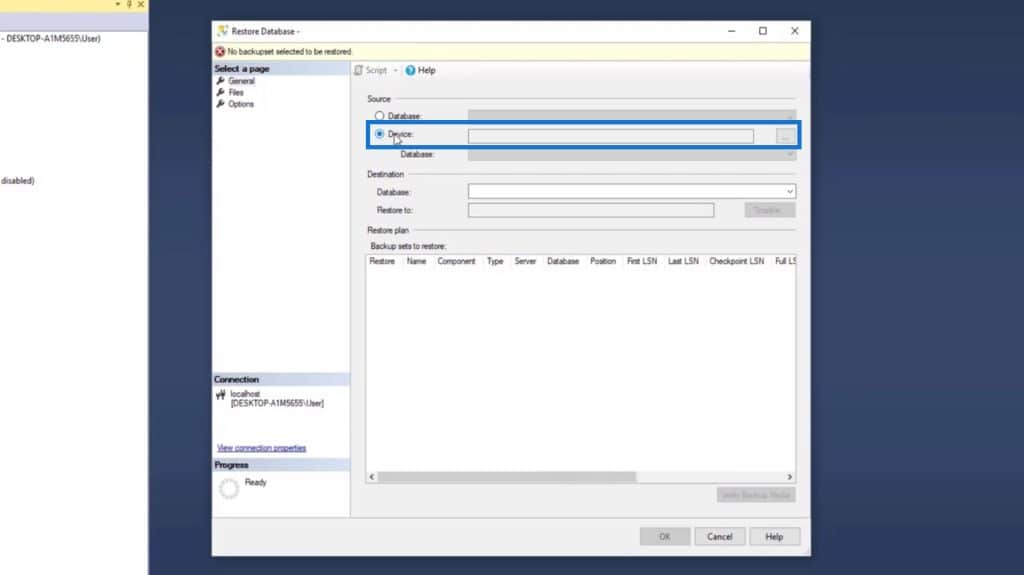
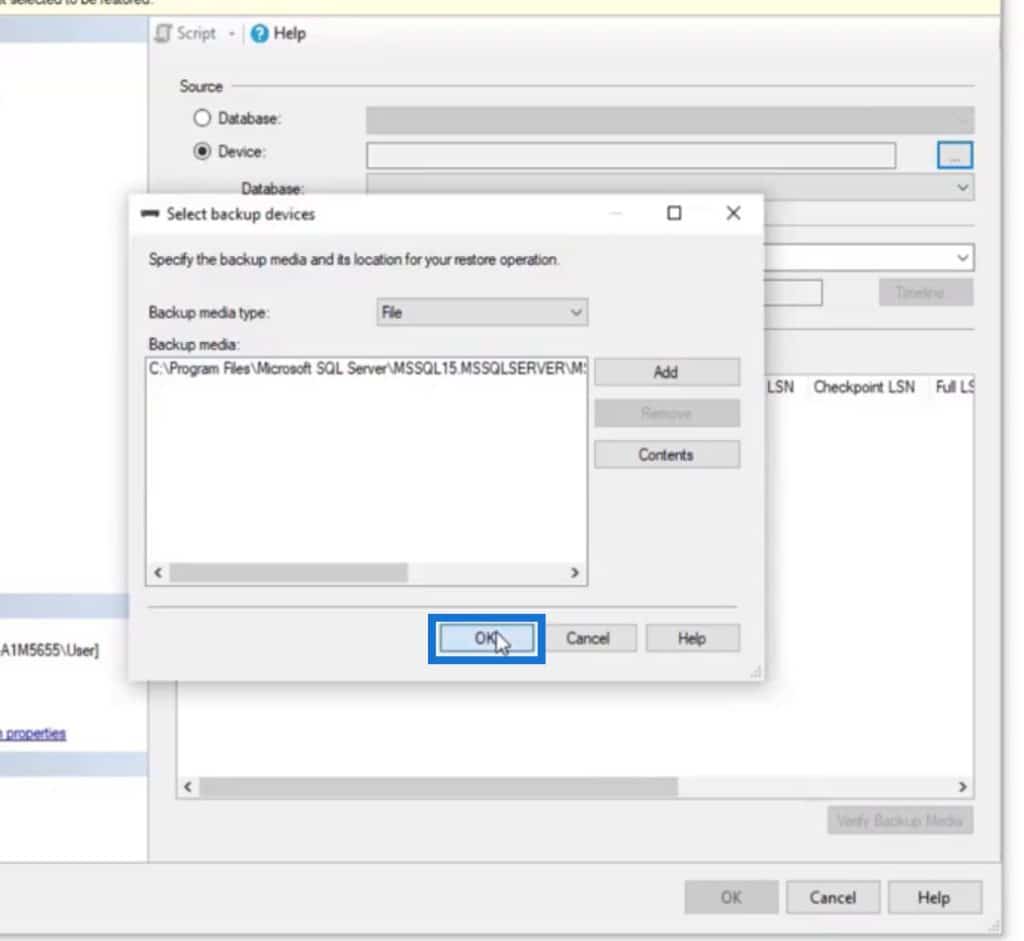
We want to restore a database that’s from our device. So, let’s select the Device as the source.
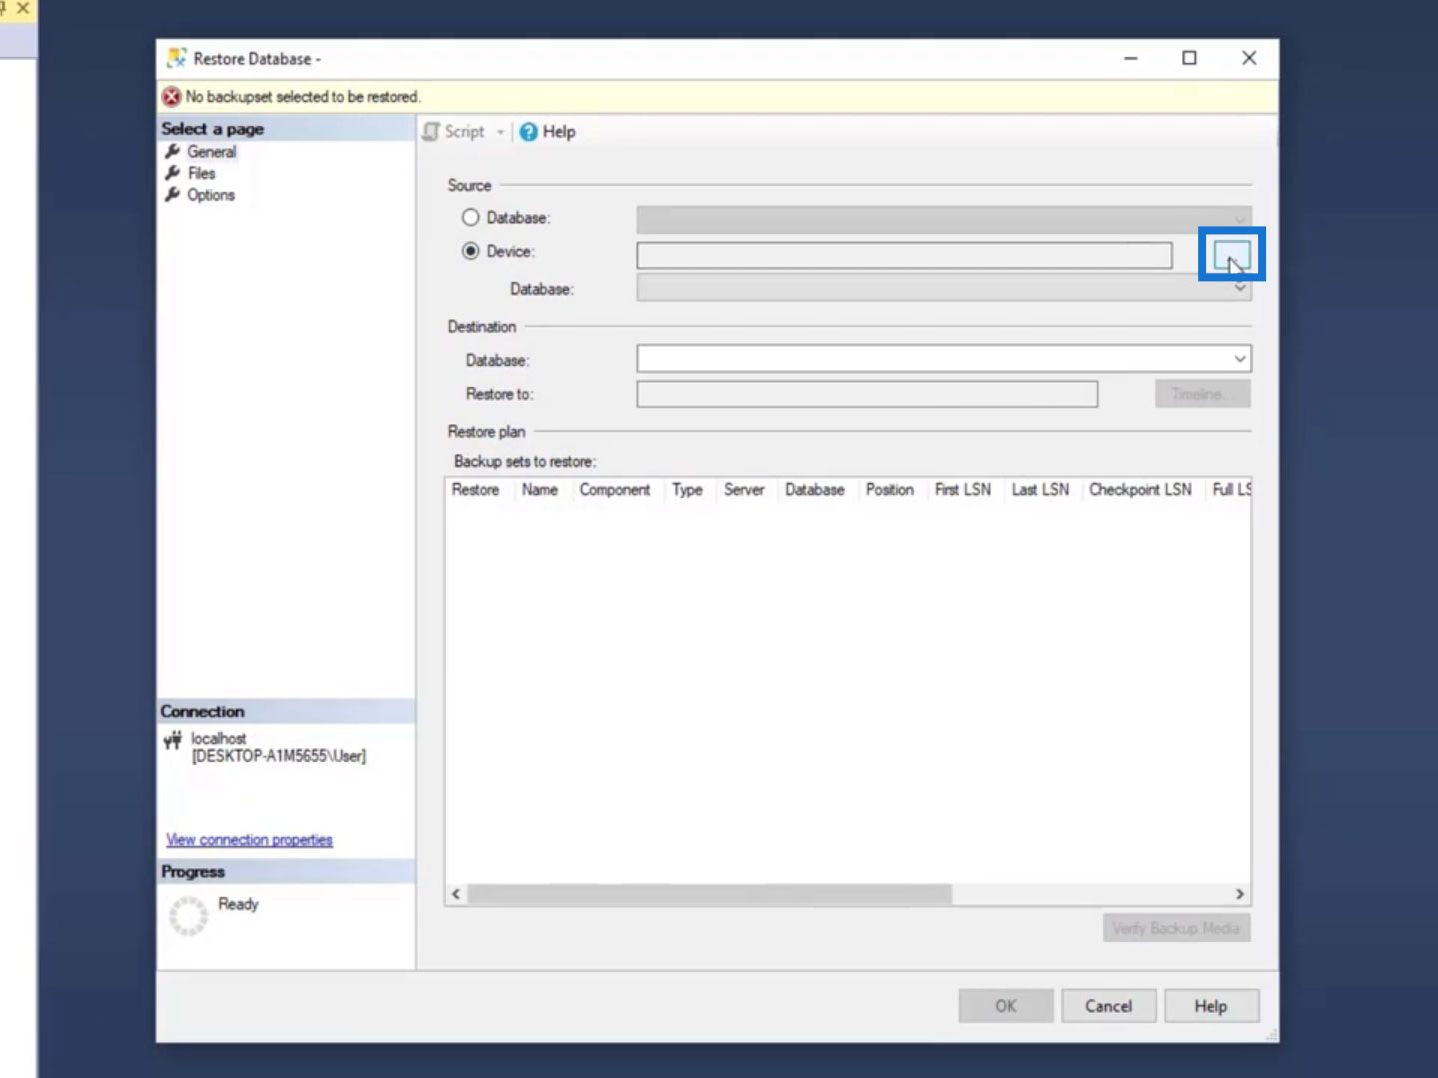
Click on the ellipses to locate the files.
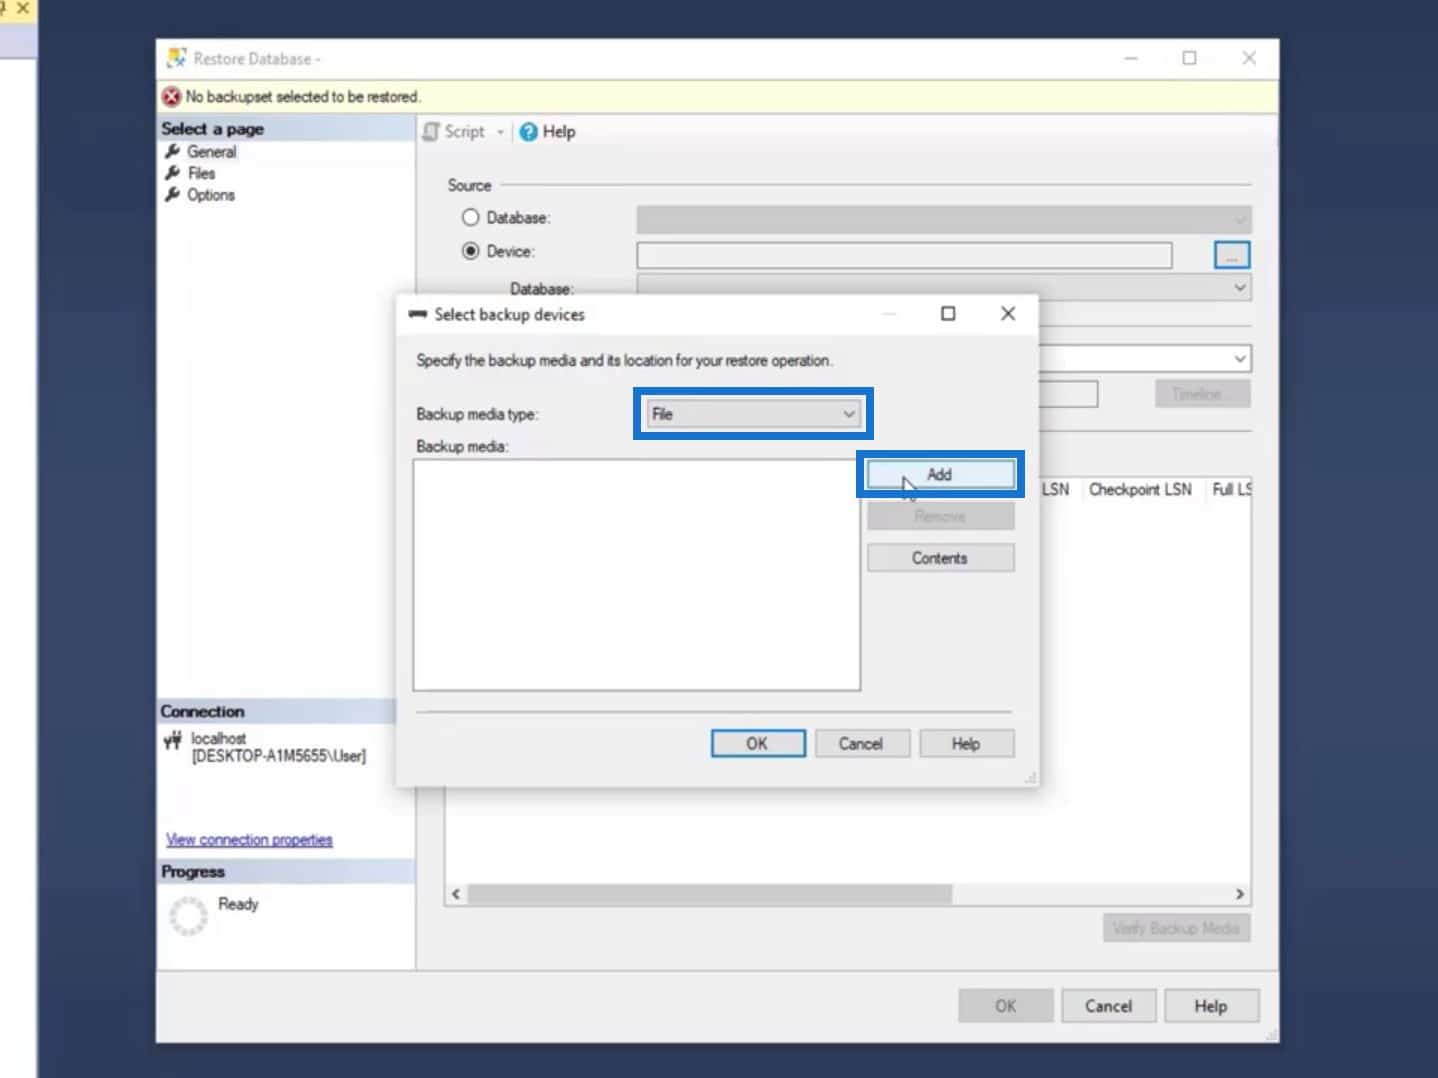
We’re getting the backup media type in a file because we’ve already downloaded 2 files. Then, click the Add button.
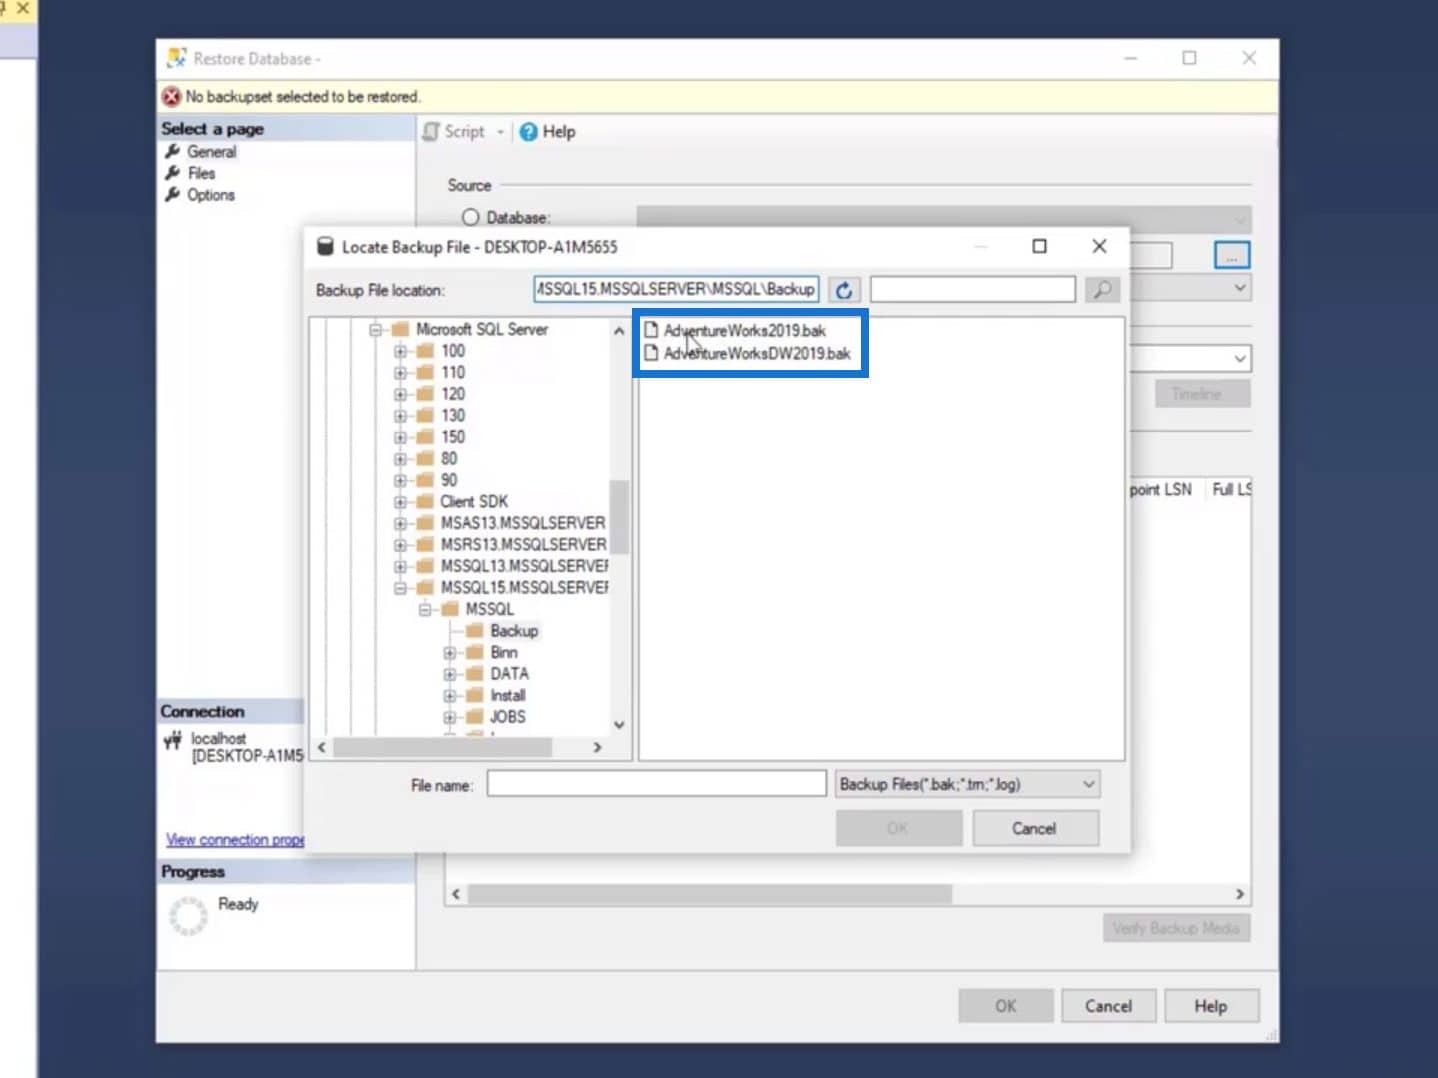
It’ll then show us the Backup File Location. We already have sample files here with the 2019 version. However, the files (2012 version) that we downloaded earlier are not yet in this location.
To add our downloaded database here, just copy the provided Backup File Location path.

Then, paste it into our File Explorer.
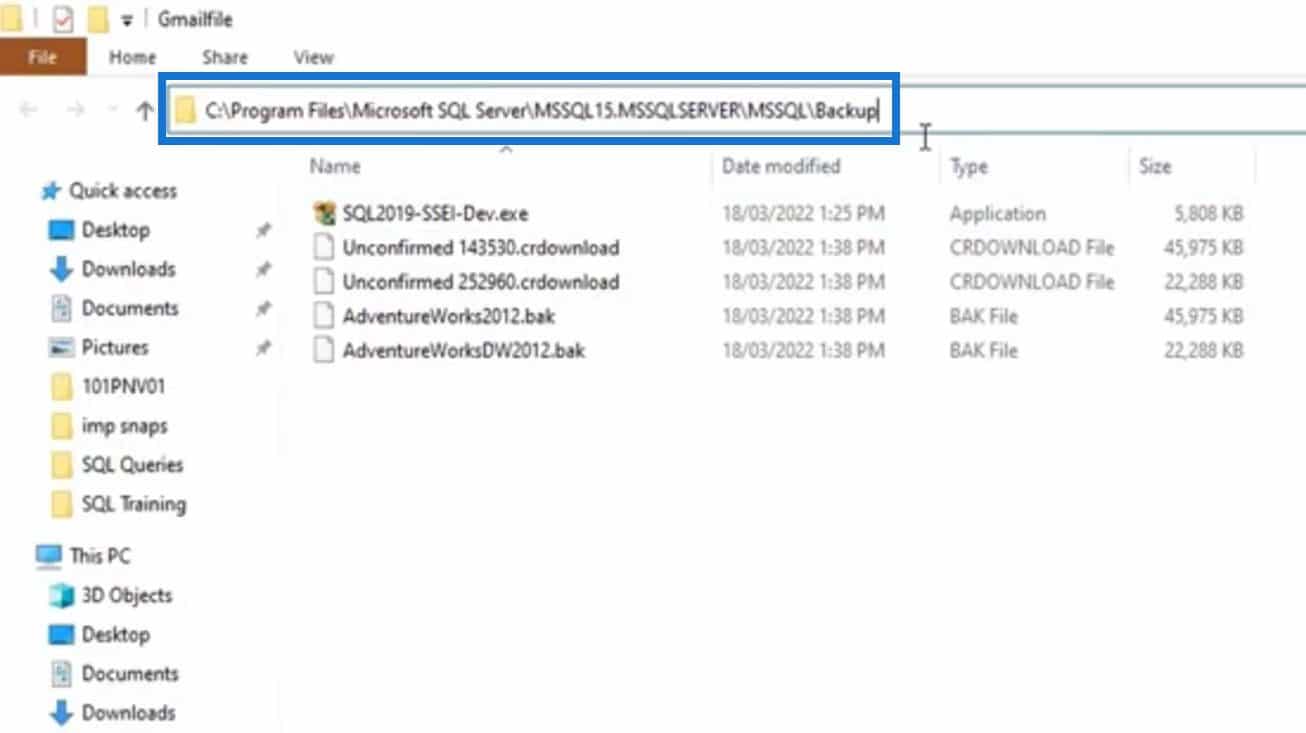
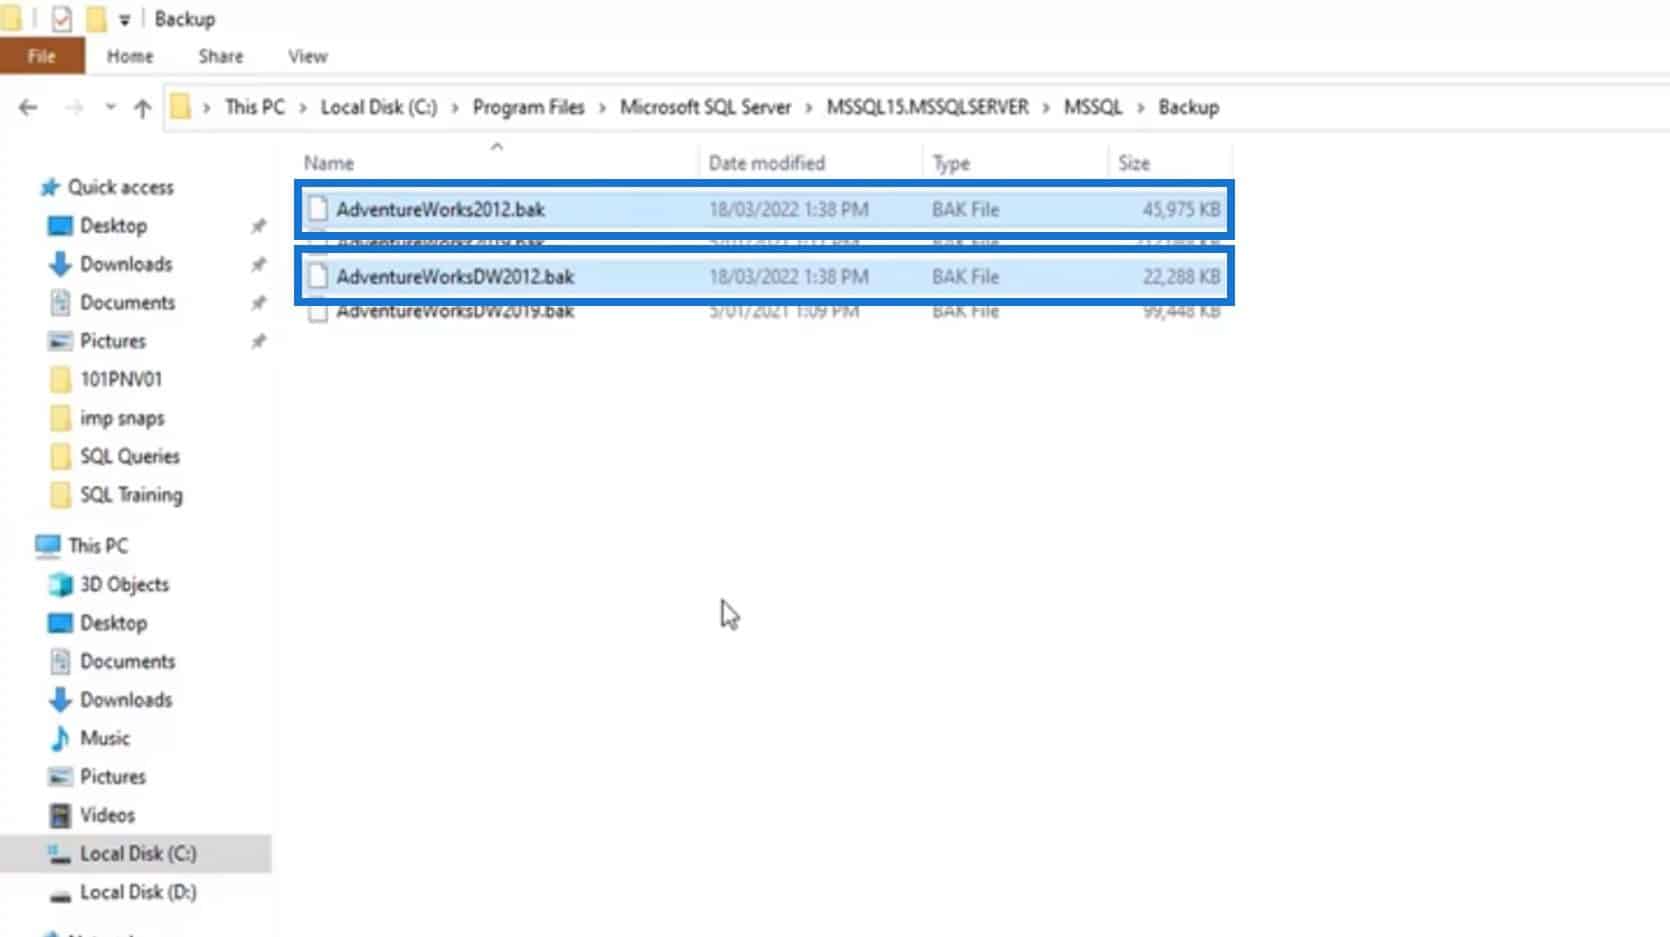
It’ll then bring us to the SQL Server’s Backup folder. Just paste the two files that we’ve downloaded.
On our SSMS application, click the refresh button.
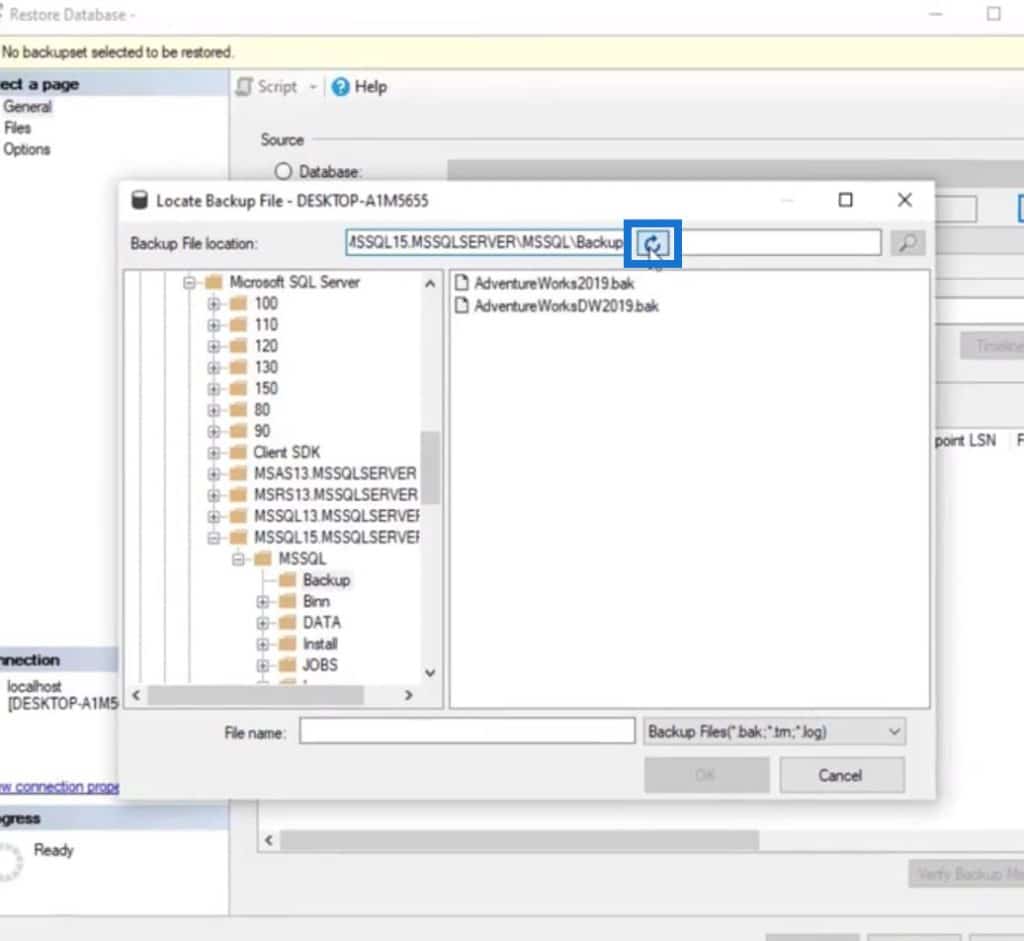
And we’ll see the two databases that we downloaded earlier.
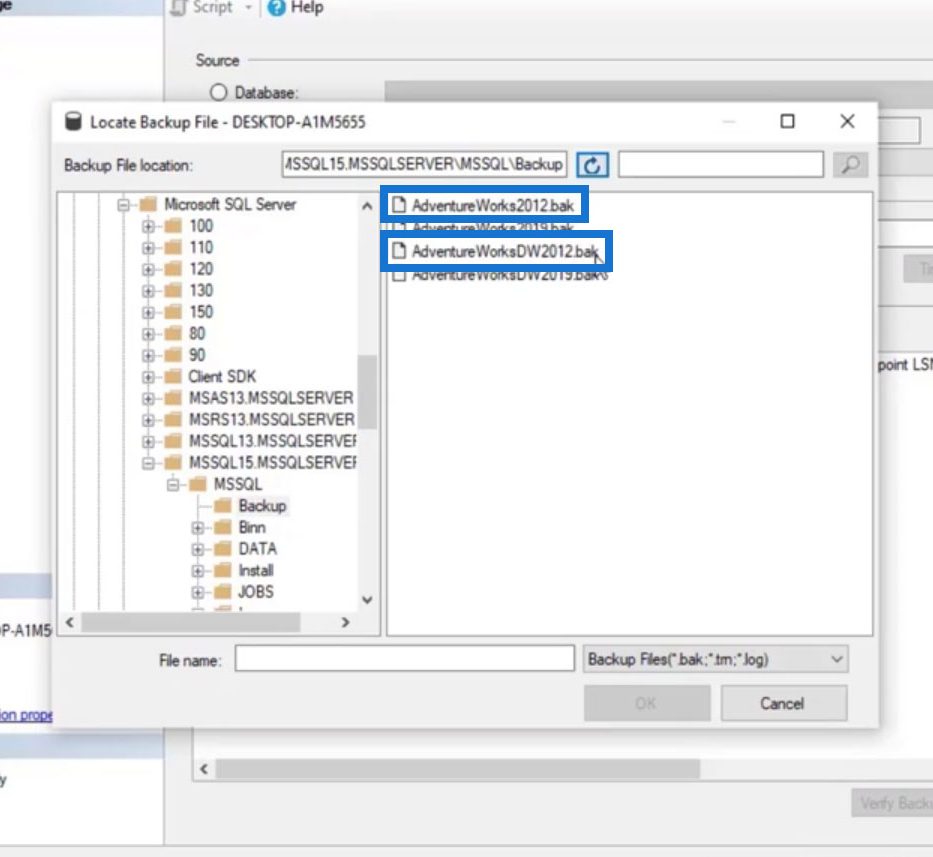
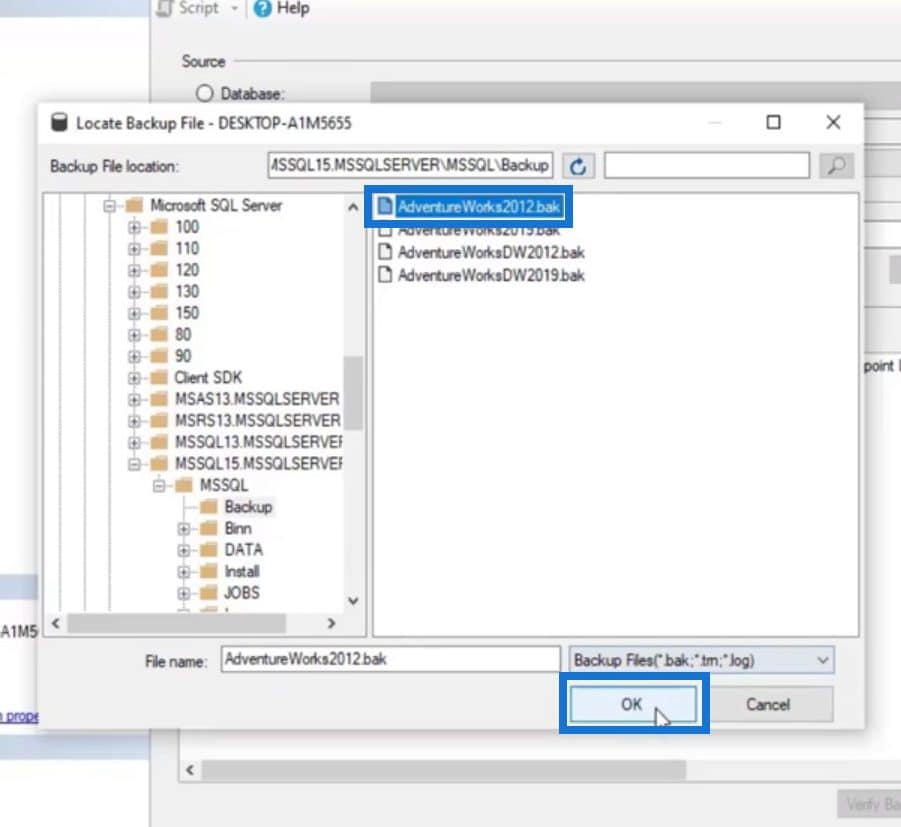
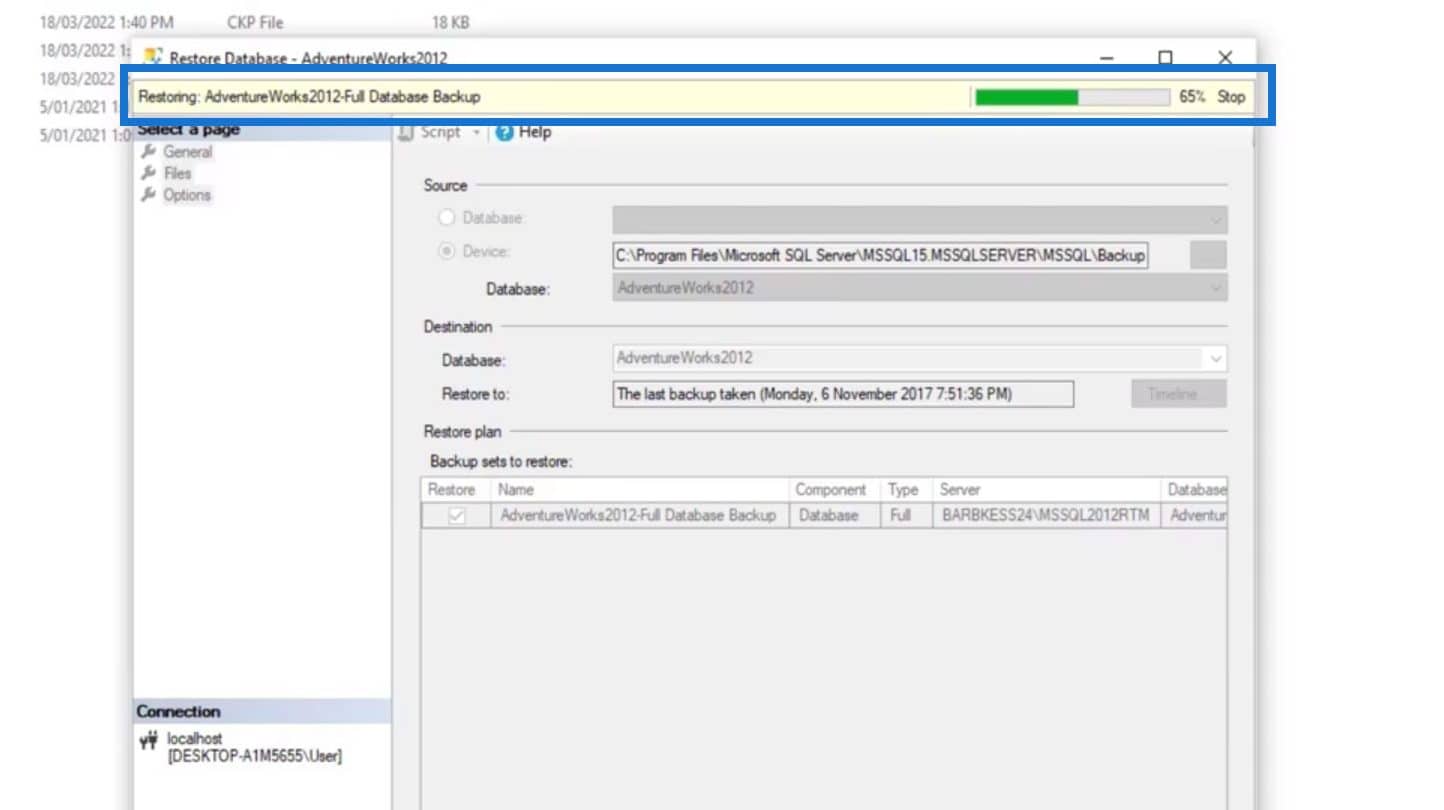
We can now select the file that we want to restore and click the OK button.
Click the OK button here.

And click the OK button here as well.
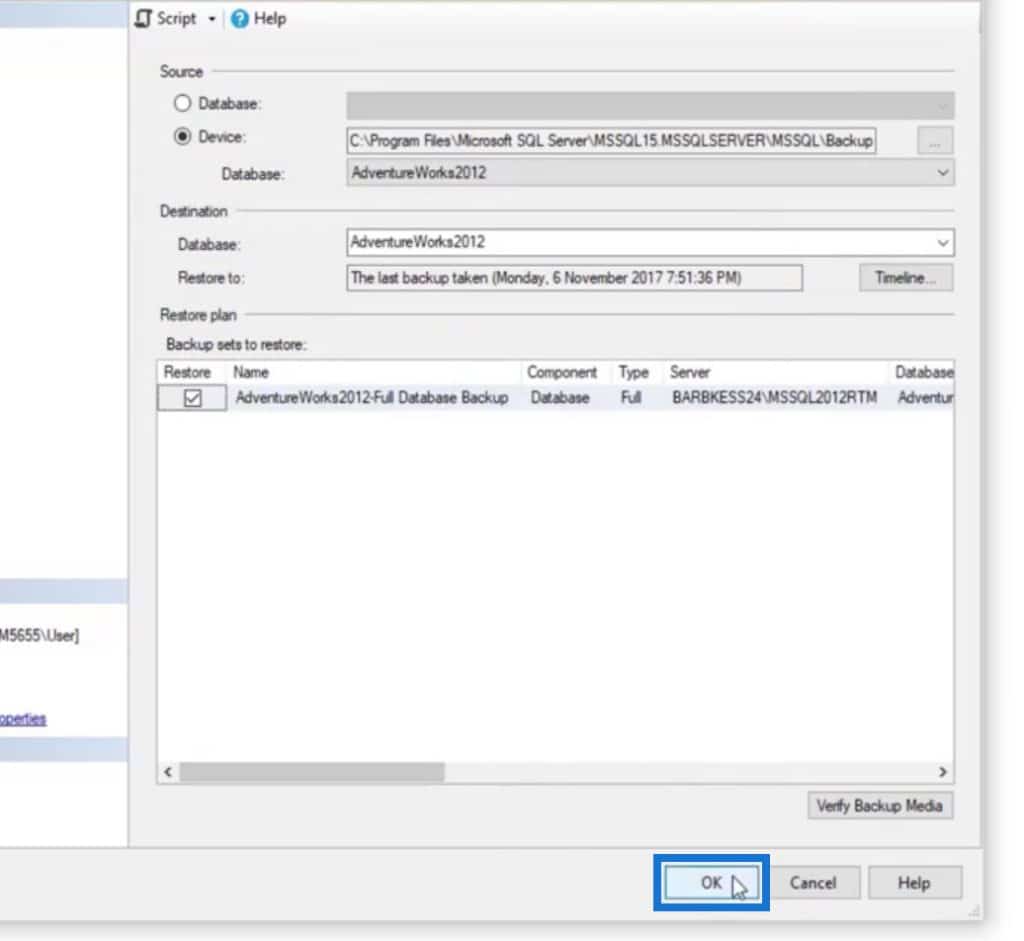
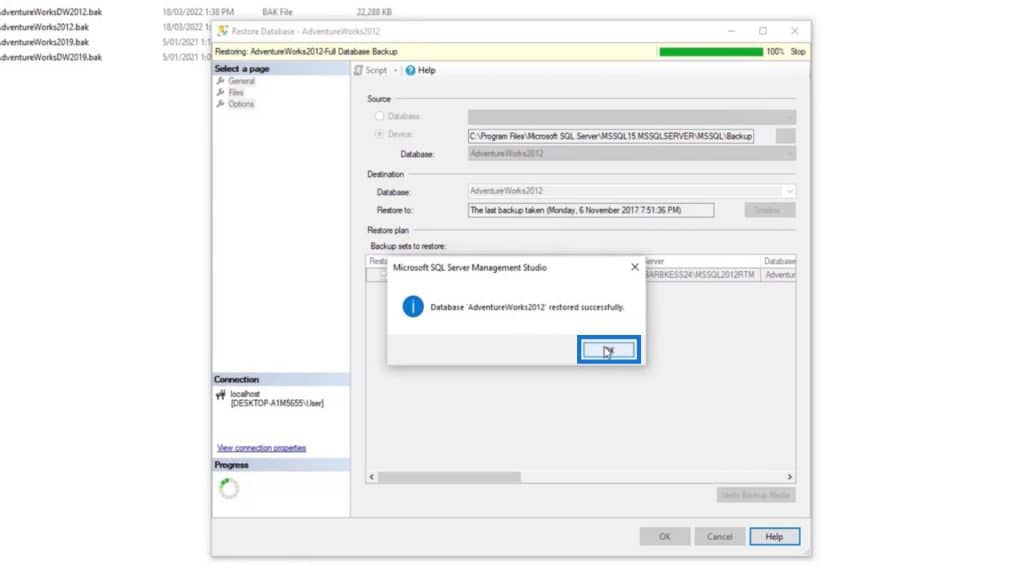
It’ll then restore our backup database as shown at the top of the image.
A popup box will appear that says our database restored successfully. Just click the OK button as well.
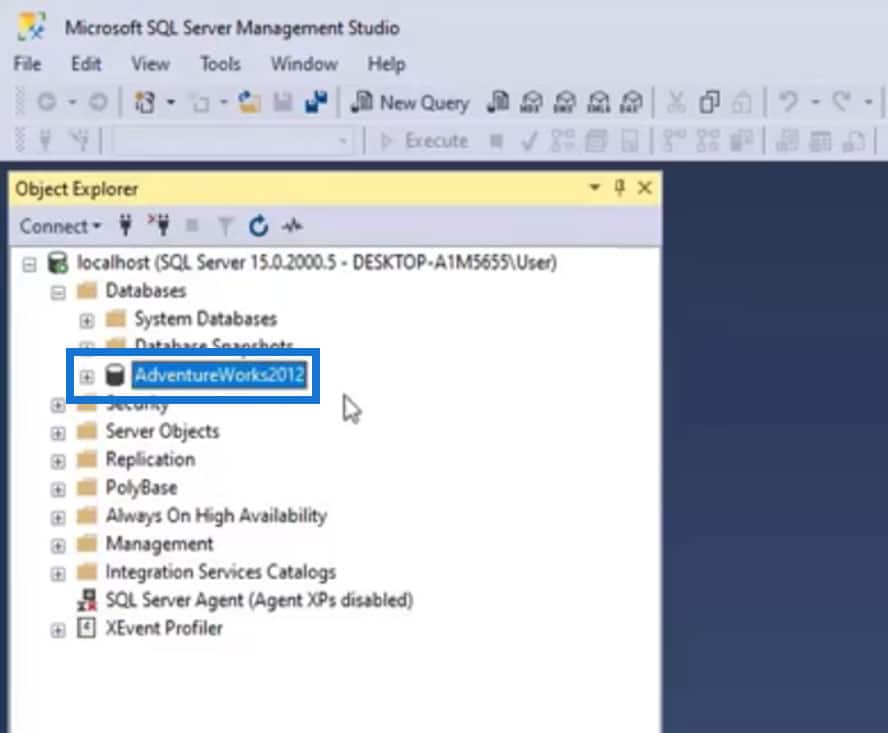
On our SSMS, we can now see a new database added under the Databases folder.
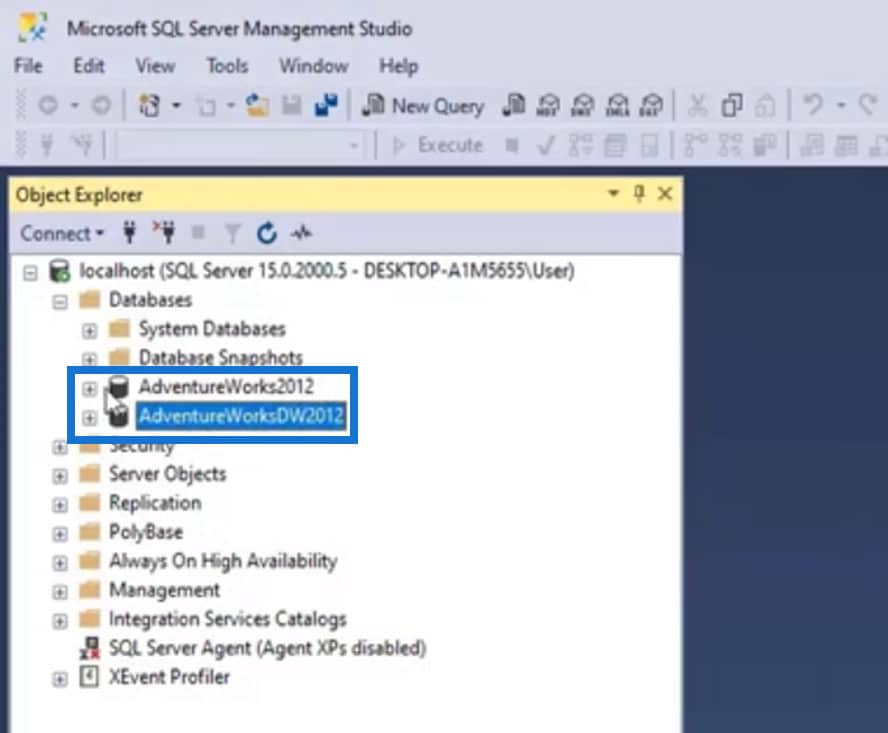
Using the same steps, let’s also restore the AdventureWorksDW2012 database.
Understanding The Structure Of Databases
Click the plus icon to expand the databases.
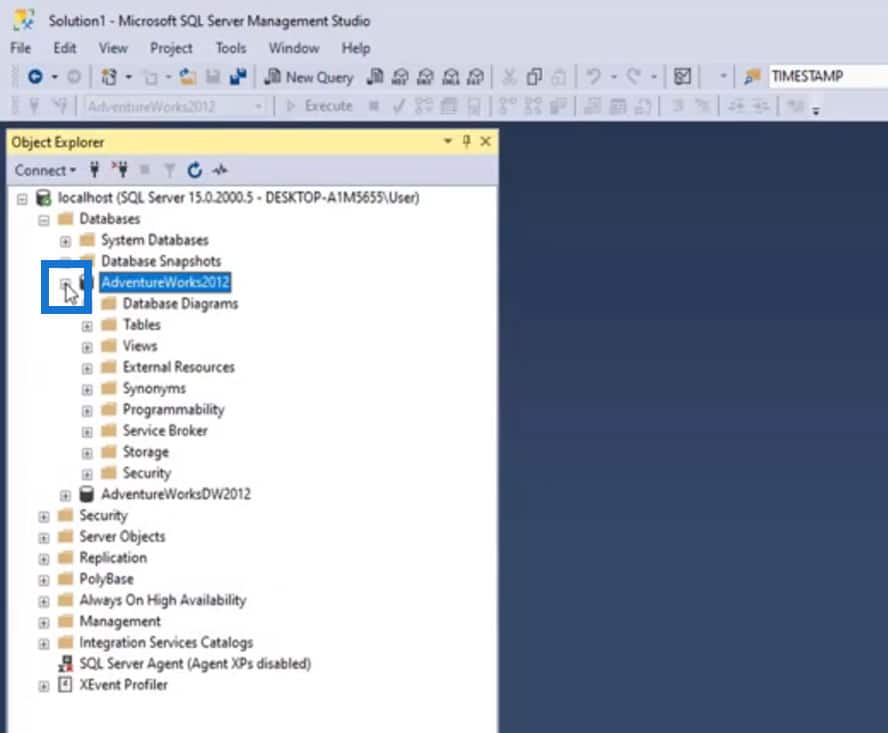
We can see different folders here. First, let’s open the Tables by clicking the plus icon. Notice the naming structure of the tables. The actual name of the table is placed after the dot (.).
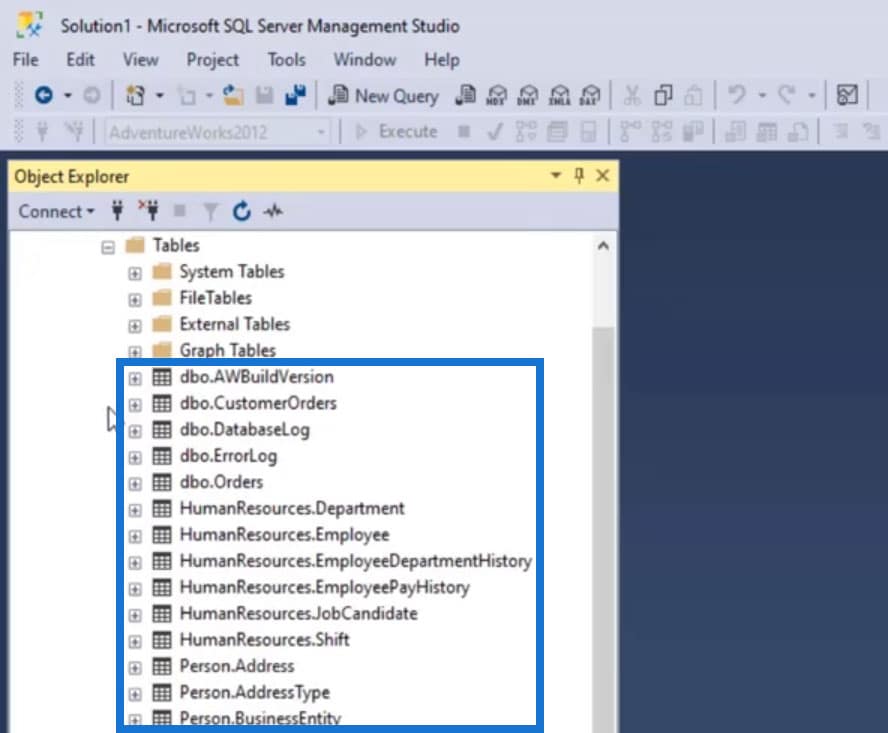
The name before the dot (.) is called Schema. So, we have dbo, HumanResources, Person, Production, Sales, and so on.
We use Schema for management purposes. It’s similar to naming folders on our computer. We use Schema to maintain different records on different Schema.
Another purpose of Schema is to secure particular tables and to manage the users’ access to our tables. For example, for the production tables, we can set permission where only the production people could have access to it. For the sales tables, only the salespeople could have access to it.
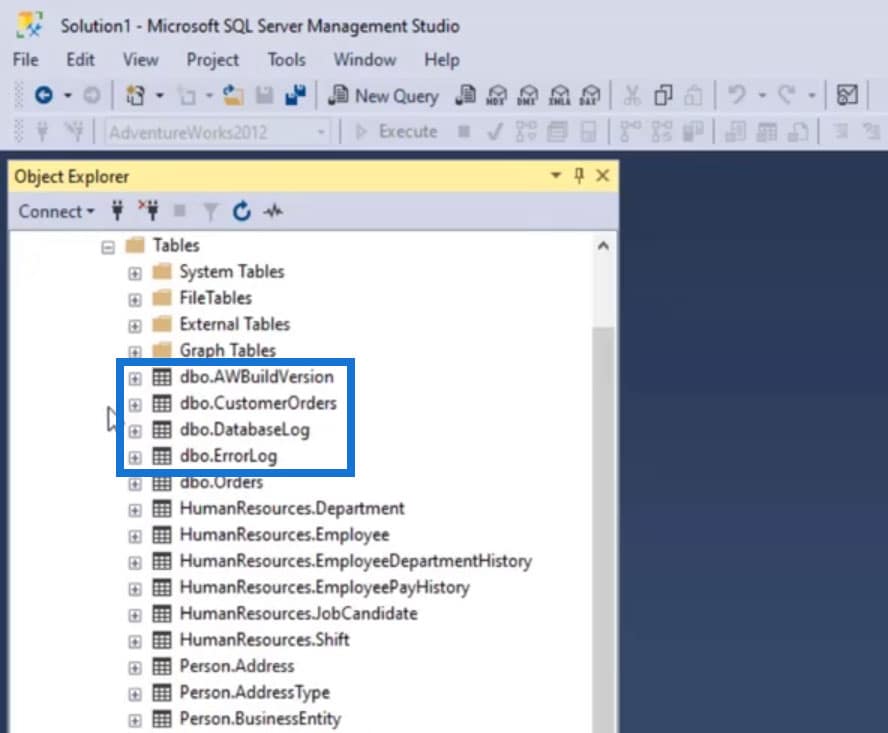
If we create a table and we don’t apply Schema, dbo will be applied by default. For this example, tables that don’t have any specific Schema like the AWBuildVersion, CustomerOrders, DatabaseLog, ErrorLog, and Orders were set to dbo.
Running Basic SQL Query Command
Before we start, a resources link is provided on this blog which contains all the code that we’ll be using for this example. You can download it to see how we’ve Implemented the code on this blog.
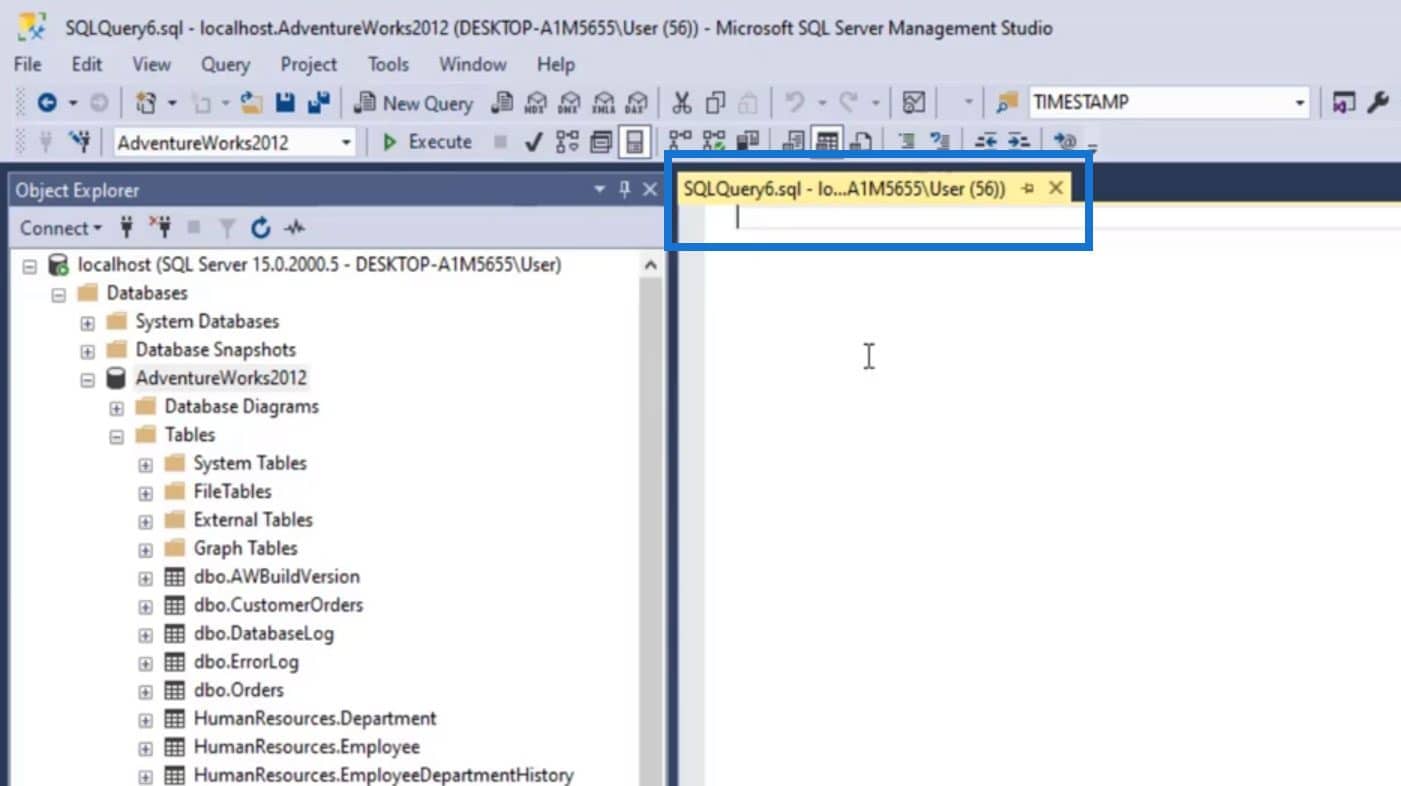
To run a query command, let’s first create a new query by clicking the New Query.
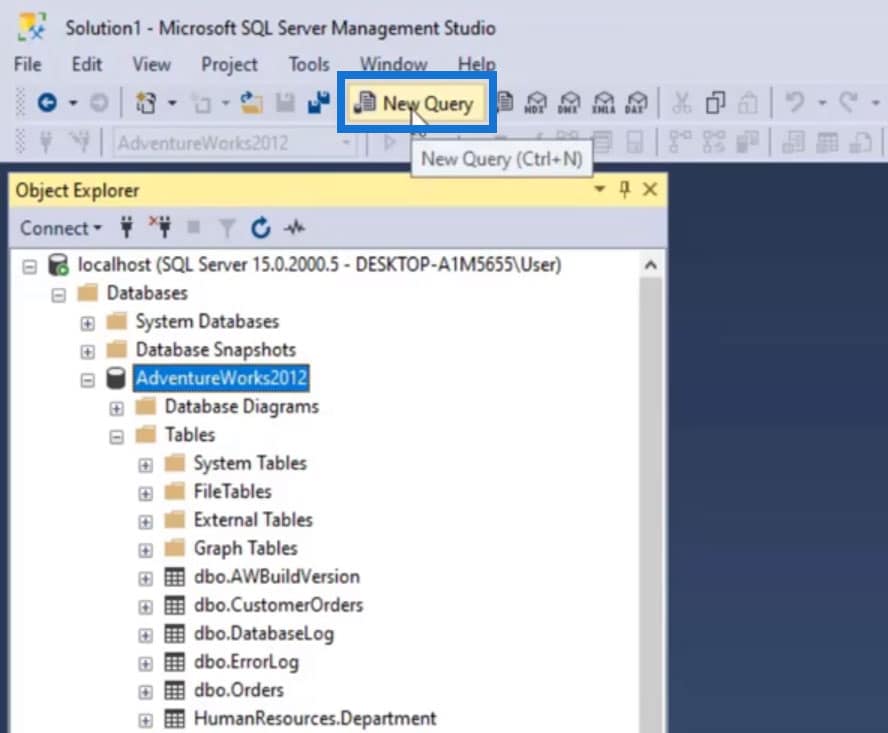
A new window will open up where we can start running commands.
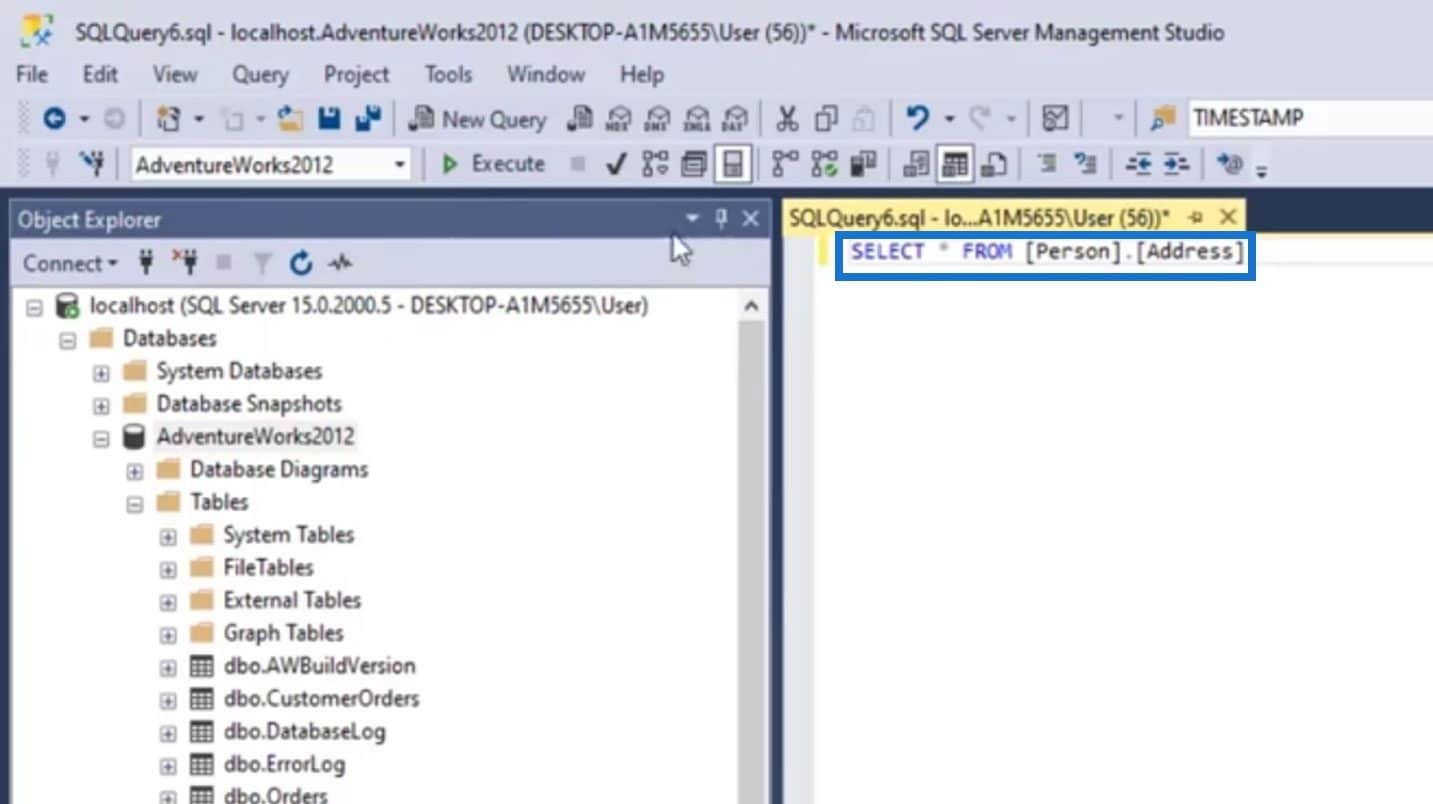
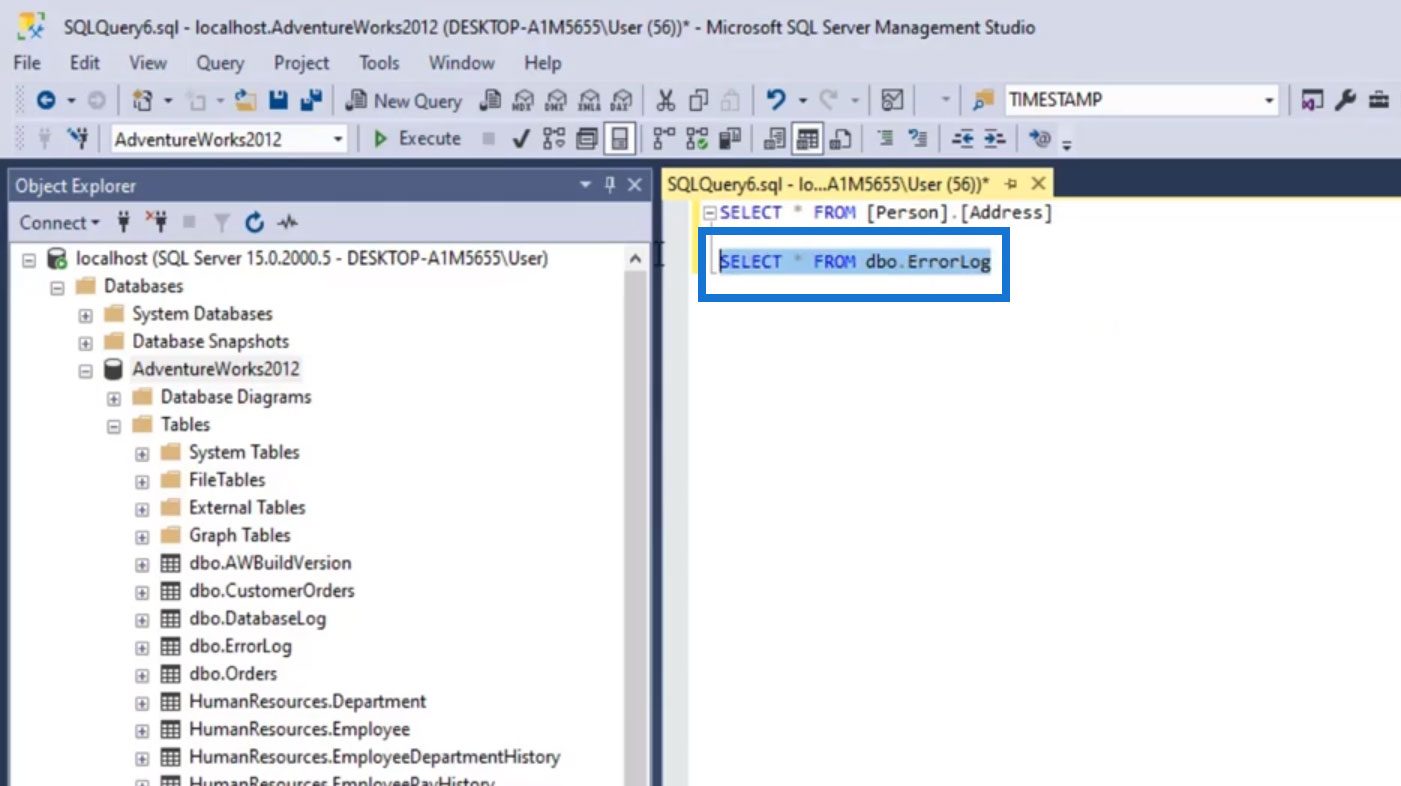
Let’s use the command “Select * FROM”. This command is for selecting and displaying all data of a certain table. For this example, let’s display data from the Person.Address table. We can simply type “Select * FROM Person.Address” or “Select * FROM” and then drag the Person.Address table on our query command.
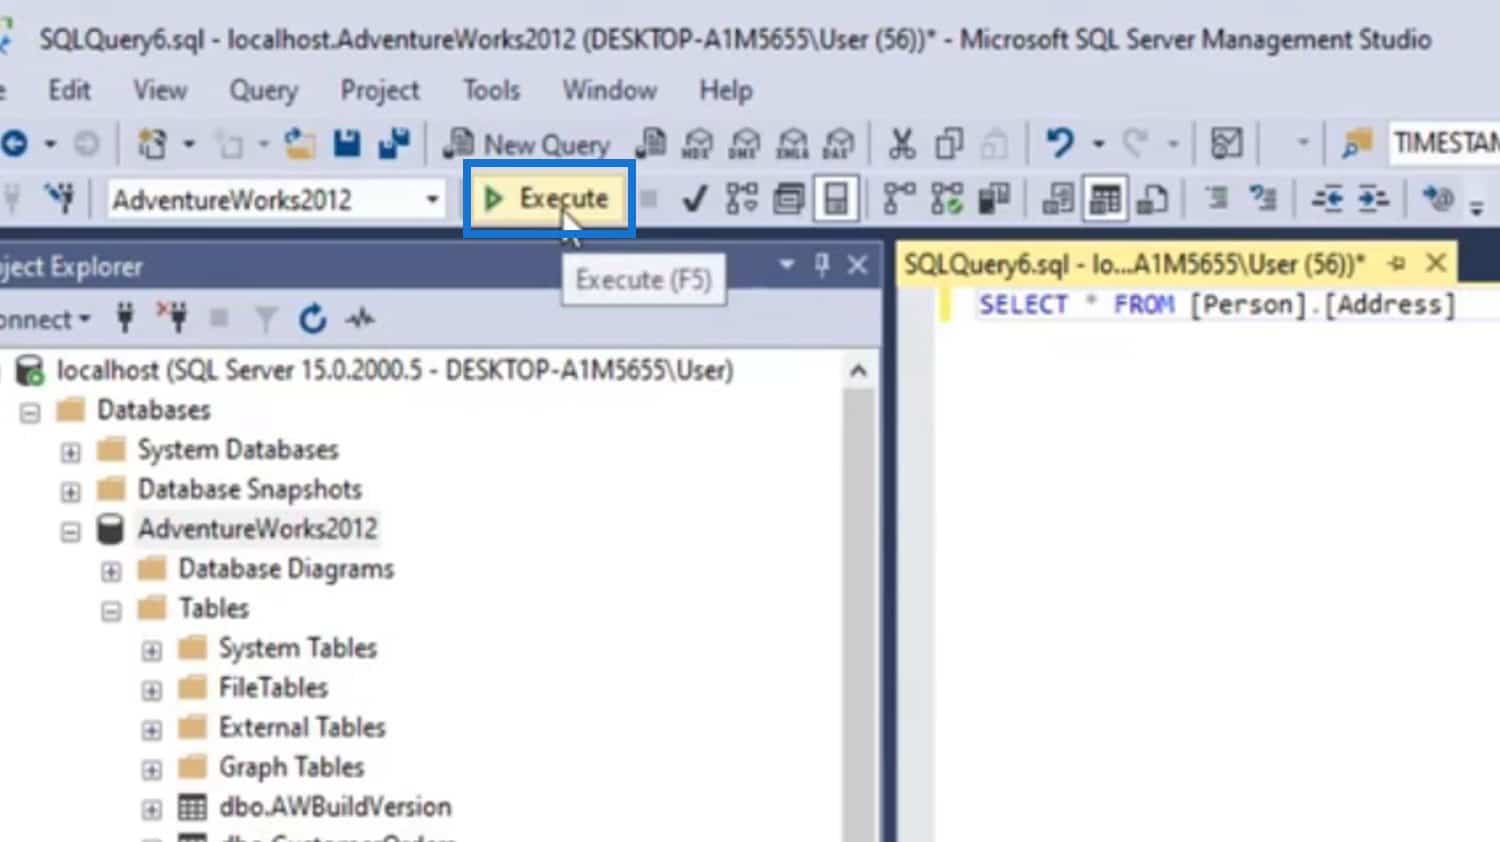
Click the Execute button to run this command.
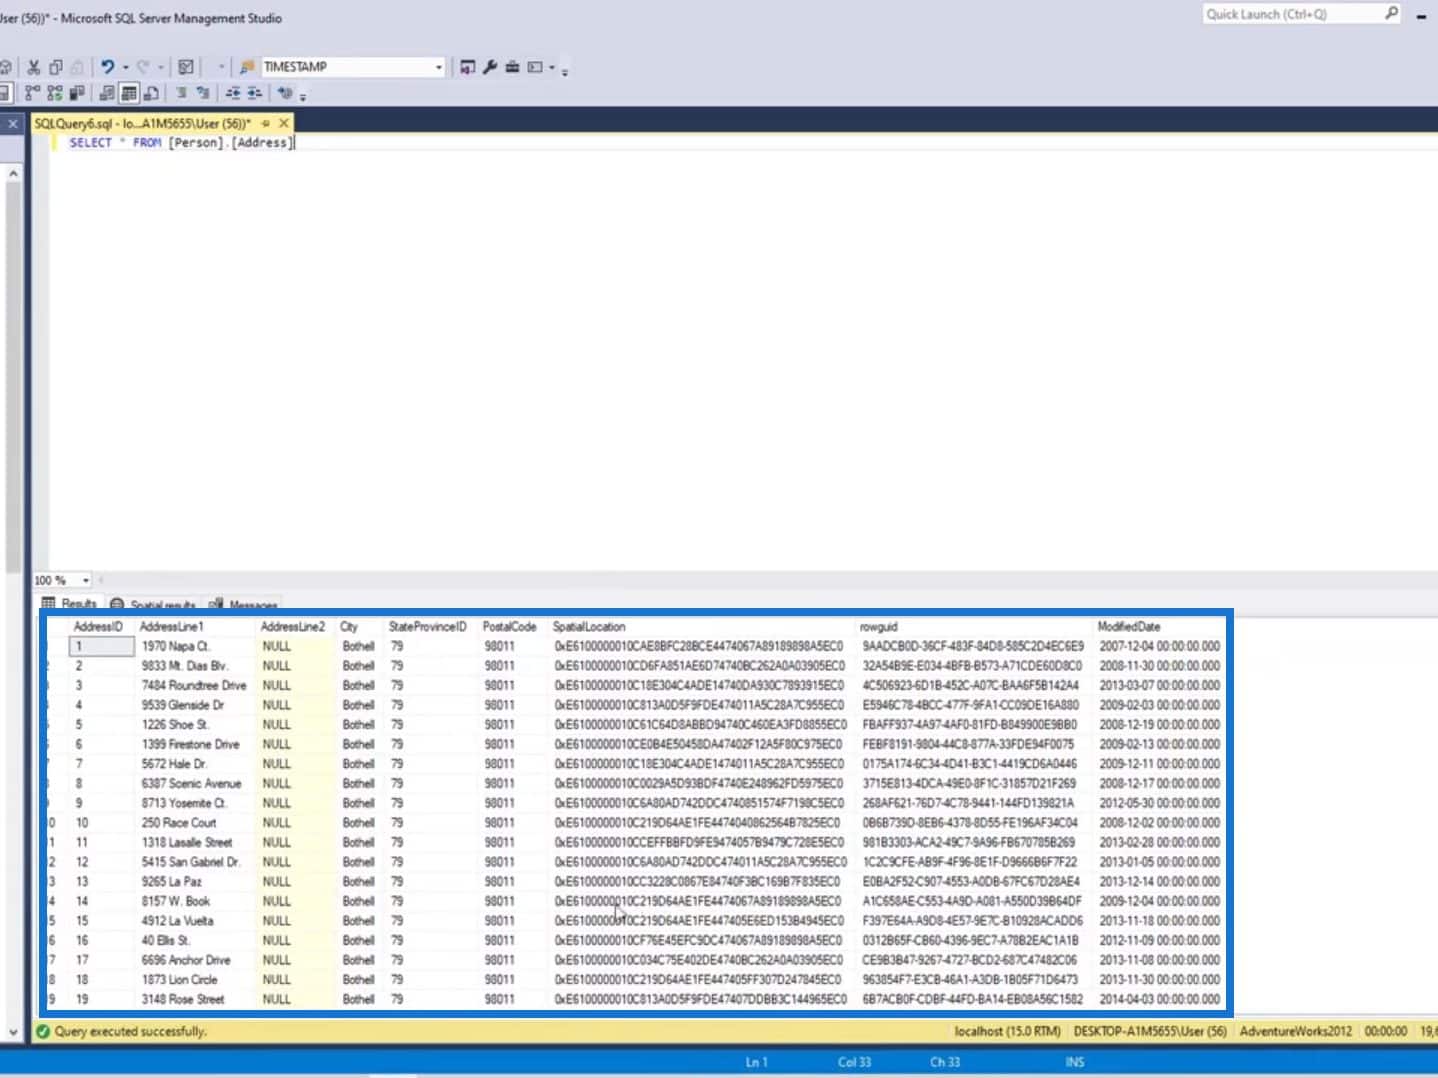
It’ll then display the data on the Person.Address table at the bottom of our window. We can also see the total number of rows of this table at the bottom right corner.
If we have multiple commands, we need to highlight the specific command that we want to execute before clicking the Execute button. If we don’t do this, all commands that we added here will be executed.
Another way to run a command is by simply right-clicking on a certain table. Then, click a certain command like the “Select Top 1000 Rows”.
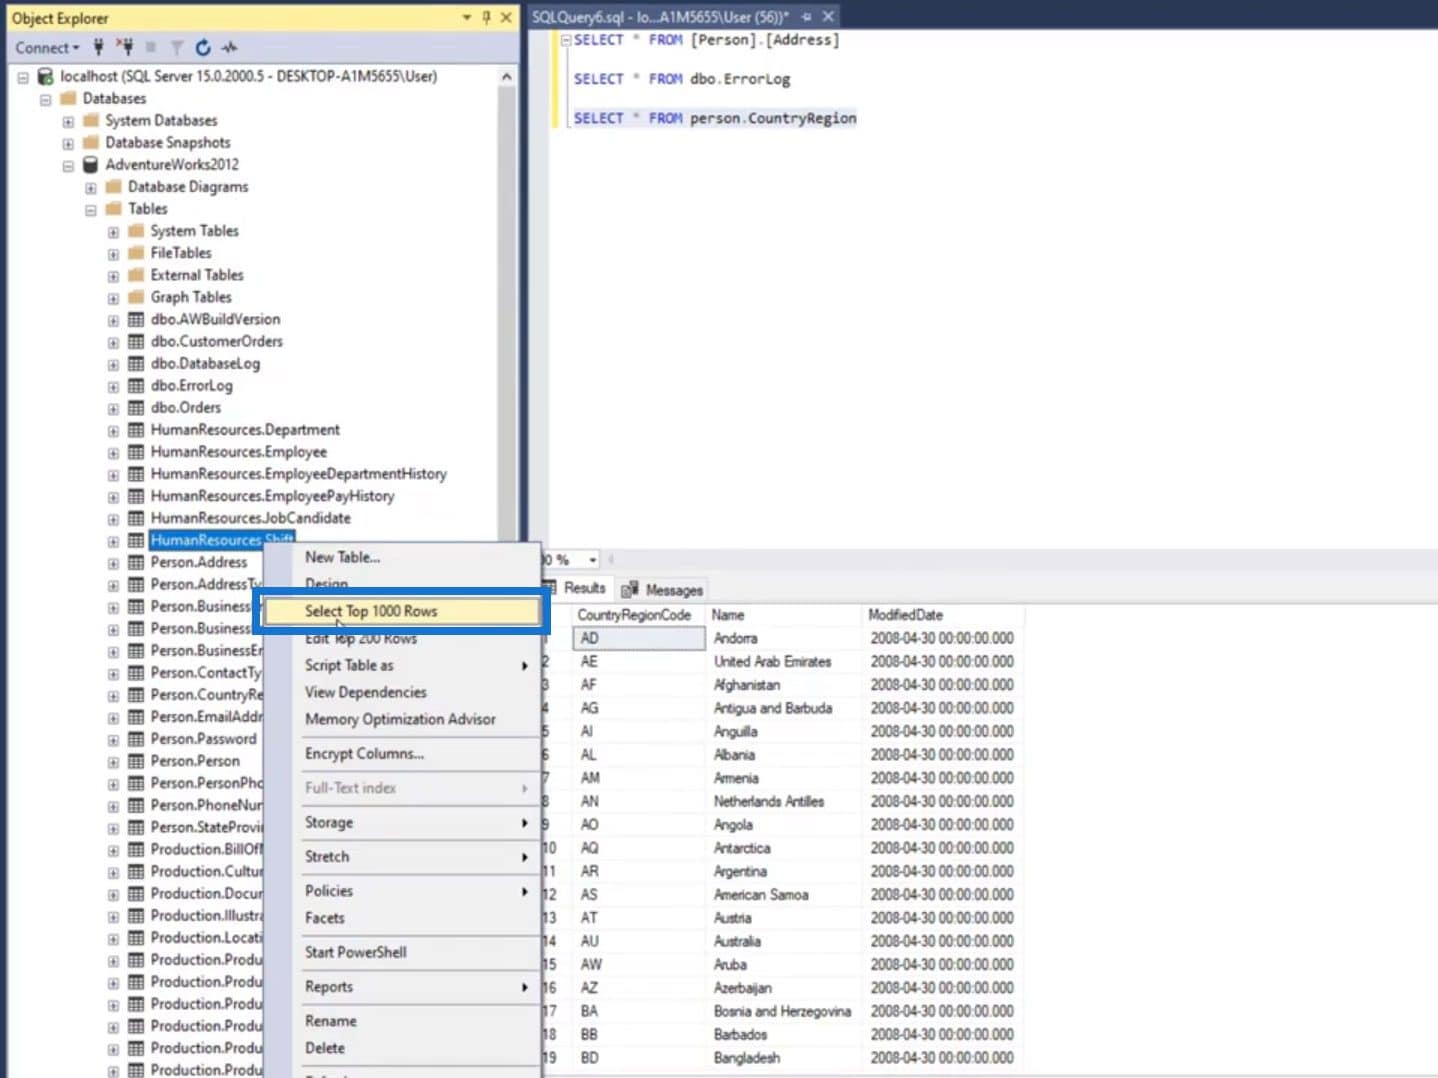
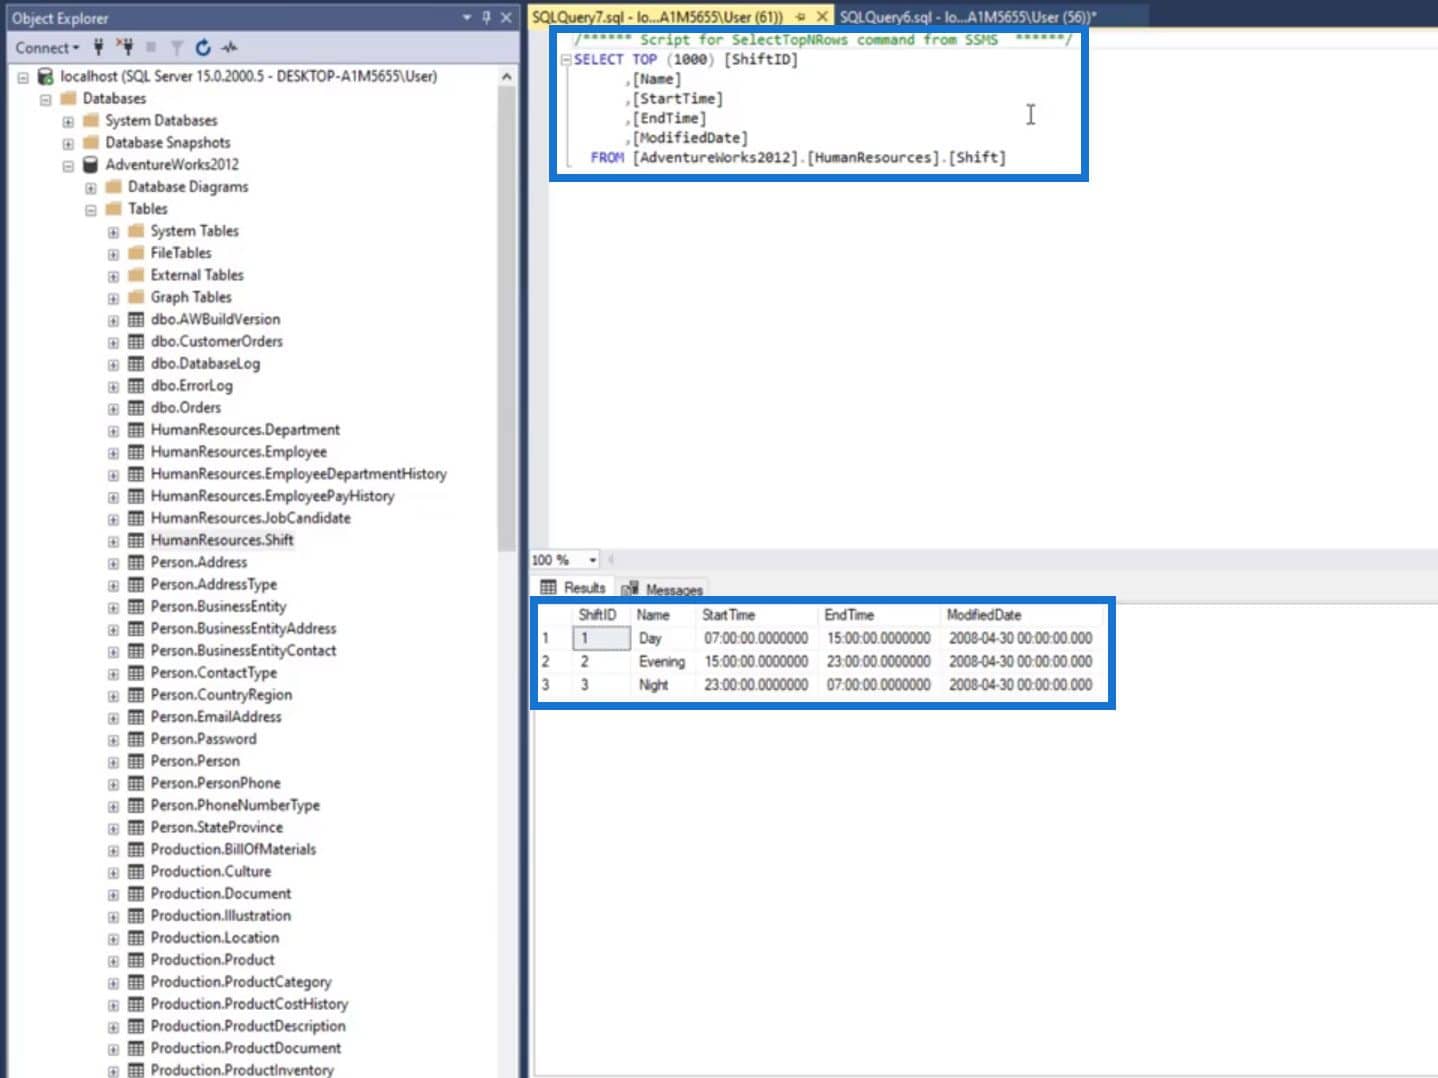
It’ll then open up a new window running that command.
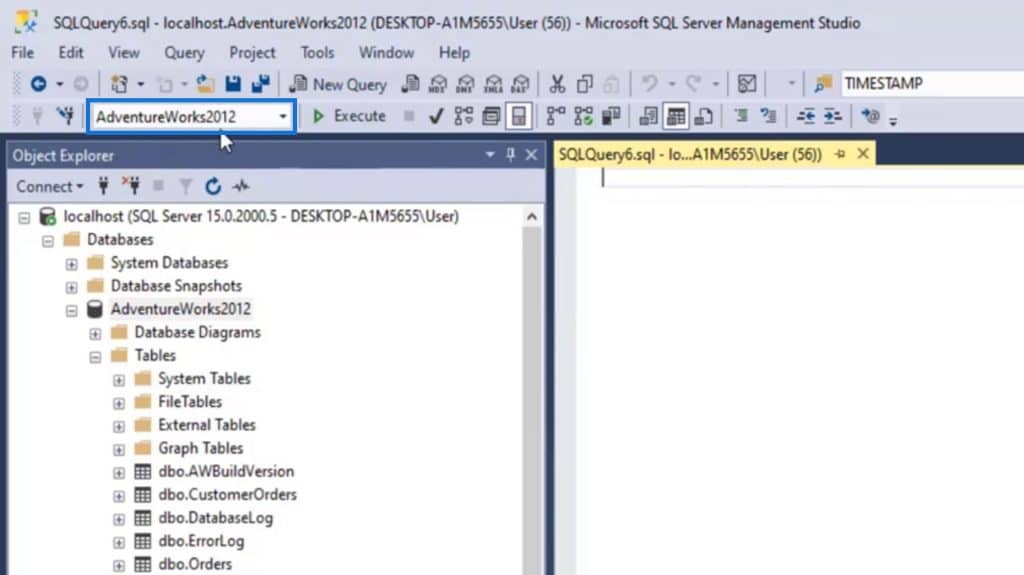
By default, we’re accessing the AdventureWorks2012. So, whenever we run a command, it’ll look for the tables under this database.
In case we access a table that is not under the currently selected database, we’ll see a red underline as shown from the image.
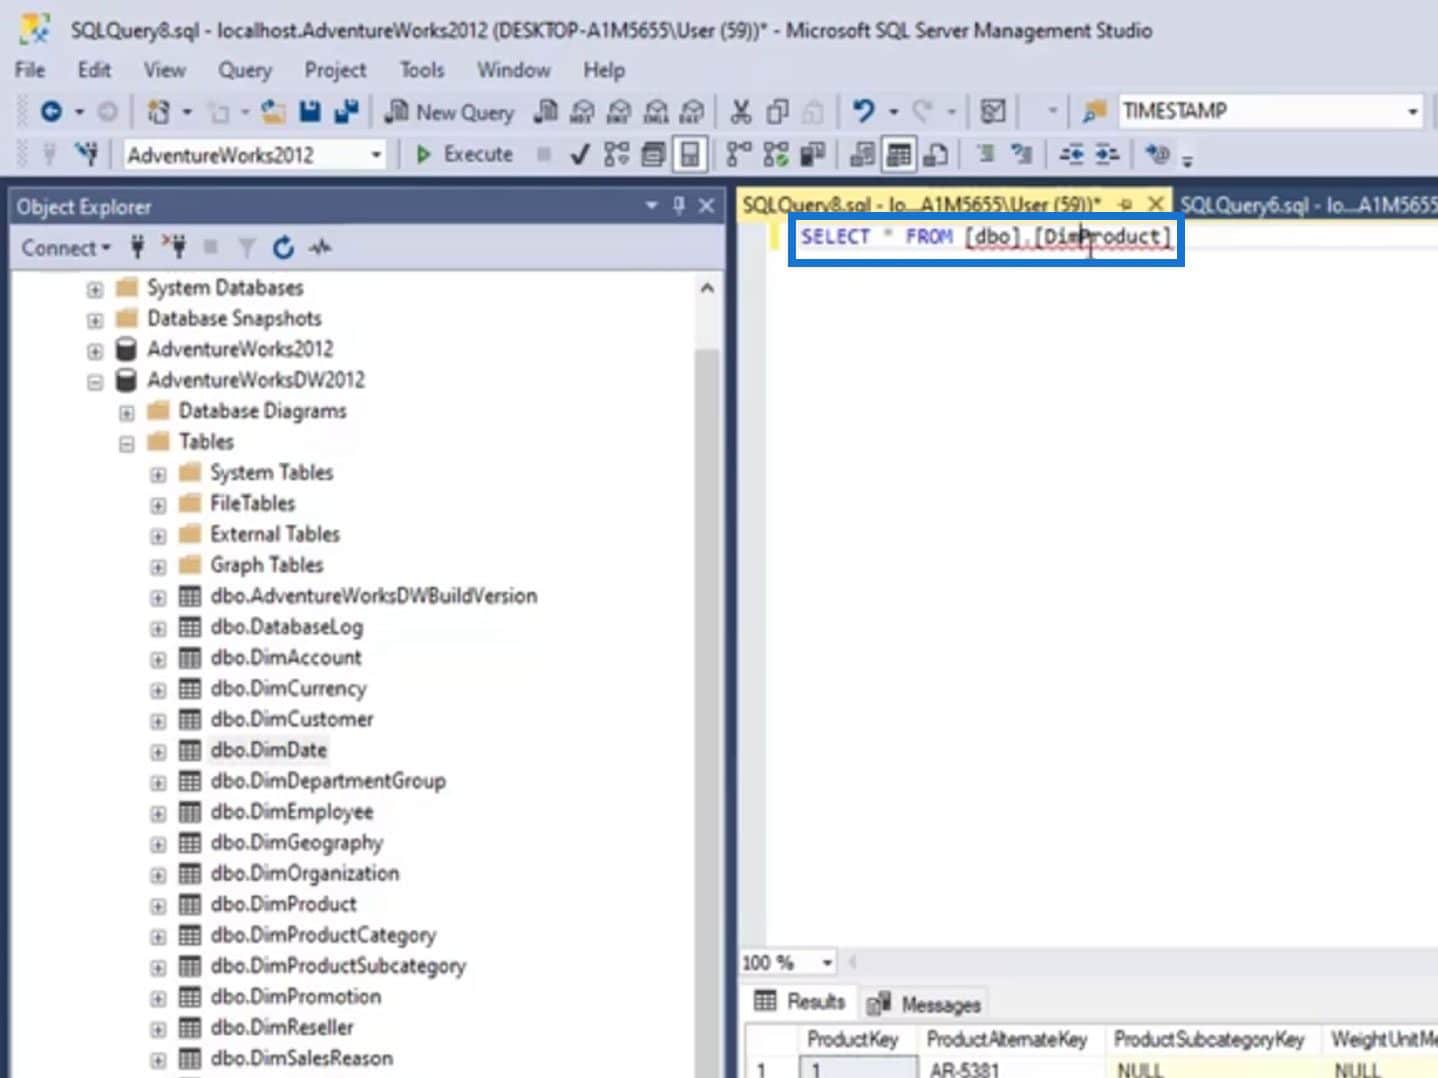
For this example, we’re accessing a table under the AdventureWorksDW2012 but the currently selected database is AdventureWorks2012.
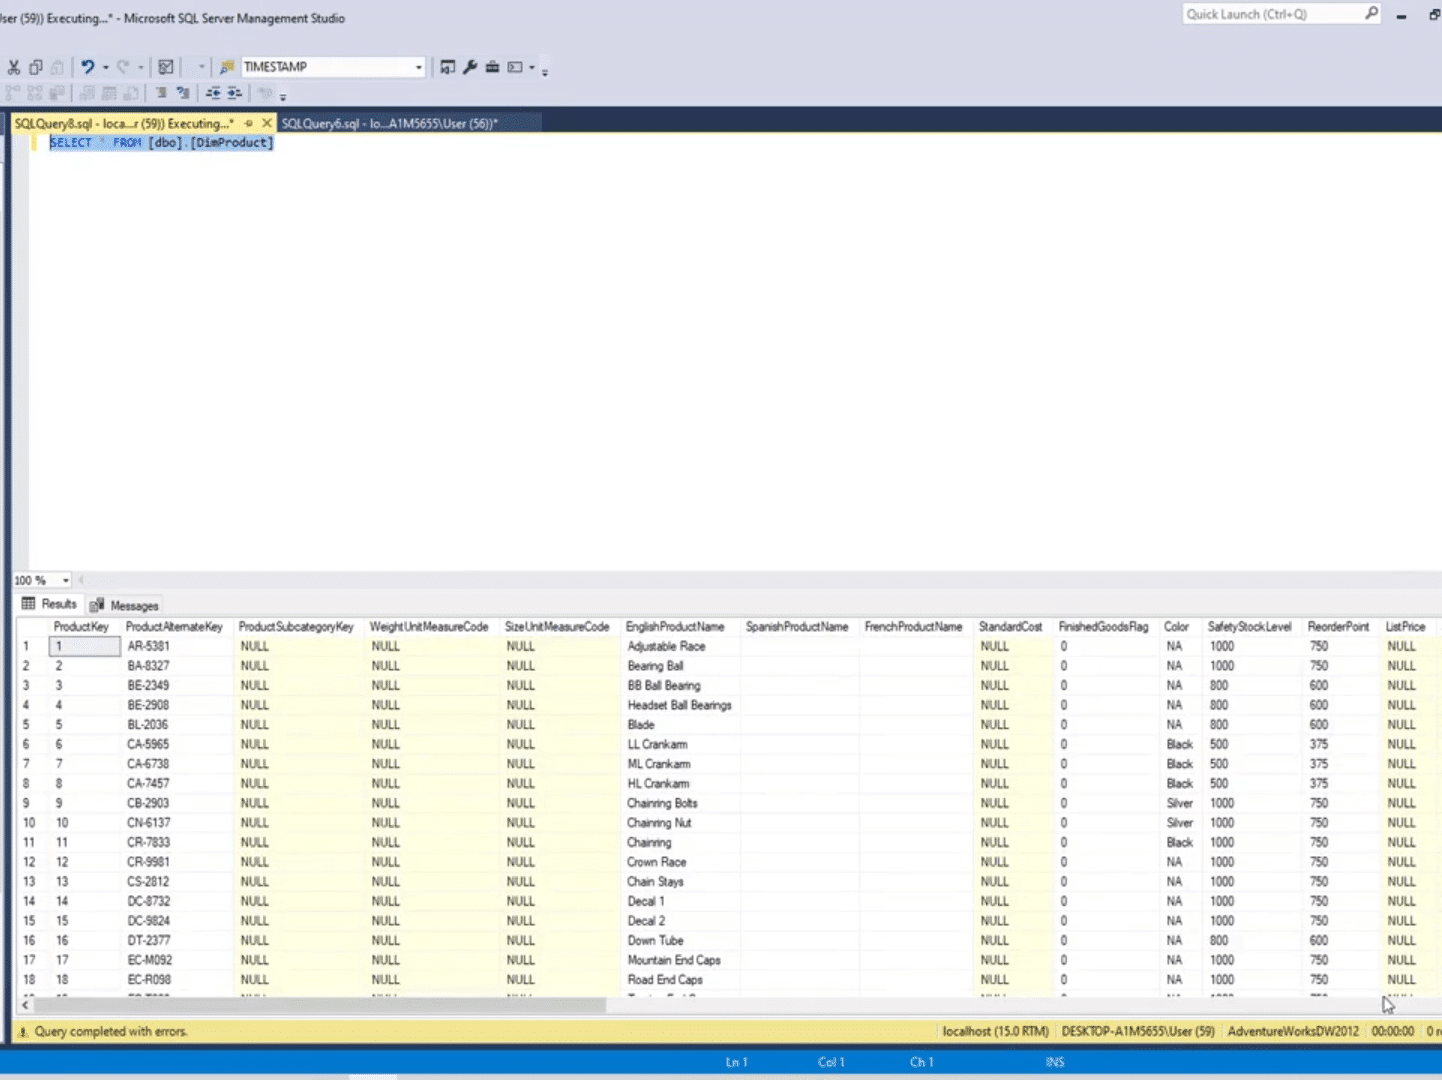
If we execute this command, it’ll show an error instead of the data.

To fix this, just change the currently selected database to the database where you’re currently accessing the data.
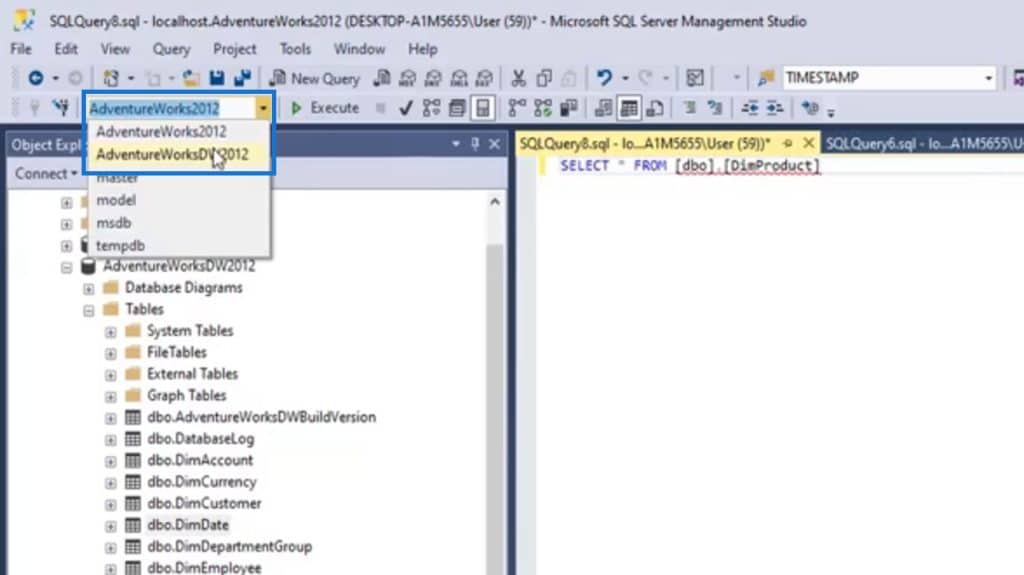
After selecting the correct database and executing the command again, it’ll now display the data of that table.
Saving A SQL Query
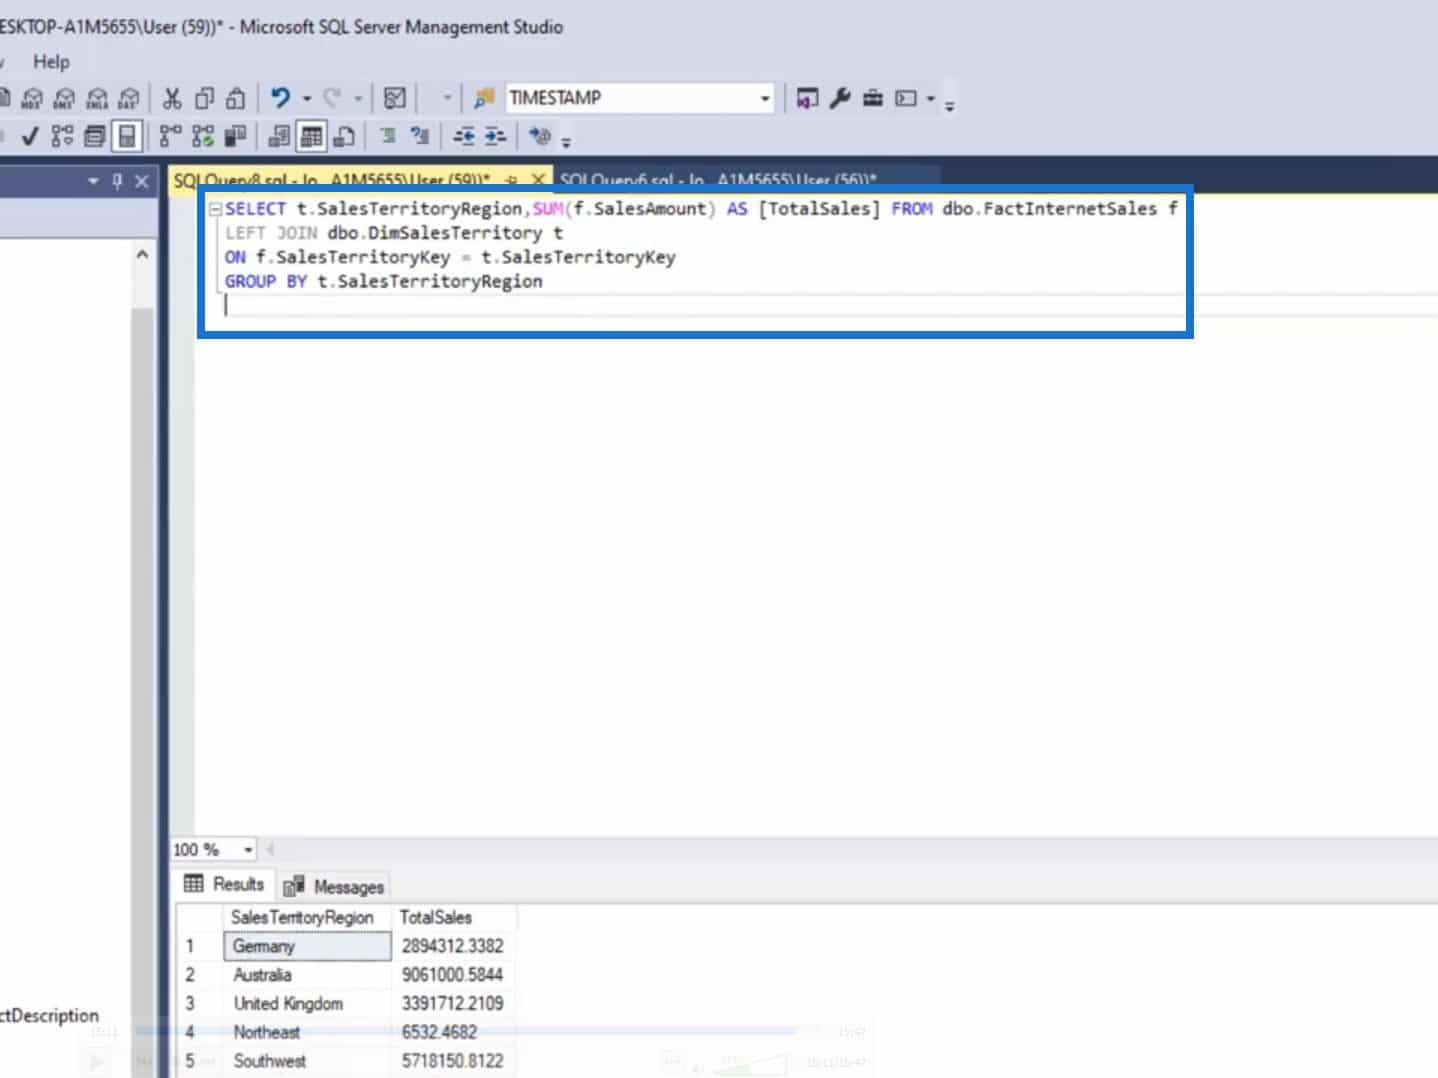
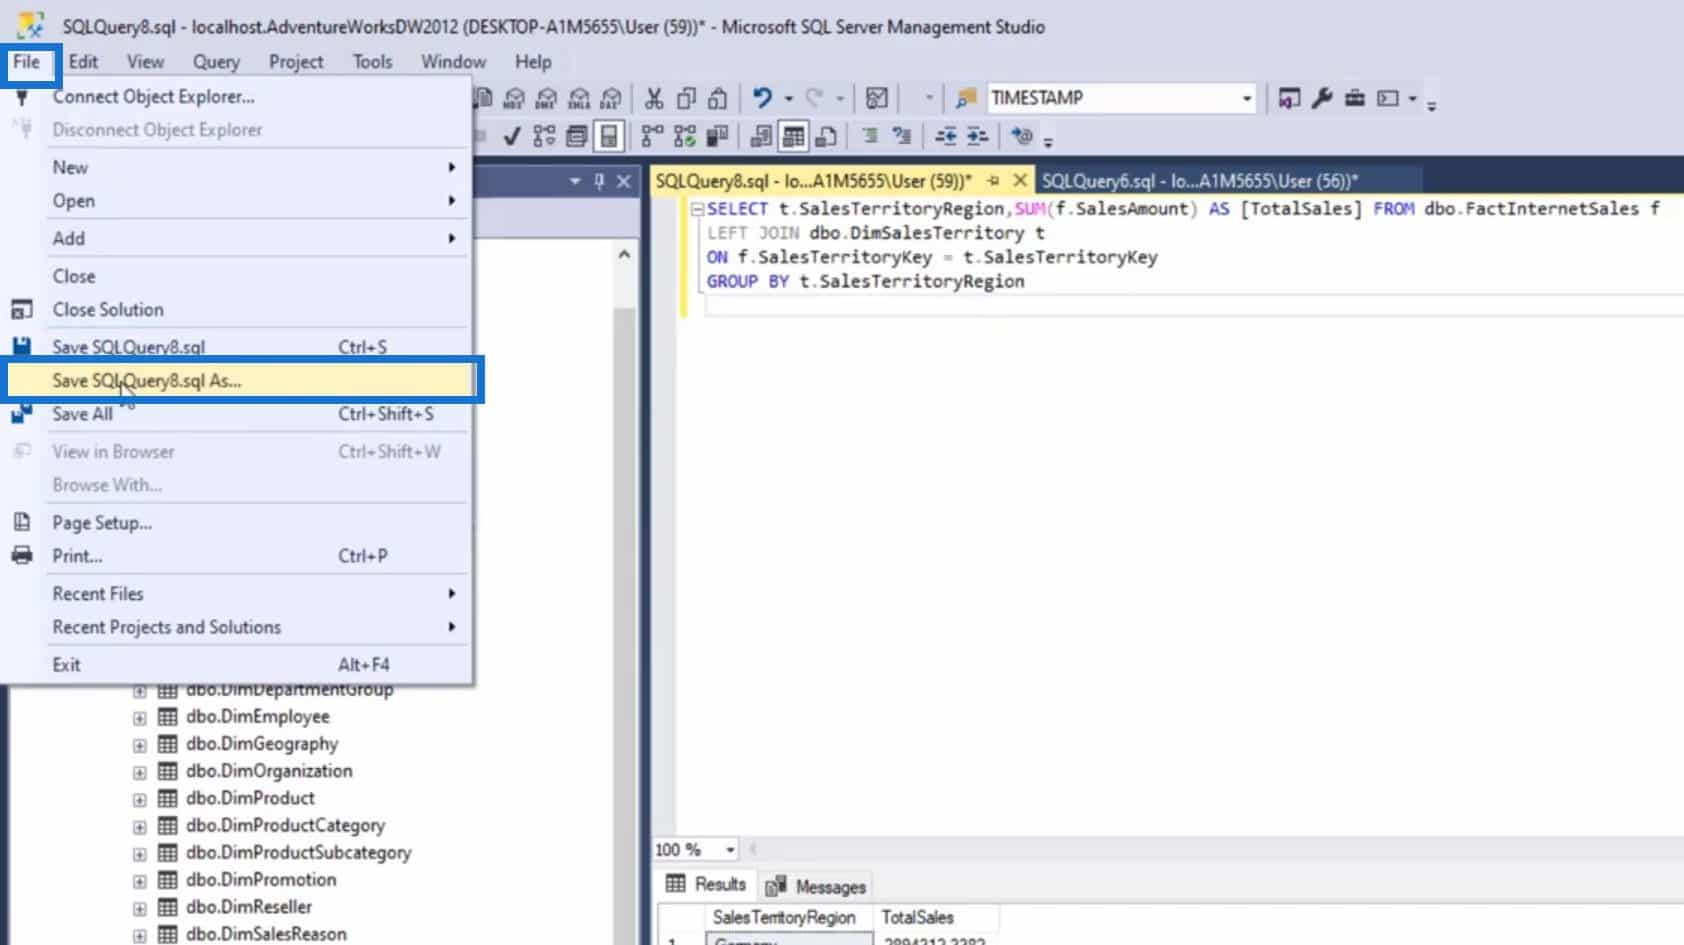
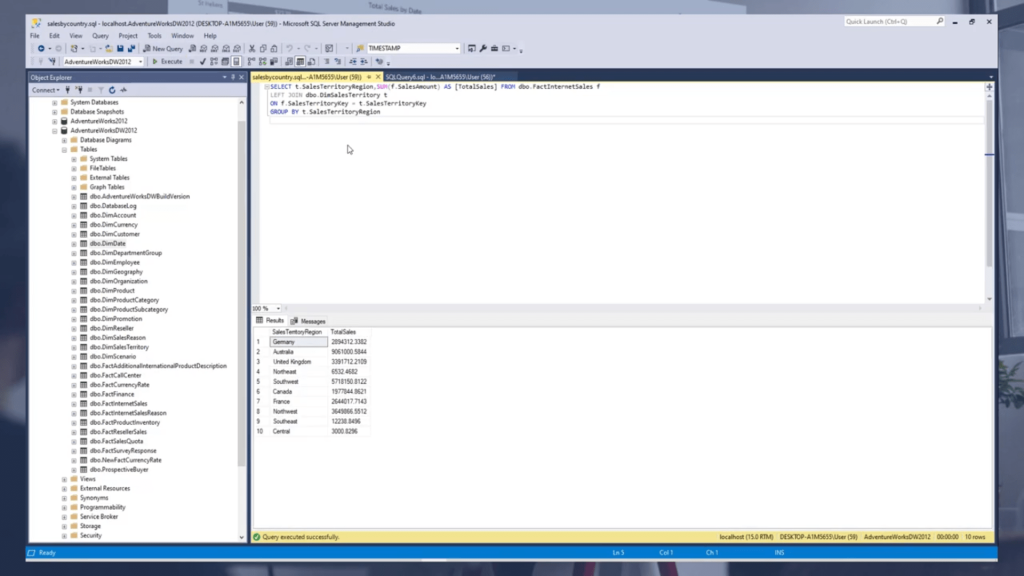
Saving a Query could be useful especially if you usually use it to display certain data. For this example, we’ve created a query for displaying Sales per Region.
To save this query, just click File > Save “Filename” As….
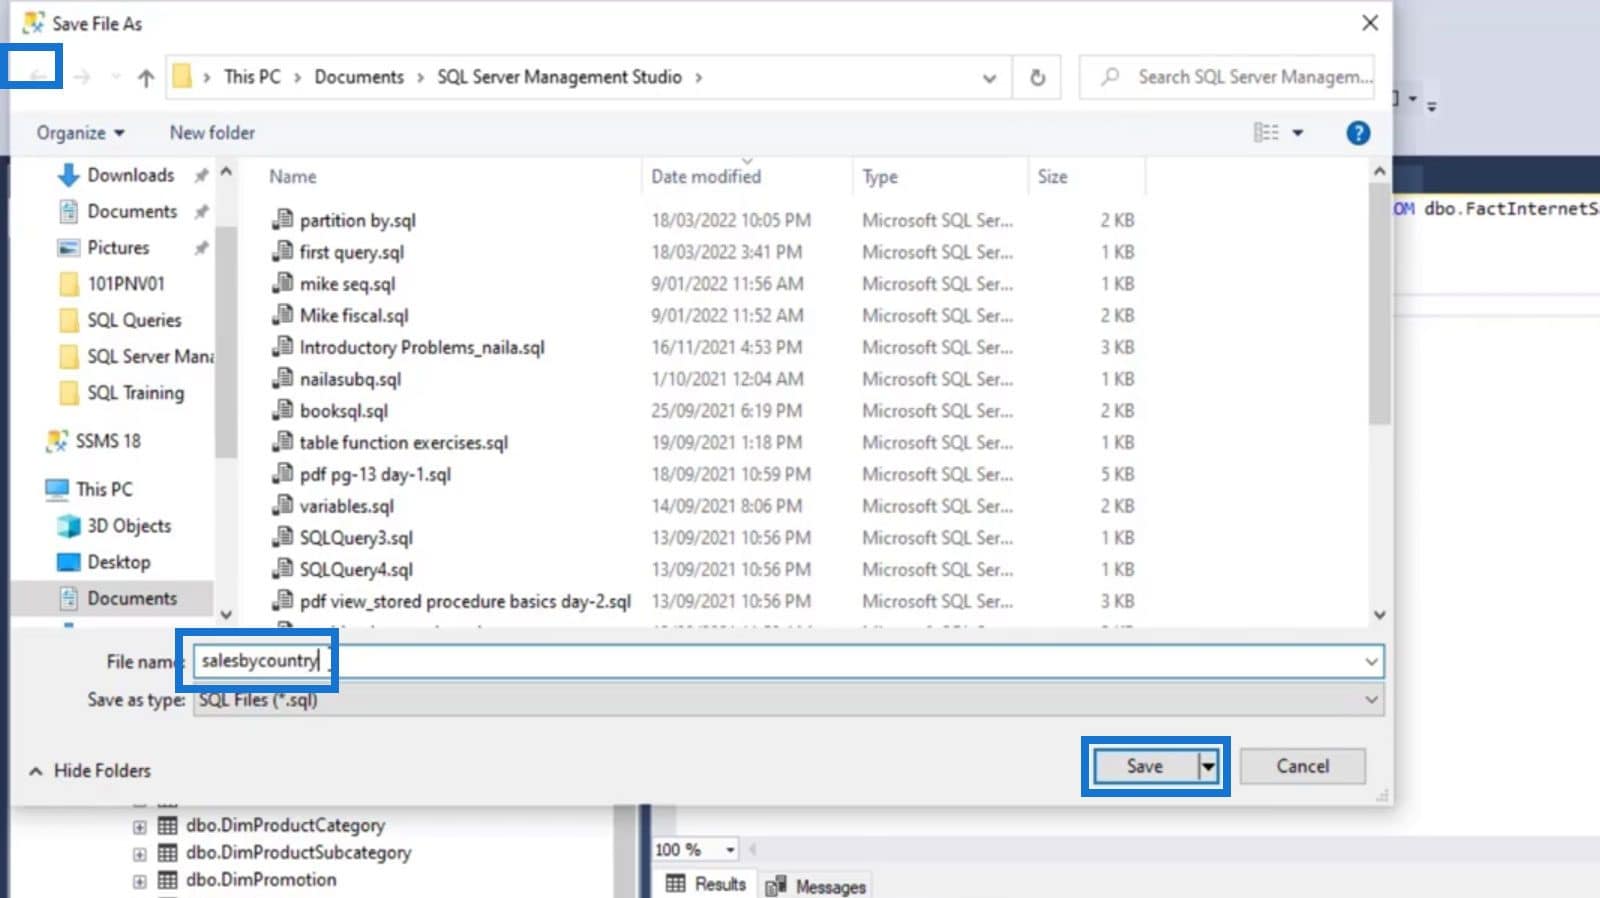
Name your query file then click the Save button.
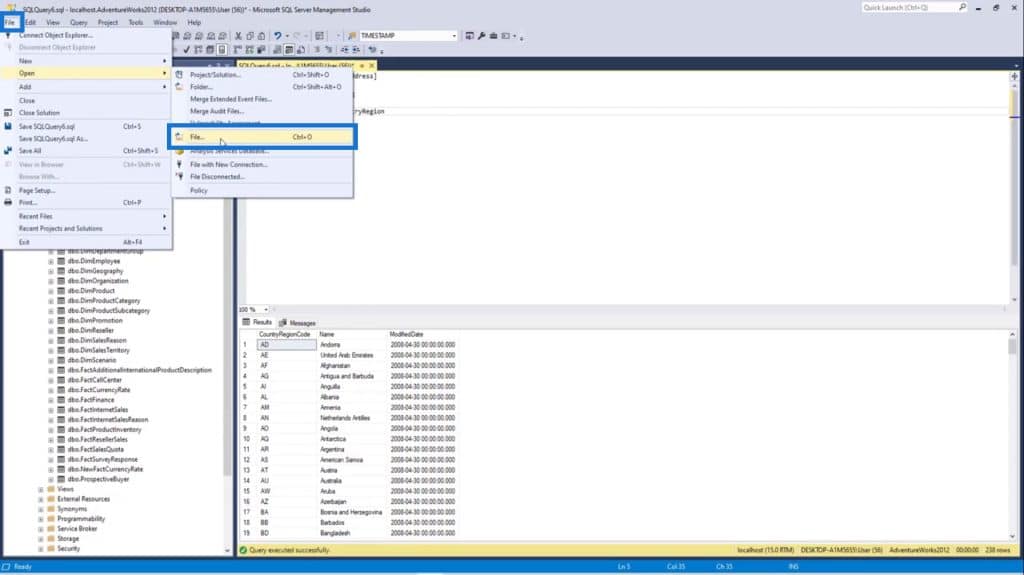
To open that query file, just click File > Open > File….
Look for the query file that you want to open and double click on it or click the Open button.
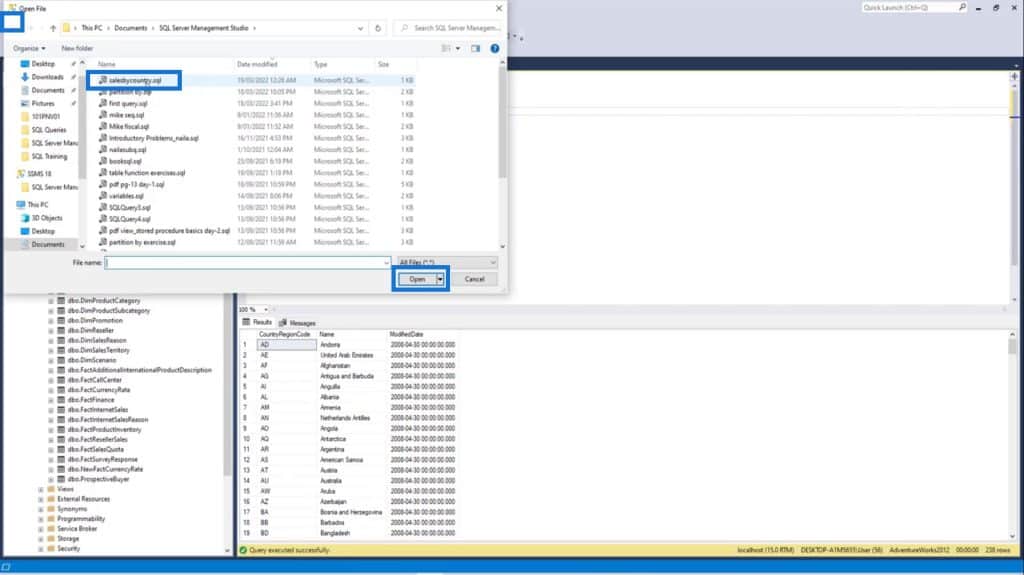
We can then execute this query command again to display its data.
***** Related Links *****
xmSQL Aggregations In VertiPaq DAX Studio
SQL For Power BI Users – New Enterprise DNA Course
Query Performance And DAX Studio Setup
Conclusion
In this tutorial, we’re able to learn how to download, install, and connect SQL Server and SQL Server Management Studio. Keep in mind that SQL Server is a system from Microsoft for managing databases. On the other hand, SSMS is used for connecting SQL server. It’s basically an ID environment.
We’ve also discussed how to restore or import databases on SMSS, and the basic table naming structure. By following those simple instructions, you’ll now be able to run basic query commands as well as save and open query files.
All the best,
Hafiz


