In this tutorial, we’ll talk about the PowerApps search field and how to add and customize it from scratch.
PowerApps is a platform built for convenience where users can create their own apps even if they don’t have a background in coding or app development. Just like any other Microsoft platform, its strength lies in its drag and drop system and intuitive design.

This means that anybody who wants to build apps, whether to simply display their data or to boost productivity in their team, can easily do so.
We’ve discussed the basics of making an app from scratch in past tutorials. This time, we’re focusing on the PowerApps search field.
How The PowerApps Search Field Works
The search function allows users to search for and filter items in a gallery. Since Power Apps comes with app templates where the search field is already in place, all that you need to do is to connect a data source to pull items that will be included in the gallery.
In using the search field, there’s no need to key in entire names or words. Typing in the first few letters will automatically filter the items and show you entries that match.
Though the built-in templates are convenient to use, we can’t rely on them 100% of the time. Creating your own canvas app is necessary if you want to fully customize the app based on your specific needs. This means that you need to create your own search field from scratch.
Using The Search Function
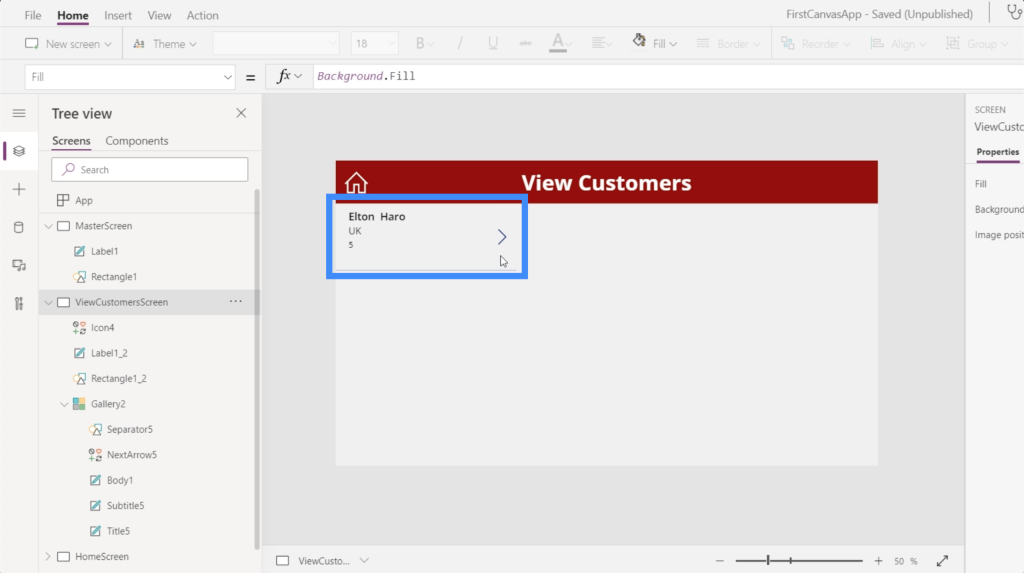
Let’s use this screen that we built from scratch in a previous tutorial. Right now, we’re in the View Customers screen.

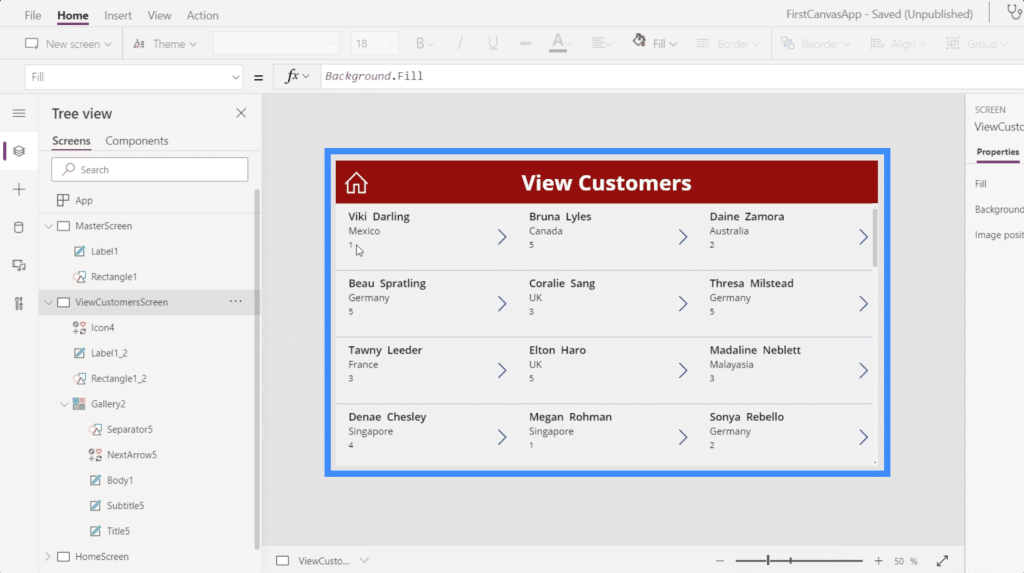
Since this contains a gallery of items, it would make sense to make a search field here.
The gallery displayed on this page is Gallery 2. If we look at the Items property, it shows that we’re pulling data from Table1.
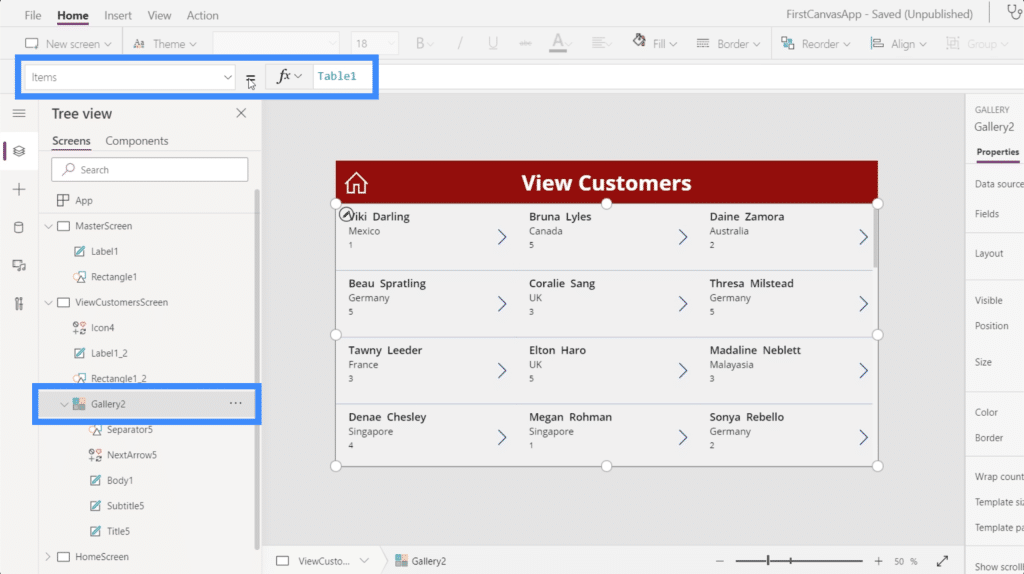
This means that when we add the search function, it’s going to search through the items on Table1 and filter the results based on what we type in.
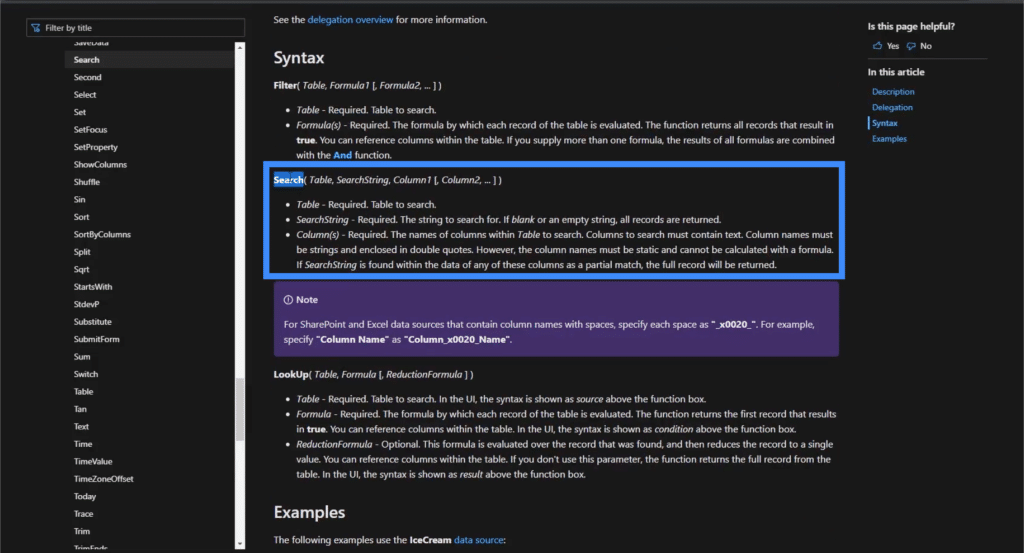
So let’s find out how the search function works. Going into the Microsoft document describing this function, it shows that a search function takes a table, a search string, and the columns where you want to search.
With that formula in mind, let’s see how the search function works in our own app.
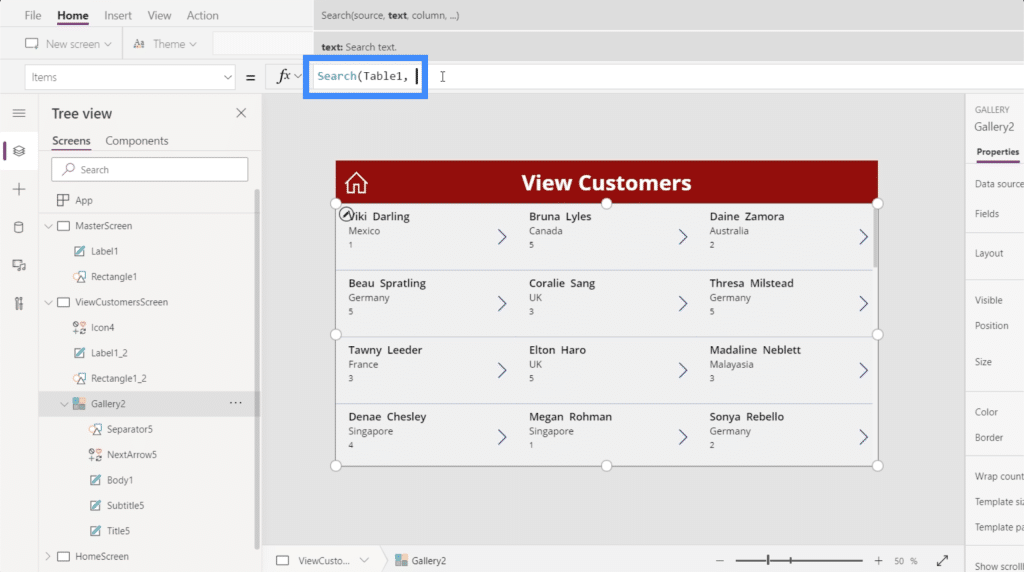
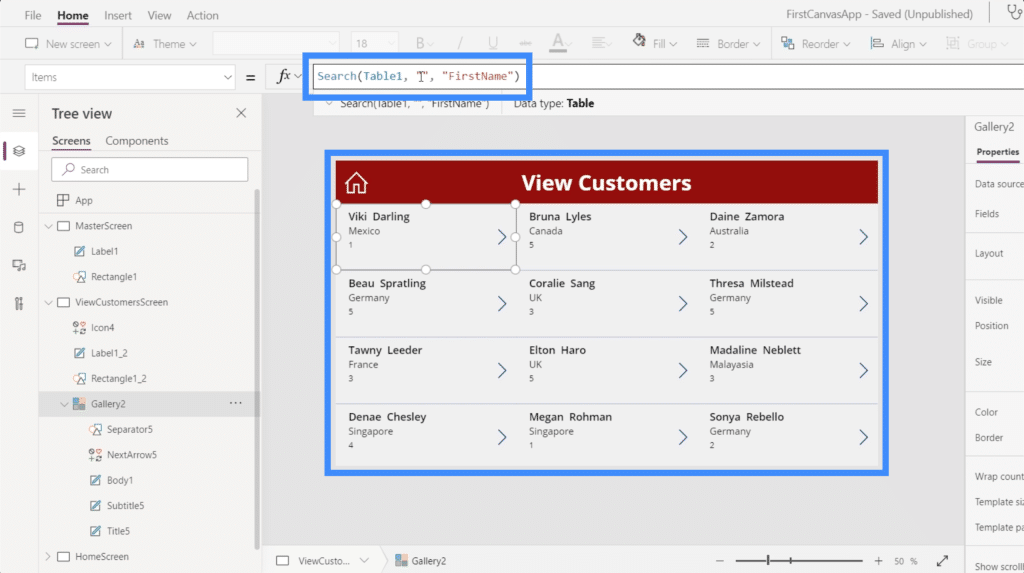
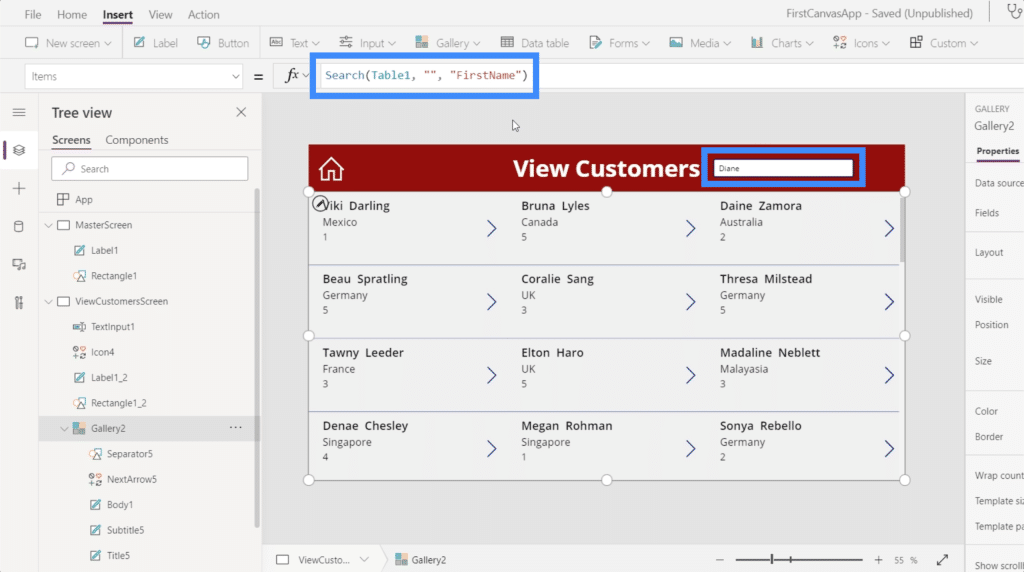
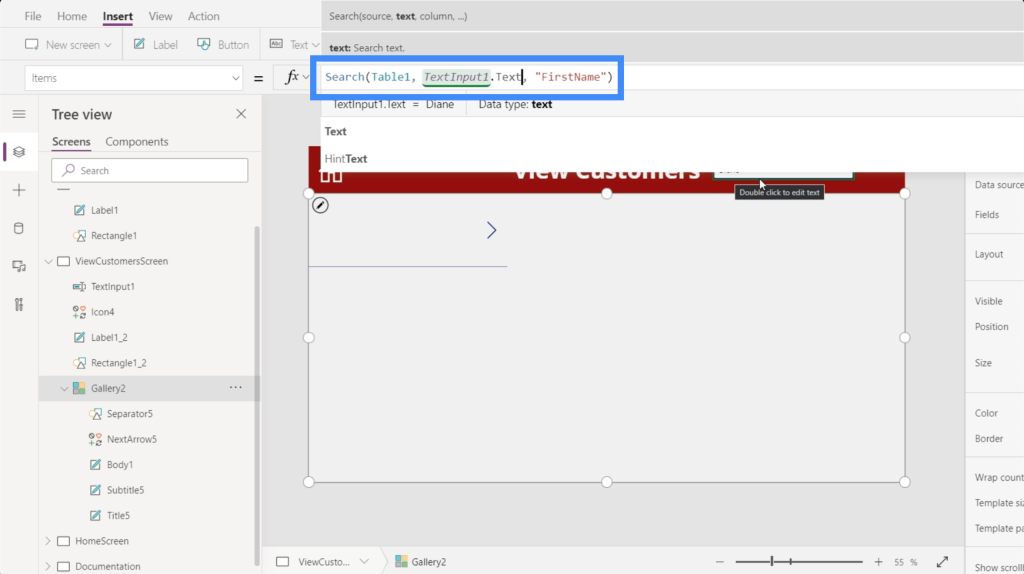
Using the Items property in Gallery2, let’s use the search function in the formula bar and reference Table1 since that’s our main data source.
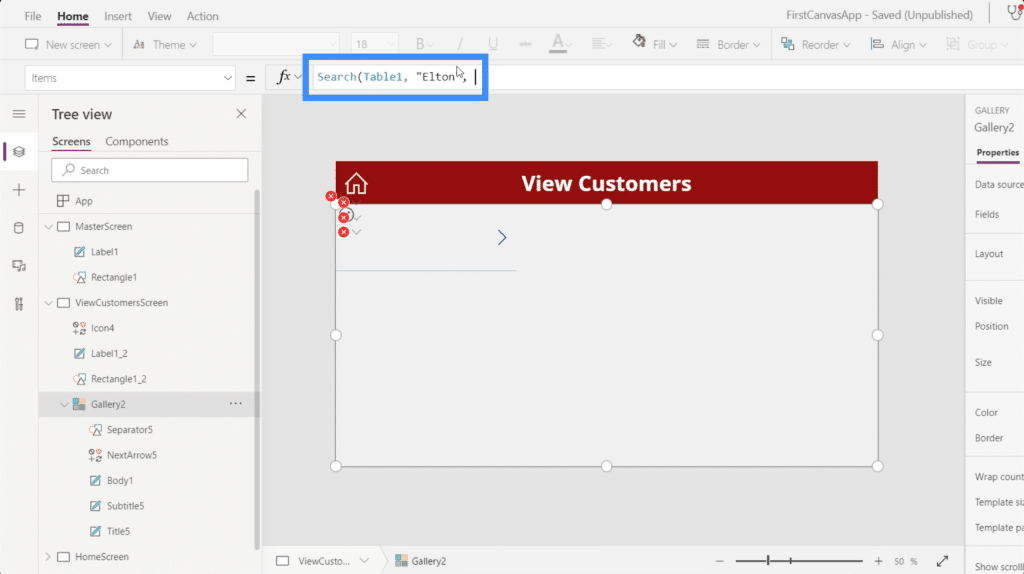
For the actual search string, let’s search for the name Elton.
Then, let’s do the search in the FirstName column.
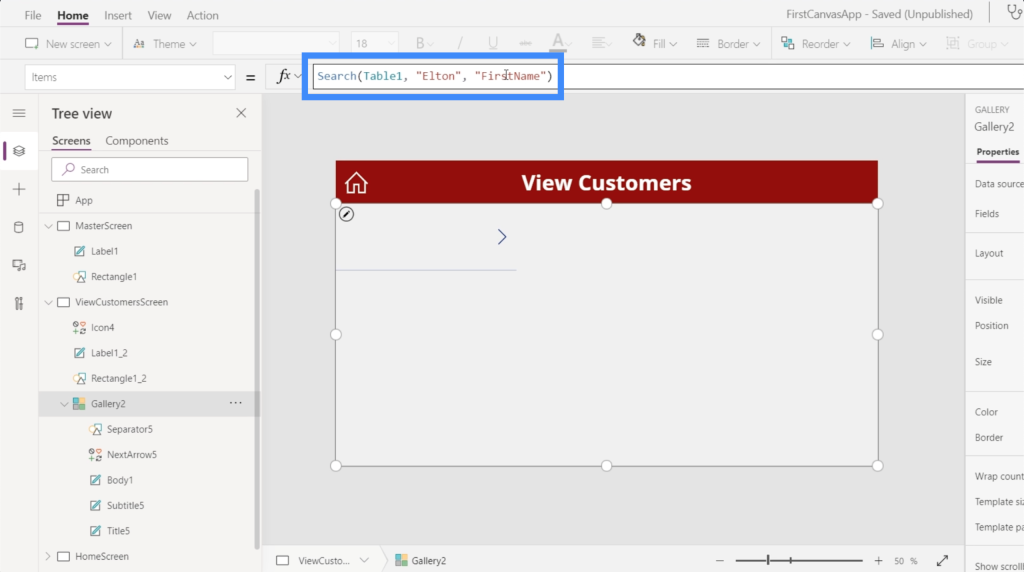
Once we hit Enter, it gives us a match that corresponds to the search parameters we used.
If we remove the name Elton from the search string, it automatically displays the entire gallery once again.
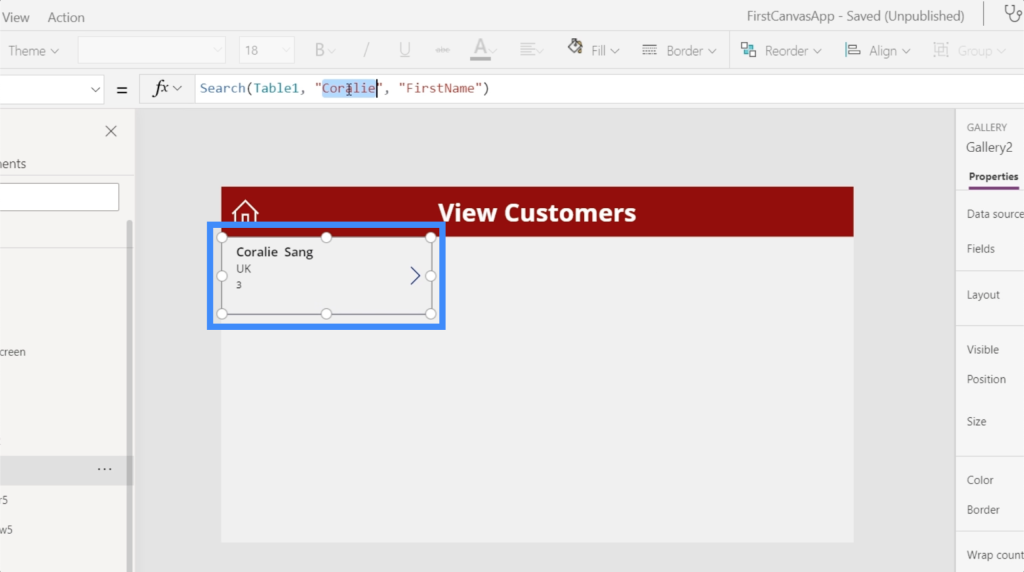
Let’s try another search for the name Coralie.
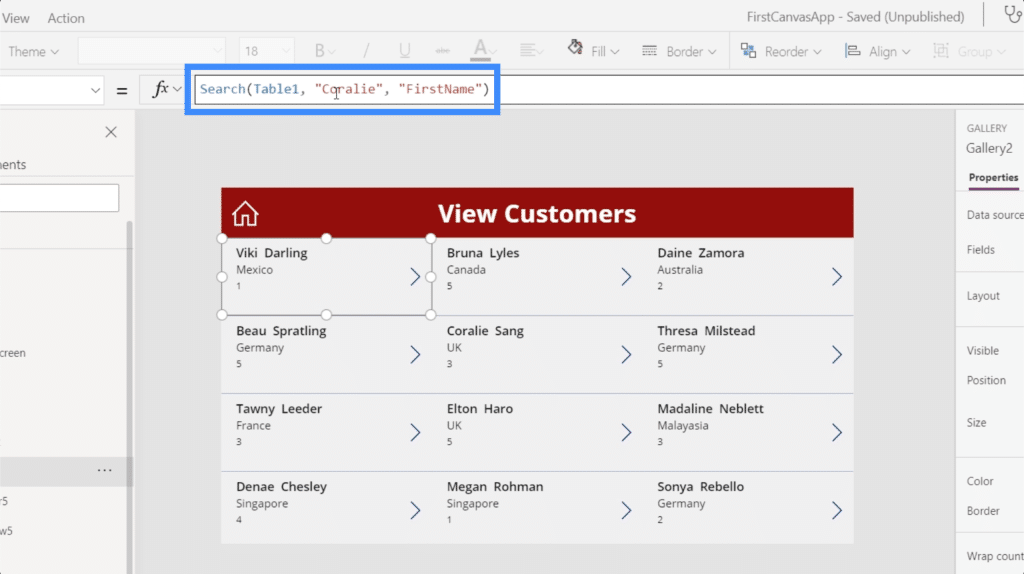
Once we hit Enter, it gives us a match once again.
Obviously, we don’t expect users to open up the gallery using PowerApps. This means that they would have to do the search from a search field, and not from the formula bar. That’s where the need to create our own search bar comes in.
Creating A PowerApps Search Field From Scratch
Let’s start by adding a Text Input using the Text button under the Insert ribbon.
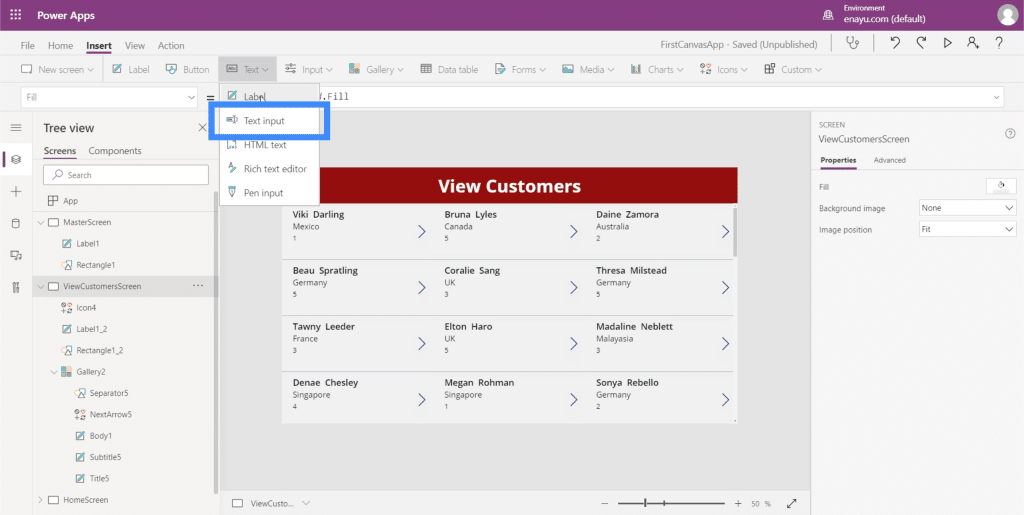
Just like any other element, we can drag that text box anywhere we want to place it. For now, let’s put it on the right side of the screen title.

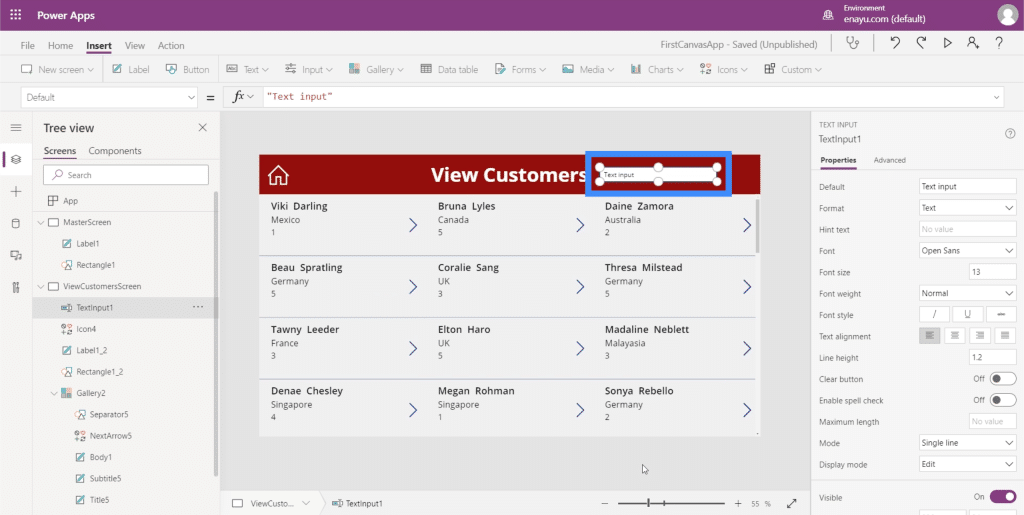
Since this is just a simple text box for now, it won’t be able to filter anything yet even if we type in a name. To do that, we need to link the search functionality on our formula bar to the actual text box.
This means that we need to add the element TextInput1 into that formula.
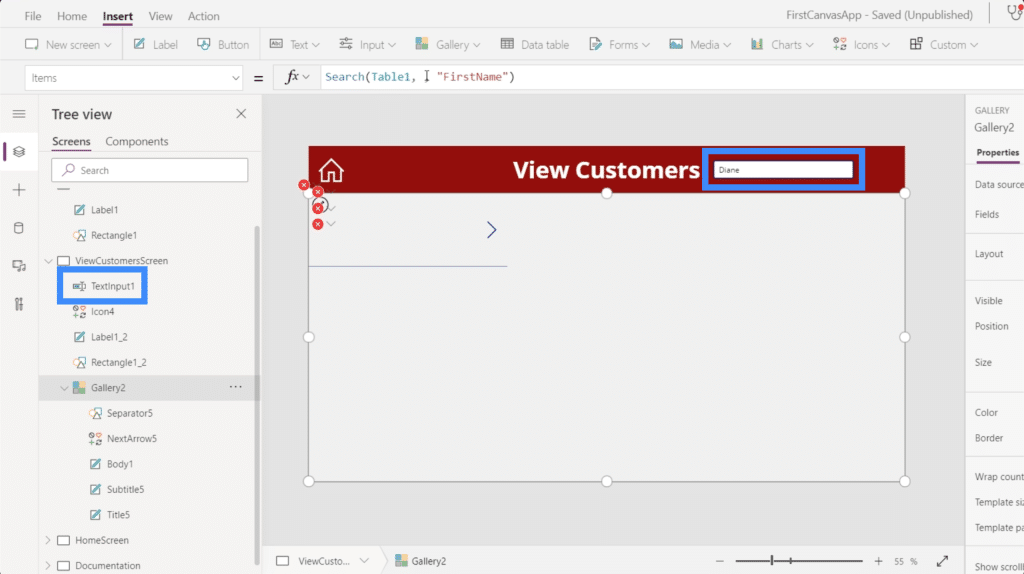
To do that, instead of the space where we type in the search term, we’ll type in TextInput1.Text. TextInput1 refers to the text box while the Text references whatever we type into the text box.
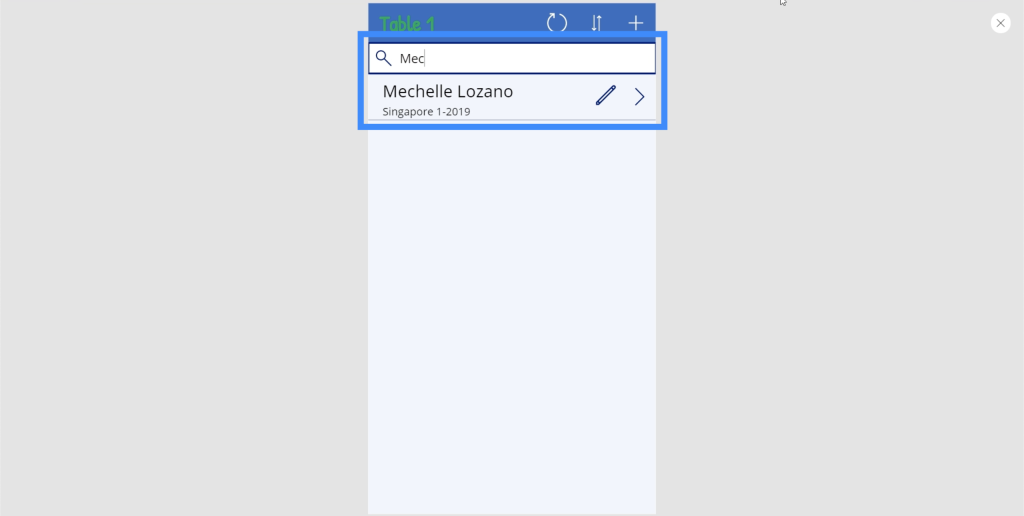
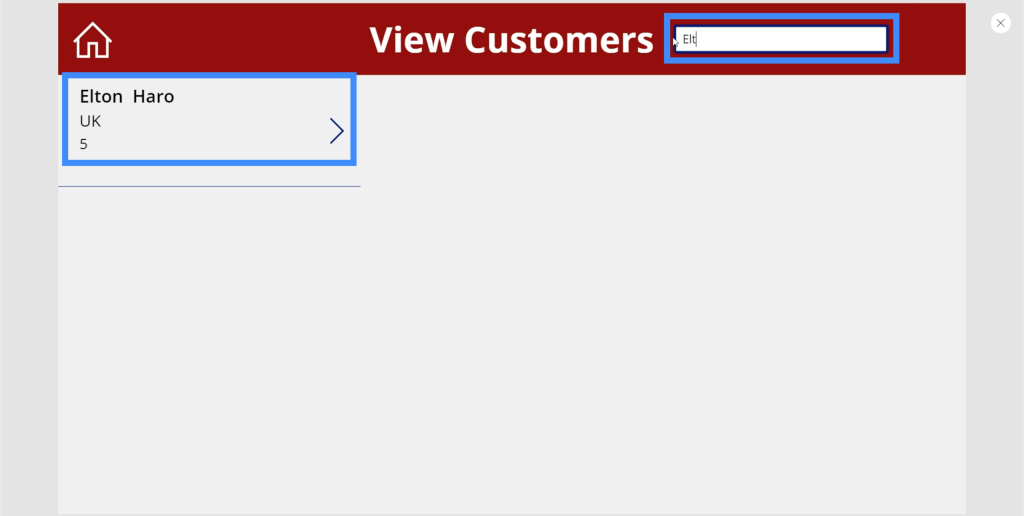
Now, let’s try it out. If we type a search term here, you’ll see that a match shows up even if we’ve only typed in the first few letters.
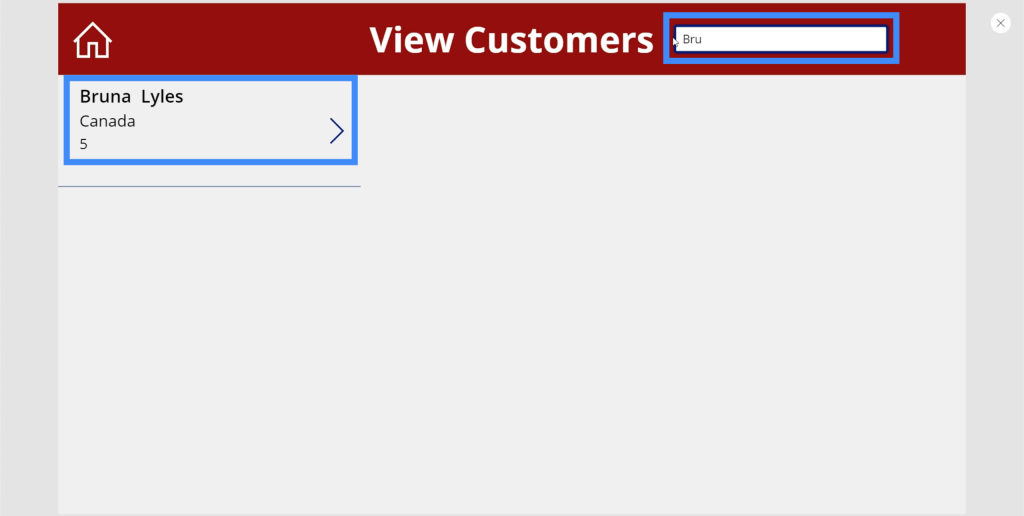
Let’s try a different name and search for Bruna. Again, it shows us a match.
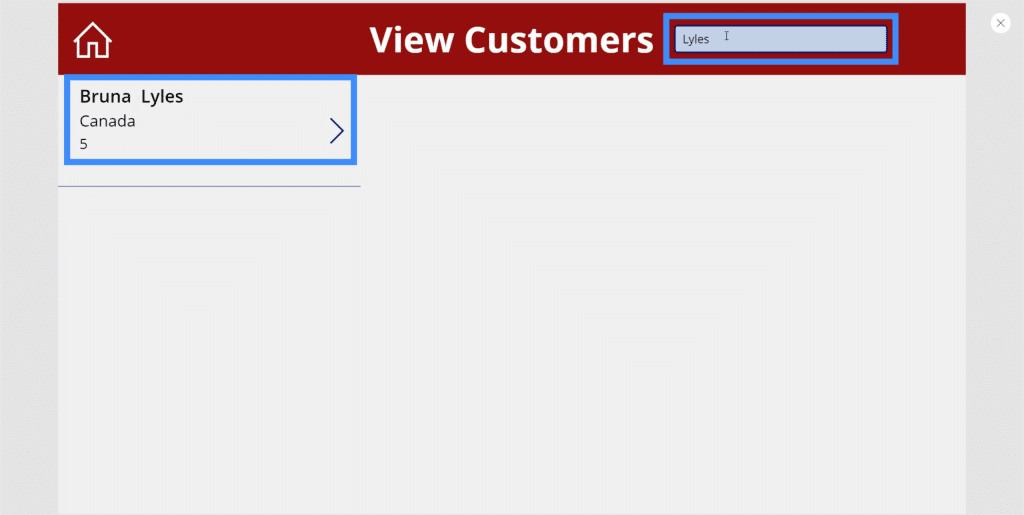
This time, let’s try to see if we can do a search using the last name. I’ll type in Lyles, which is Bruna’s last name.

As you can see, although Bruna Lyles appeared when I used the first name as a search term, it didn’t show any match when I tried typing in the last name. That’s because we haven’t referenced other columns in our formula yet.
Adding Columns To A PowerApps Search Field
Going back to the formula bar, let’s add LastName. This will allow us to do searches using data in the LastName column as well.
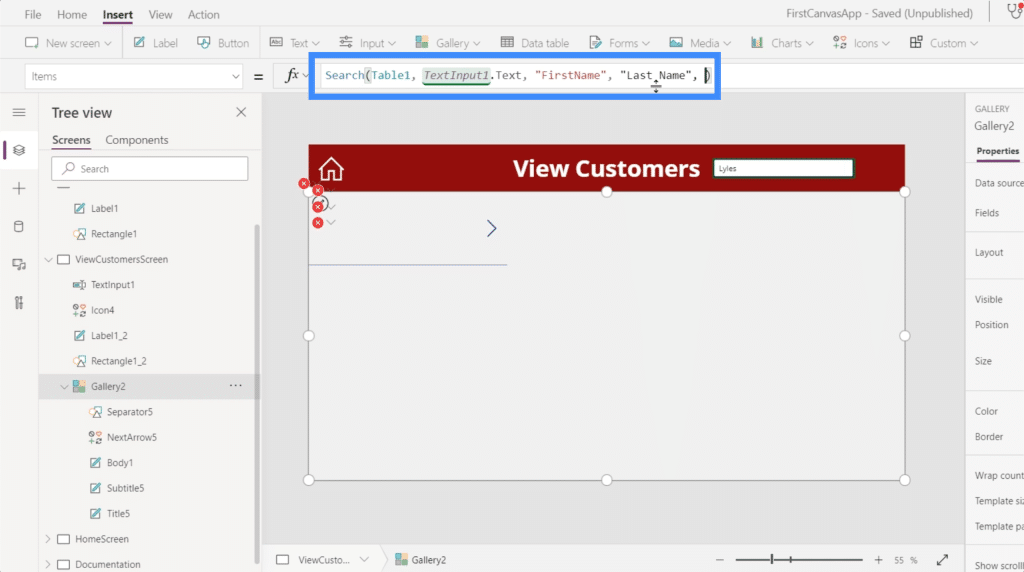
Let’s also add the AgentName. Then, hit Enter to finalize that formula.
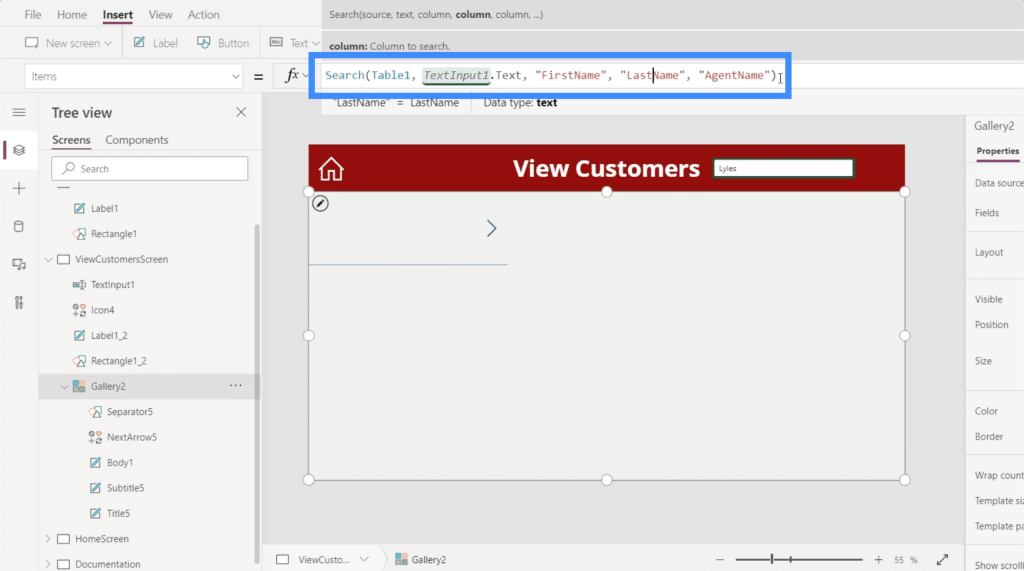
Now, we’re finally getting a match if we search the last name, Lyles.
Adding A Functioning Search Icon And Hiding The Search Bar
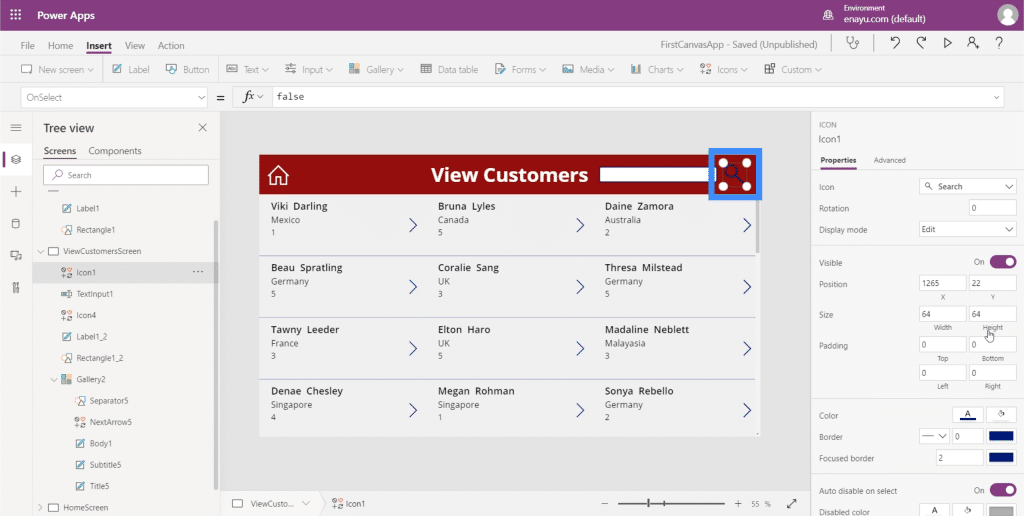
In most apps, you don’t just have a search bar. You see a search icon as well. So let’s add that to this screen.
Just look for Search from the Icons dropdown under the Insert ribbon.

Let’s move it to the right side of the search bar.
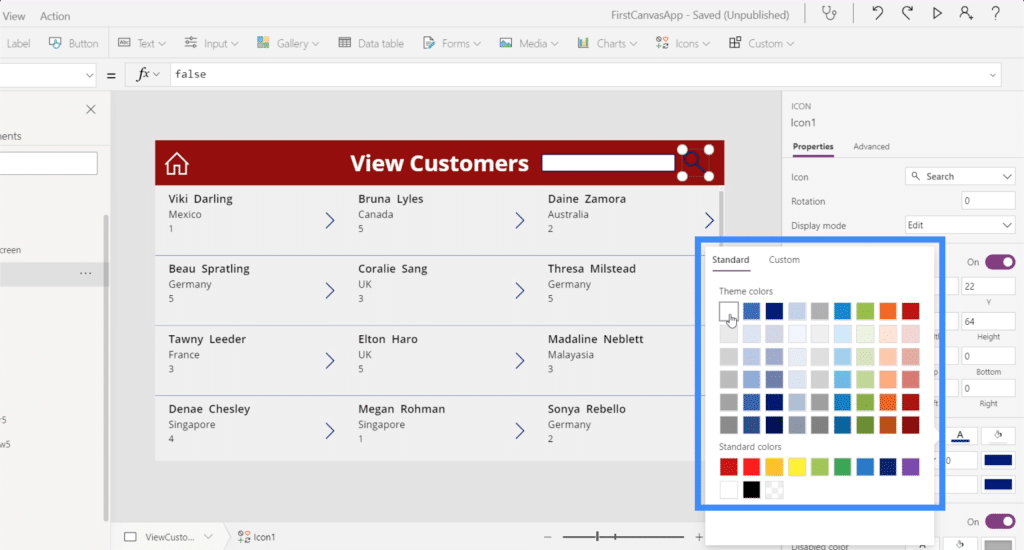
Then, let’s change the color to white so that it’s consistent with the other elements.
Now that we have a search icon, the goal here is to hide the search bar and have it appear only when we click the search icon.
If we click on the search bar and check the properties pane on the right, it shows that visibility is turned on.
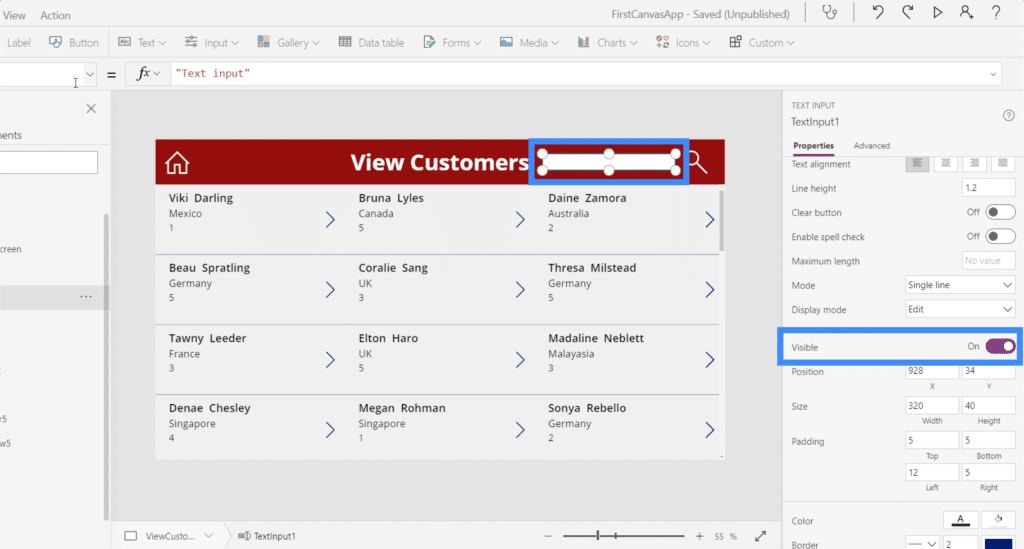
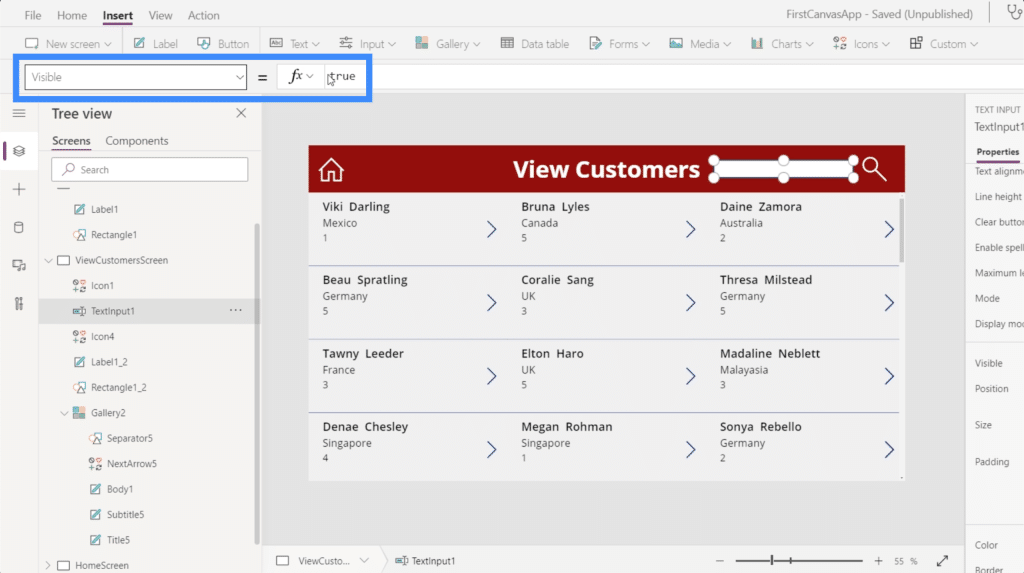
If we check the visibility property under the property dropdown, it shows that the visibility is set to true.
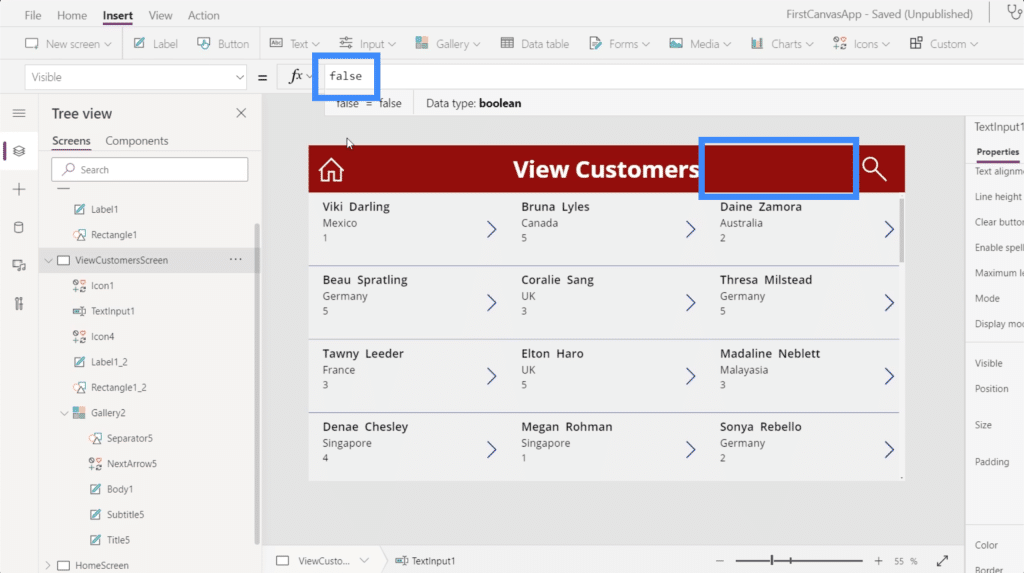
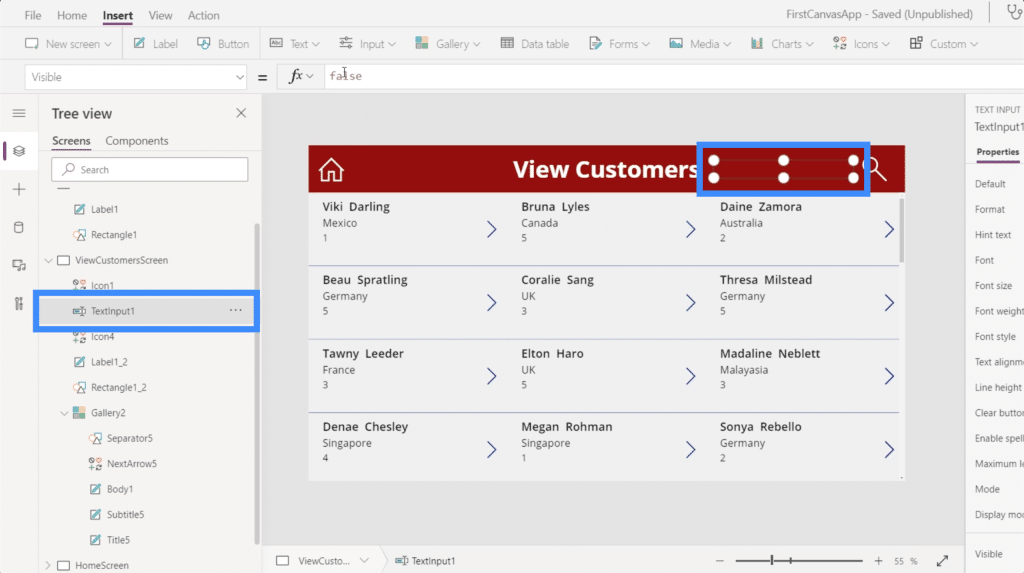
If we set that to false, the text box goes away. This is what we want to happen.
Don’t worry about referencing the text box once it’s not visible anymore. We can still reference that by clicking on the name of the element on the list on the left pane.
This is now where variables come into play. We discussed the use of variables in PowerApps in another tutorial.

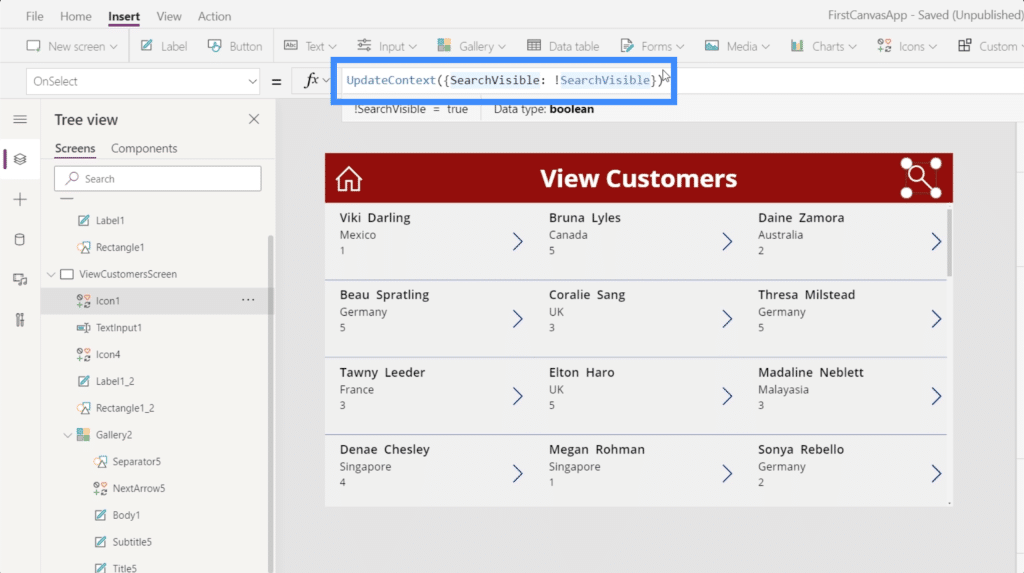
Since we want something to happen each time we click on the search icon; we’re going to use OnSelect.
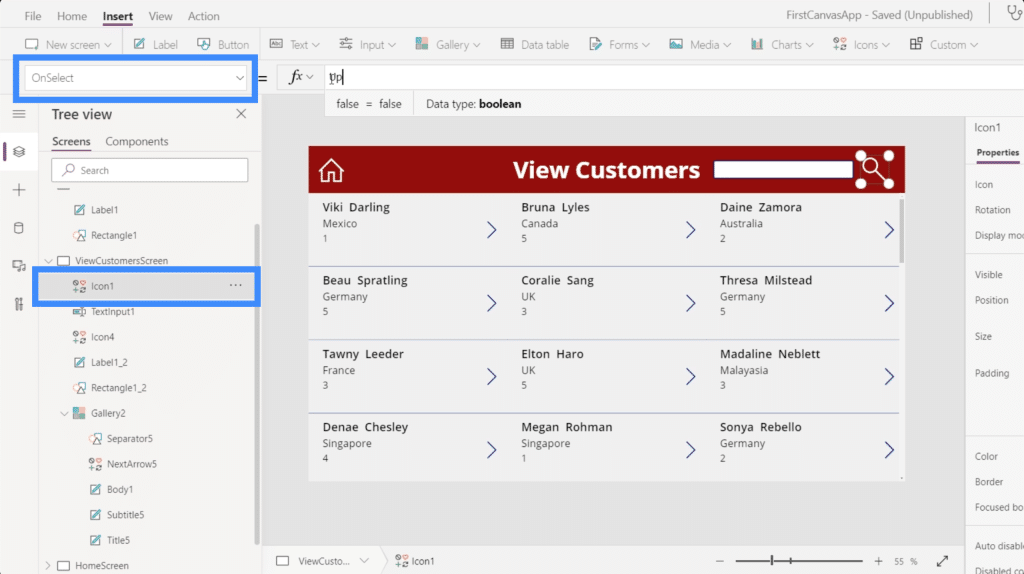
We’re going to use a variable called UpdateContext.
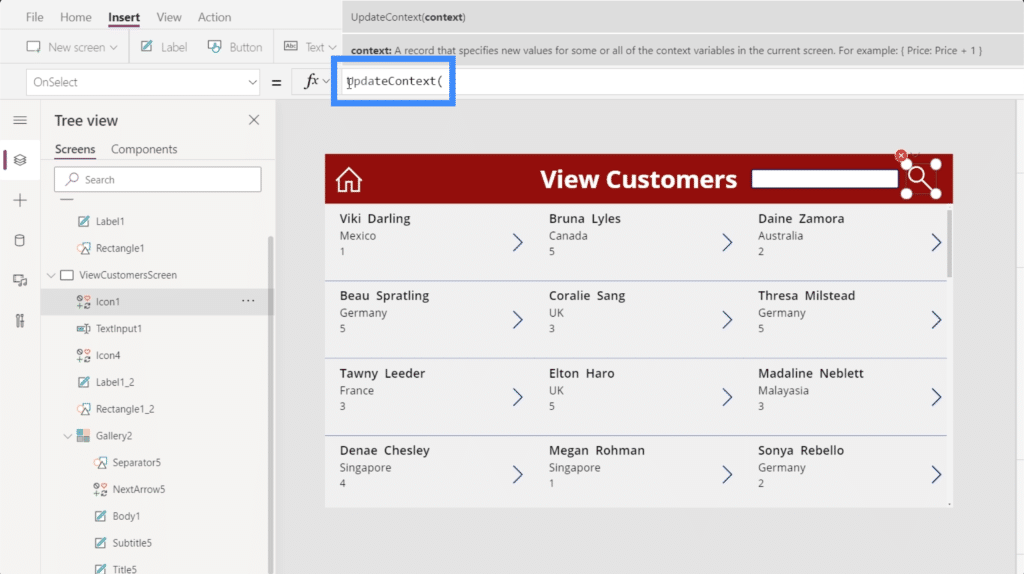
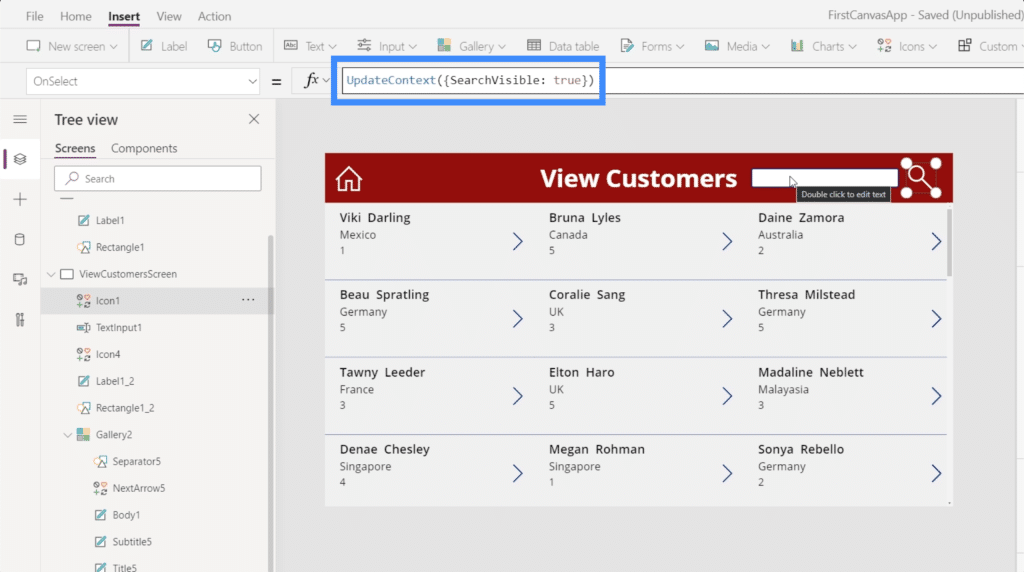
To use UpdateContext, we’ll need a variable dictionary enclosed in curly brackets. Let’s use SearchVisible and let’s set that to true.
Now that we have the variable in place, let’s tie the visibility property of our text box to the actual variable. Just click on TextInput1, then set the visibility to SearchVisible.
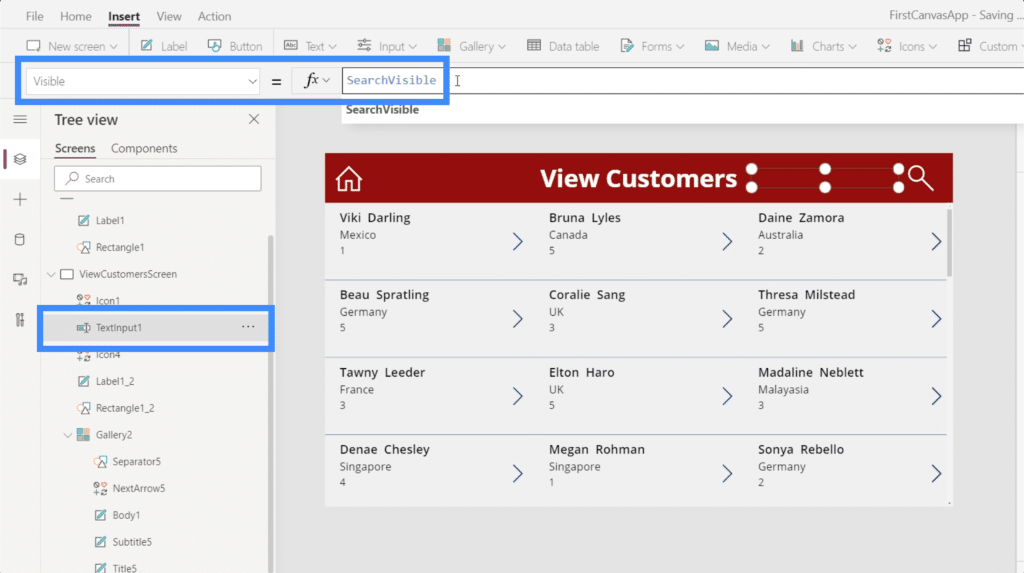
Once we’ve tied the variable to the text box element, the search box will only show up when we click on the icon.

With our current setup, the text box remains on the screen even after you’ve done your search. Ideally, we want that to go away once we don’t need it anymore.
So we’ll go back to the icon and change the formula for OnSelect. This time, we want the opposite action to happen when we click on the icon a second time.
To set an opposite action, all we need to do is to add an exclamation mark. Since SearchVisible currently makes the text box appear,!SearchVisible will make the text box disappear.
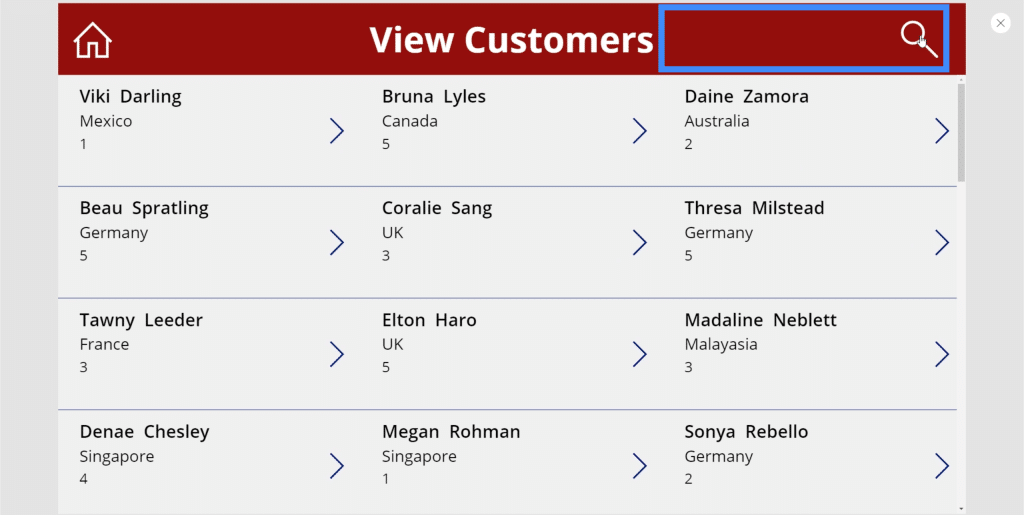
Now, if we click the icon the first time, the search box shows up. This means that the visibility property is turning into true.
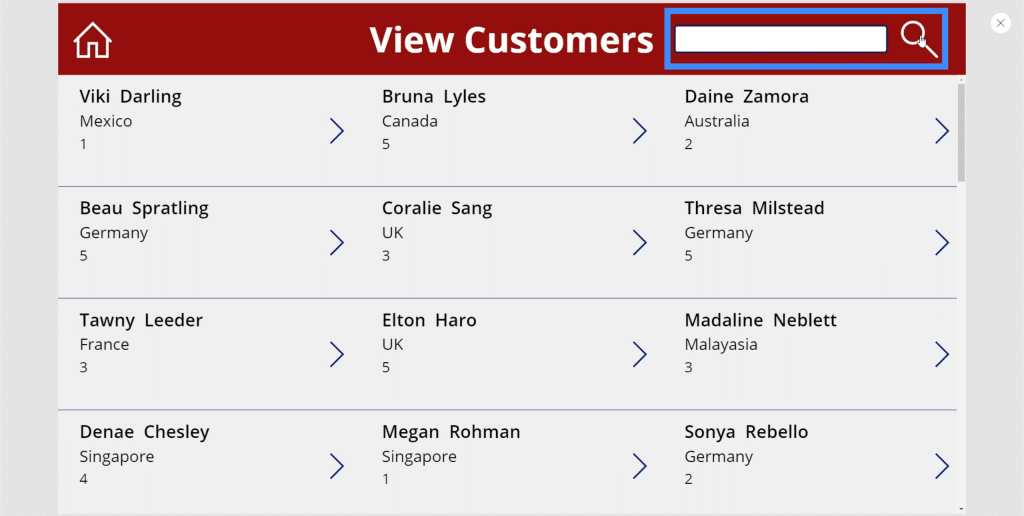
If we click the icon again, the visibility turns to false and the text box disappears.
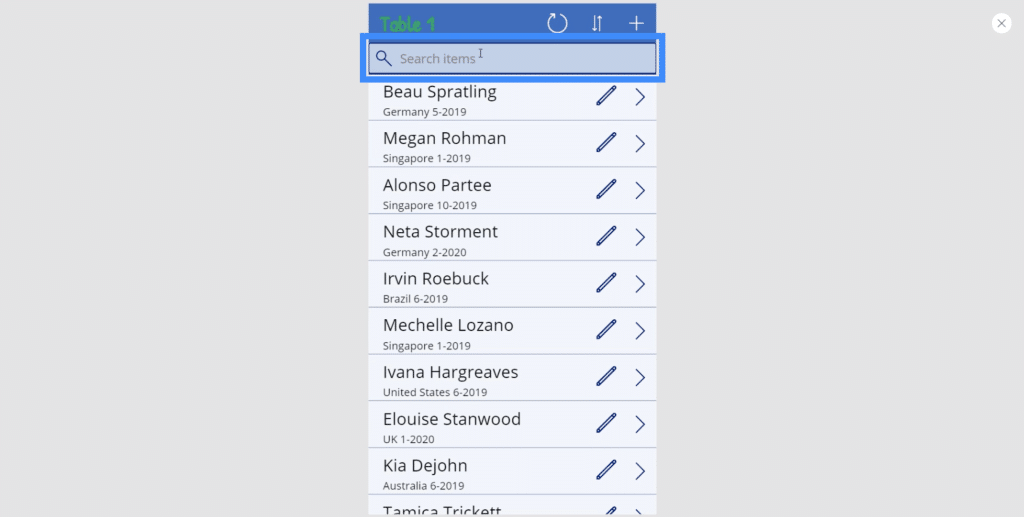
Adding A Hint To The Search Bar
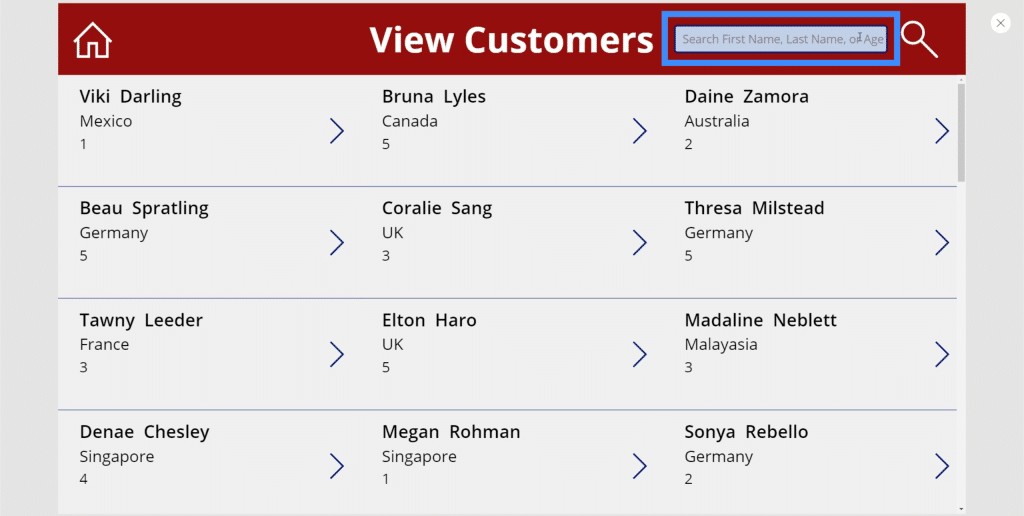
Since we’ve set the search bar to filter items based on the first name, last name, or agent name, it would be good to add a hint so that users will know what search terms to use.
To do that, just highlight the search bar then go to the right pane. Under properties, let’s type in “Search First Name, Last Name, or Agent Name”.
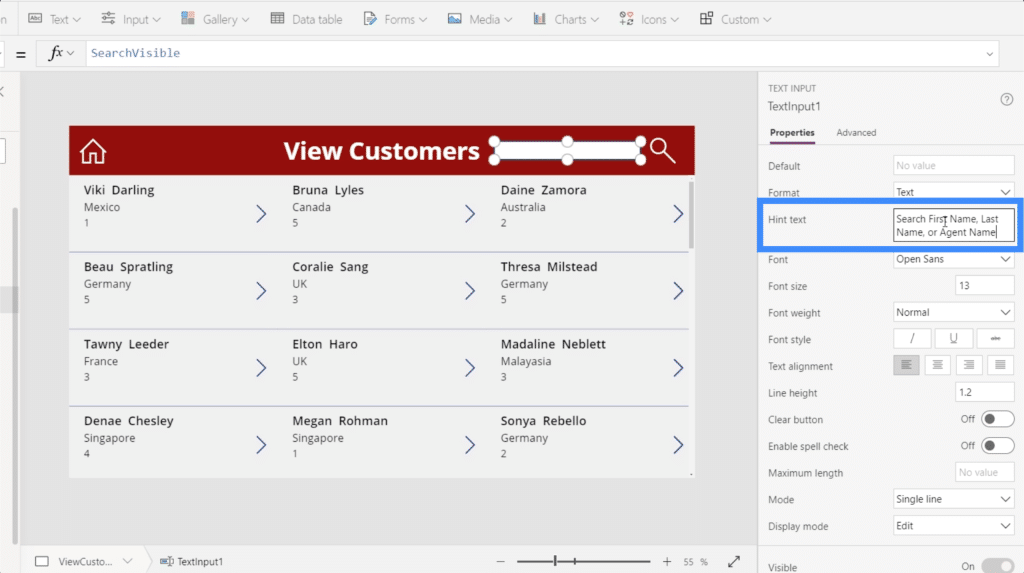
Now, we’re seeing that hint in the search bar, making it easier for users to do their search.
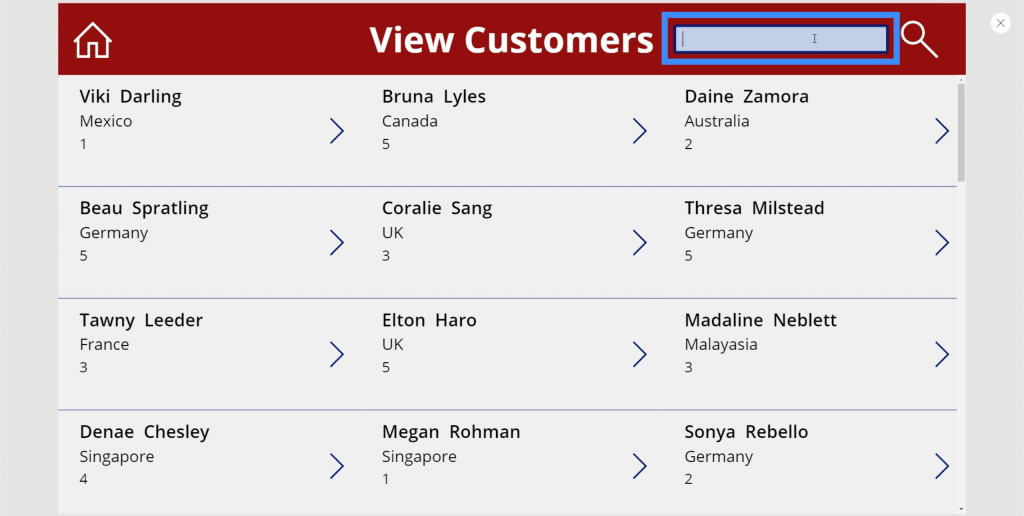
This hint also goes away once the user clicks on the search bar and starts typing.
***** Related Links *****
Power Apps Introduction: Definition, Features, Functions And Importance
Power Apps Environments: Setting Up The App Elements Properly
Power Apps Canvas: How To Create An App From Scratch
Conclusion
The PowerApps search field is definitely one of the things you need to add to your app especially if you’re working with quite a great deal of data in your gallery.
Remember that the most successful apps prioritize ease of use and intuitive controls. Adding a search function definitely covers those requirements.
All the best,
Henry