In this tutorial, we’ll learn how to create Power Automate UI flows that bring Robotic Process Automation (RPA) capabilities to our workflows. We’ll also learn how to analyze and modify the UI flow code.
A Power Automate UI flow allows users to record an action while setting parameters of running that action in repetition depending on where we want to place that action. It could be on our desktop or on the web.

Creating Power Automate UI Flows
First, click the UI flow option.
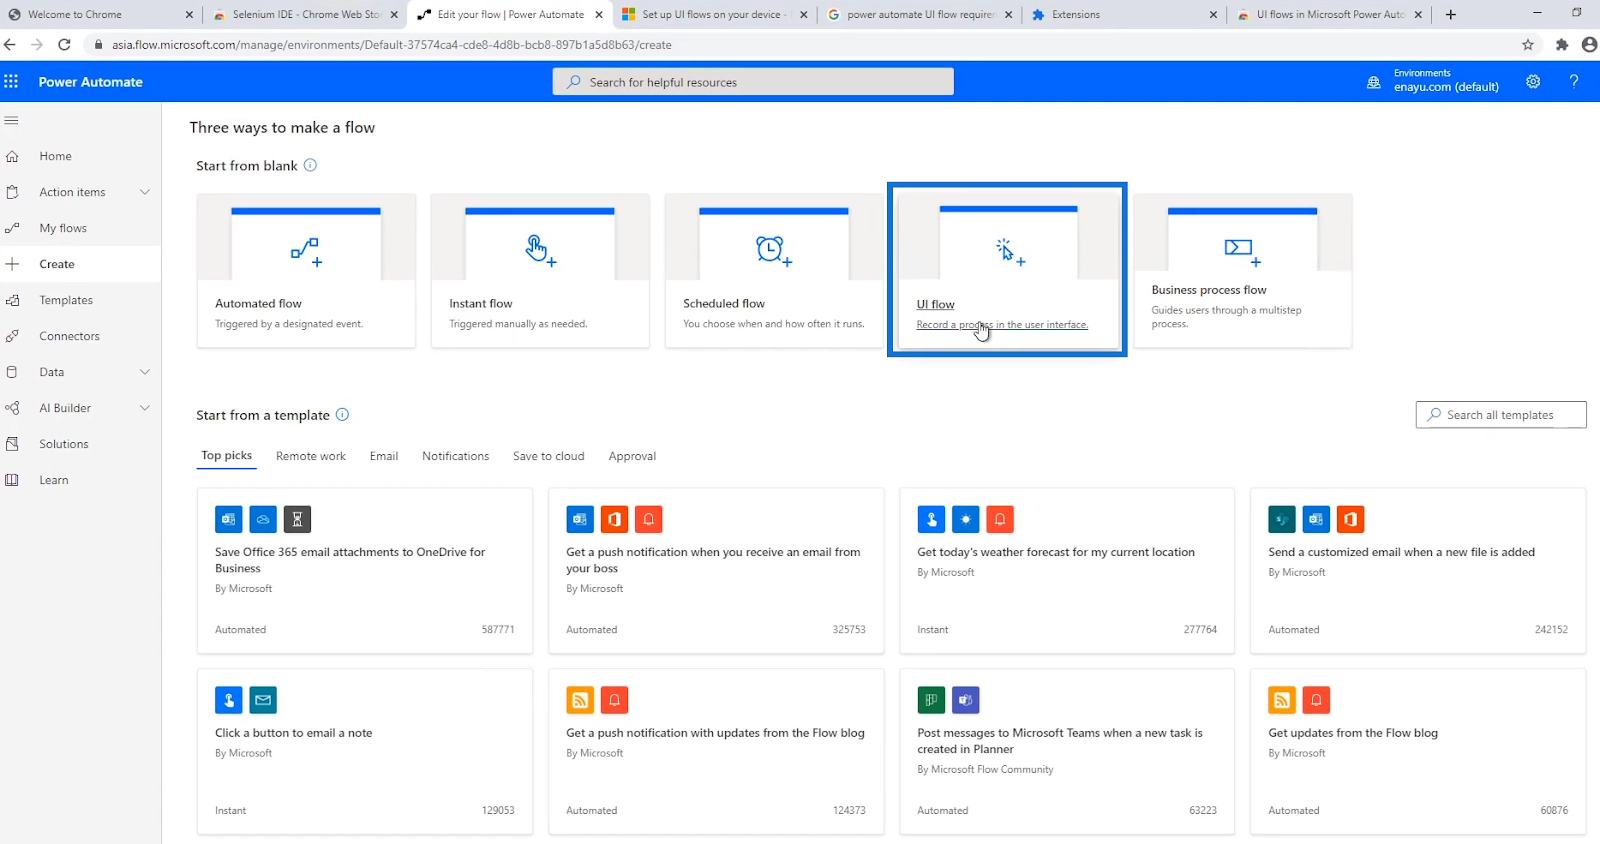
Then, we need to choose between these two options on how we’d like to build our UI flow— using Windows recorder or Selenium IDE.
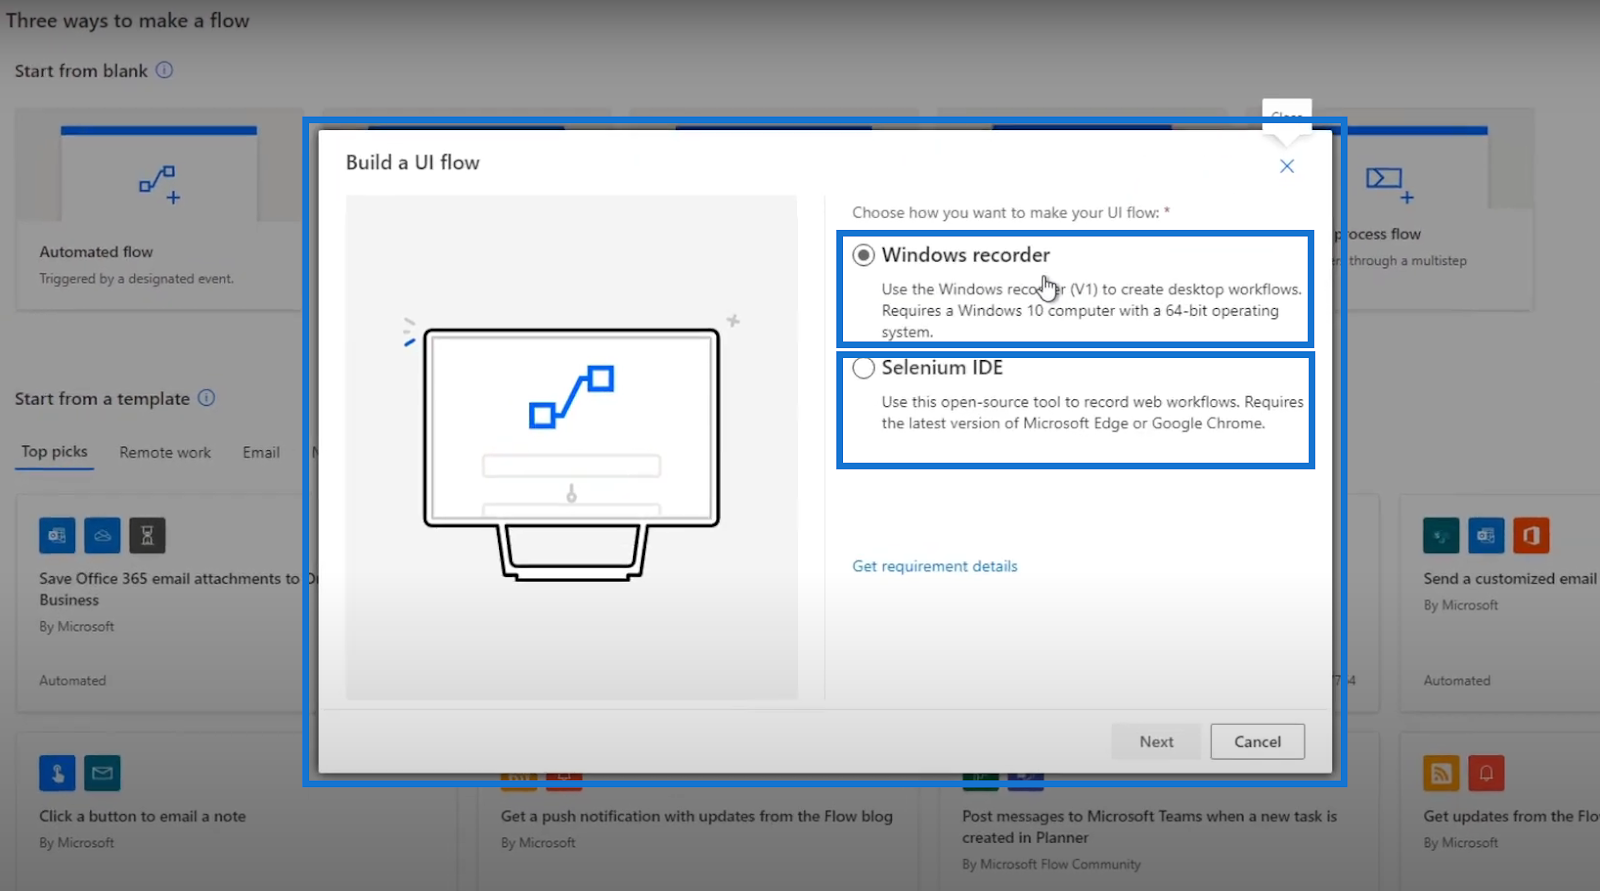
The Windows recorder option creates a UI flow that interacts through the desktop, while Selenium IDE builds a UI flow that interacts with websites. Both options follow a Robotic Process Automation.
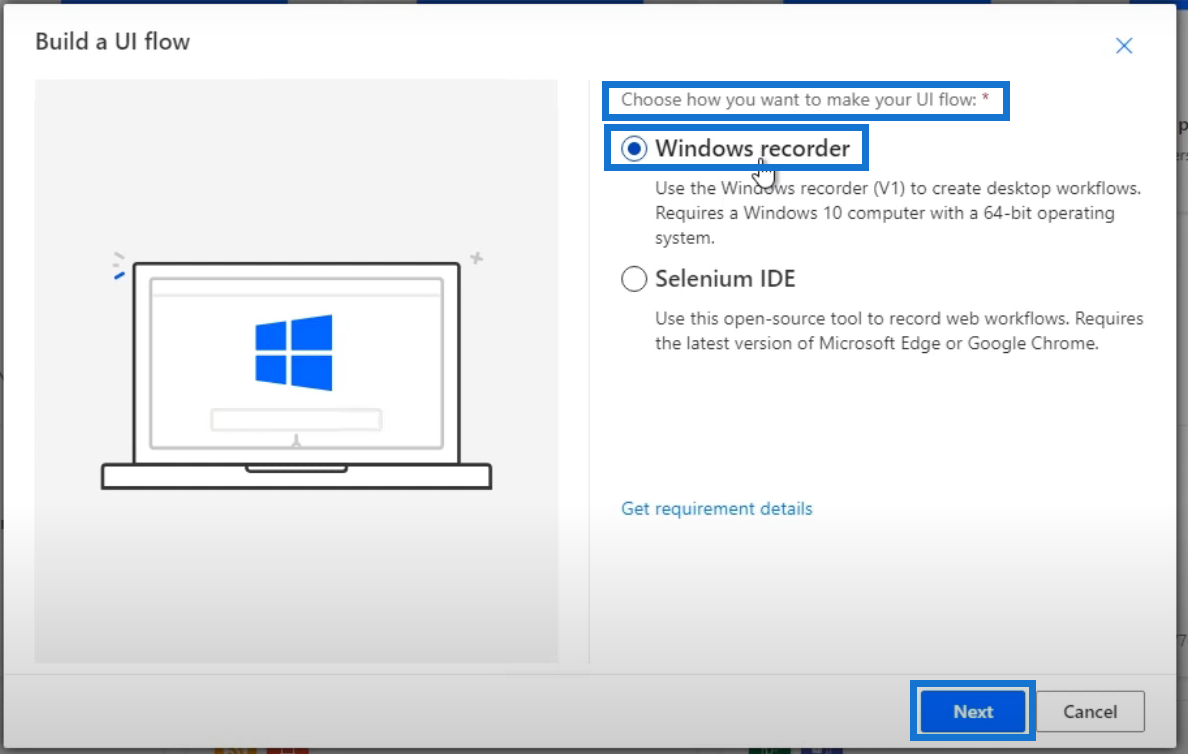
In this example, we’ll be creating a Power Automate UI flow using the Windows recorder which basically runs on our desktop. So, click the Windows recorder option and click Next.
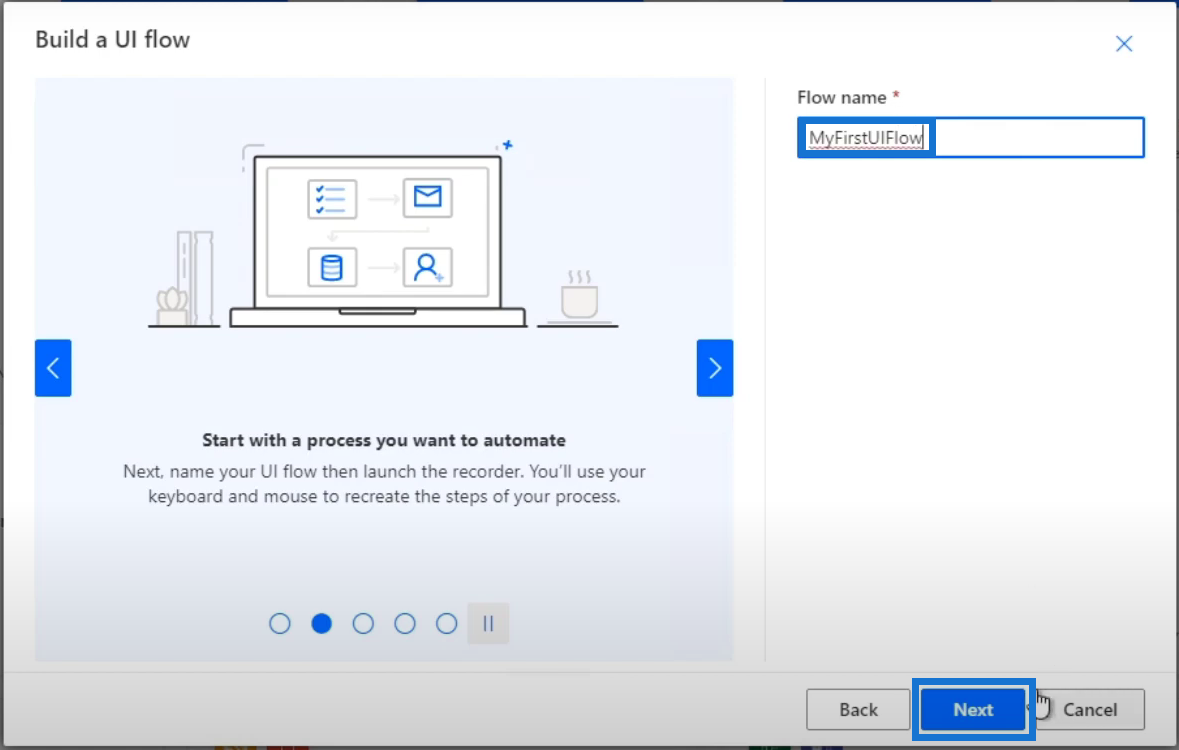
After that, let’s name our flow. For this one, let’s call it “MyFirstUIFlow” and click Next.
This environment is different from the flow diagrams we usually have. It’s set up like this because it wants us to create a UI-specific flow where we can only do the UI flow aspect of it and we can’t interact with other connectors such as Twitter, Outlook, and Slack.
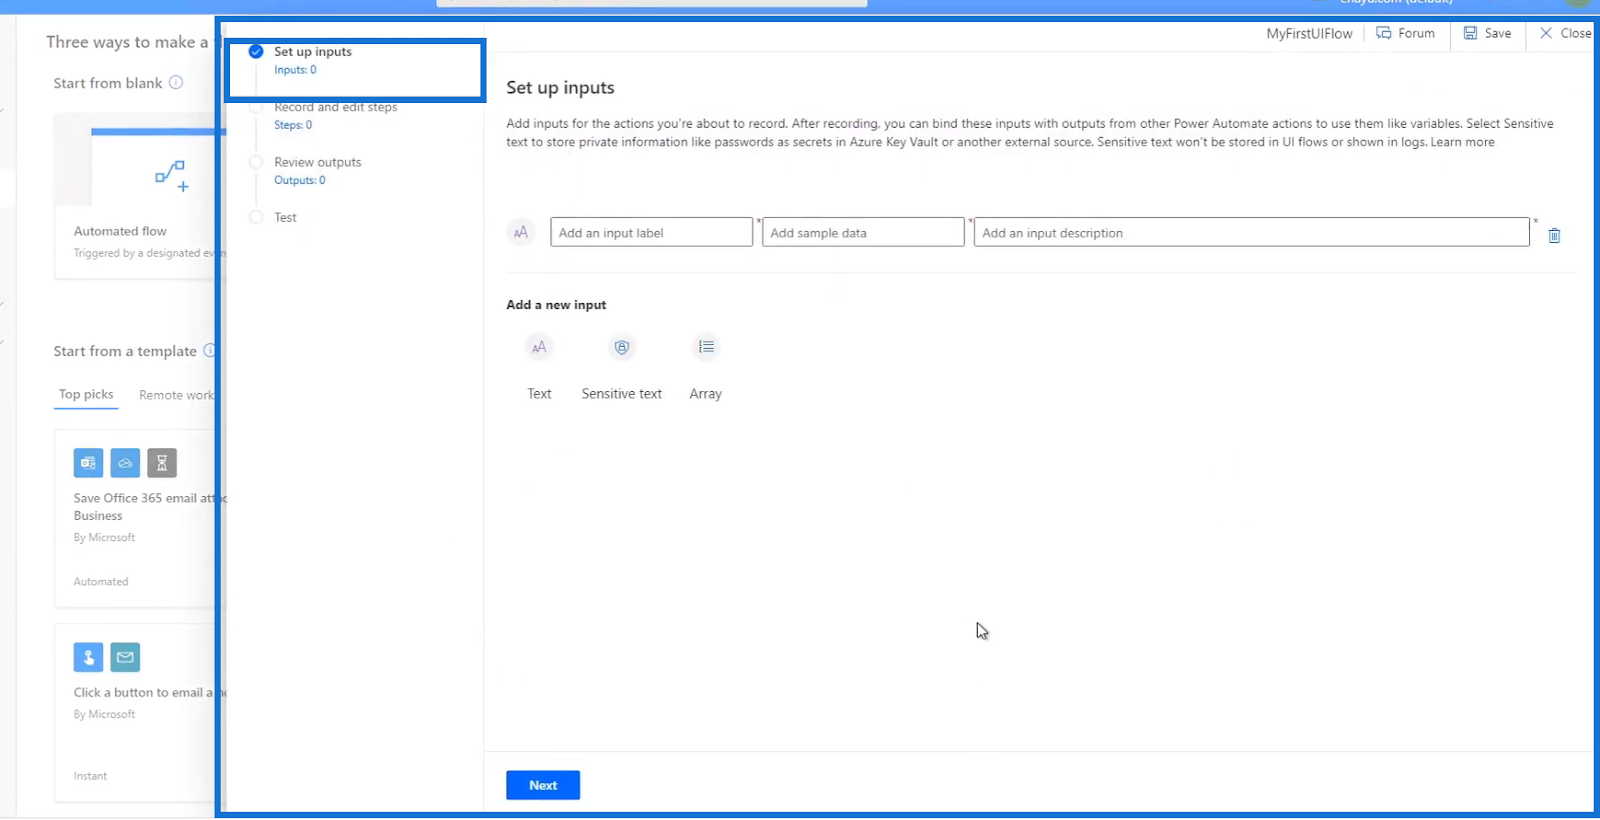
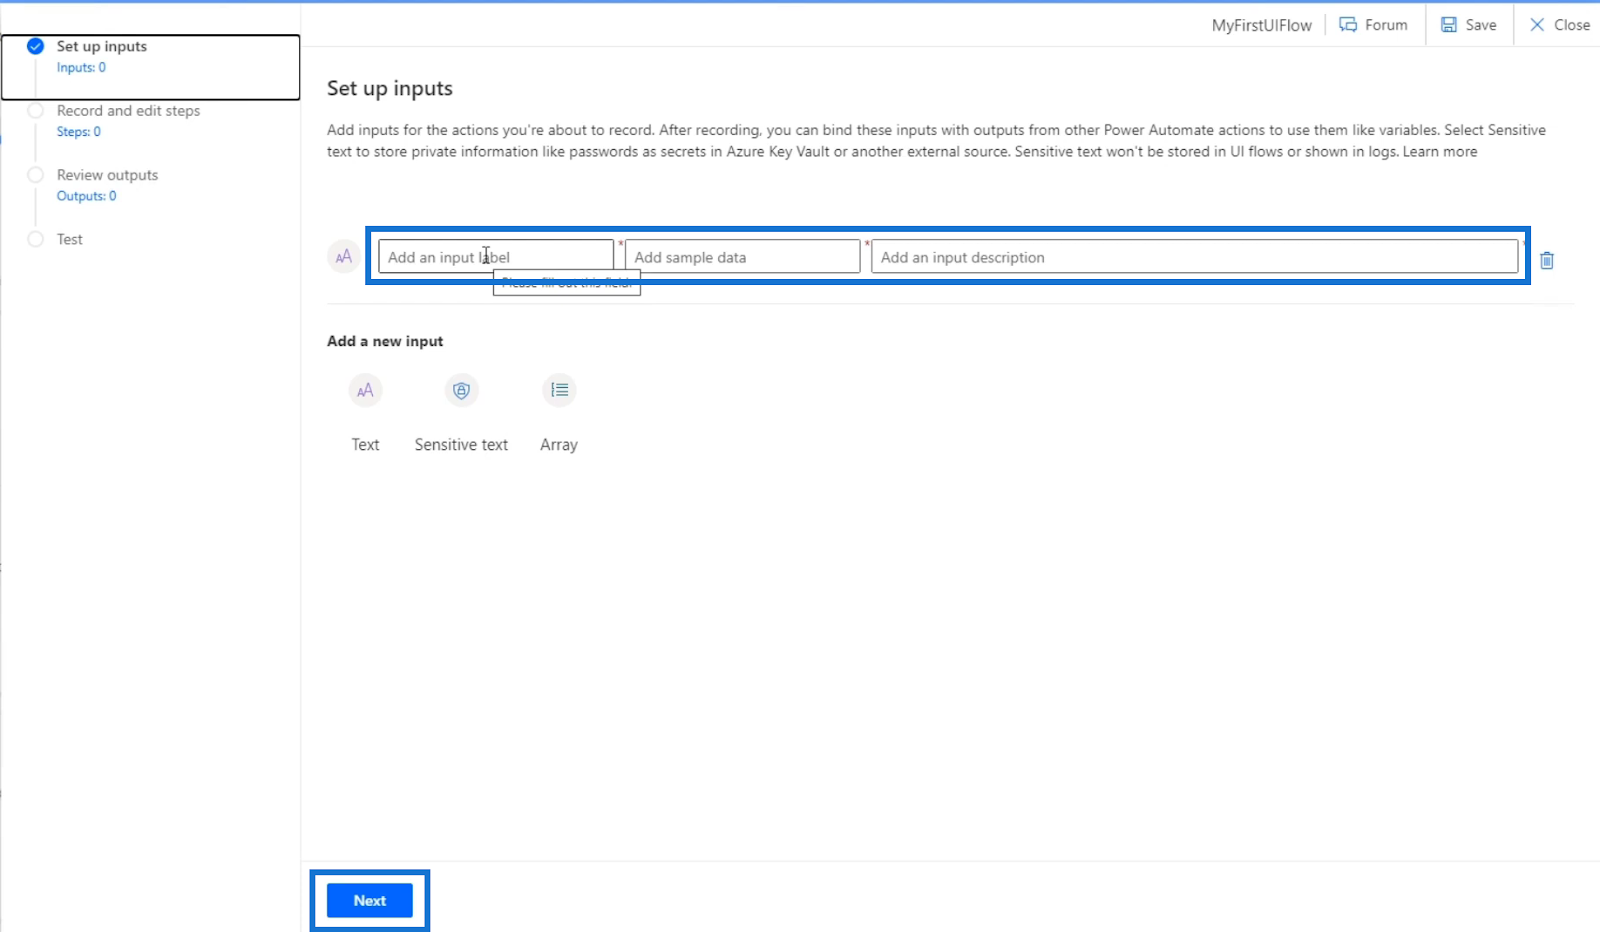
We’ll set up our inputs first in this environment if there are any. After that, click Next.

The next step is to actually record our flow and create the steps of the process we’ll automate. Once done, click Next.
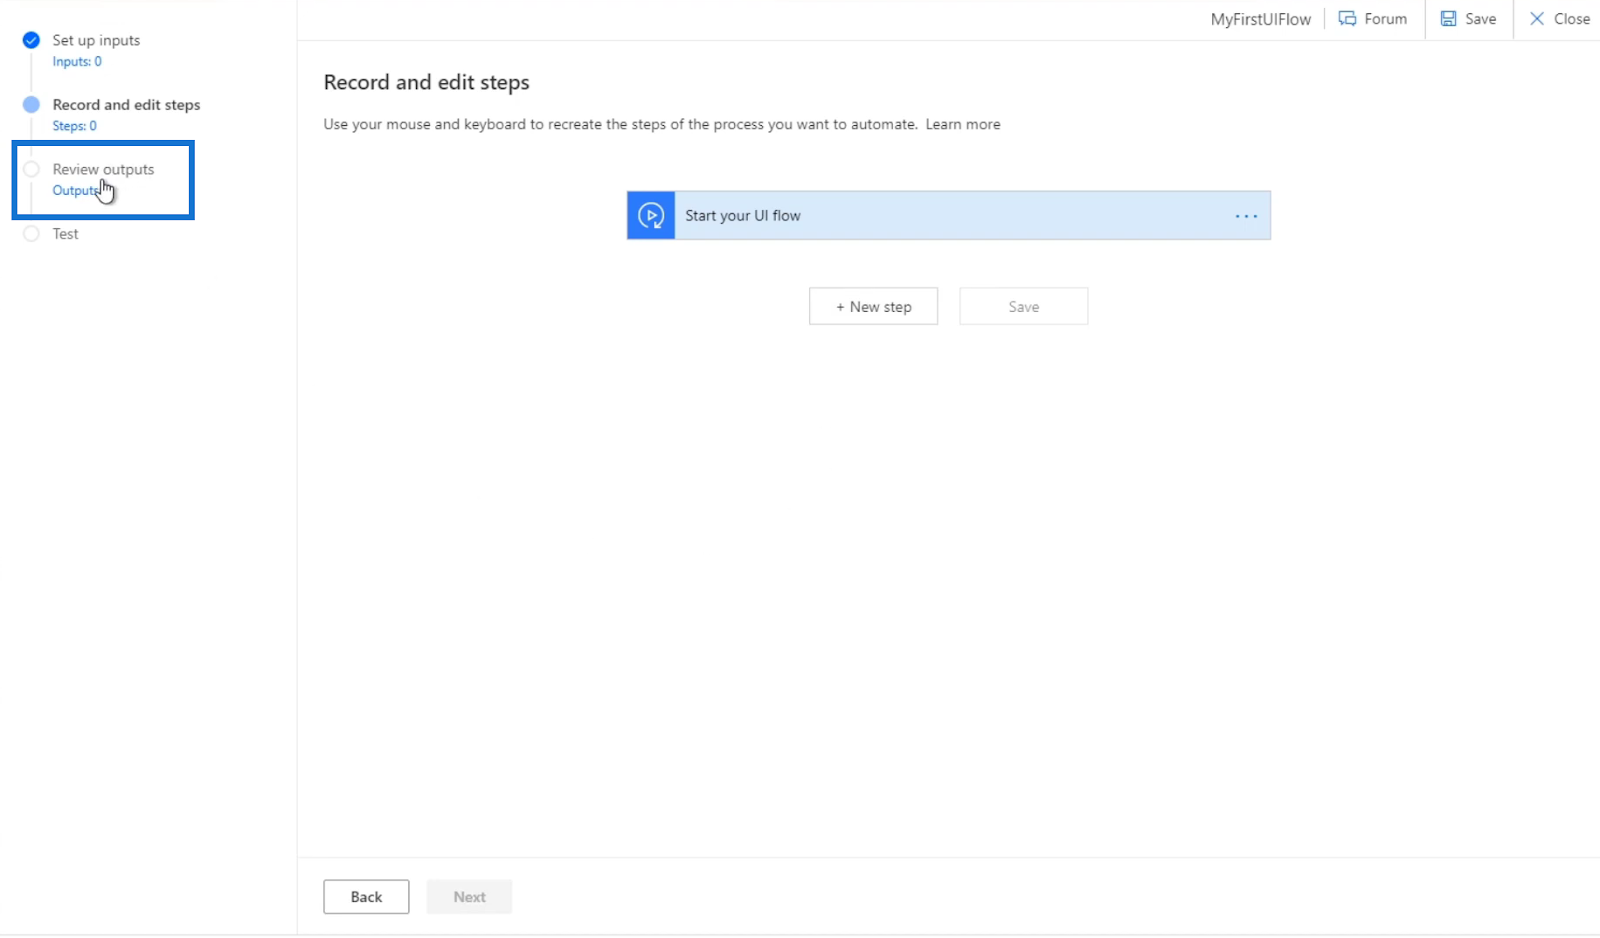
The last step is to review the output. But since we didn’t record any actual flow yet, we couldn’t go to the Review outputs display.
Recording Power Automate UI Flows
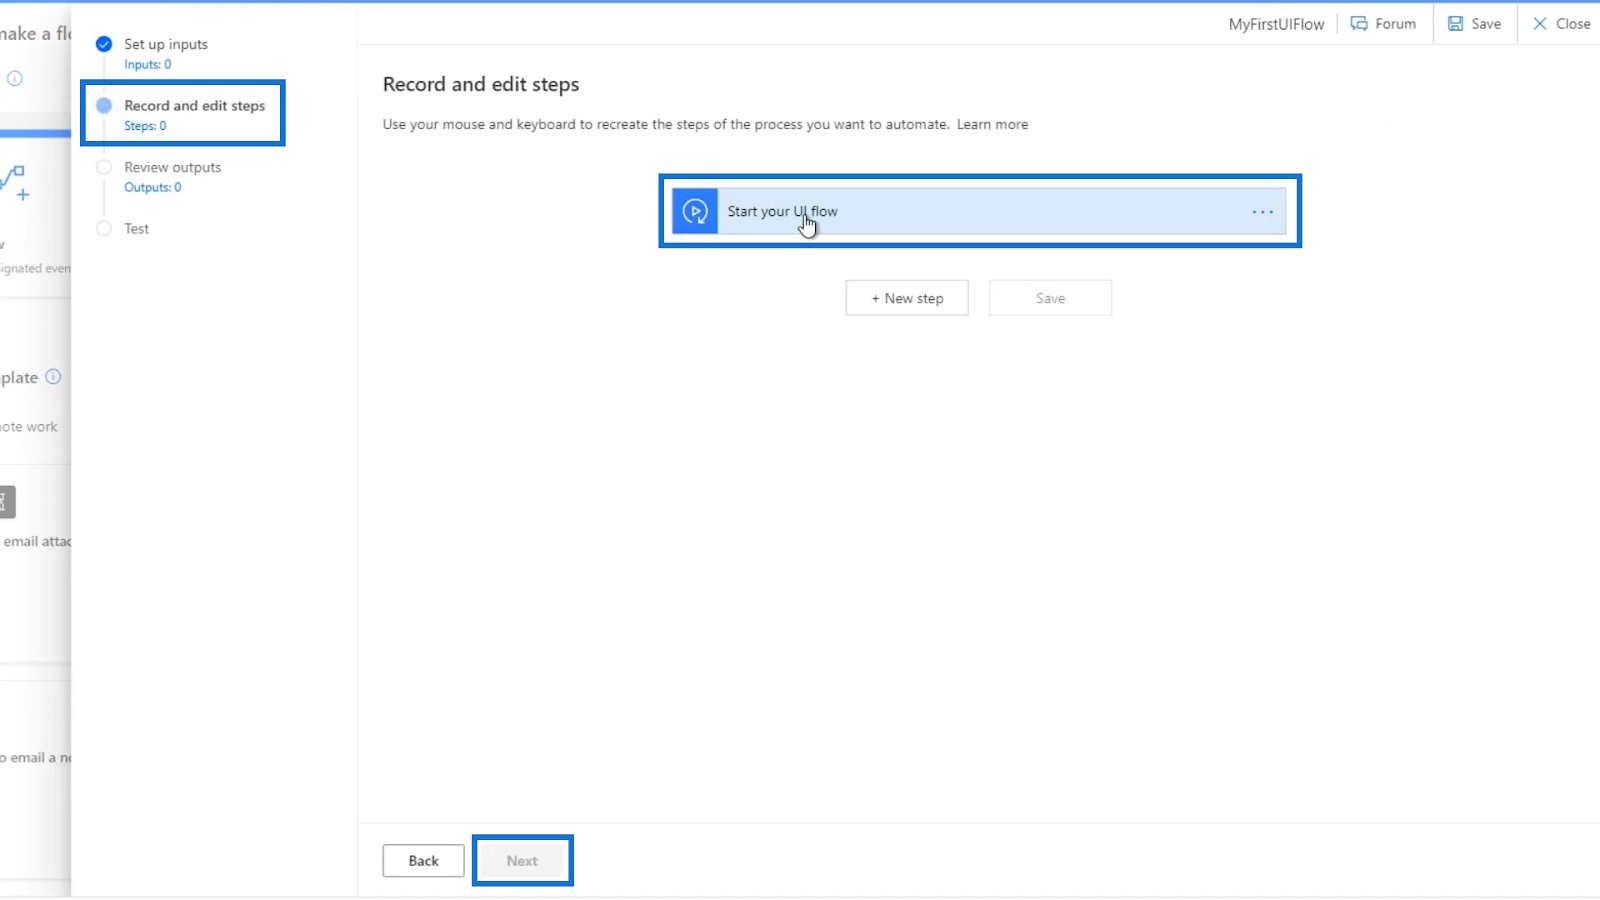
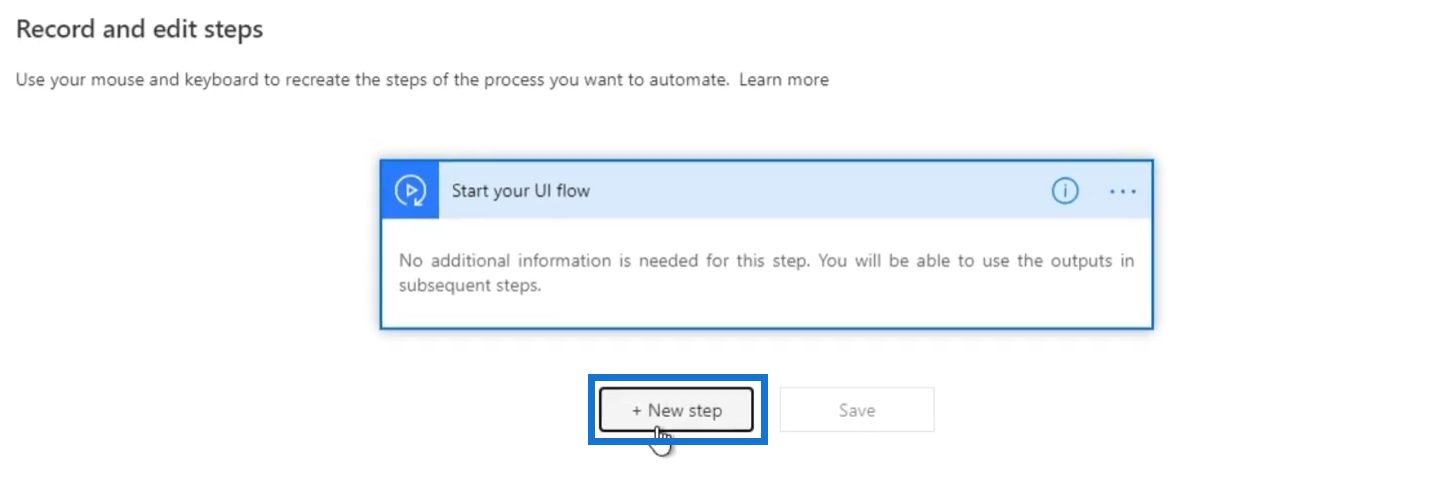
In the Record and edit steps window, we’ll have the Start your UI flow trigger.
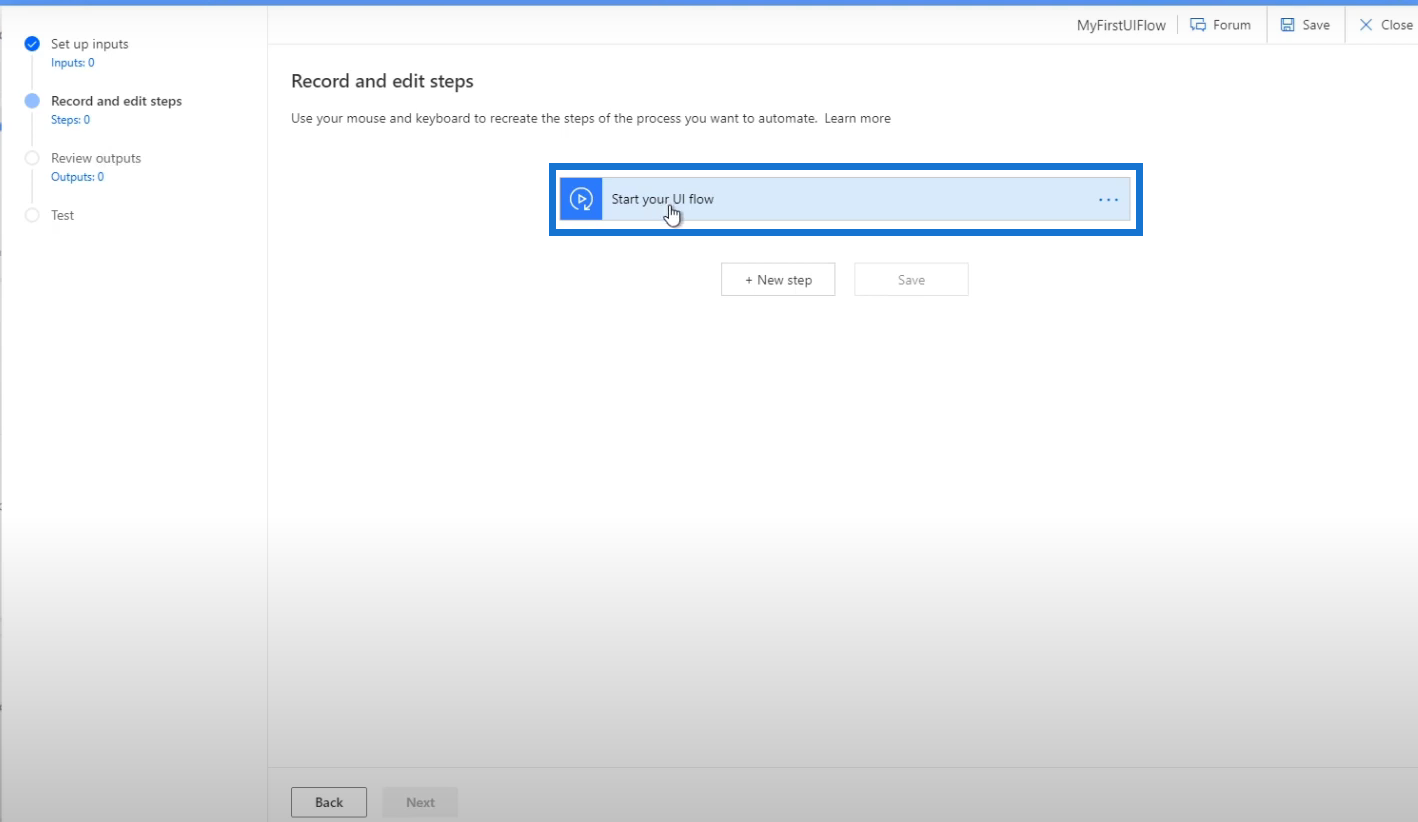
Click New step.
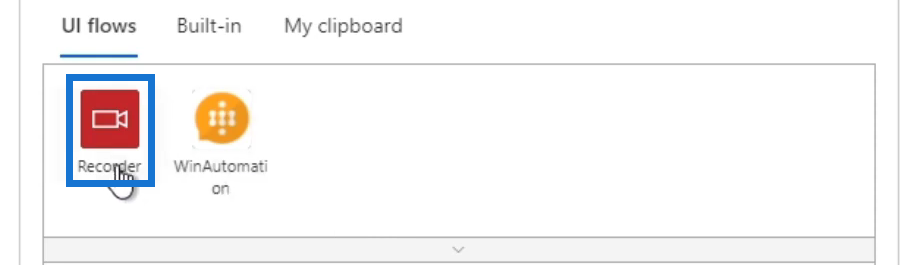
Then, let’s choose an action. Under the UI flows tab, we have 2 options — the Recorder and WinAutomation. You’ll notice that we don’t have the other connectors that we usually see because this step is only used to build UI flows.

WinAutomation is a software used by people who are familiar with Robotic Process Automation (RPA). It allows users to automate desktop actions such as changing registry keys and changing back-end settings of the desktop in which the Recorder doesn’t.
But in this tutorial, we’ll only be learning about the Recorder since most of the actions in the UI flow requires using it. So, let’s click Recorder.
Then click the Record app option.
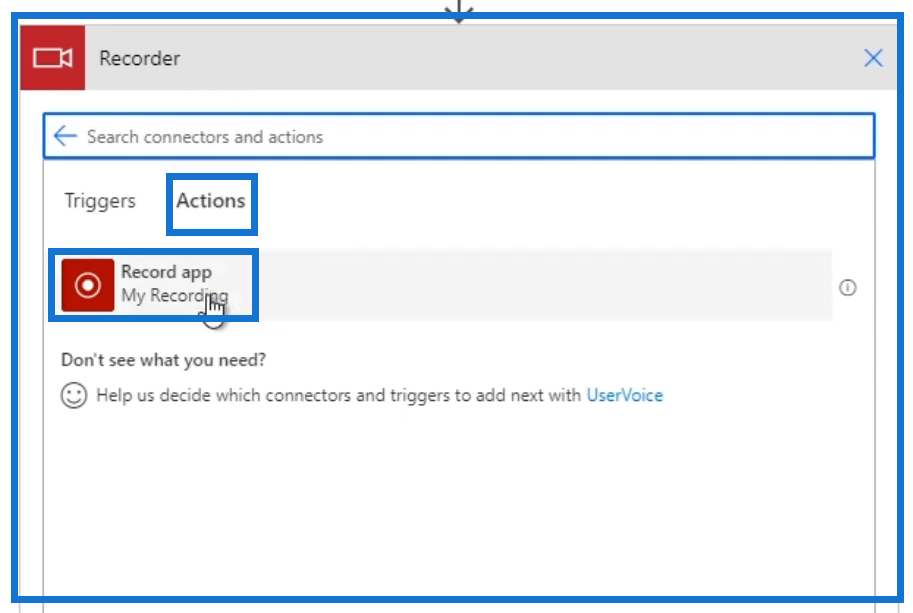
When clicked, a message will be prompted.
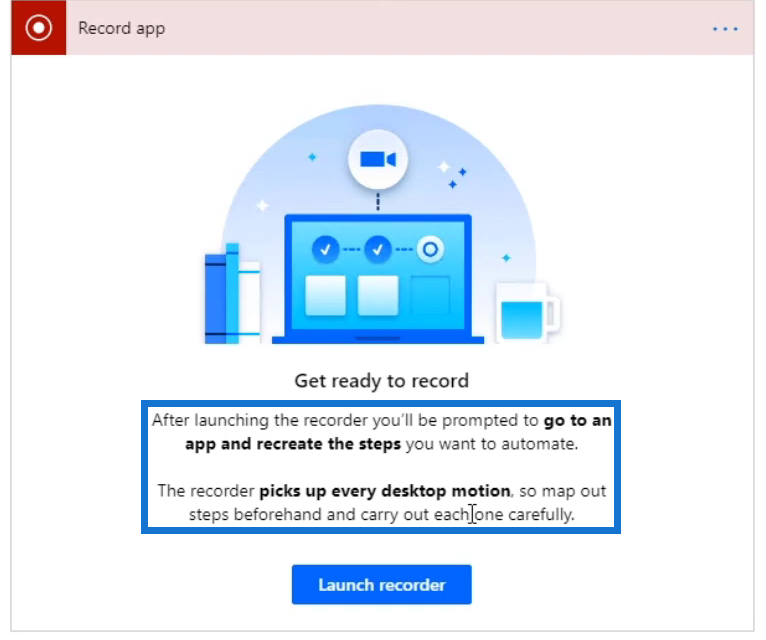
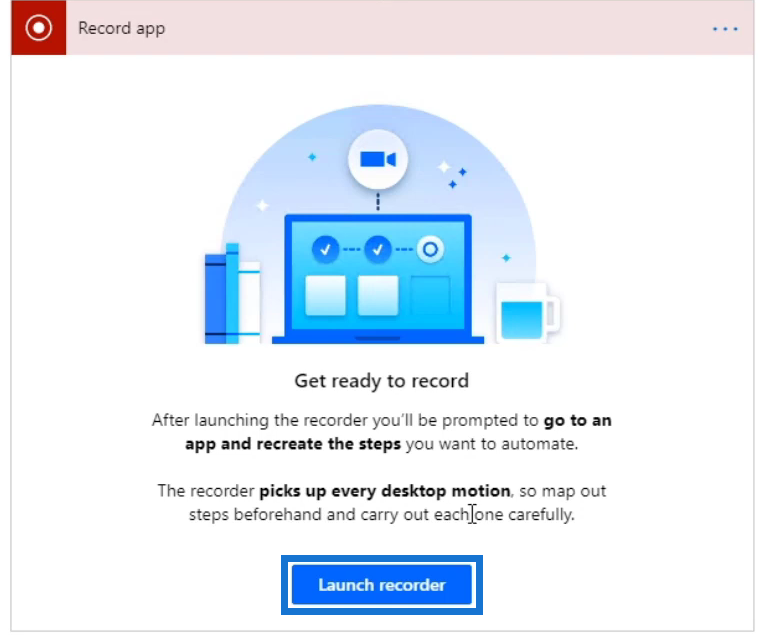
For this example, let’s create a simple UI flow that opens up a Notepad file then types “Hello my name is Henry”. To do that, click Launch recorder.
It will then display a pop-up window and option at the top that asks us to record.
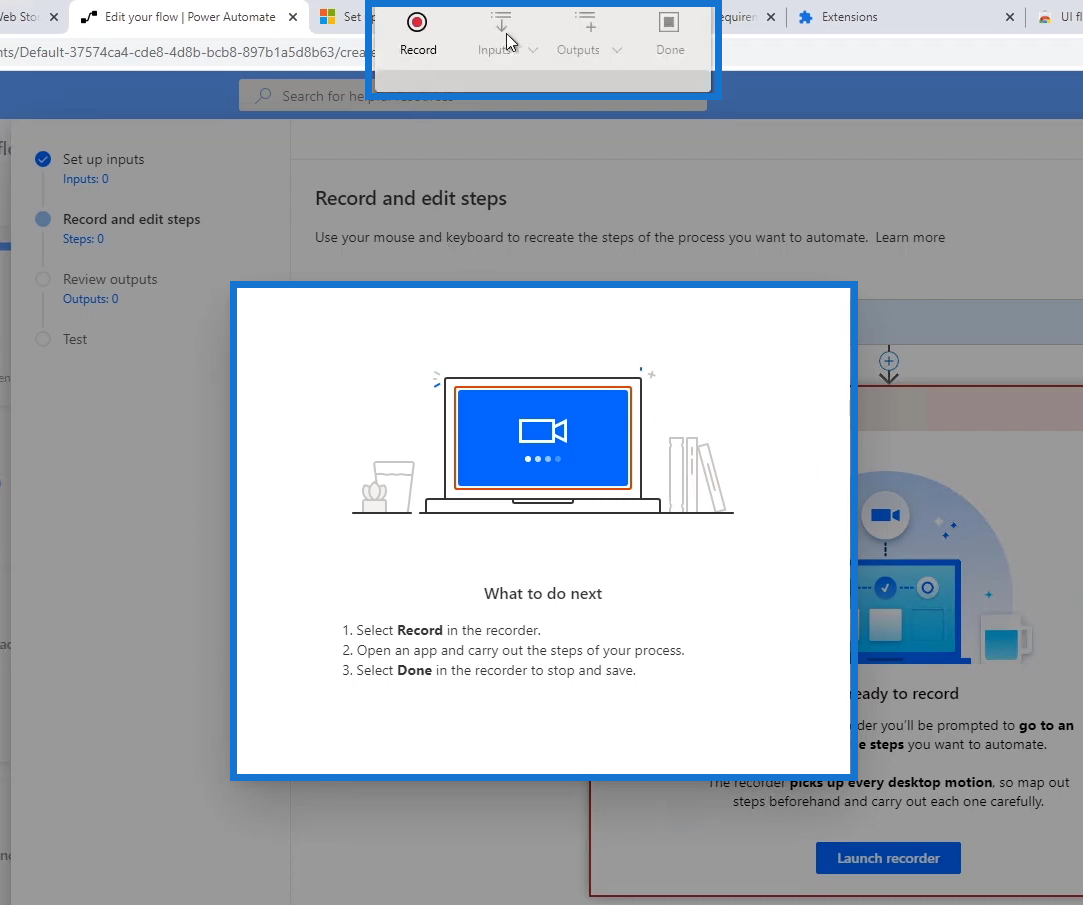
Click the Record button.
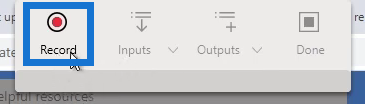
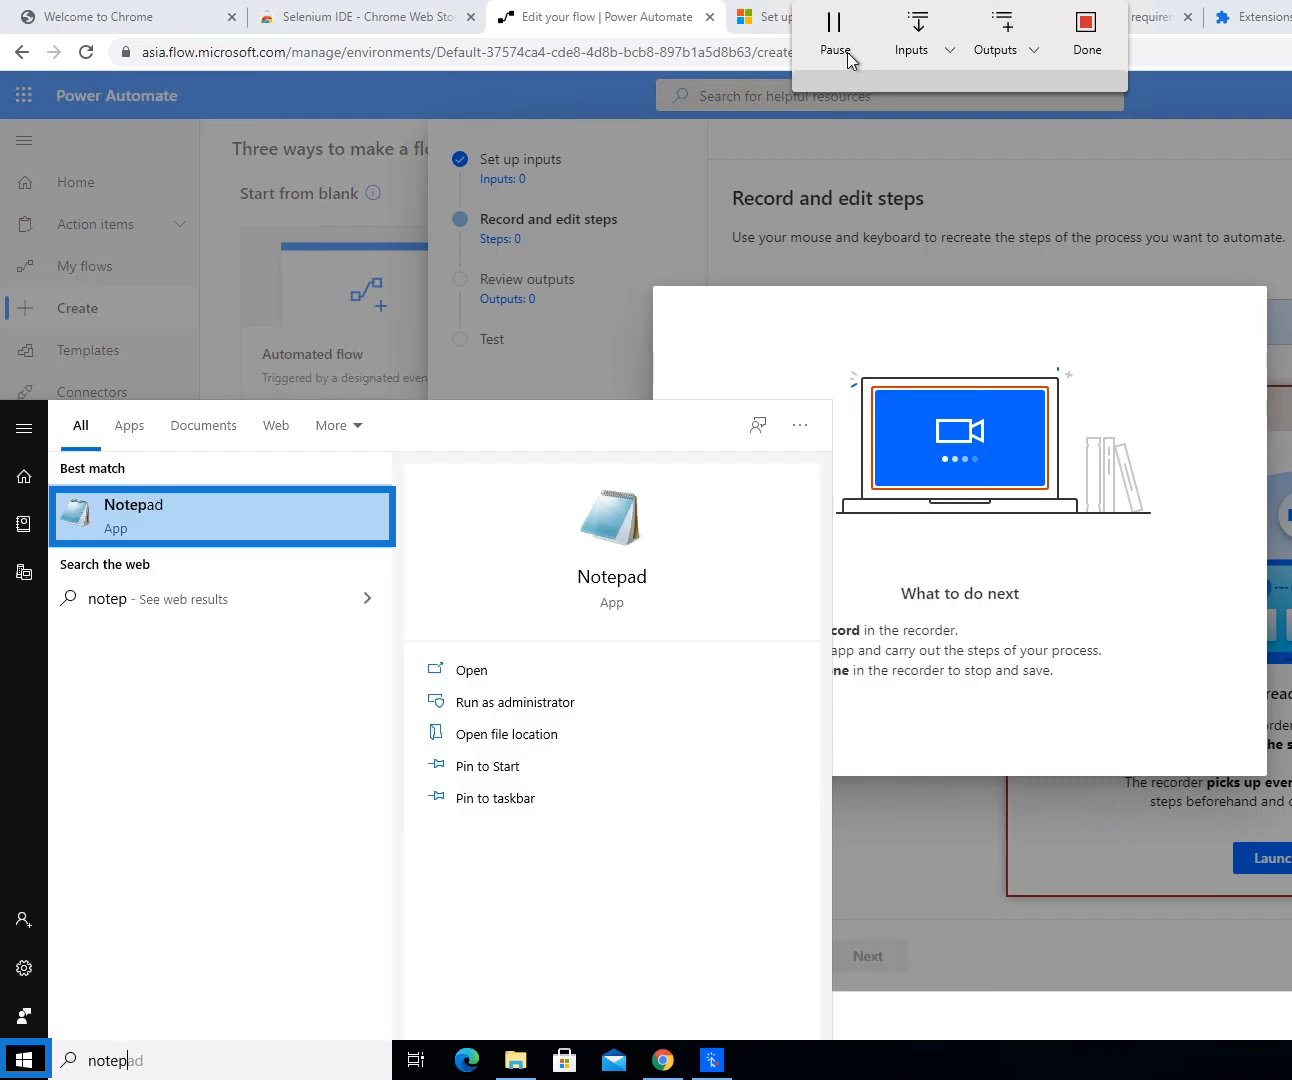
When clicked, it’ll start to record all our mouse movements and actions in the background. Now, let’s click the Windows Start button and open a Notepad.
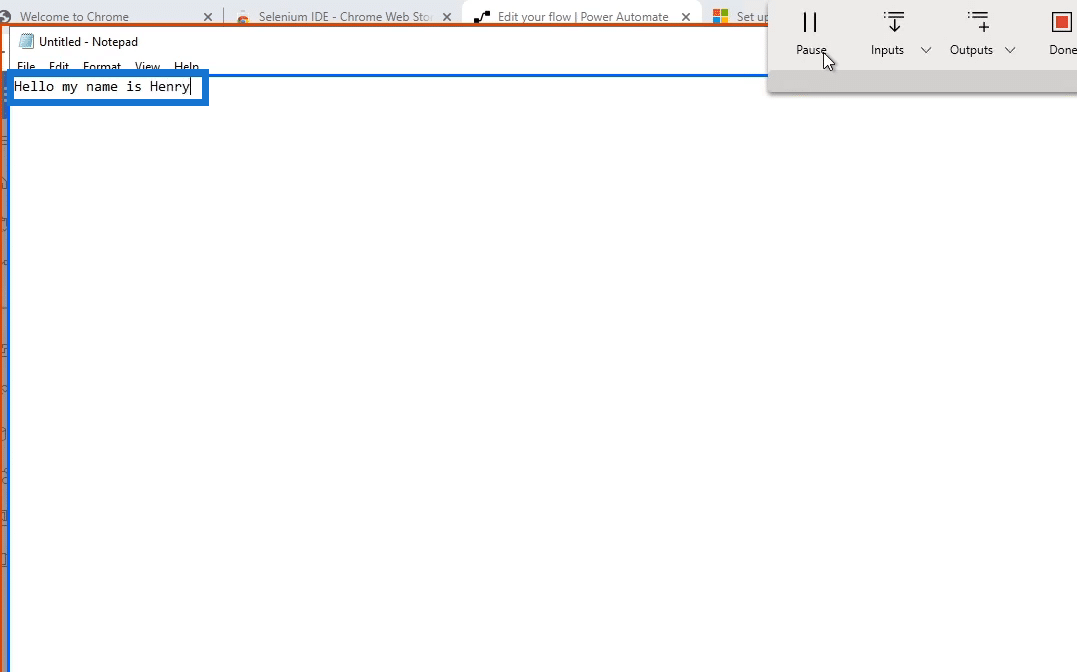
Then in the Notepad, start typing “Hello my name is Henry”.
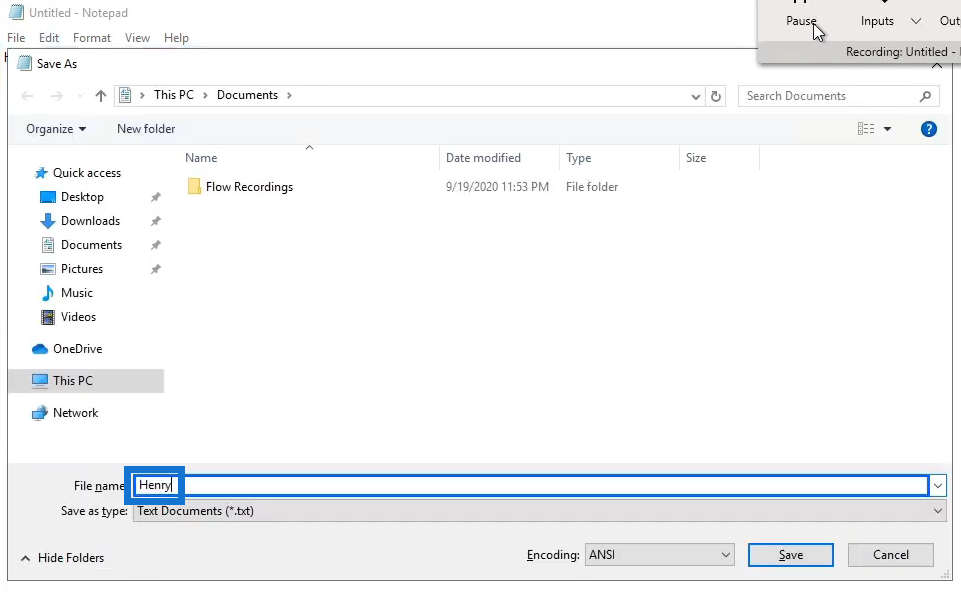
Save the file as Henry and press Enter.

Lastly, click the Done button.

Now, we’re done recording our first UI flow.
Checking The Codes Of Our UI Flow
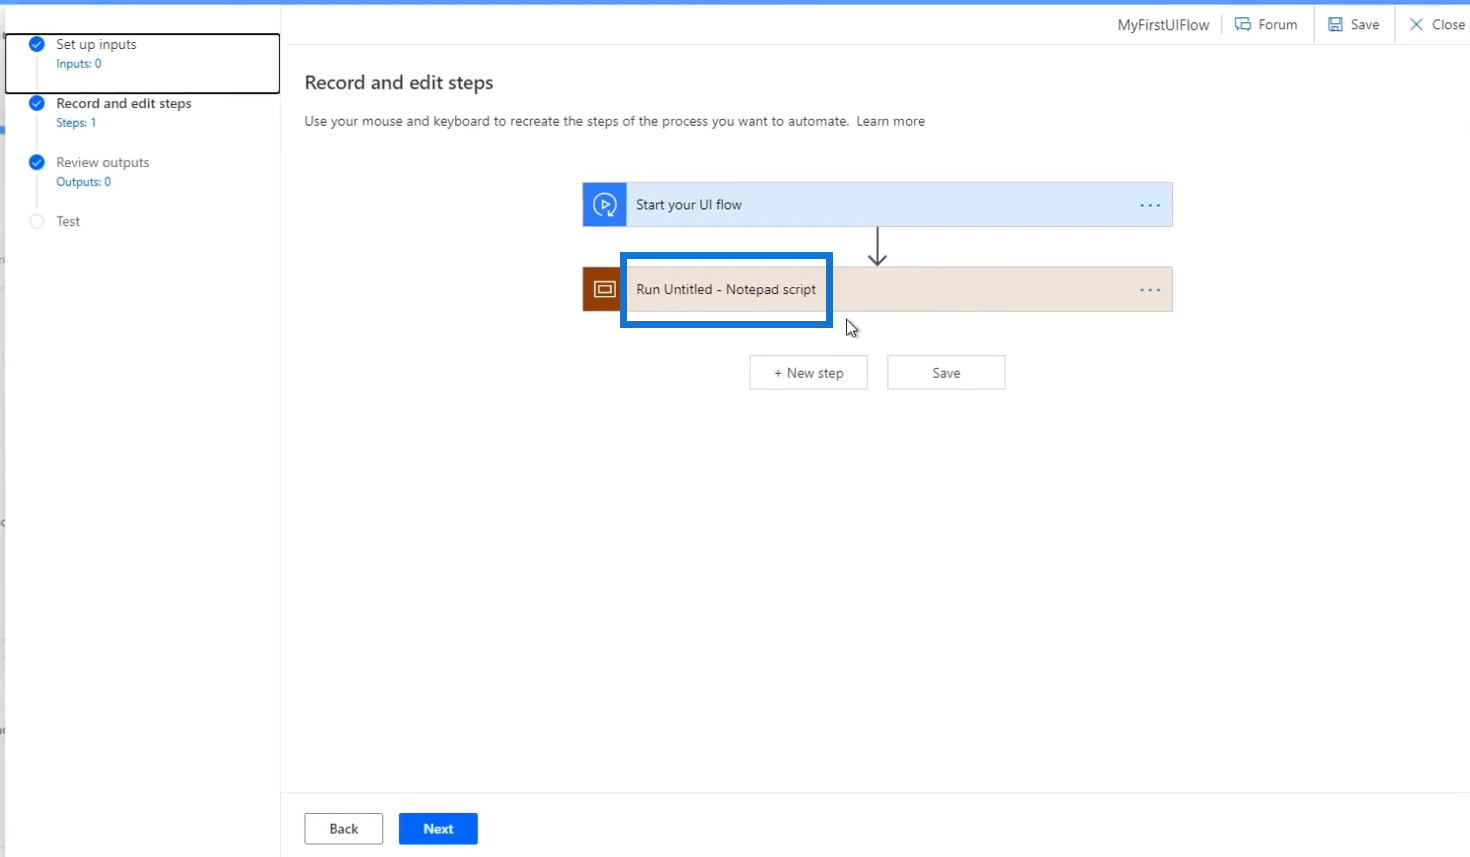
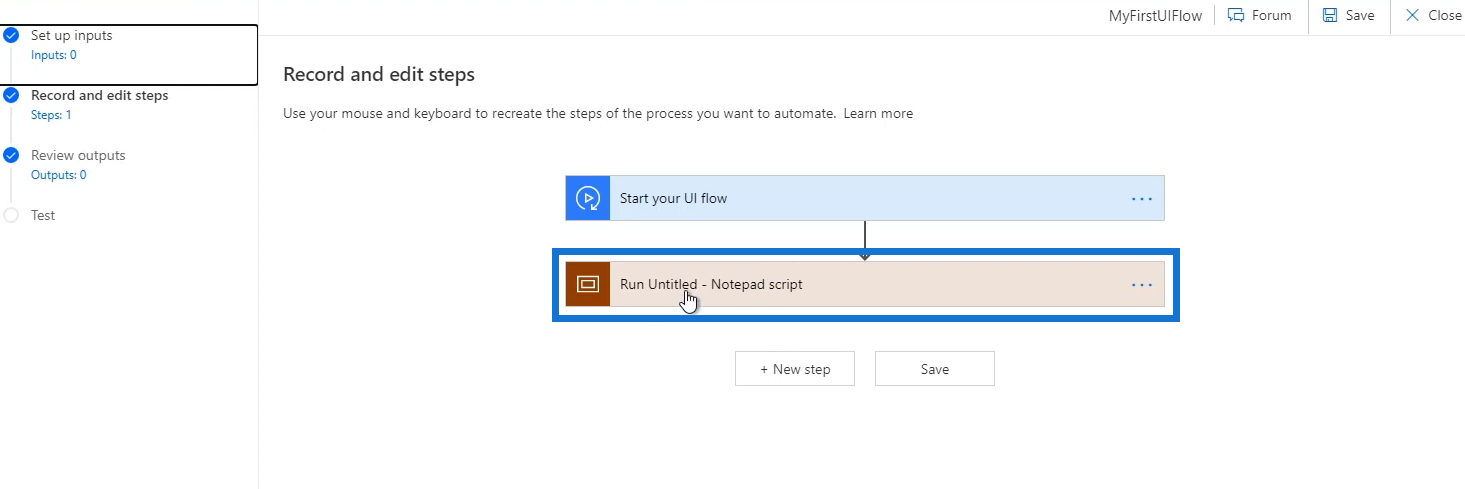
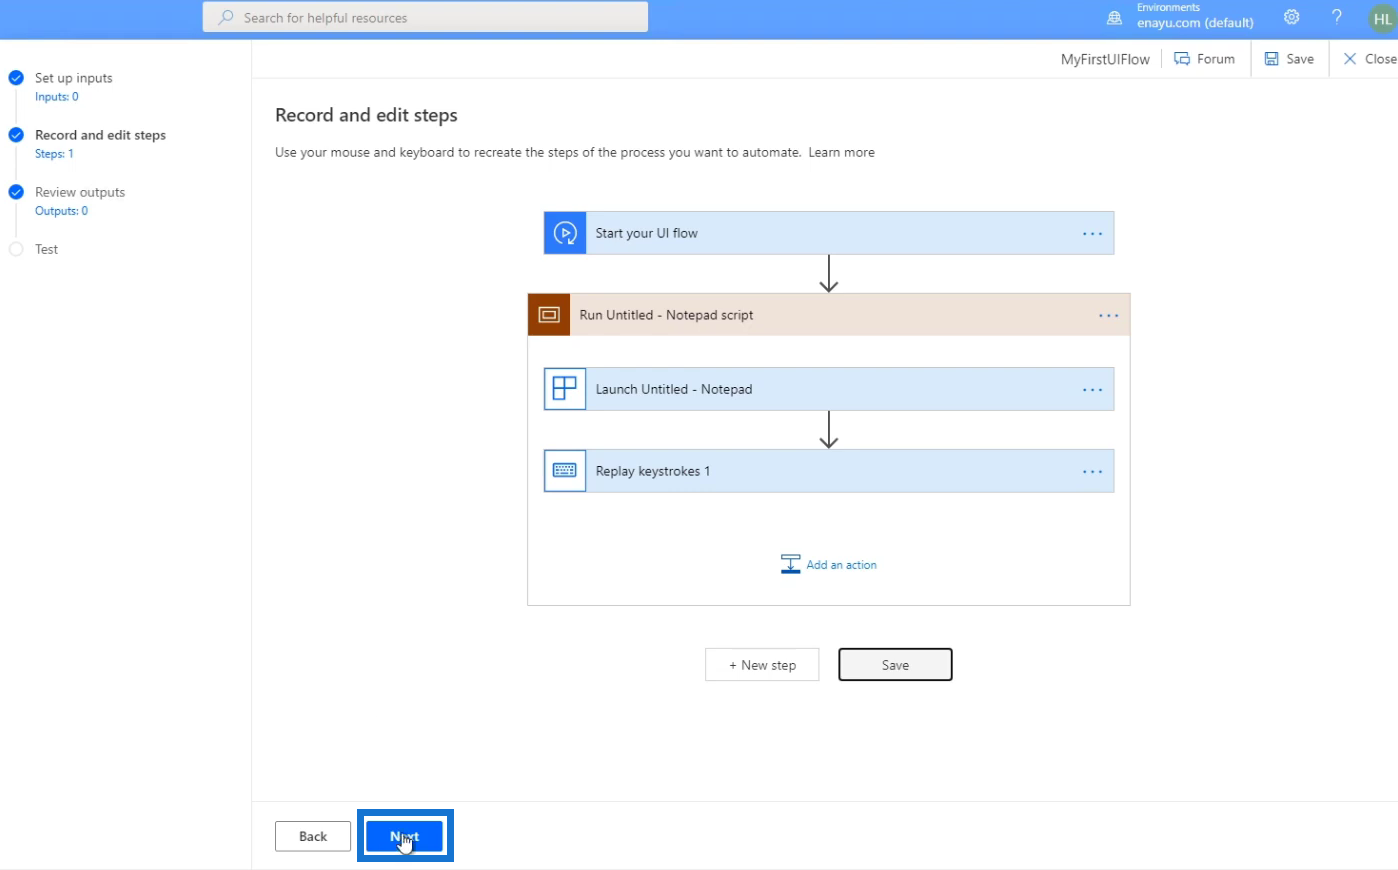
Power Automate UI flow has mapped out every single action we’ve taken in the background through the Recorder app. Therefore, we can see it in our flow diagram through the additional action called Run Untitled – Notepad script. Let’s click it.
Then, it’ll display the steps of every single action we’ve recorded in the background.
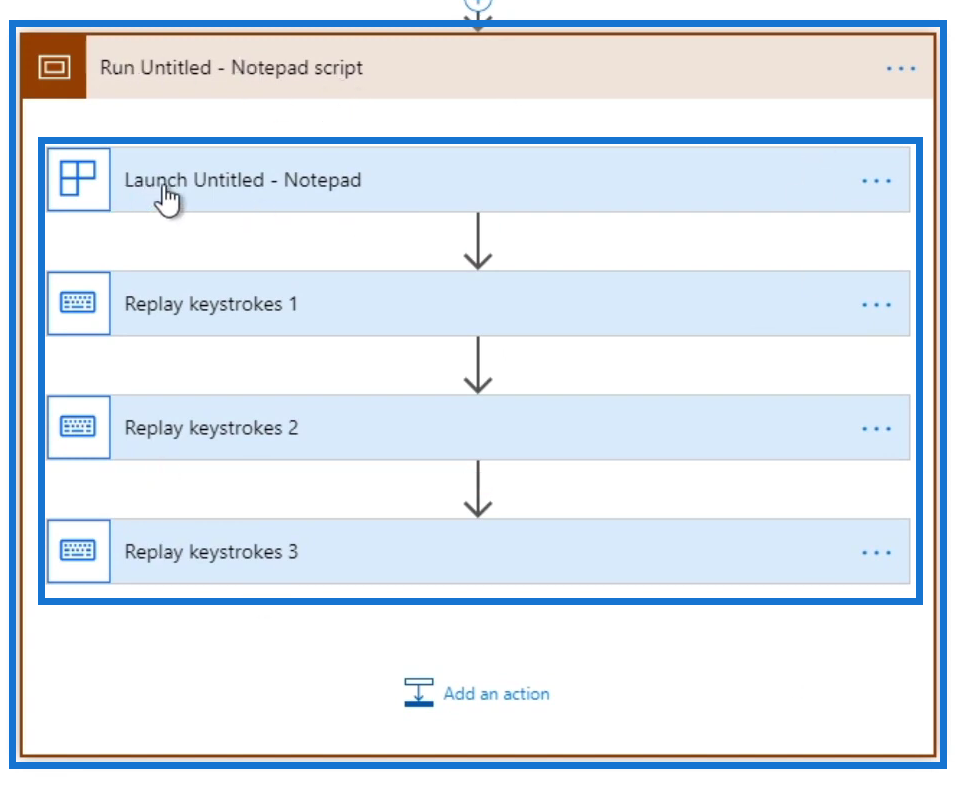
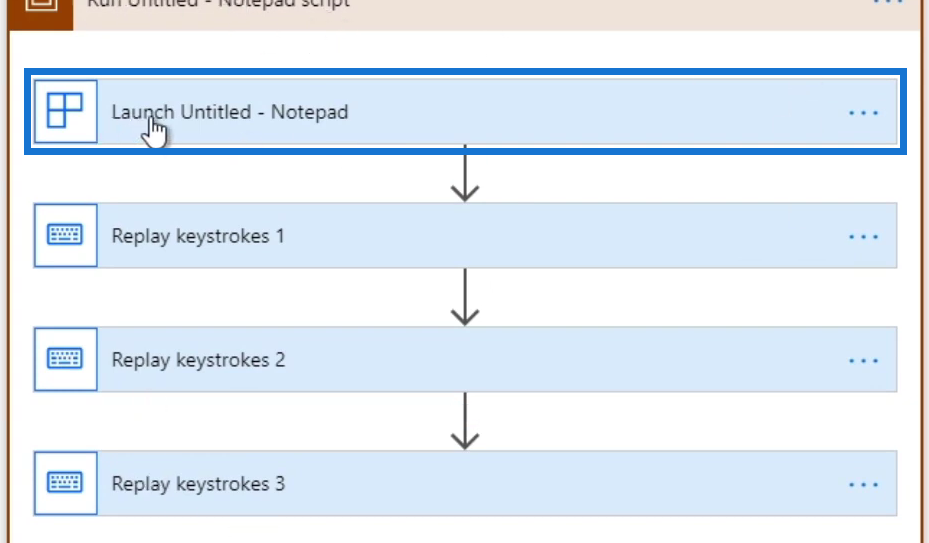
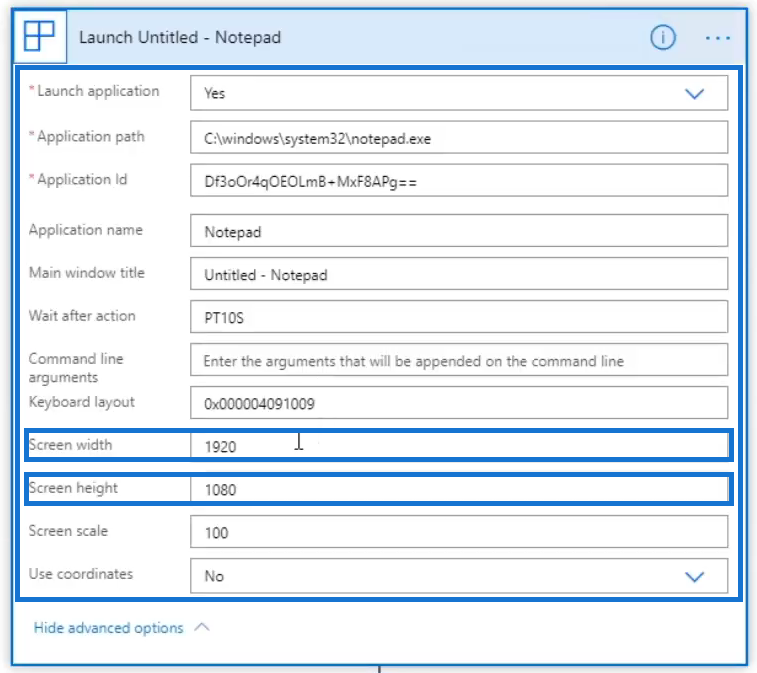
The first thing we did was launch a Notepad so there’s an action here called Launch Untitled – Notepad. Let’s click it.
We’ll see the attributes of the action including the Application path where we launched the Notepad from, the Application name, the Main window title, and whether it’s a yes or a no in the Launch application attribute.

We can also check other advanced details by clicking Show advanced options.
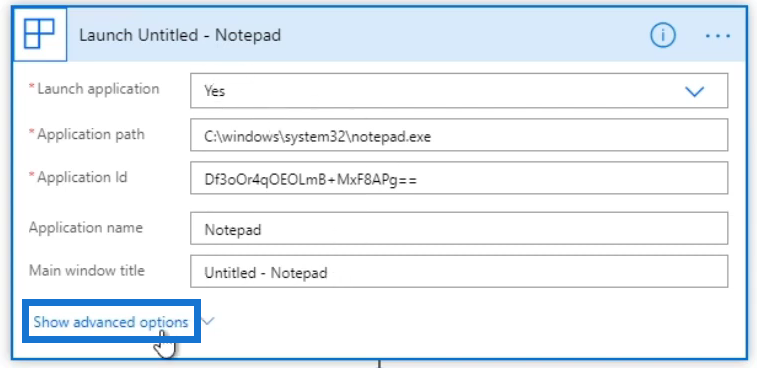
The advanced details of the action include the width and the height of the screen and other specific details.
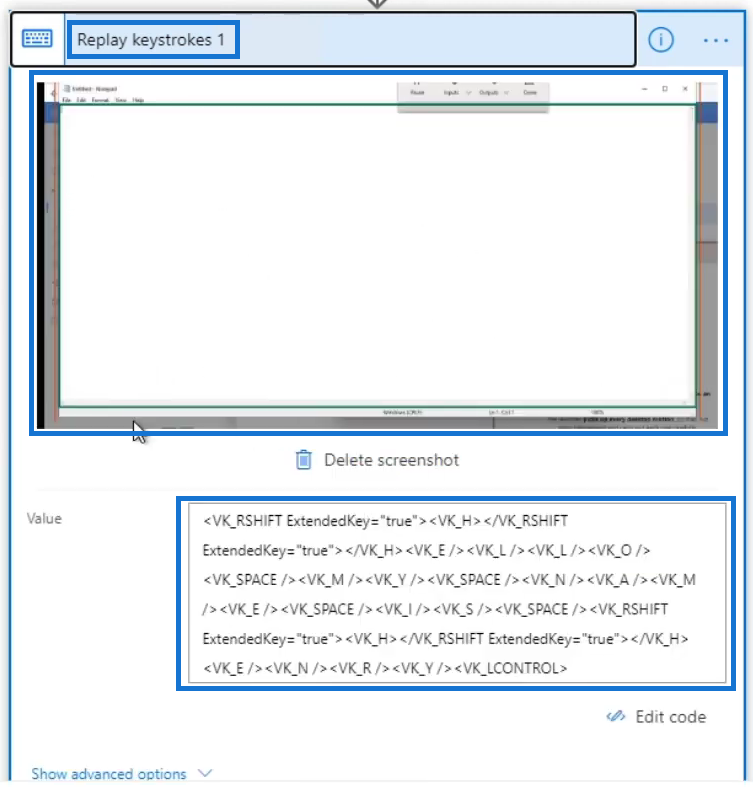
Let’s click Replay keystrokes 1. We’ll then see the keystrokes we wrote and a screenshot is also provided.
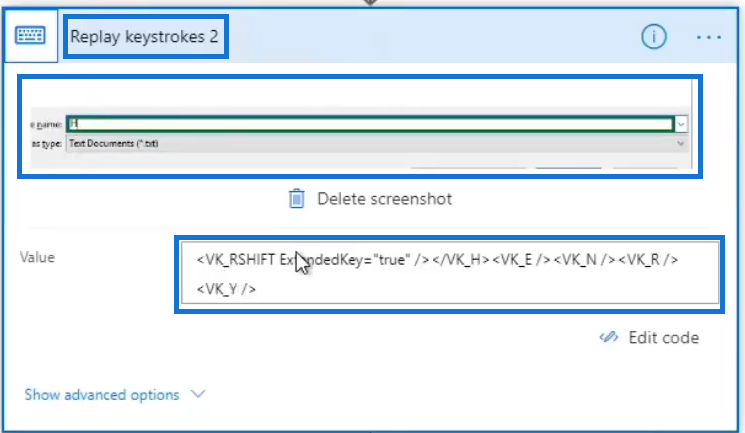
Next, click Replay keystrokes 2. Then, we’ll see the keystrokes we wrote in the actual Save box name field of the Notepad which is Henry.
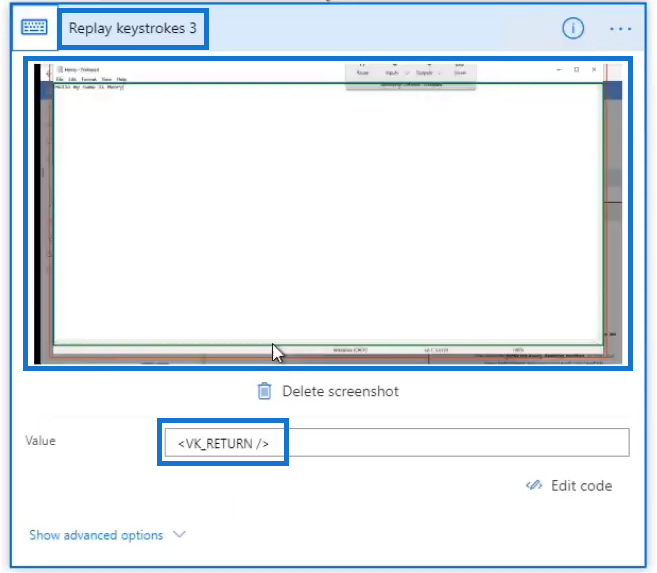
Lastly, click Replay keystrokes 3. It’ll then display our action after we’ve saved the file and pressed Enter which is to return.
Modifying Codes in Power Automate UI Flow
Now that we’re done looking at the codes, we can then edit our Power Automate UI flow before replaying it. In our sample UI flow, I noticed that if we run this in repetition, it’ll actually fail. That’s because we’re saving the file with the same name over and over again which is “Henry.txt”.
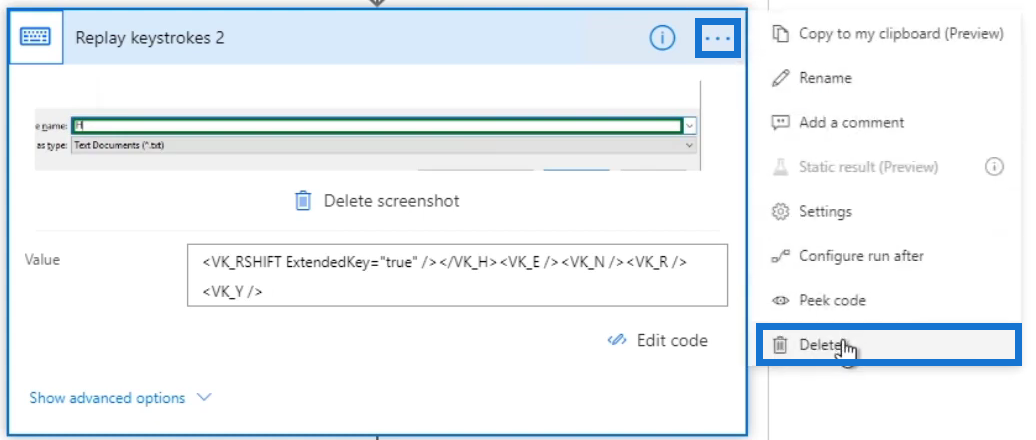
Let’s get rid of the last 2 keystrokes for saving the file. To do this, click the ellipsis (…) within the specific keystroke step then click Delete.
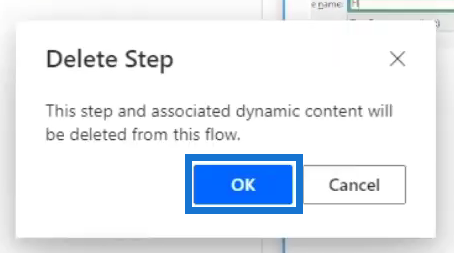
Click OK.
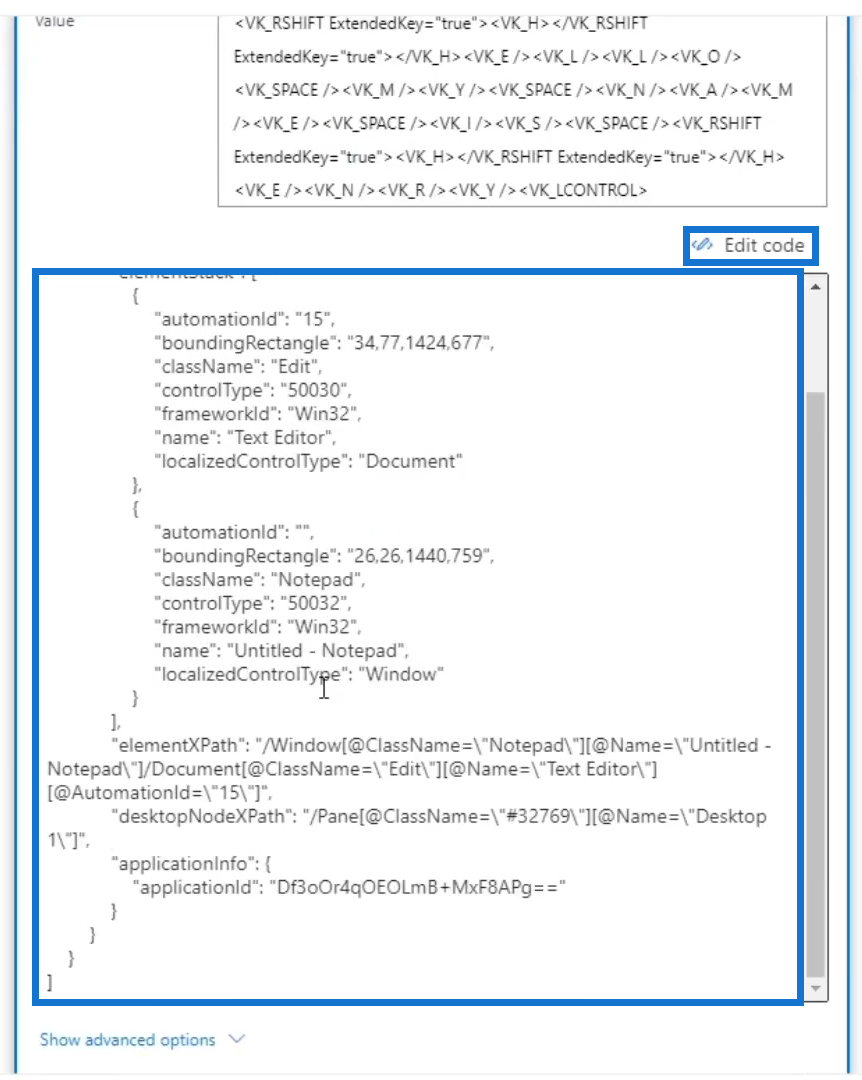
Do the same with the other keystrokes step. Once done, check the remaining keystrokes so that the remaining processes are the actions we really want to automate. In our UI flow sample, the last part should be typing, “Hello my name is Henry”. Alternatively, we can also click the Edit code option at the bottom which will give us a similar json value.
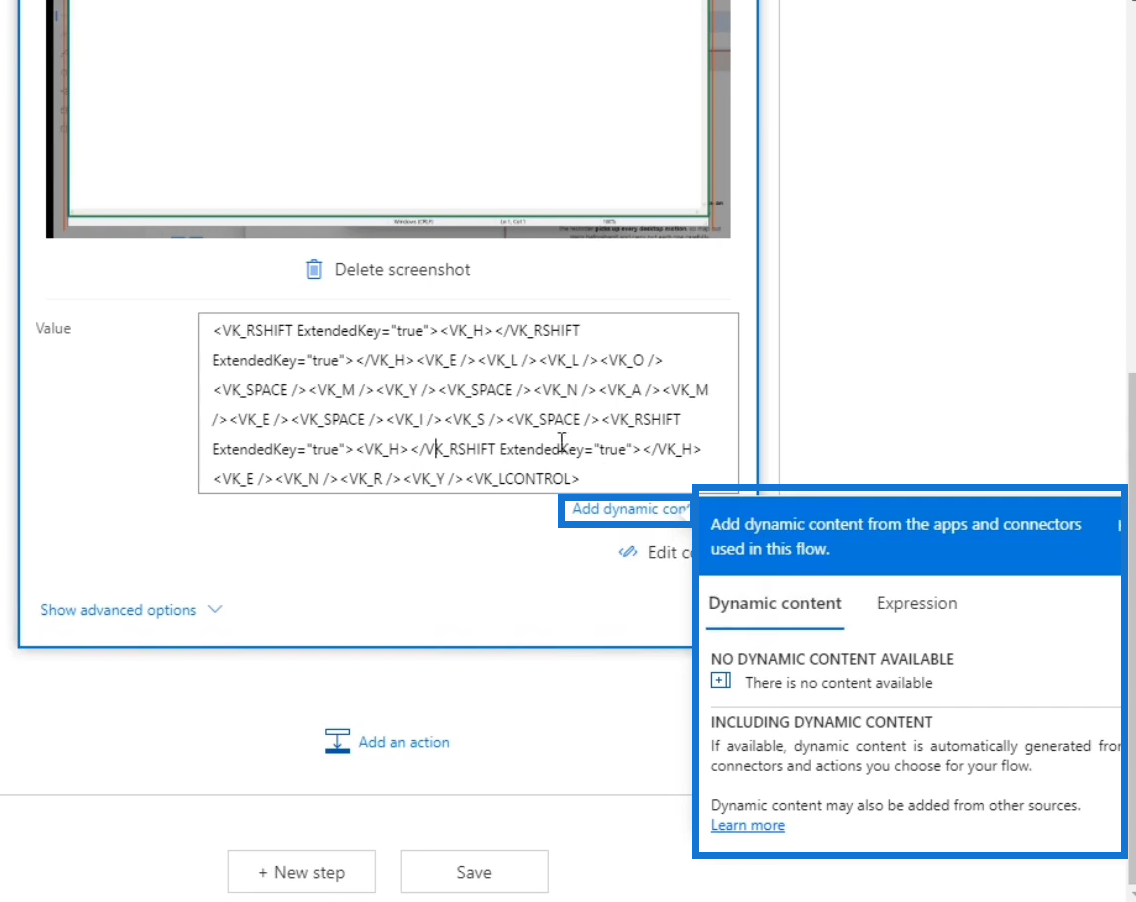
We can add dynamic content in our codes as well. We can put our previous connector, a flow, a trigger or a tweet in here instead of our sample message.
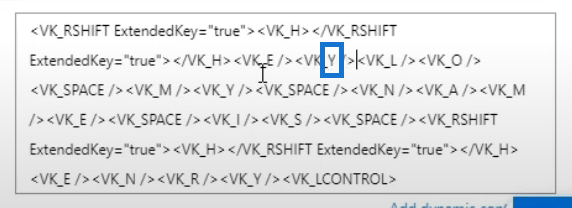
Additionally, we can go into the codes and make changes. For example, instead of saying “hello”, we can type in “hey”. To do that, omit the letter “L”.
Let’s change it to “Y”.
Then, delete the excess letters “L” and “O” together with their tag codes.
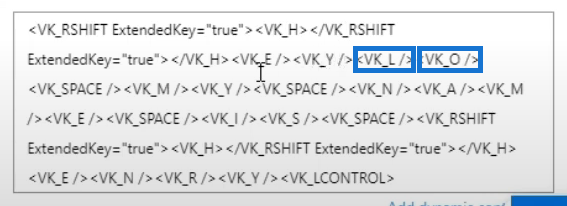
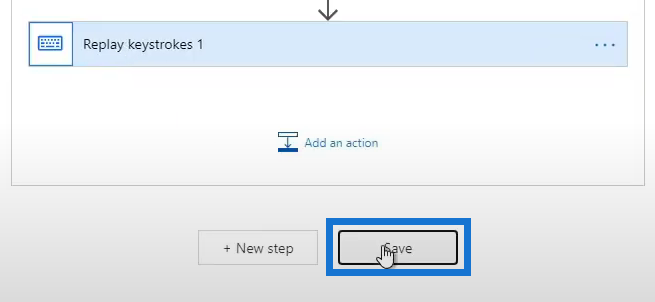
Lastly, click Save.

Testing Our Power Automate UI Flow
Now that we’re done with recording and editing our Power Automate UI Flow, let’s test it and see if it works. First, click Next.
For now, we don’t have to worry about any outputs since this is only an initial sample flow. Just click Next.

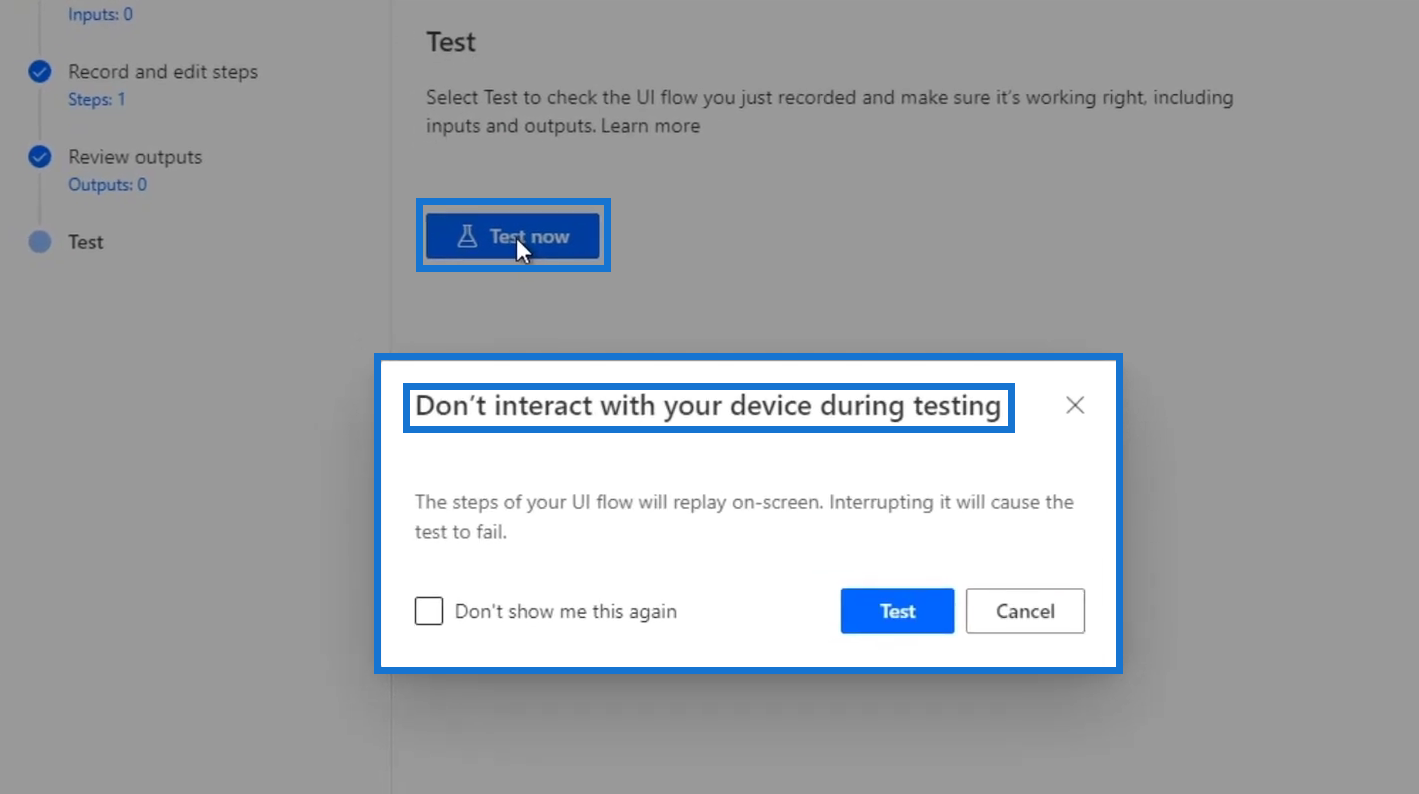
Click Test now. Then, a warning will be displayed saying, “Don’t interact with your device during testing”. This is very important to follow because once you click the Test button, it’ll begin to go through the actions that you’ve recorded before. Hence, moving your cursor or opening any application will just interrupt the process.
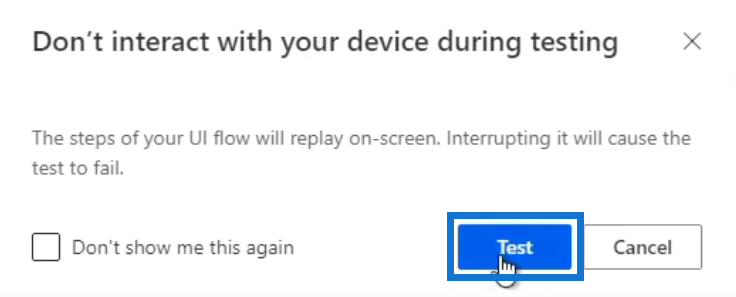
So, let’s click Test and then not move our mouse at all. At this point, let’s give Power Automate a few seconds to open Notepad in the background and pop it up on the screen.
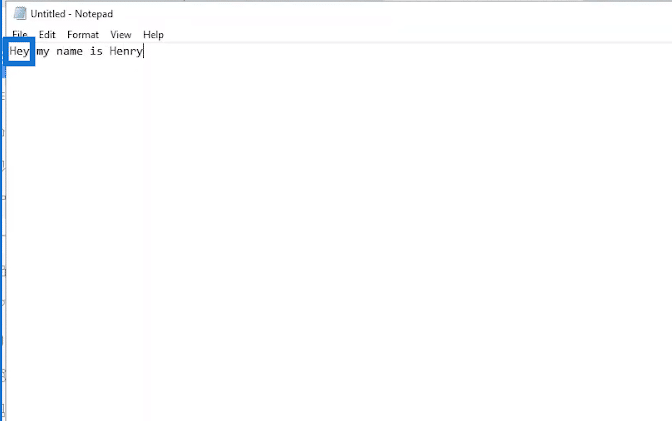
Then, we’ll see that our recorded action worked. The word “Hello” was also successfully changed to “Hey”.
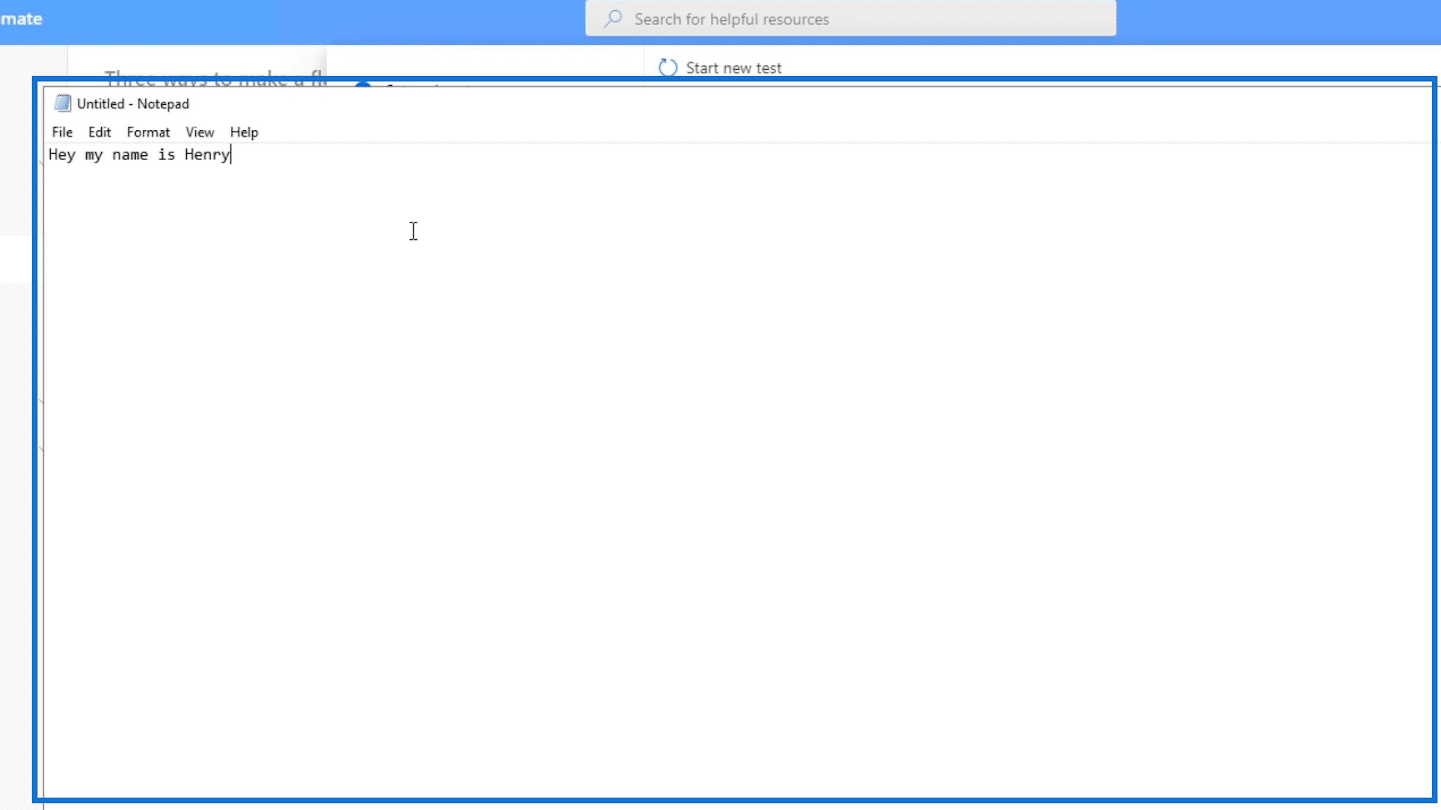
Moreover, we can check the most recent Notepad file and see that it actually opened up a new Notepad file and wrote, “Hey my name is Henry”.
We now have our first UI flow that we’re able to record and automate easily. In the other tutorials, we’ll learn to add a lot more features like inputs, outputs, complicated codes, and changes in our UI flow. We’ll also learn to integrate UI flow with other flows.
***** Related Links *****
Power Automate UI Flow: An Introduction
UI Flow Inputs In Microsoft Power Automate
UI Flow Outputs In Power Automate
Conclusion
Power Automate UI flows are created in 2 ways. You can use Windows recorder if you want your UI flow to run through your desktop or Selenium IDE if you want it to run through websites instead. UI flows follow Robotic Process Automation which basically starts by recording our actions and automatically transforms them into codes using automated steps.
UI flows are powerful because you could integrate a lot of features into it like automated flows, scheduled flows, connectors, and different inputs and outputs while making changes in the codes all at the same time if desired.
All the best,
Henry