Today, I will show how you can utilize the Send Mouse Click action to simulate mouse movement and improve the performance of your flows in Power Automate Desktop. You can watch the full video of this tutorial at the bottom of this blog.

You will most likely run into issues of not being able to use an item as a UI element or a button when creating flows. The Send Mouse Click action is a good option to solve these issues.
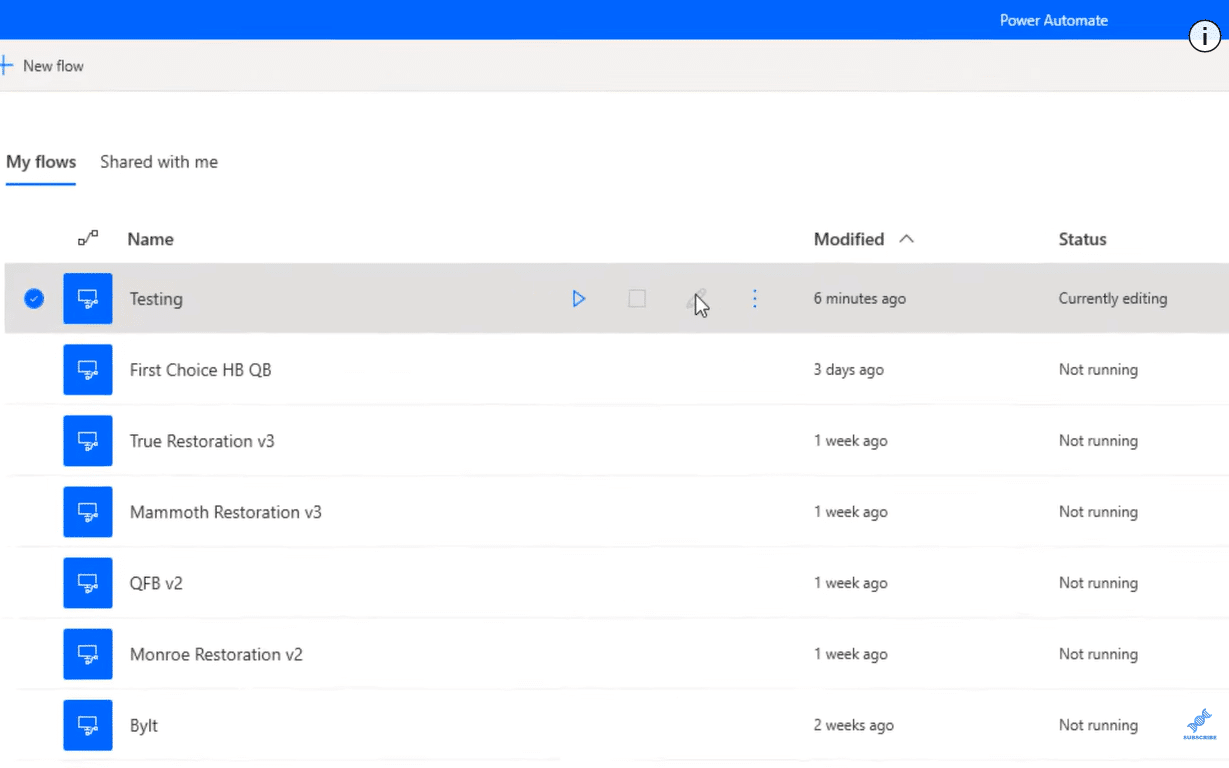
Let’s look at the Power Automate Desktop and use the flow from the last video that I did on how to launch a new browser, called the Testing flow.
To start, click on the pencil to open up the flow.
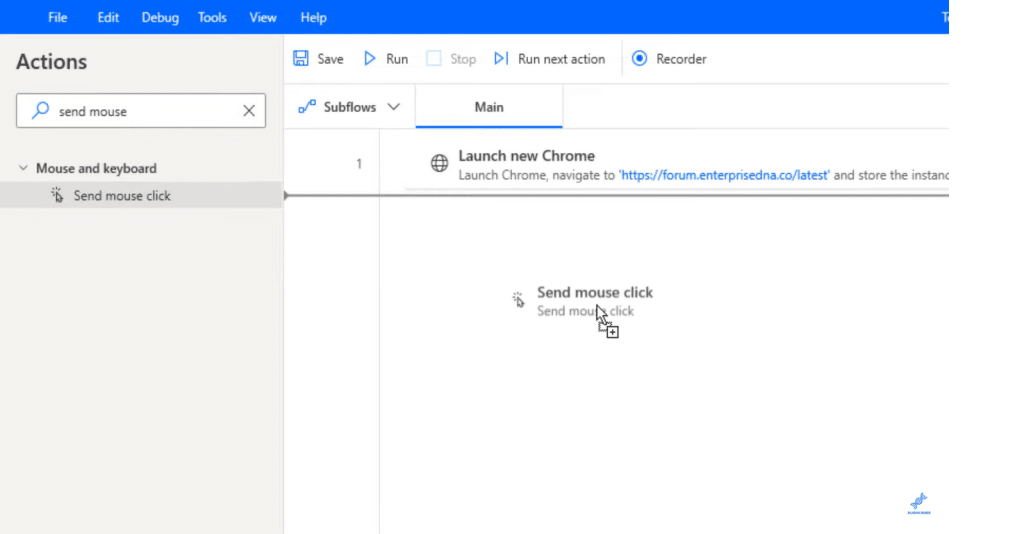
Go to the Search bar, and type in Send Mouse. Drag the Send mouse click into the flow to open up the screen.
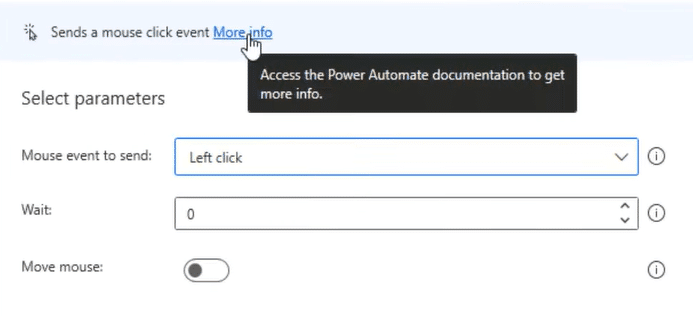
Click the More Information link to see some of the Microsoft documentation on this function.
You will see that these are Send mouse click functions. There are different kinds of documentation that you can read.
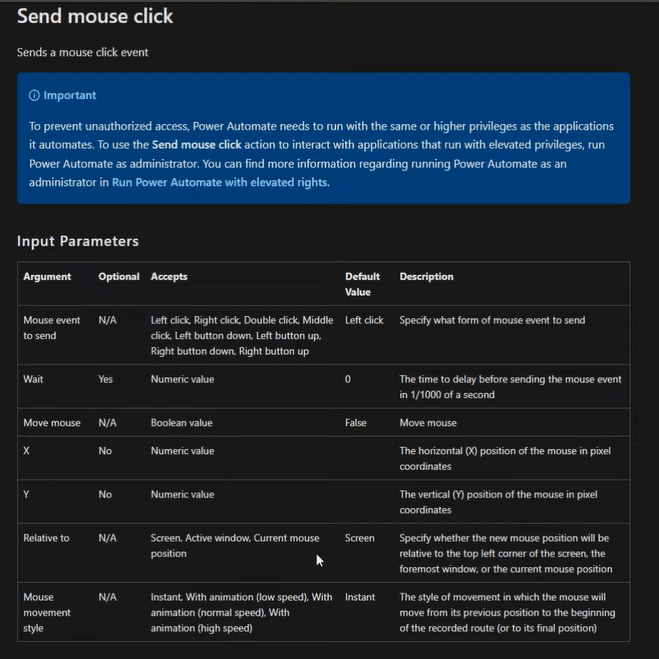
Head back to the Power Automate Desktop, then follow these steps on how to use the Send mouse click to improve the flow performance.
Using The Send Mouse Click In Power Automate Desktop
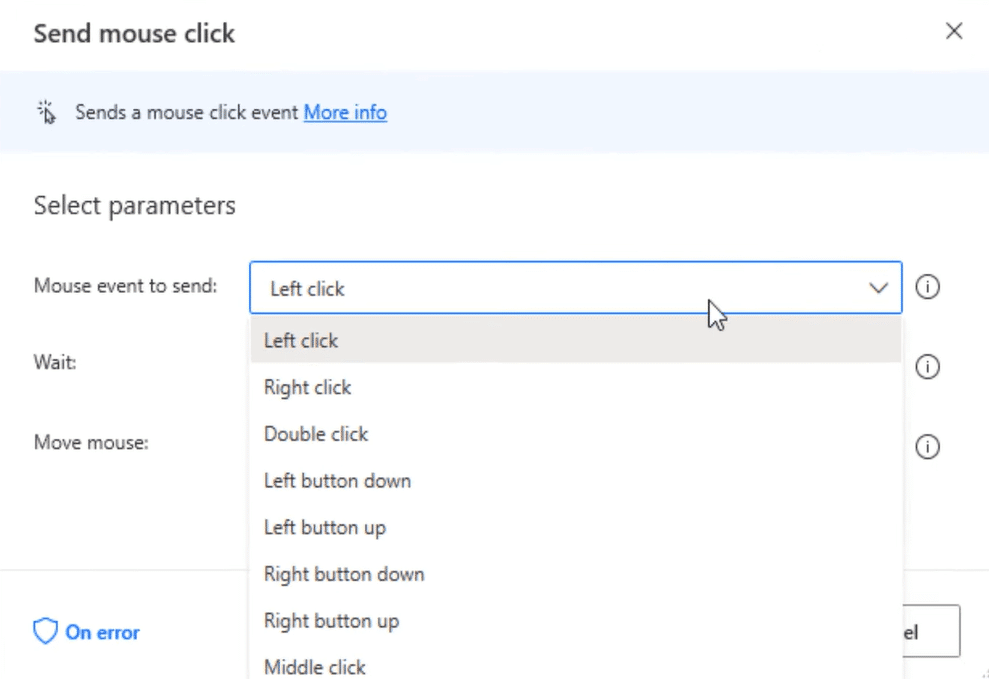
Click on the Mouse event to send. There is a list of options to choose from here. Let’s select the Left click option.
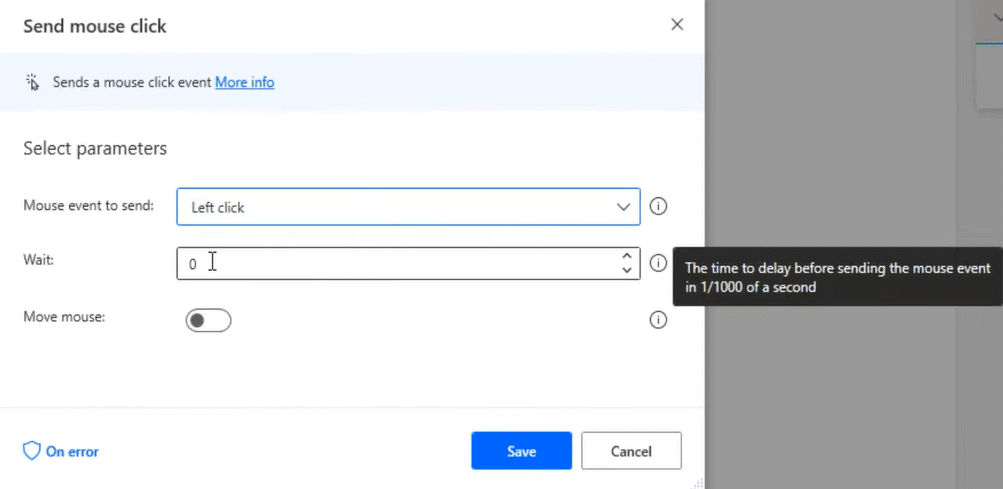
The Wait section can be tricky when you start to use this function. The best thing to do is to hover your mouse over the “i” in the right-hand corner to show the actual time.
For example, we put zero. It is sending the mouse event in one over one thousand a second.
If you want it to be that whole almost second, you need to have a number that is almost up to a thousand. For this example, let’s enter nine hundred.
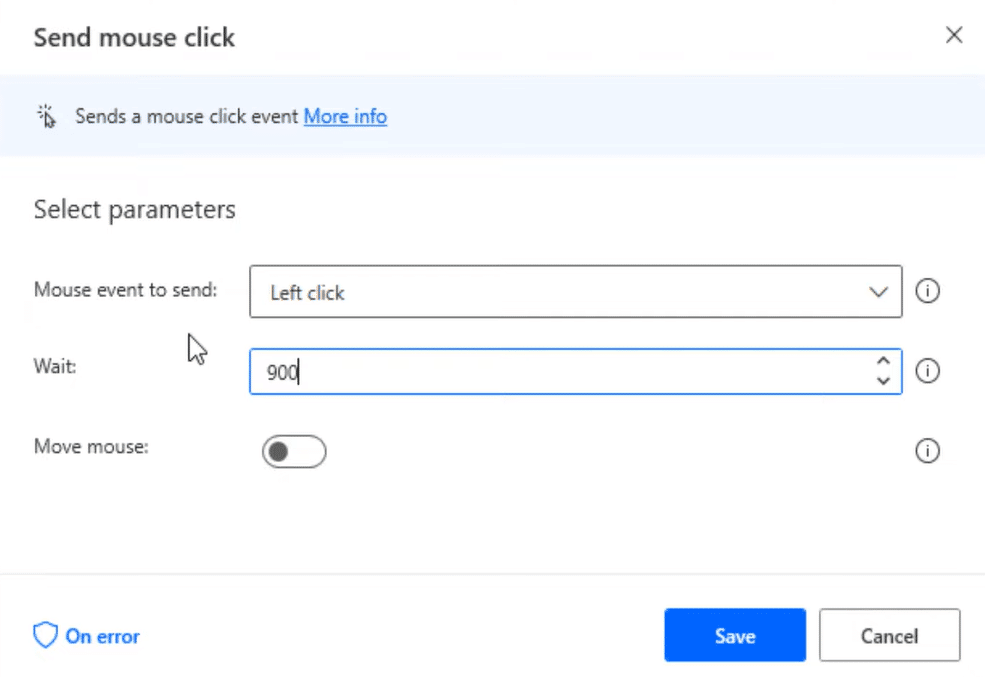
In creating your flows, the wait time should be greater than zero because sometimes the flow works too quickly, and if you Send Mouse Click too soon, you have a greater chance of this step failing in your flow.
Next is to click on the Move mouse. It allows you to pick the X and Y coordinates relative to the screen. By moving the mouse cursor, it will also show you what the X and Y coordinates are on the screen.
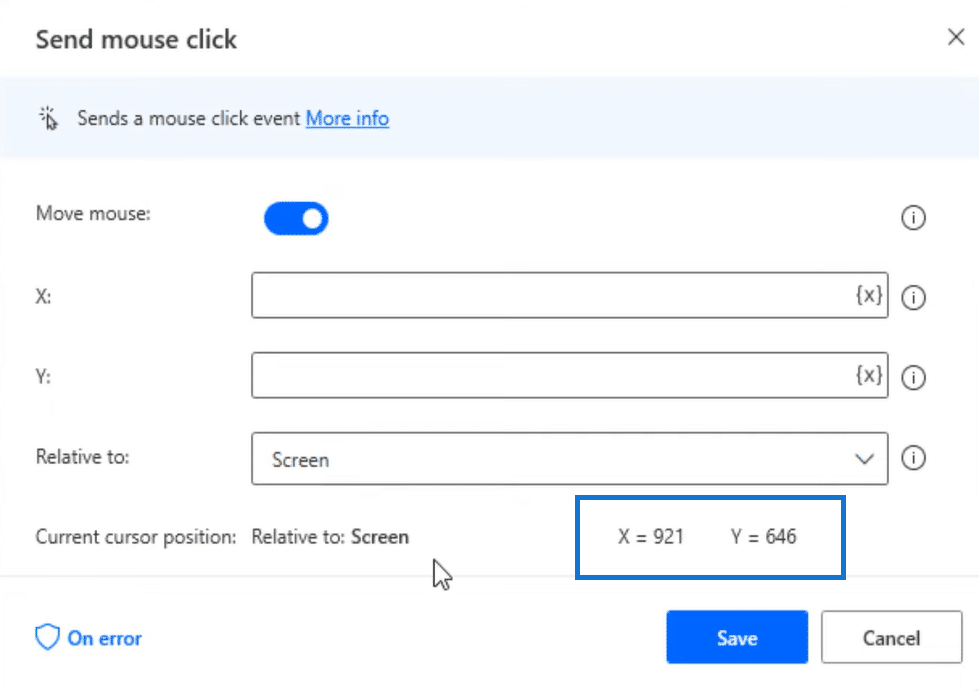
Go to the Mouse movement style and select Instant from the dropdown.
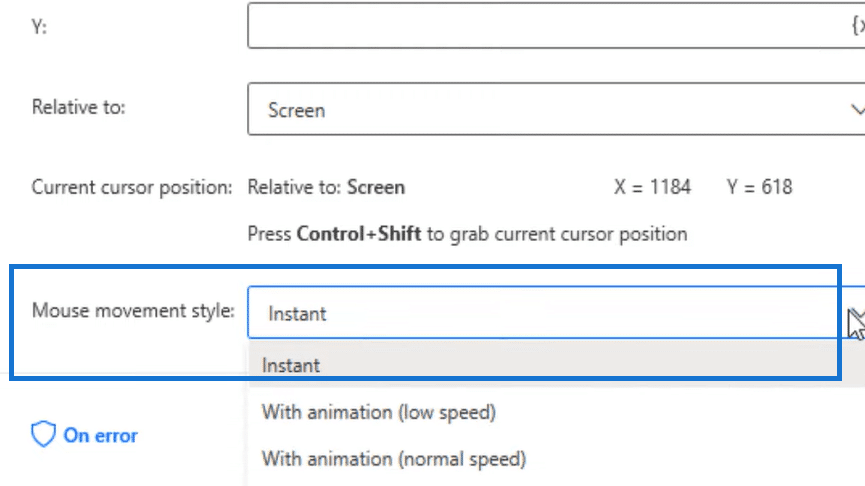
Open up the Enterprise DNA Forum because this is the website that I opened up in our previous step. Go anywhere on the screen, for example, on the Events page. Then press Control + Shift to grab the current cursor position.

Go back to Power Automate Desktop. You can see that it’s saved the X and Y coordinates. Then hit Save.
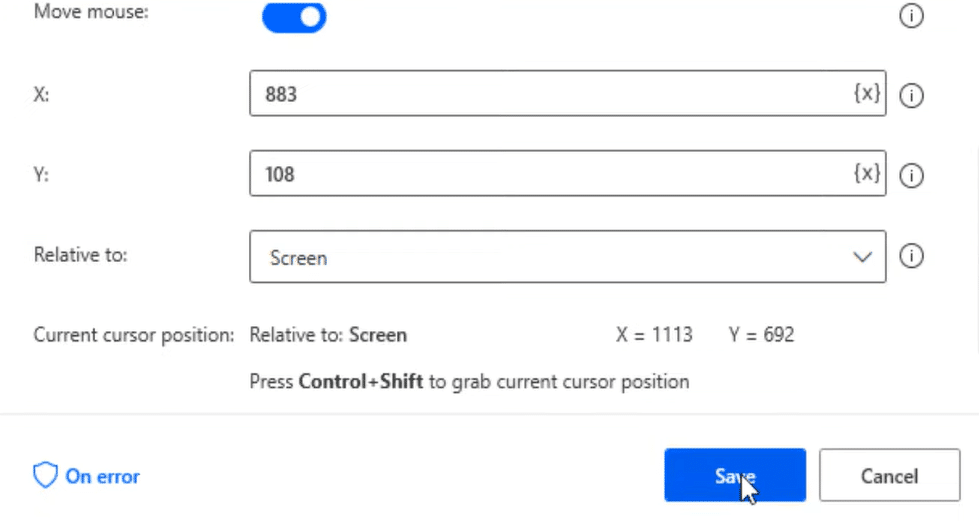
Let’s open the parameters back up before we run and test it. At the bottom part, click the On Error.
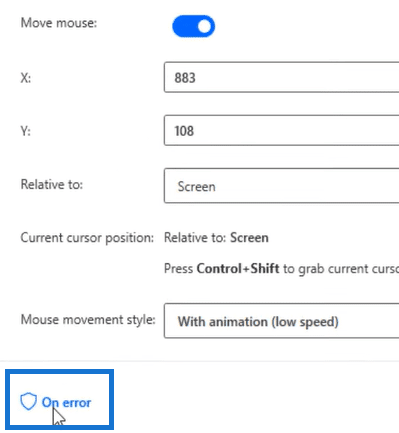
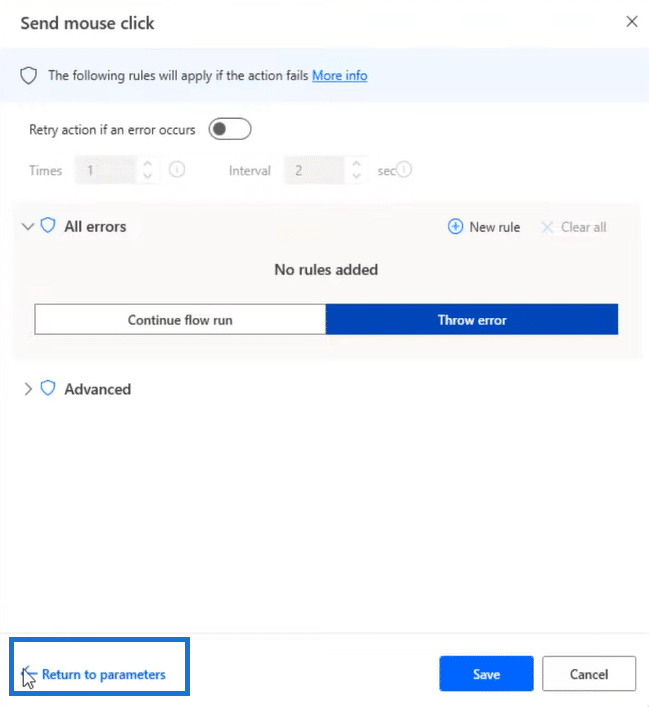
In this section, the following rules will apply if the action fails. You can retry an action if an error occurs or throw an error if the action fails. Then click the Return to parameters and hit Save again.
Save the flow and click Run to see if it works. It should open the Enterprise DNA Forum. Click on the Events tab.
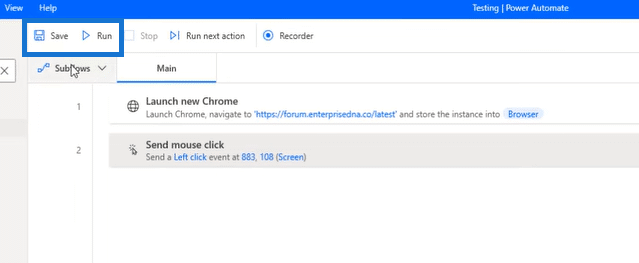
So there, it worked. We are right where we should be.

***** Related Links *****
Schedule A Desktop Flow To Run In Power Automate
Transfer Images & Signatures From Power Apps To Power Automate
Make An HTTP Request in Power Automate
Conclusion
That was fun, and it was good to see when you’re going through the flows like this. You may have errors, but it’s just quick and easy to go back in and change until you figure things out and then rerun it.
I hope you enjoy this type of tutorial and don’t forget to check out Enterprise DNA’s website. There are plenty of resources for further learning that you can access very easily.
All the best,
Jarrett


