
In this tutorial, I’ll go through some Power Apps basics and walk you through how the development environment looks like and how you can start running your app.
Power Apps is such a great tool that’s built for everyone. Whether you have coding experience or not, you can actually make a huge impact on your organization through the apps that you can build using this tool.

The best part about it is that the interface is easy to use and highly intuitive. As you go through this tutorial, you’ll see how smoothly everything flows.
Power Apps Basics: The Development Environment
I’ve discussed in another tutorial how to connect data sources like Google Drive and OneDrive to Power Apps. Once that’s done, the tool automatically lays down the groundwork for your app. So now, I’m going to walk you through the different parts of the development environment that you’ll be working with.
This is how the main developer module looks like in Power Apps assuming that you’ve already connected a data source.
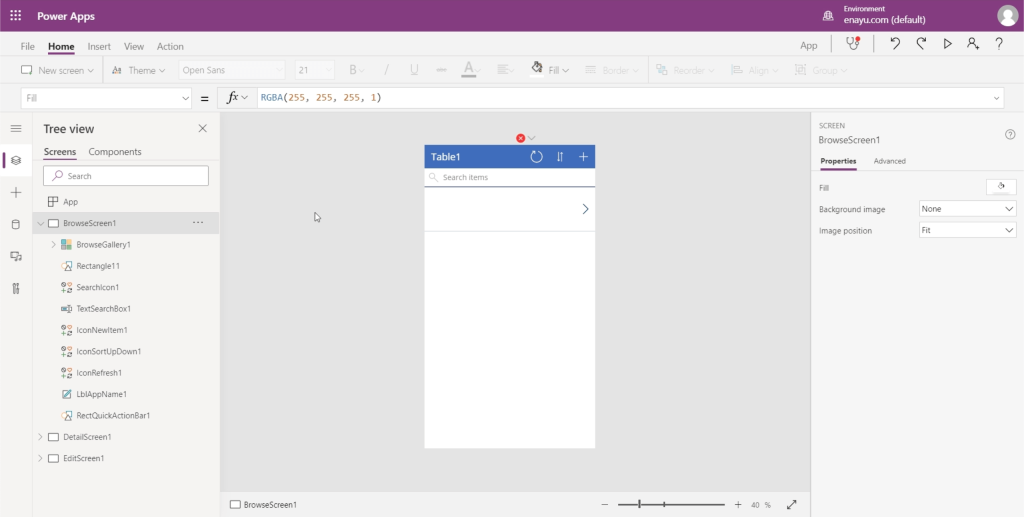
As you can see, it’s not a command line screen nor is it a text file. It’s a drag and drop type of development environment, which makes it very easy to make really powerful business applications without knowing a lot of code. But even if you do have coding background, this is still an amazing tool for you to use because it can speed up your usual app-building process.
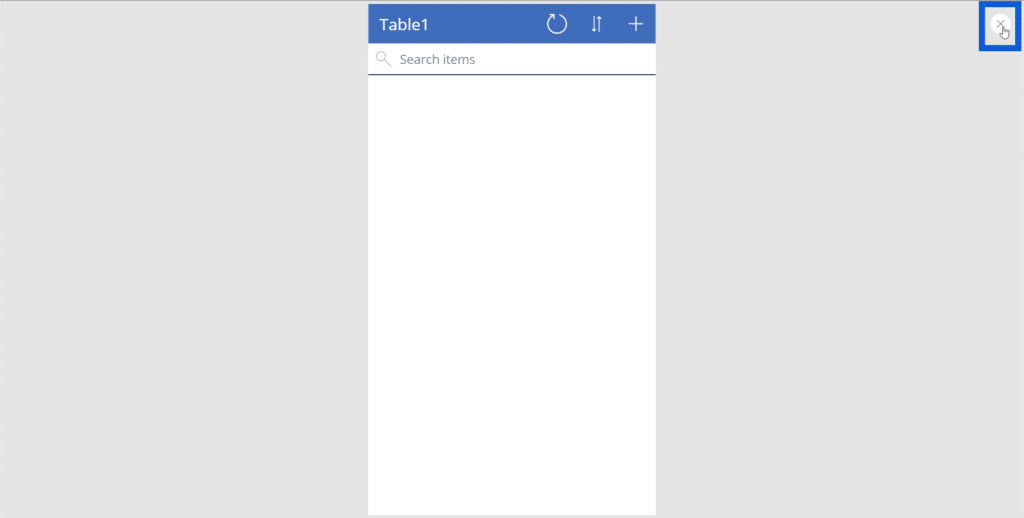
You’ll notice that there’s a red X on top of the app. There also isn’t any data showing up on the app screen.
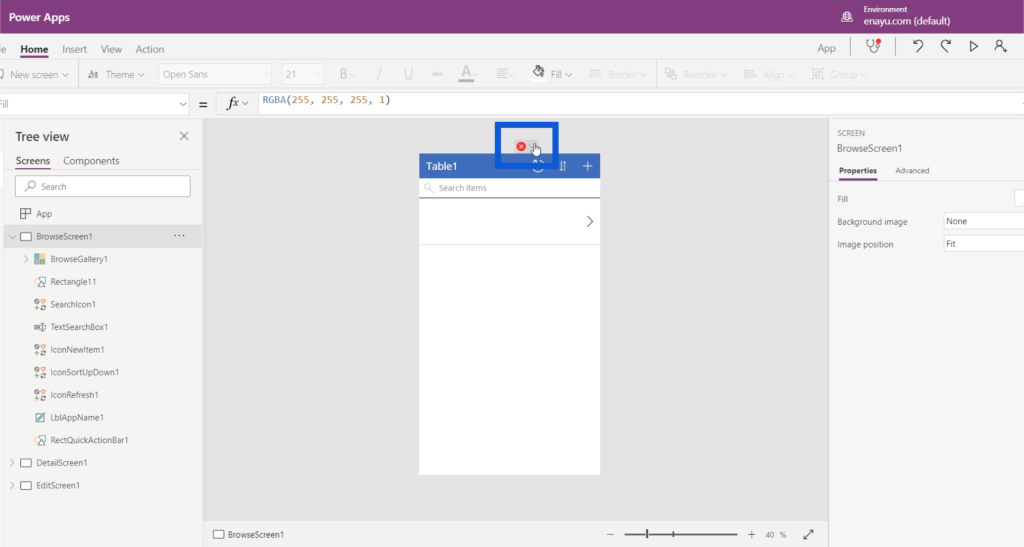
When this happens, refreshing the data connection sometimes does the trick. To do that, just click on the play button on the upper right corner of the screen.

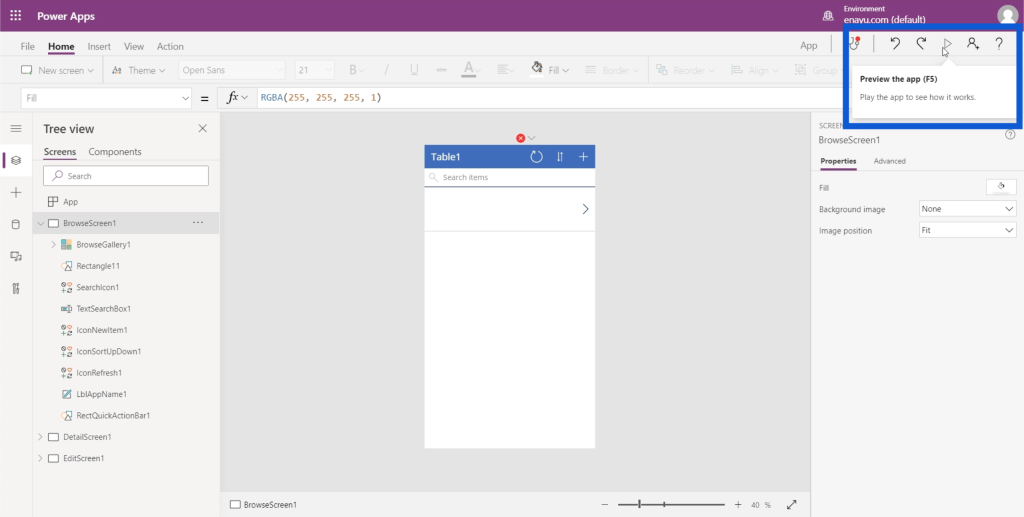
This should give you a preview of the app’s main screen. On the main screen, you’ll see a refresh button. Just click on that to get the data you’re supposed to use.
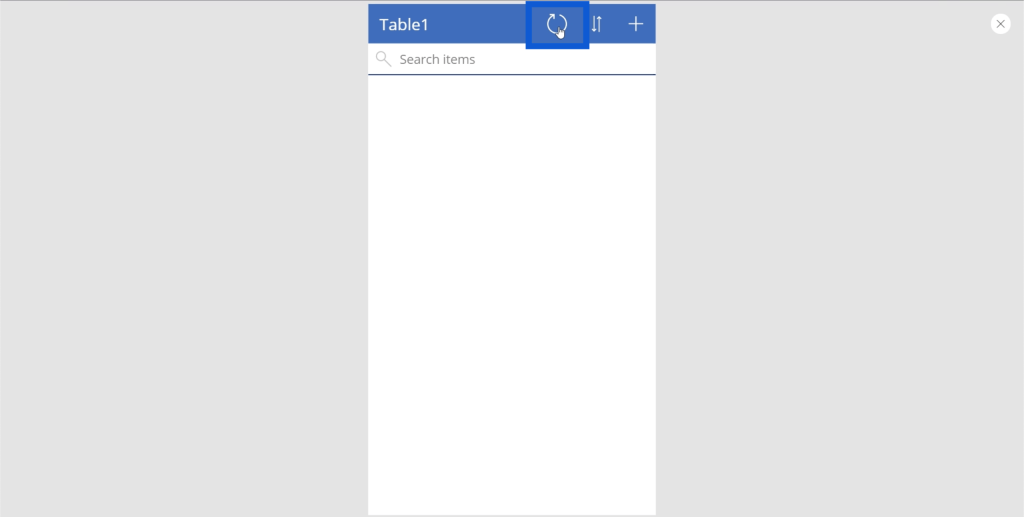
If the screen stops the refresh cycle and no data is showing up still, you can exit out of that page by clicking on the X button on the upper right.
You can hover over the red X button to find out more about the error. In this example, it says that the requested resource file is locked.
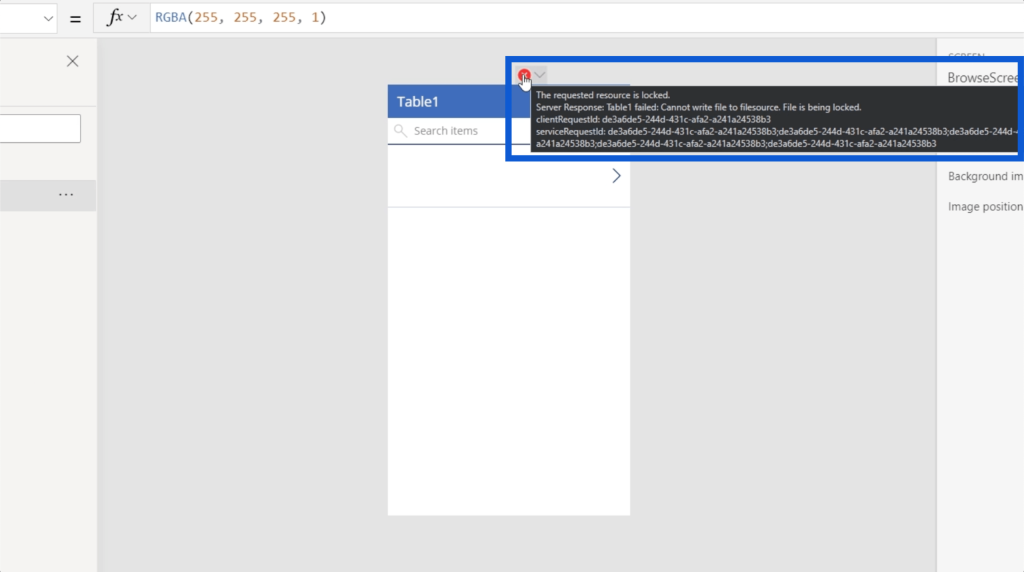
This means that the underlying Excel file or data file that you’re trying to access is being edited by another program. So I’ll check on my OneDrive page, and it does show that the file is still open here.
To allow Power Apps to use the data, I’m going to close this tab and make sure that the file I used as a data source is not open anywhere else.
Now let’s go back to Power Apps and do the refresh cycle again. As you can see, it now has data inside it.
This means that you’re ready to start running your application and customize the app further.
Power Apps Basics: Running Your First Application
Now that the app is ready, let’s go through what it can do.
I started this app by connecting my data source first. That’s the most basic way of getting started.
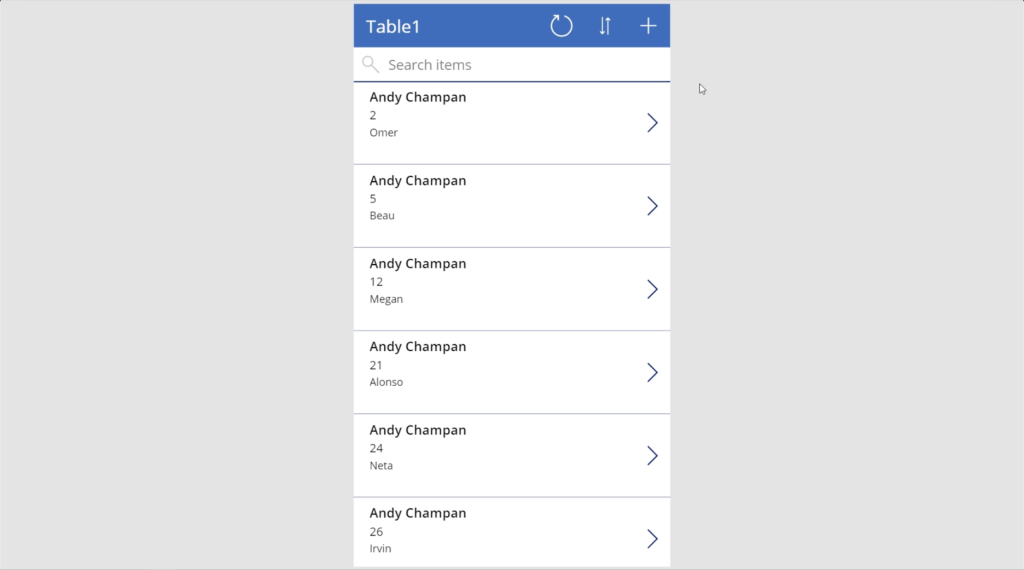
Since this is just a data application, it’s very straightforward. It has the title on top, a search bar below it, and a list of items from my data set.

Every entry on the list corresponds to each row in the Excel file I used as a data source. So one row is equivalent to one card on the app.
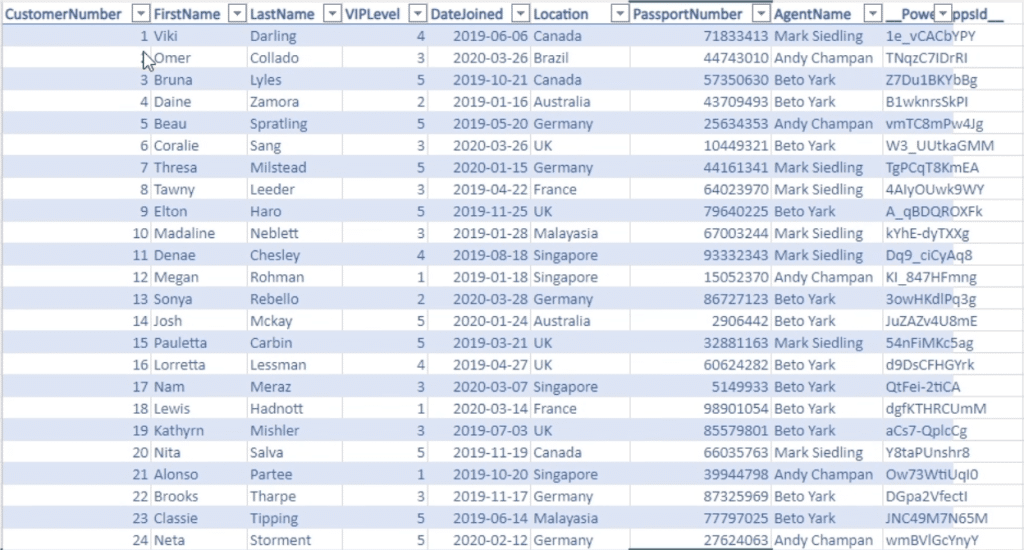
Because I haven’t made any changes to the app, it is showing the agent’s name first by default. It also has the customer number and the customer’s first name in smaller text.

Evidently, this is a weird arrangement because it makes more sense to see a list of customers here. As for the smaller details, I would probably want the agent name and phone number to show up.
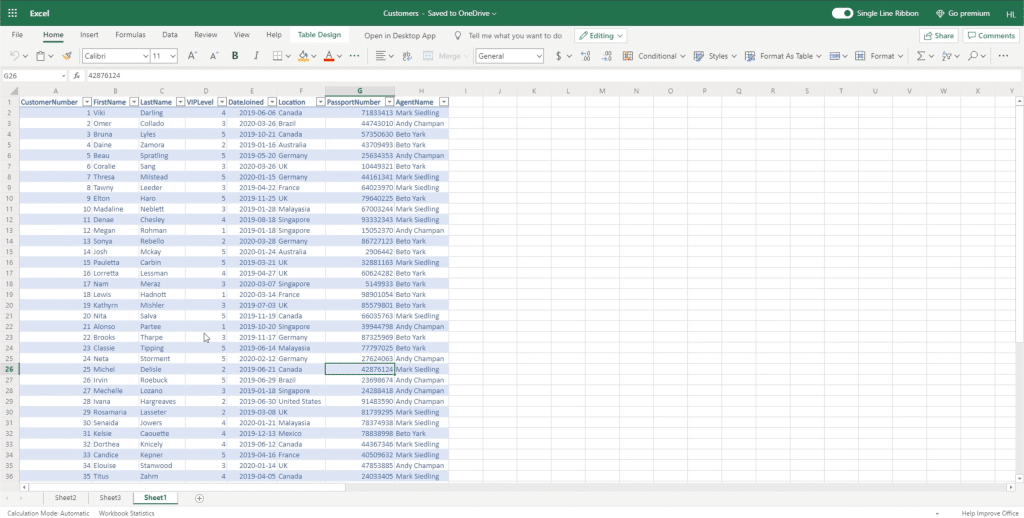
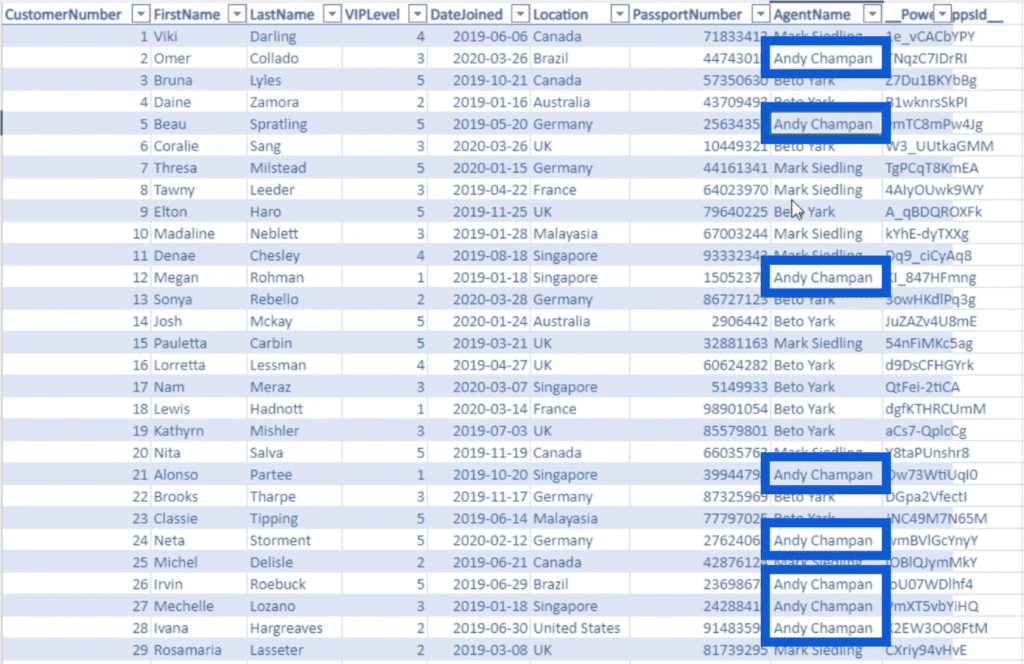
This also doesn’t make any sense because agent names handle multiple customers, which means that agent names can appear in multiple cards as seen above. When we check our data set, it does show that Andy Champan shows up several times under Agent Name.
The great news is that everything in Power Apps is customizable. I’ll show you how to do that in another tutorial. In the meantime, I’ll continue to go through the different things you can do with the app you’re building.

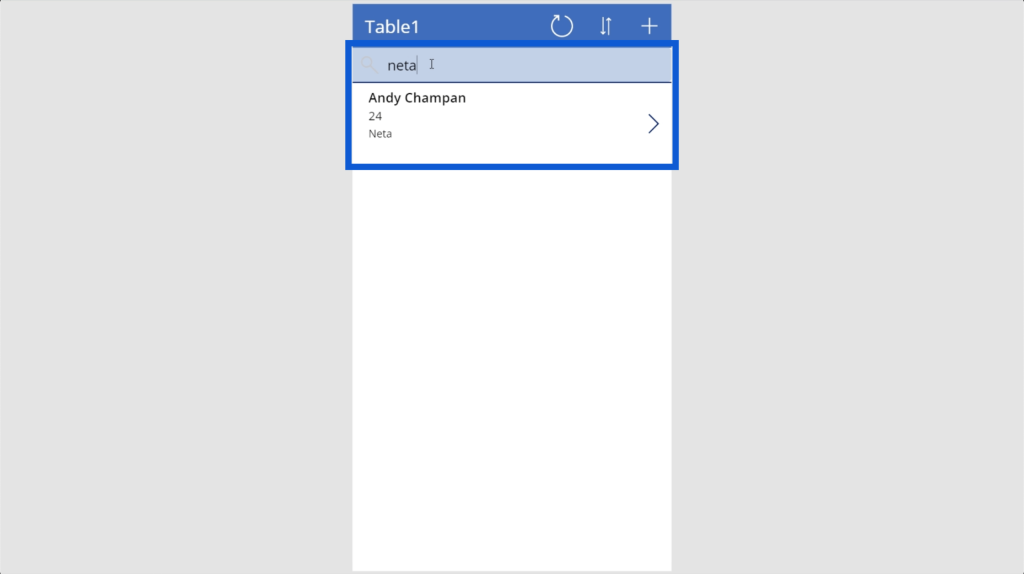
The search bar is a huge help especially if you have a lot of data. I’ll just type in the specific name of a customer, like Neta for instance, and you’ll see the matching result come out.
The refresh button, again, is a great function if we’re having problems retrieving our data. Just be careful when you click on that button, especially if you opened the data source from somewhere else. This could cause errors like the one I encountered earlier.

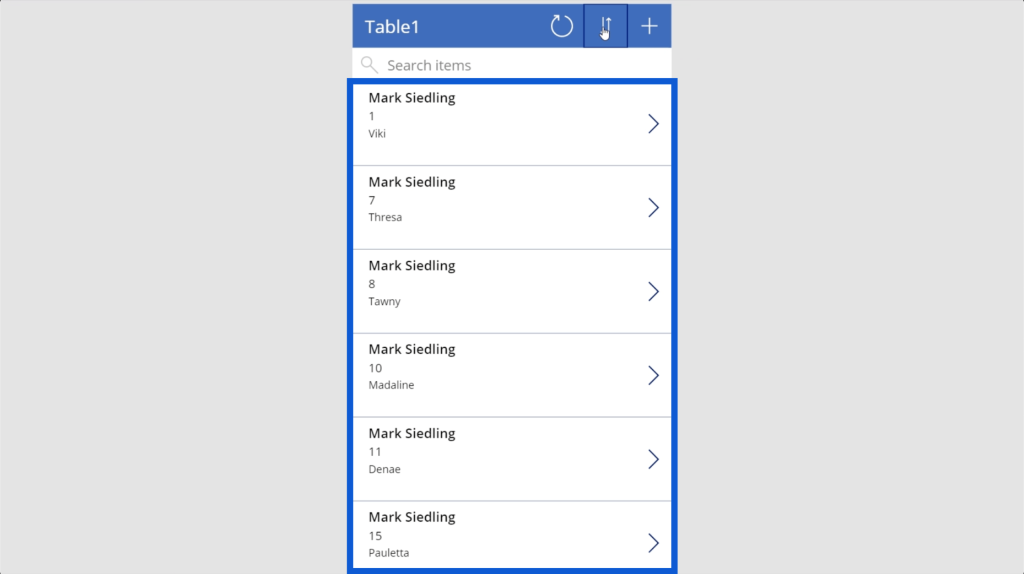
The sort button helps you make your data more organized. In this case, it’s sorting the data alphabetically based on the agent’s name from A to Z.

If I click on the sort button, it’s going to reverse the way it sorts the names. If the names are all the same, the secondary basis for the way the cards are sorted would be the second piece of information, which is the customer number.
Aside from this main screen, there are two other screens within a data app like this – the detail screen and the add new / edit screen.
The detail screen shows all the details in each card. You just need to click on any card to show the details in it.
Let’s use this card for the customer named Kia as an example.

Once I click that card, it’s going to take me to this page, which basically shows all the details about Kia and her account.
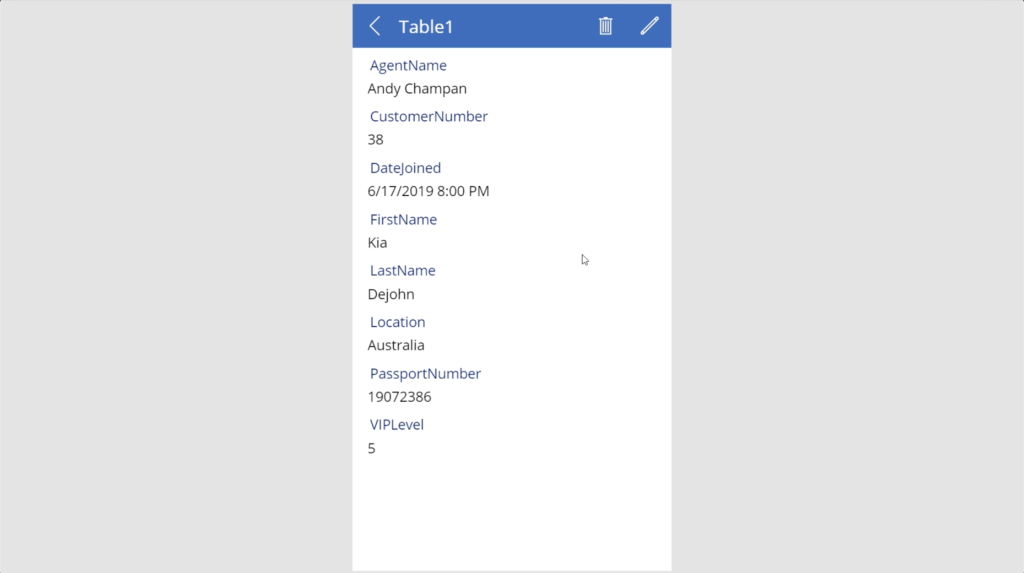
As you can see, it shows everything that comes with each row in our data set. It shows here the name of Kia’s agent, her customer number, the date she joined, her first and last name, her location, her passport number, and her VIP level.
To go back to the main screen, you can click on this left arrow on the top left.

You can click on any of the other cards and it will show the same details.
When you’re in the detail screen, you can also edit the information by clicking on this pen icon on the upper right.
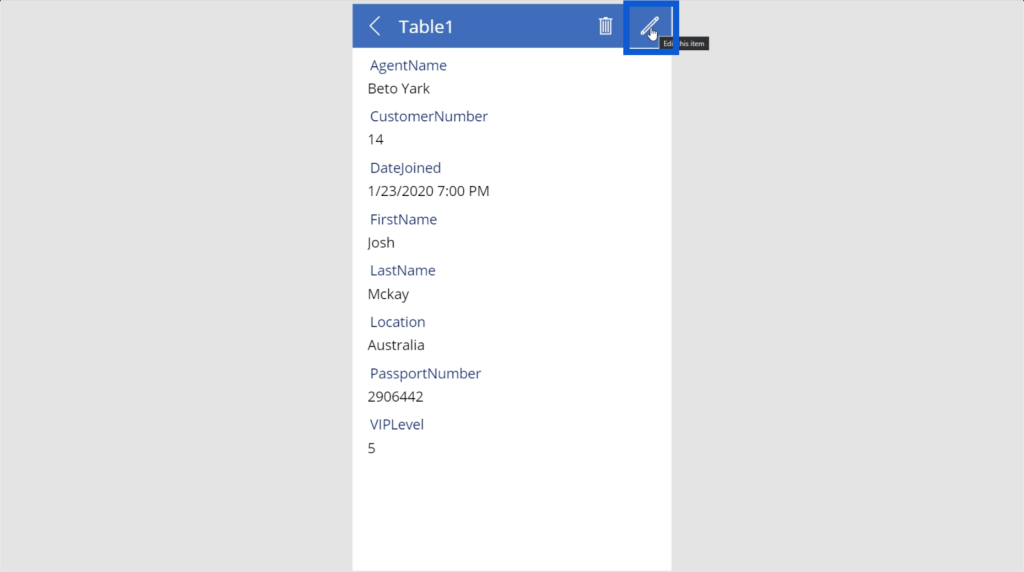
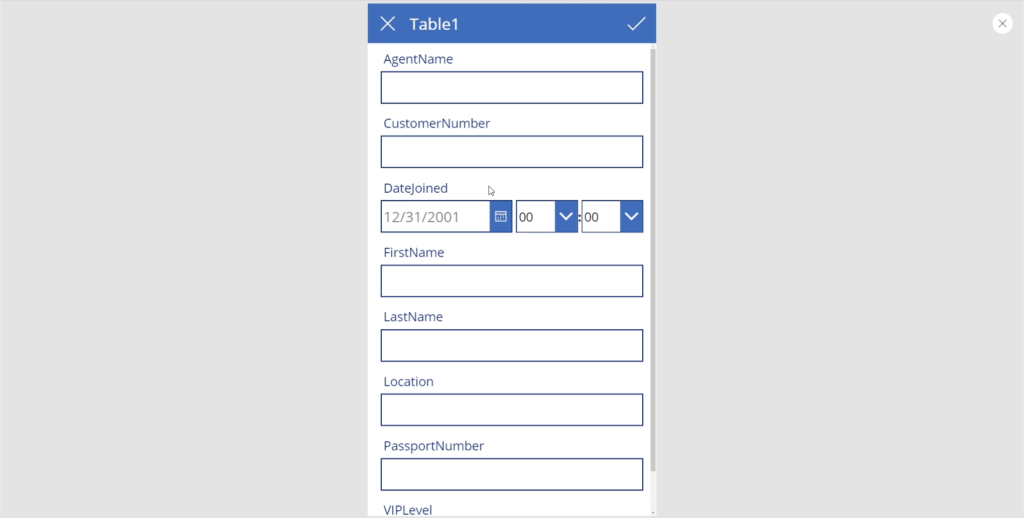
Once you click that, the details will turn into fields that you can edit.
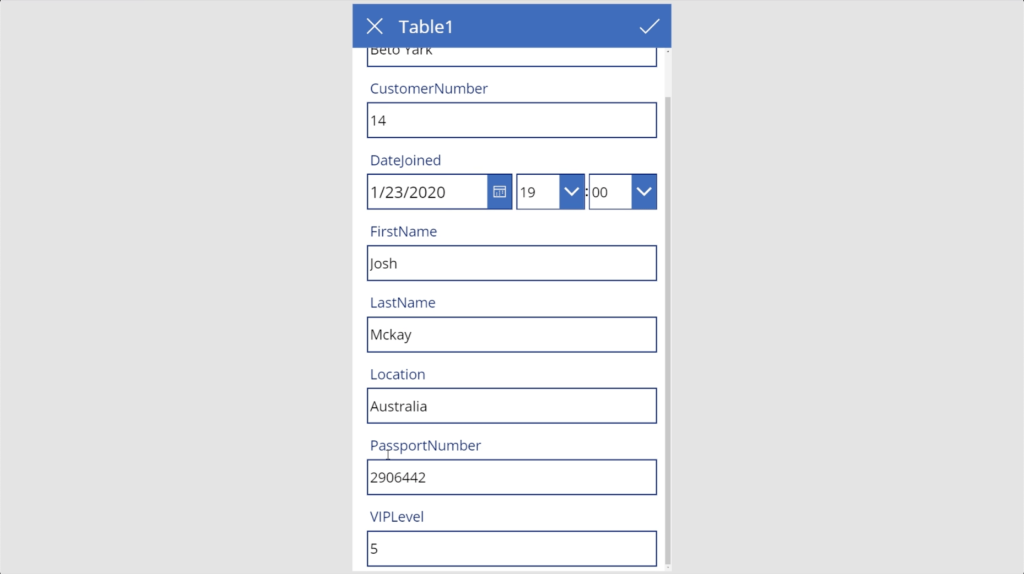
When you finish editing the information, simply click on the check icon on the upper left to save any changes you made.
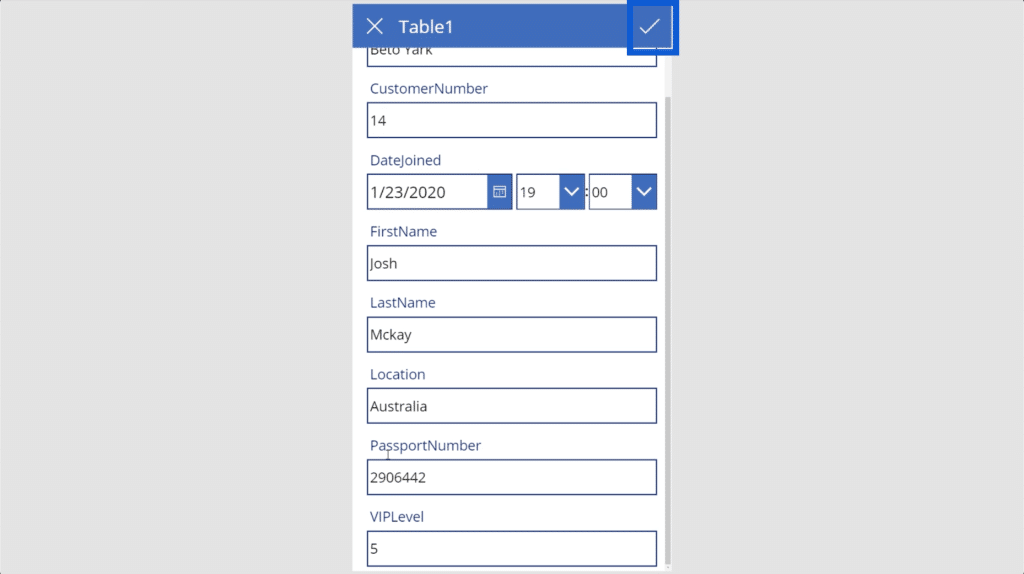
Note that editing the card also means editing the underlying file. This means that whatever changes you make within the app will show up on the Excel file or any other data source you’re using as well.
Once you’re back on the main screen, you’ll see a plus icon on the upper right. This icon allows you to add new cards.

Adding a new item is easy because all you need to do is type in the details needed on each of the spaces provided. It even formats the date and time automatically.
Just as editing existing data will affect the original data source, adding new items also means adding new rows to your Excel file.
This is the simplest form of application that you can create within Power Apps. There are also ways to improve on this app, but I’ll cover that in other tutorials.
Power Apps Basics: Saving Your Application
Now that the app is up and running, it’s time to save it. Because it’s a Microsoft tool, it’s highly intuitive and uses the same processes as Word, Excel, or PowerPoint.

Just go to Save As under the File ribbon.
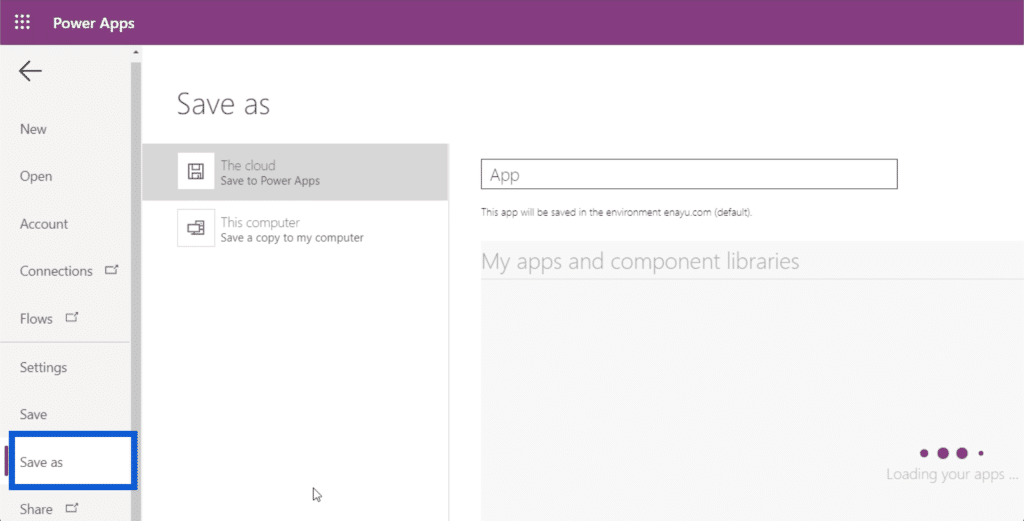
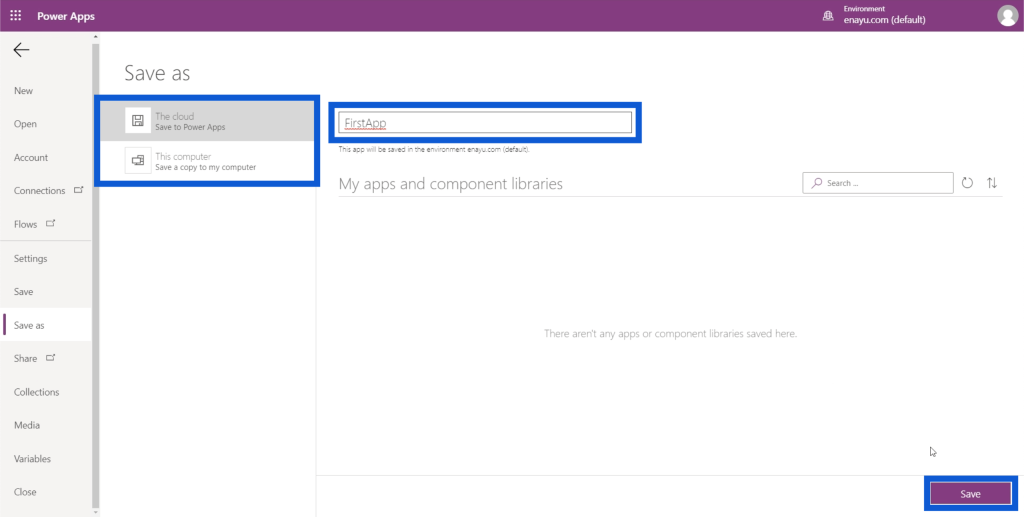
Then, choose the location where you want to save it. In this case, I’m saving it to the cloud.
Then, write the filename on the space provided. I’ll call this FirstApp. Then, click Save on the lower right corner.
Once that’s saved, Power Apps will automatically save your work every 5 minutes. That’s why you need to make sure you save the app right from the get-go.
***** Related Links *****
Power Apps: Getting Started With This Revolutionary Tool
How To Create A Power Apps Account | Power BI Tutorial
Power Apps Introduction: Definition, Features, Functions And Importance
Conclusion
Seeing these Power Apps basics makes it even more evident how user-friendly the entire interface is. It really proves that anyone can make an impact within their organization through the use of an app, regardless if they have serious coding background or not.
Check out other tutorials about Power Apps on our blog page or sign up for the Power Apps Masterclass in the Enterprise DNA Learning Center.
All the best,
Henry


