
In this tutorial, we’ll be talking about integrating Power Automate with PowerApps. If you’re not familiar with PowerApps, it’s a way to use Microsoft’s environment to create seamless business apps with little to no code. For example, if you want to create spreadsheets, you use Excel. If you want to create applications, you use PowerApps.
PowerApps integration is one of the best skills to learn because it’s a way to create simple to complex business applications without even knowing how to code.
For this tutorial, we’re only going to integrate Power Automate with PowerApps. We won’t be talking about how to set up a PowerApps account, what a text box is, or what a button is. If you’re curious about those things, then I suggest you try out our Power Apps Masterclass course or watch some YouTube tutorials. Otherwise, this won’t make a lot of sense to you.
So, let’s say our business application is a travel agency application where agents can see their customers, see previous travel history, and do other travel-related tasks. We’ll also create a page where agents can go if they want to submit any issues. After they submit the issue, that triggers a flow in the background that creates a Trello ticket, a Slack message, and other notifications.

Creating A Power Automate Flow
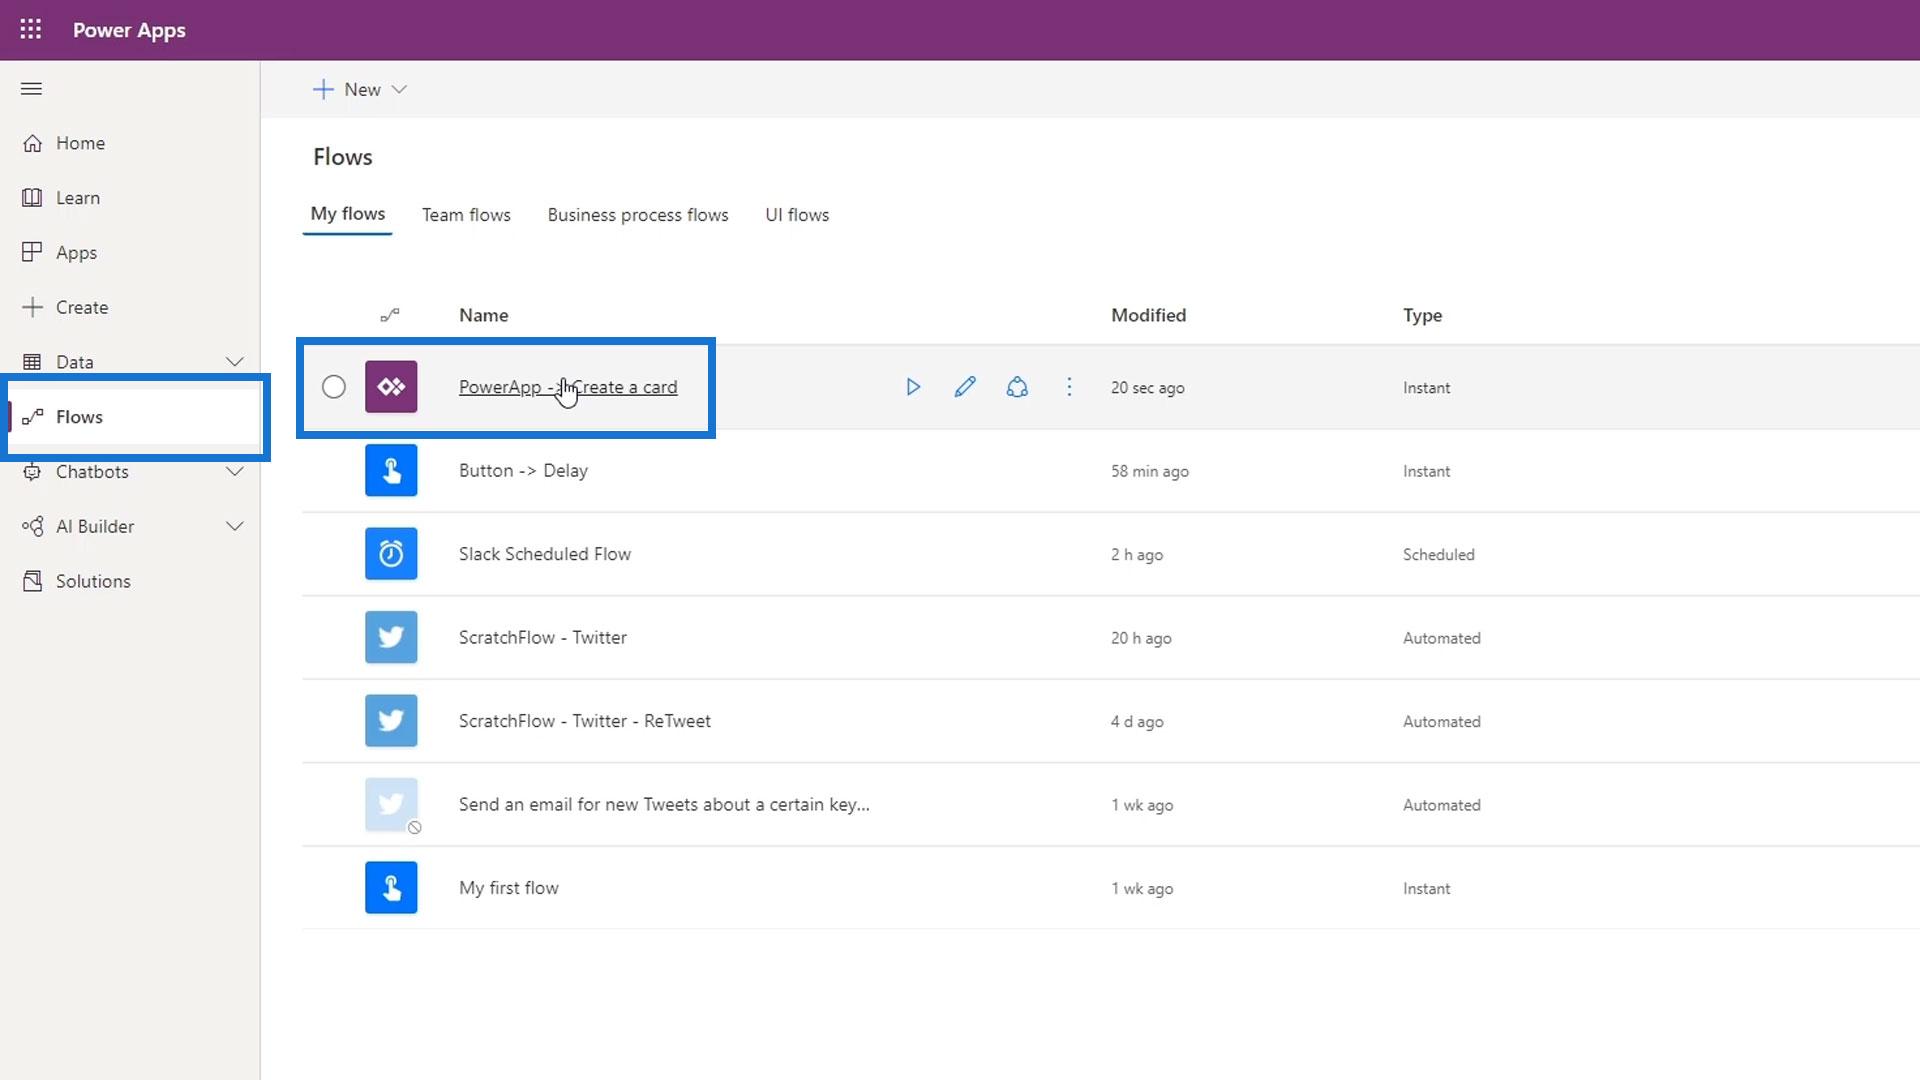
Therefore, the first thing we need to do is create a workflow that does exactly what we previously mentioned. If we go to the Power Apps main menu, we can click Flows then see all the flows that we’ve created.
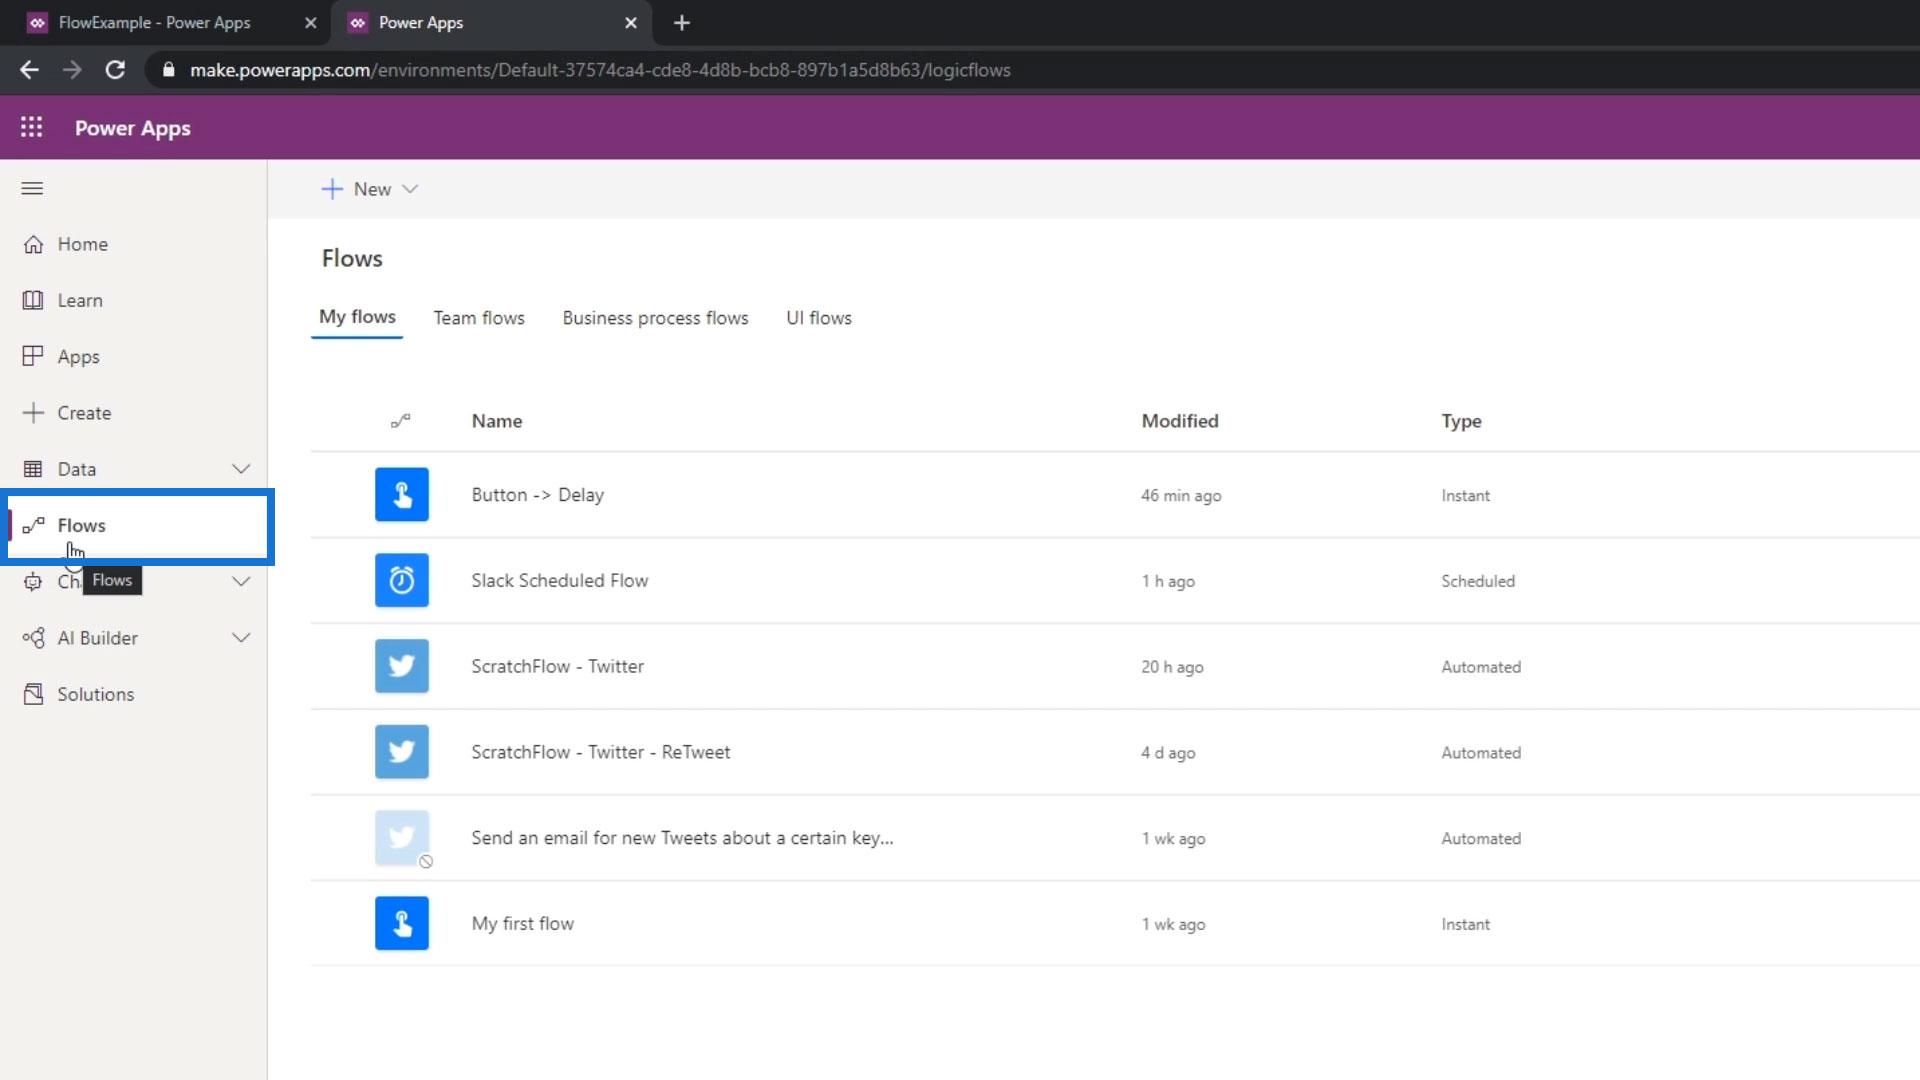
Unfortunately, these flows won’t work with Power Apps. The only ones that will work with it are flows that are actually started by PowerApps itself. So, let’s create a new Power Automate flow. First, click New.
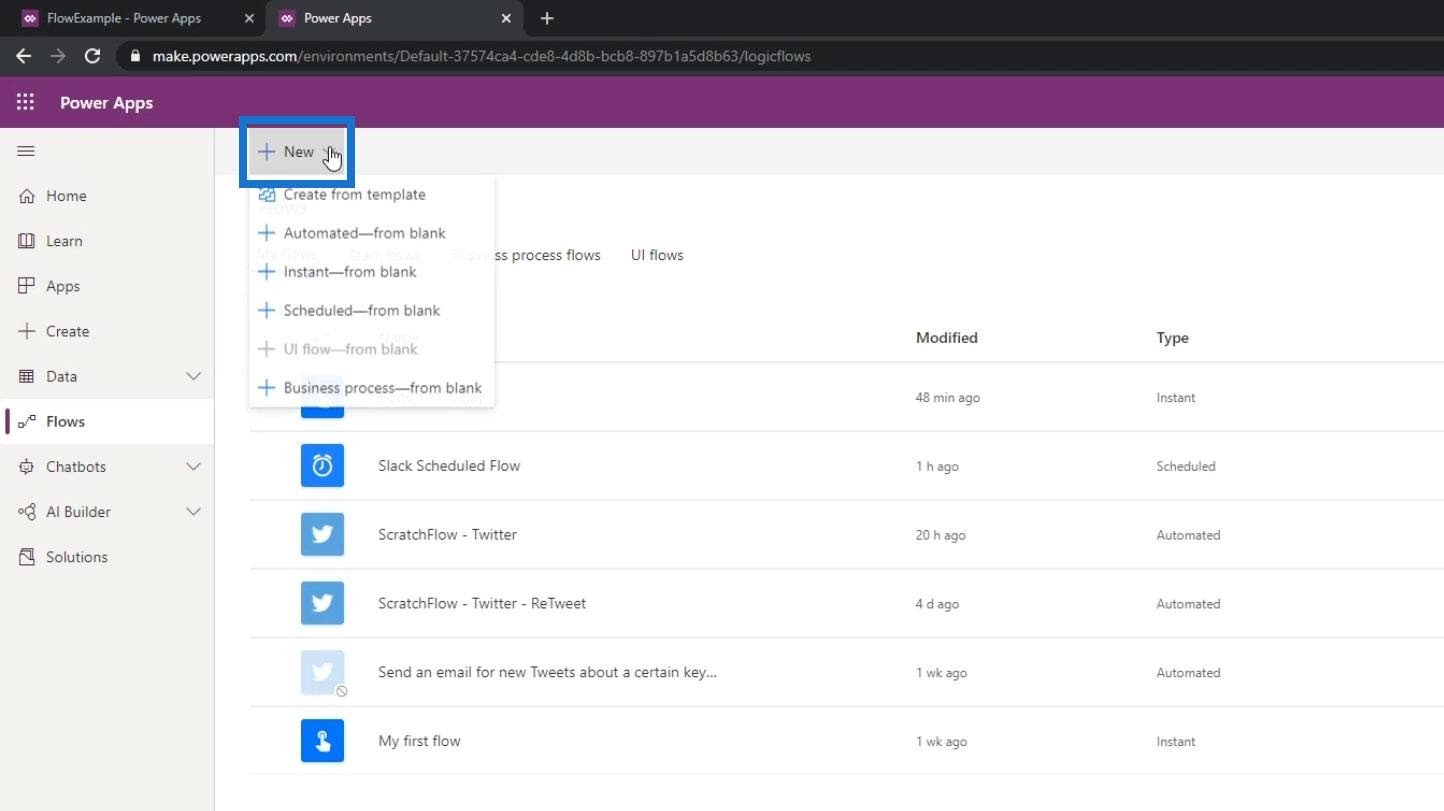
Then, click Instant-from blank.
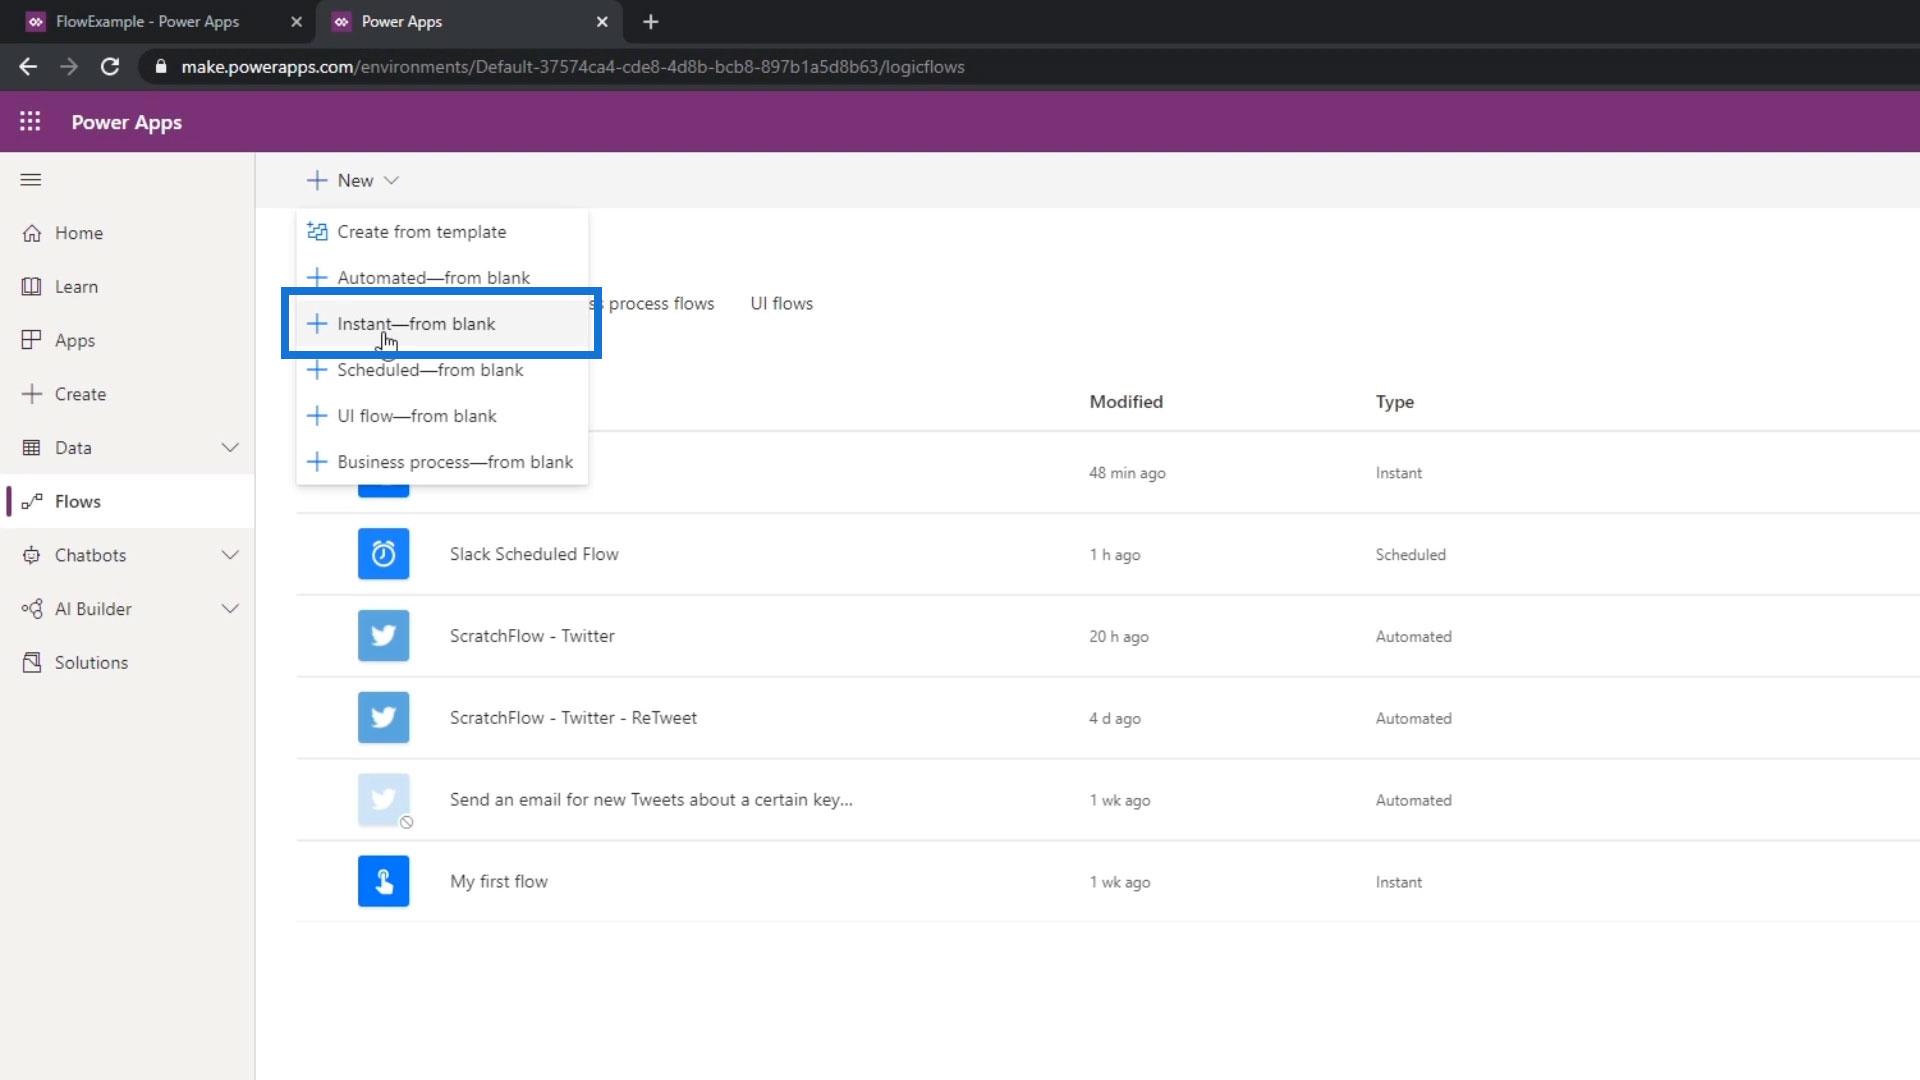
For the trigger, we’ll choose PowerApps and click Create.
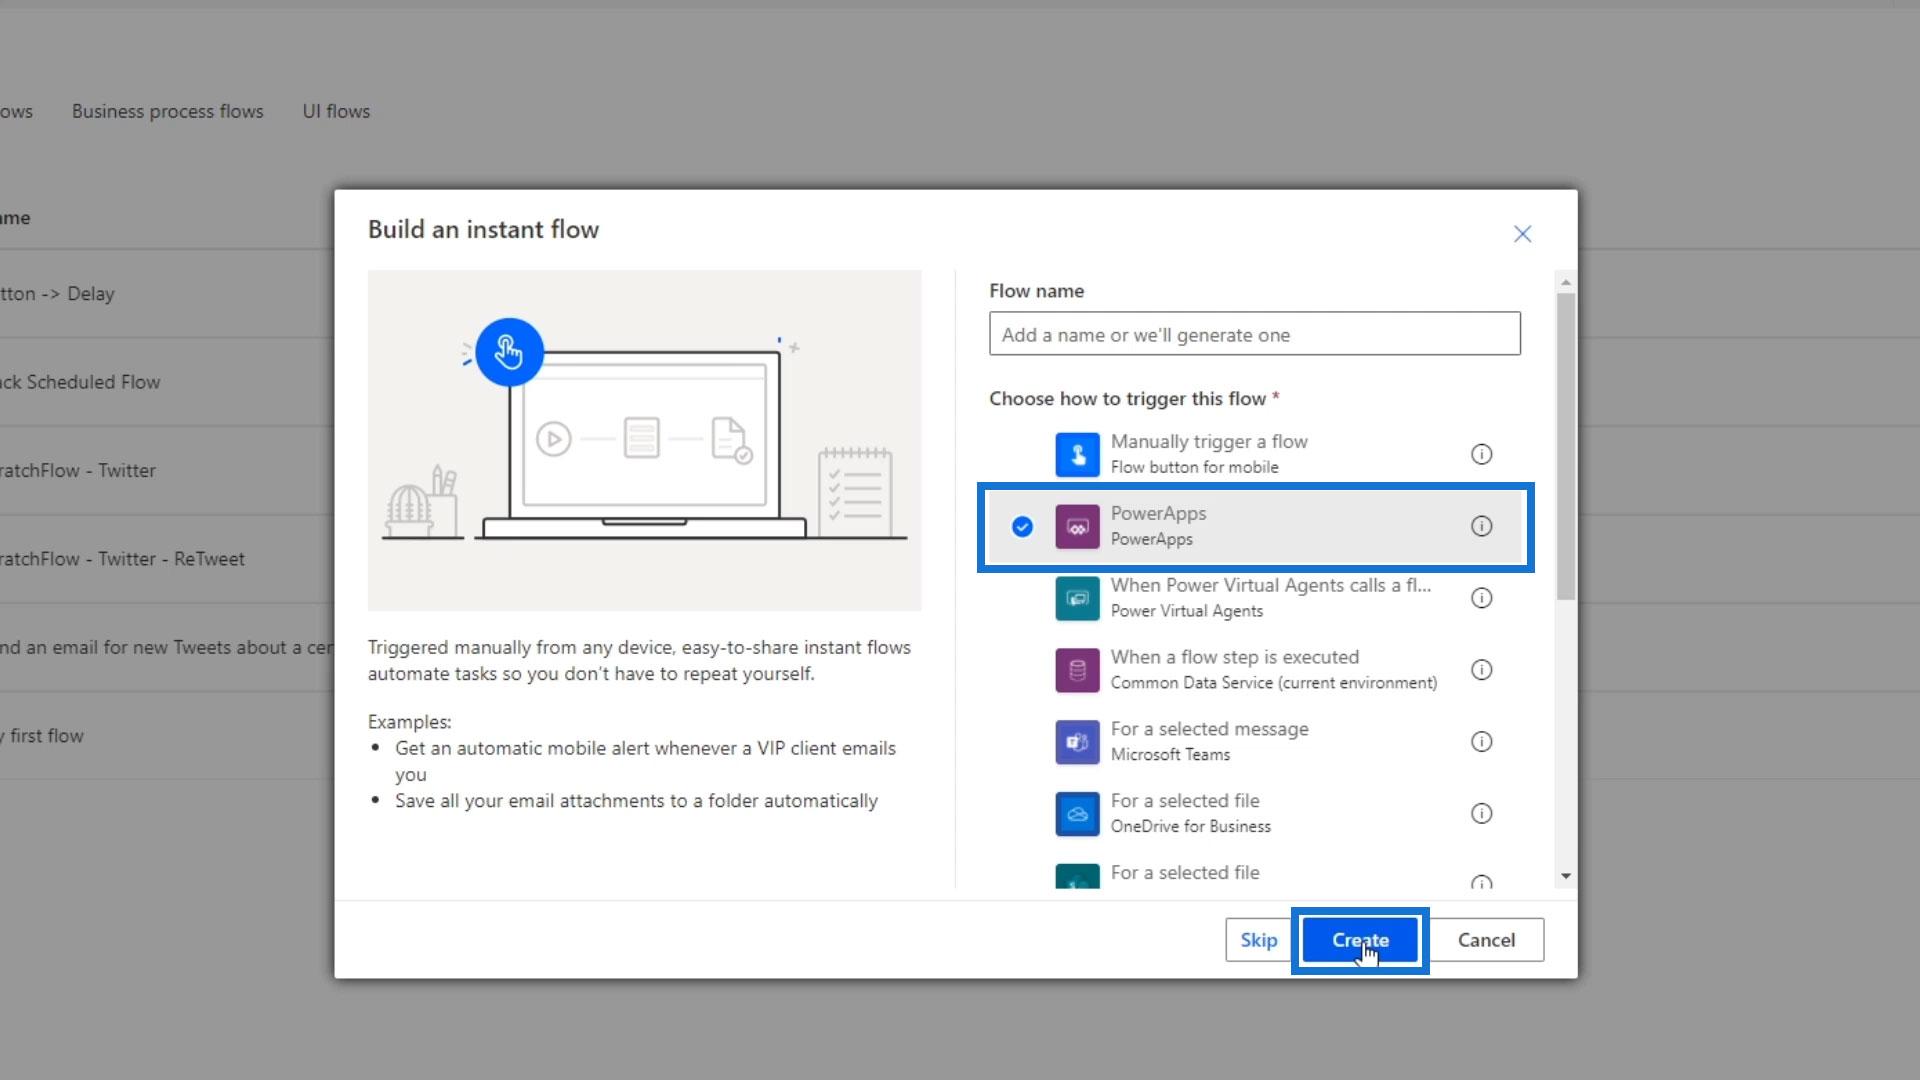
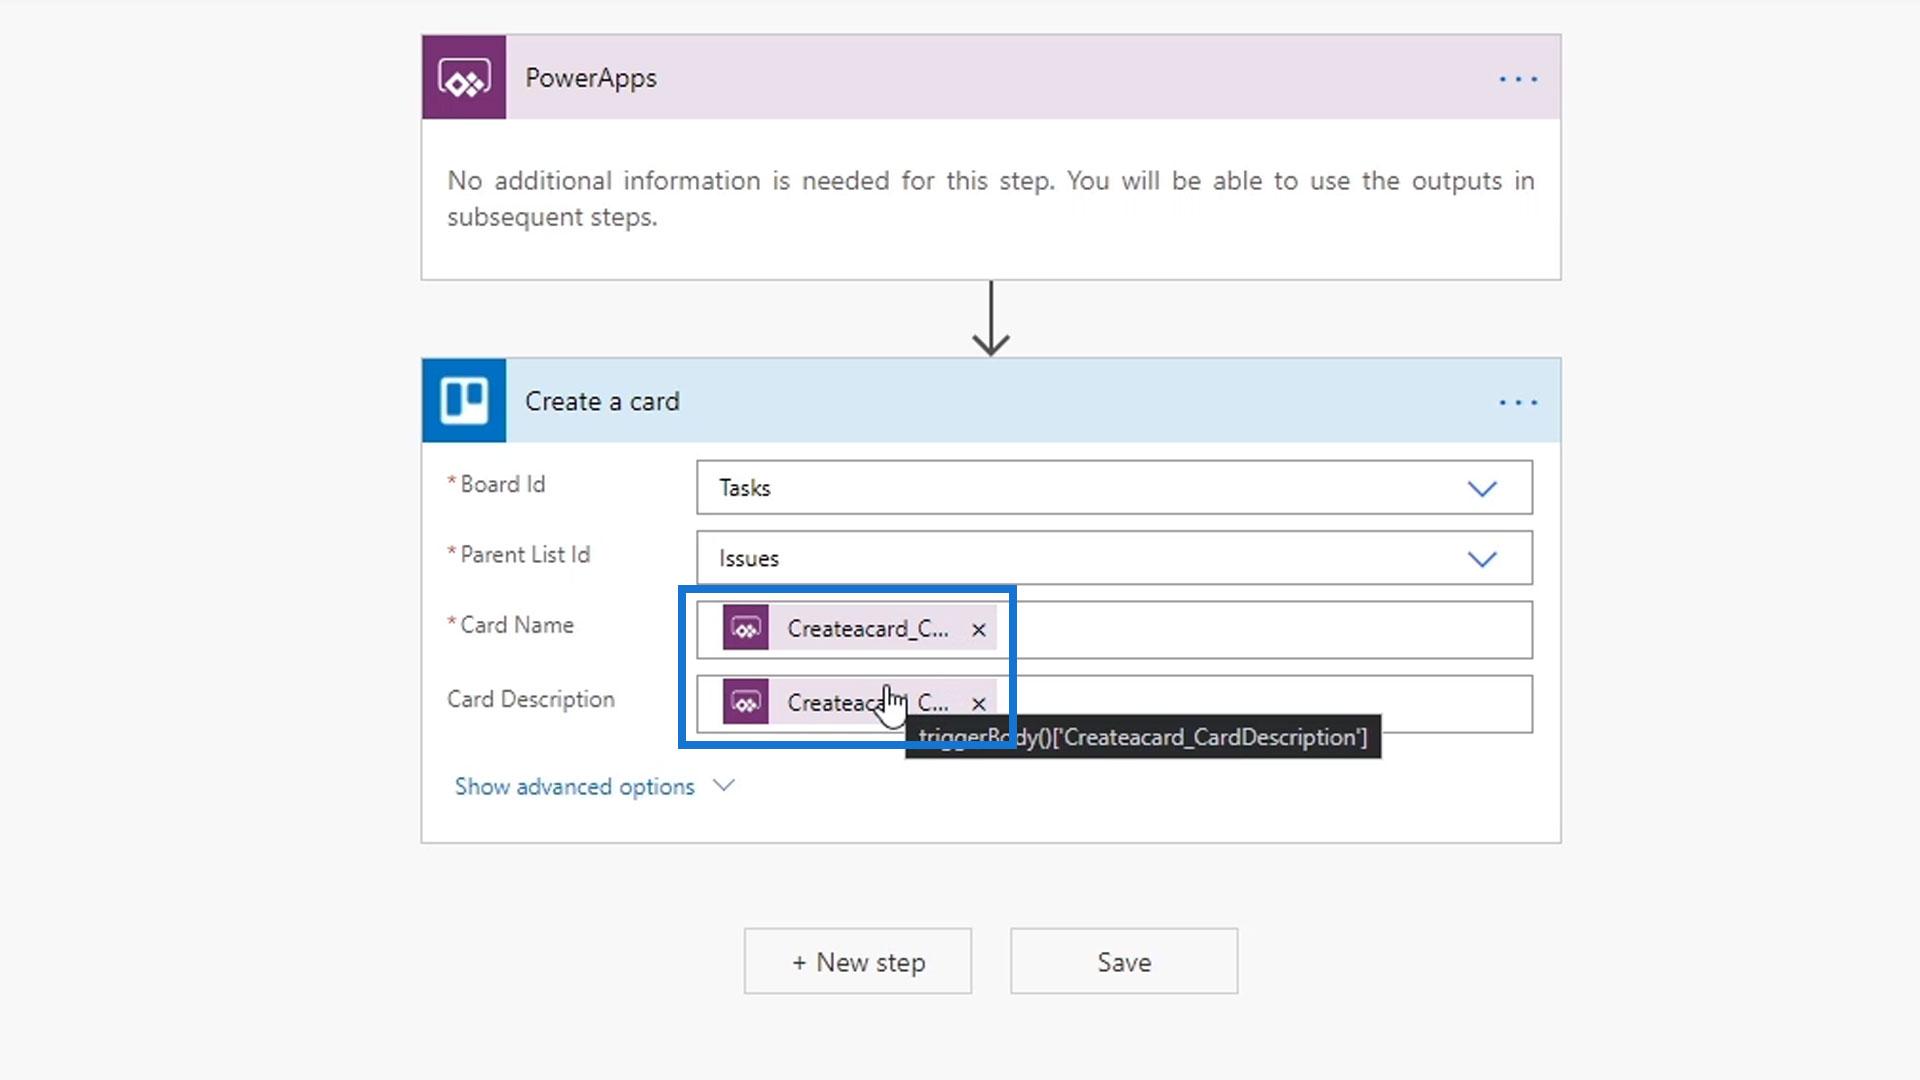
This is probably one of the simplest inputs because if you click it, it only says no additional information is necessary.
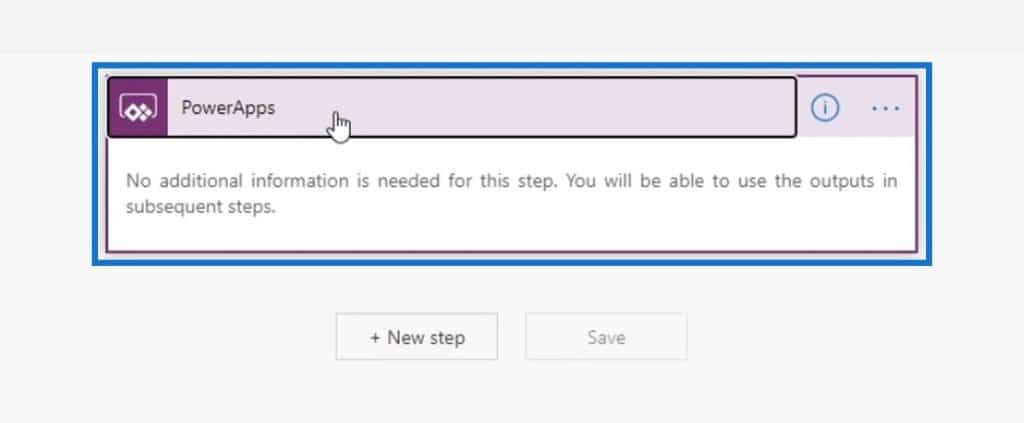
That’s because it’s assumed that all the information you need throughout this flow will be put in via Power Apps itself. Now, let’s go through it step by step.

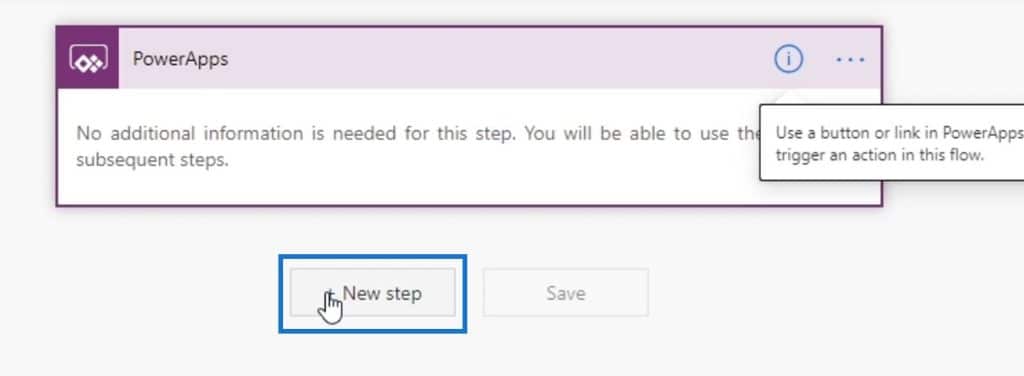
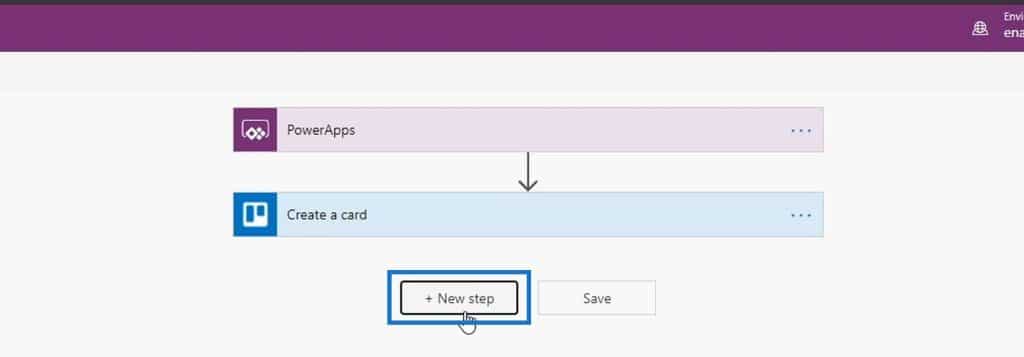
For this sample flow, a simple Trello ticket should be created after users enter their first name and last name. To do that, click the New step button.
Then let’s integrate it with Trello.
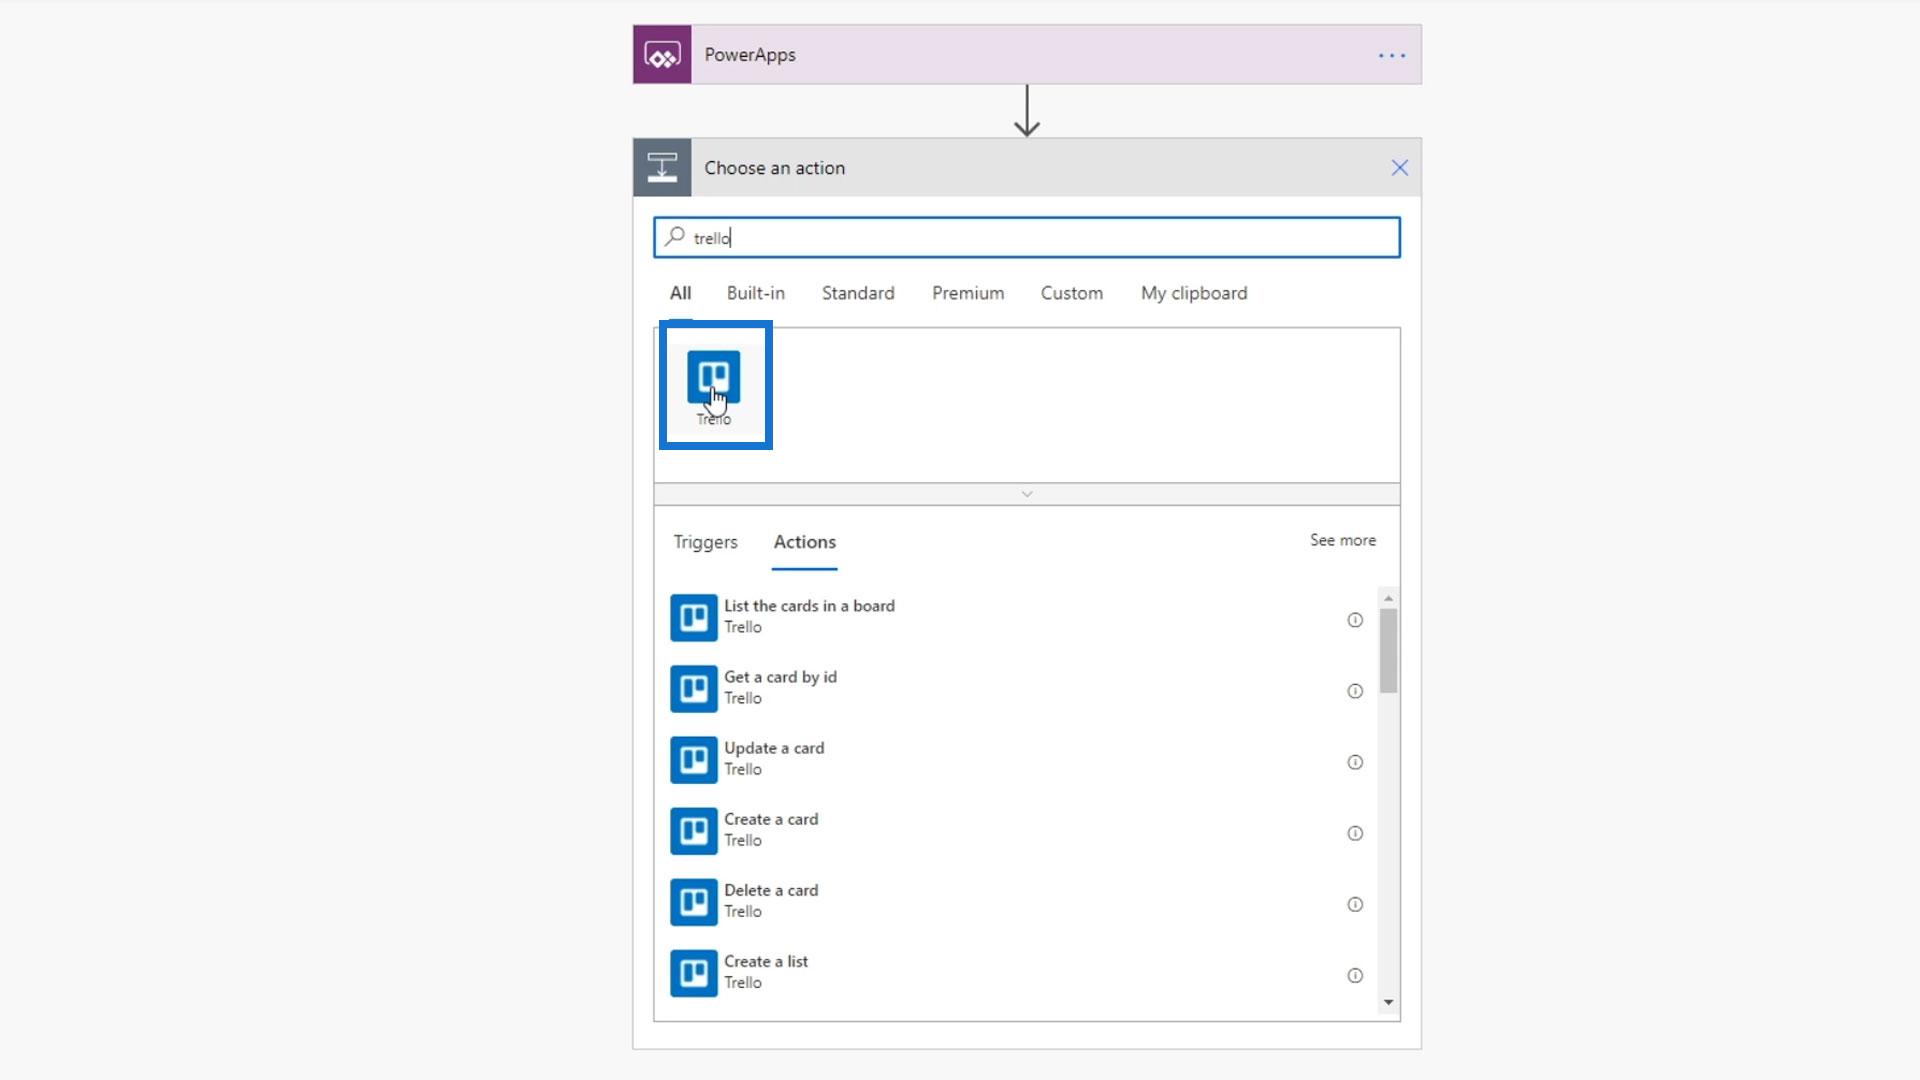
Click Create a card.

The Board ID will be Tasks and the Parent List ID will be Issues.
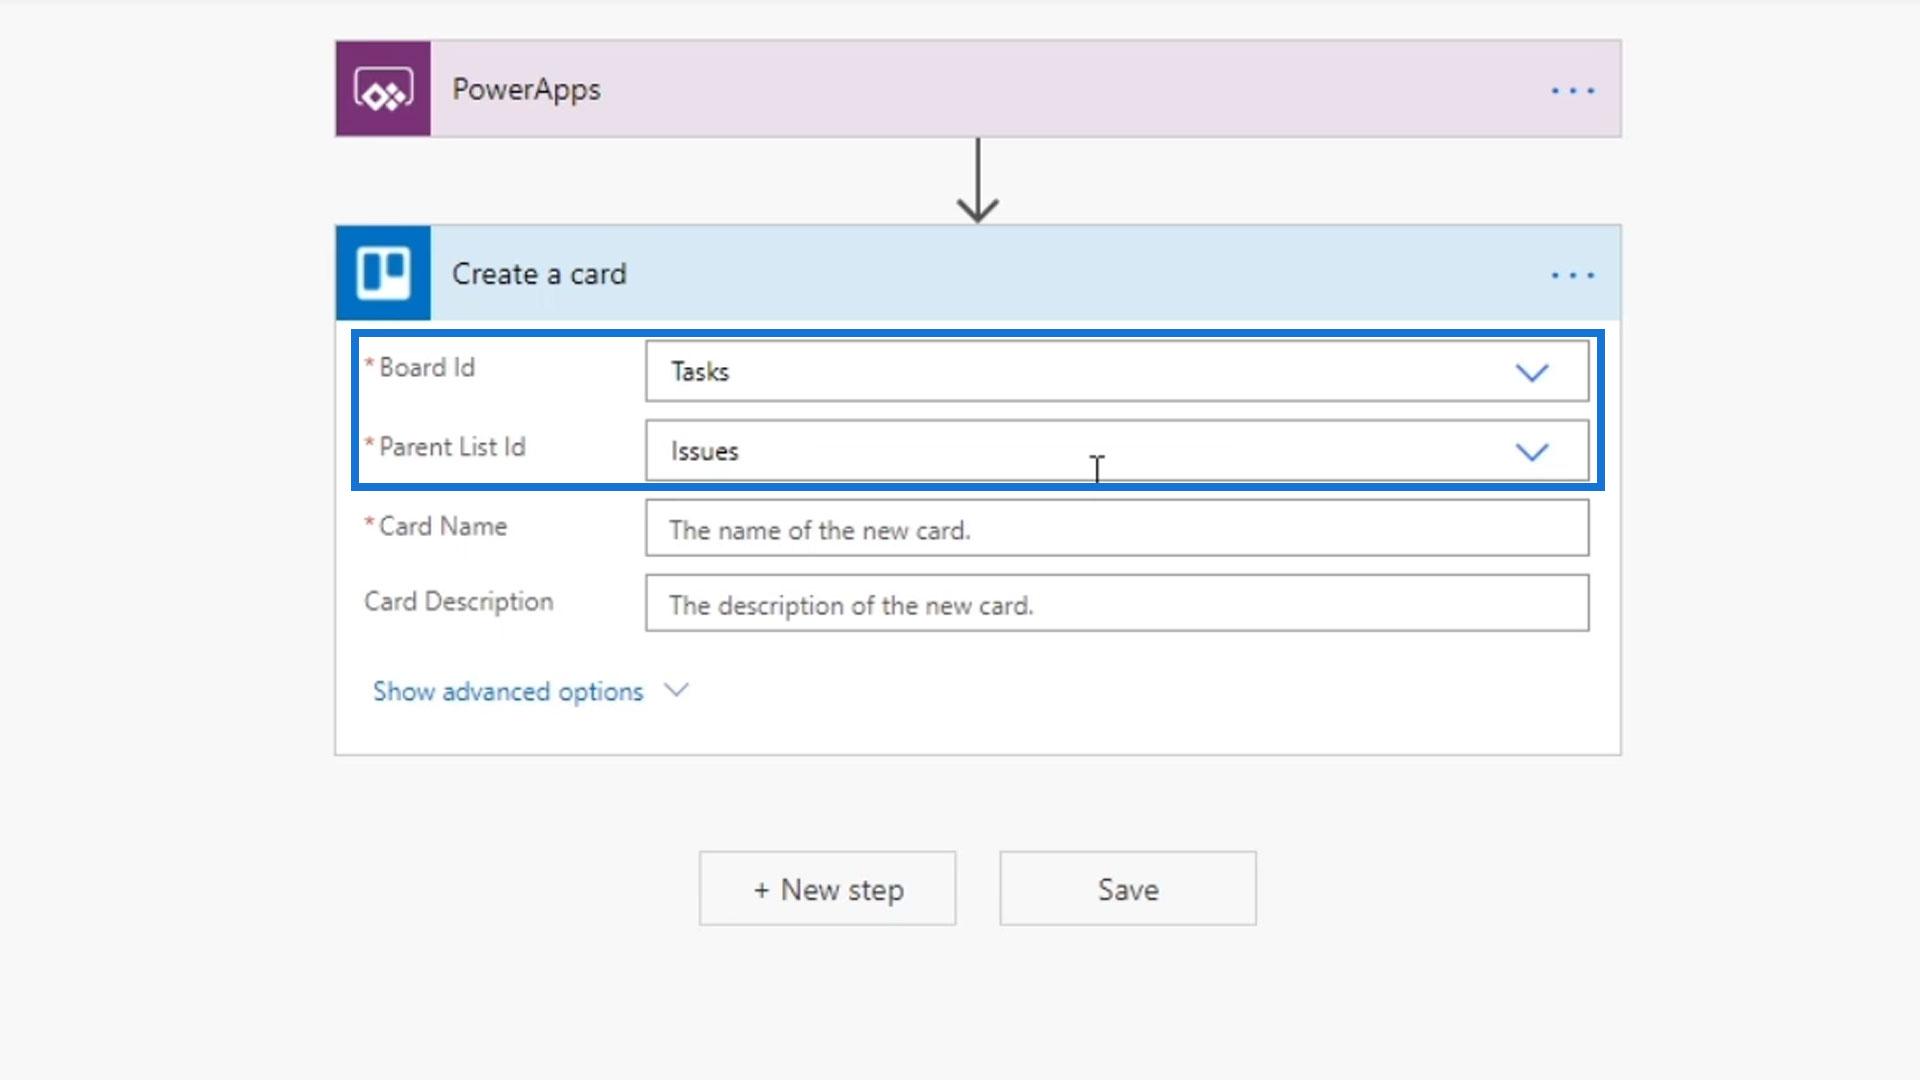
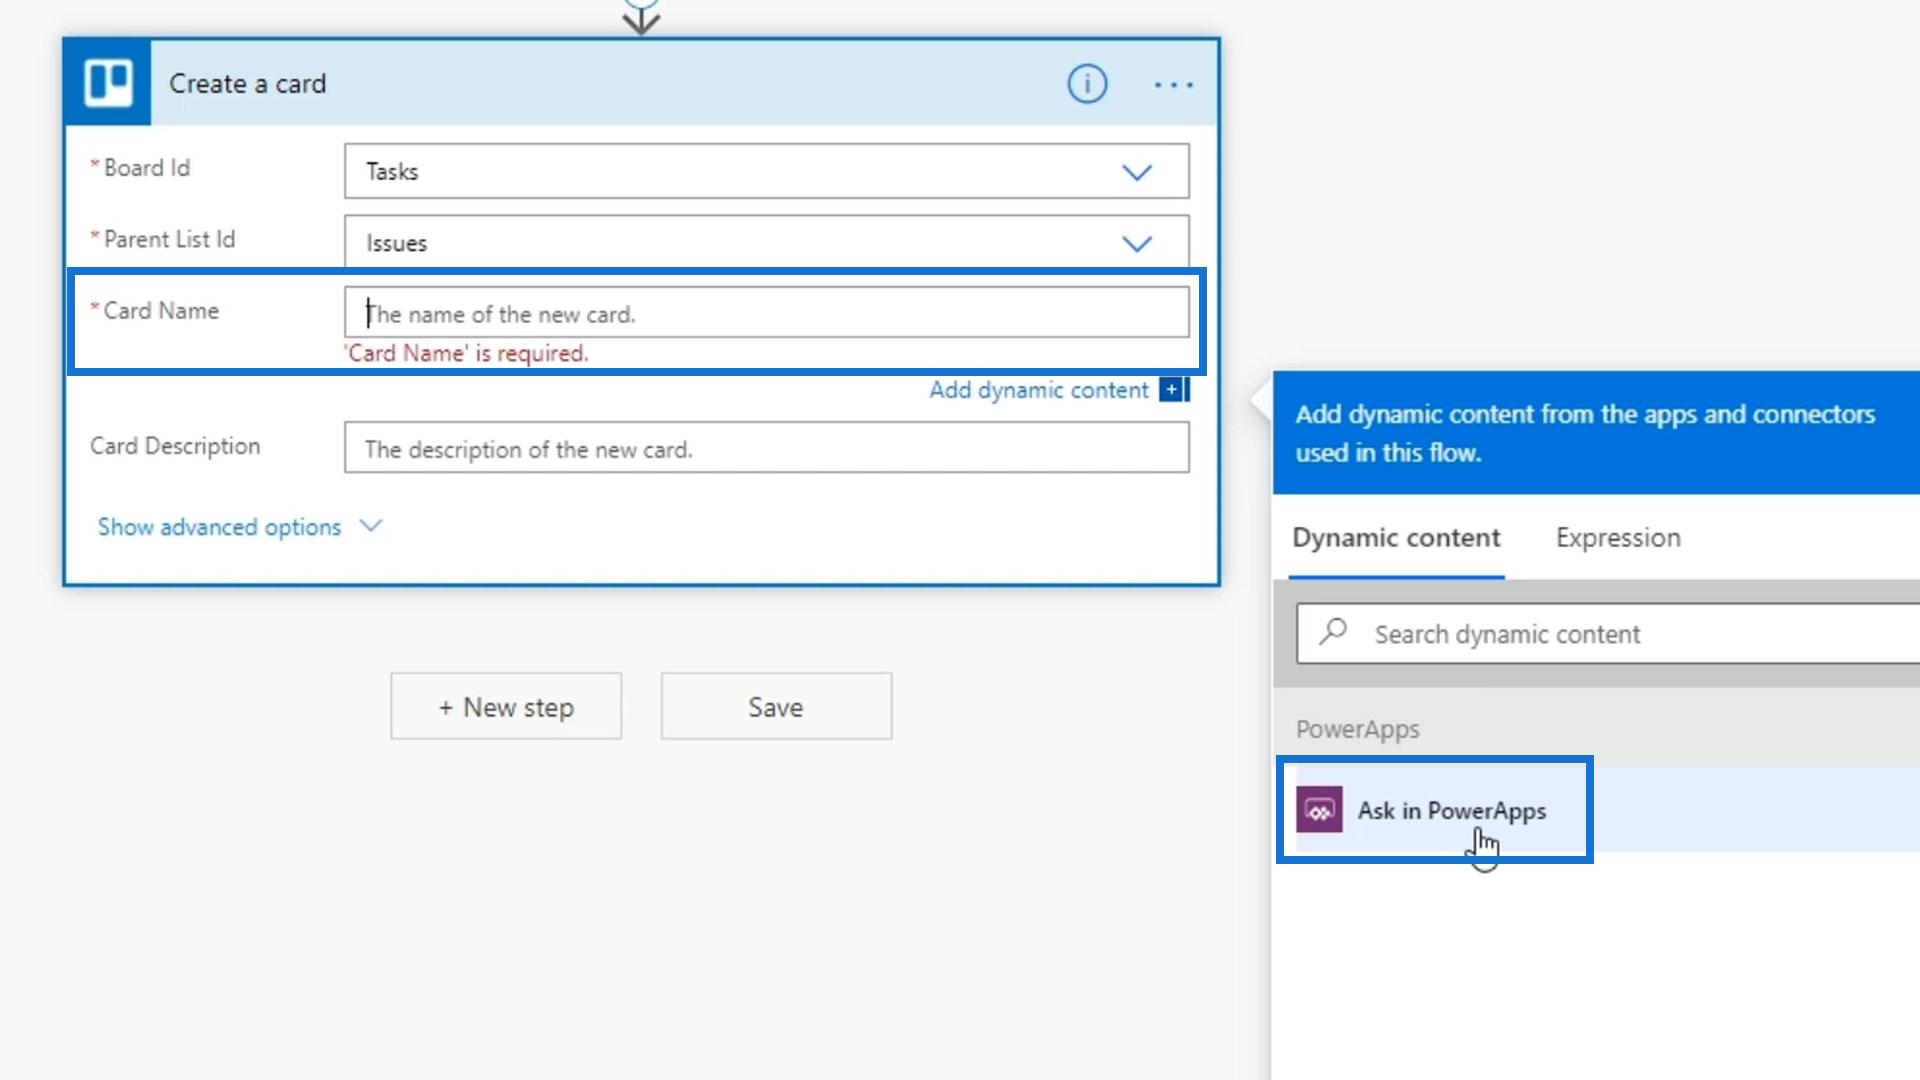
At this time, we haven’t asked the users to input anything for the card name and card description. However, we can set the Card Name field to be populated by the user in PowerApps. To do that, just click Ask in PowerApps.
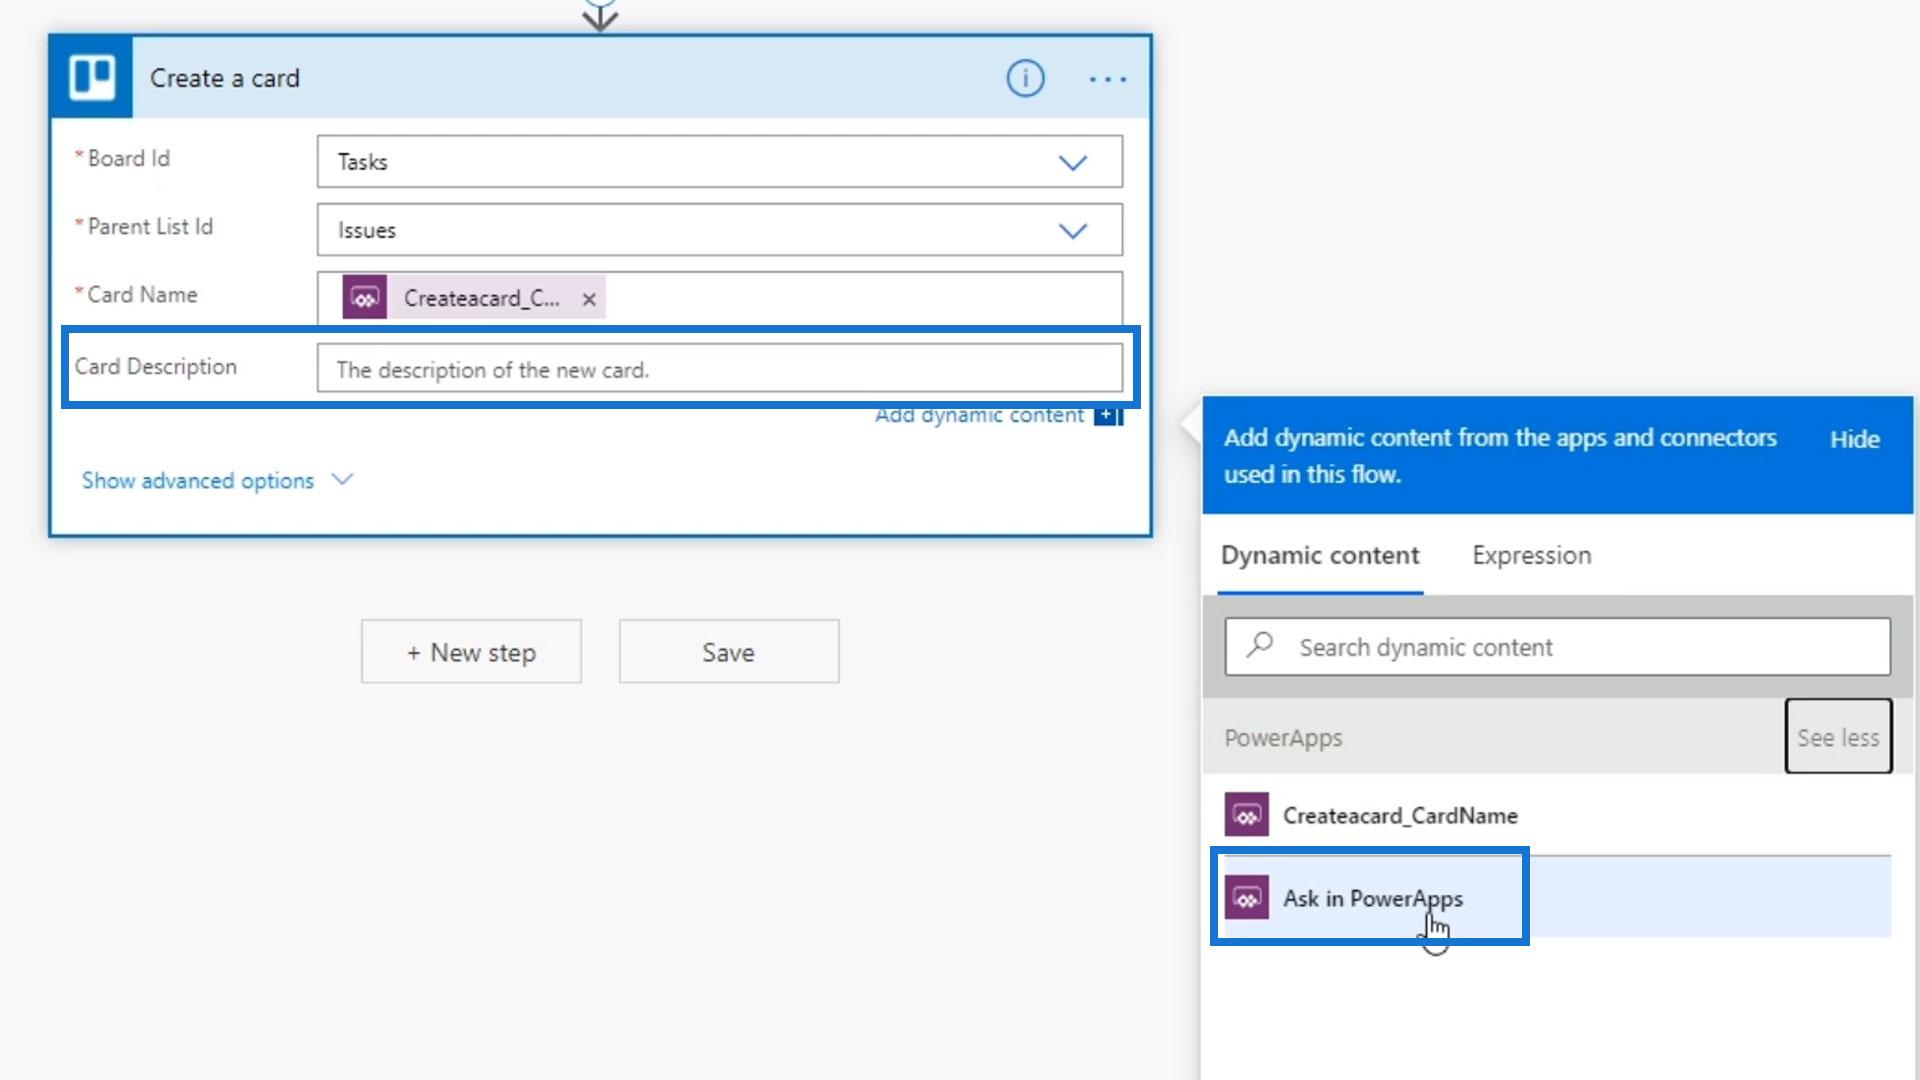
We can also do the same thing for the Card Description.
Then, click Save.
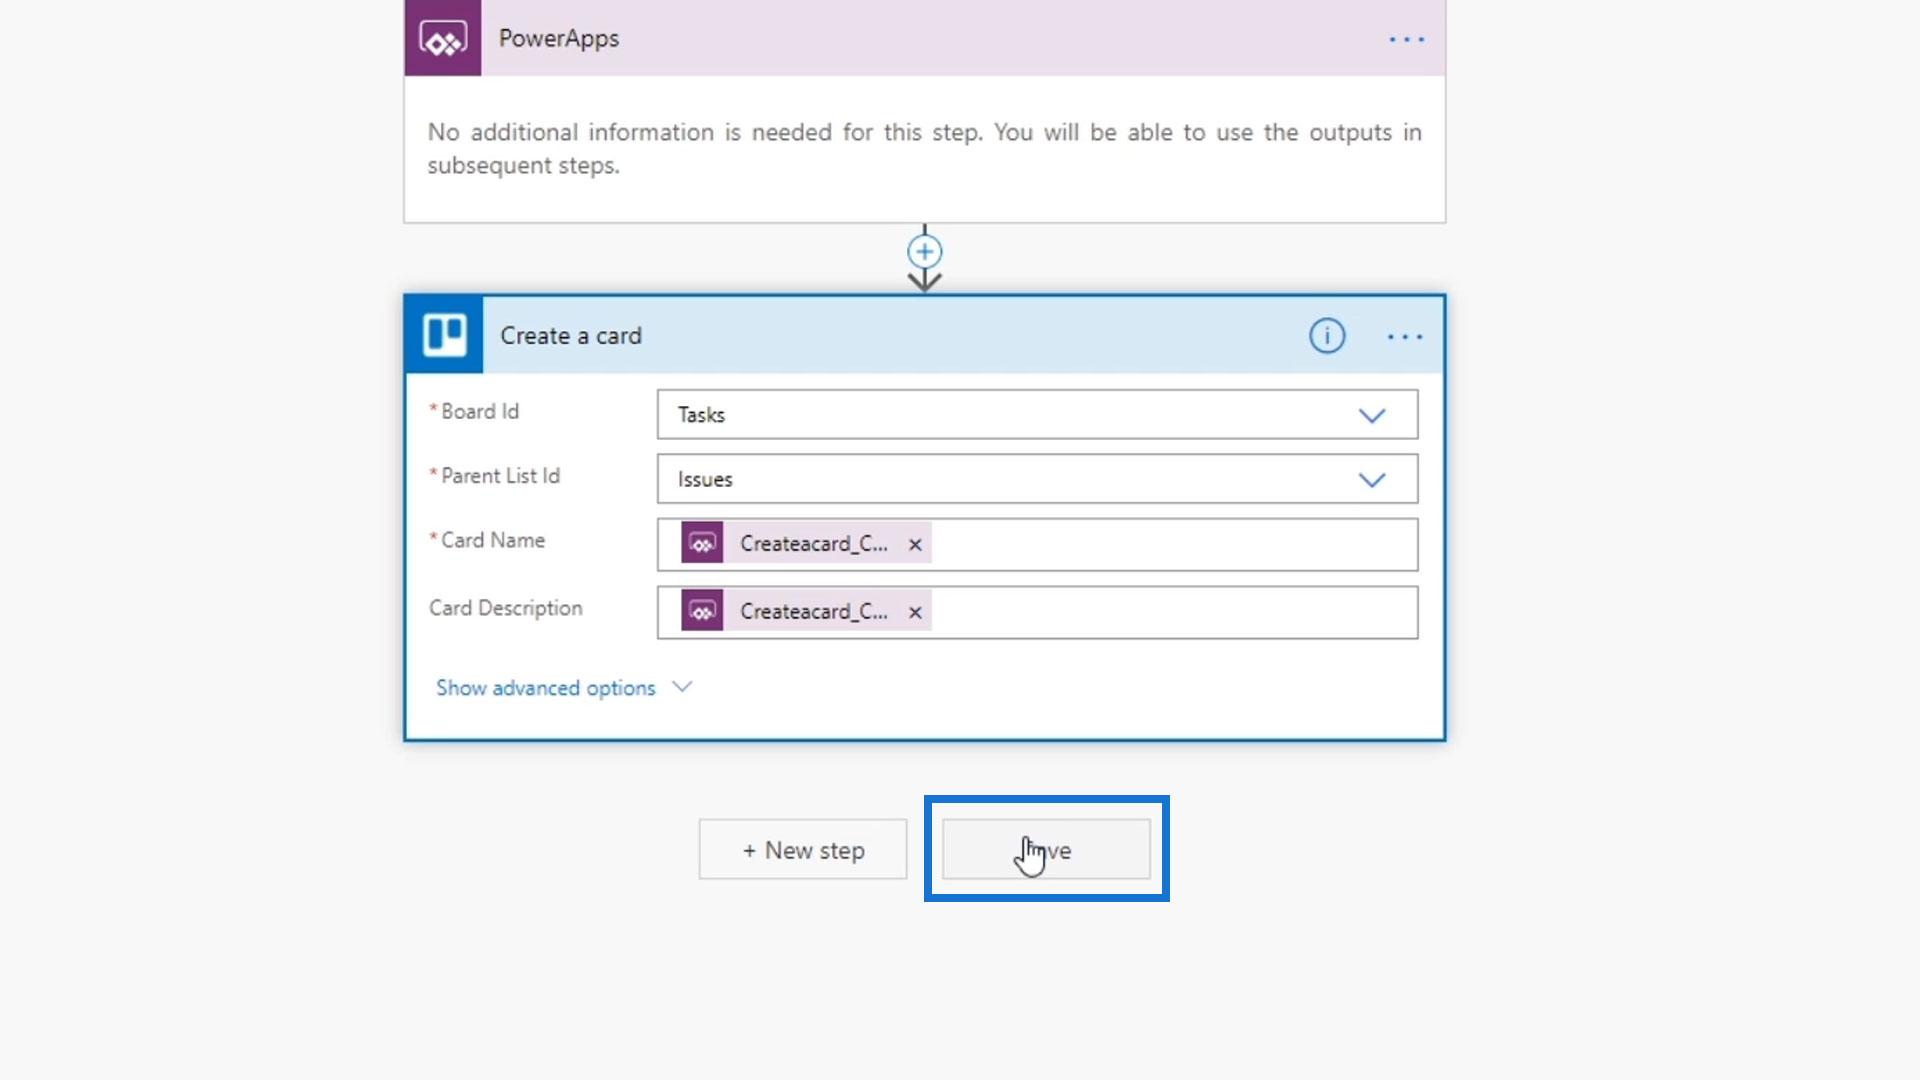
To briefly summarize, all our input variables will be provided by the person who’s triggering it through Power Apps.
Let’s go back to our Power Apps application, and try that out.
Creating A Trigger In PowerApps
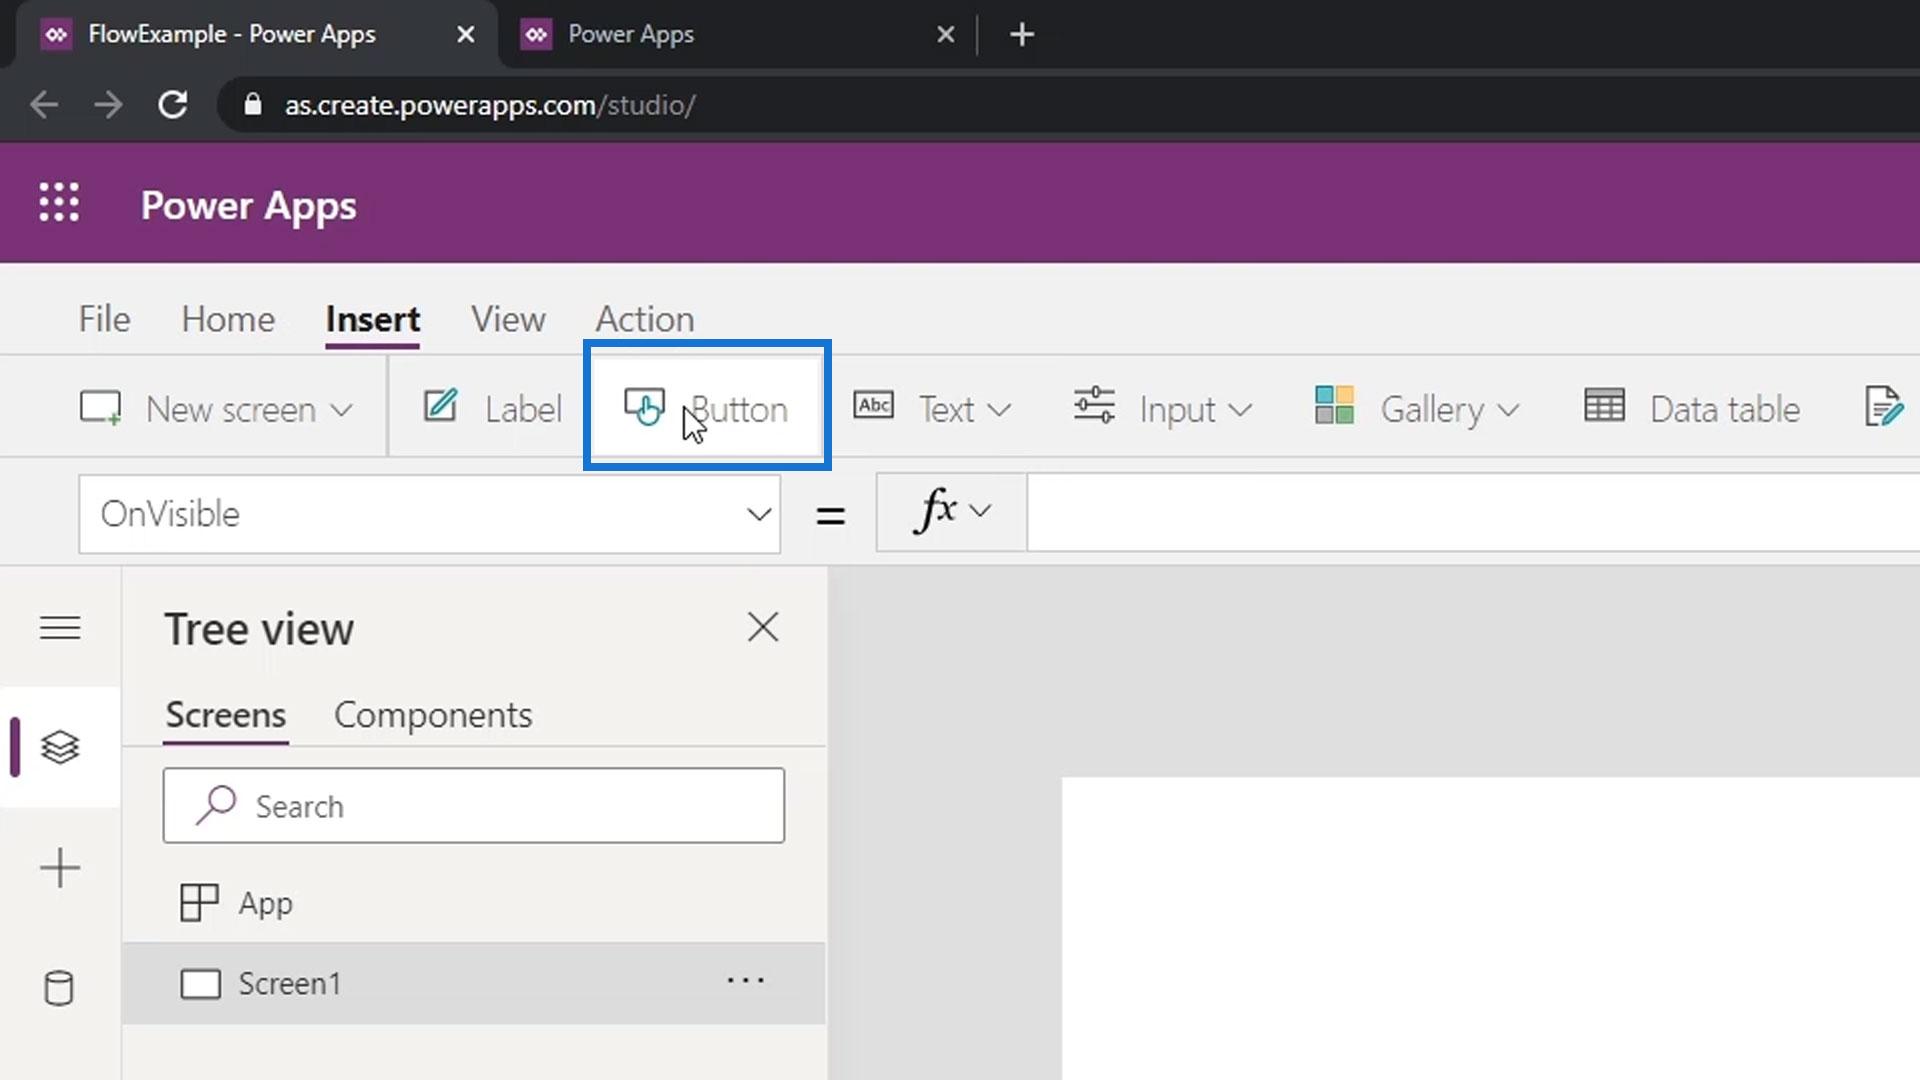
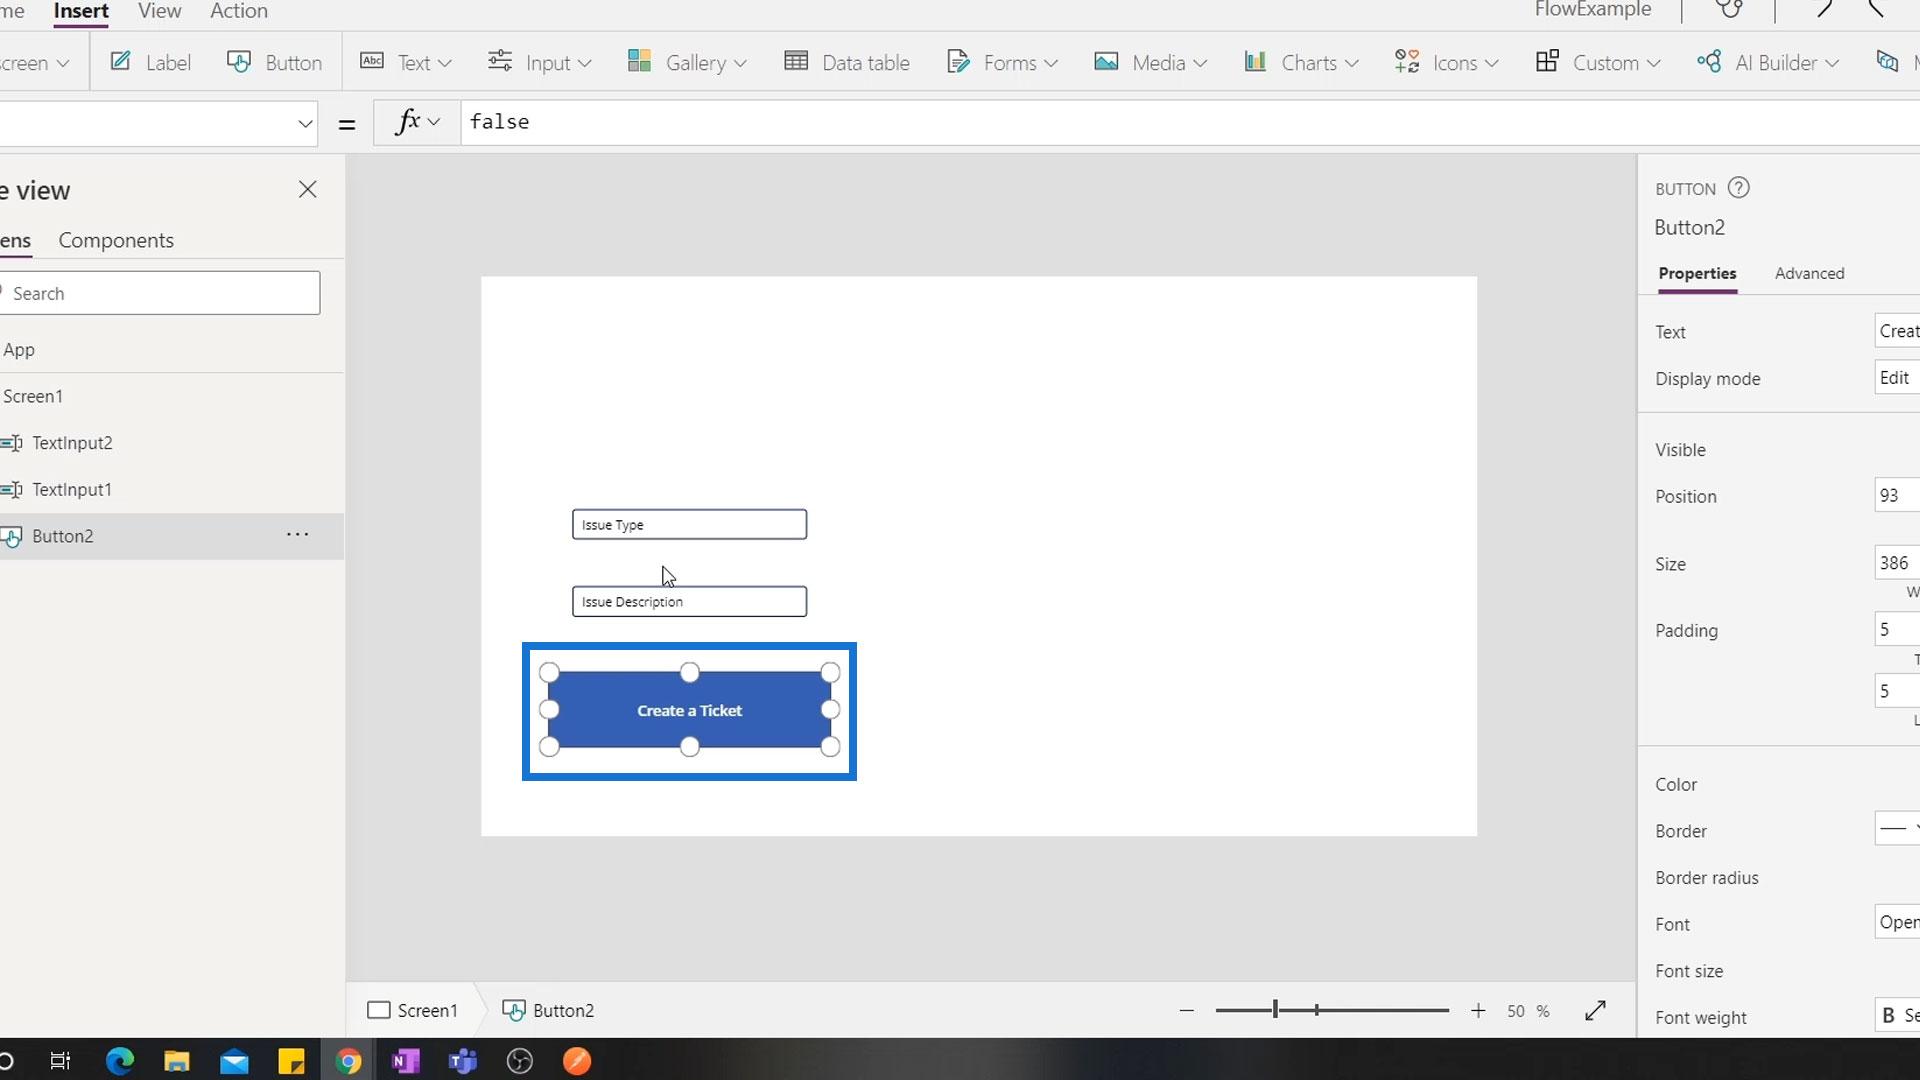
First, let’s create a button.
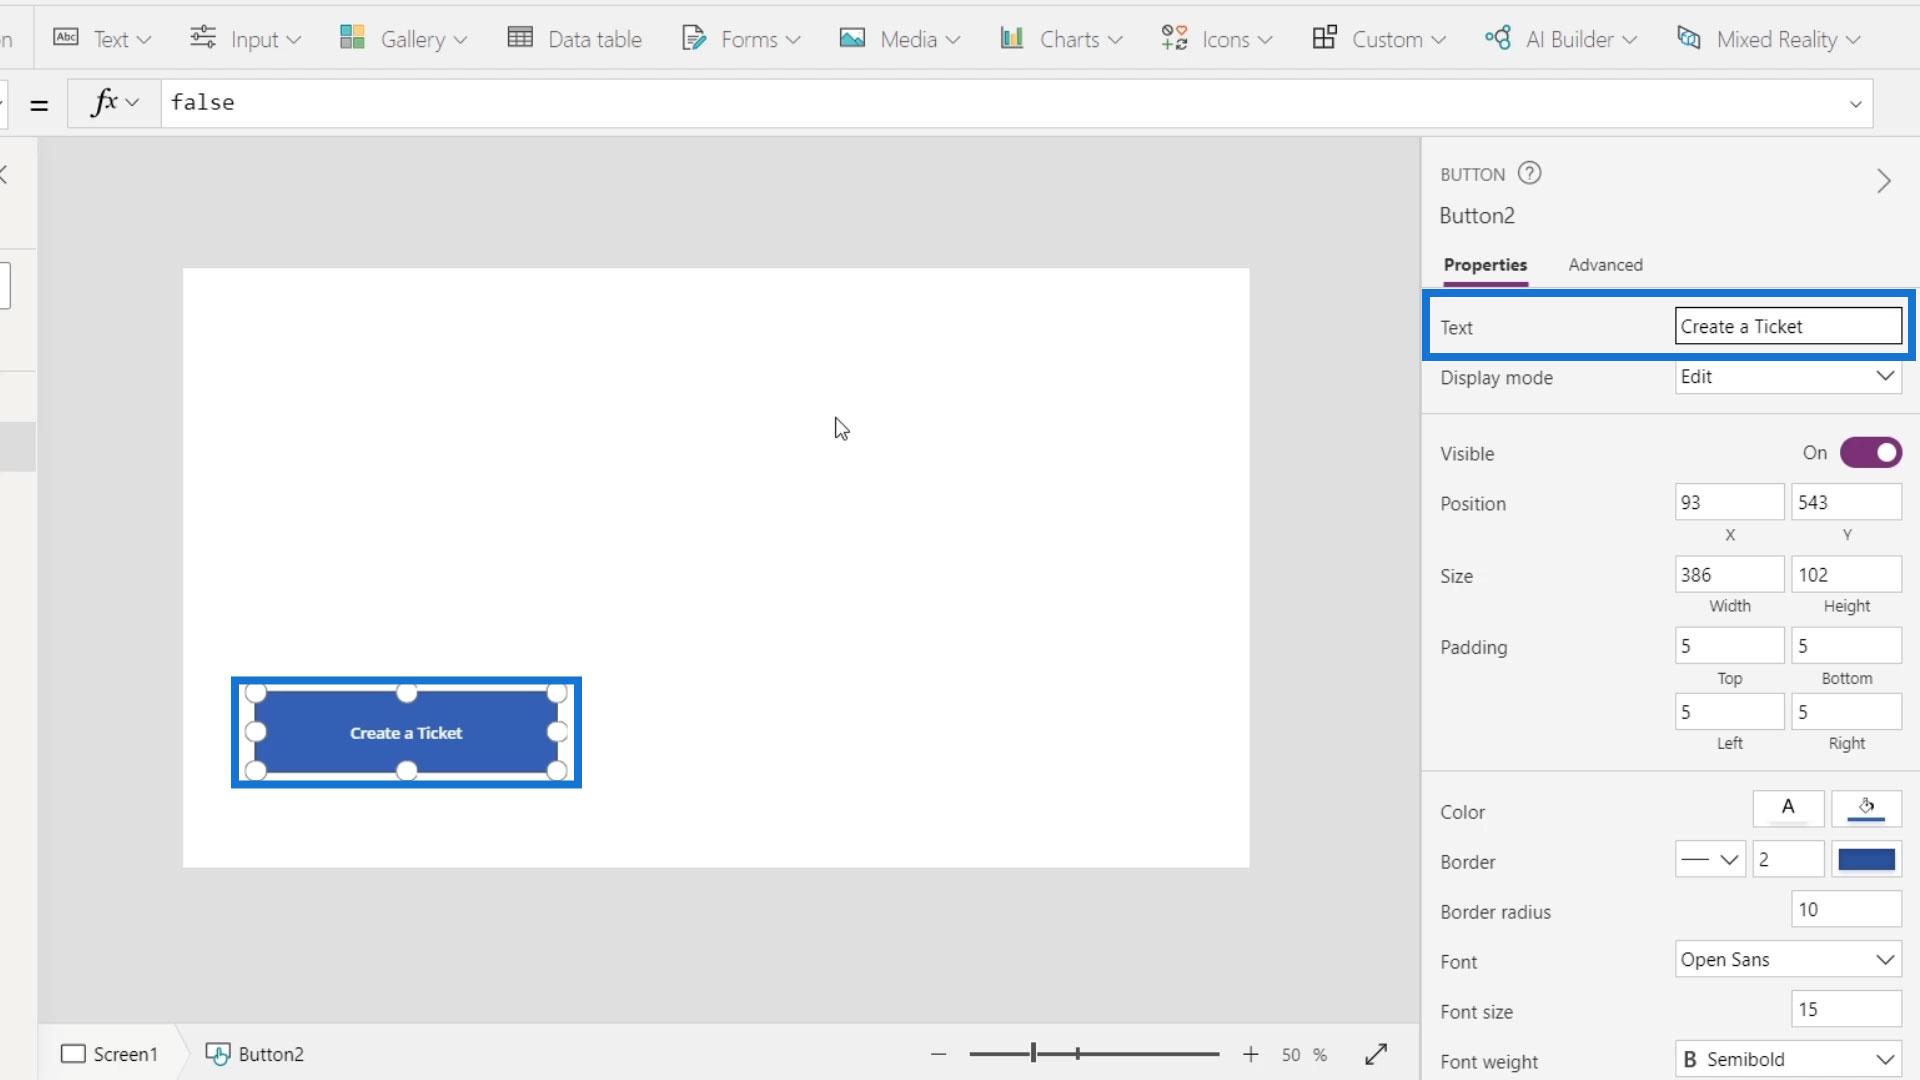
Let’s type Create a ticket as the name of this button.
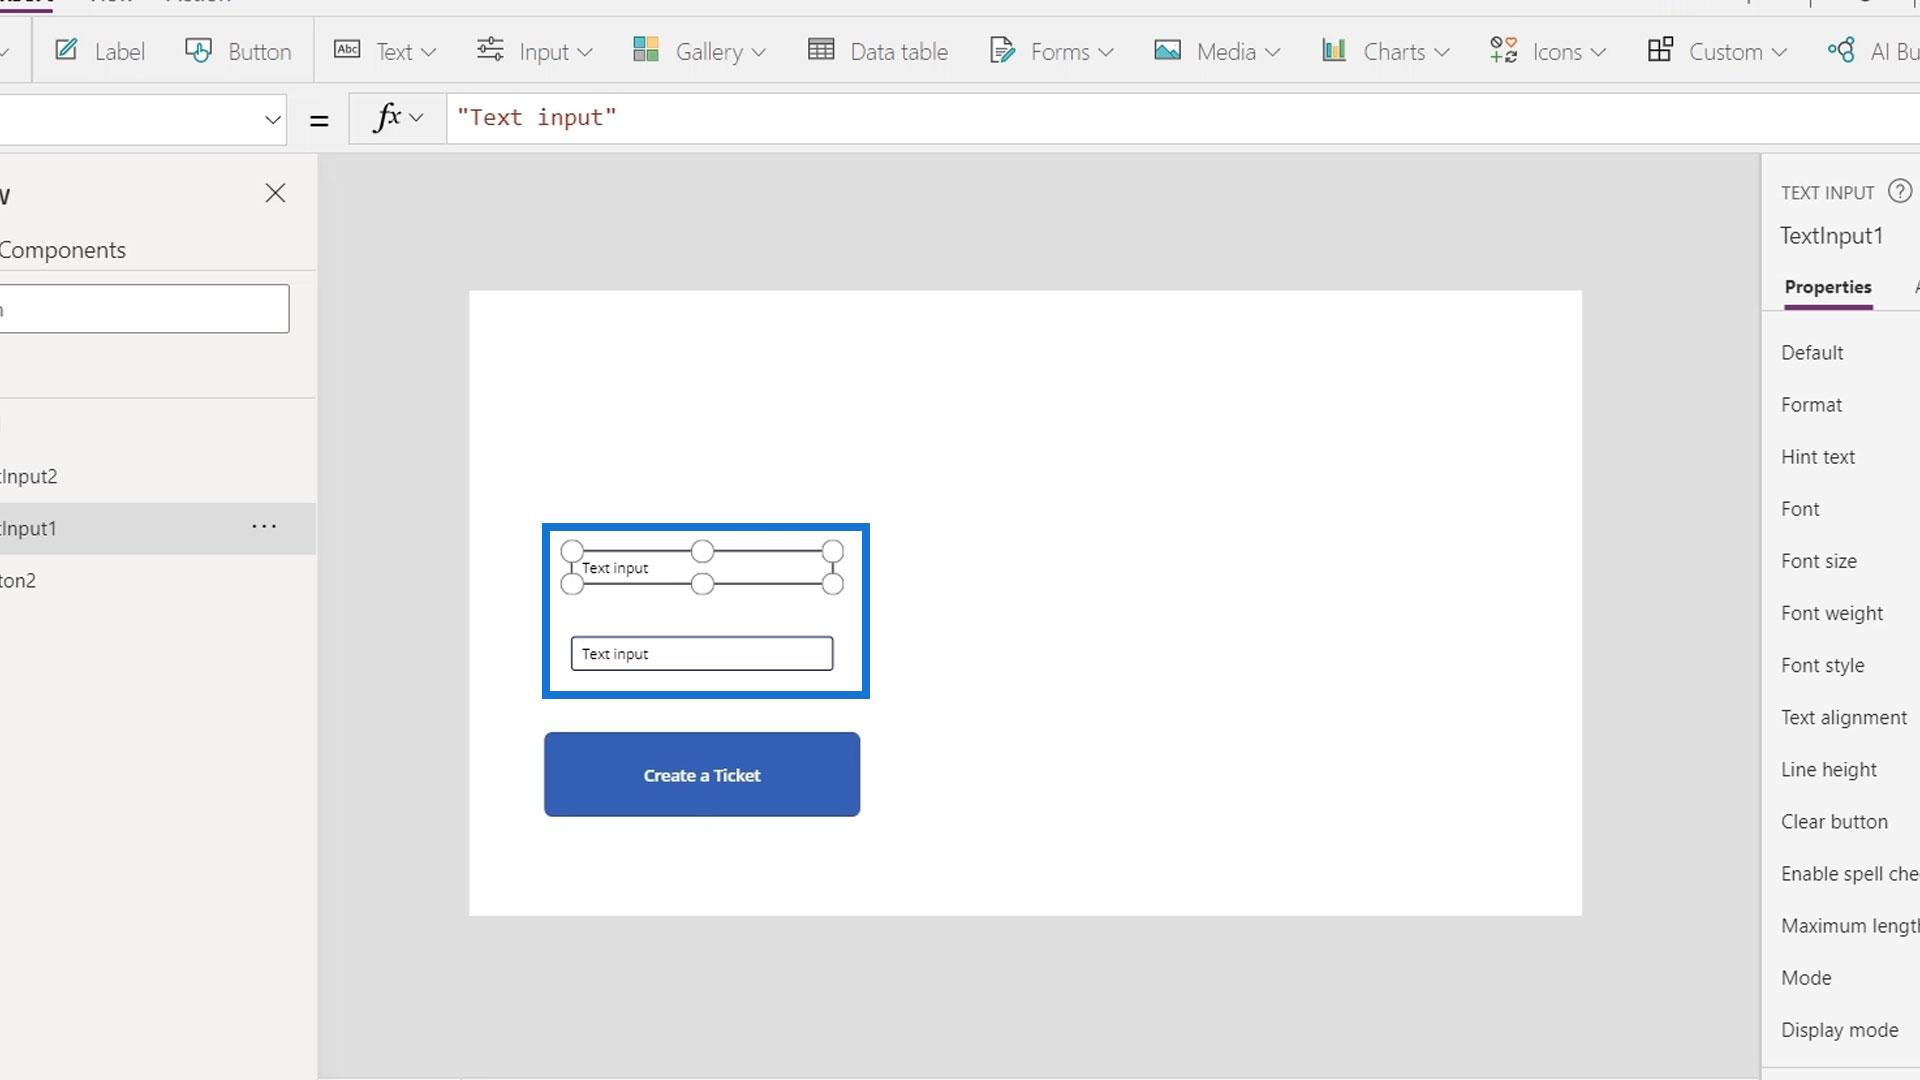
Click Input then choose Text Input.
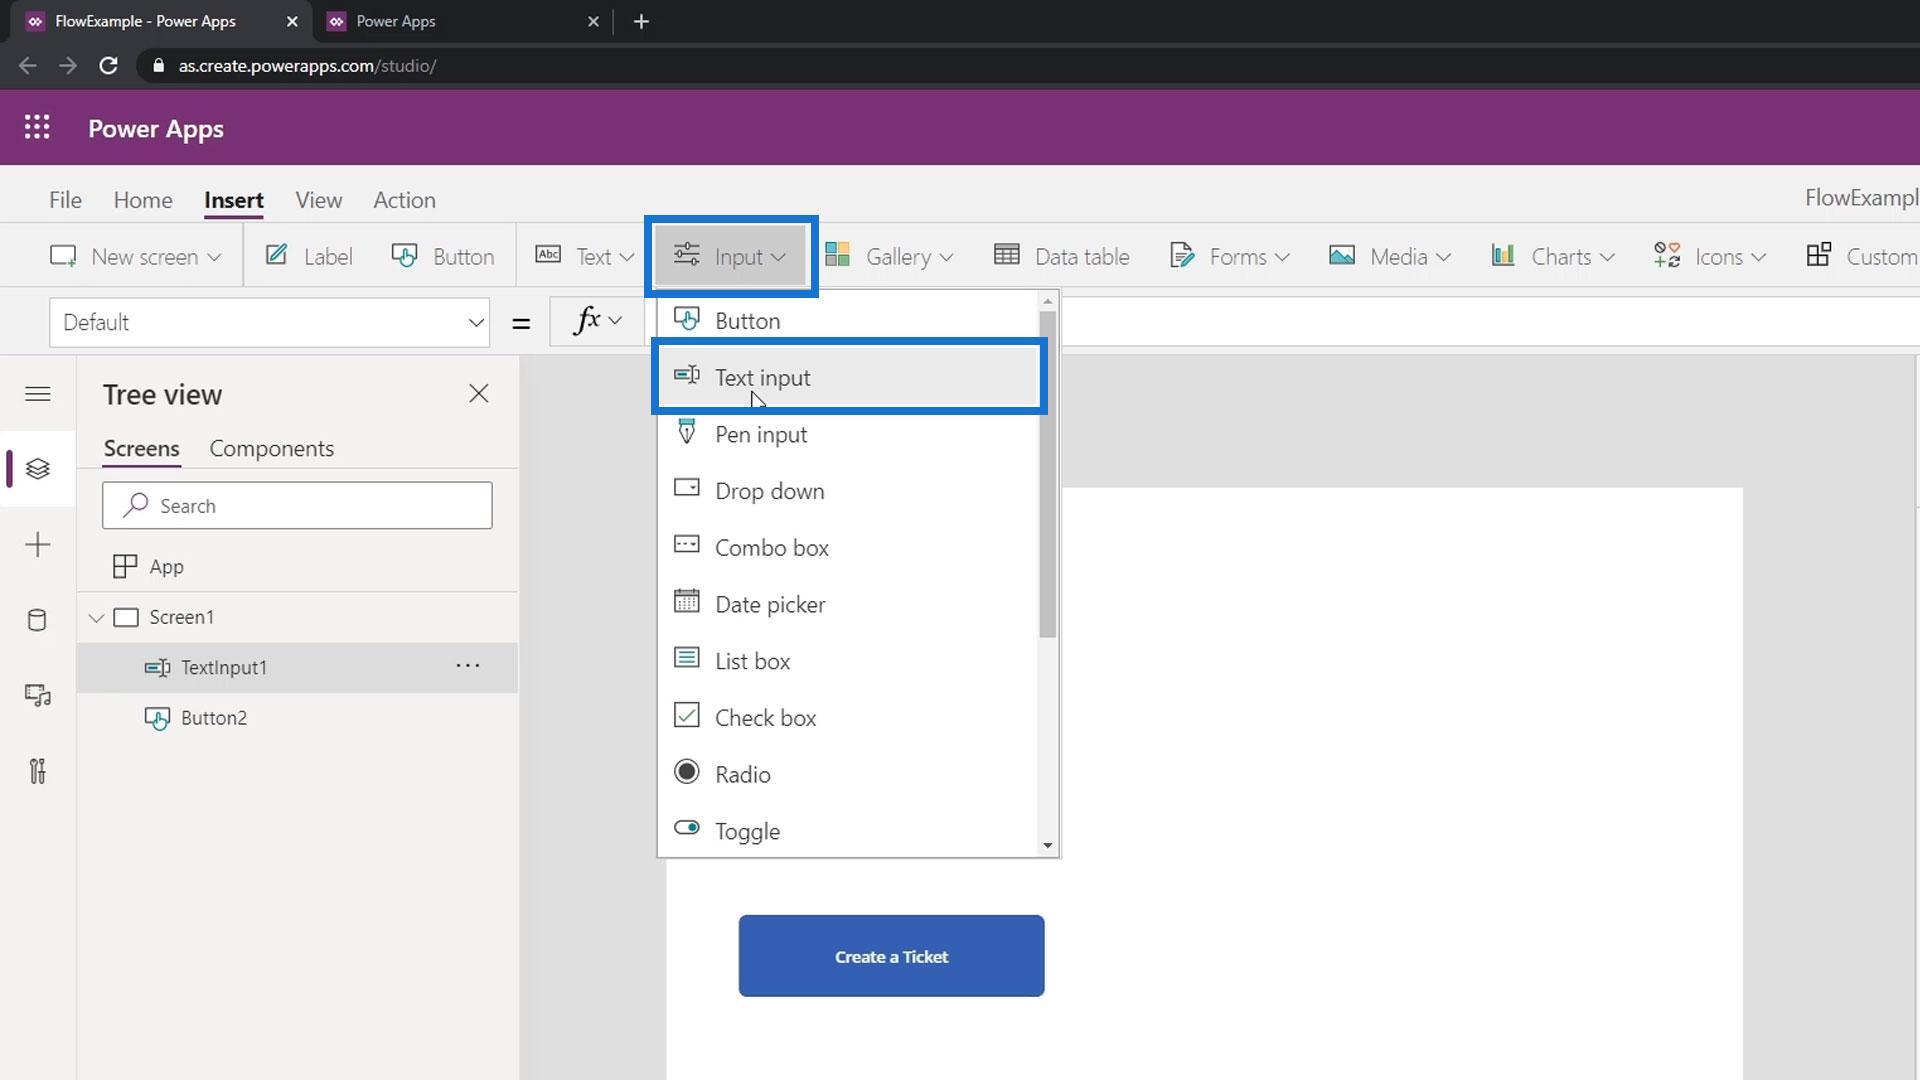
Let’s put it in two text boxes.
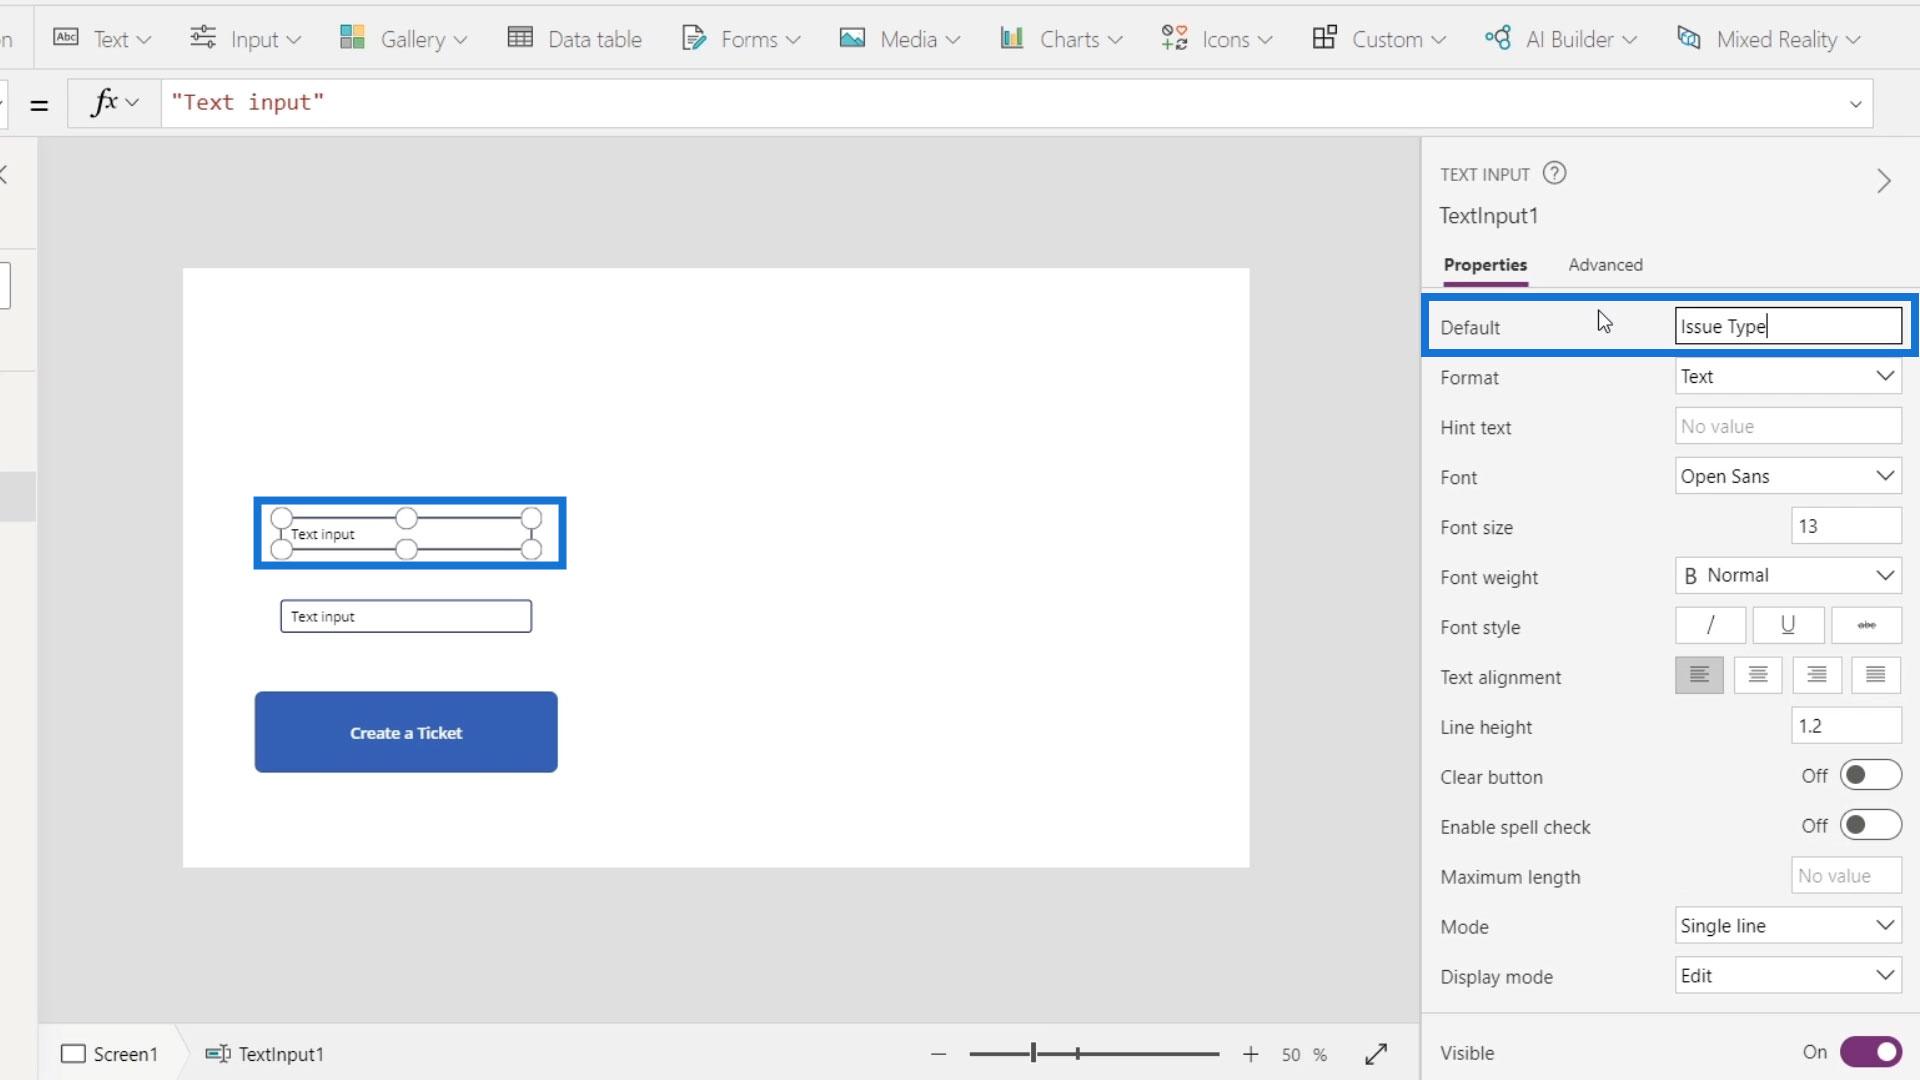
Let’s set the Default text to Issue type.
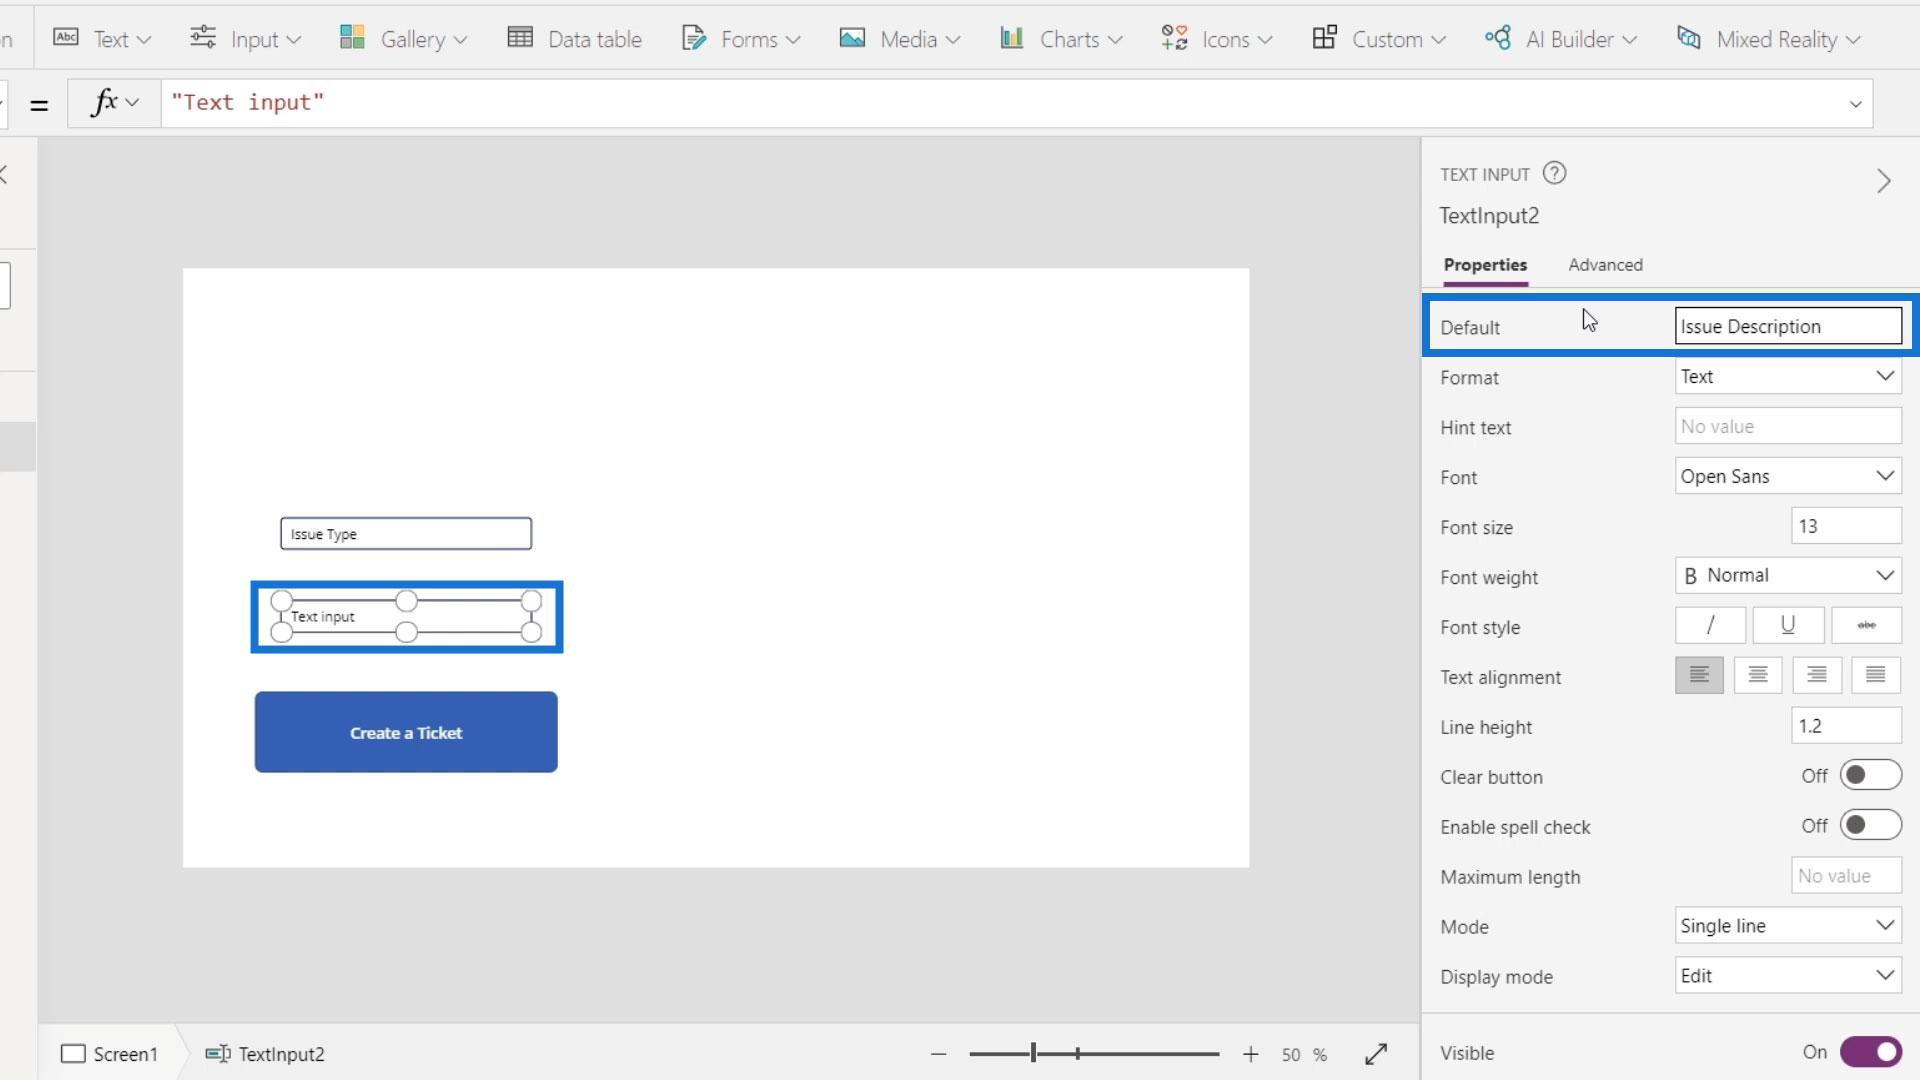
Then the second textbox can be Issue Description.

When we click this button, the flow should start.
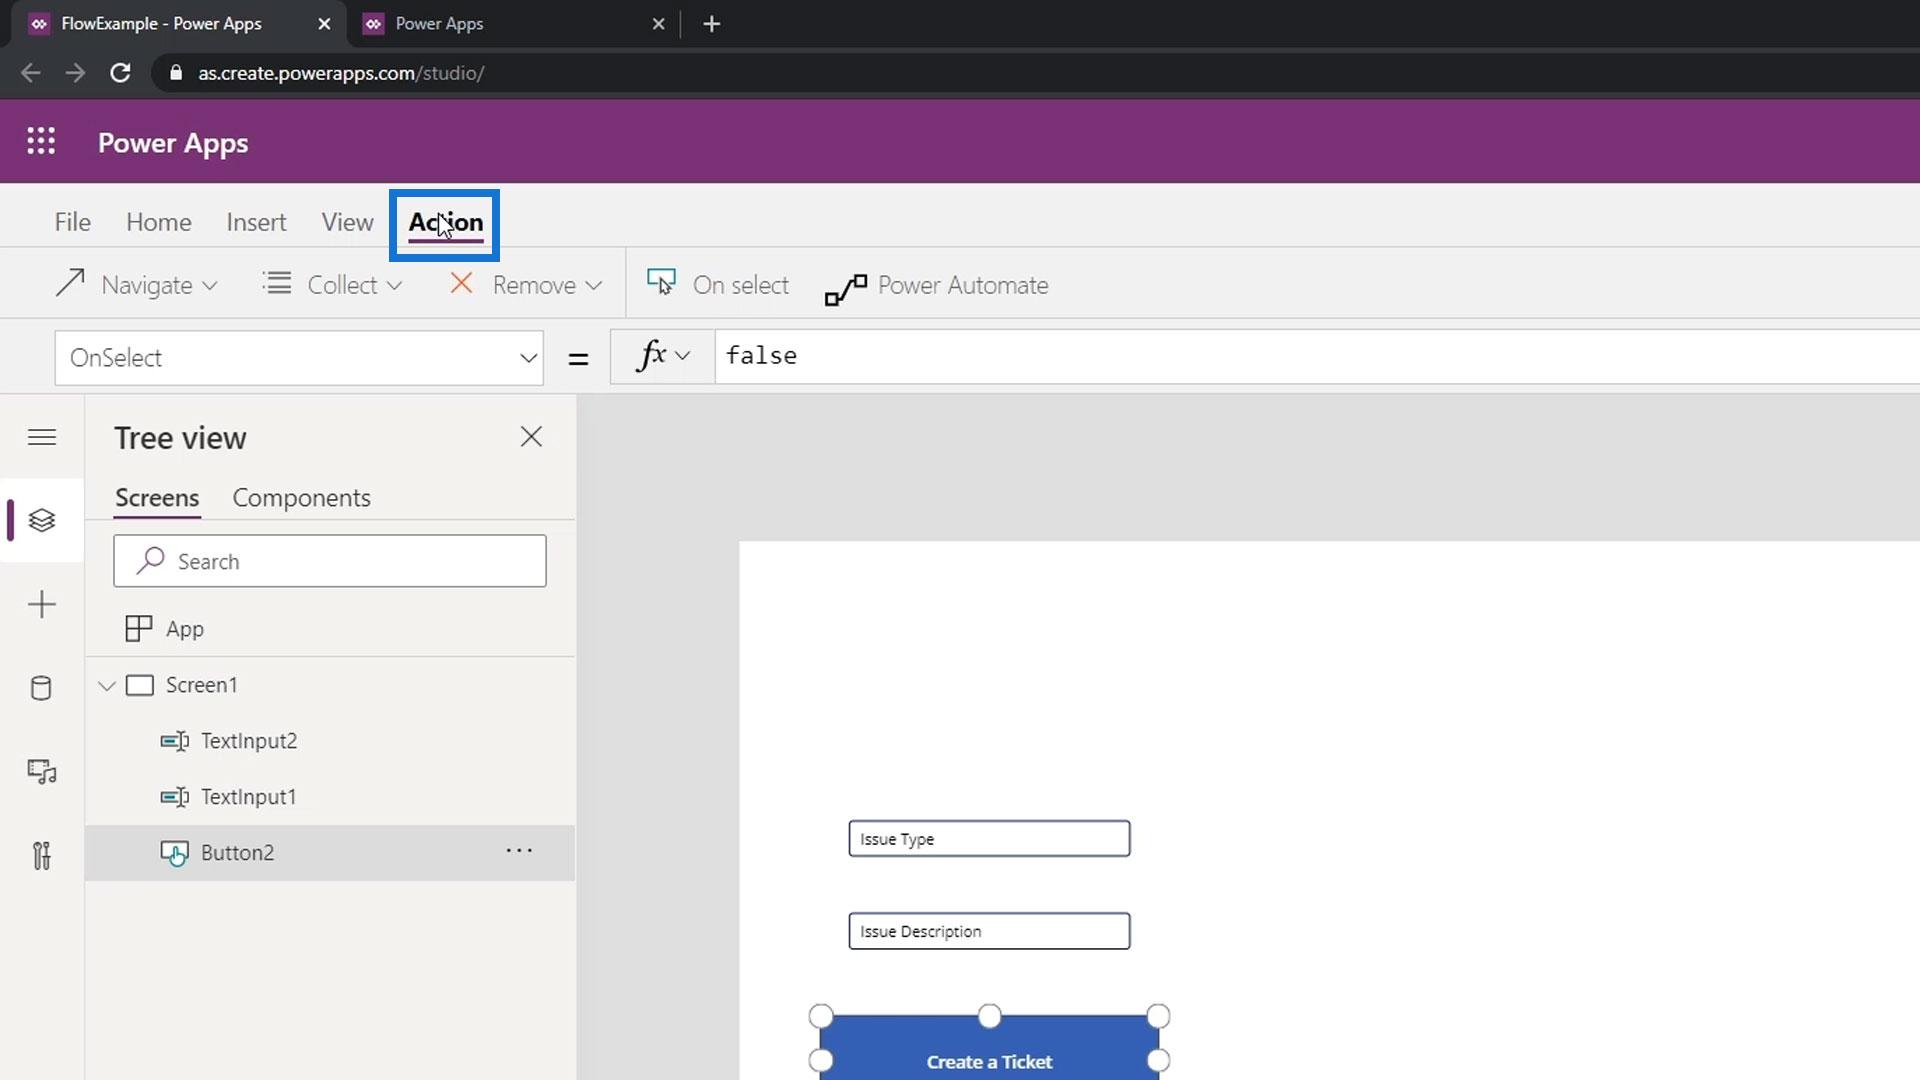
To do that, click Action.
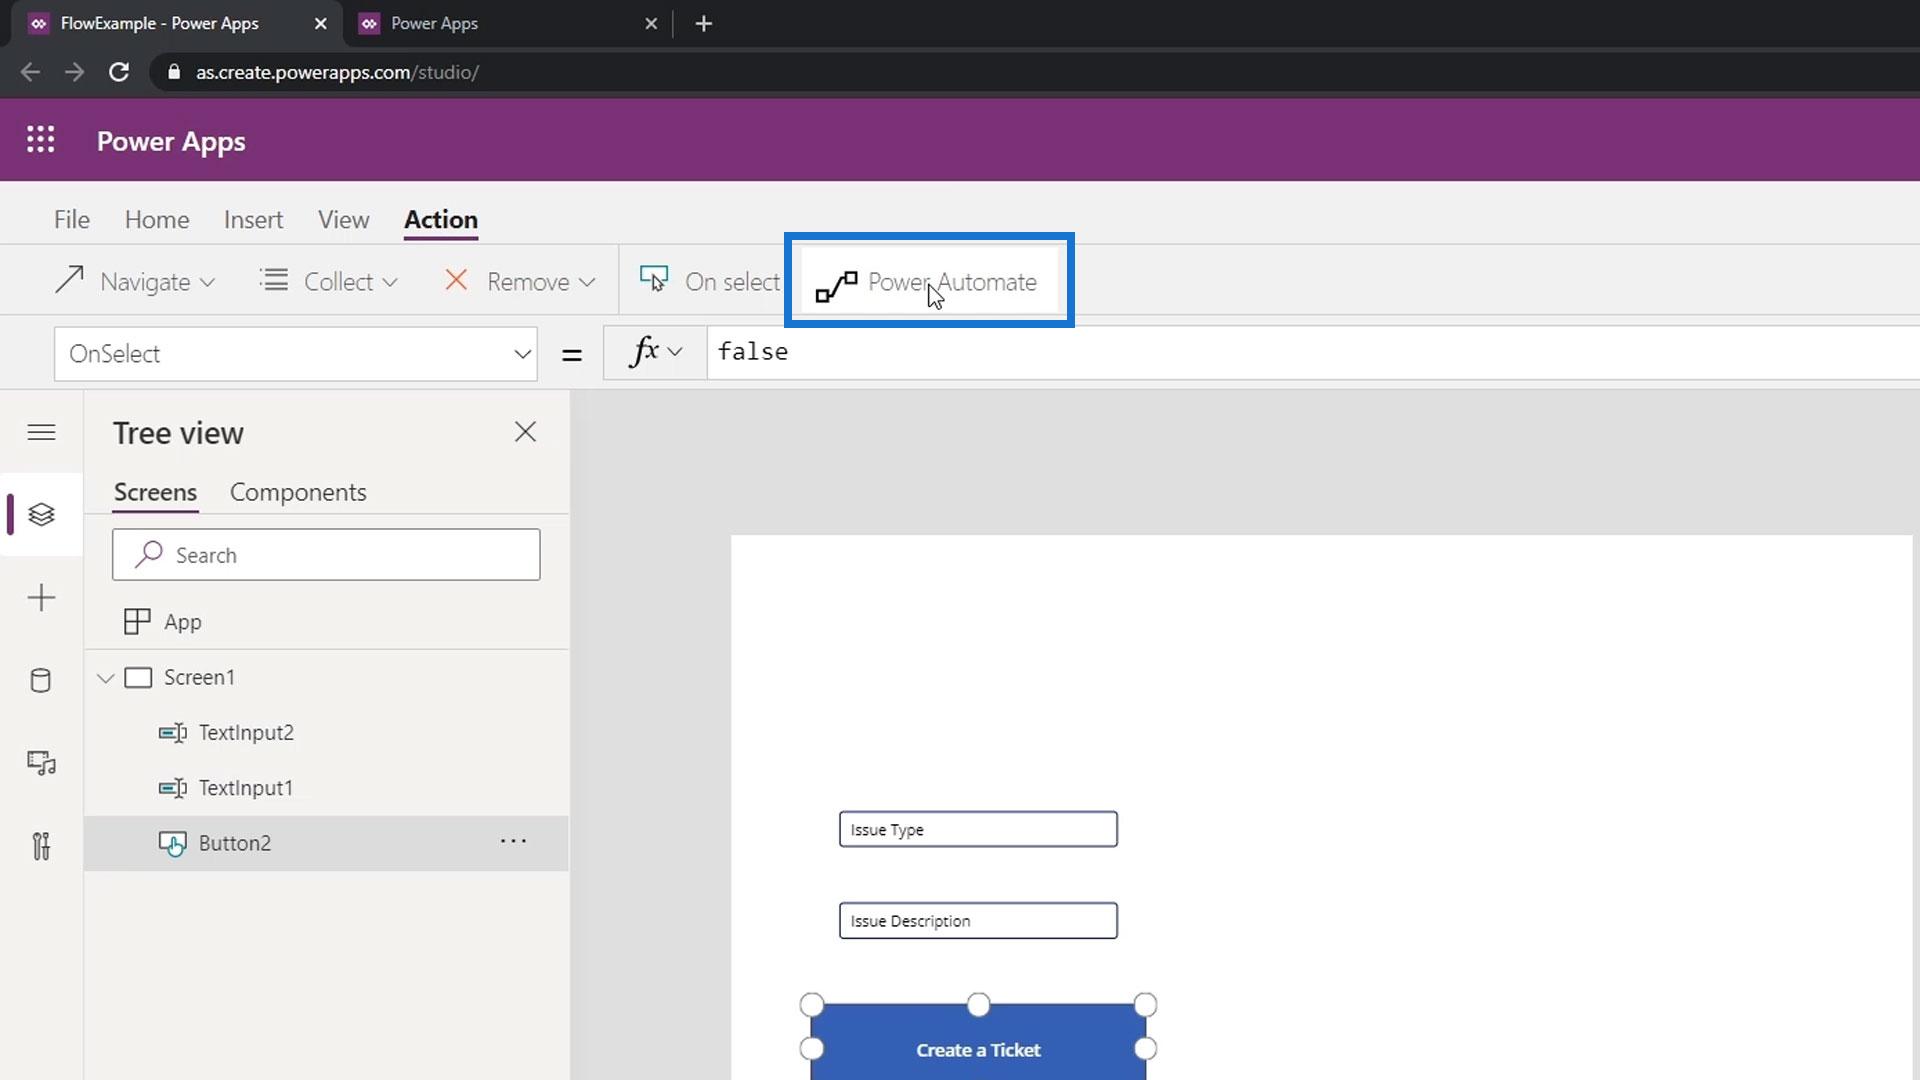
Then click Power Automate.
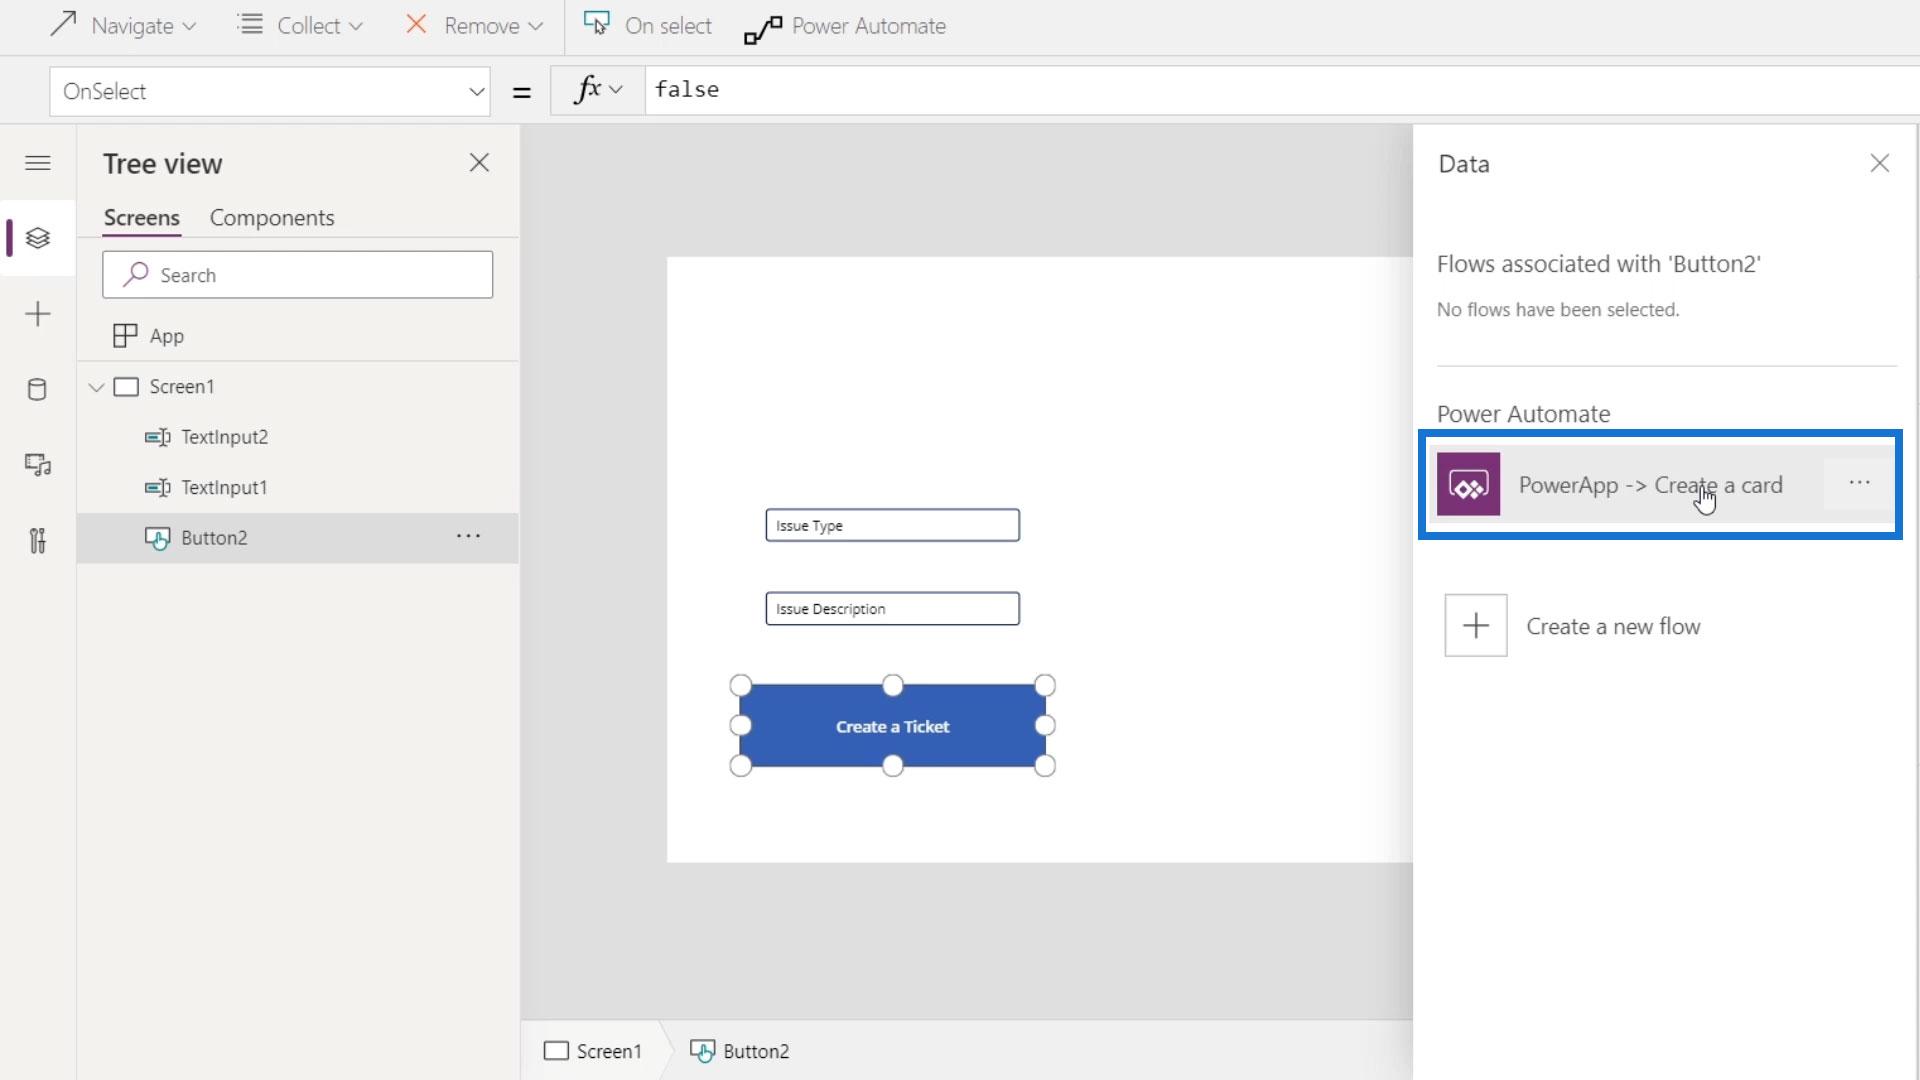
Click the Power Automate flow that we’ve created.
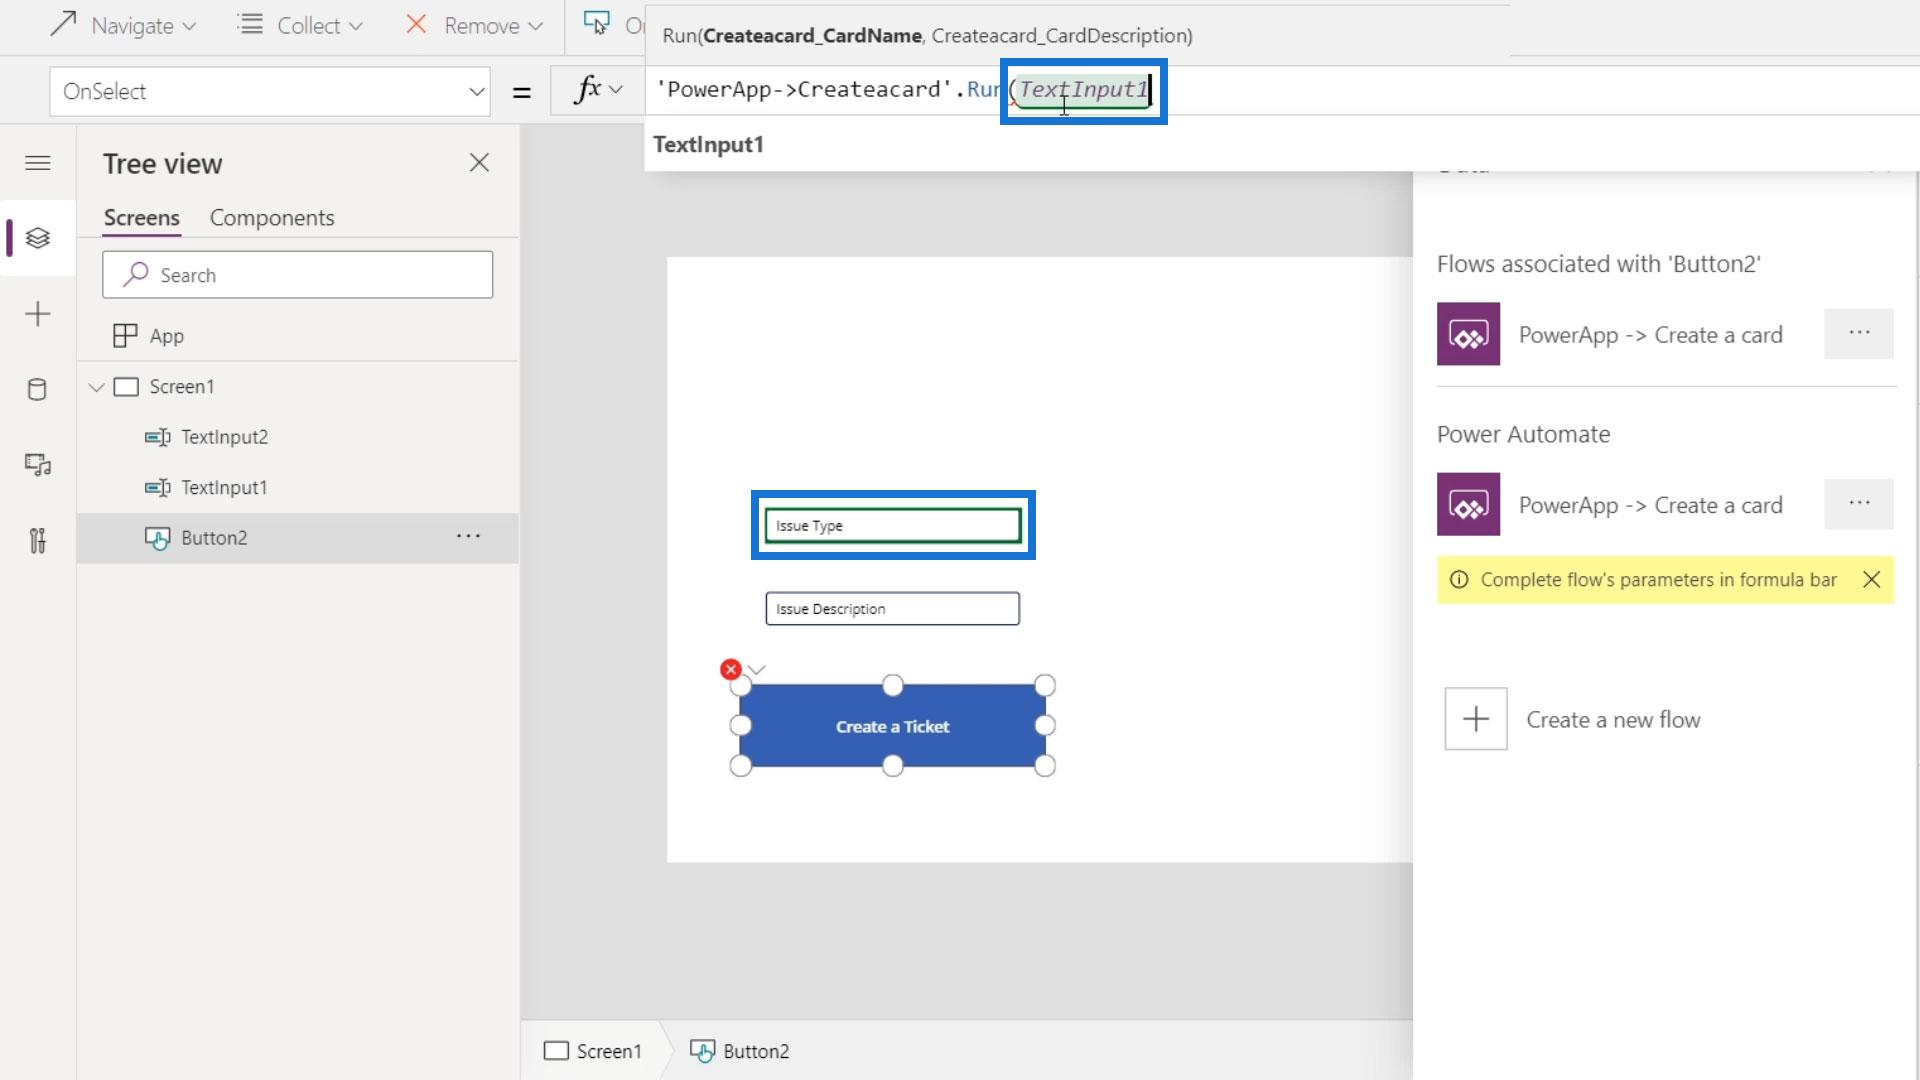
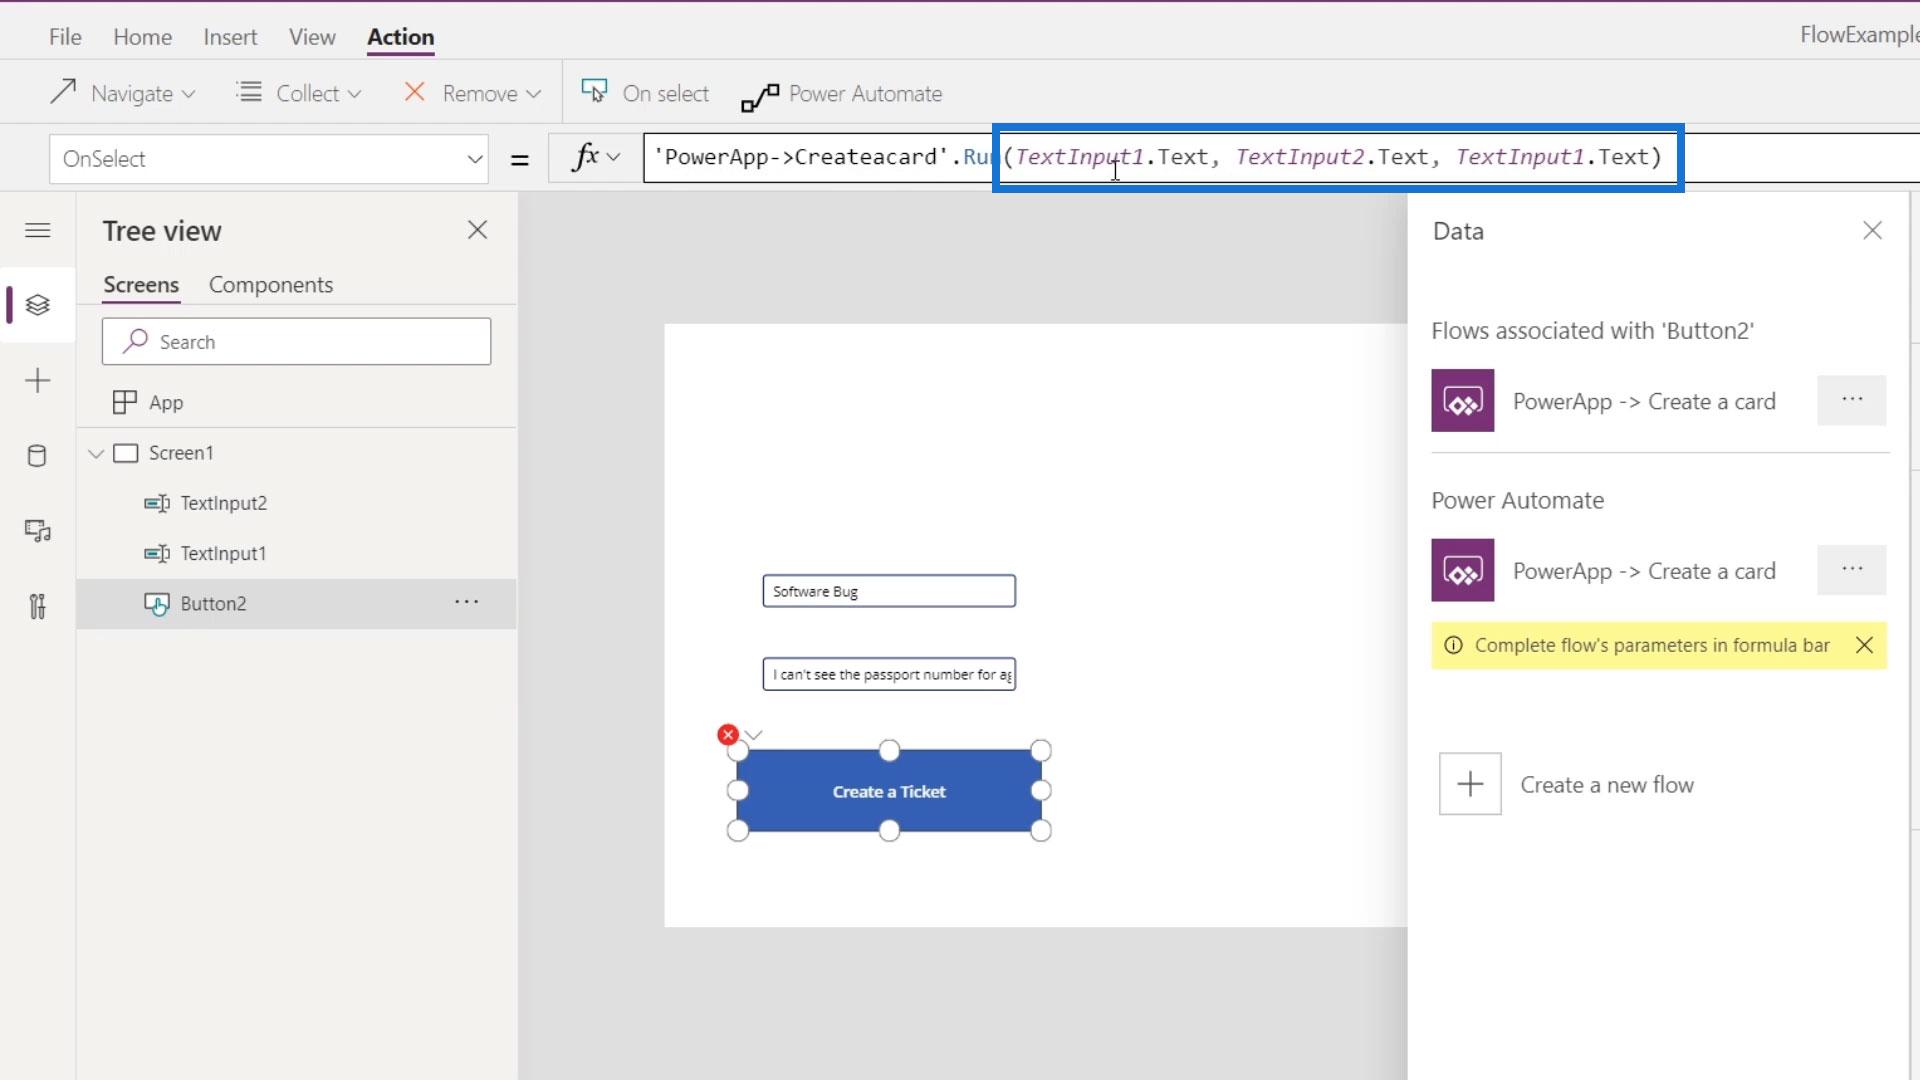
When we click the button, PowerApps will run. But notice how it requires some arguments on the formula bar. It indicates that it requires two arguments.
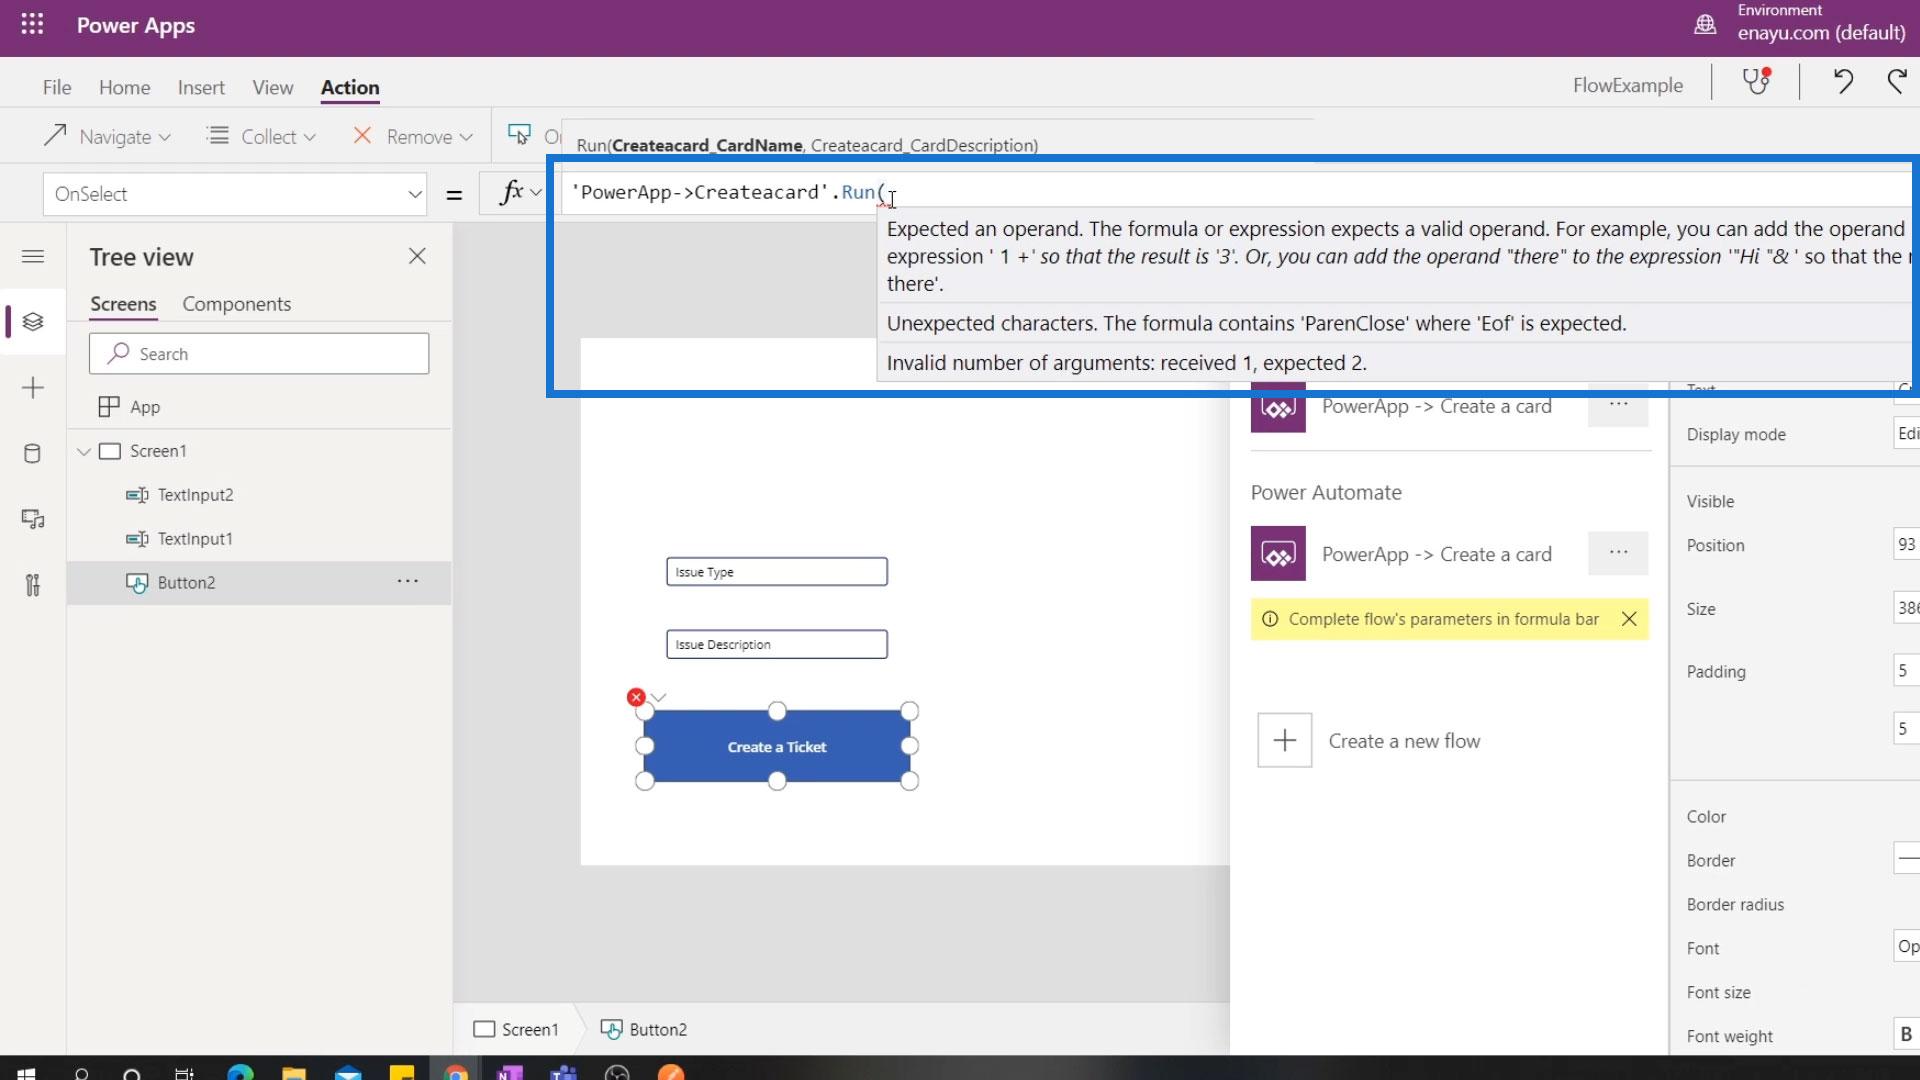
Therefore, we need to populate the arguments that we created over here.
And we want these arguments to be dynamically created from whatever the user typed in the two textboxes. If we want to reference the text in these textboxes, we just need to type TextInput1.Text. This will highlight the corresponding textbox in green.
Then the second argument is TextInput2.Text.
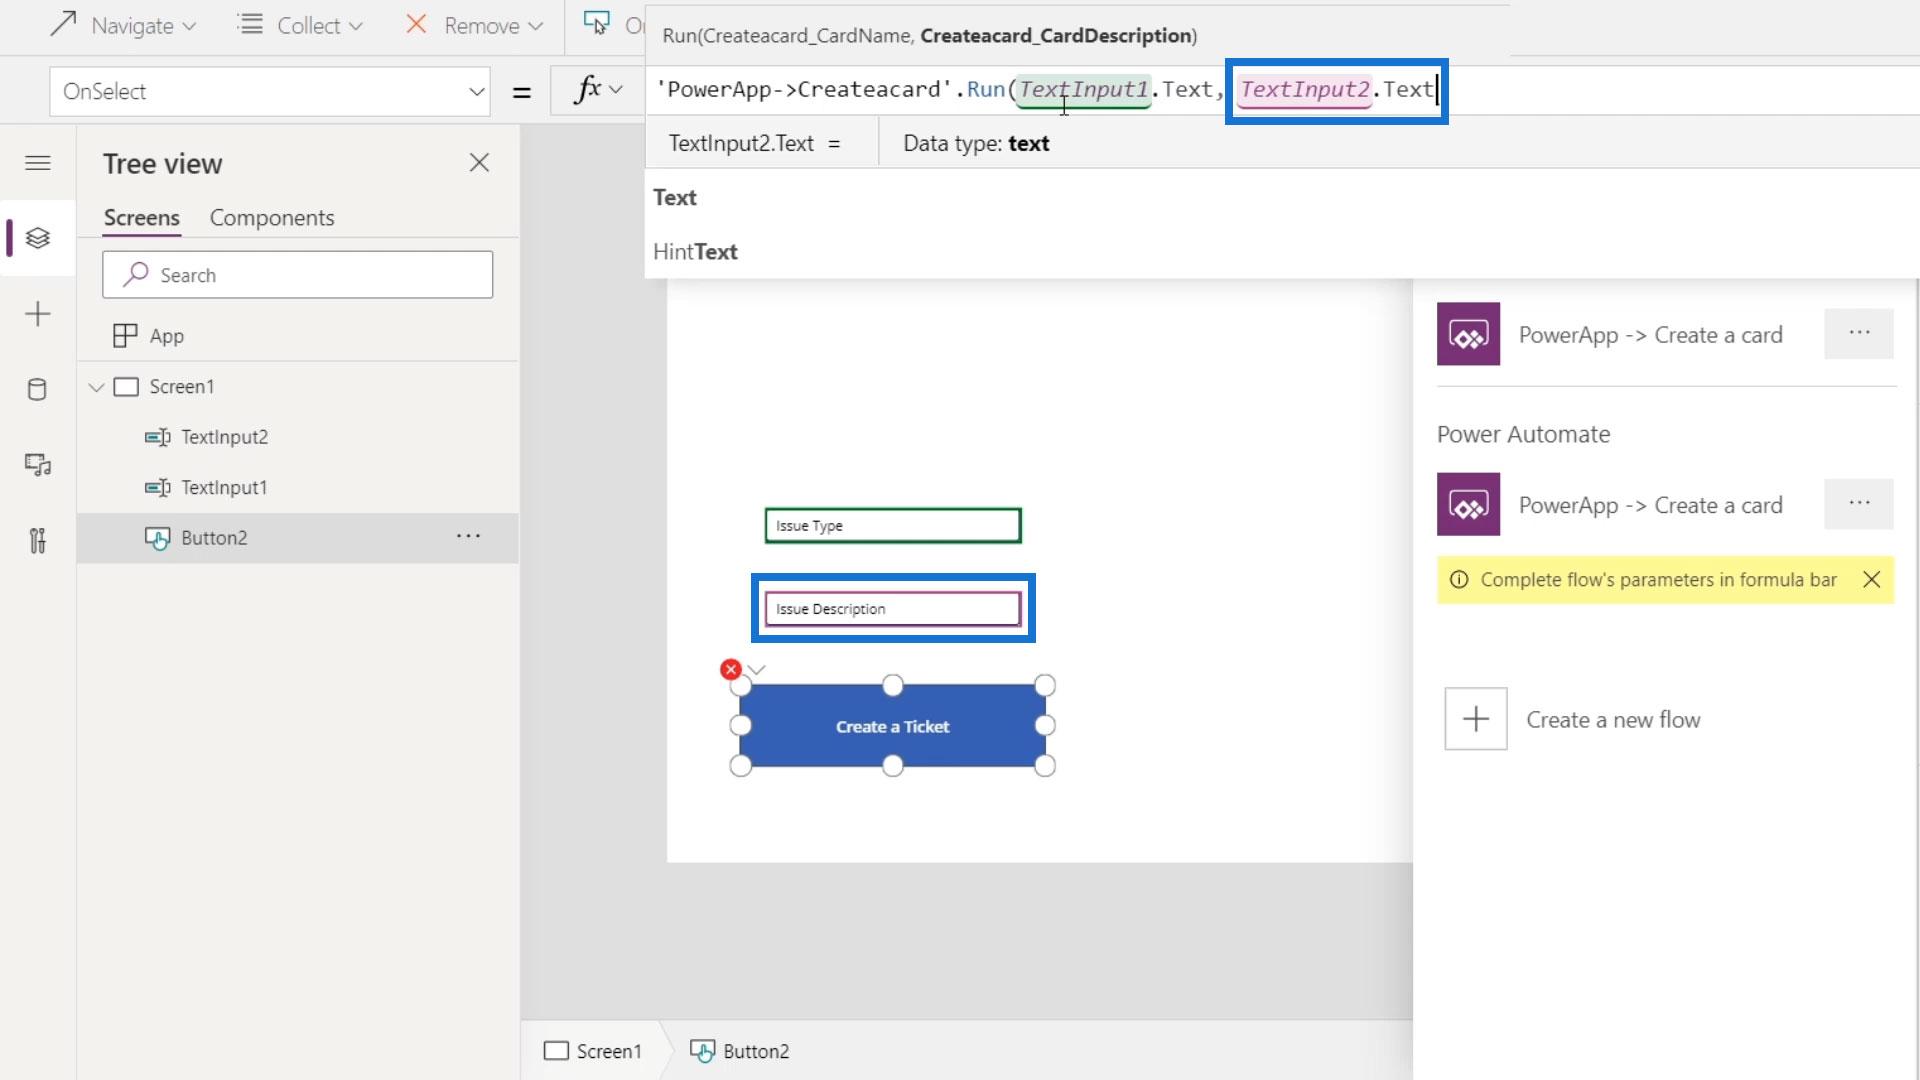
Obviously, there are no more red parts, which means that there are no errors anymore. After typing in the arguments, press Enter.
This is how we created a trigger in our Power Apps Application that triggers a flow in Power Automate.
Testing Power Automate Flow Within PowerApps
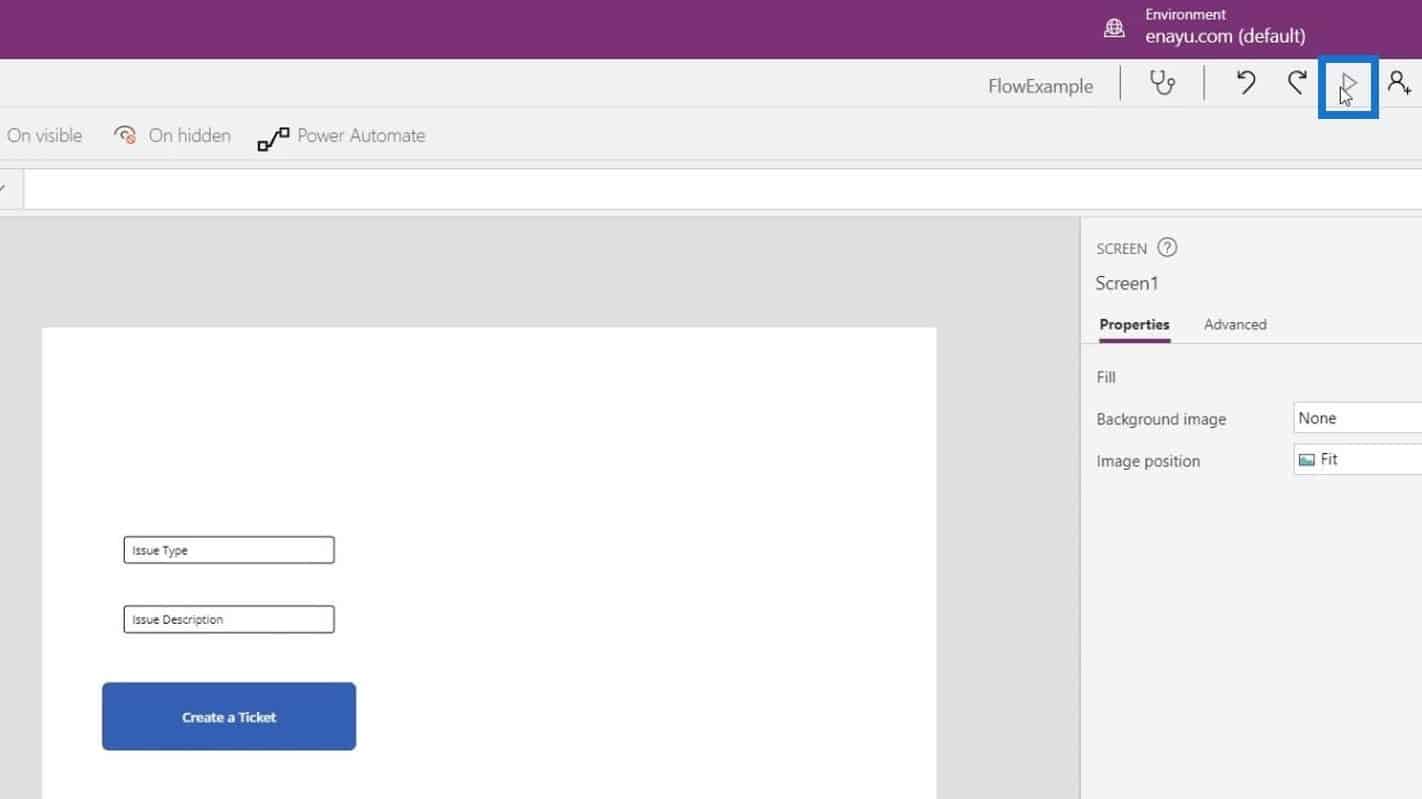
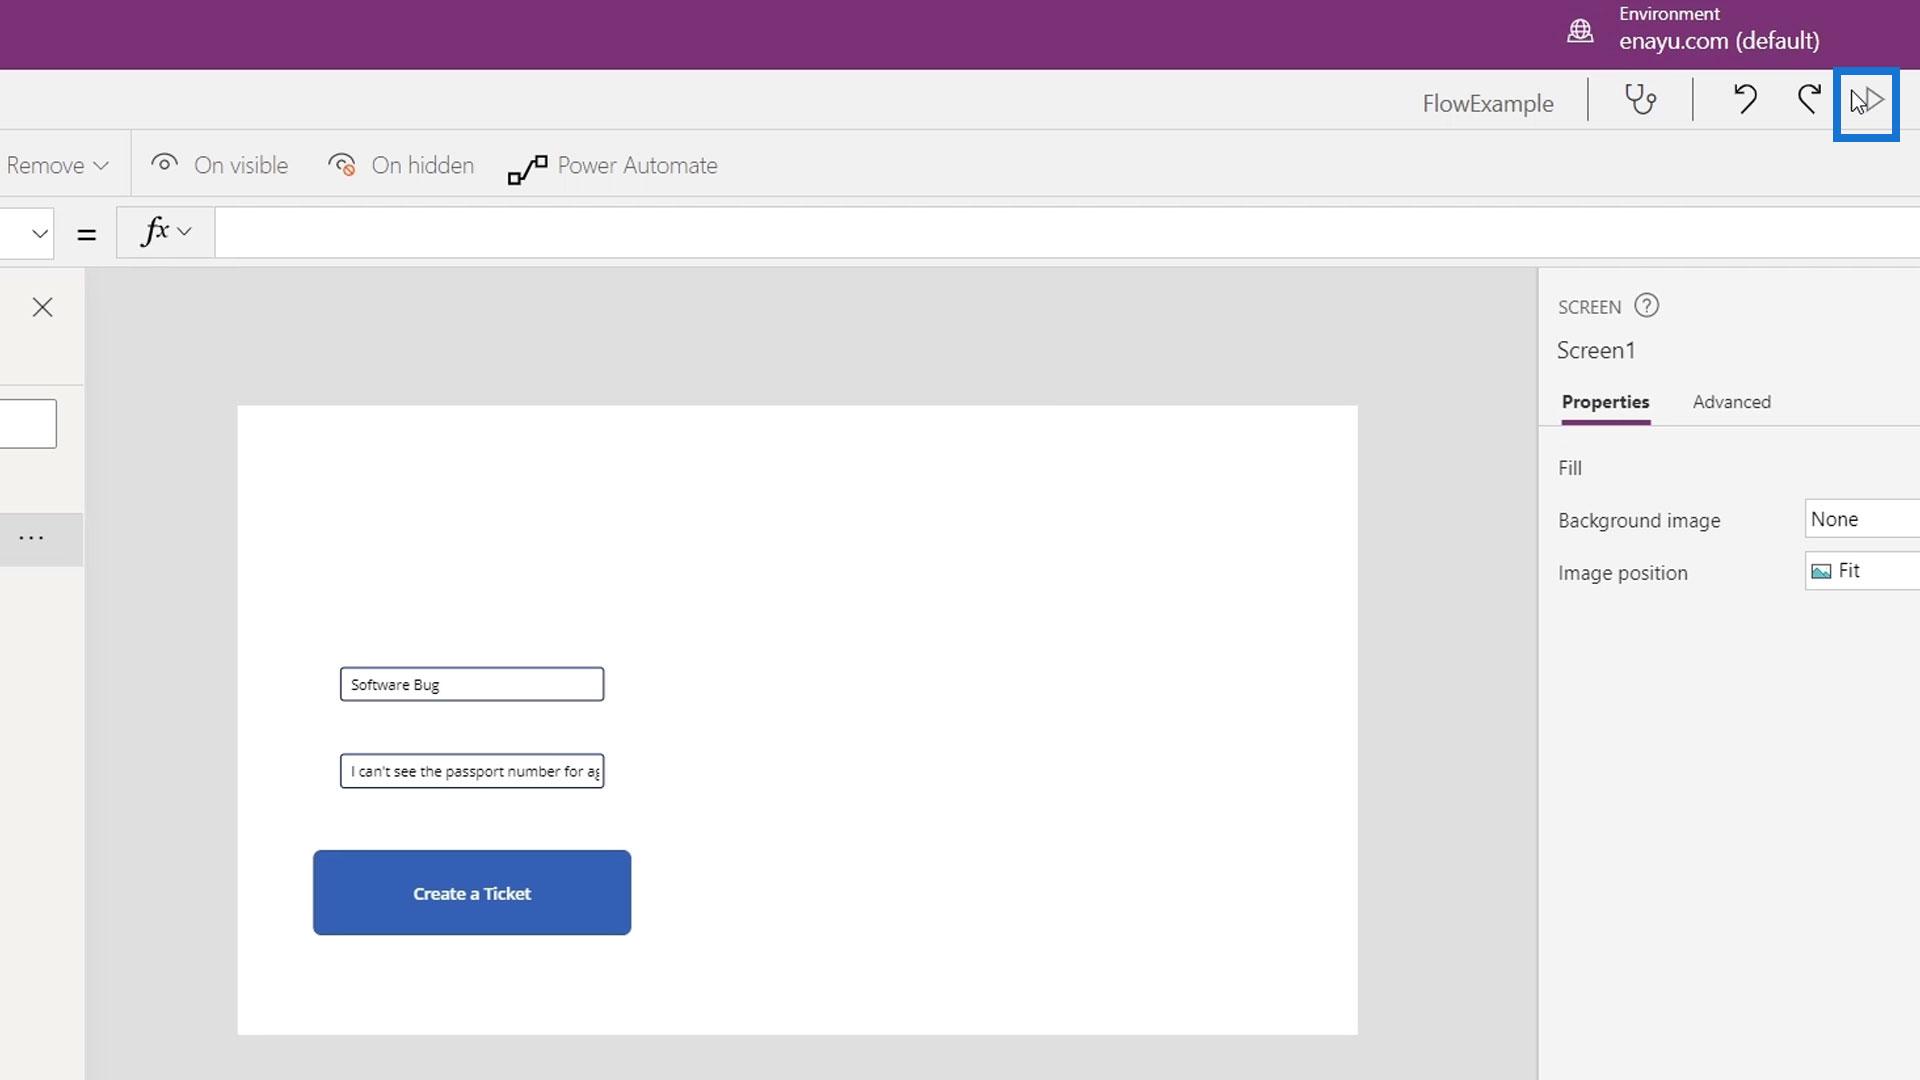
Let’s now test our Power Automate flow within PowerApps. First, click the Play button.
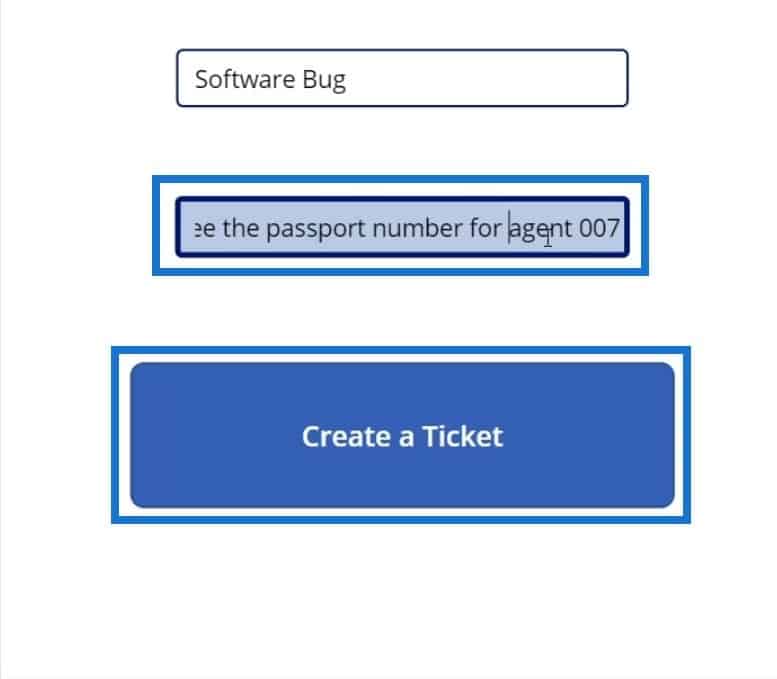
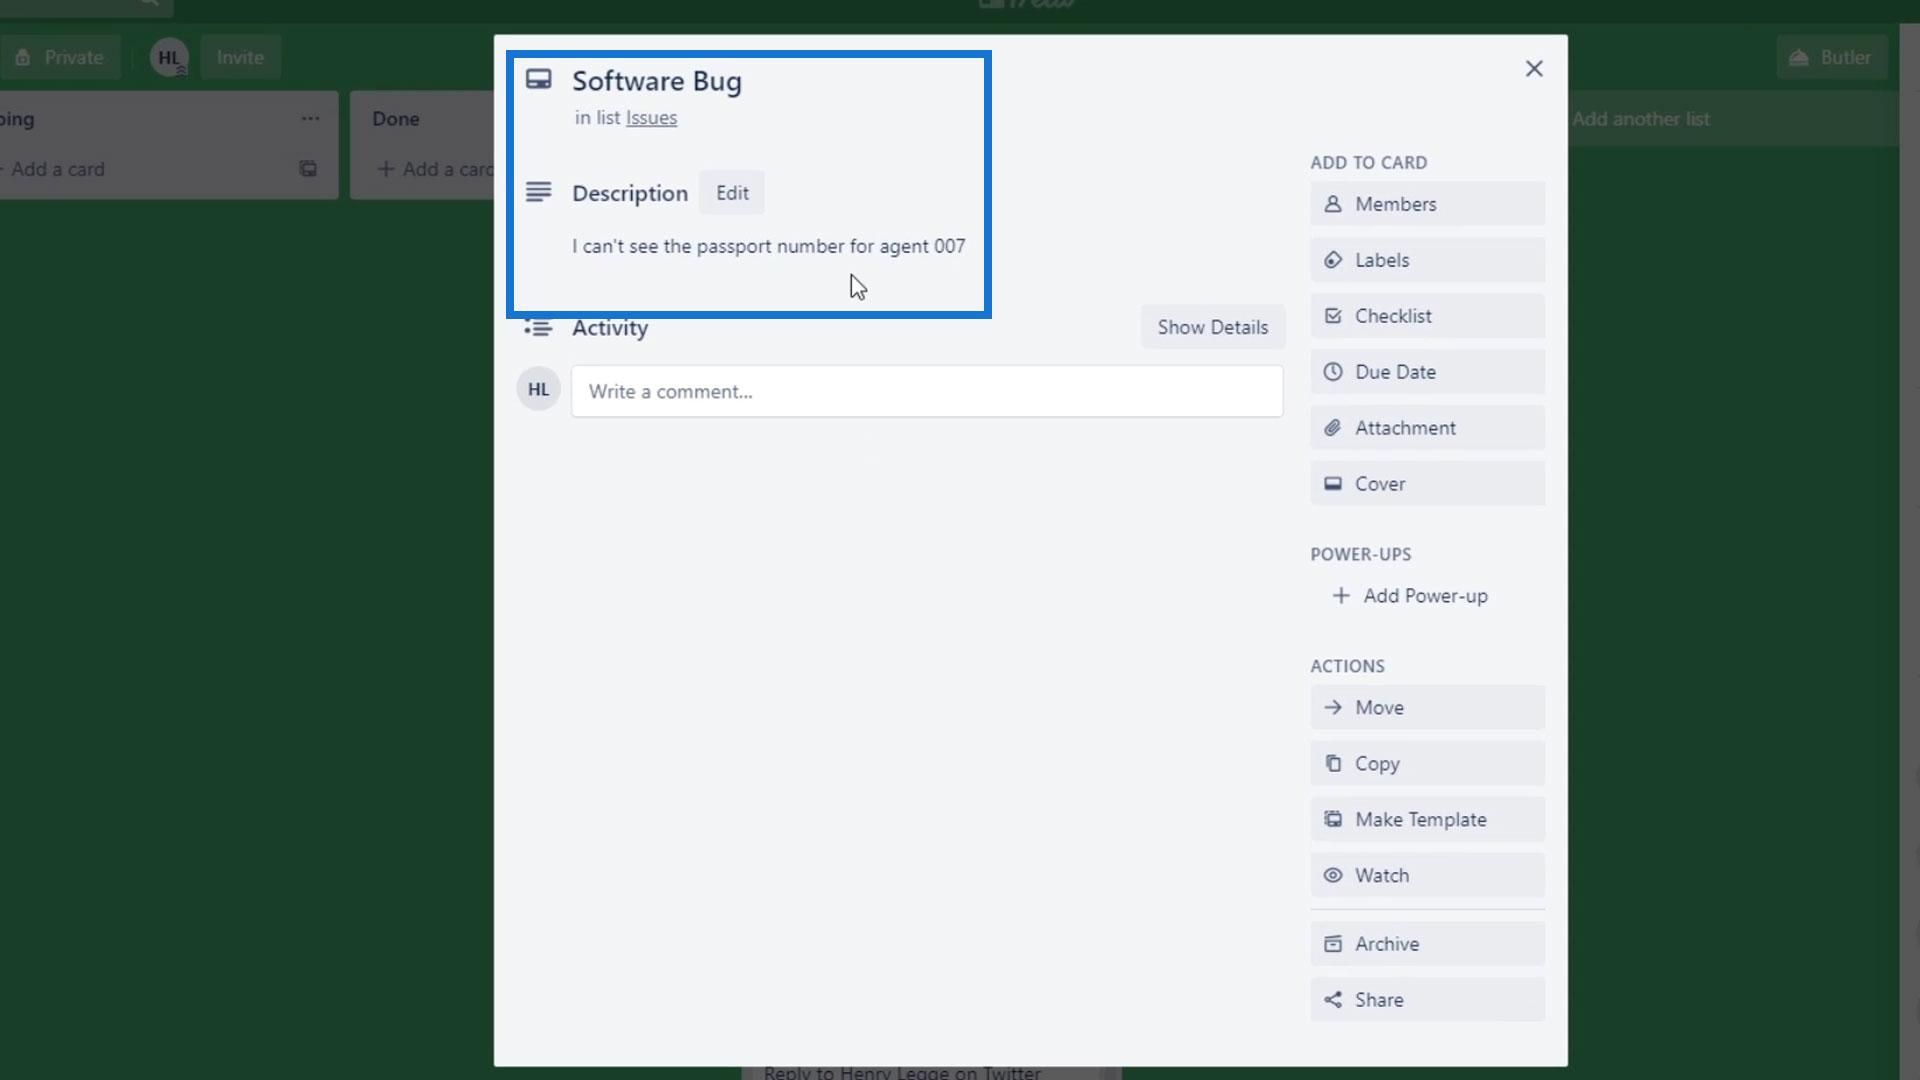
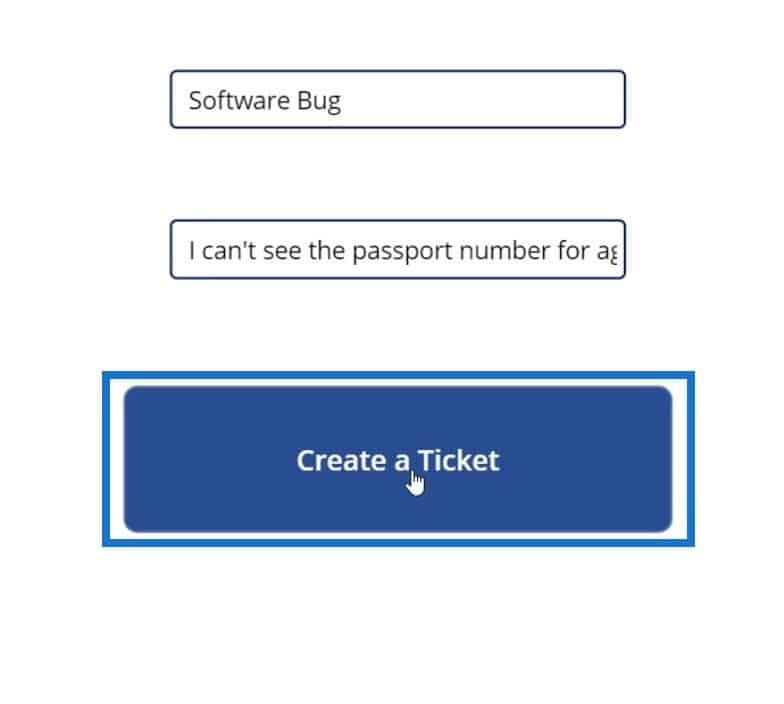
Type “Software Bug” for the Issue Type, and “I can’t see the passport number for agent 007” for the description. Then, click the Create a Ticket button.
After that, let’s go back to Power Apps and click the back (<-) button.
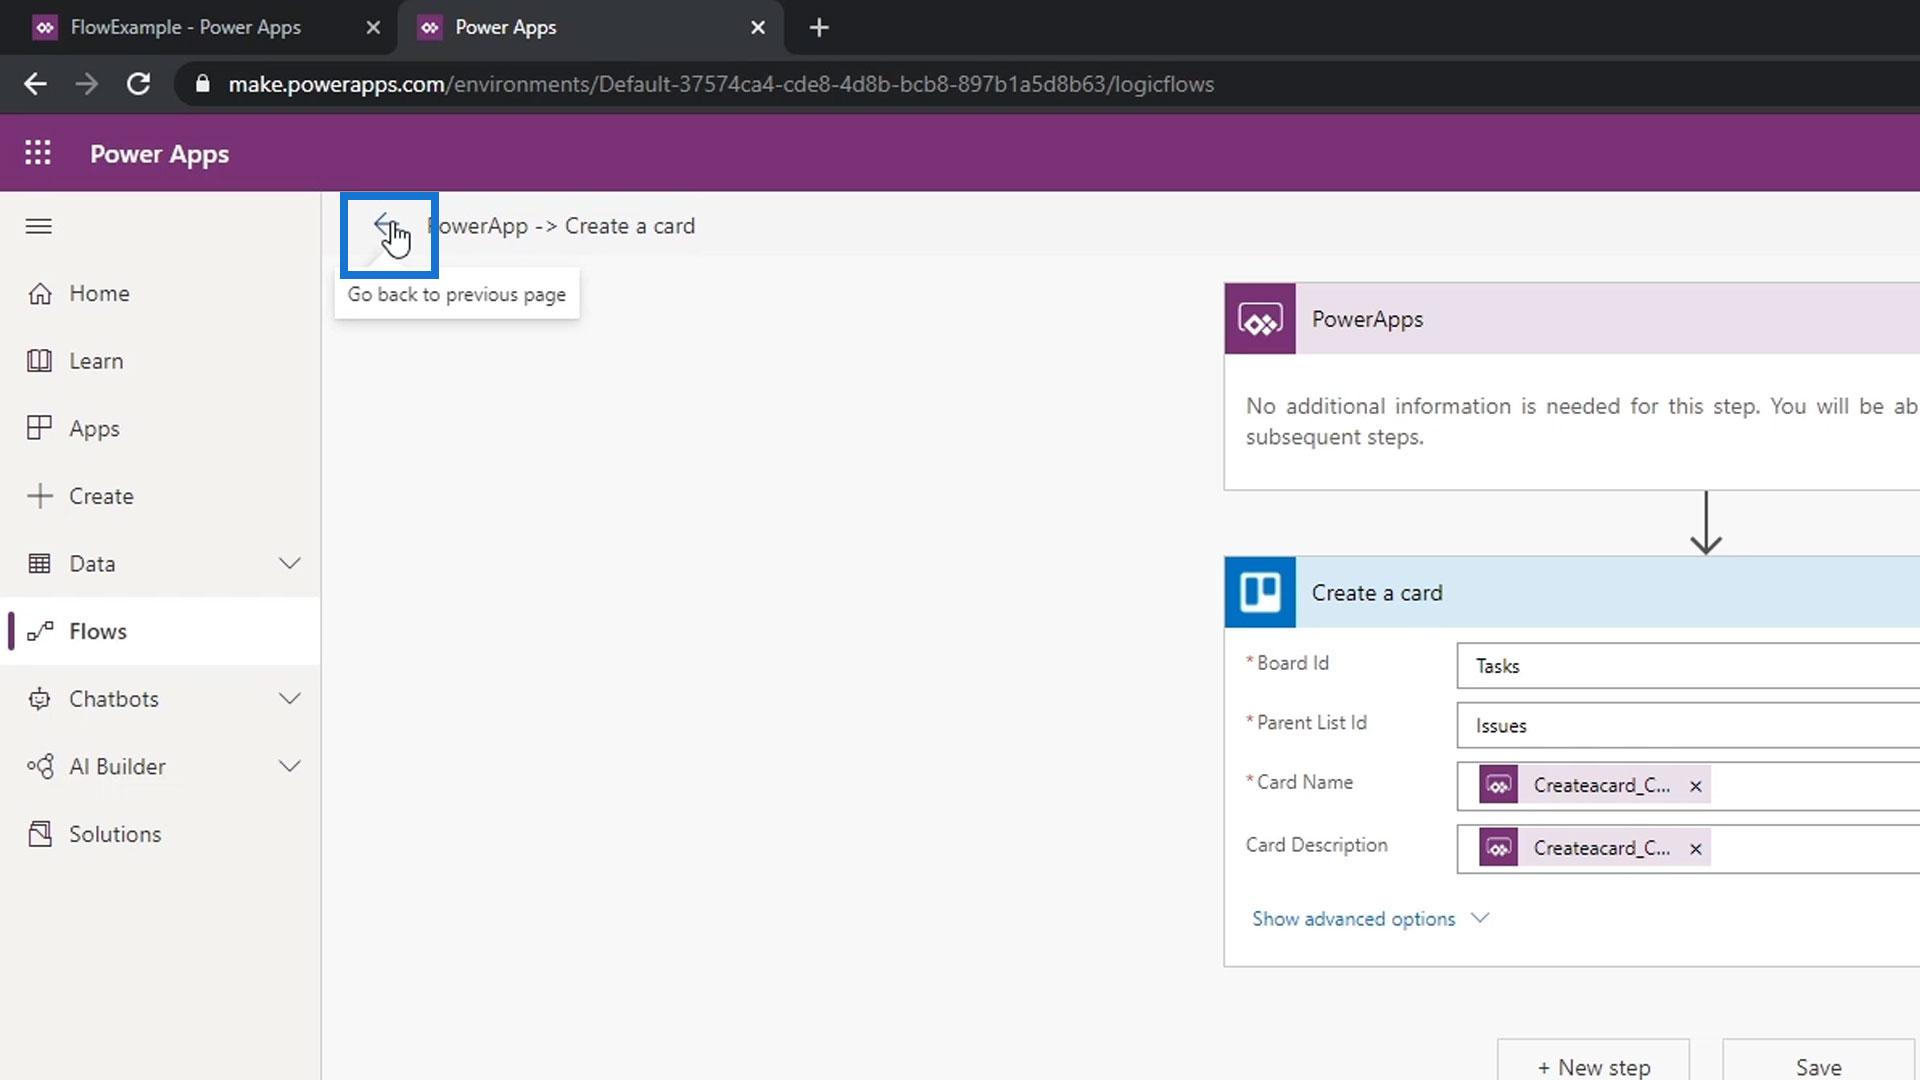
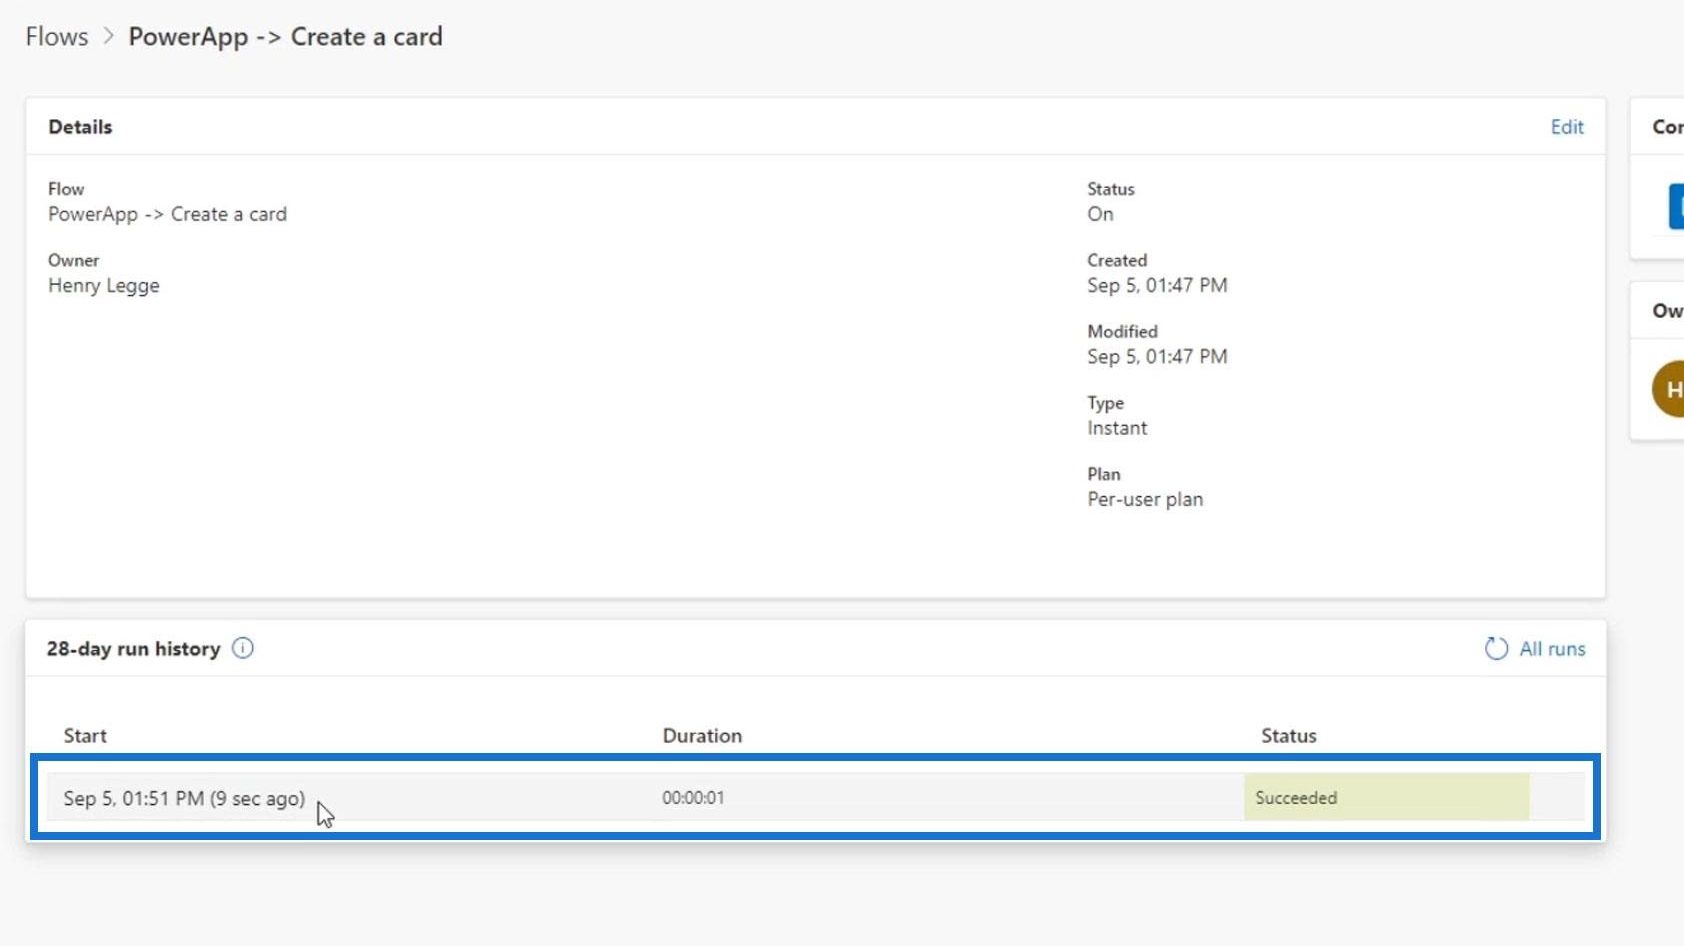
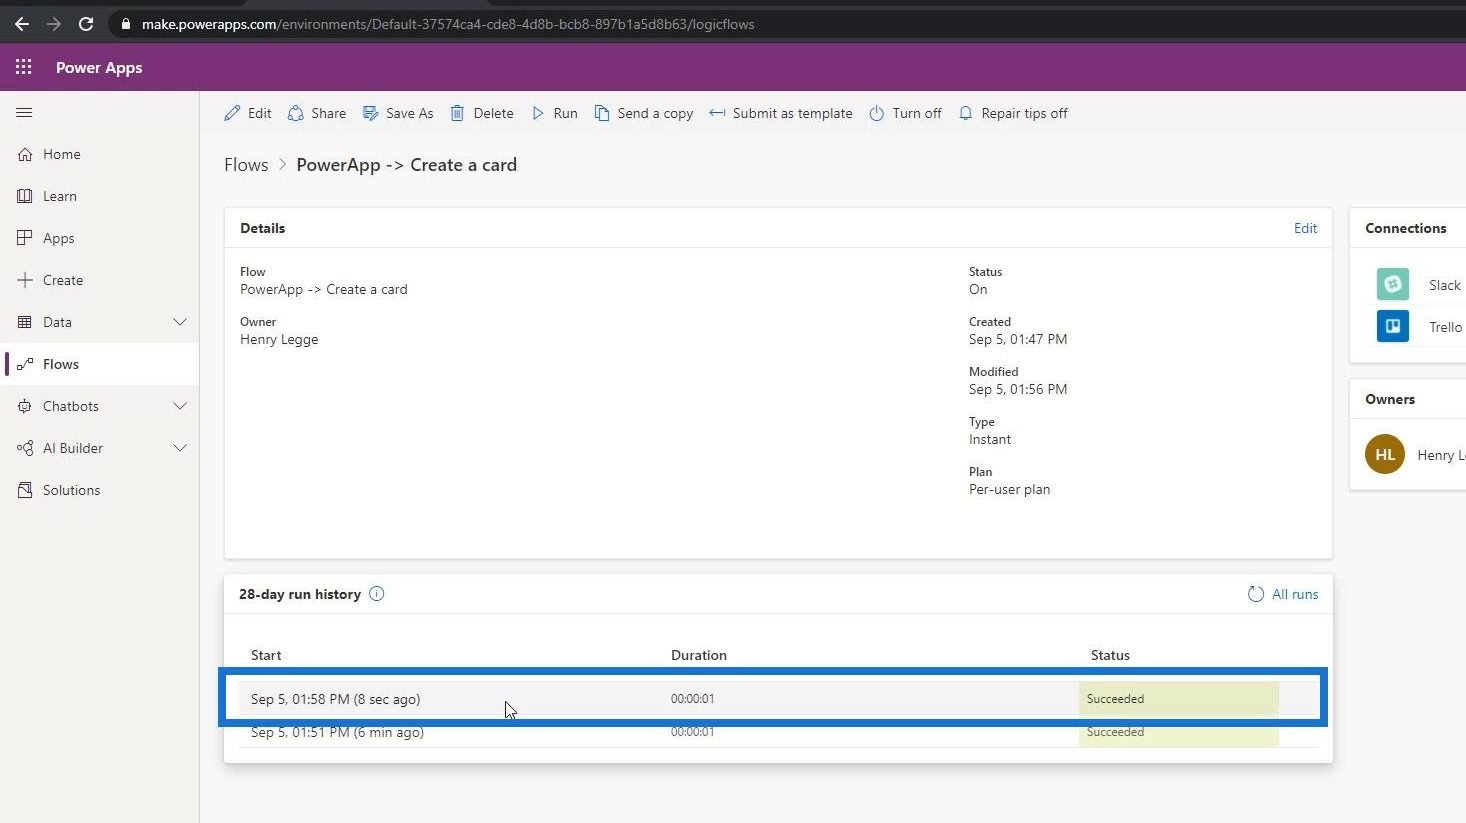
Click the flow that we created to see if it properly worked. This indicates that it started nine seconds ago and it succeeded.
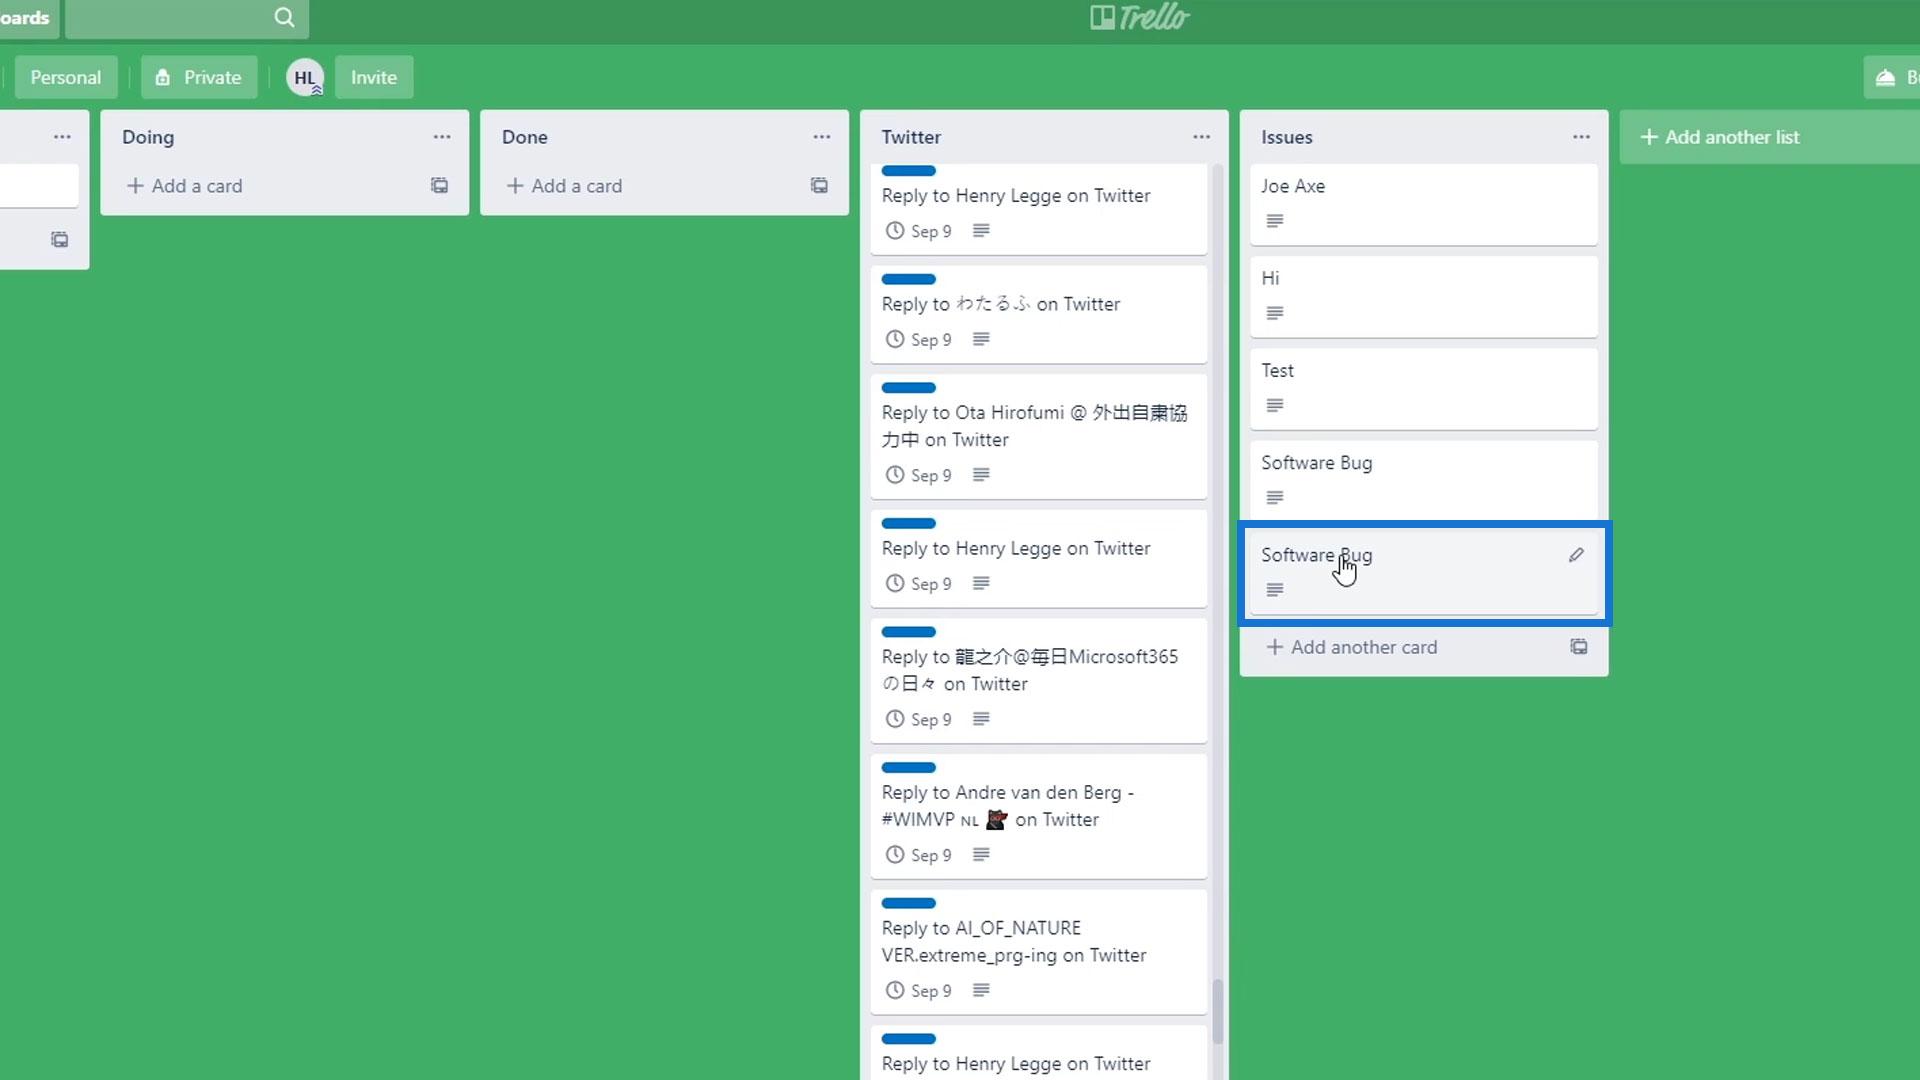
If we go to our Trello, we’ll see the new ticket that’s created automatically (Software bug).
Adding The Ask In PowerApps Action
Let’s now talk about a very common error when using PowerApps on our flow. First, let’s add a new step.
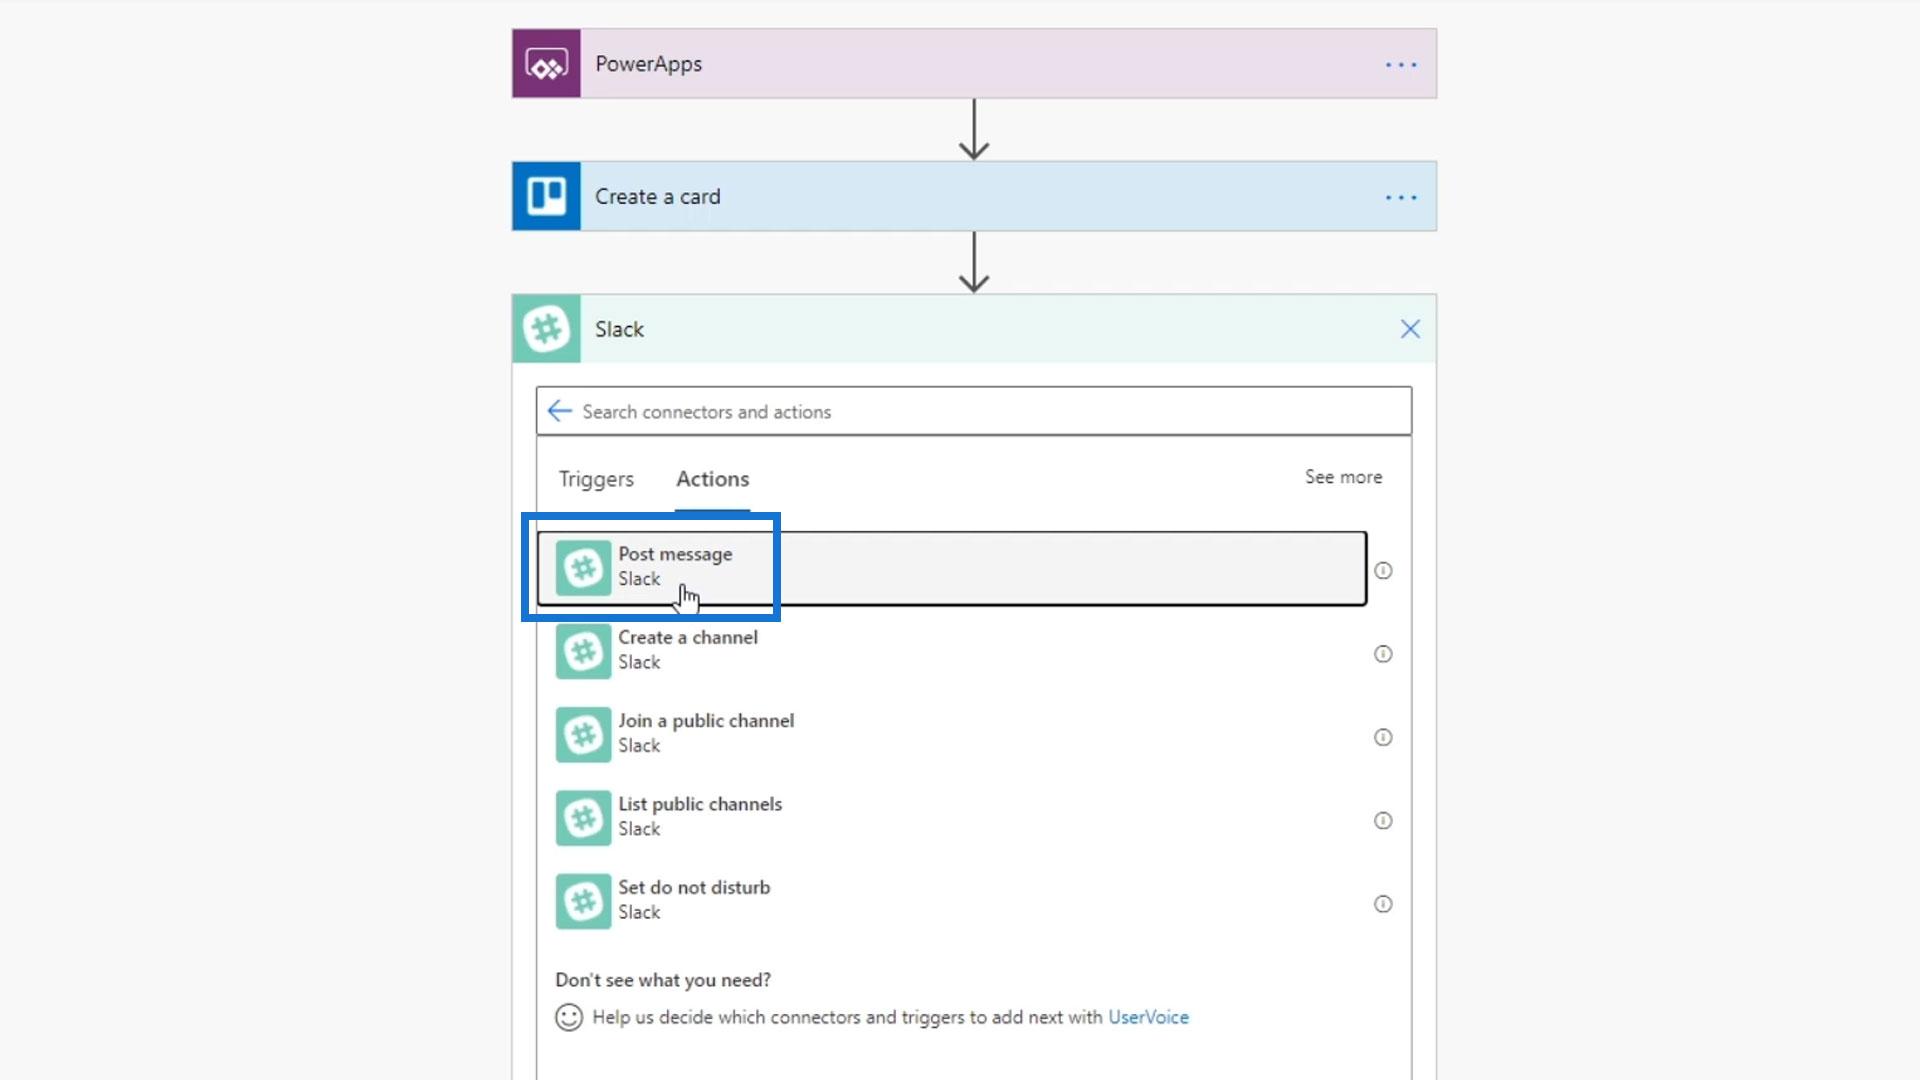
Then, add a Slack connector and use the Post message action.
Next, choose the tutorial for the Channel Name.
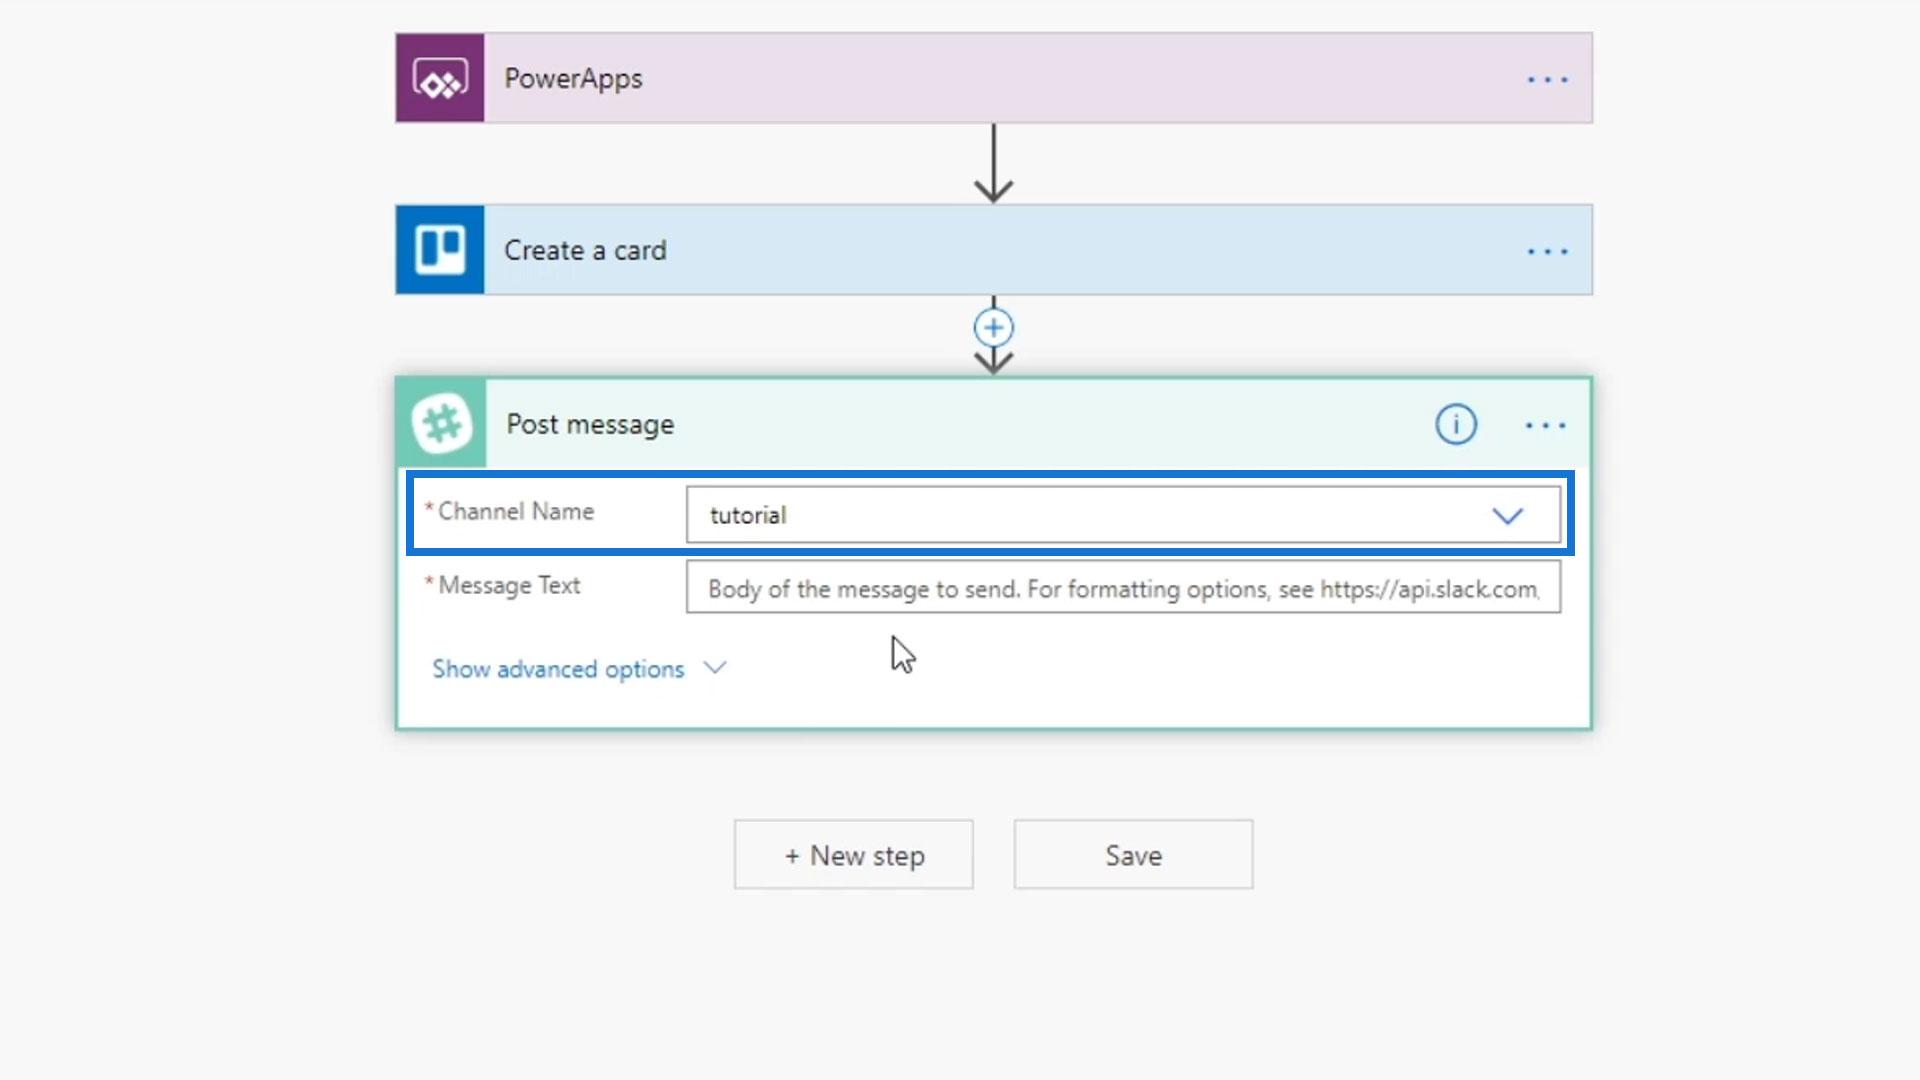
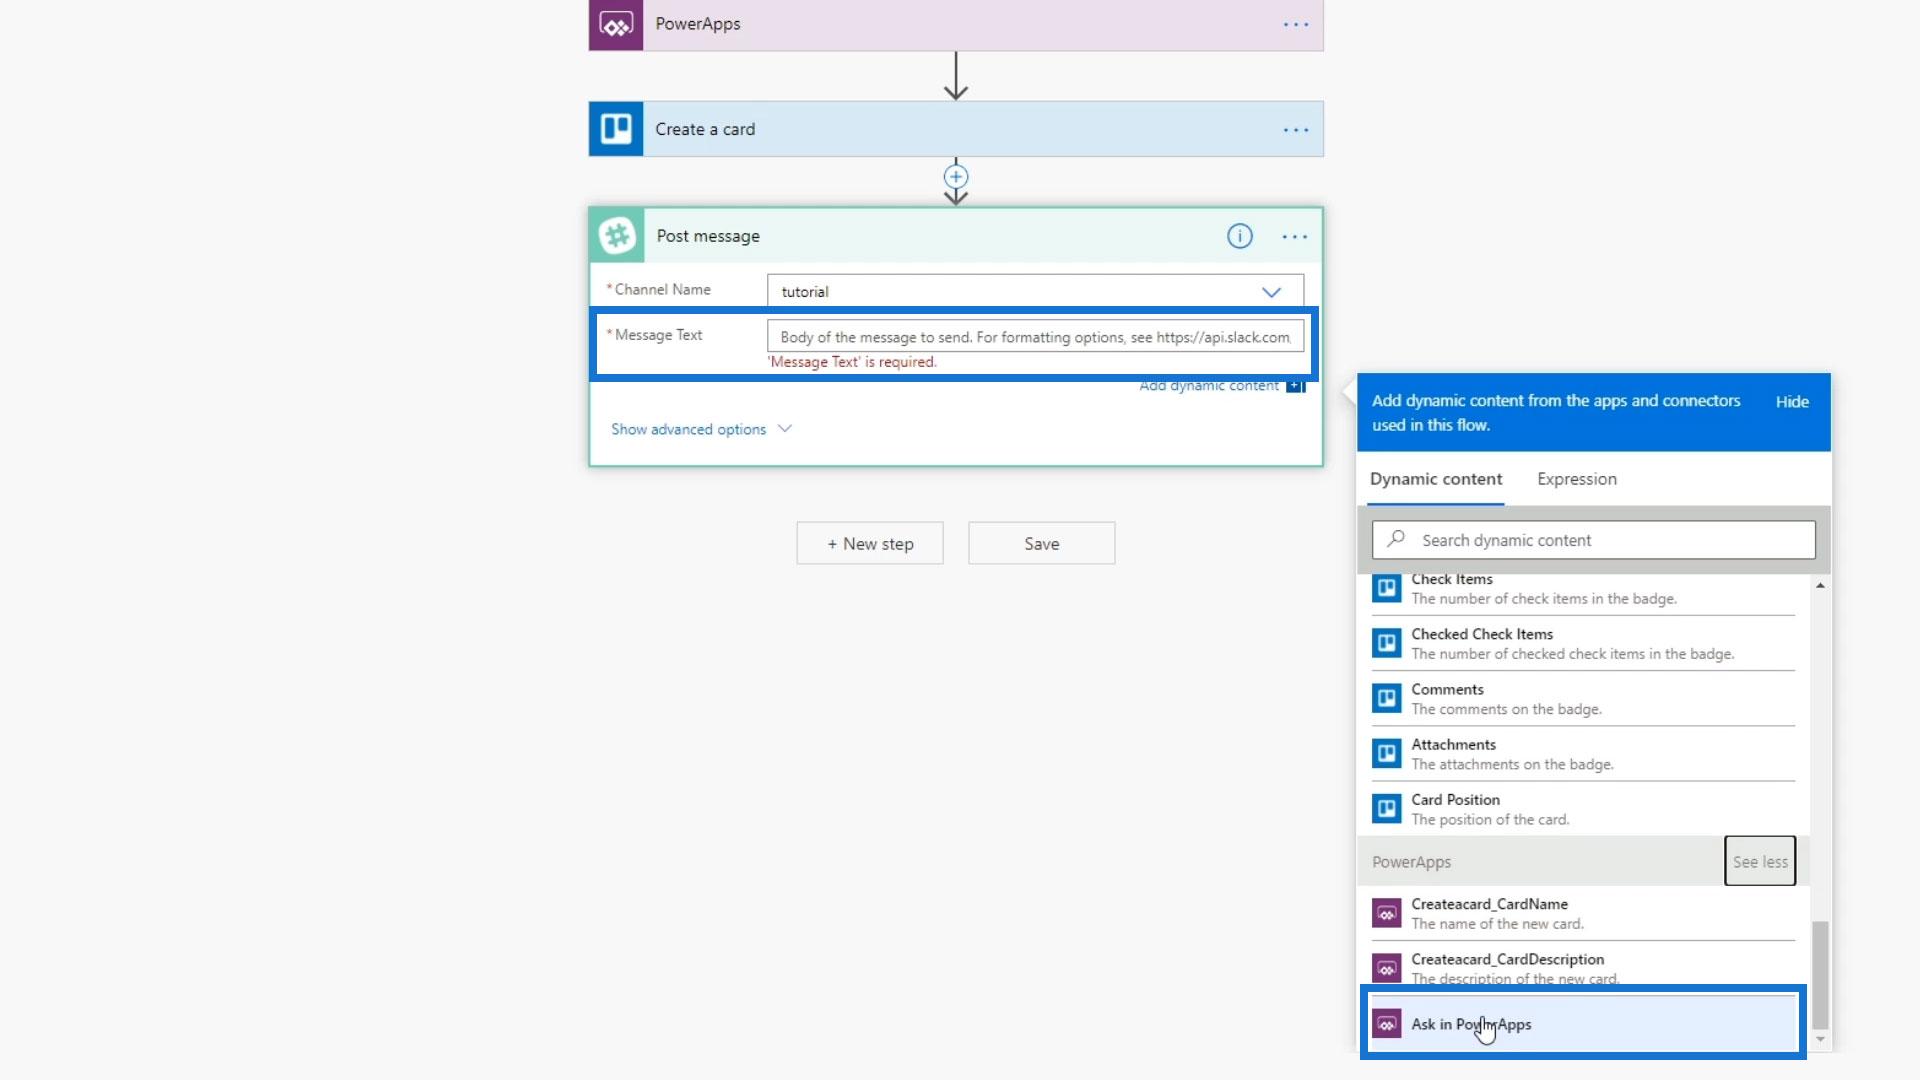
For the Message Text, use the Ask in PowerApps dynamic content.
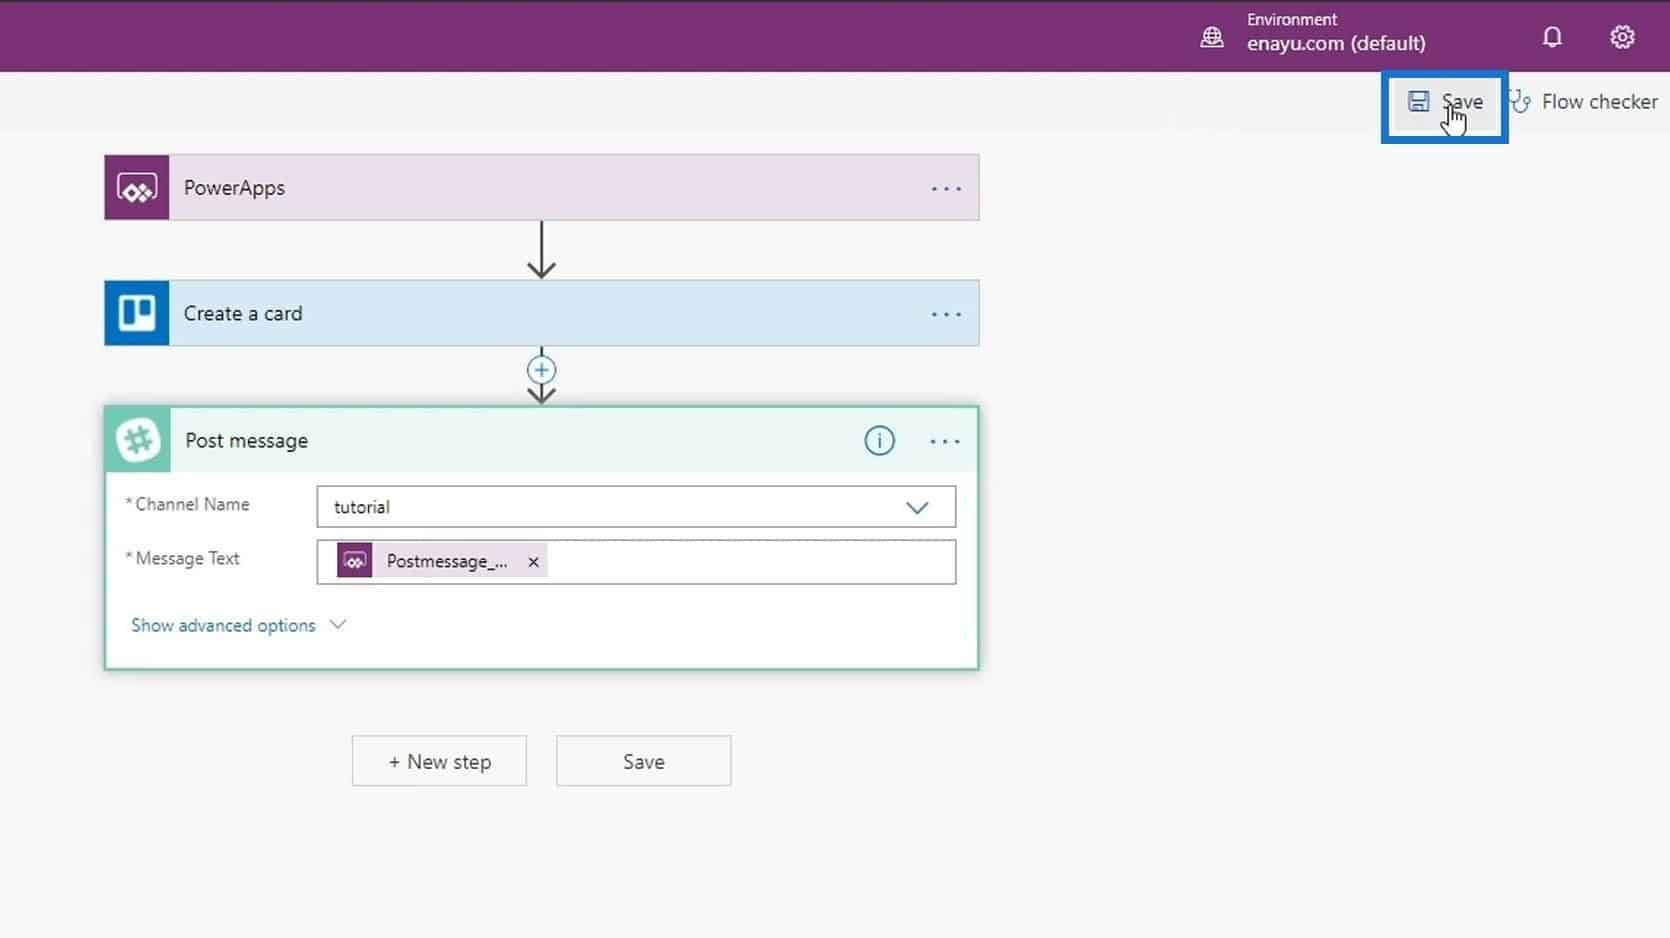
Make sure to save the flow before testing it.

Let’s now go back to Power Apps and run it again.
Click the Create a Ticket button.
We’ll then notice that something is wrong. To check the problem of our flow, let’s check it on the Flows page and click the PowerApps flow that we’ve created.
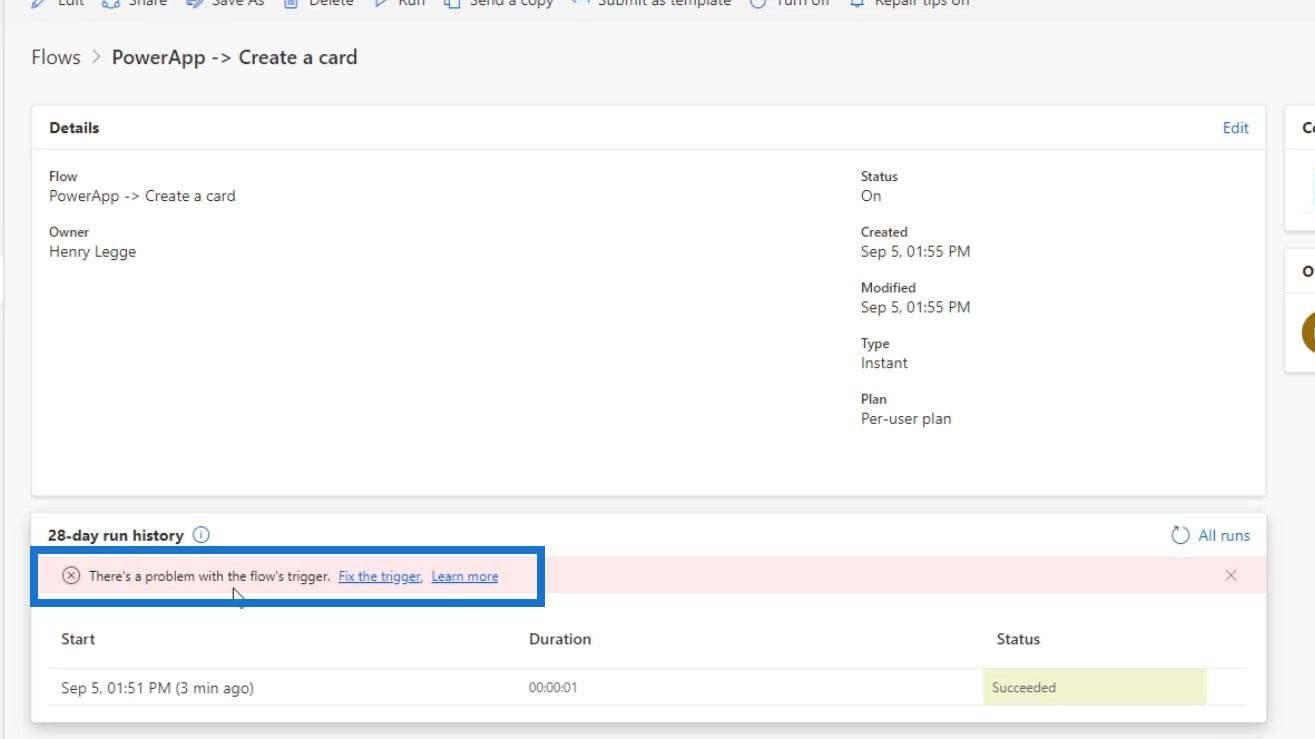
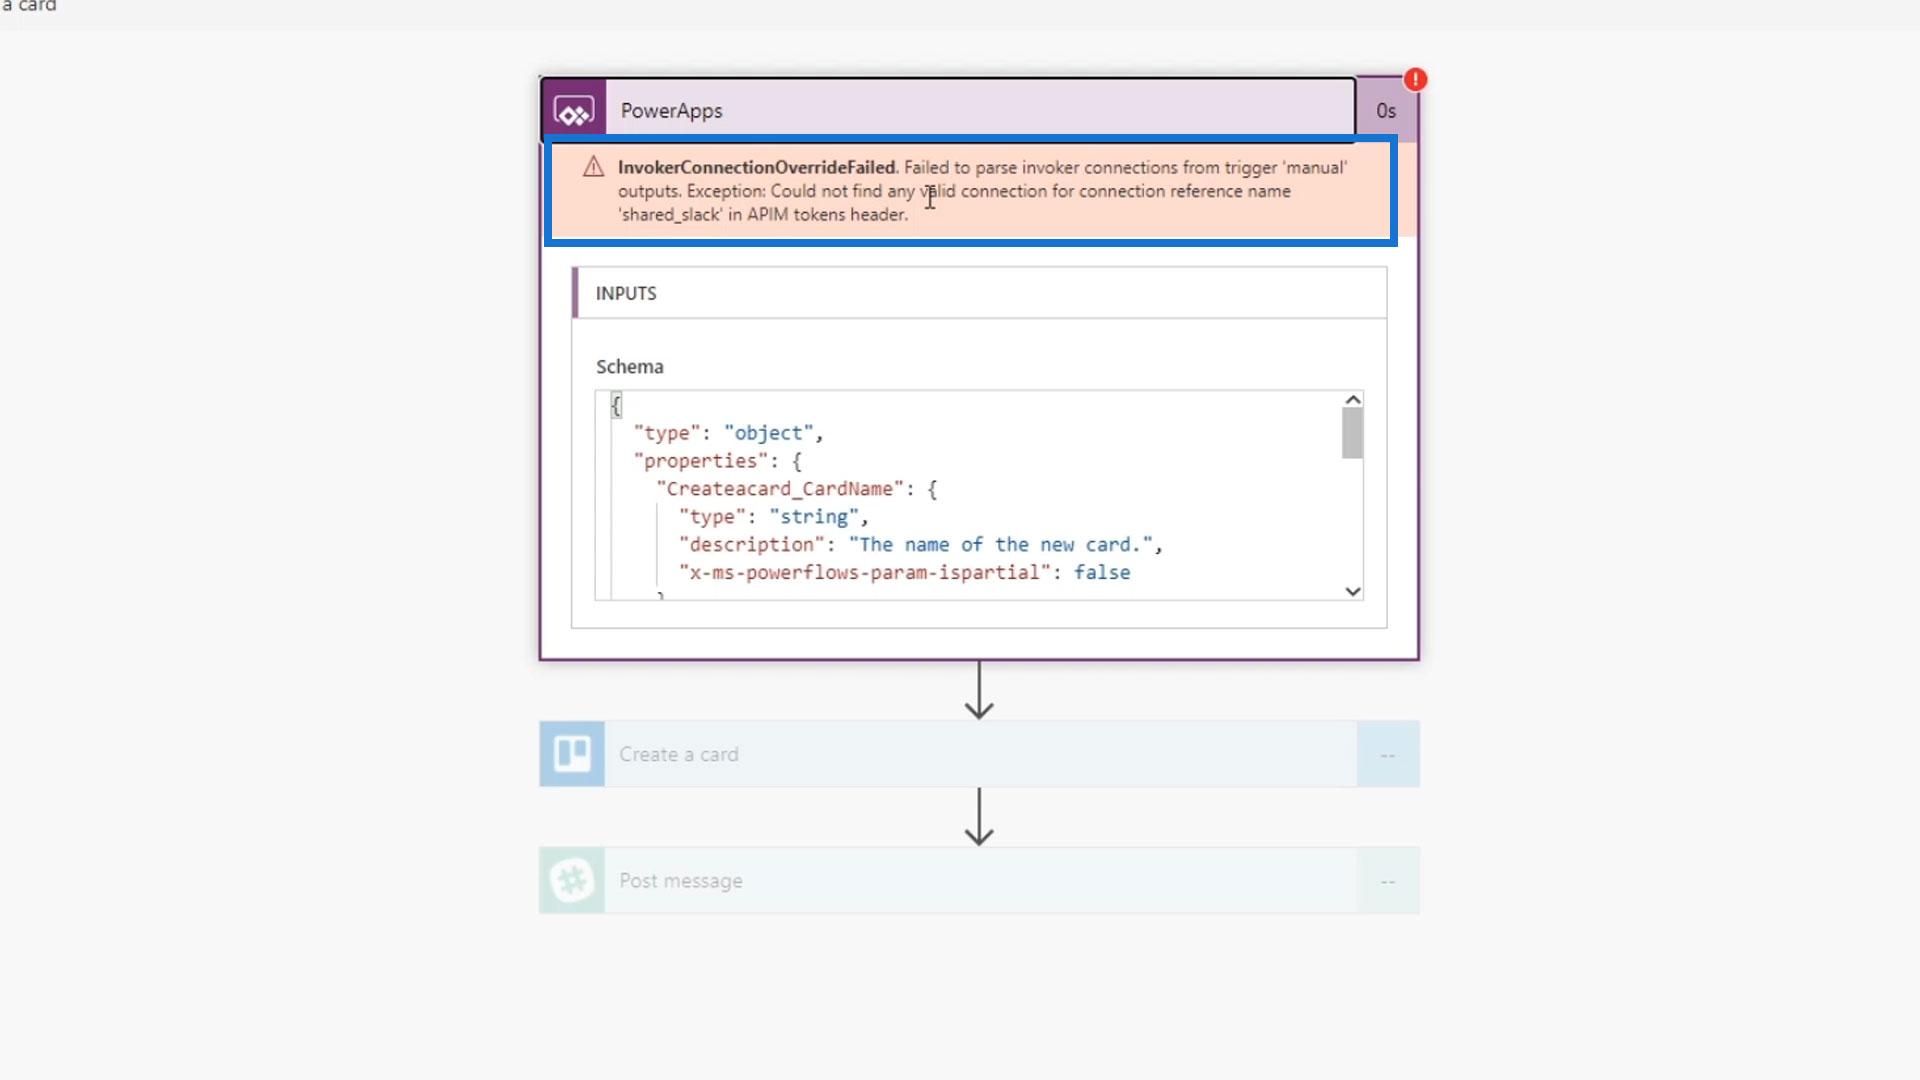
As we can see, it indicates that there’s a problem with the flow’s trigger. That’s because this trigger is only inputting two arguments. However, since we’ve added the Ask in PowerApps action, it needs three inputs now.
Handling Errors With PowerApps
We can see more detailed information about that error here. This is just a complicated way of saying that the variable it needs for Slack isn’t available.
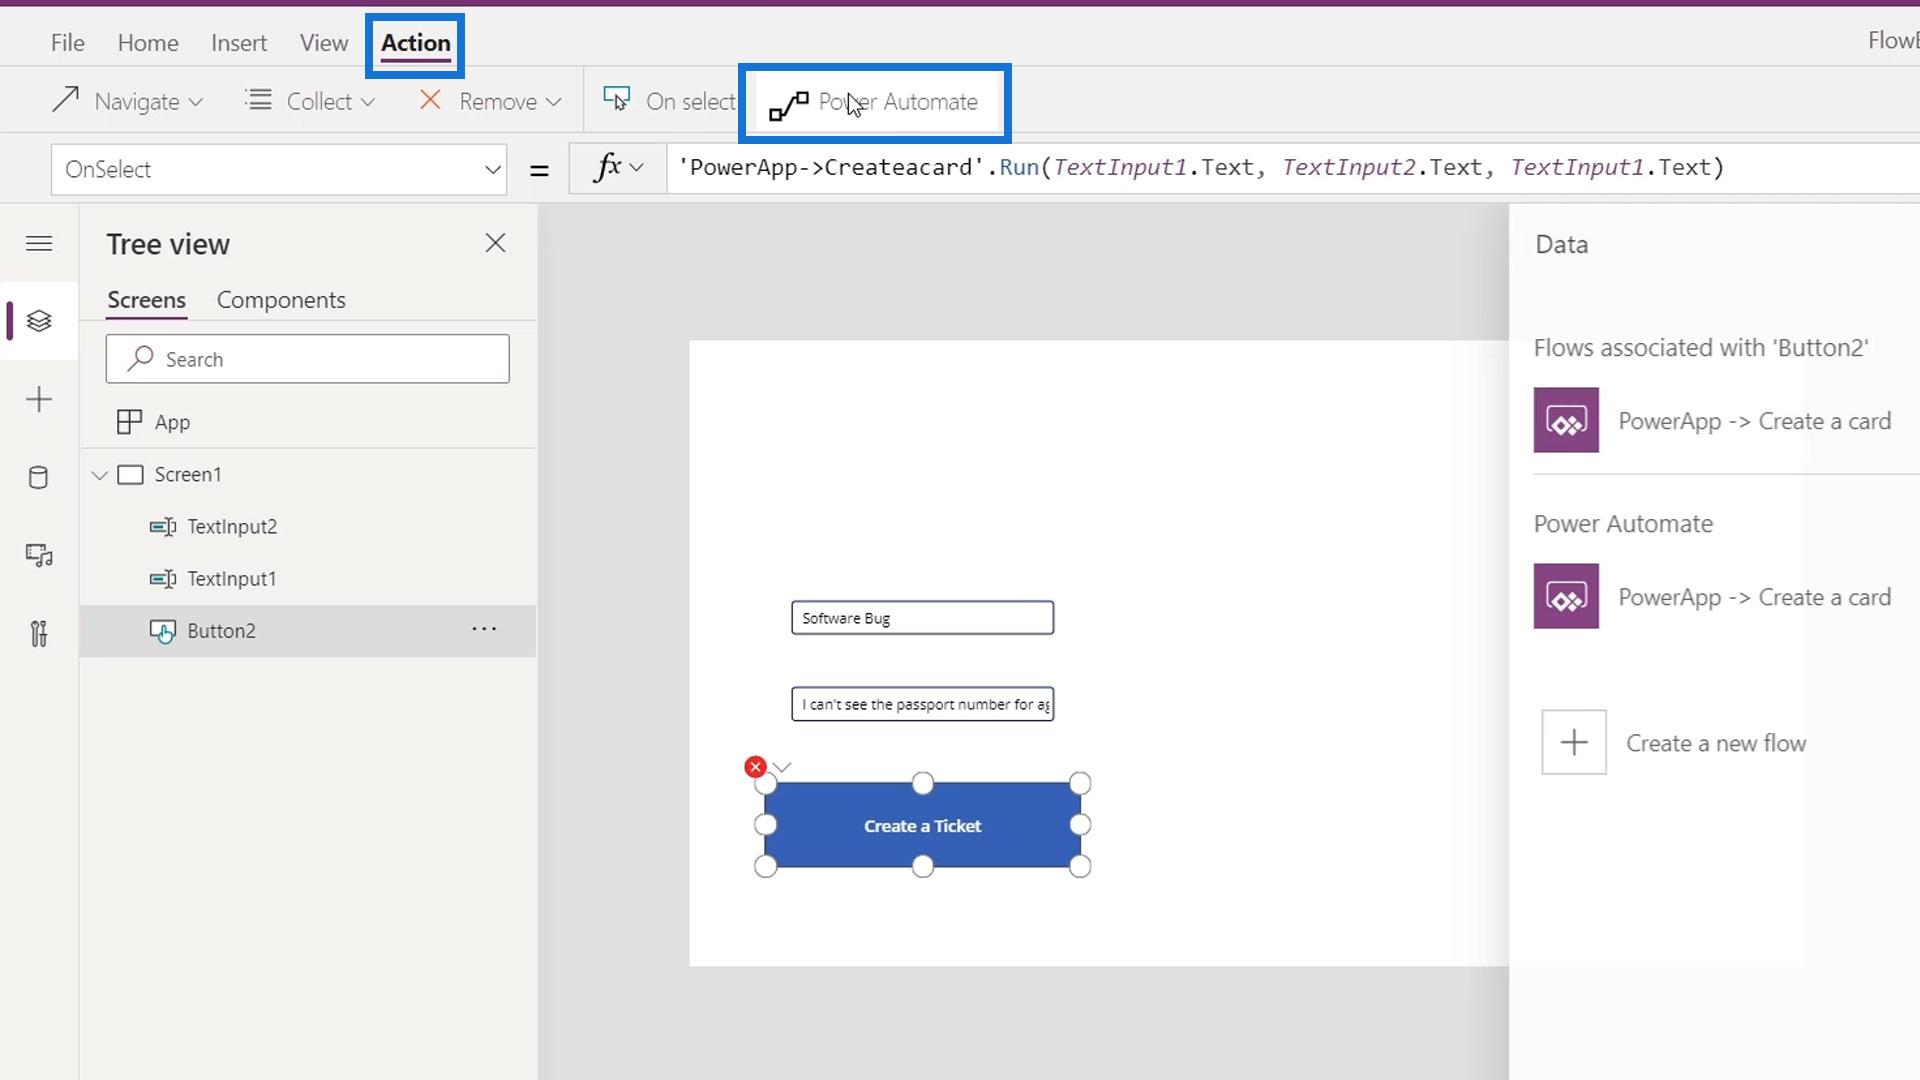
We can fix this by going to the Action tab then clicking on Power Automate.
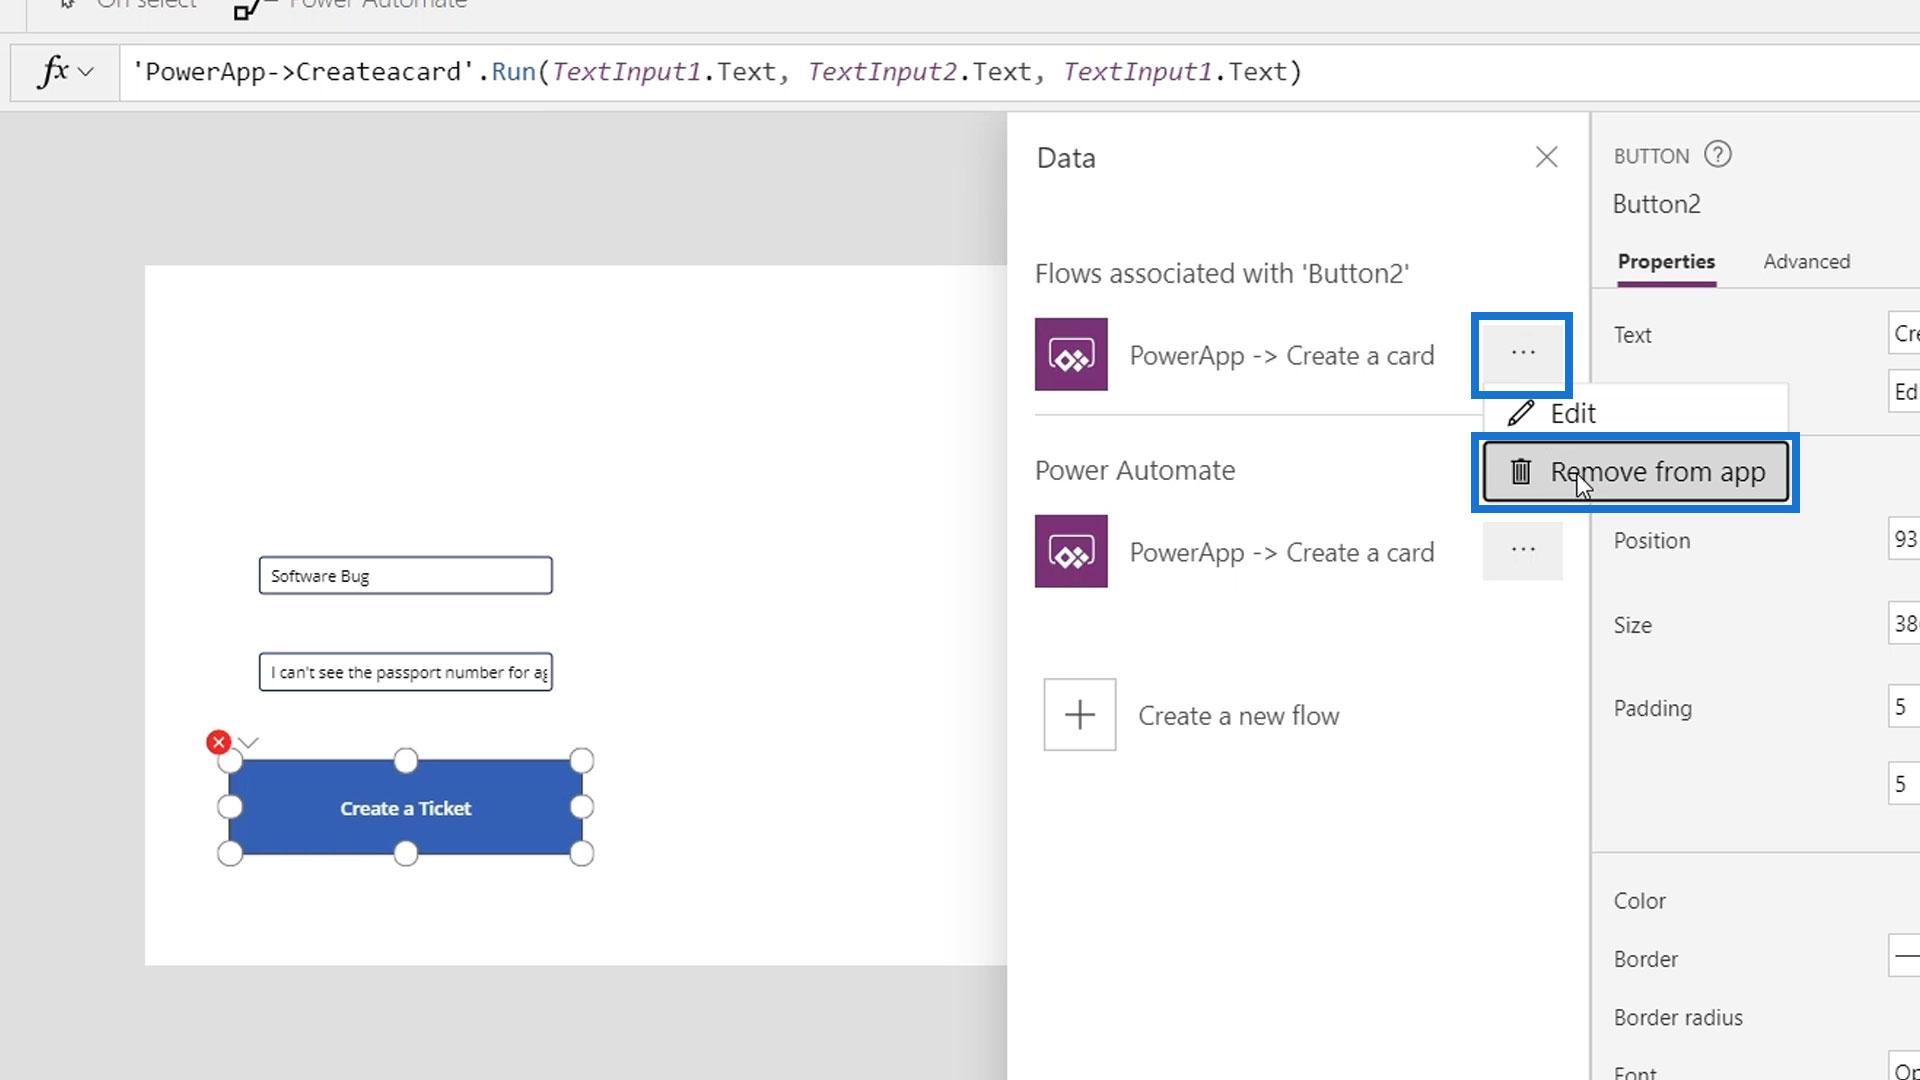
Remove the first application that we previously created.
Then, let’s add it again by clicking on it.
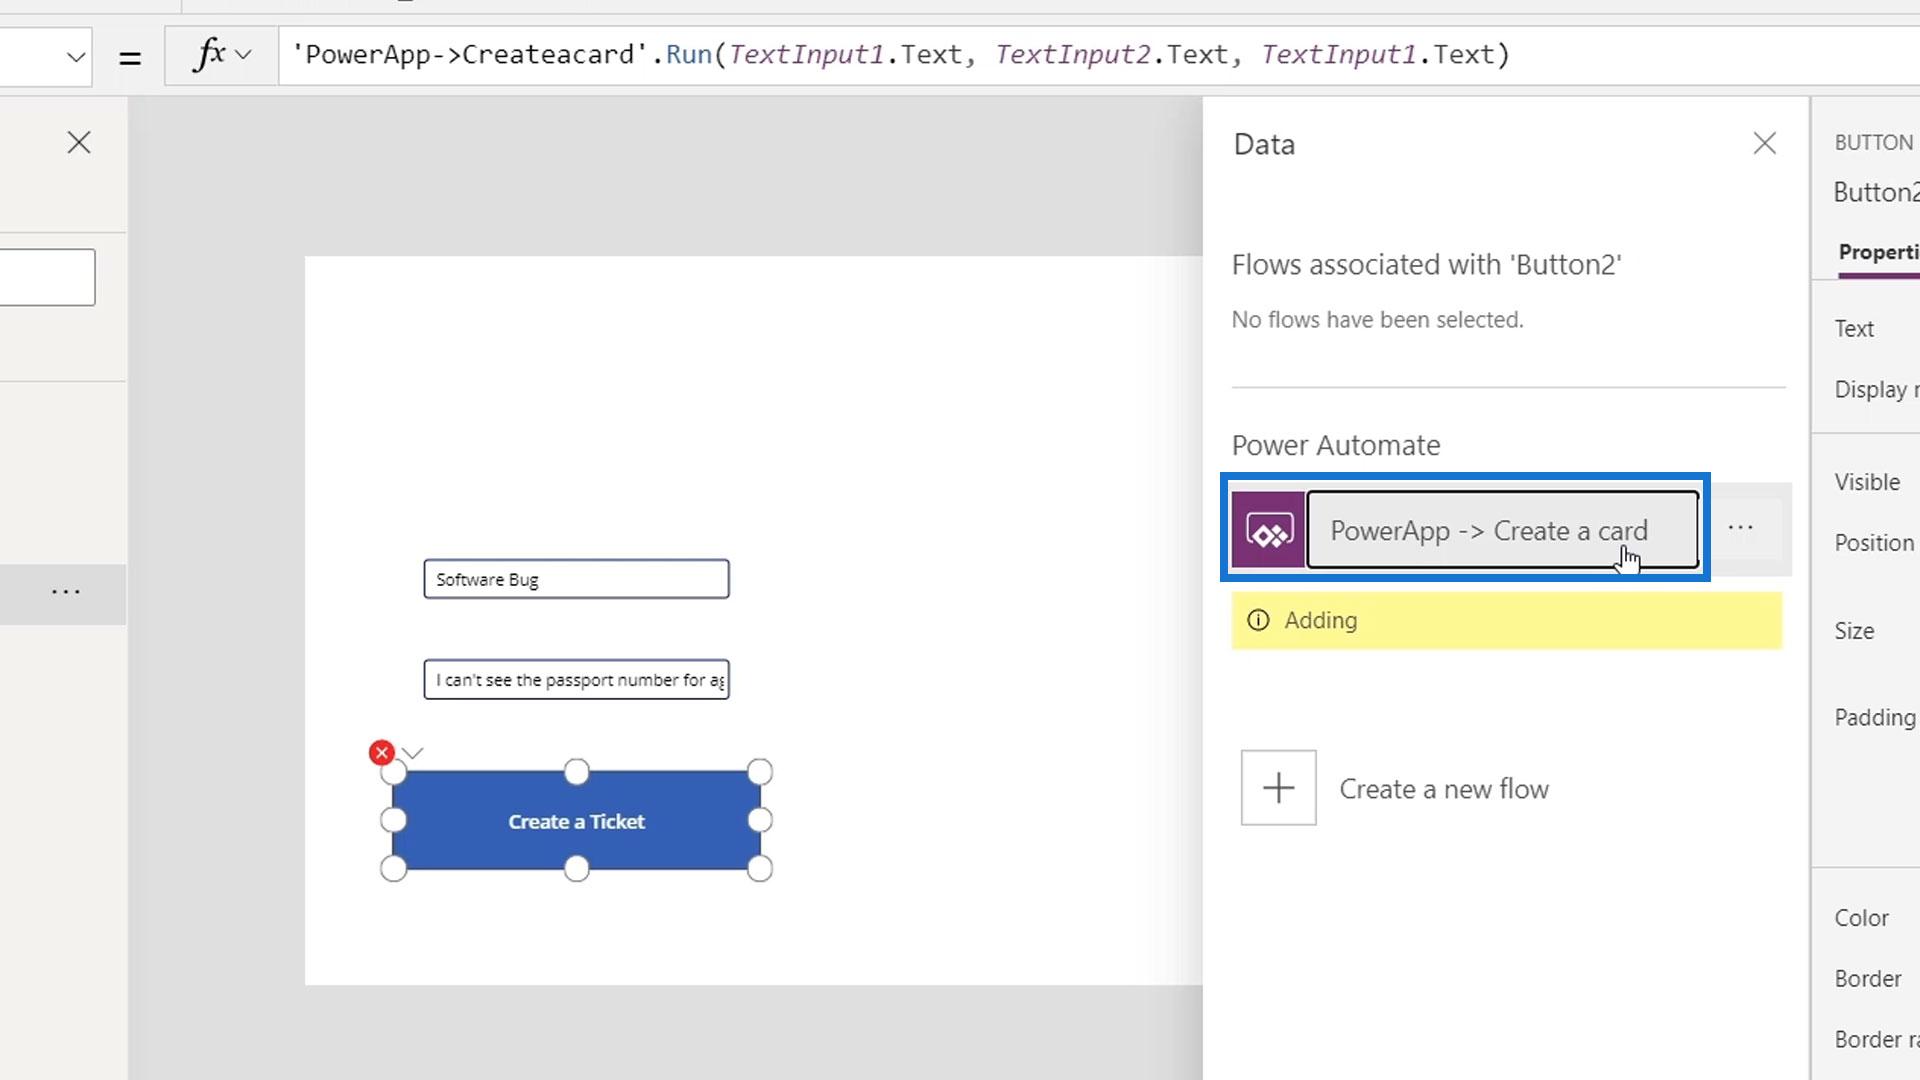
After the card was added, let’s input our variables TextInput1.Text, TextInput2.Text, and TextInput1.Text again.
Run this app again and click the Create a Ticket button.

Let’s then go back to our Flows page and click the PowerApps flow. As we can see, our flow ran successfully.
When we check our Trello, we’ll see that a new card about Software Bug was added as well.
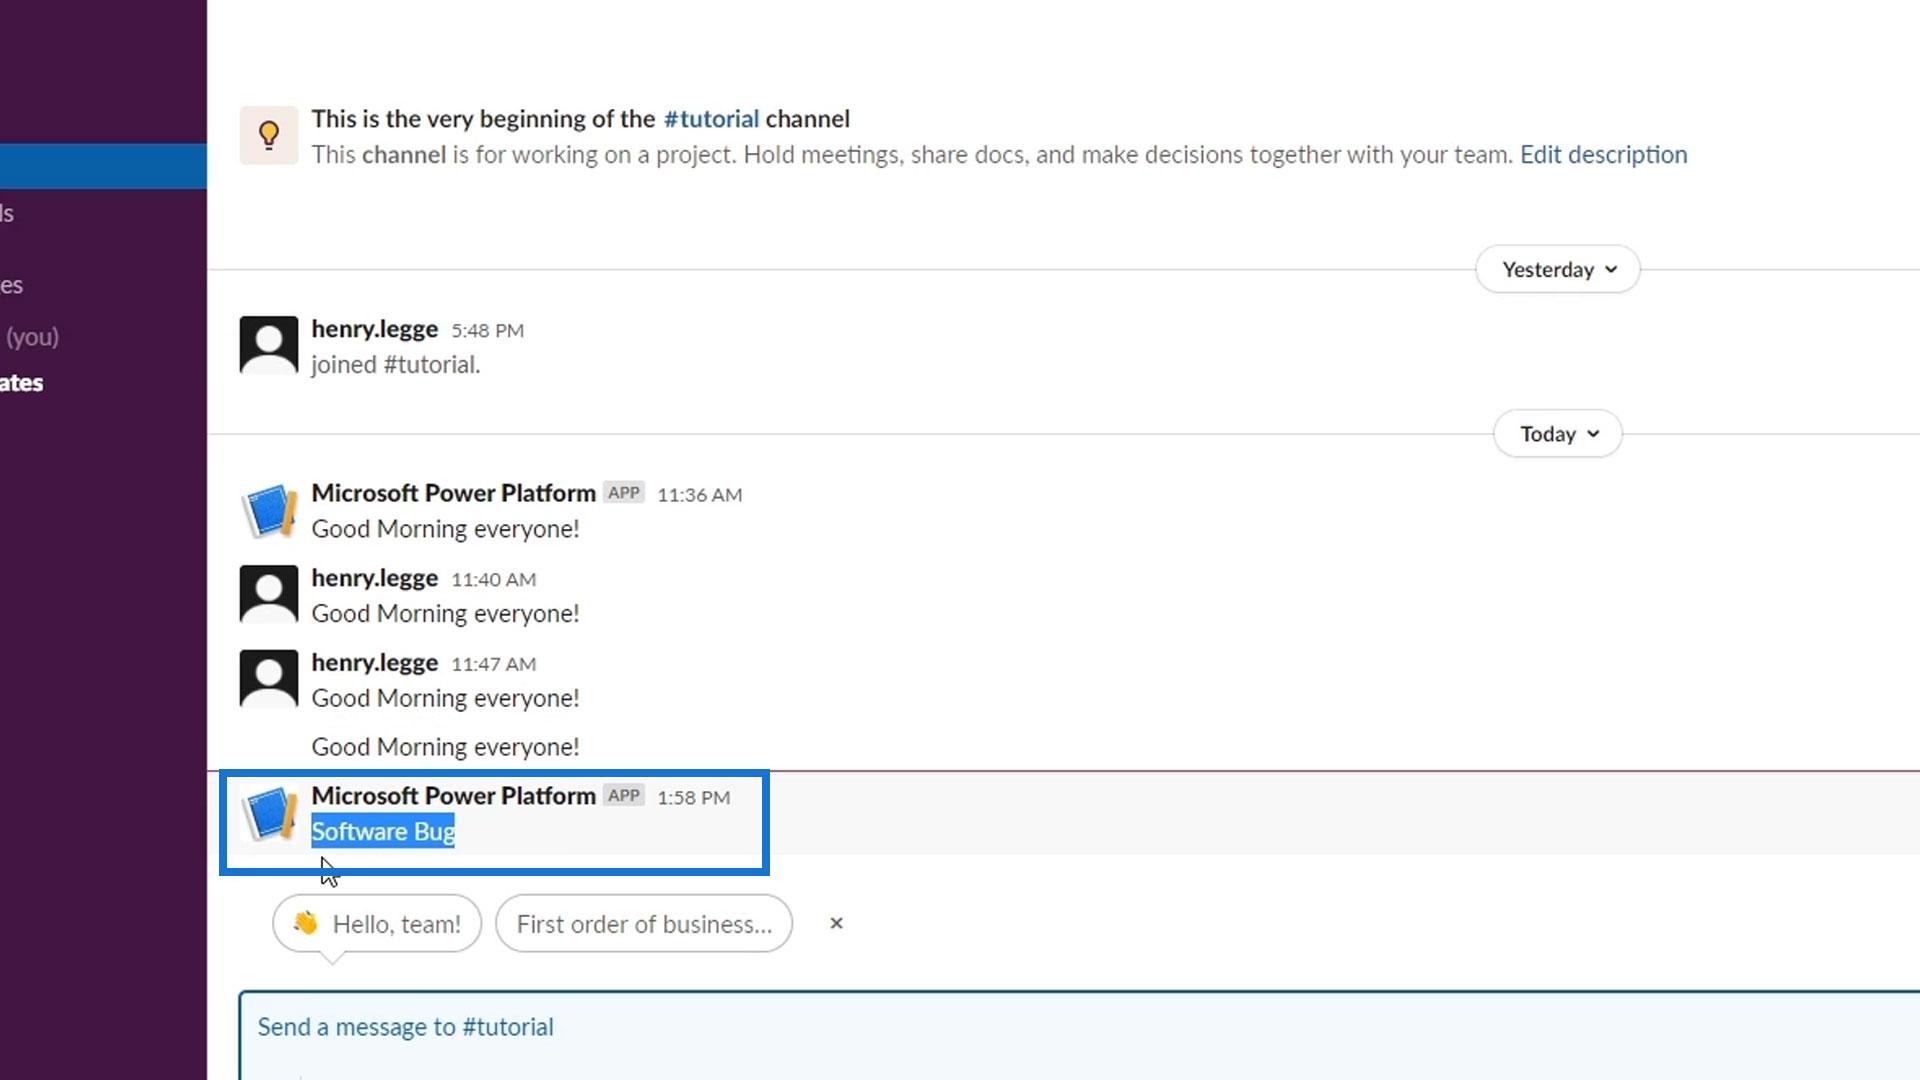
On our Slack, a new “Software Bug” message will also be posted.
So, the key point here is that whenever we edit a flow, especially if it adds multiple arguments to the trigger variable, we need to re-add it in PowerApps as well.
***** Related Links *****
Workflow Inputs In Microsoft Power Automate
Power Apps Basics: Development Environment And Running Your App
Power Automate Environment: Setup And Overview
Conclusion
To conclude, this is indeed a powerful integration. Once we’ve created a flow in Power Automate, we can trigger it in various ways. If you already have a PowerApps application, then you can put your Power Automate flow into the application seamlessly.
This is just one way to trigger your workflow outside Power Automate. In this case, we used PowerApps. I hope you’ll find it helpful especially when you’re no longer just making workflows for yourself, but also for your organization.
All the best,
Henry


