
In this tutorial, we’ll learn and understand how an HTTP request in Power Automate works when it comes to integrating third party applications. We’ll also be talking about the Request built-in connector, but we’ll mainly discuss HTTP.
Despite having a variety of connectors that we can choose from, Power Automate also has its limitations. It can’t cover everything we might need in order to build our workflows. There might be an instance when we want to integrate or trigger our flow using an application that’s not available in Power Automate.
The HTTP and Request connectors allow our flow to interact with third party APIs.
We’ve used Request to trigger a workflow in one of our previous tutorials. In that example, we had a third party application that triggered a Power Automate flow with approvals and conditional logic.

And that’s how we can basically connect a third party application to our flows.
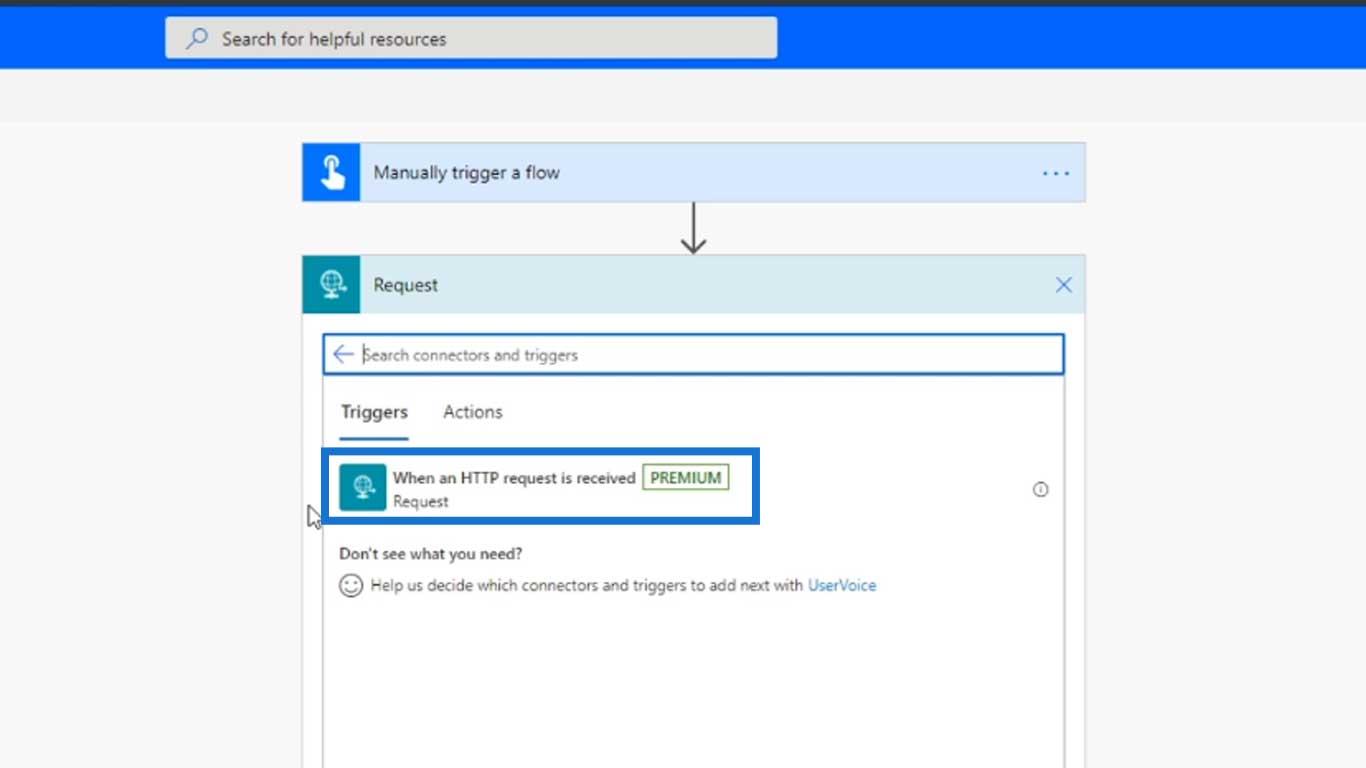
On the other hand, the HTTP connector allows us to ping any third party API that we have. So it’s not necessarily used as a trigger. It’s mostly used as an action.
Let’s say we have a flow where we have to get some information from an API. We send the customer’s ID via that API and we get back the customer’s name or passport number. Then we need that information in our Power Automate logic.
But we don’t want to keep that sensitive information within Power Automate. Therefore, we need to create an API in our third party system that can take in HTTP requests. And that’s what we’re going to do as an example.
Setting Up An HTTP Request In Power Automate
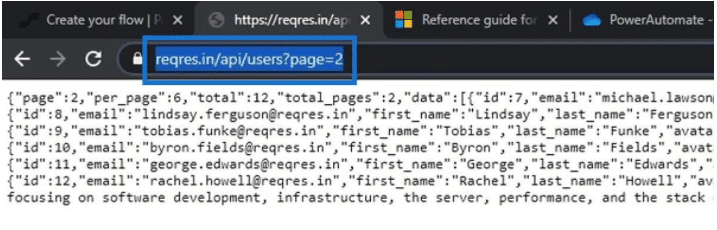
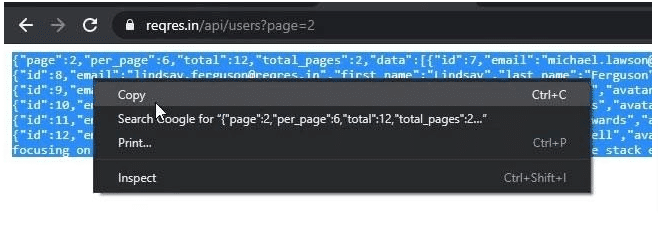
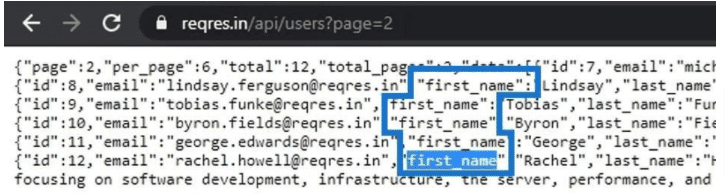
I currently don’t have a third party API. So for this particular example, we’ll be using a website called reqres.in. It has a third party API endpoint that we can use in order to test if our flow is working or not. For example, they have a function called LIST USERS that contains a corresponding request. And if we request it, the items within the Response column is everything that we can get back.
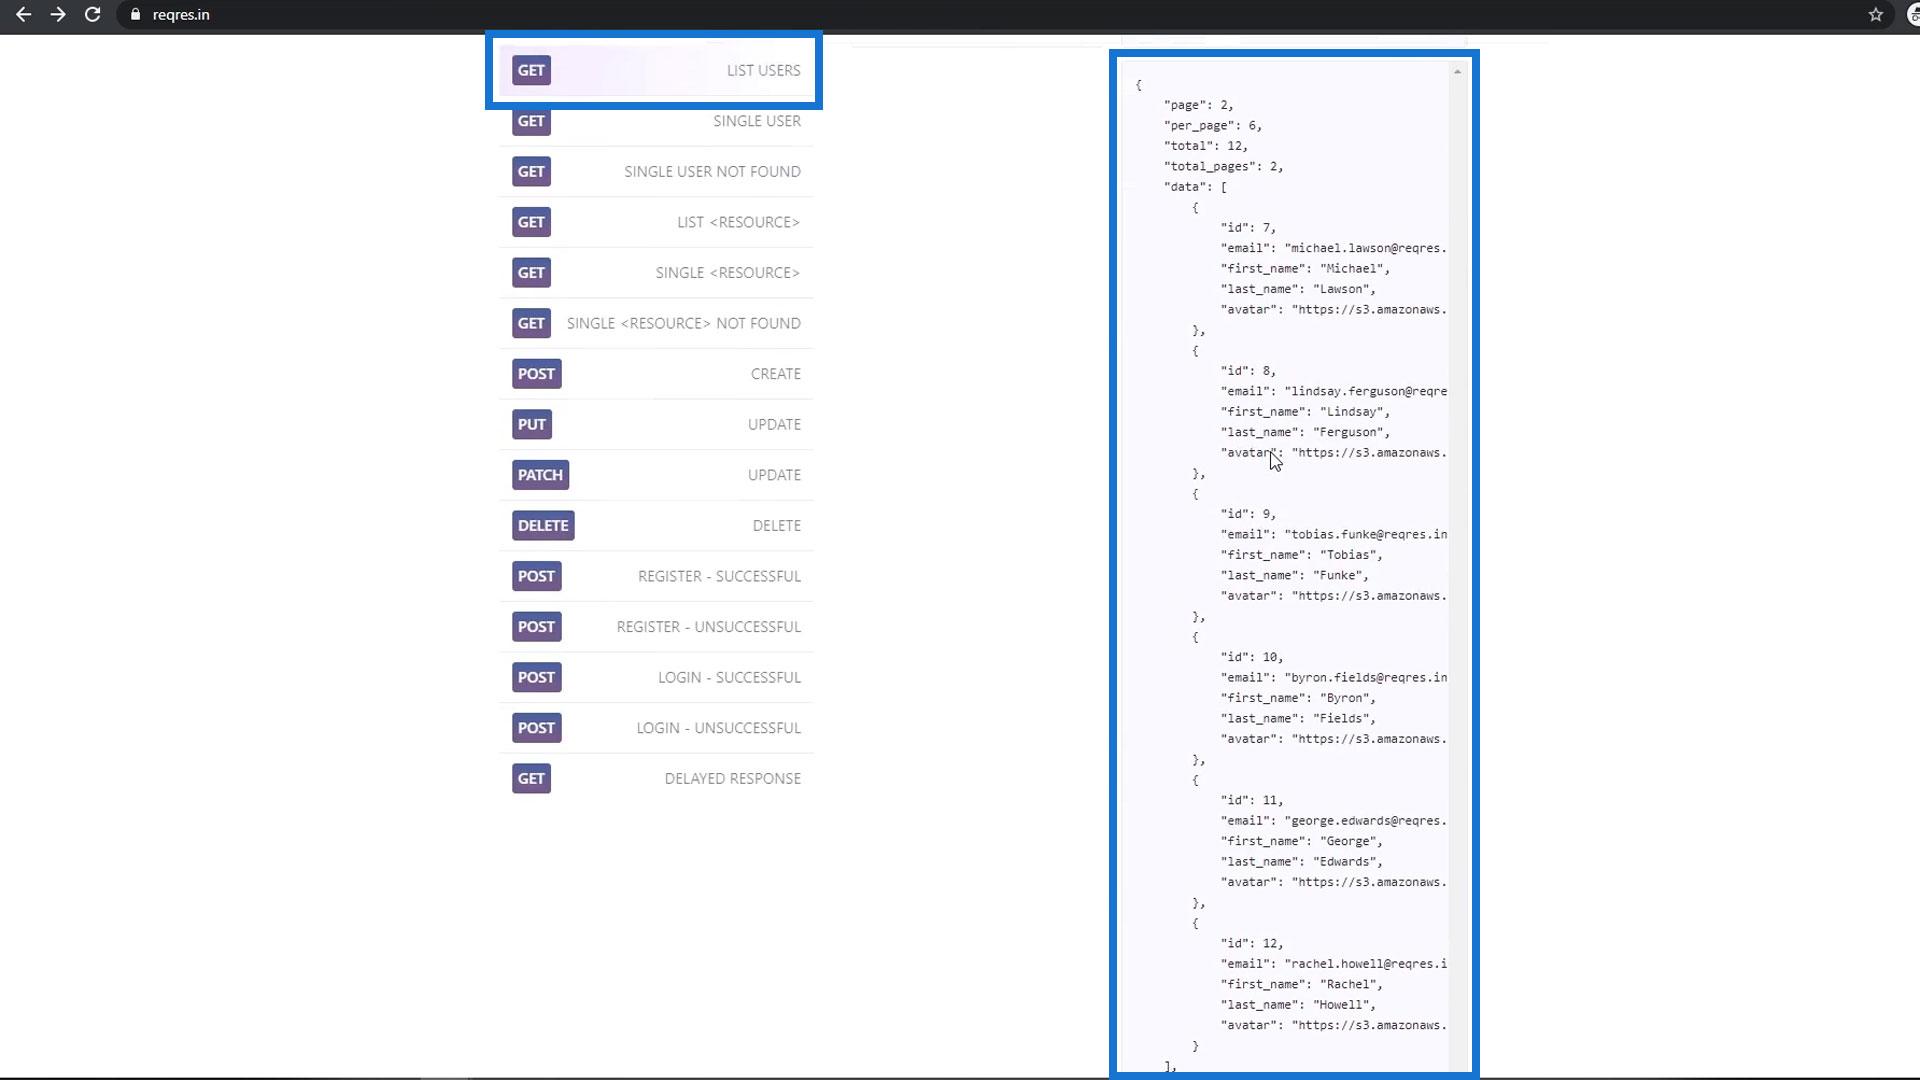
So, let’s try it using our HTTP connector. First we need to click the link for the Request.

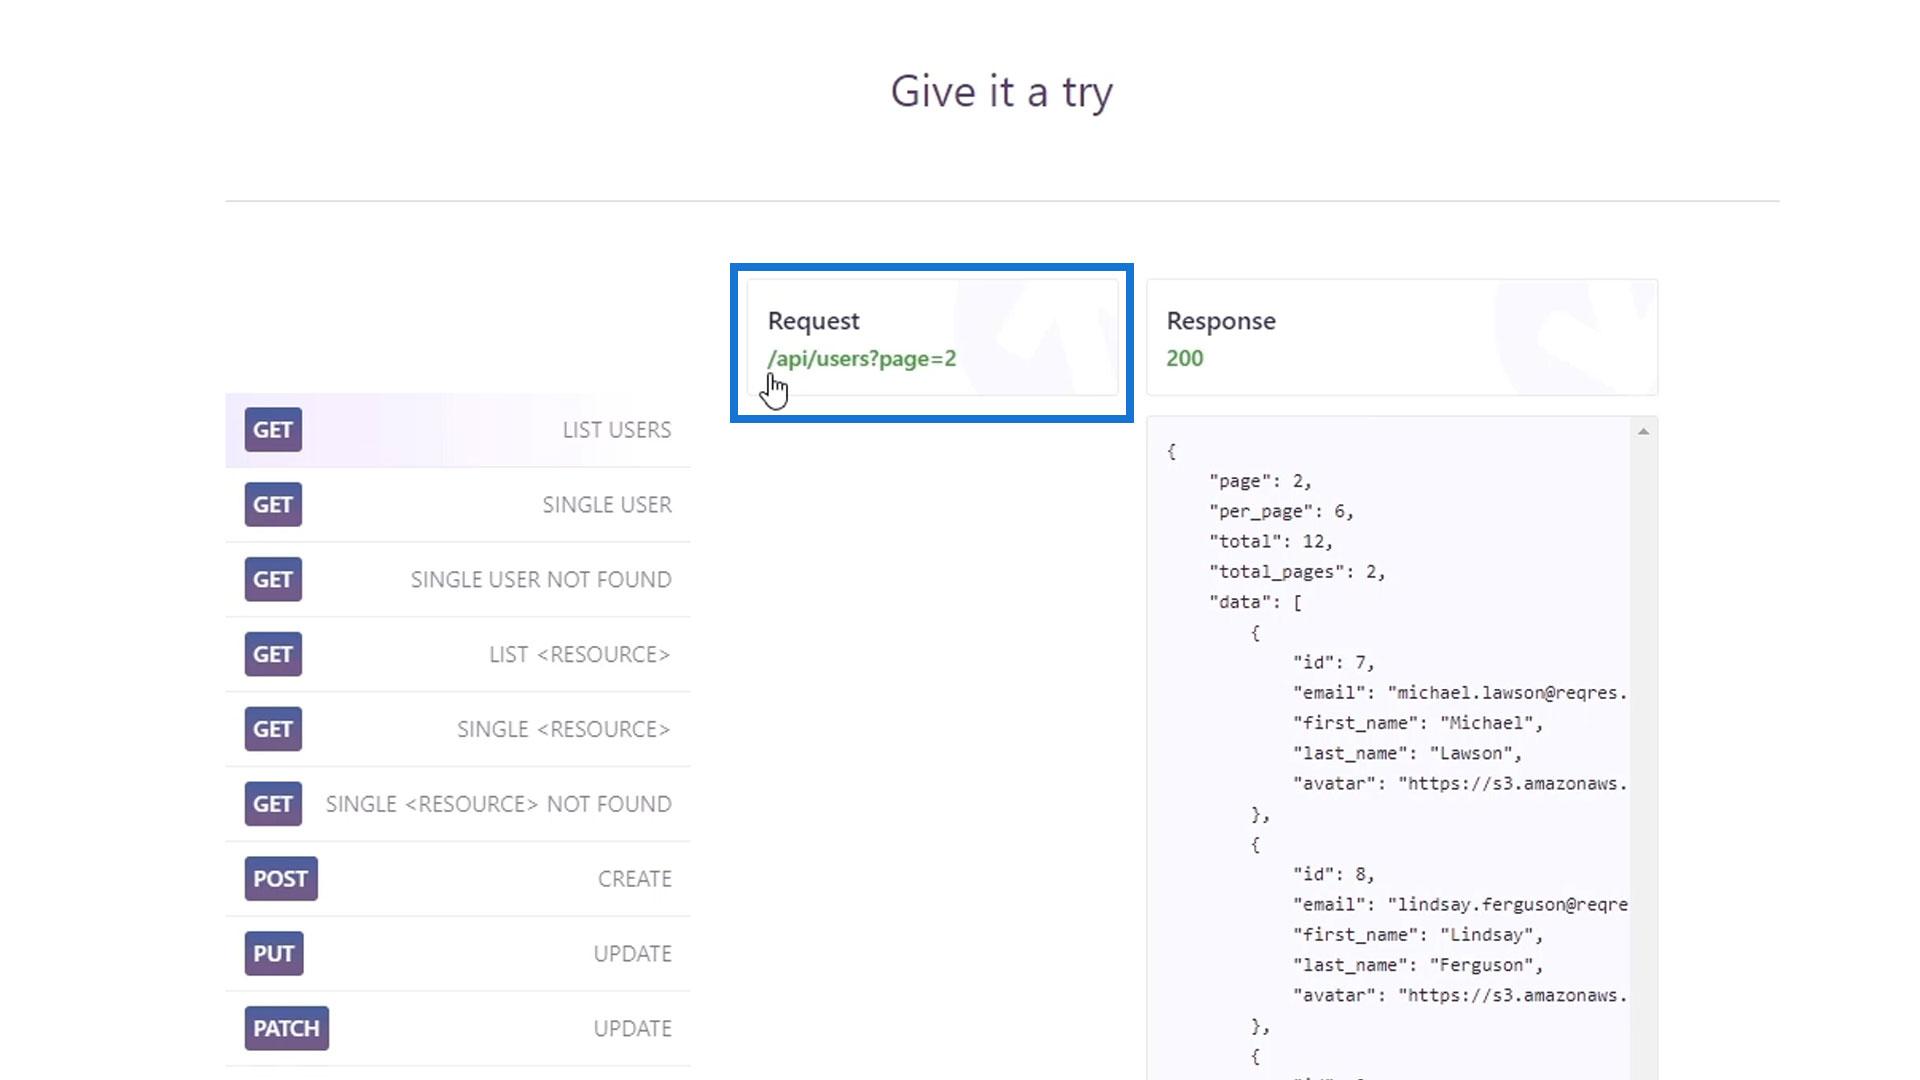
Then, copy the URL. This serves as the API endpoint.
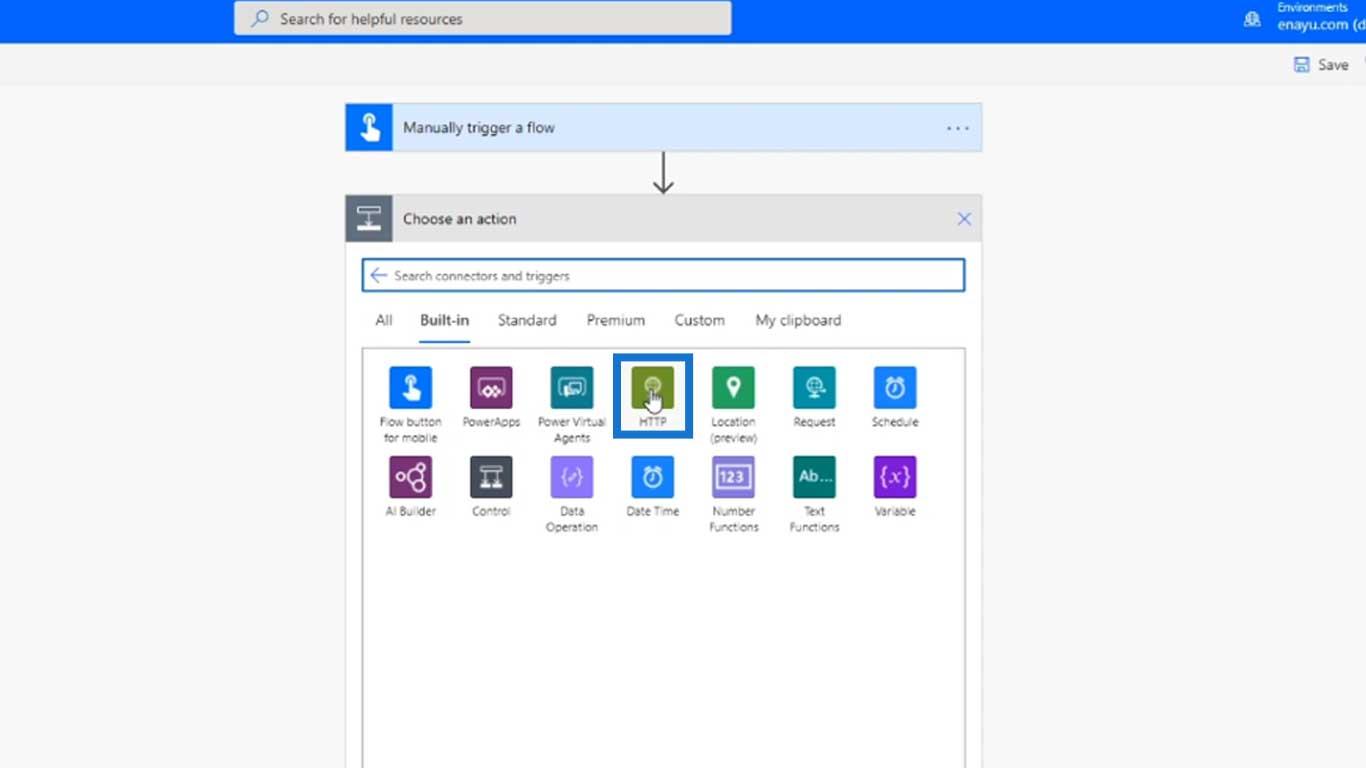
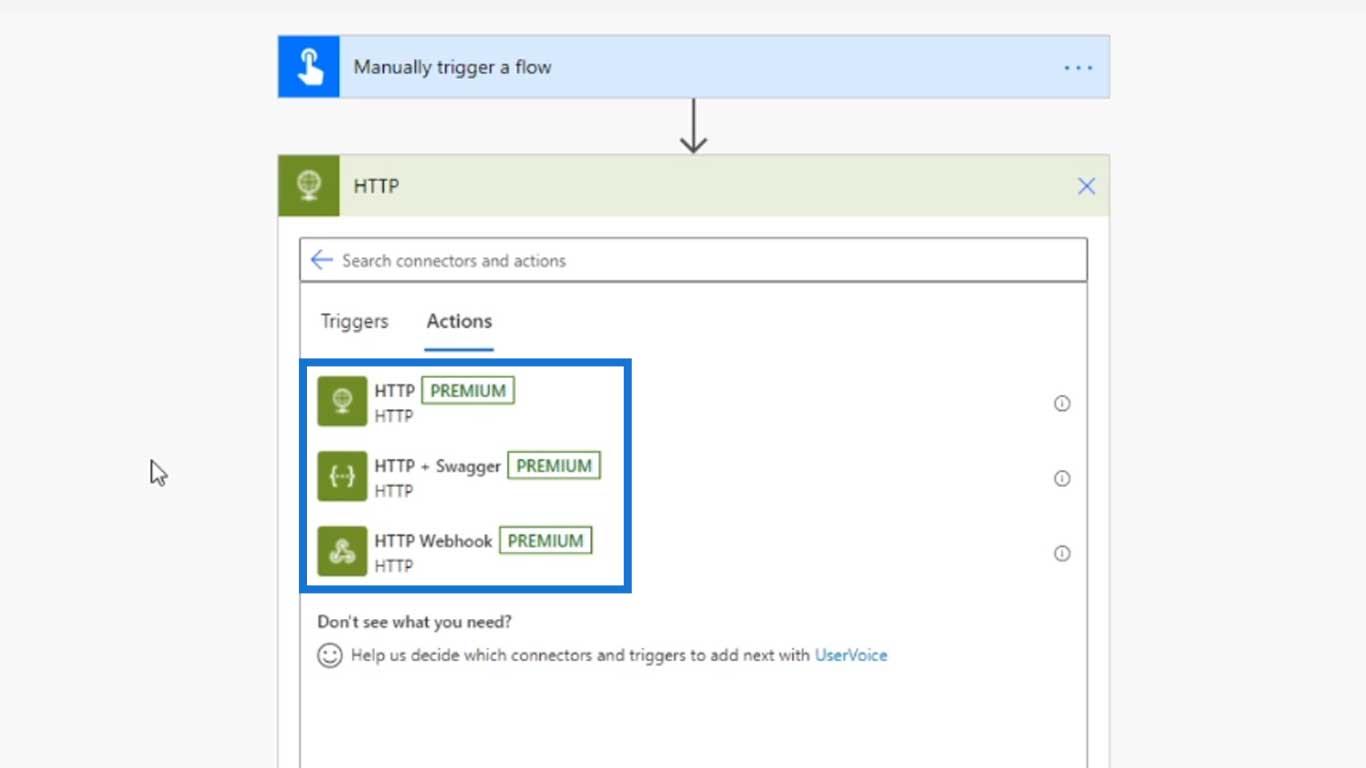
In our flow setup, click the HTTP connector.
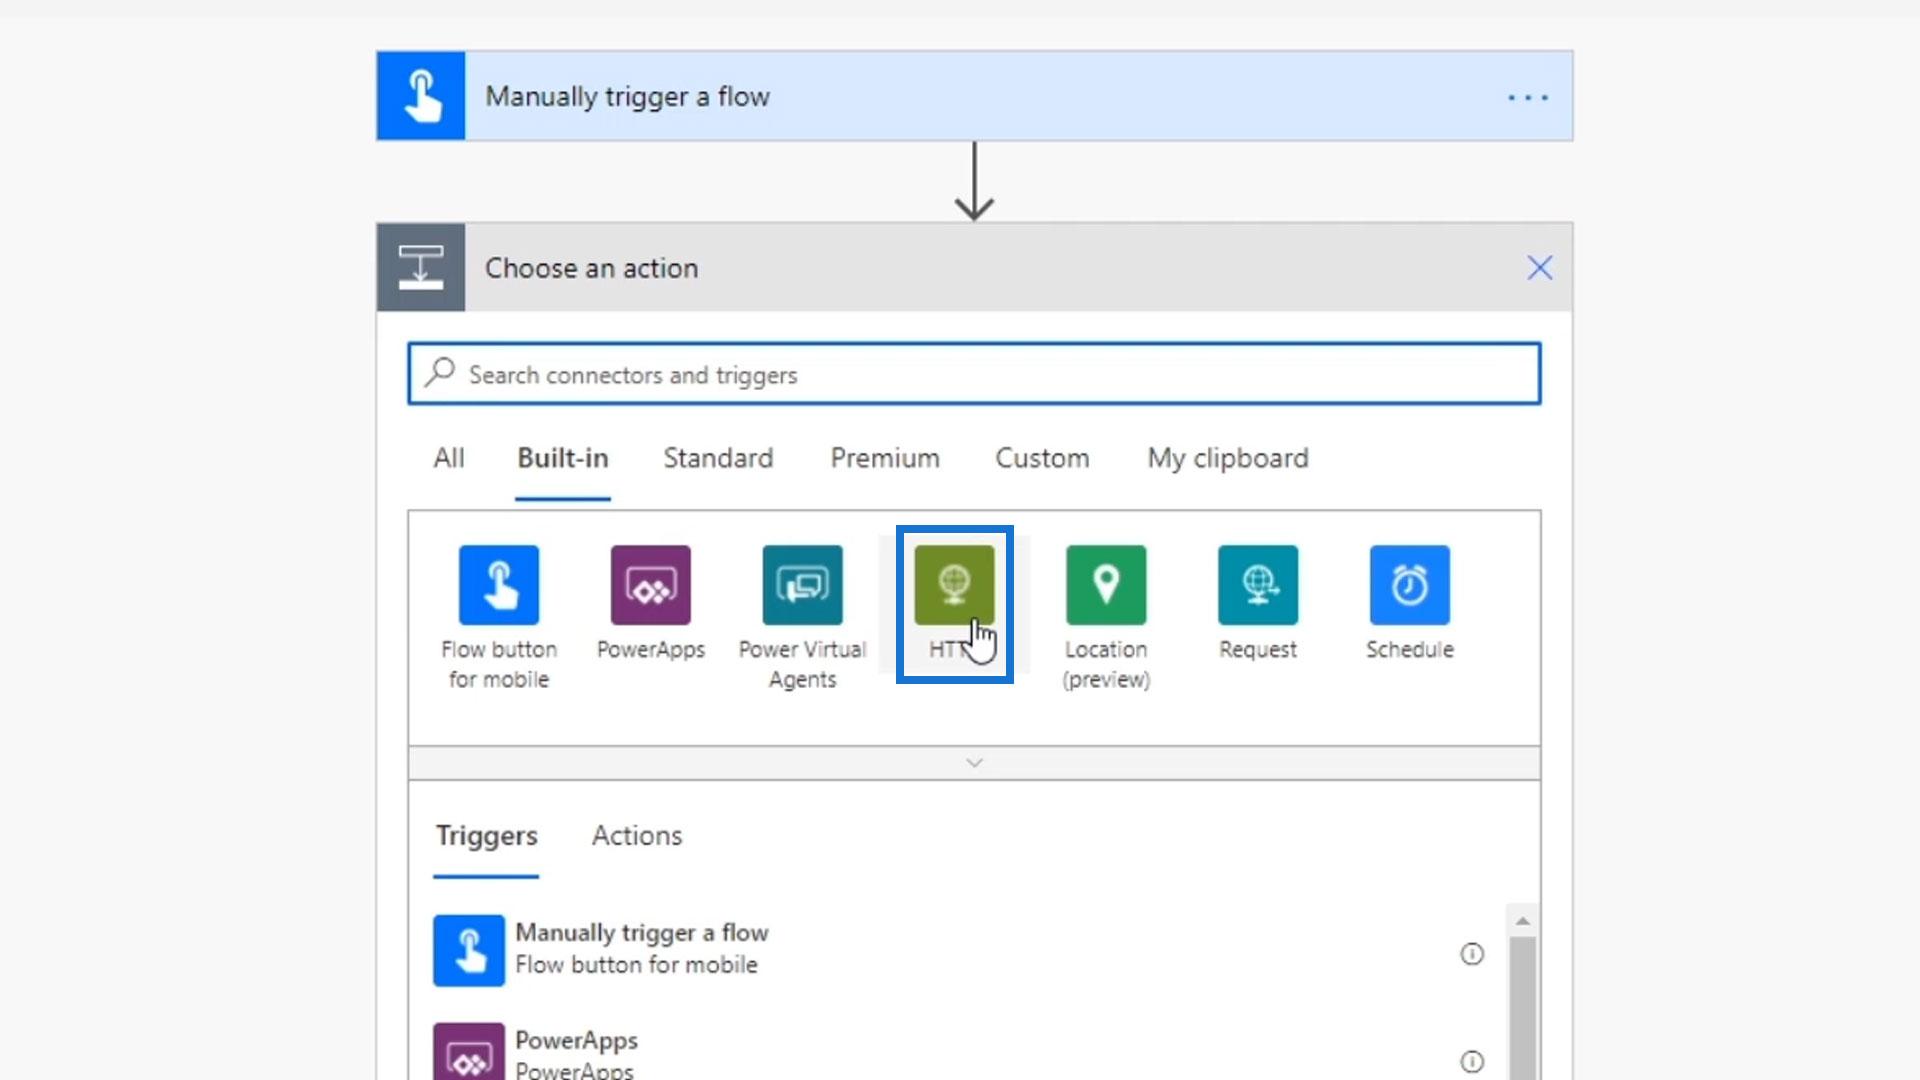
Then click the HTTP action.

For the Method, click GET.
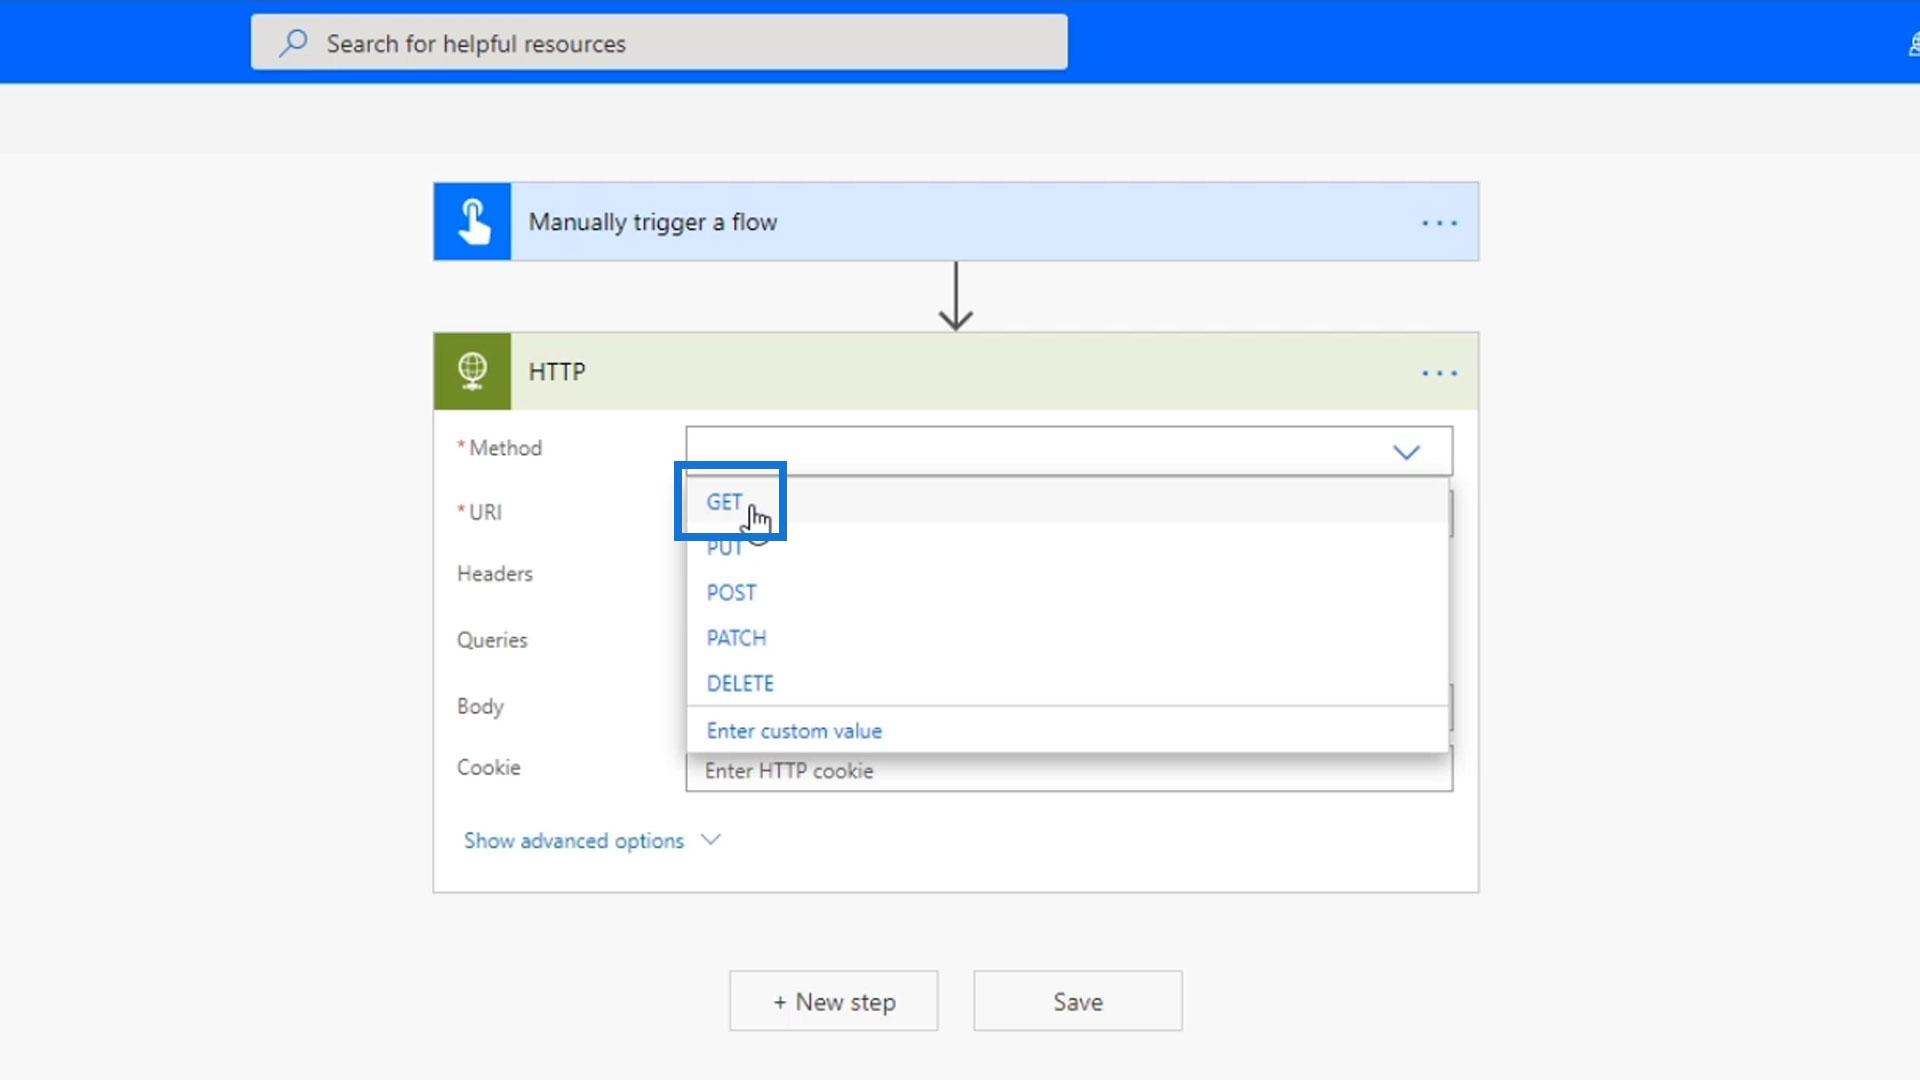
Then paste the URL that we have previously copied.
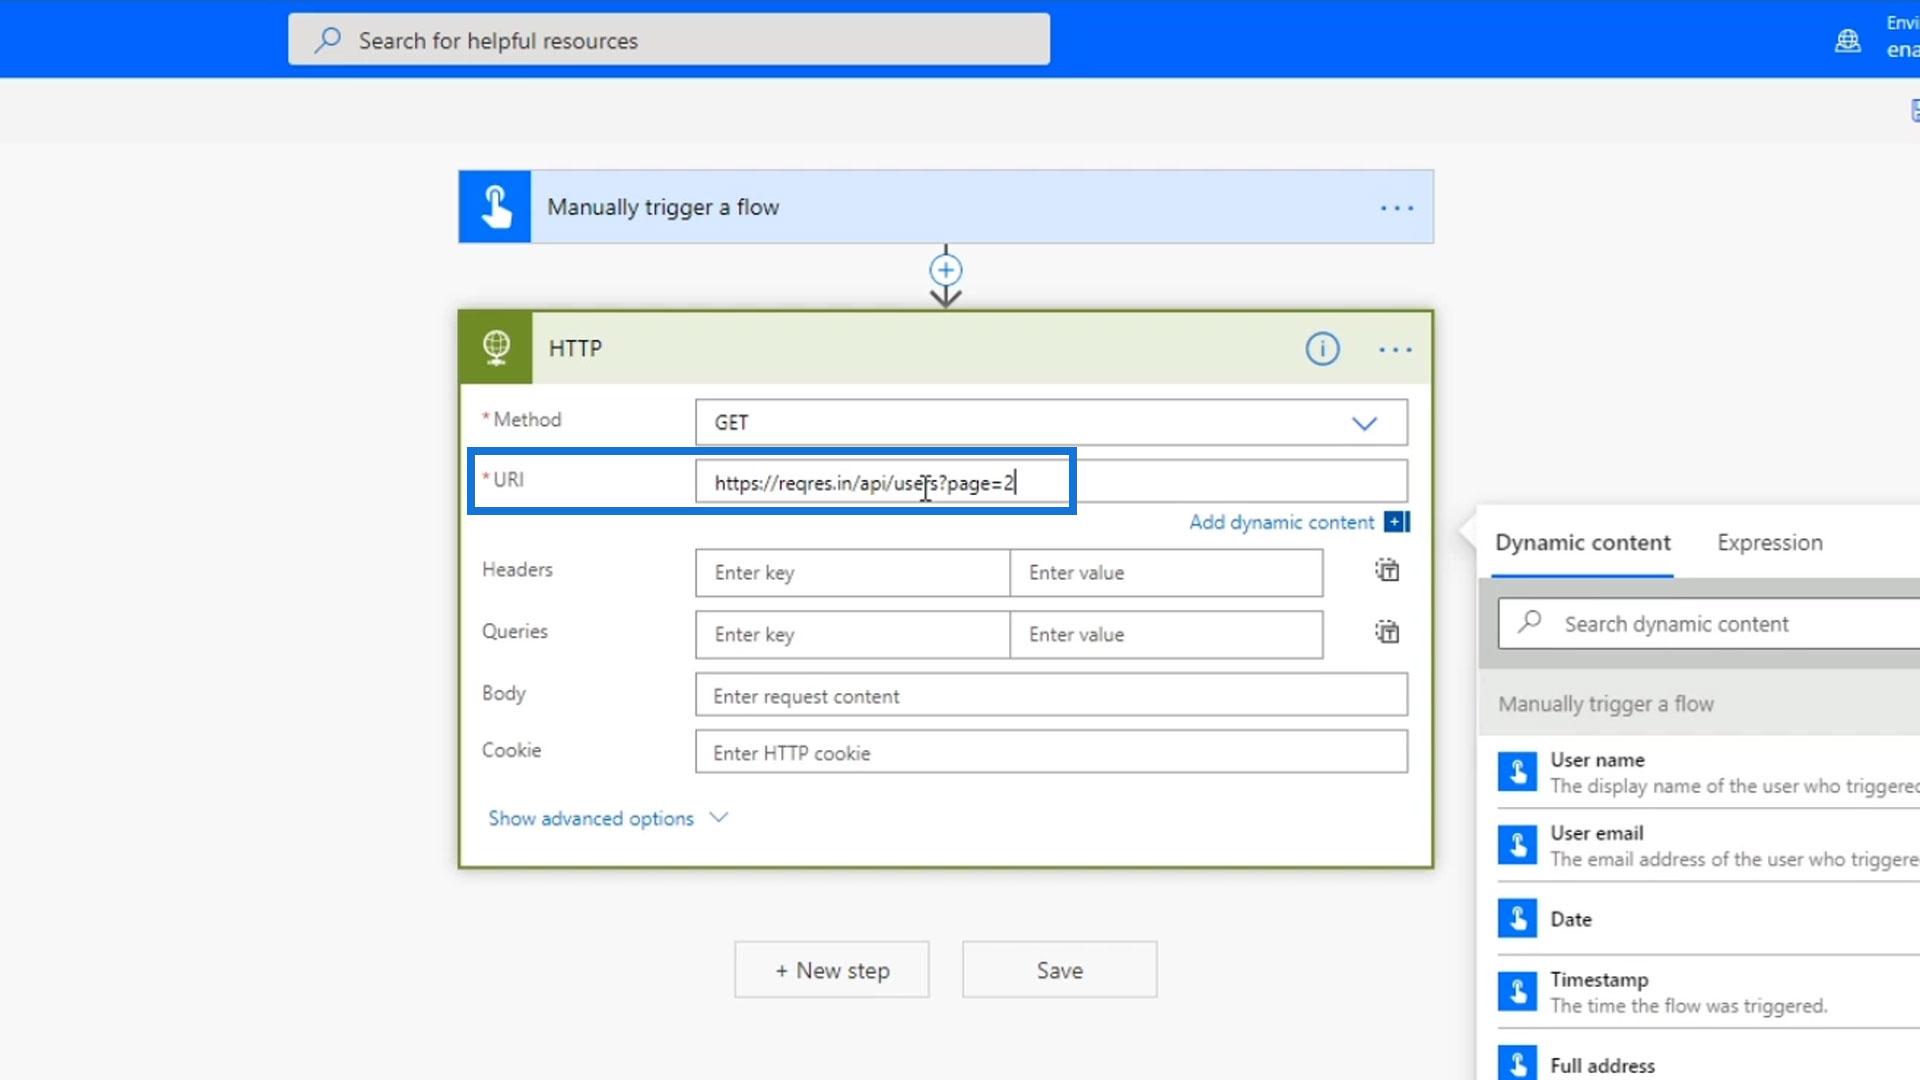
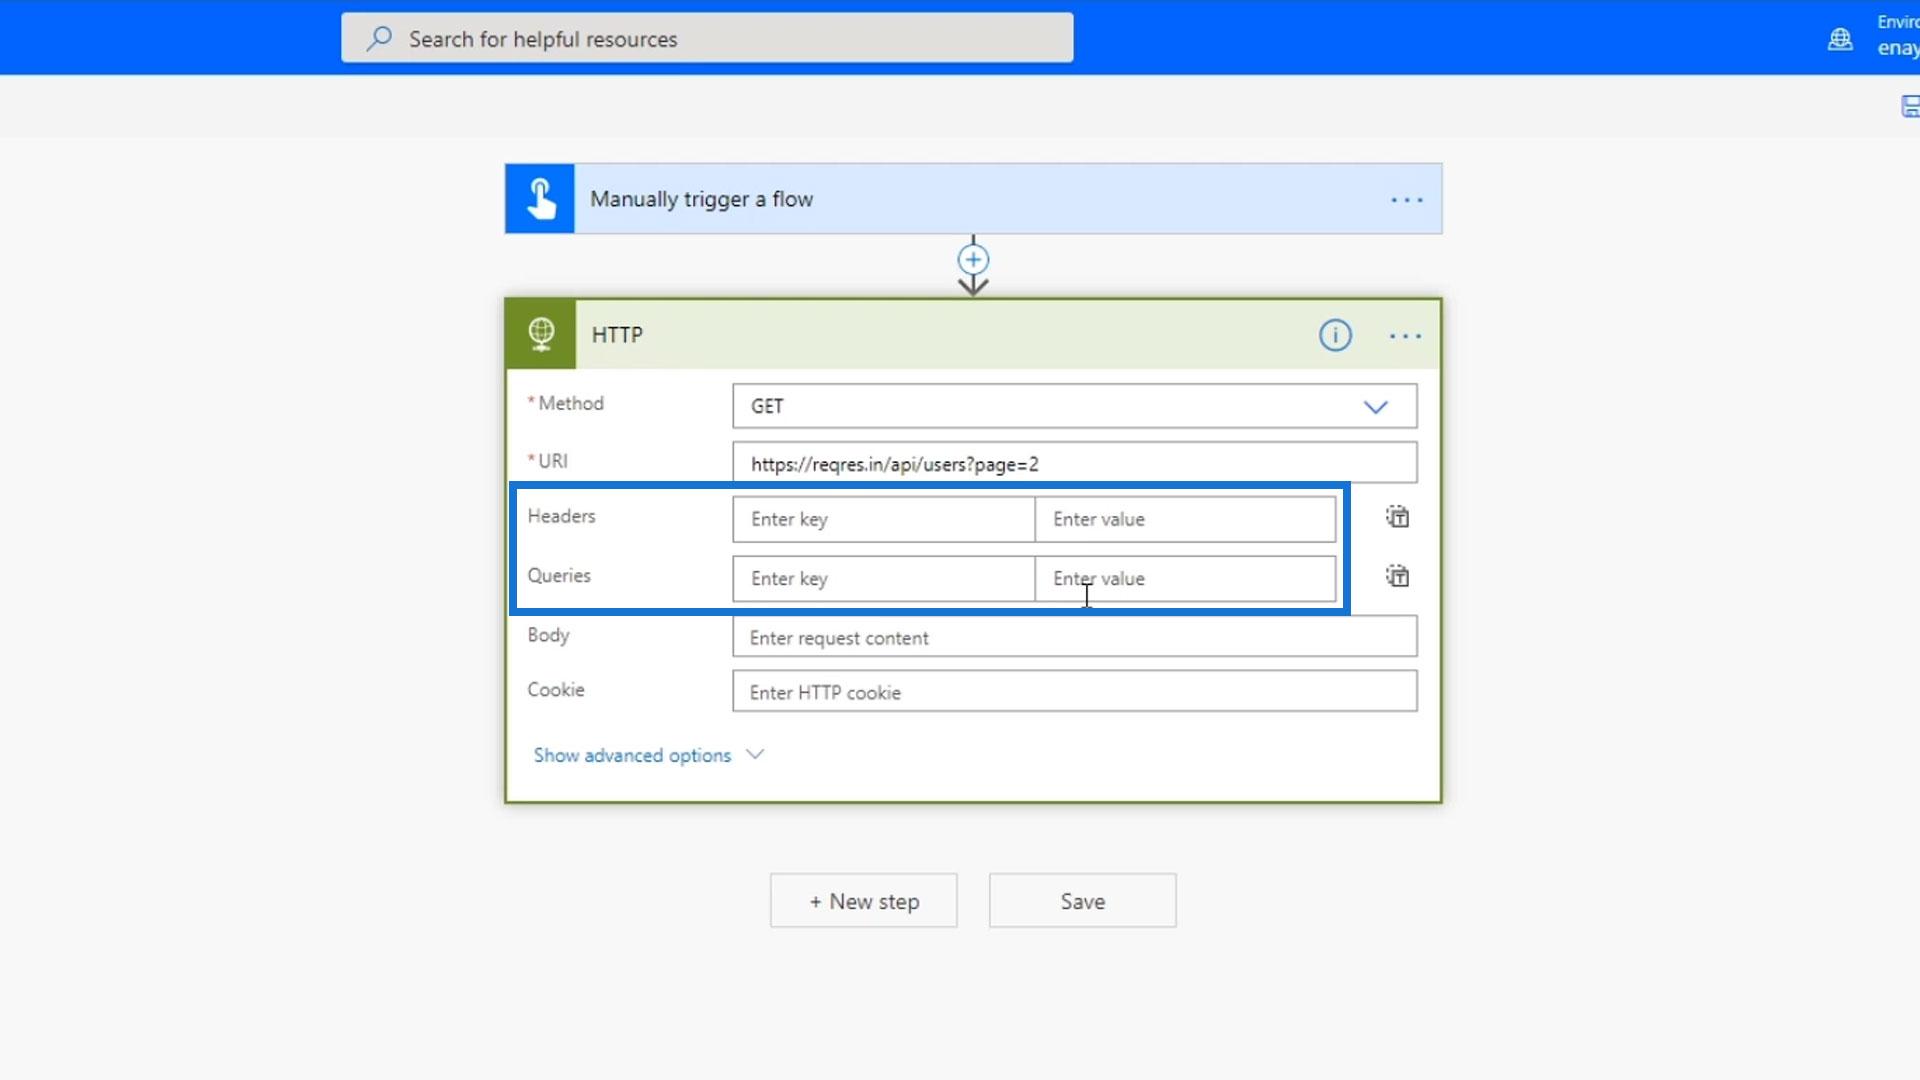
We can also enter headers, queries, and cookies if we want to. However, we’ll be skipping that for now.
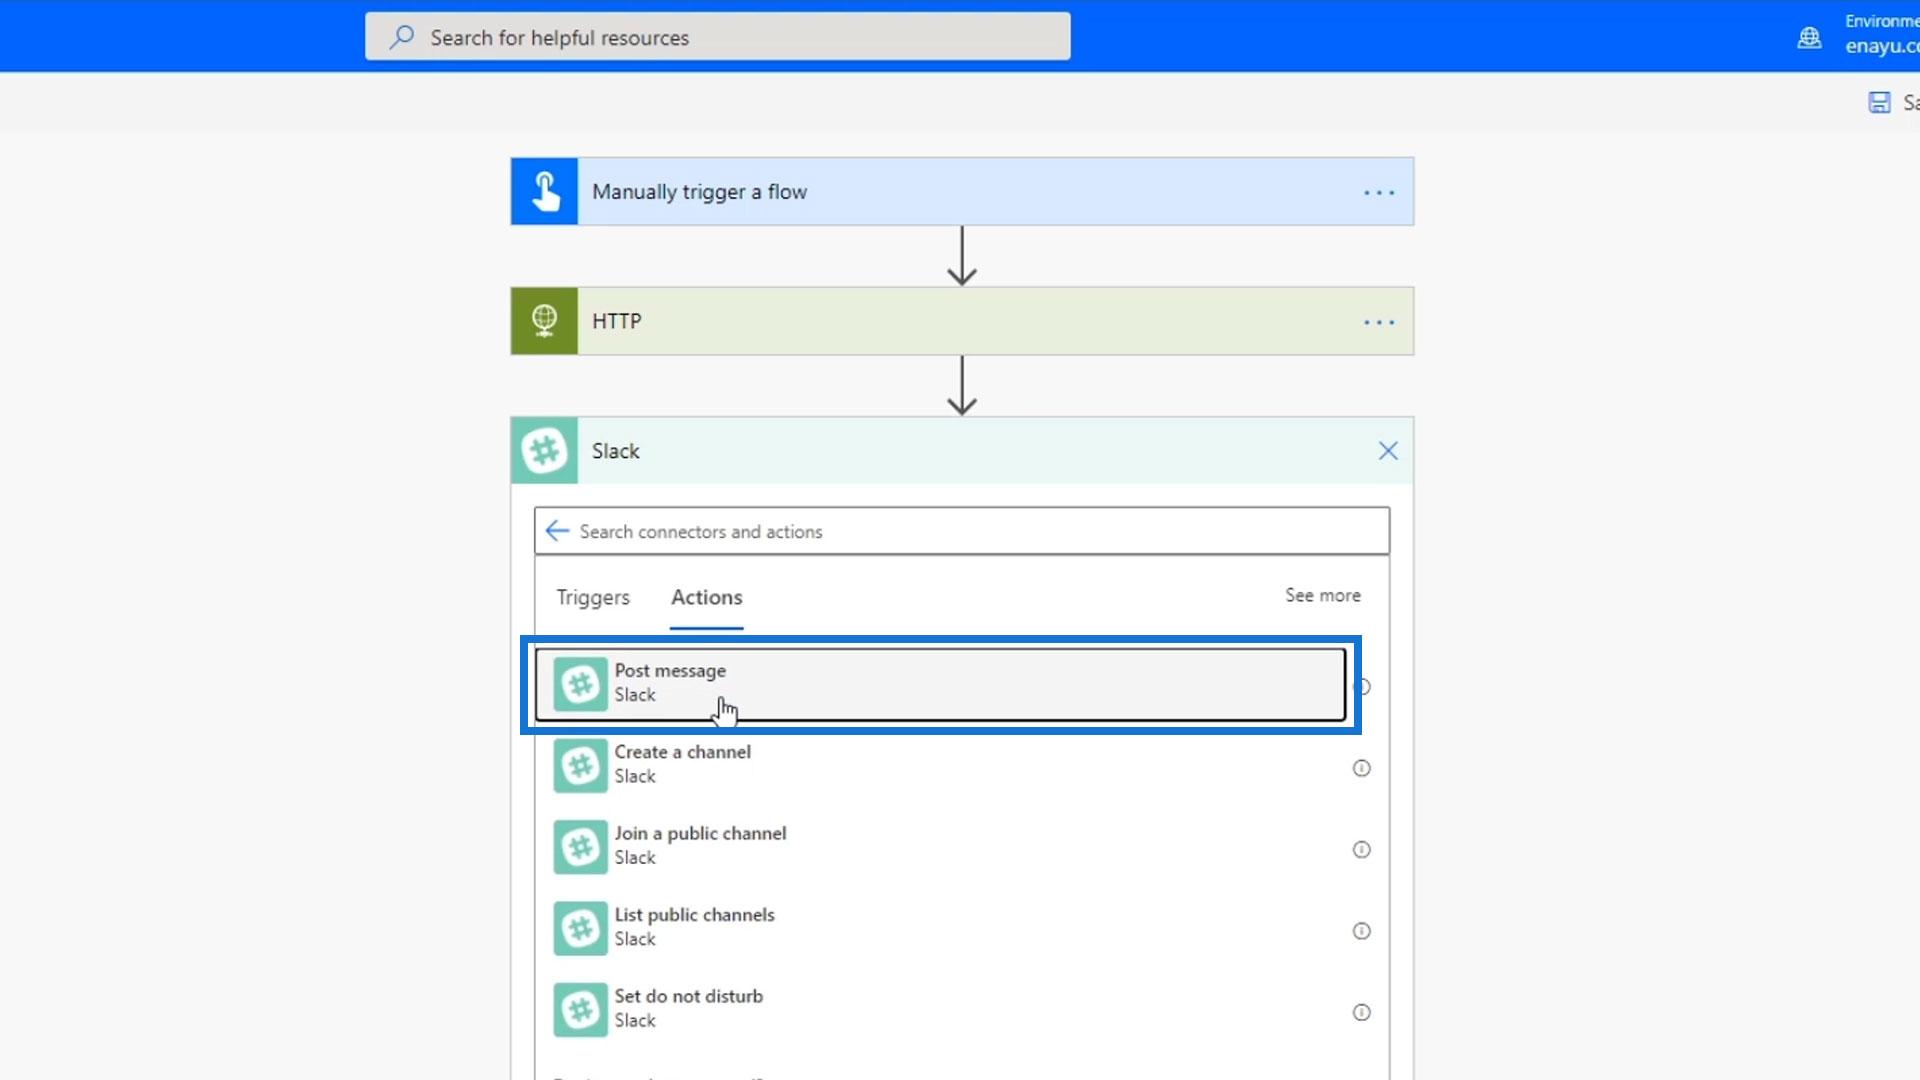
Displaying The Contents Of An HTTP Request In Power Automate
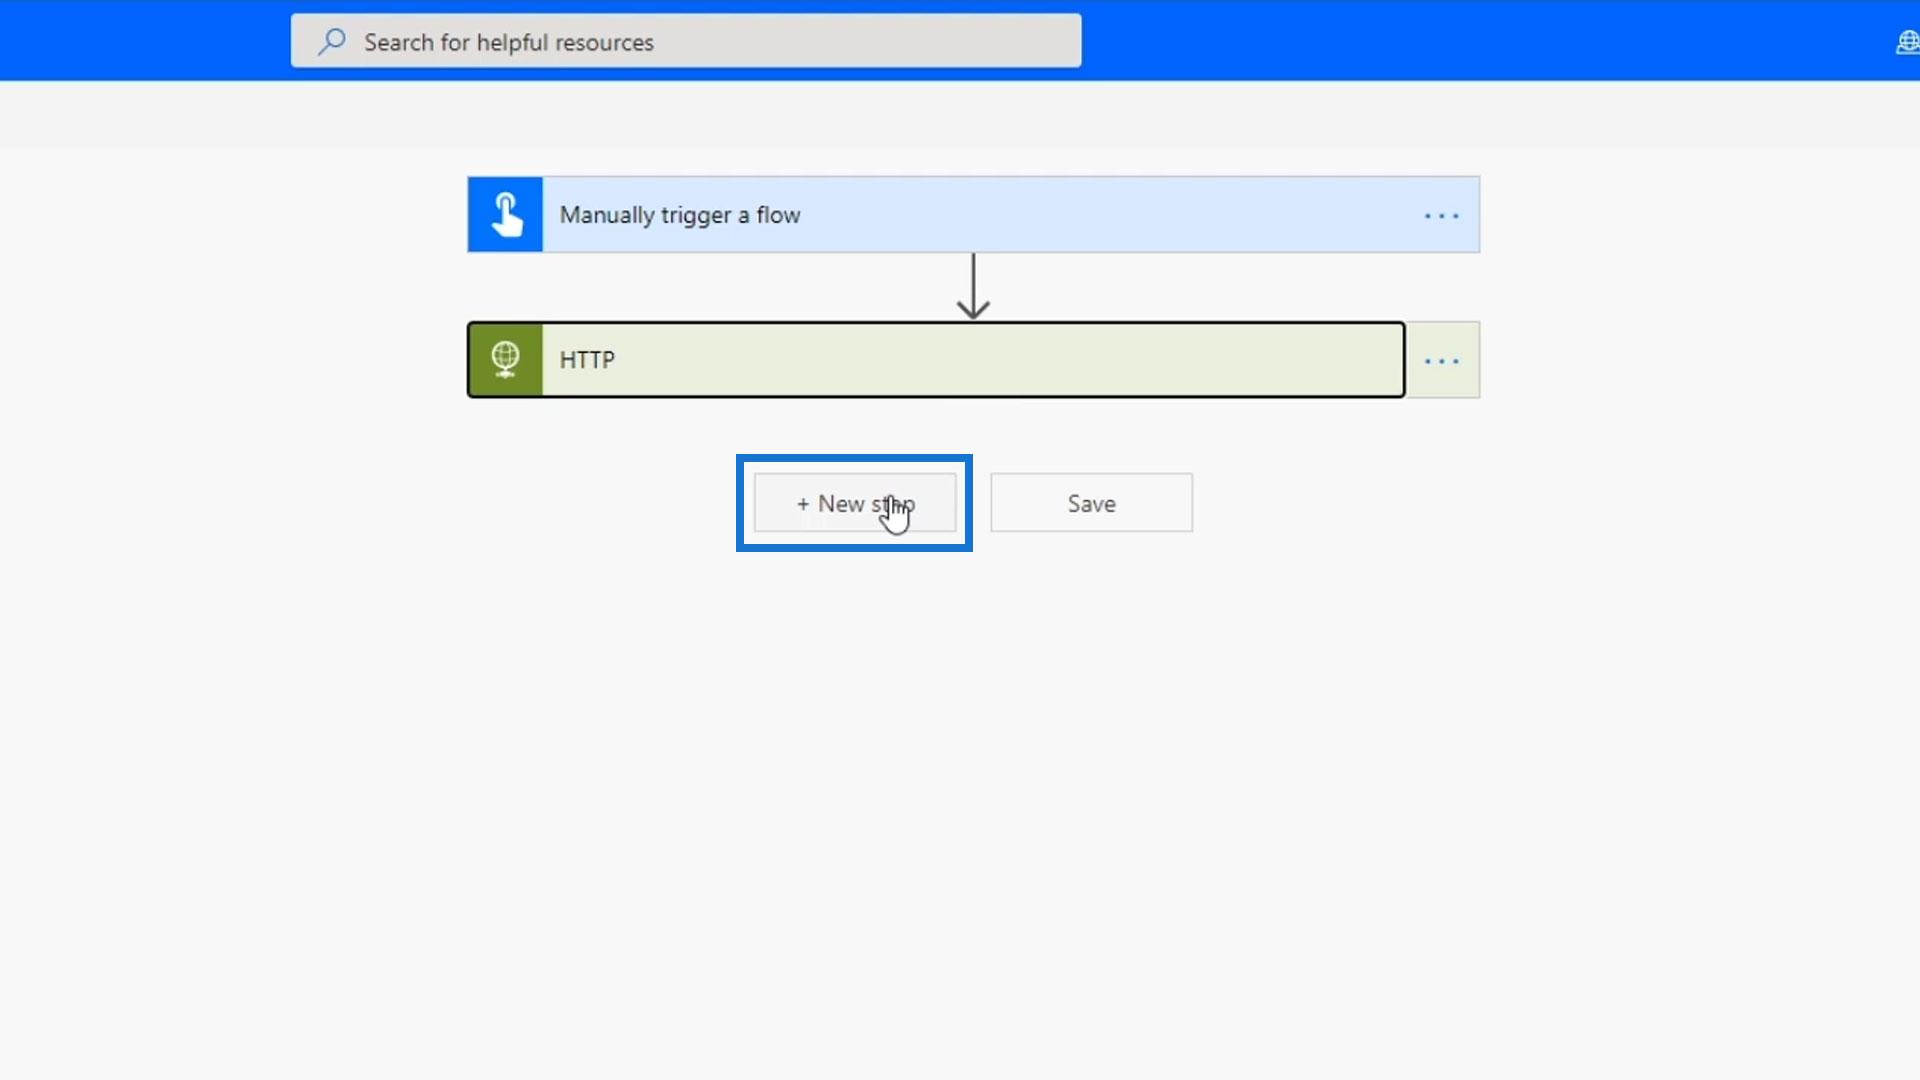
The next thing we need to do is to take the contents of our request and display it somewhere just to make sure that it’s actually working. So, let’s click New step.
Search and select the Slack connector.
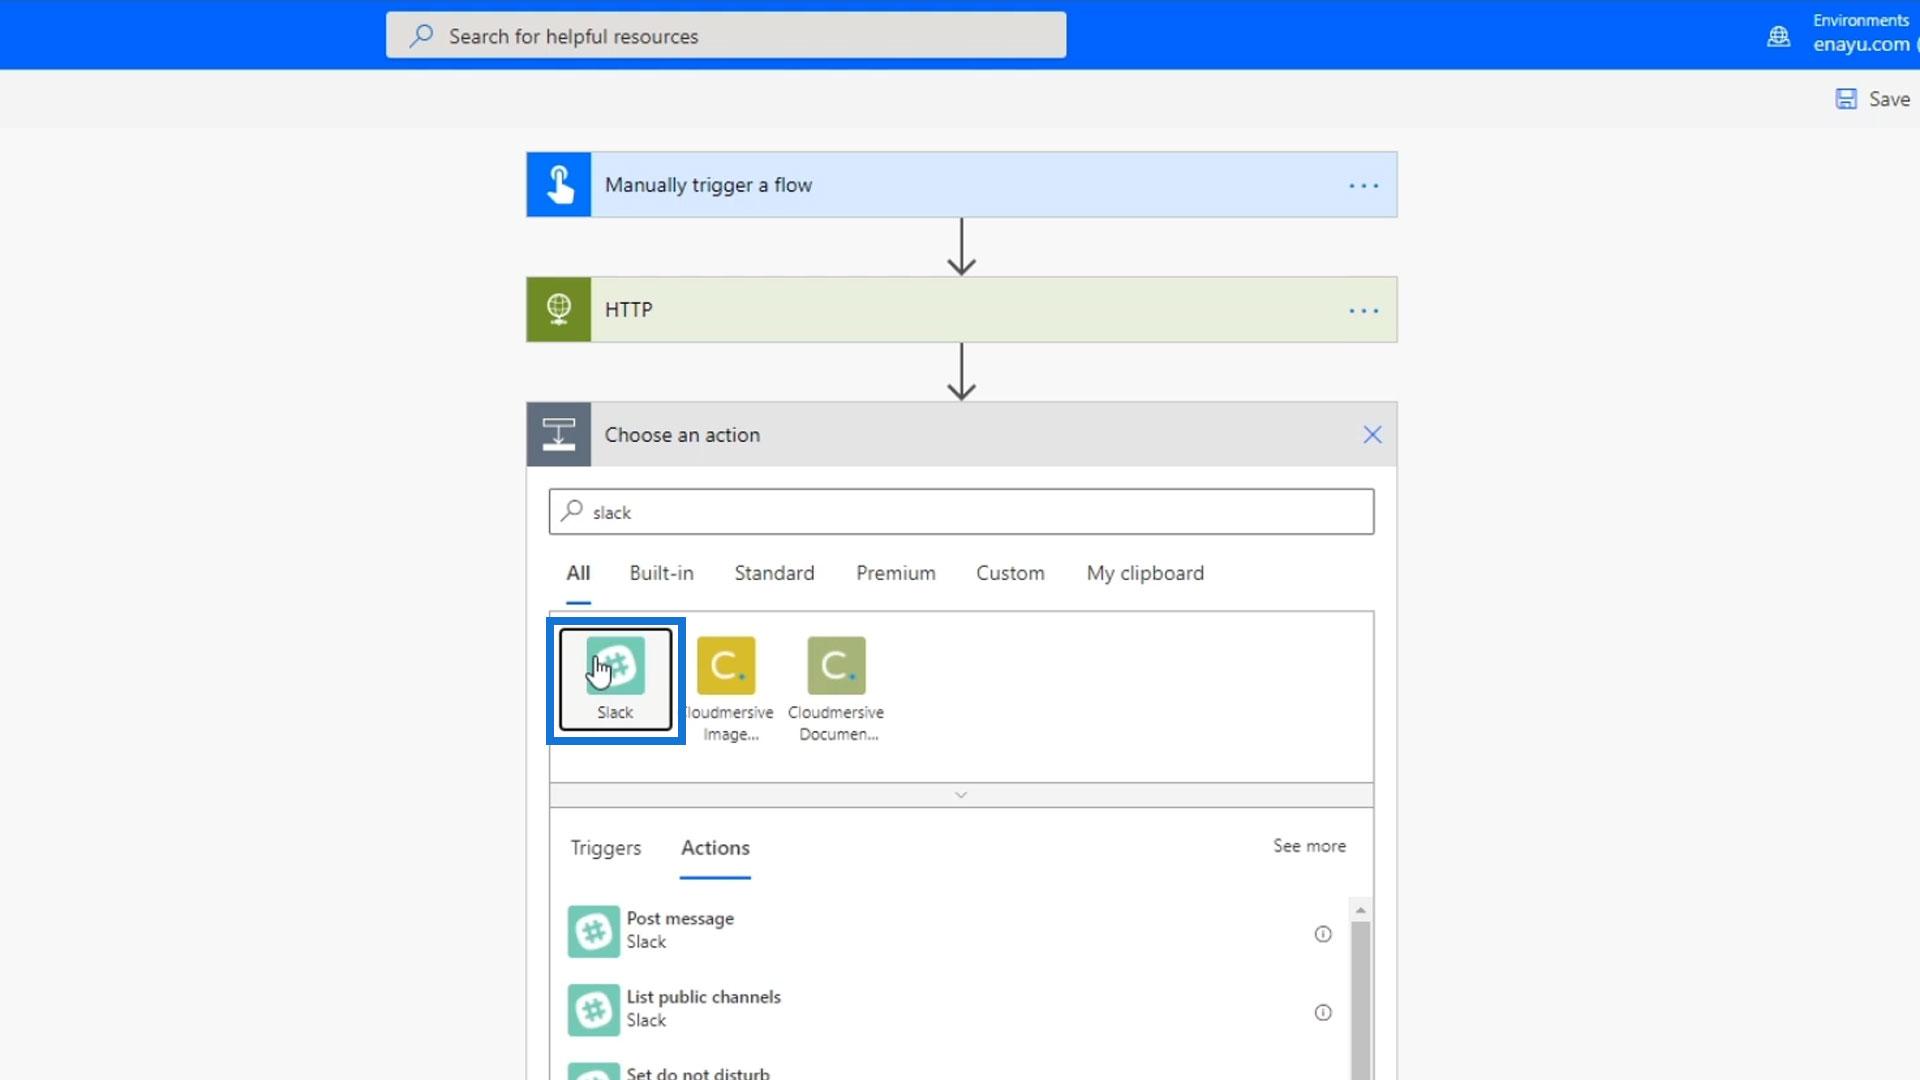
Click the Post message action.
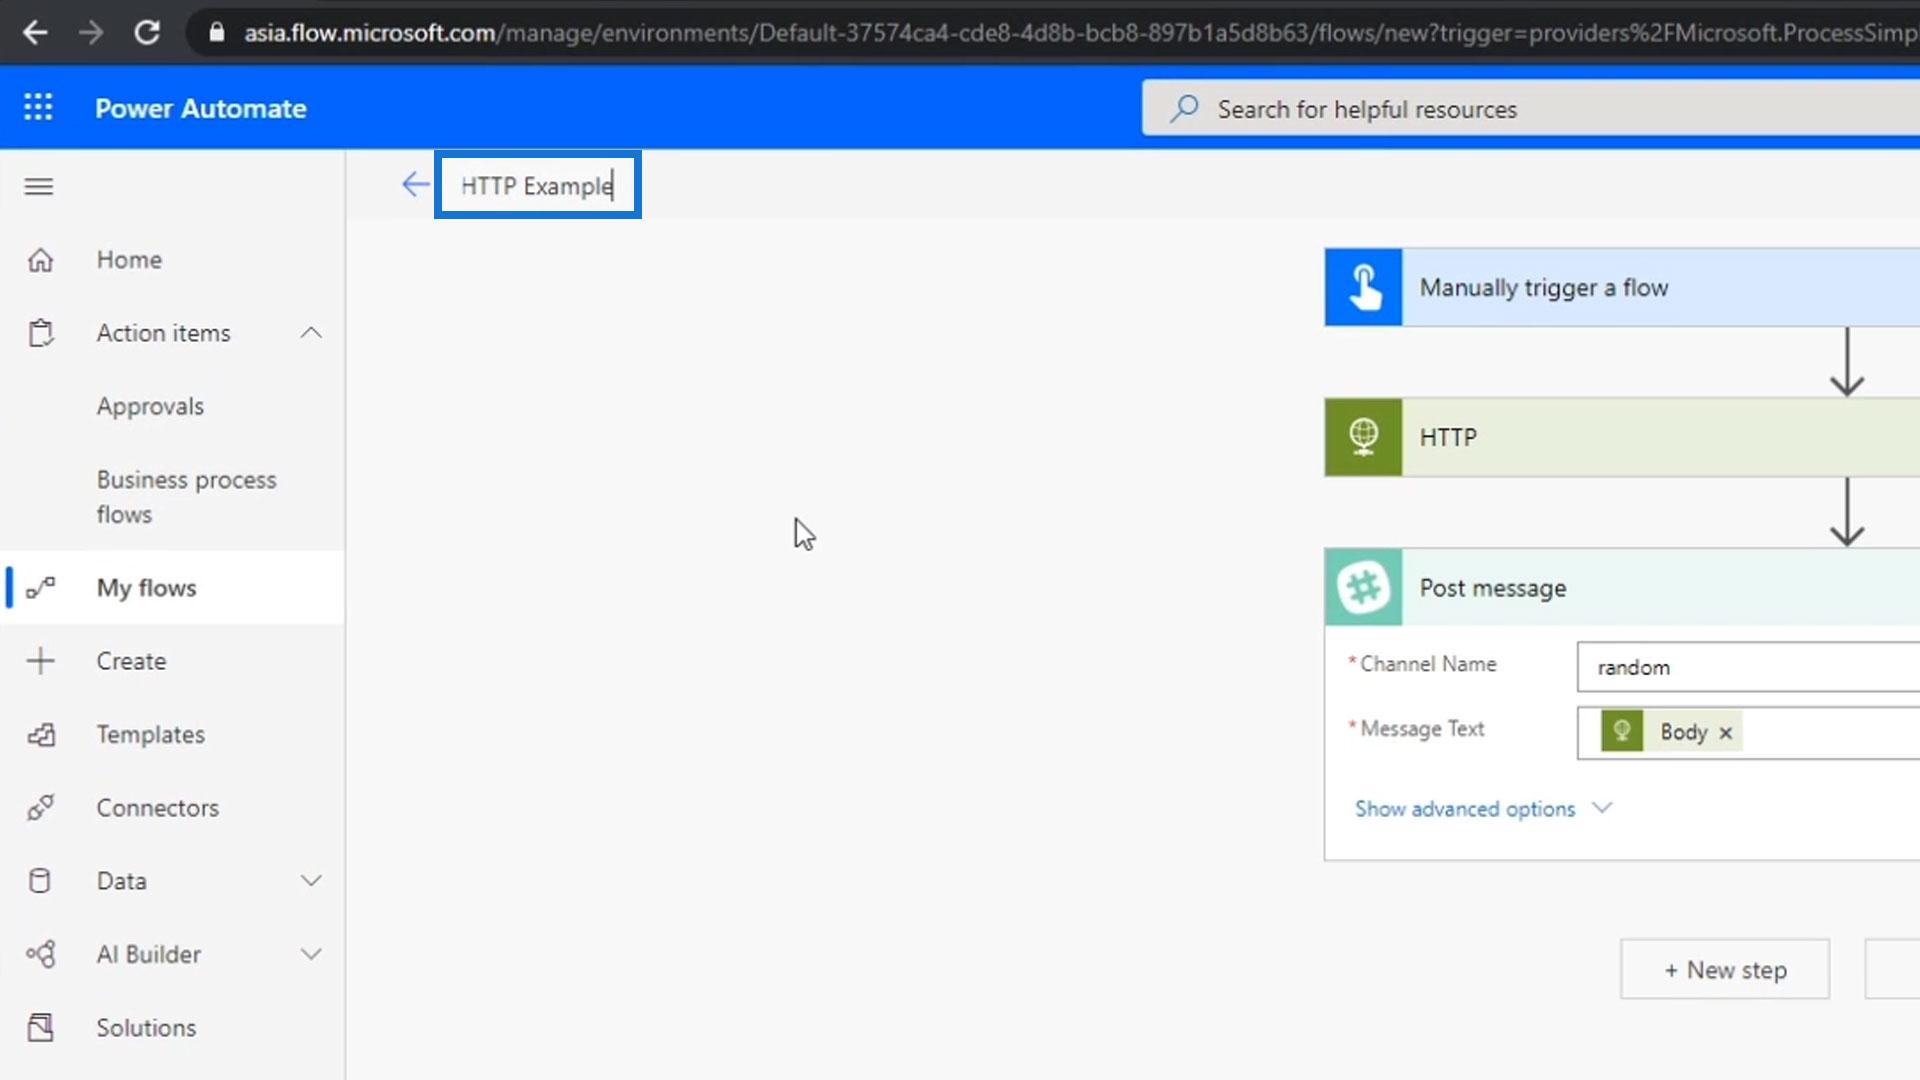
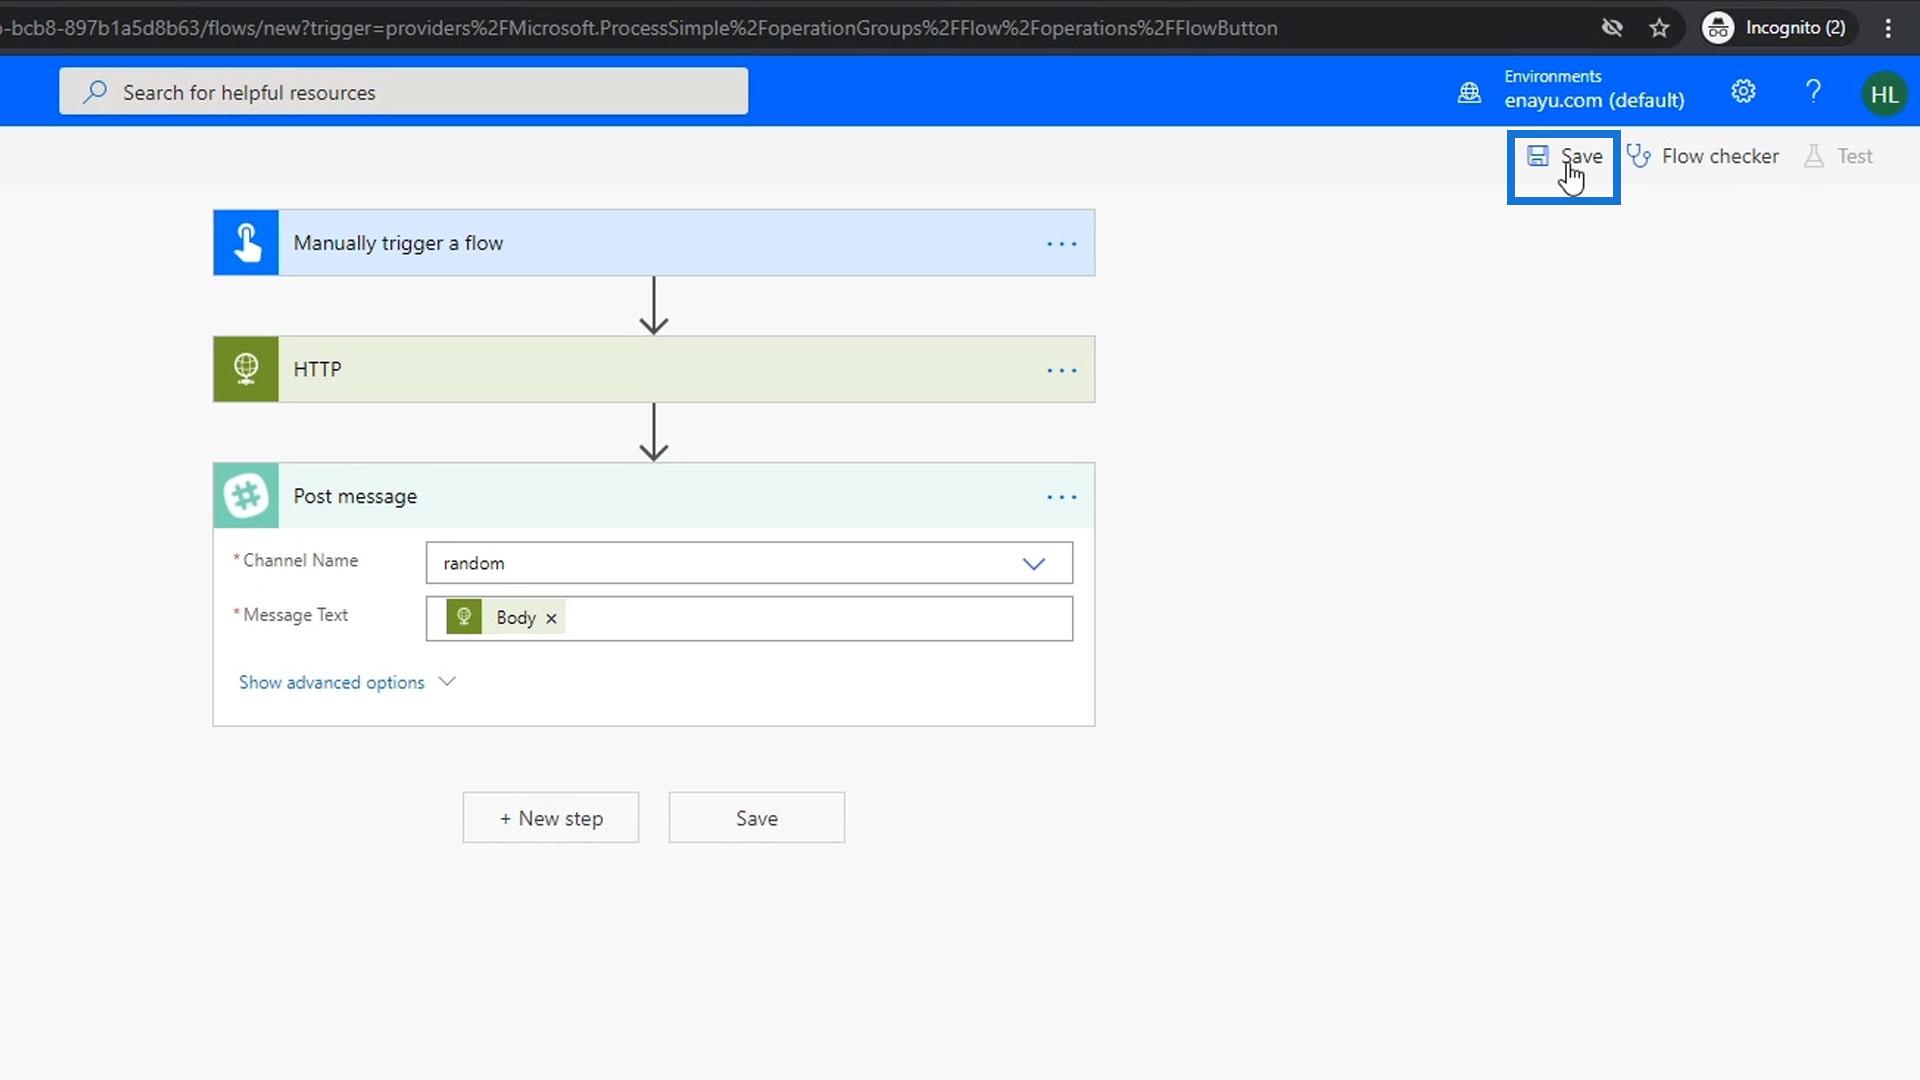
Let’s post the contents to the random channel.
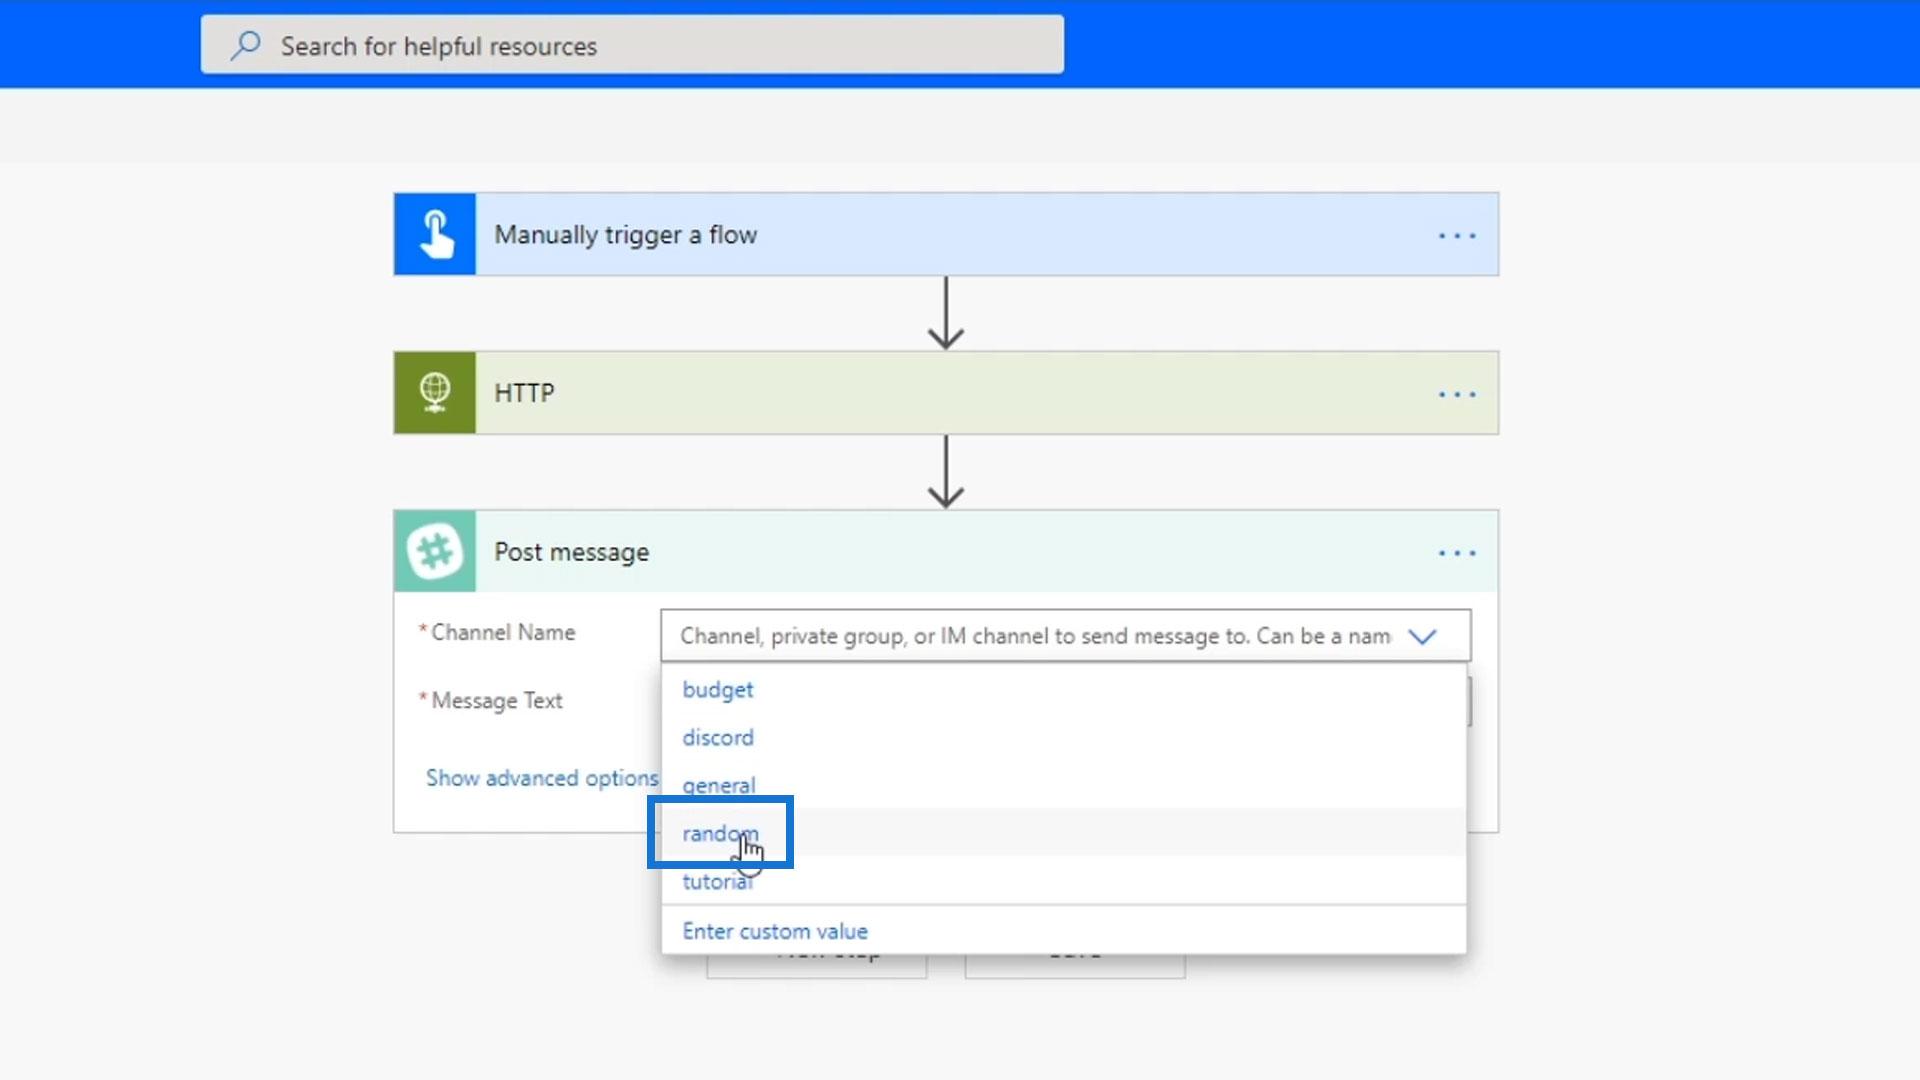
For the Message text, let’s choose the Body and see what we find.

Let’s rename our flow to HTTP Example.
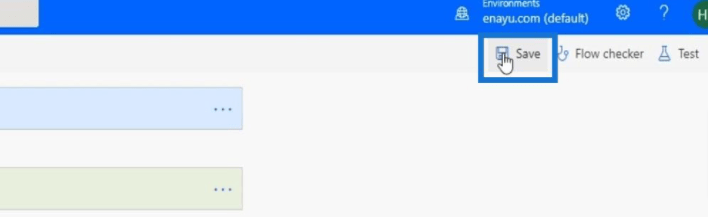
Then click Save.
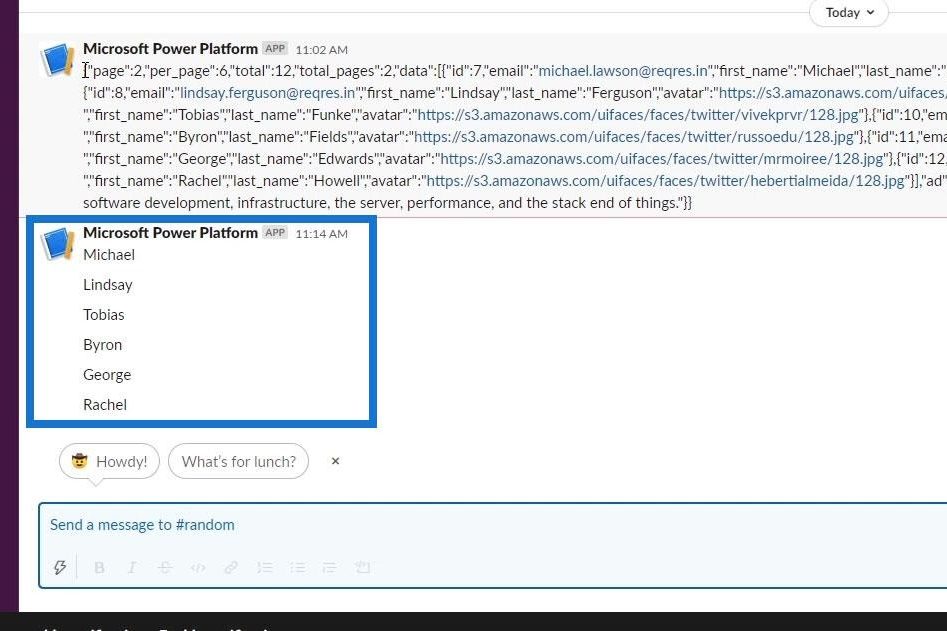
To recap, our flow will be triggered by a button. It will then send an HTTP request which will return a JSON file that gets posted to our Slack. After running this flow, here’s what we’re going to have in Slack.
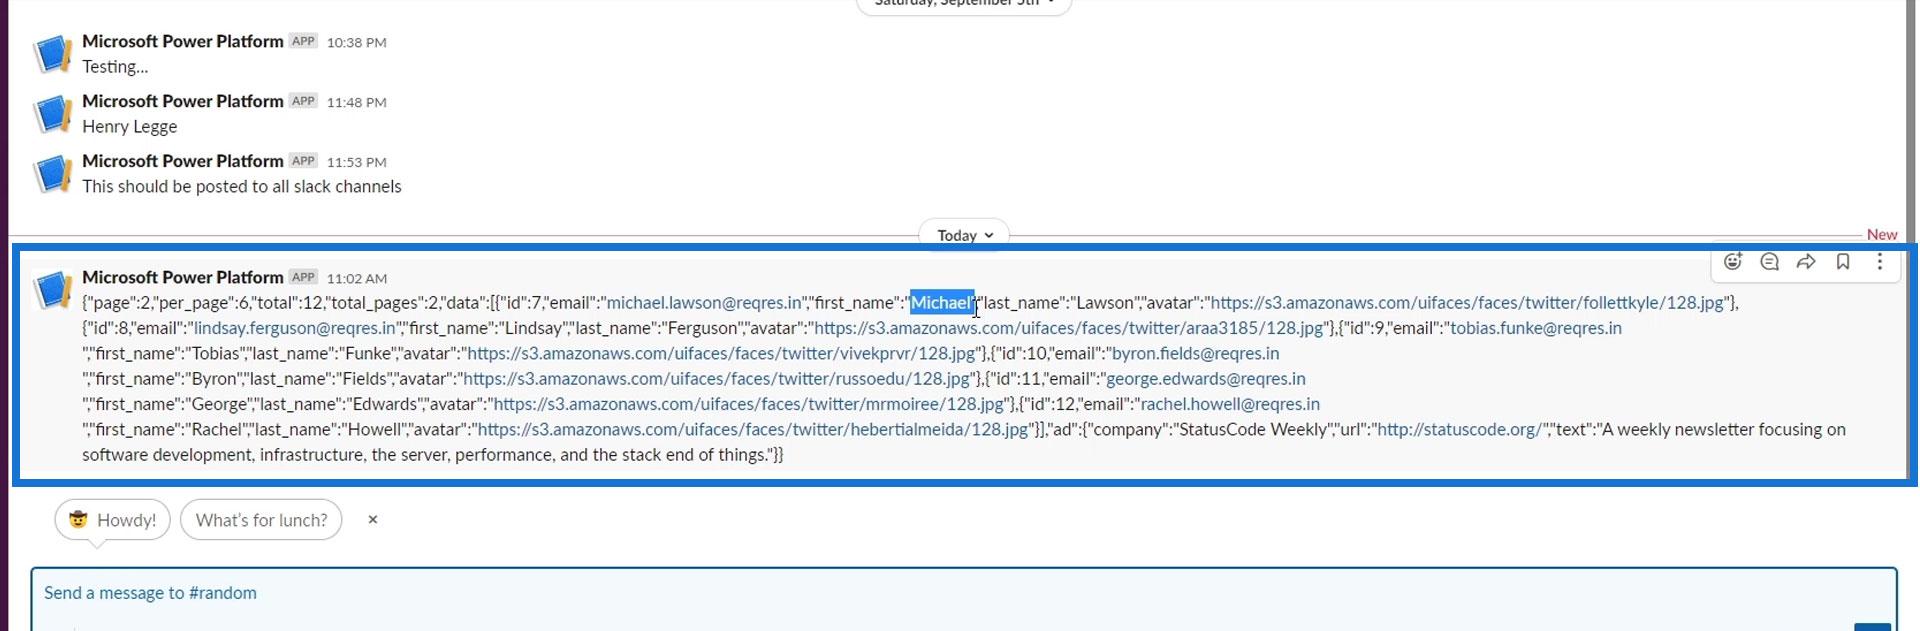
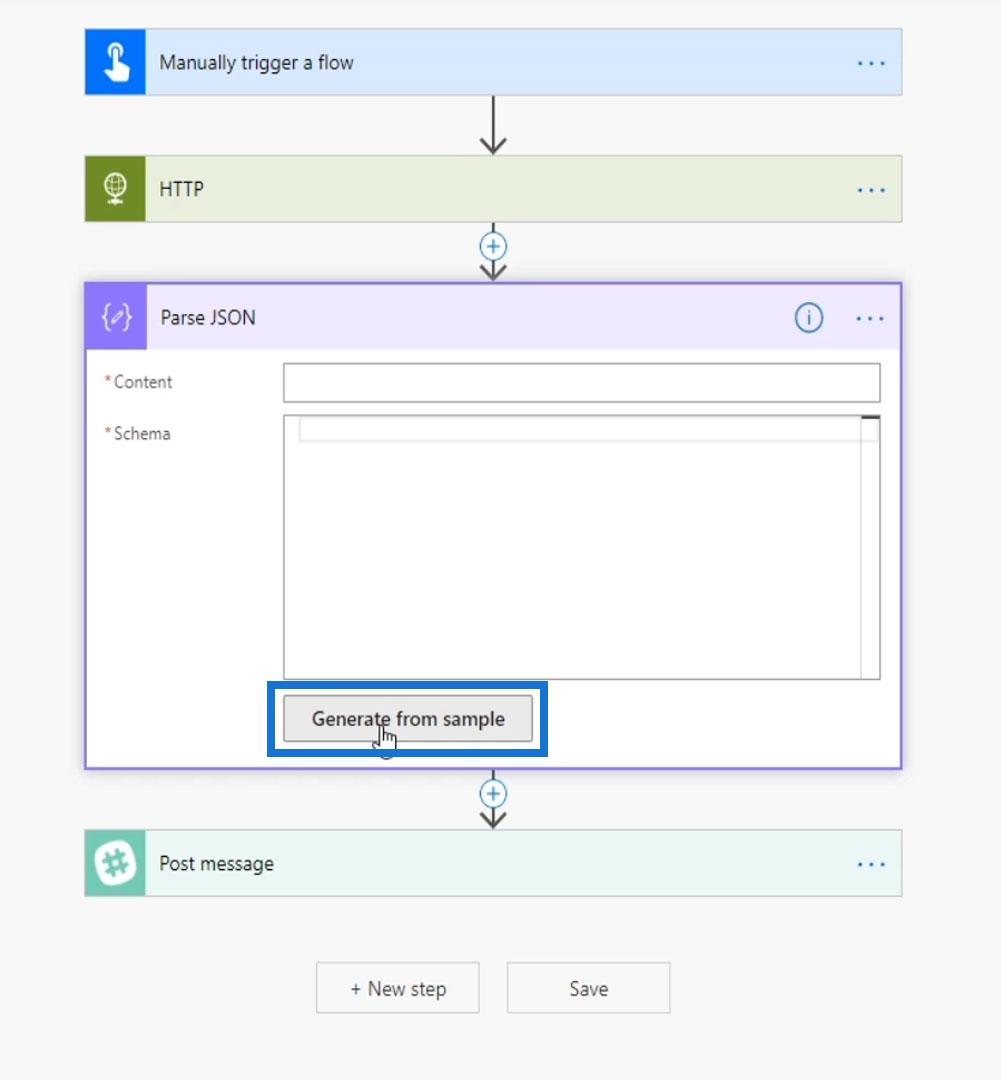
As you can see, the whole content of the JSON file was posted. This is what we typically see from a response to an HTTP request. However, we only want to display the first names and not the whole content from the JSON file. Therefore, we need to add a Parse JSON step in between the request and the action.

Parsing JSON From HTTP Requests
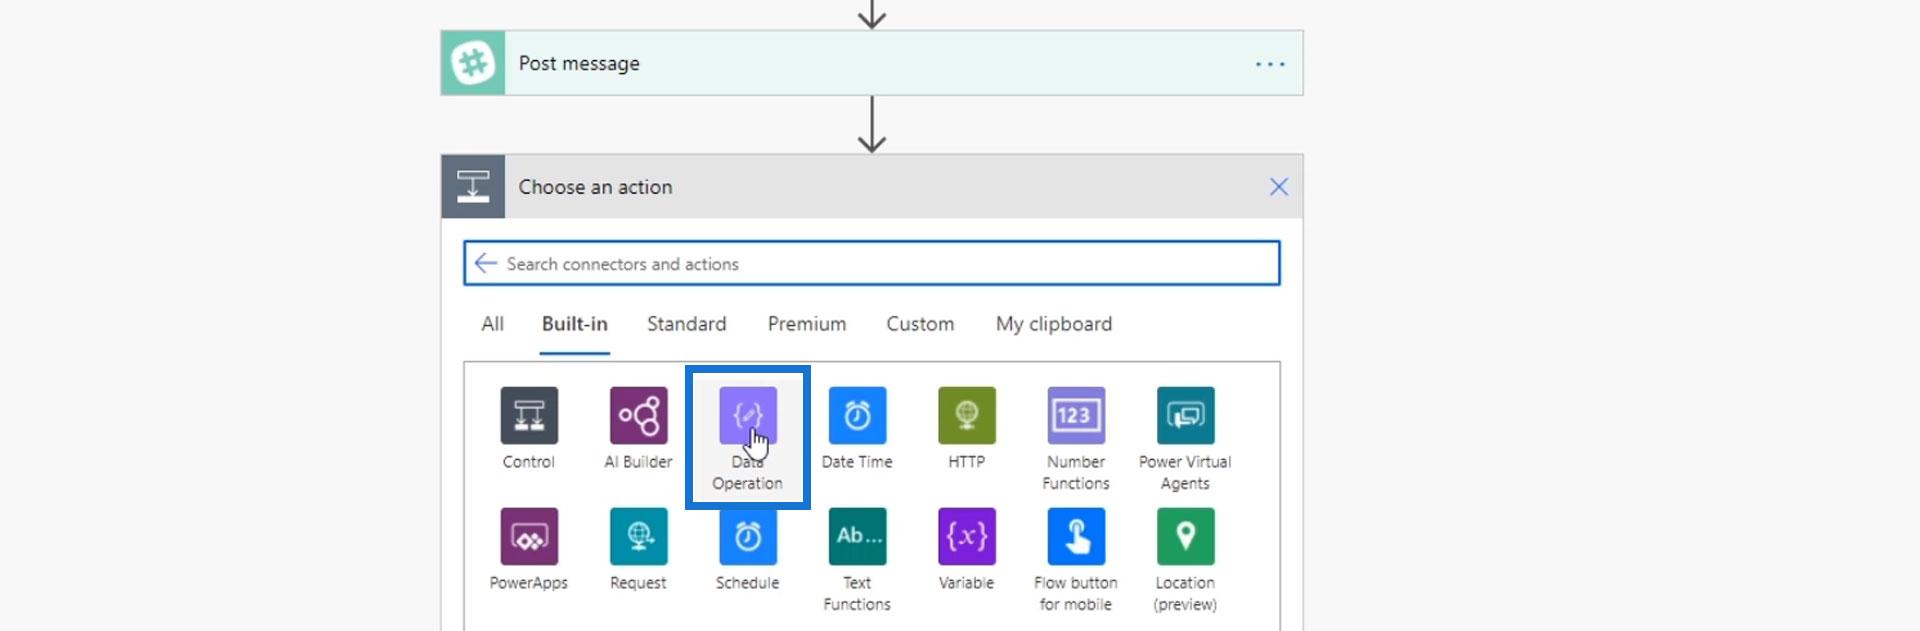
Add a new step and choose the Data Operation connector.
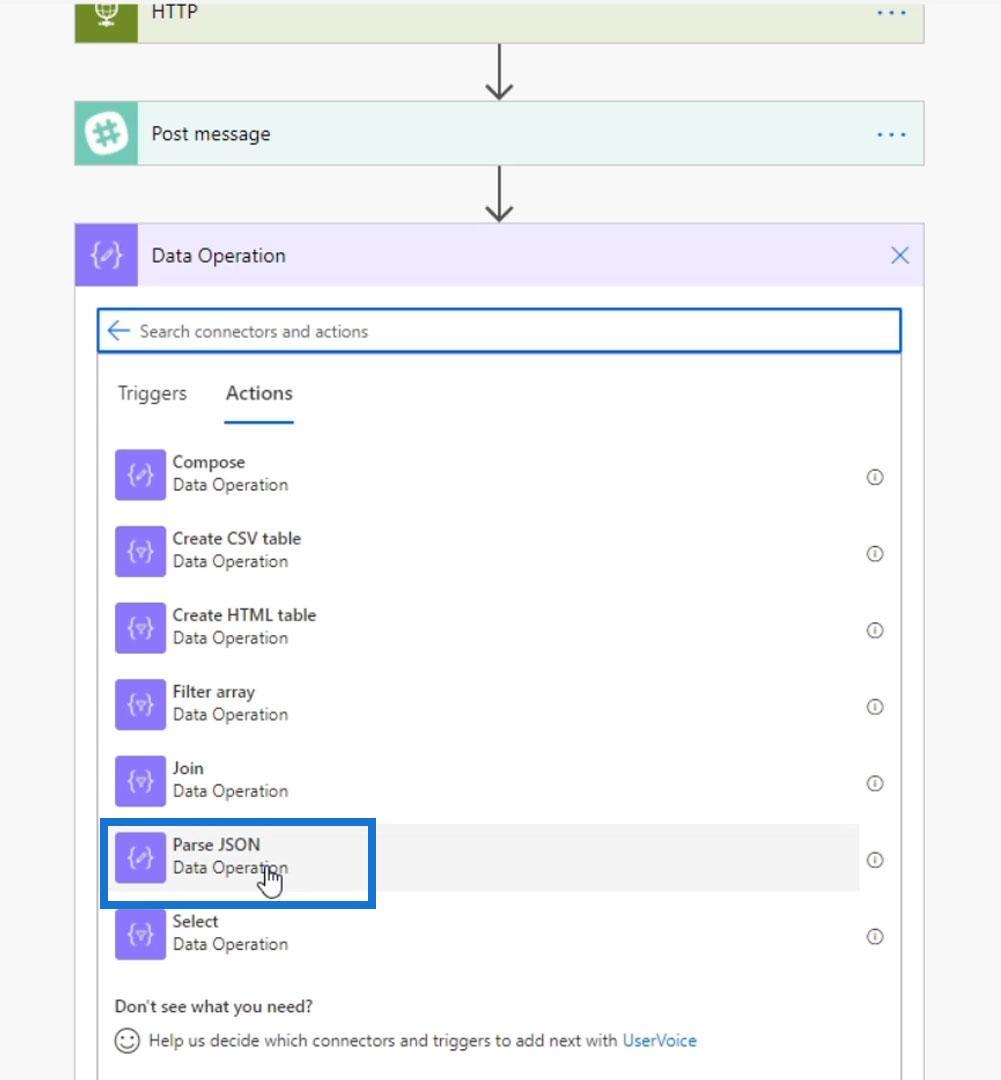
Then choose Parse JSON.
Move the Parse JSON step in between the HTTP request and the Post message action.
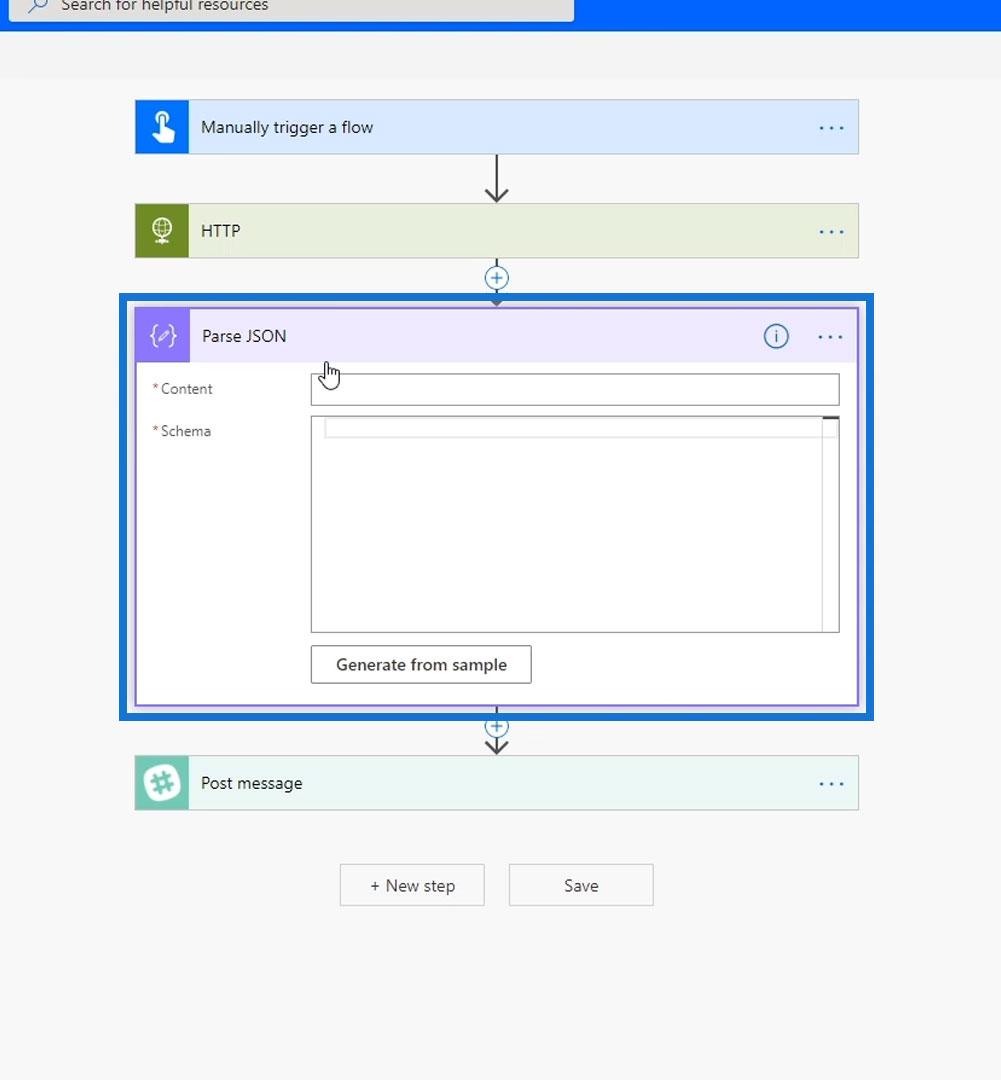
Click the Generate from sample button.
Copy the codes from the request link.
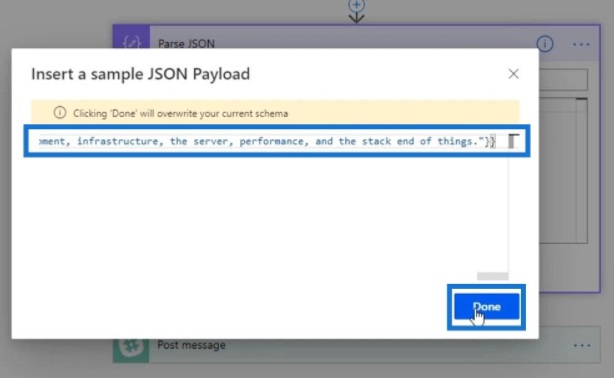
Then paste it in the Insert a sample JSON Payload window and click Done. This will basically do all the backend JSON parsing for us.
As we noticed, it automatically created the schema that we can easily understand.
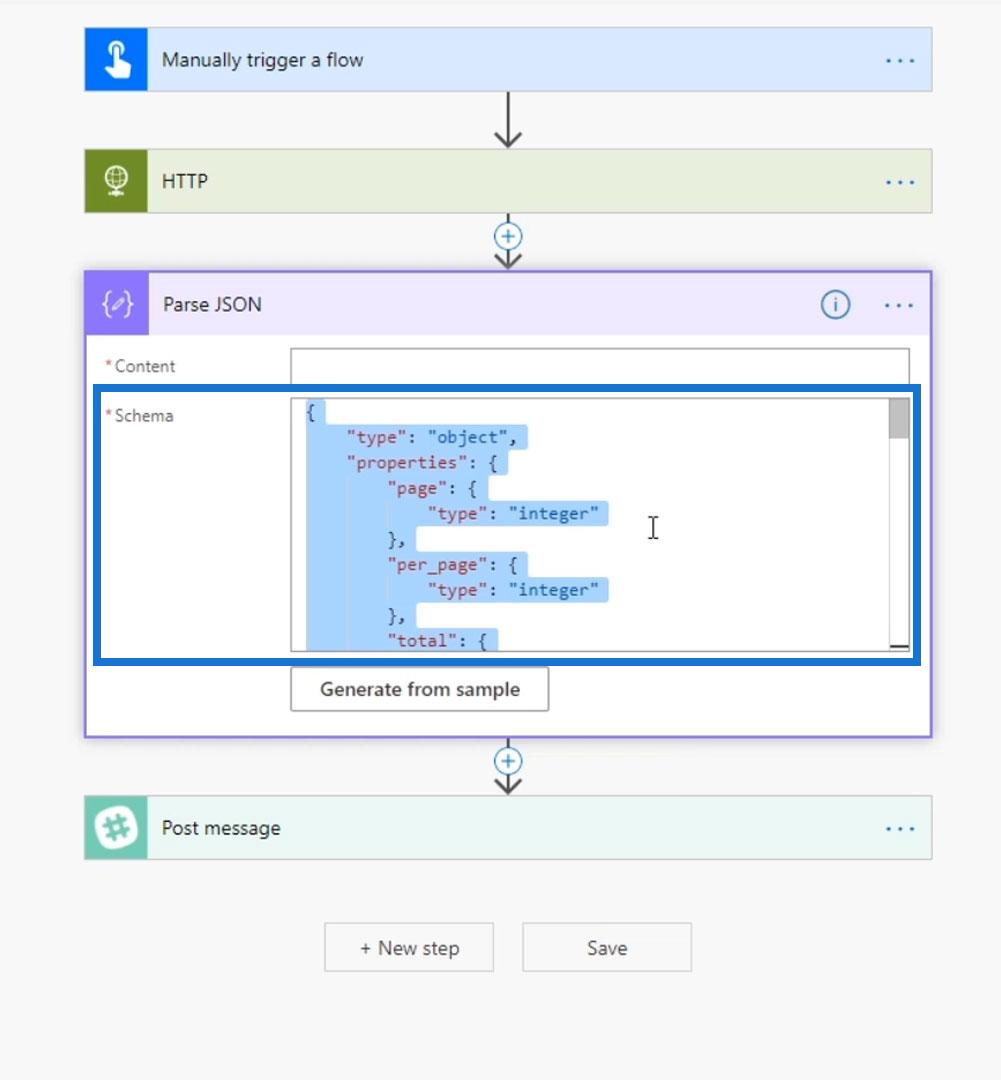
For the Content field, we need to put in whatever we want to parse. In this example, we want to parse the Body that we get from the HTTP request.
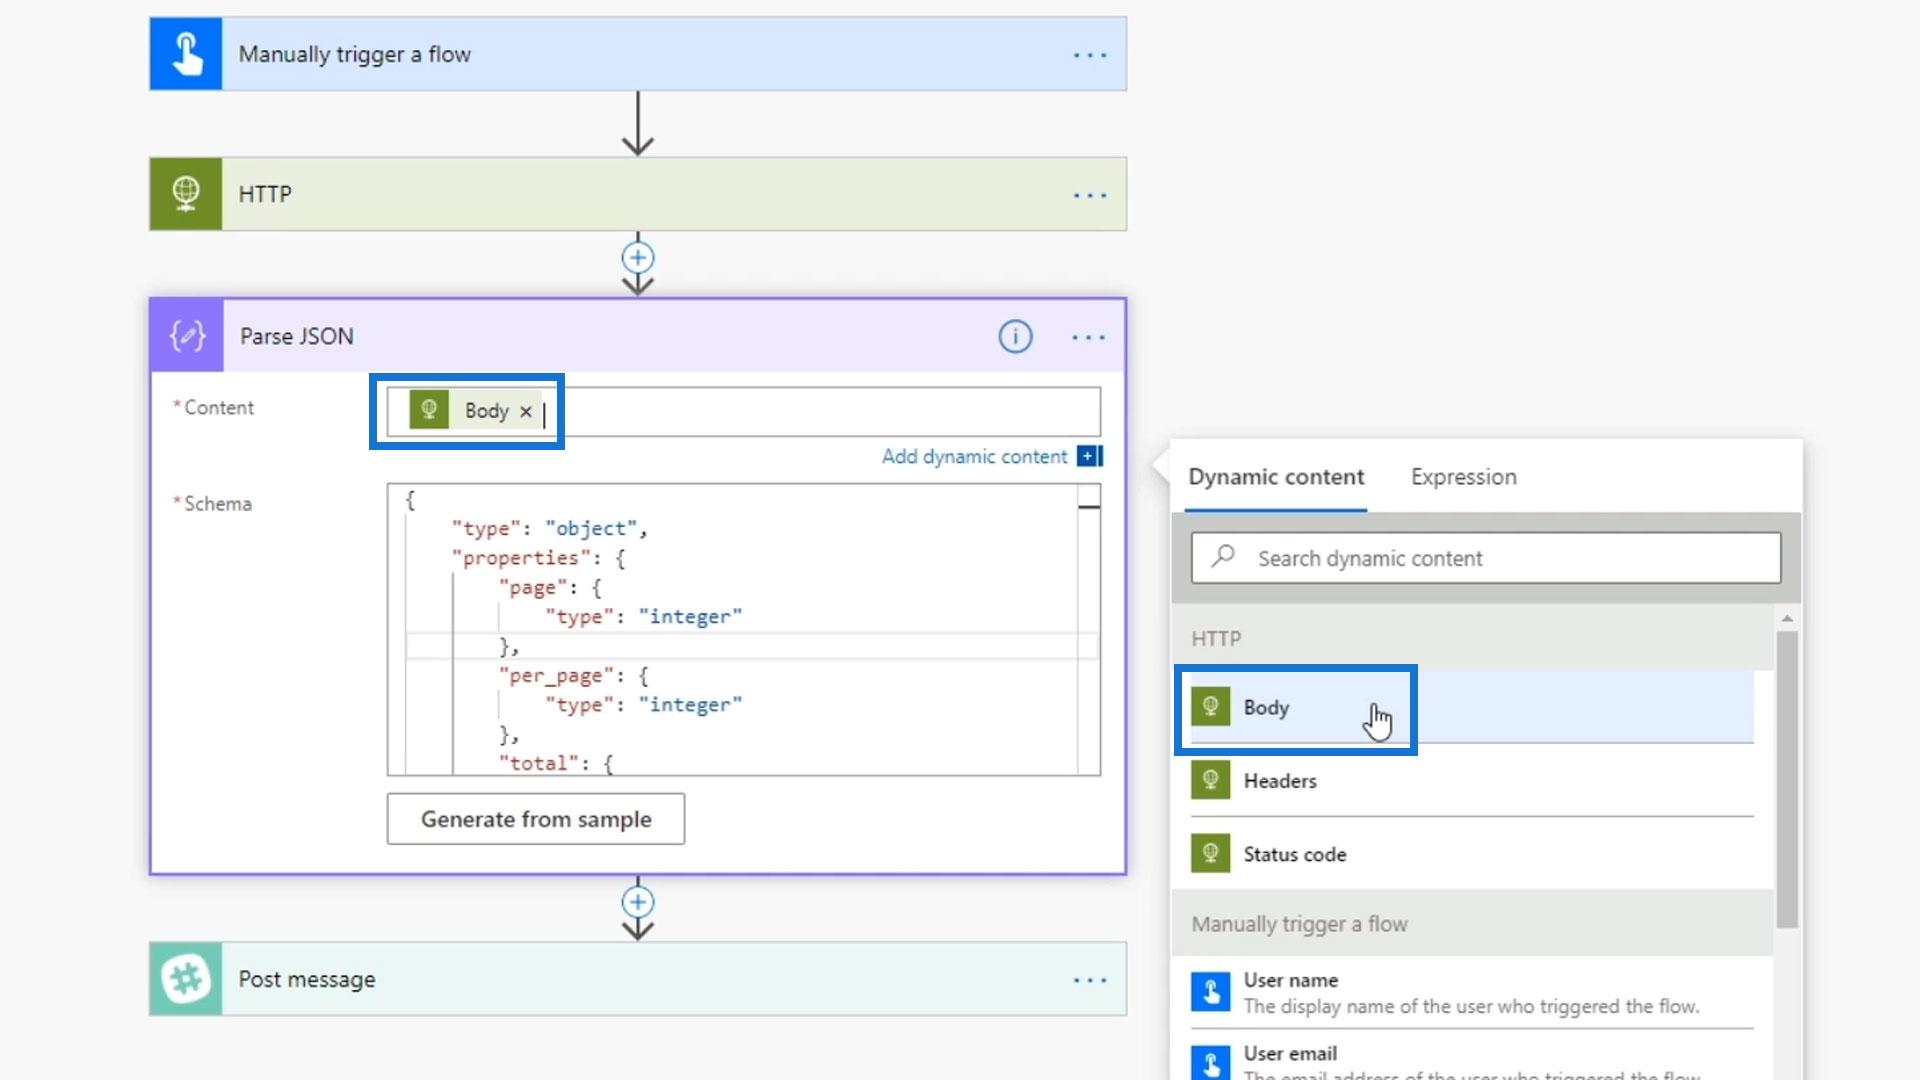
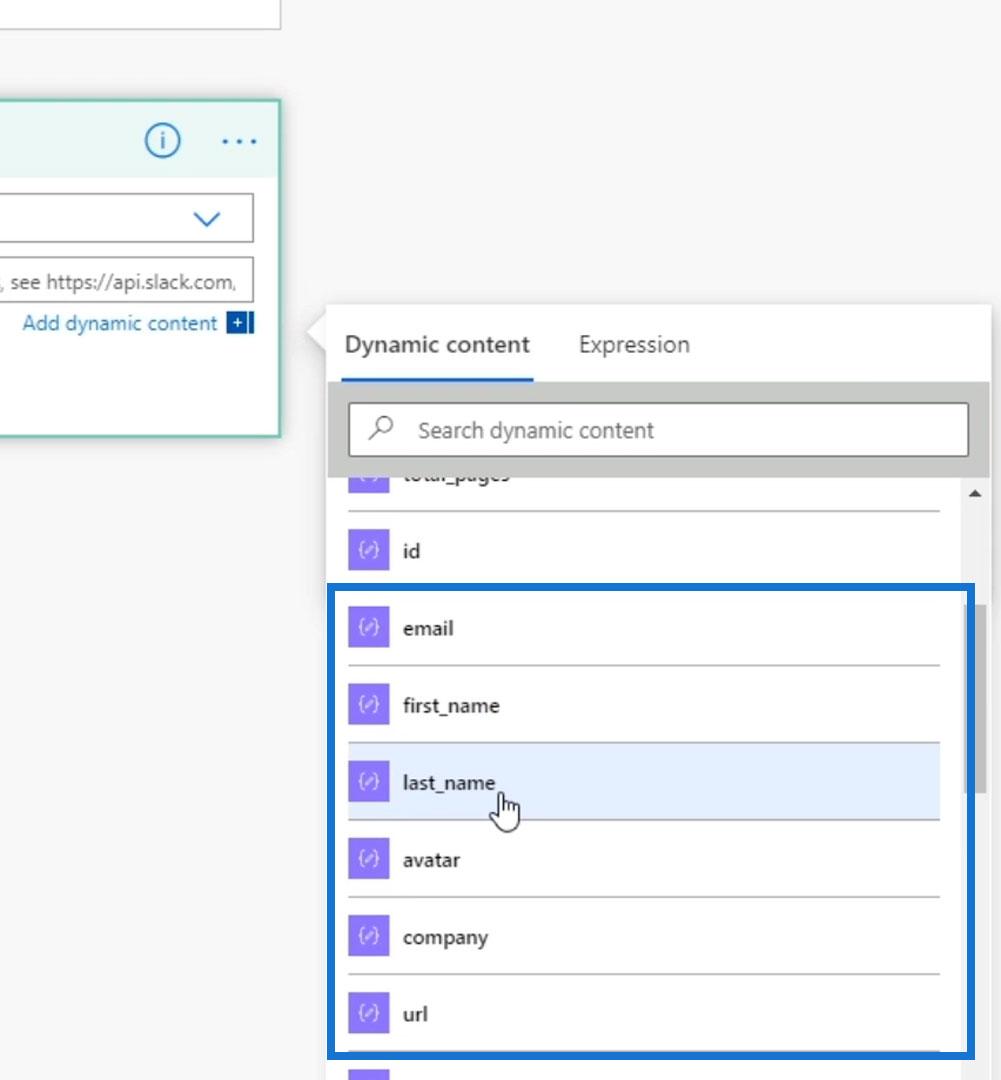
And why is this important? Well, we don’t have to post the whole body of the message anymore. Now, we have access to more dynamic contents such as email, first name, last name, avatar, company, URL, and many more.
Parse JSON allows us to take any JSON output we get, parse it into different dynamic content that we can then use later on in our subsequent flow steps. We used this action so that our flow won’t Slack the whole JSON content, and only displays the relevant information that we actually need.
Now, instead of Body, let’s change this to first_name.
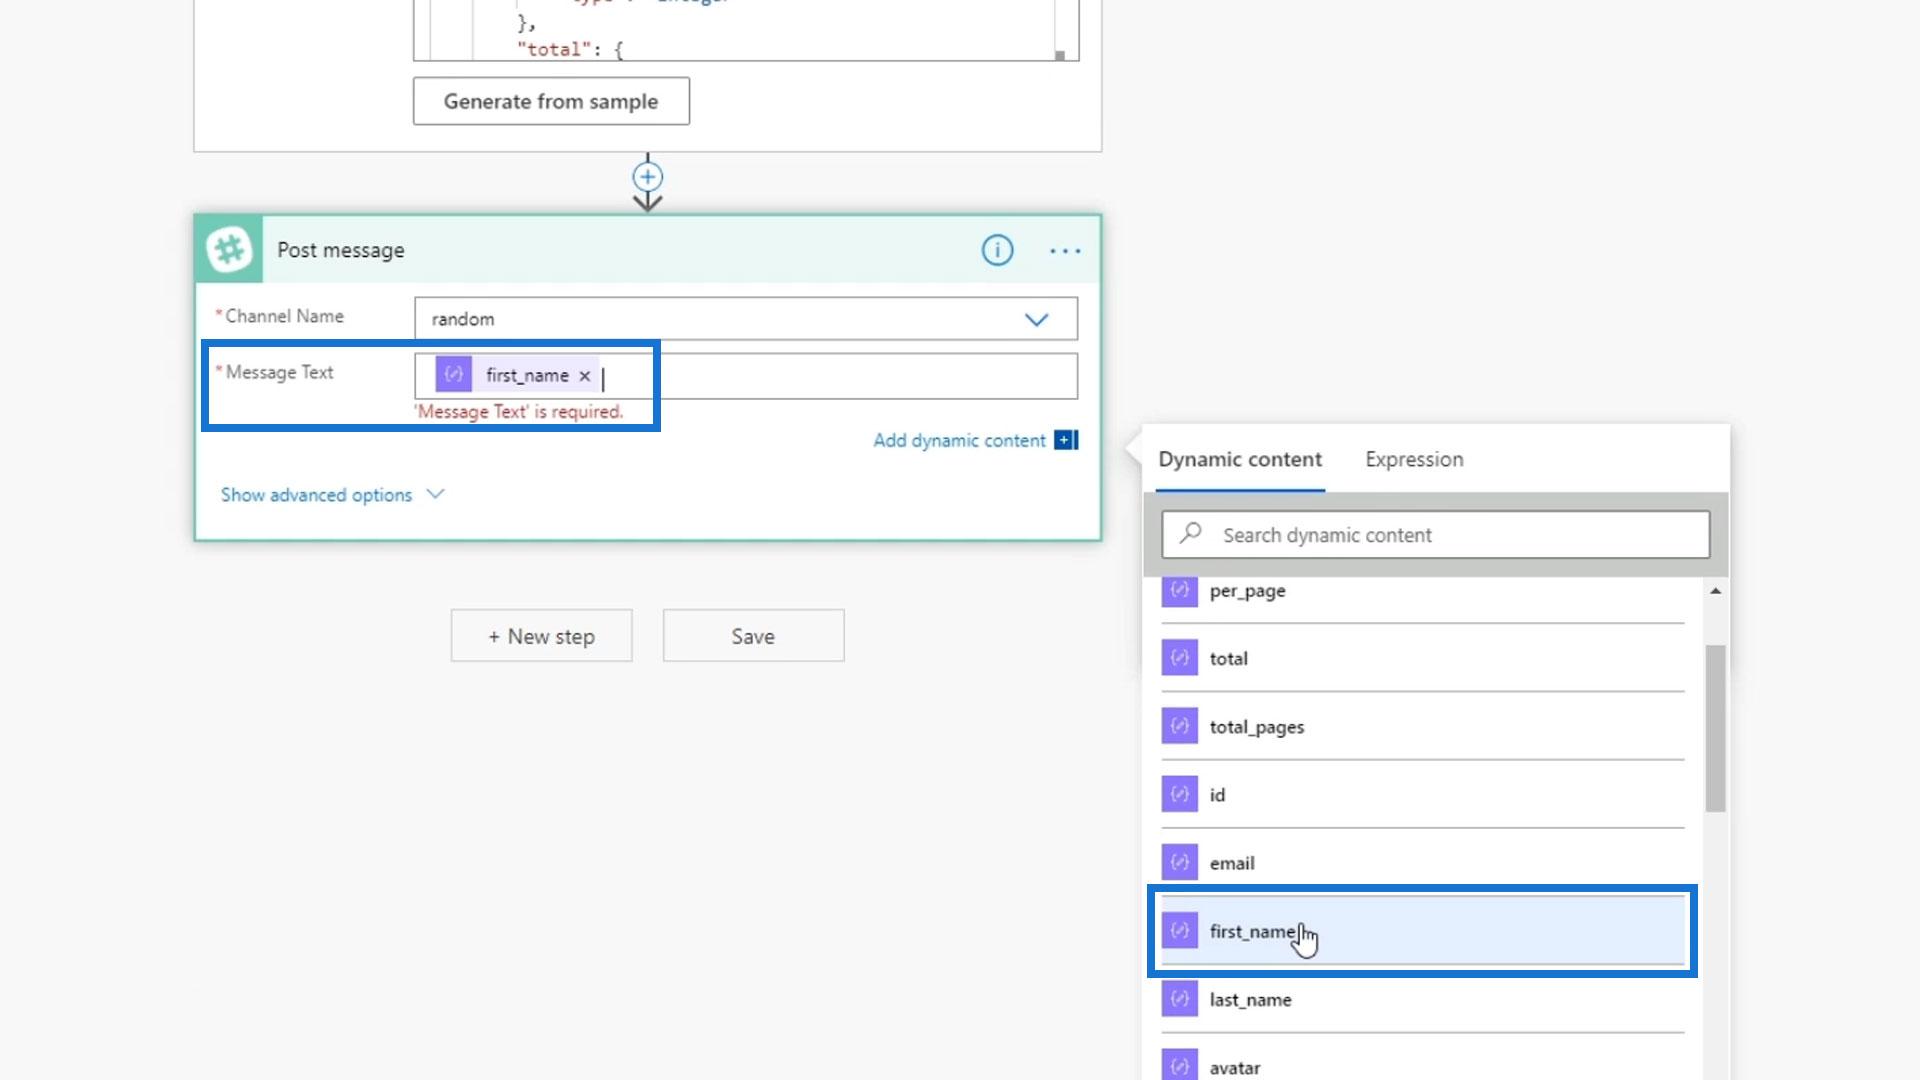
Then, we’ll see that it changed our action into Apply to each.
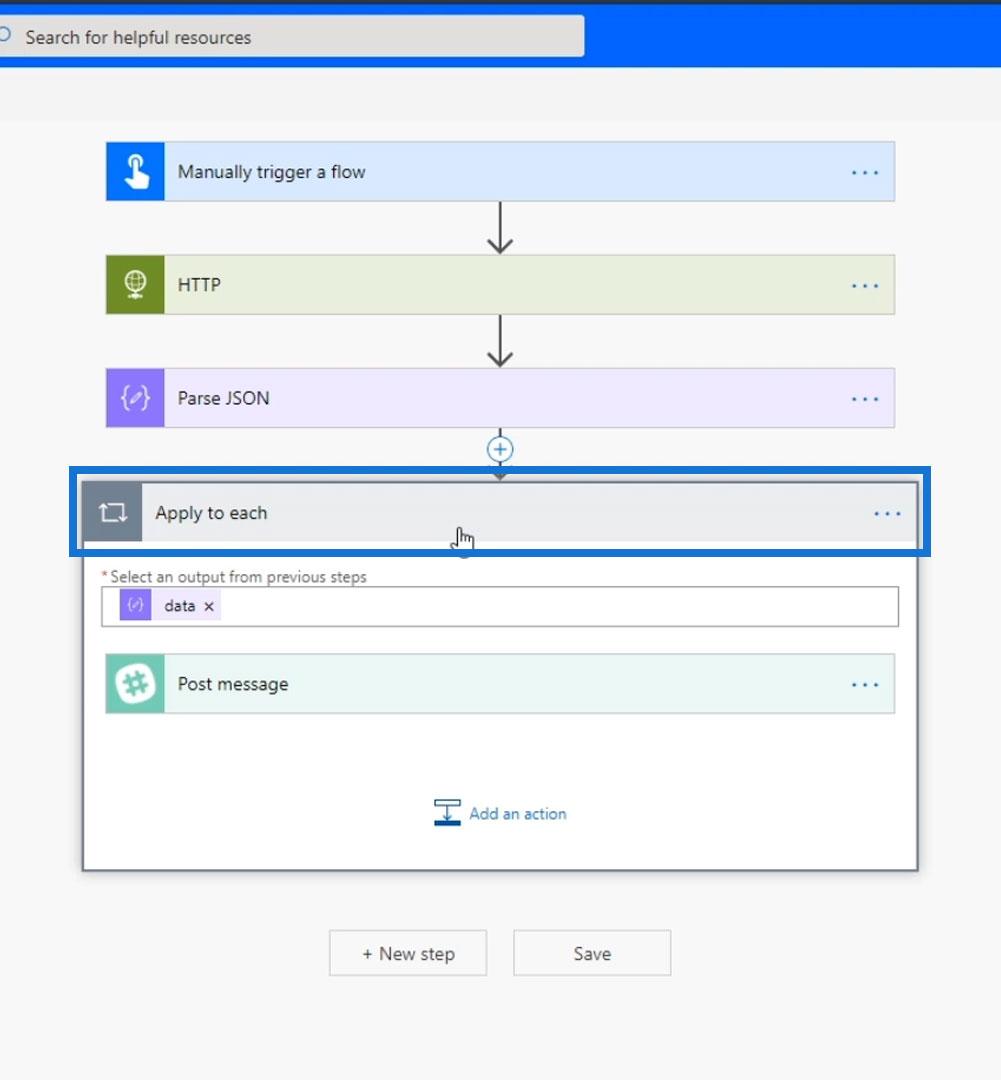
This is because our flow receives multiple first names from the request.
It notices multiple first names so it knows that we want to loop through each element in the data array within the JSON file and return the first name. Power Automate directs the flow to make a Slack message for each element in the data array. So for each customer, their first name will be posted to the random channel in our Slack.
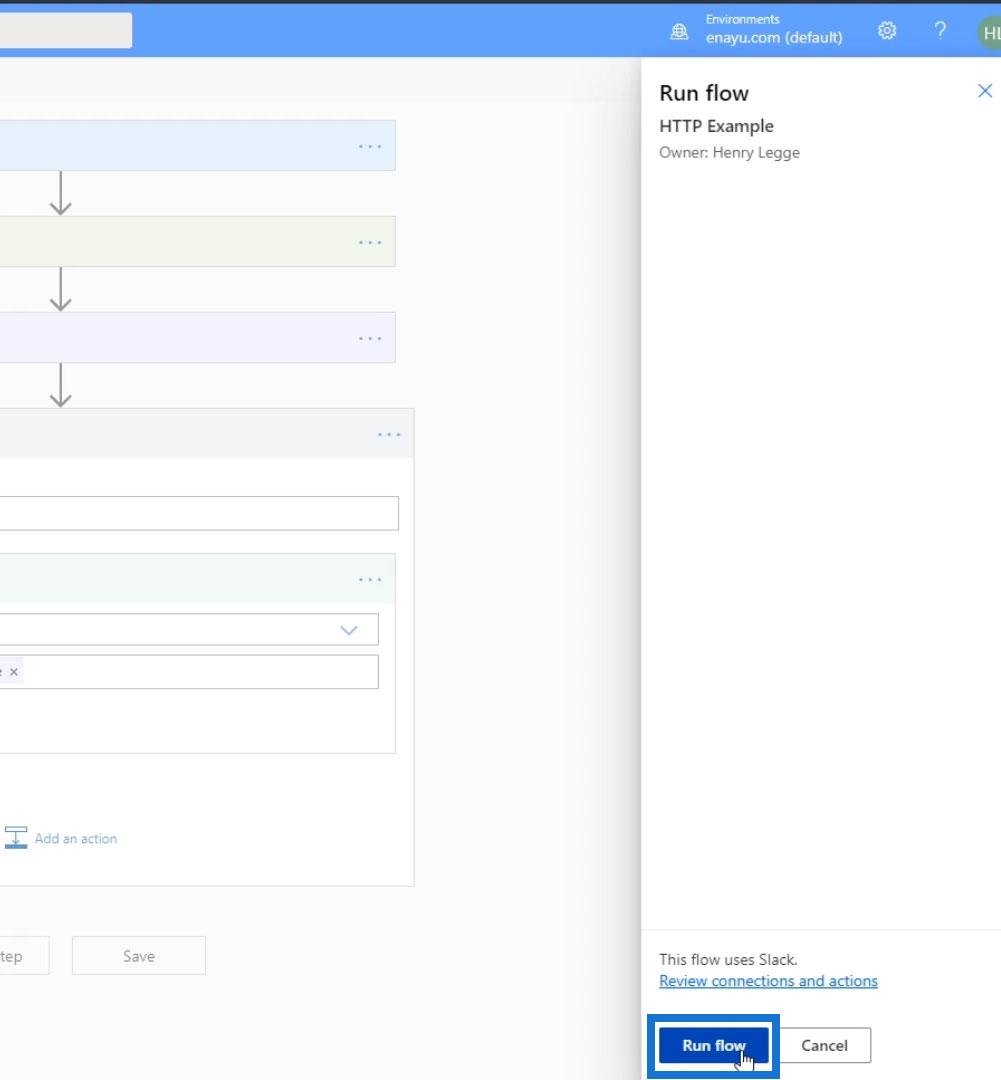
Let’s now click Save and see if it works.
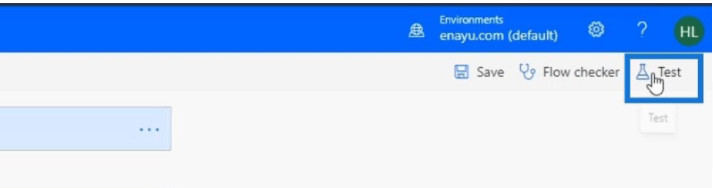
Click Test.
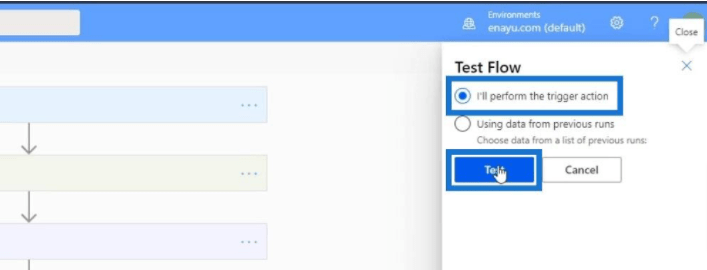
Choose I’ll perform the trigger action and click Test.
Click Run flow.
As we can see, it only displays the first names now.
Conclusion
All things considered, we’re able to create an HTTP request that integrates our flow to a third party application. From there, we parsed the JSON content using Data Operation connector in Power Automate. It automatically generated a schema using a sample JSON payload. By parsing the JSON, we transformed a typical response from an HTTP request into a more relevant and understandable piece of information.

We can definitely do tons of different things with the HTTP request and Parse JSON actions. Hopefully, you were able to understand their importance and how they work.
All the best,
Henry
***** Related Links *****
Approval Workflow Setup And Testing In Power Automate
Microsoft Flow Approval With Multiple Options
Power Automate Trigger Conditions – An Introduction
***** Related Course Modules *****
Microsoft Power Automate Masterclass
Power Apps Masterclass
Power Platform
***** Related Forum Post Links *****
Update JSON File
Need JSON File To Format The Button Text
JSON Template With All Property Code
For more JSON File support queries to review see here….


