In this tutorial, we’re going to look into the things that keep our common data services together — the entities. There are different CDS entities that work behind the scenes, so we’re going to discuss here how they’re different from each other.
Understanding CDS Entities
Entities can be considered as the nuts and bolts of common data services.
Entities are used to hold records of information the same way tables work in Excel or SQL.
The great thing about using the common data service is that there are preset entities that we can use anytime.
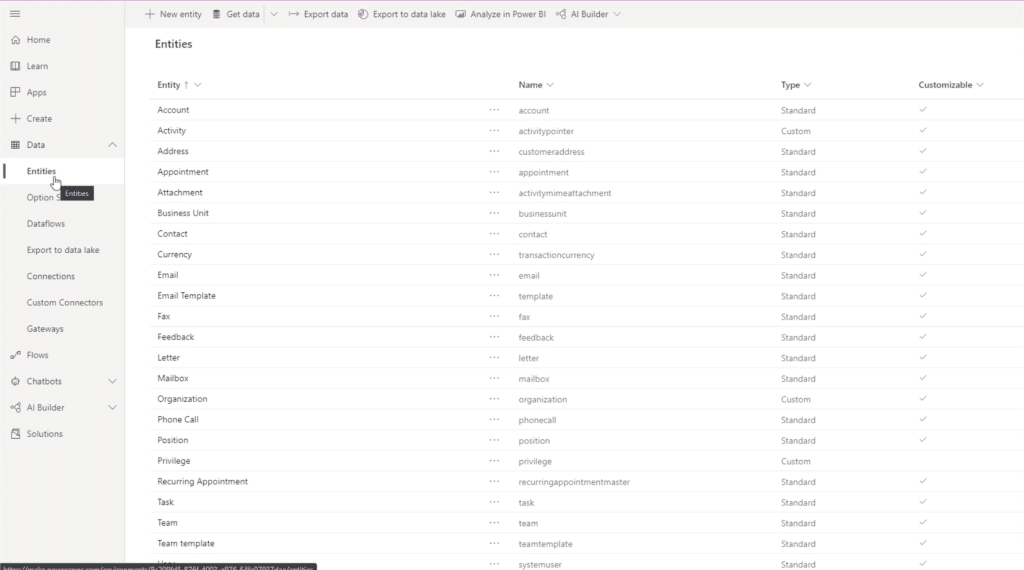
Basically, Microsoft has gone through the different apps created through Power Apps and look at the most common tables they use. From there, they standardized the data and created these templates for those who want preset CDS entities.
For example, companies normally have an account table that holds all the information of individual customer accounts. Looking into the list of entities here, you can see that there’s also an Account template ready for us to use.
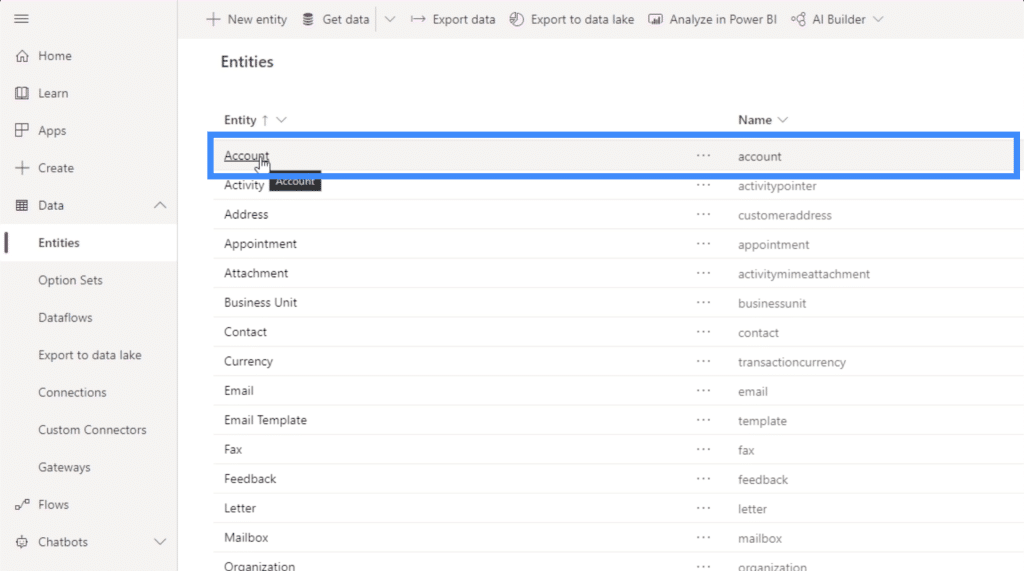
Let’s go into each of the different CDS entities that we can apply to our own work.
Fields
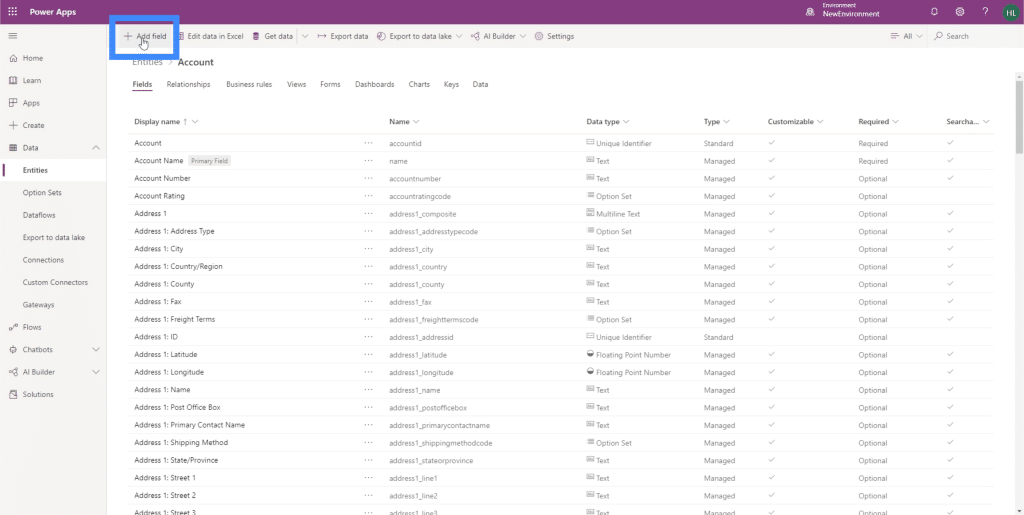
Earlier, we saw a preset entity called Account. If we click on it, we’ll see a list of fields that Microsoft has set up for this specific entity.
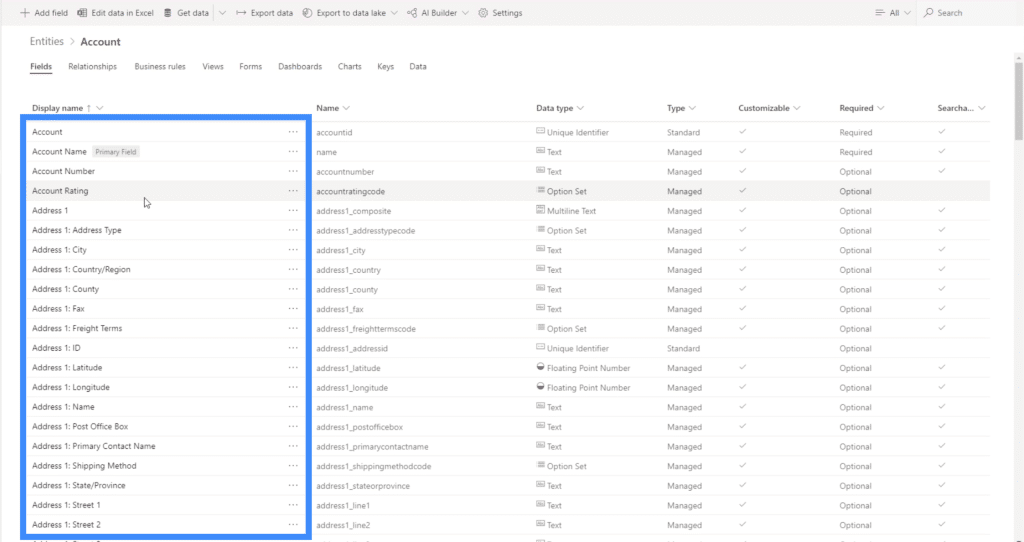
These fields include basic information like the Account Name, Account Number and Account Rating.
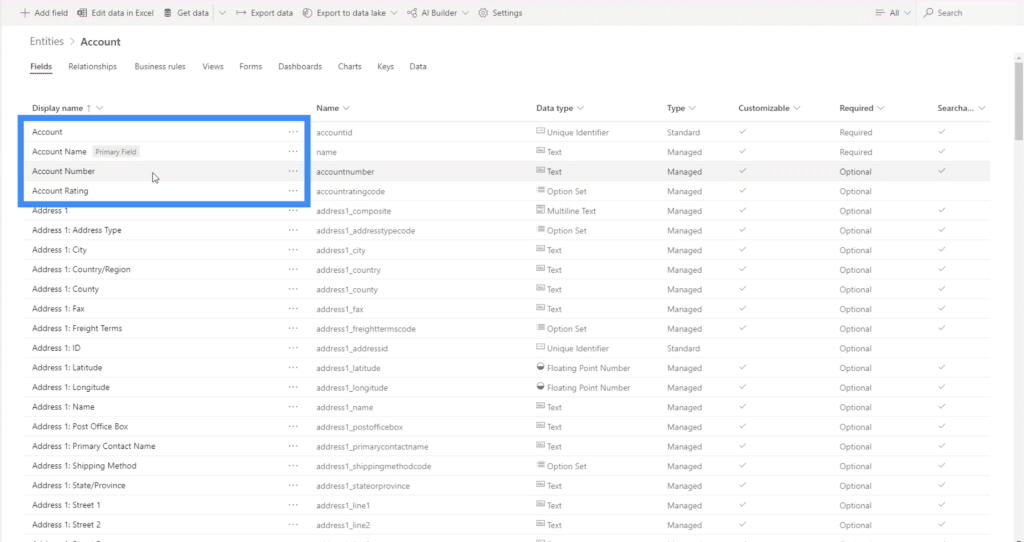
It also has all these different address fields, like the City, Country/Region, County, etc.
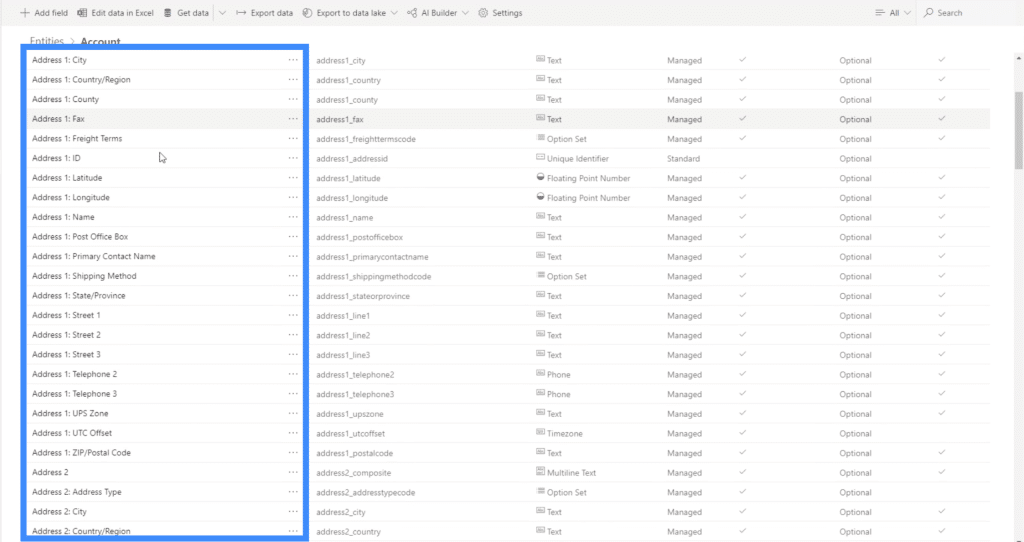
It’s basically a long list of fields that you would normally see in a form, with other items like Category, Credit Limit and others.
The good thing about these fields is that you don’t even have to think about what type of field each item is. They have been classified accordingly, with a specific column showing each item’s data type.
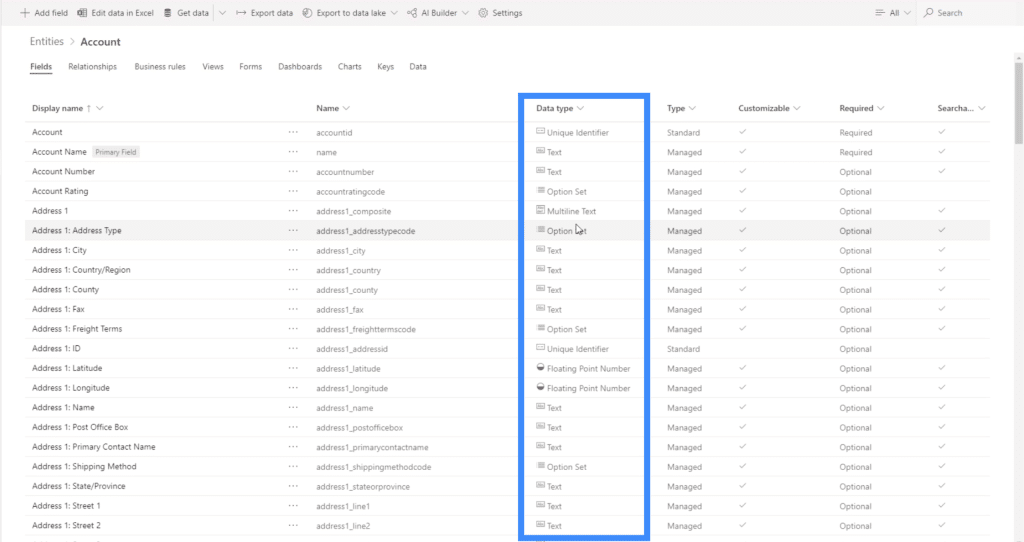
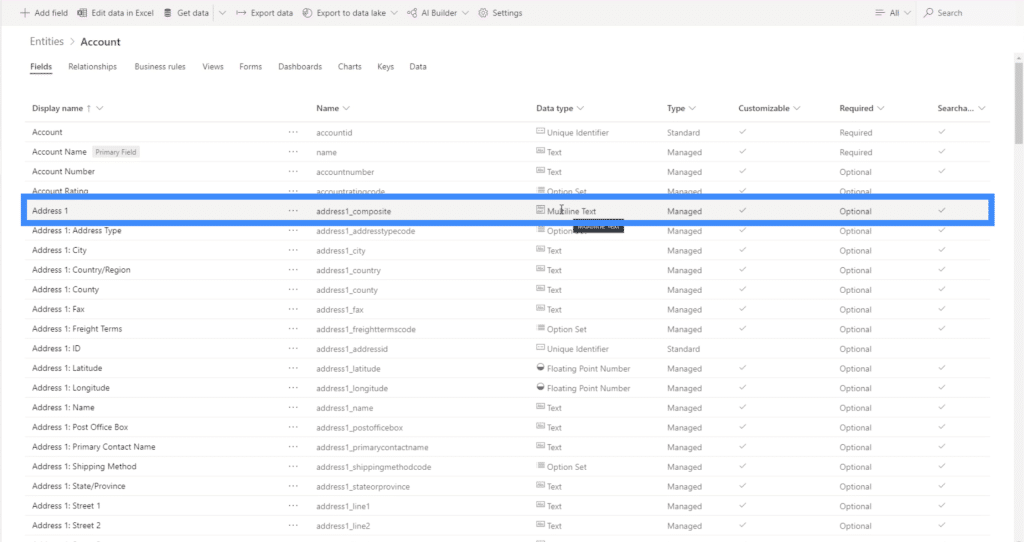
For example, it shows Address1 as a Multiline Text.
These preset CDS entities also provide lookups for us. Looking at the item here for Created By, it shows that it is actually a lookup connected to another table found in a different field.
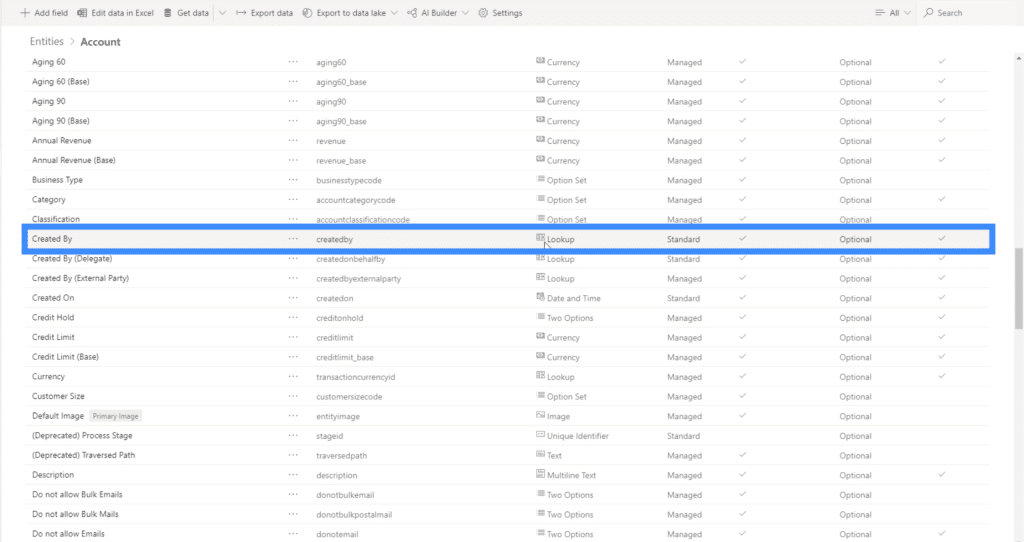
This means that it has all these relationship databases set up for us, eliminating the need for us to set up those connections manually.
If there are fields that we need but do not see here, it’s also easy to add one ourselves. Just click on the “Add field” button on the upper left.
Relationships
We can also find Relationships under CDS entities.
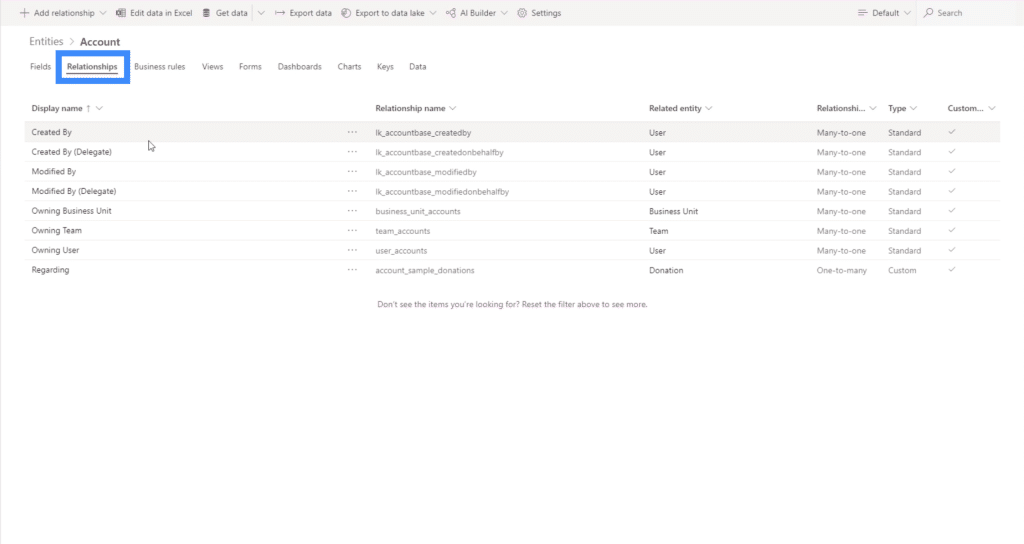
Relationships show which columns in this table actually depend on other tables. For example, it shows here that Created By has a relationship with the entity called User.
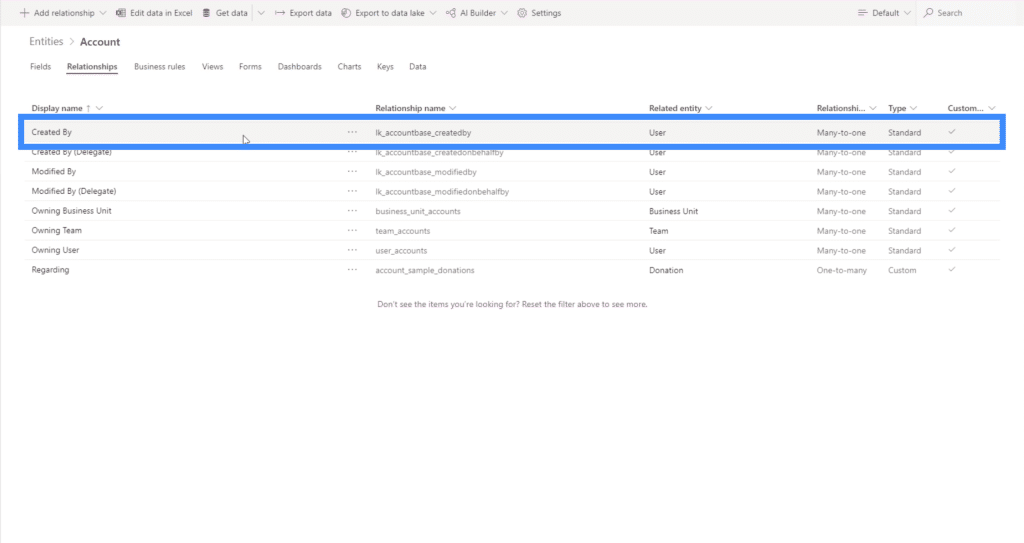
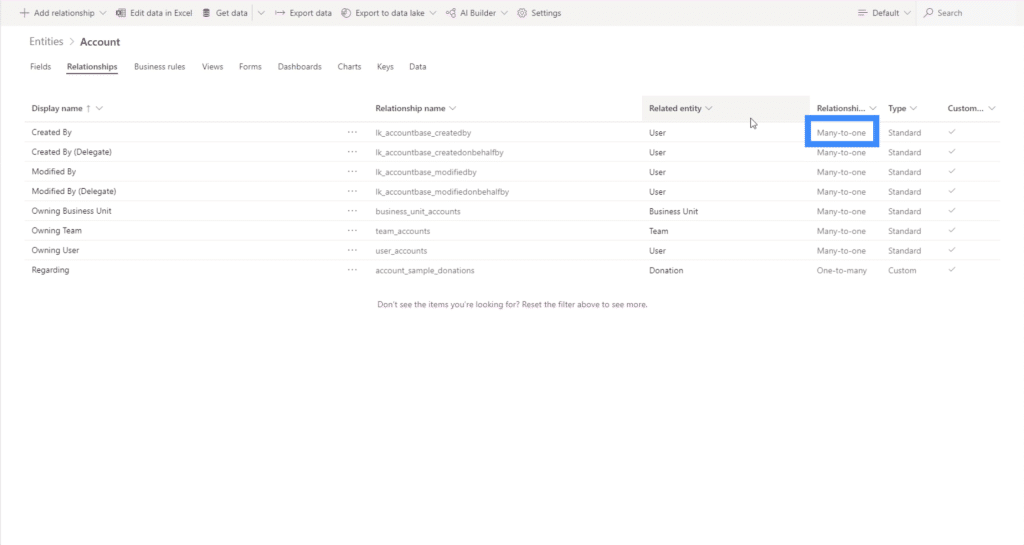
These relationships are also categorized based on the type of relationship they have with other tables. In this case, Created By has a many-to-one relationship with User. This means that there could be multiple user accounts created by the same person.
This person can then be found within the User table, which is another entity.
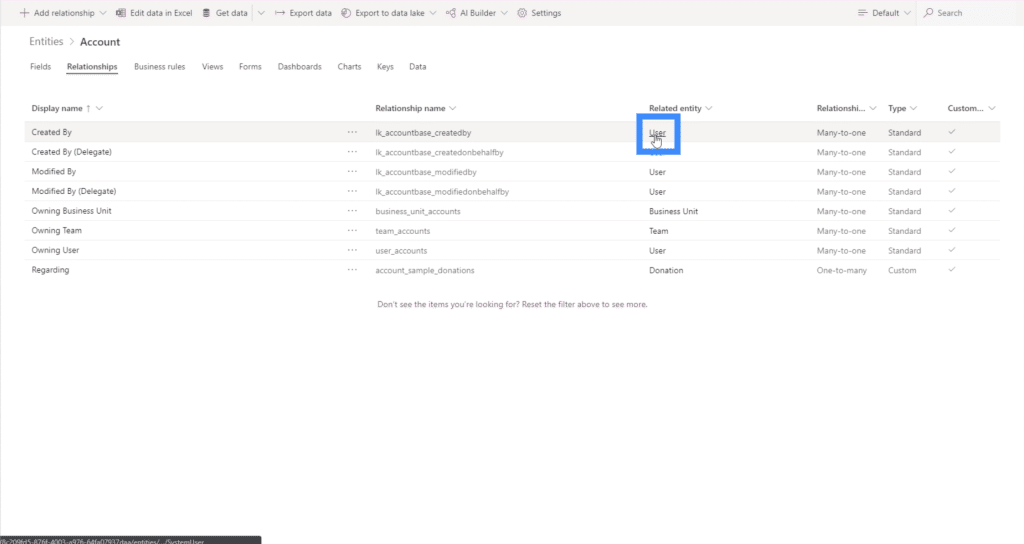
Again, the great thing about these entities is that the system has generated the right relationship types for us.
Aside from many-to-one relationships, there are two other types of relationships — one-to-many and many-to-many.
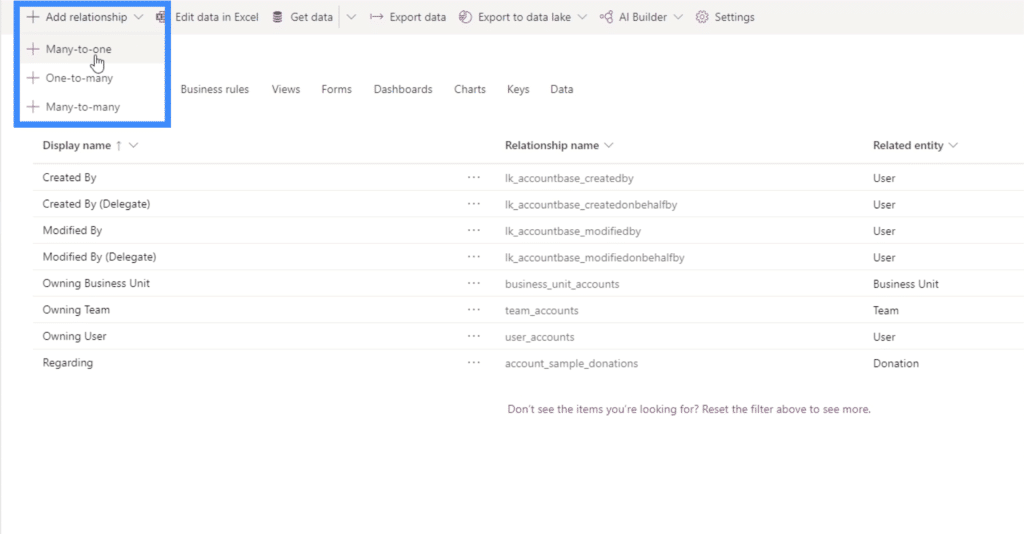
Sales is one area where we can see great examples of one-to-many relationships. One account can have different sales data tied to it.
As for many-to-many, this is a bit more complicated. This is something that we don’t really want to use unless absolutely necessary.
For example, you can have many accounts related to many discounts. You could have one account applying discount A and B, while another account uses discount B and C.
Business Rules
Another entity that’s really interesting are business rules. We’ve touched on this topic in our tutorial about common data service.
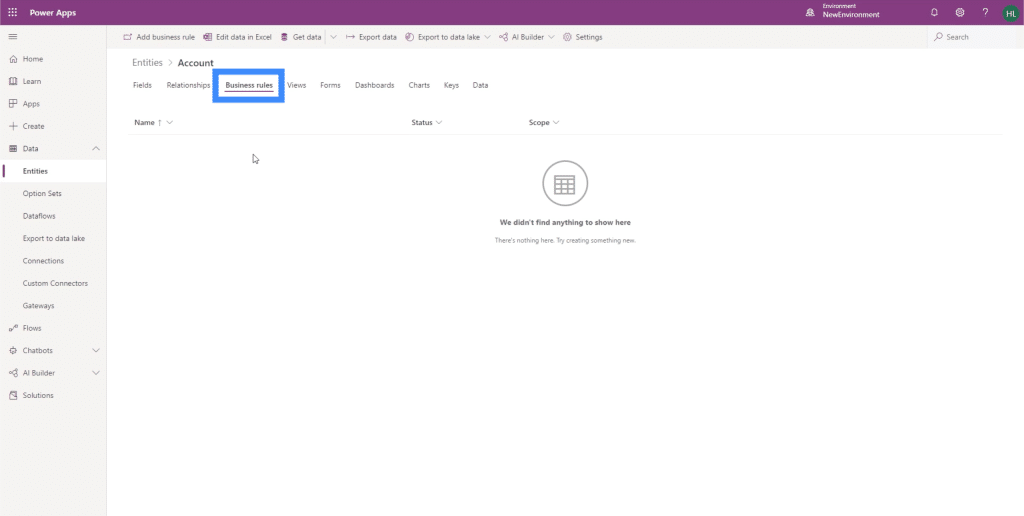
Business rules is one of the biggest benefits of using CDS. They dictate the parameters to be followed as users interact with your data.
Let’s say you have a restaurant business. If you have an employee who is able to serve alcohol to customers, then you would probably want your data to show that this person has the license to do so. So you could add a business rule that requires the alcohol ID of the person to be presented before their information is added.
You can dictate your own business rules depending on your need and situation. These rules are great because they ensure that users don’t miss out on the most relevant pieces of information as they add data into the system.
Views
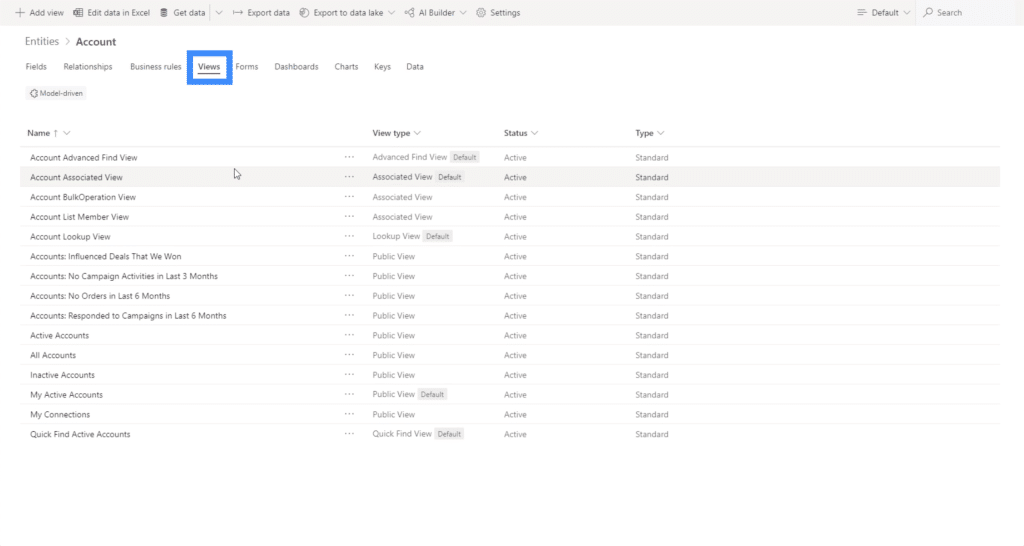
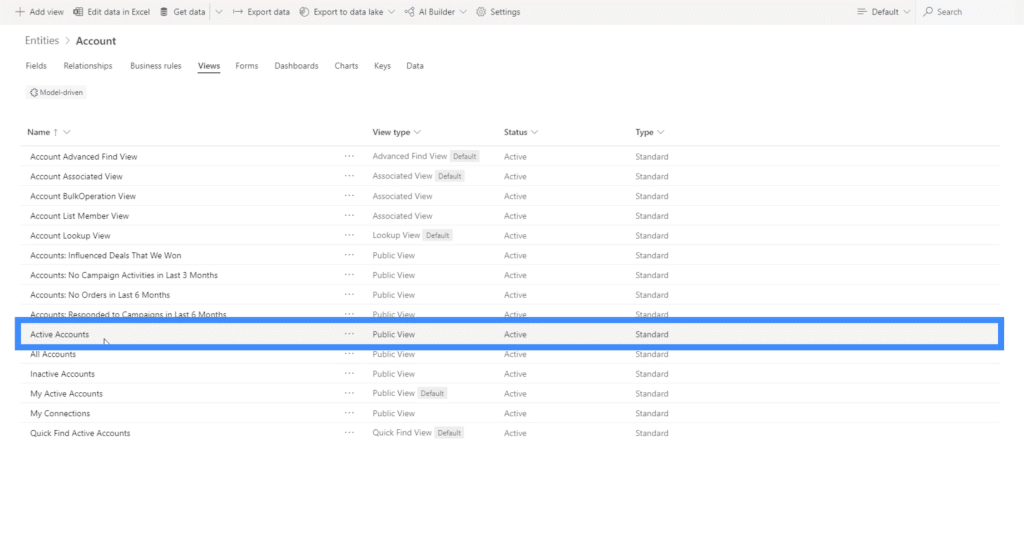
Views allow you to control what the different users of your application can see.
Especially if you have a lot of sensitive data loaded into the app, you wouldn’t want every single user to have access to all of them. You would probably want to have control over the items that users can see on their end.
For example, the Active Accounts here is set to Public View. This means that users can see these active accounts.
If we click on Active Accounts, it shows 5 columns of data, which is what users can see as well.
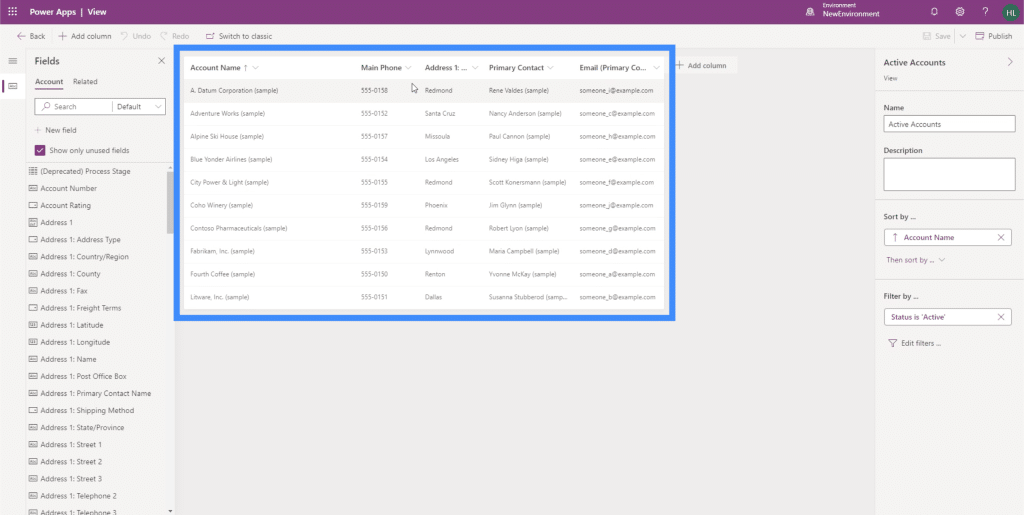
If we have more sensitive data, like sales data, then the view for those could be limited to just administrators or team leaders.
Forms
This time, let’s take a look at Forms.
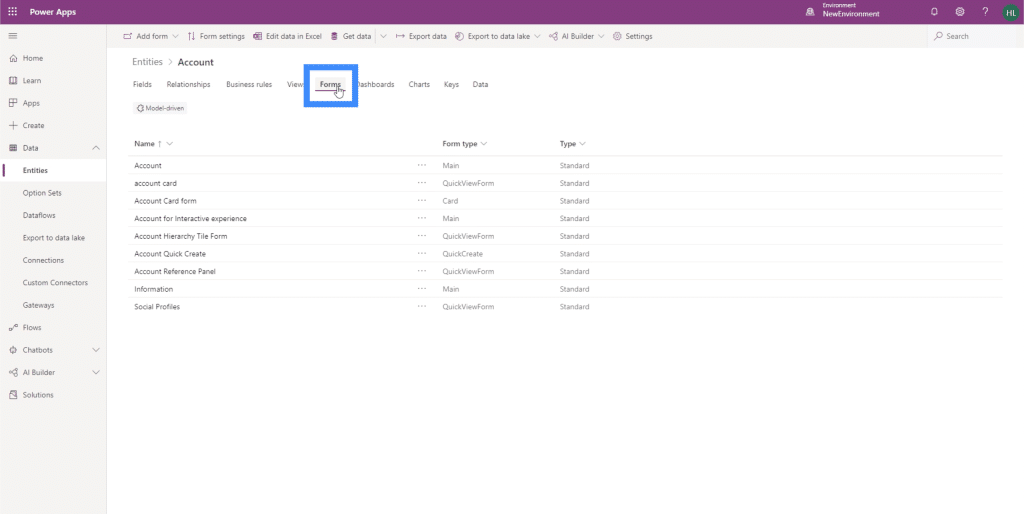
Just like in canvas apps, forms provide a platform to edit or create new records of the data. We can actually make the forms right here for a specific entity, and then upload them into our model-driven app.
Like all the other types of entities, there are forms readily available for us to use. It also says what type of form each one is.
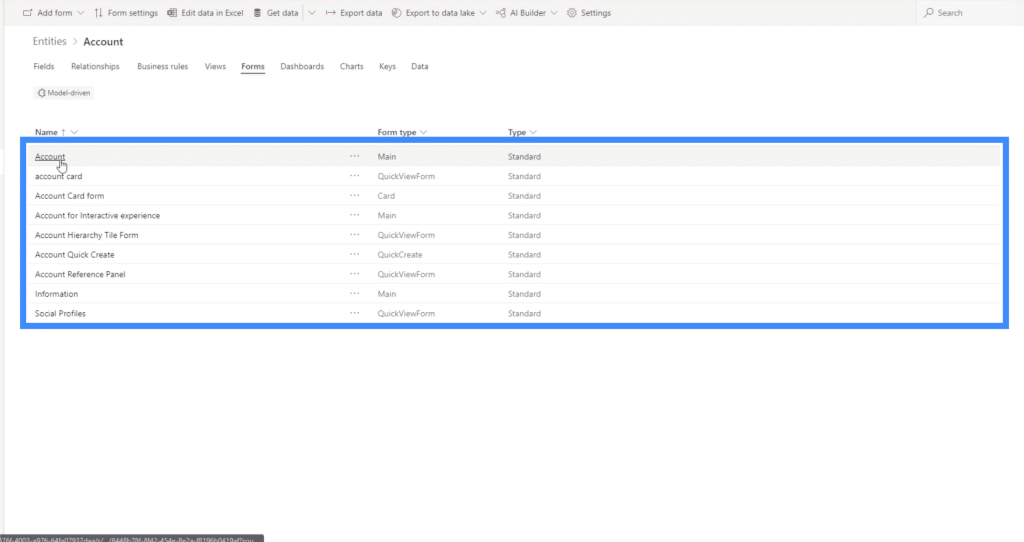
So if we click on Account, it opens up the form template.
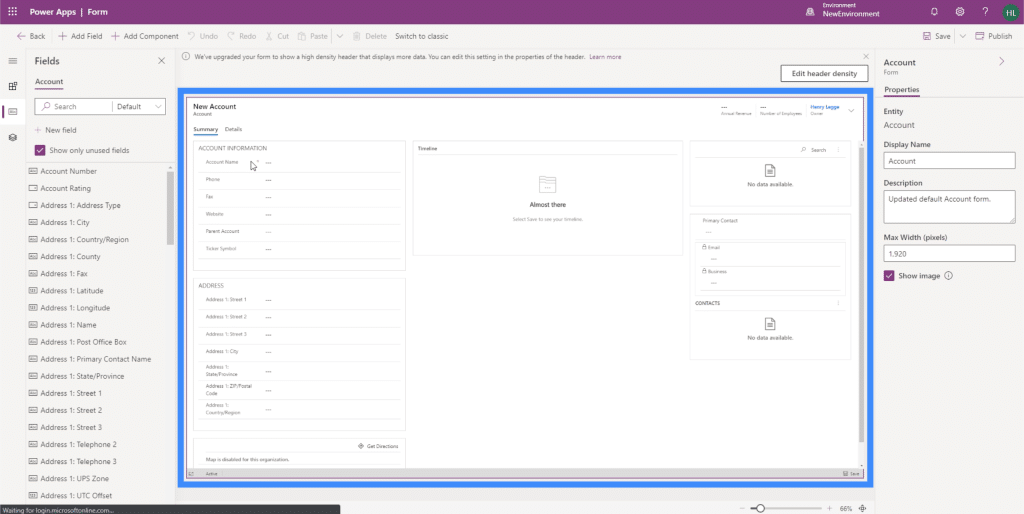
As you can see, this is a very standard form with fields like Account Name, Phone, Fax, and other similar fields. This form can be customized too, so we can add or remove certain fields.
Other CDS Entities
Other entities include dashboards, charts, keys and data. We won’t discuss all of these in detail in this tutorial, but some of them will be covered in other tutorials.
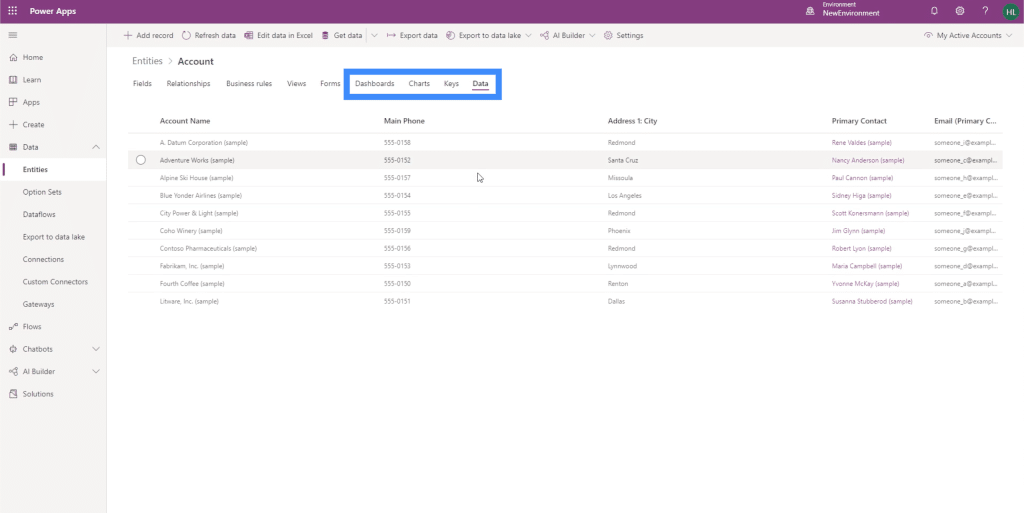
The dashboards here work the same way as any other dashboard — they are a collection of charts found in our common data service. The charts tab here also shows charts within the CDS.
The keys tab shows what’s unique about each piece of data. As for the data tab, it shows all of the data available for us to use with this CDS.
Creating CDS Entities
Now that we understand what the different entities are, let’s talk about how to create our own entity.
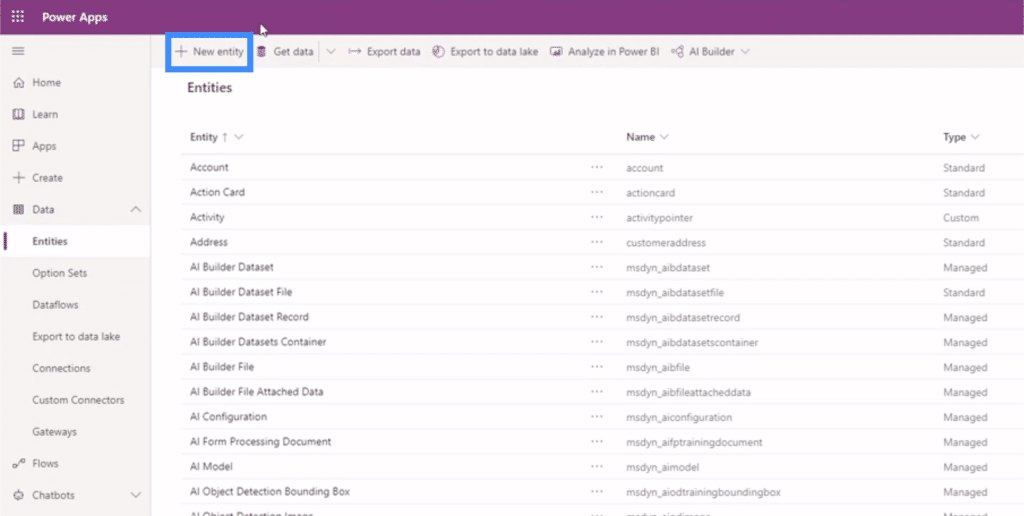
We’ll start off by clicking on the “New entity” button on top of the page.
Let’s name this new entity as Customer.
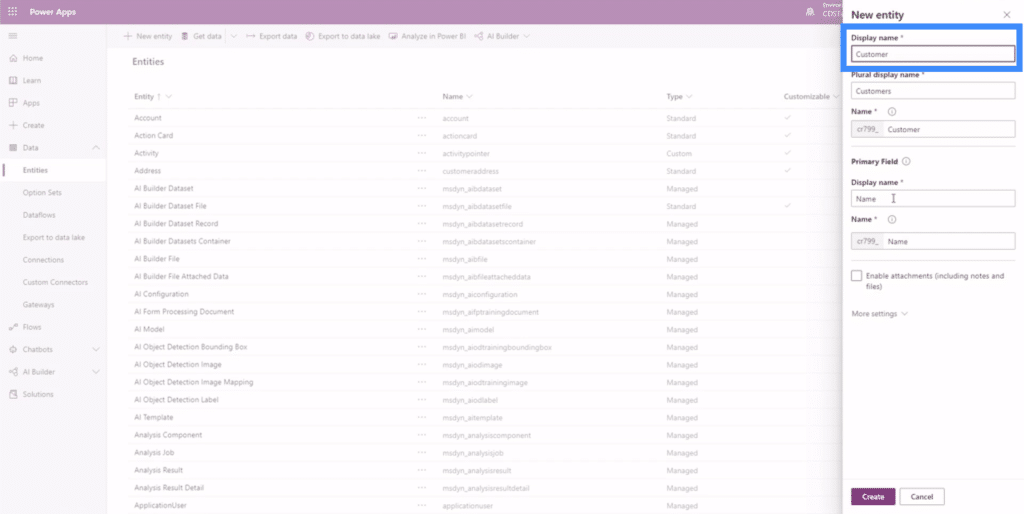
For the primary field, let’s change this to number.
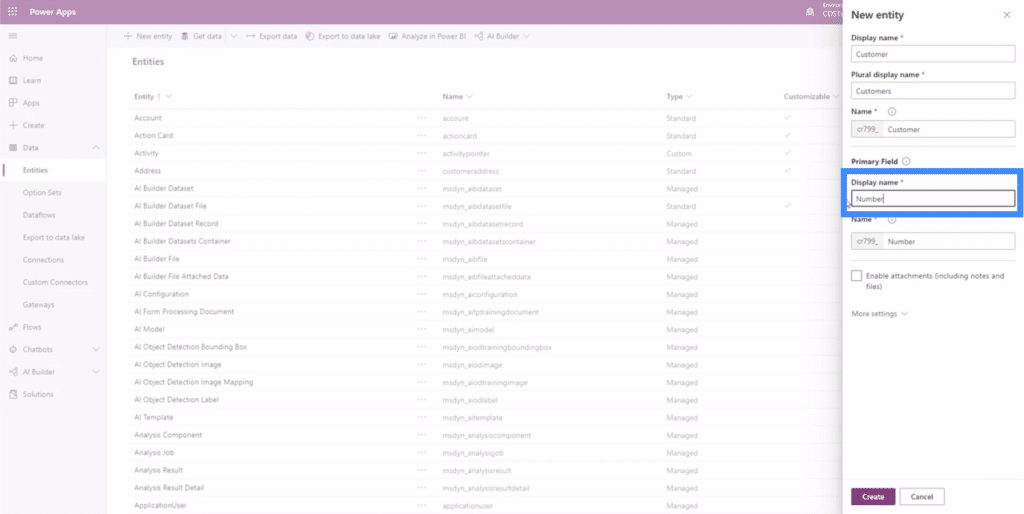
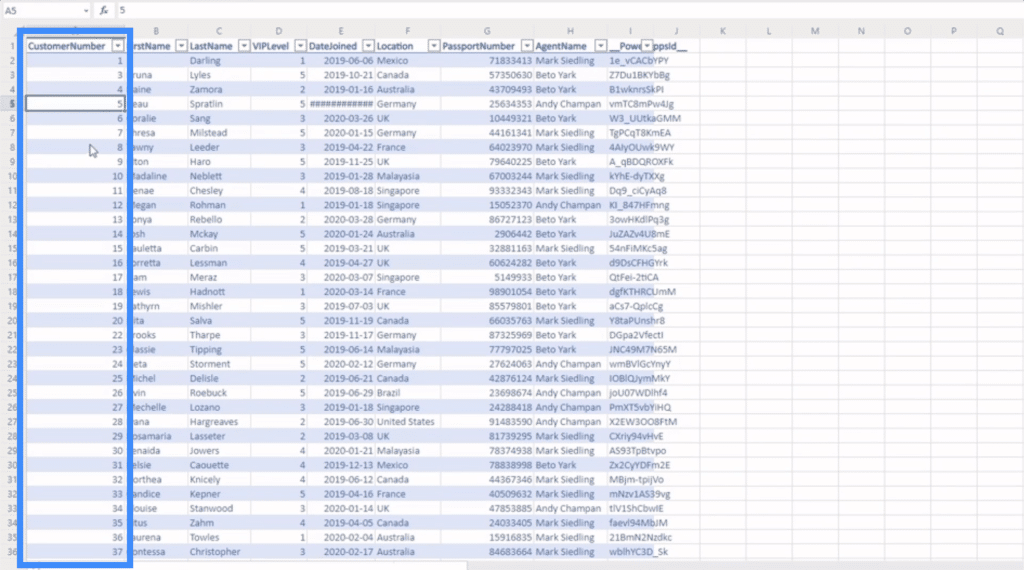
We’re going to use number as out primary field because if we look at the data source we’re going to use, it shows that each customer has a customer number assigned and serves as the primary field in the table.
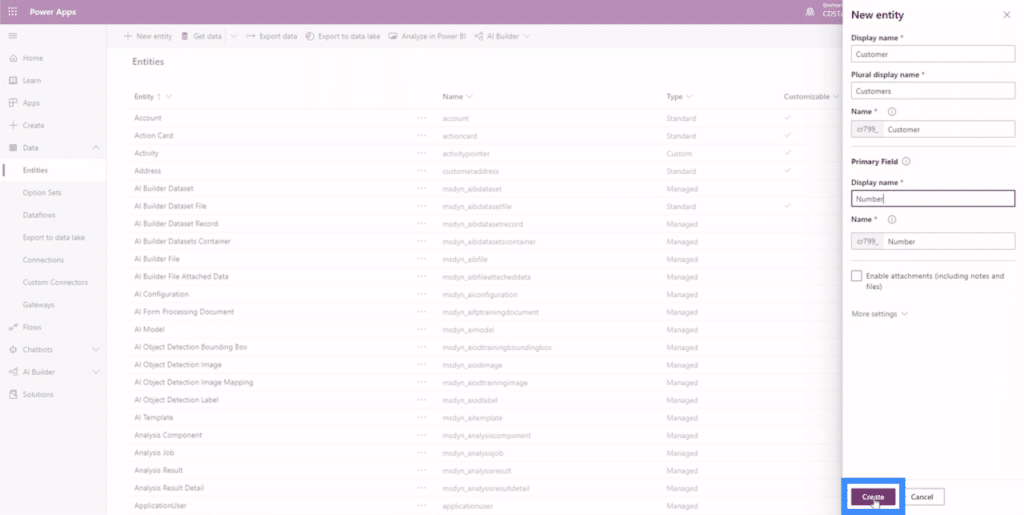
Now, let’s click Create at the lower portion of the pane.
As you can see, it tells us that it’s currently provisioning our table. So it’s basically making sure that everything is in place.
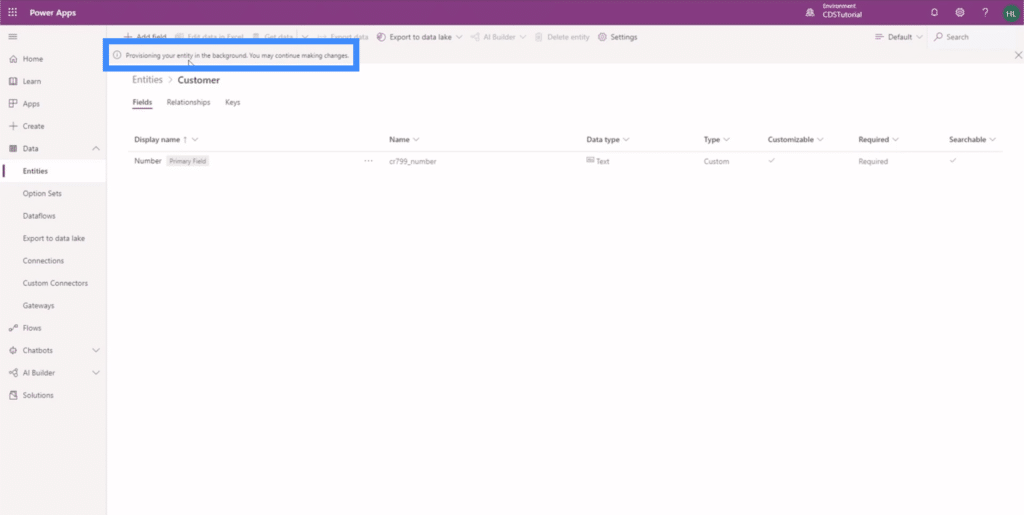
While the provisioning is going on, we can only see one row here.
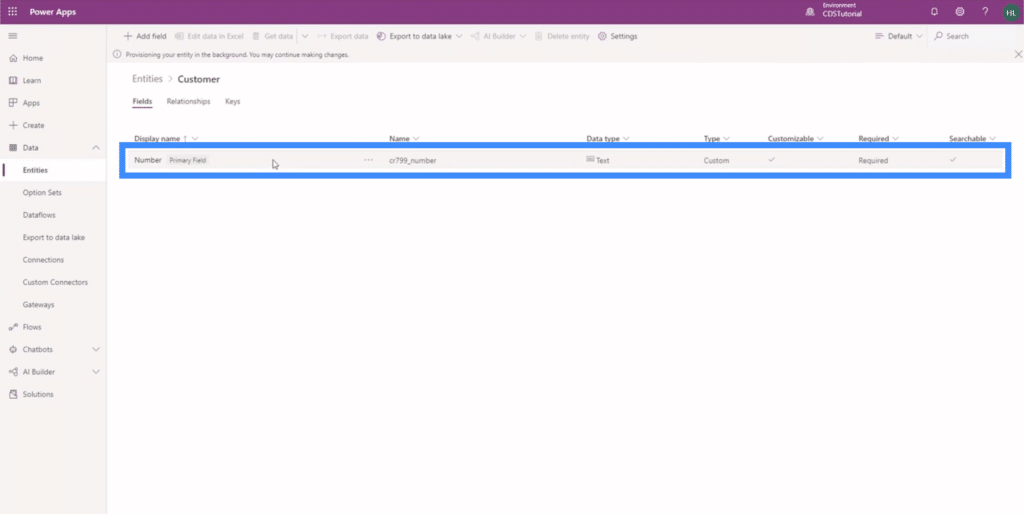
But once the provisioning is done, we’ll be able to see all the items that are usually included in this entity.
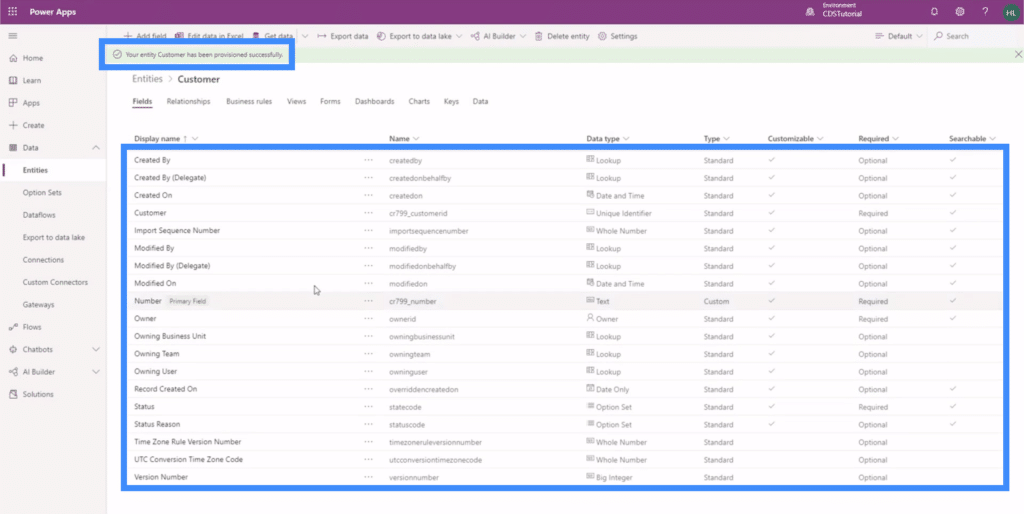
Now, just because this contains a long list of entries doesn’t mean that we added each and every one of them. What Power Apps does is that it looks at other databases that you already have and adds in fields that the system thinks you should also have in this new table.
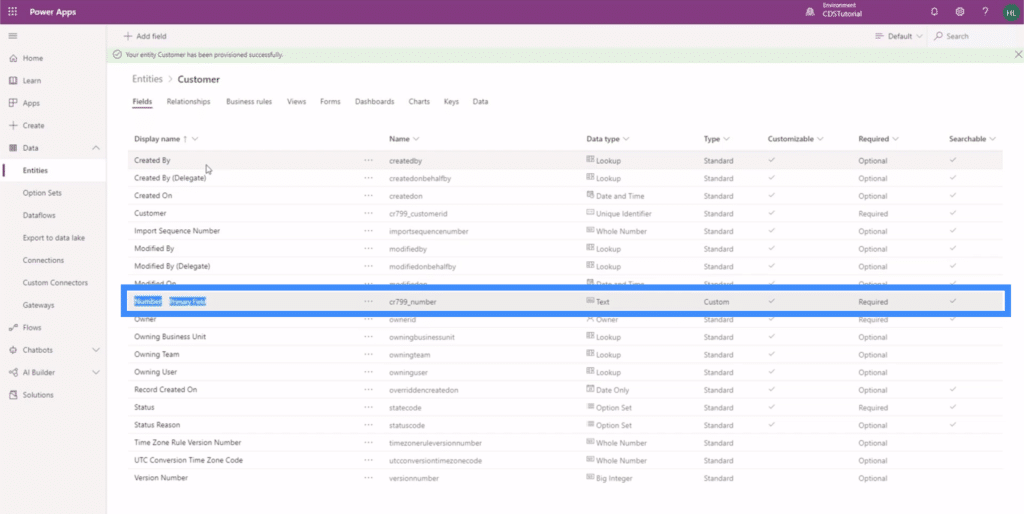
Of course, we don’t necessarily need to use all of the items that Power Apps threw in. We could always stick to the primary field that we manually added, which is the Number field.
***** Related Links *****
Power Apps Introduction: Definition, Features, Functions And Importance
Power Apps Environments: Setting Up The App Elements Properly
PowerApps Functions and Formulas | An Introduction
Conclusion
Common data service or CDS makes it easier to organize and use all of our data. Knowing that these entities are the building block of any common data service makes us realize how important they really are.
It’s also great that they were built as intuitively as possible, with ready-made templates for us to use. This makes the entire process even more efficient and allows to maximize our time as we work on our app.
All the best,
Henry


