
In this tutorial, I will show you how we developed a real-life Call Center Dashboard, and how to ace your Power BI Challenge submission. You can watch the full video of this tutorial at the bottom of this blog.

When I heard that the Enterprise DNA Challenge 19 was about Call Center Data Reporting, I was excited because I was looking forward to seeing other reports from the Challenge and compare it to the real-life report that we developed for our client.
One specific requirement from our client is to have a global overview of the KPIs to know where they stand, and how the business is doing.
They want to drill through the single phone call level to see the sales representative who called a client, how long they were on the phone, what was the outcome of the specific phone call, and so on.
Also, when they select a single call, press a button, or a hyperlink within the Call Center Dashboard, it will open up a phone call from their internal phone software.
How To Ace Your Call Center Dashboard
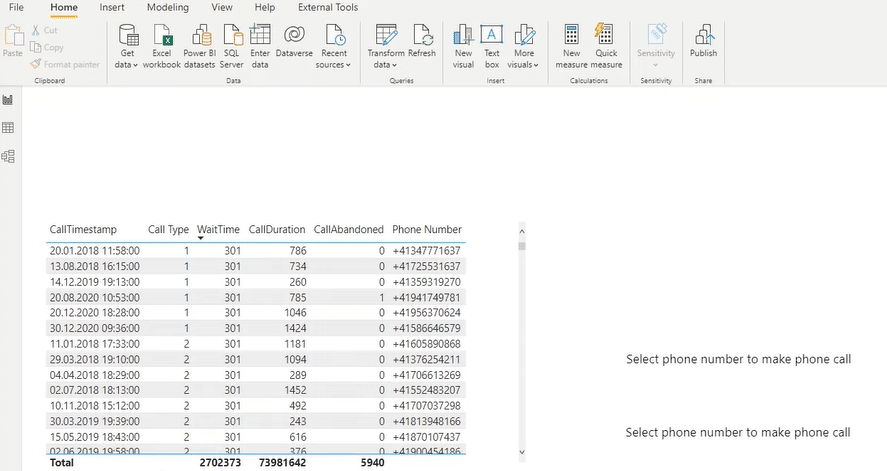
To start, load the data provided for the Challenge. It does not have any phone numbers; hence, we need to generate some phone numbers to make an actual phone call.

Let’s hop on to the Calls table because it is a fact table where we have a single phone call.
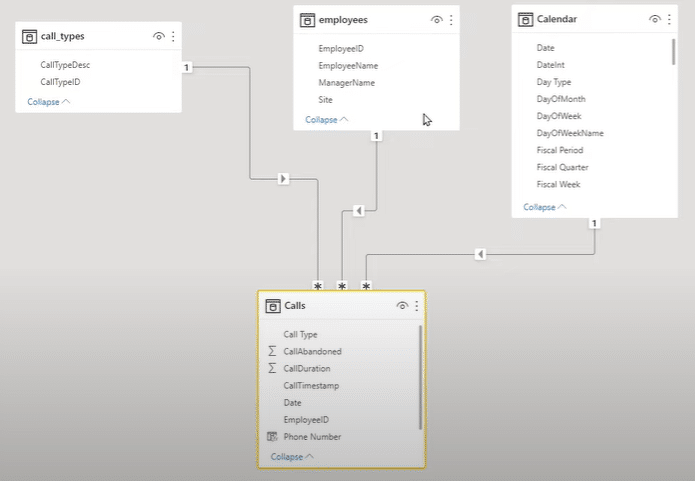
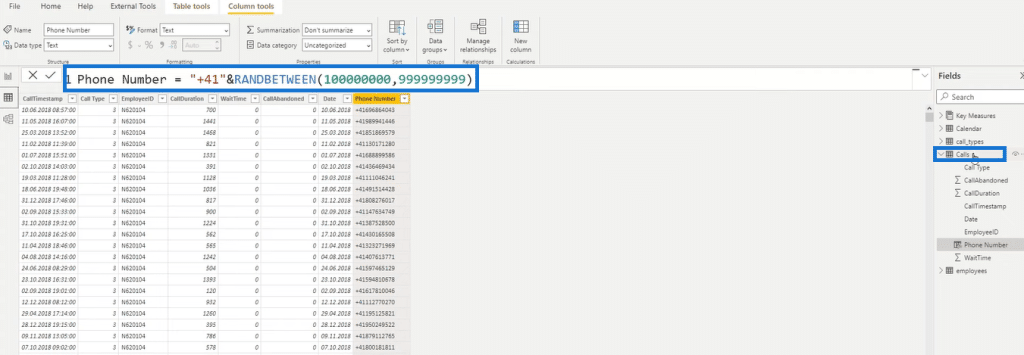
To get this working, add a calculated column to concatenate, and label it as Phone Number. For this example, type in “+41″&RANDBETWEEN, which is the country code for Switzerland with randomly generated numbers, our sample phone numbers.
Now let’s focus on the specific functionality of how to make a phone call from Power BI.
We need to import custom visuals from the AppSource to have two visuals. There are different ways to do this.

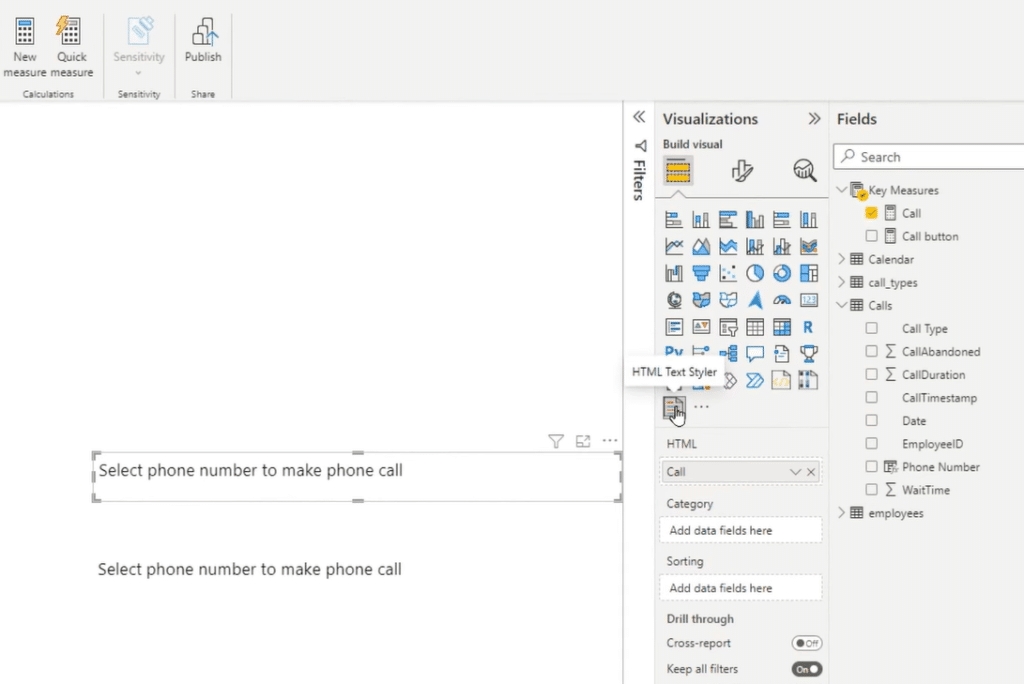
For the first visual, we can use the free version, the HTML Text Styler, since we’ll be using fewer DAX codes.
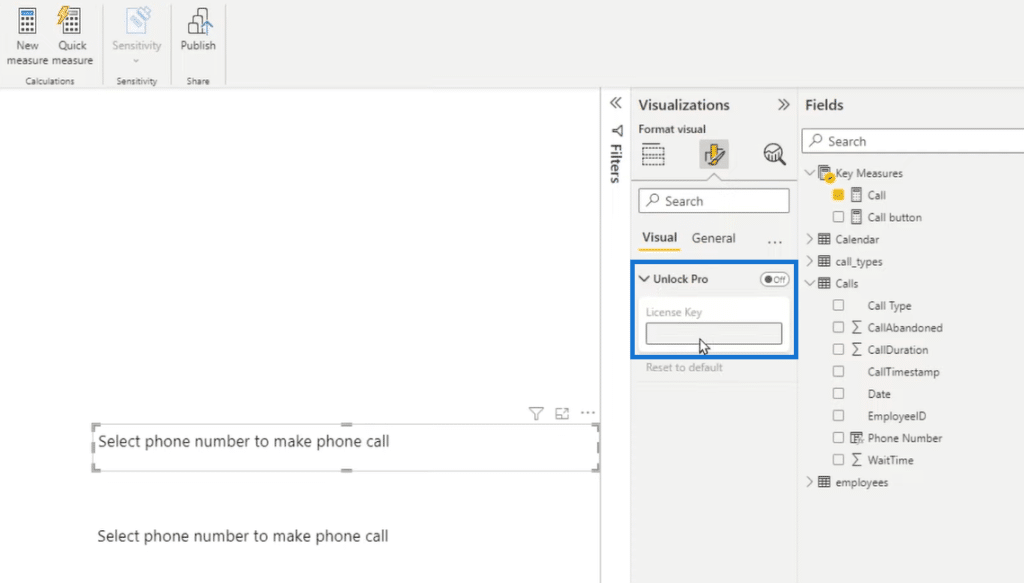
When we go to Format visual, we’ll notice that the Unlock Pro is deactivated because we did not add any license.
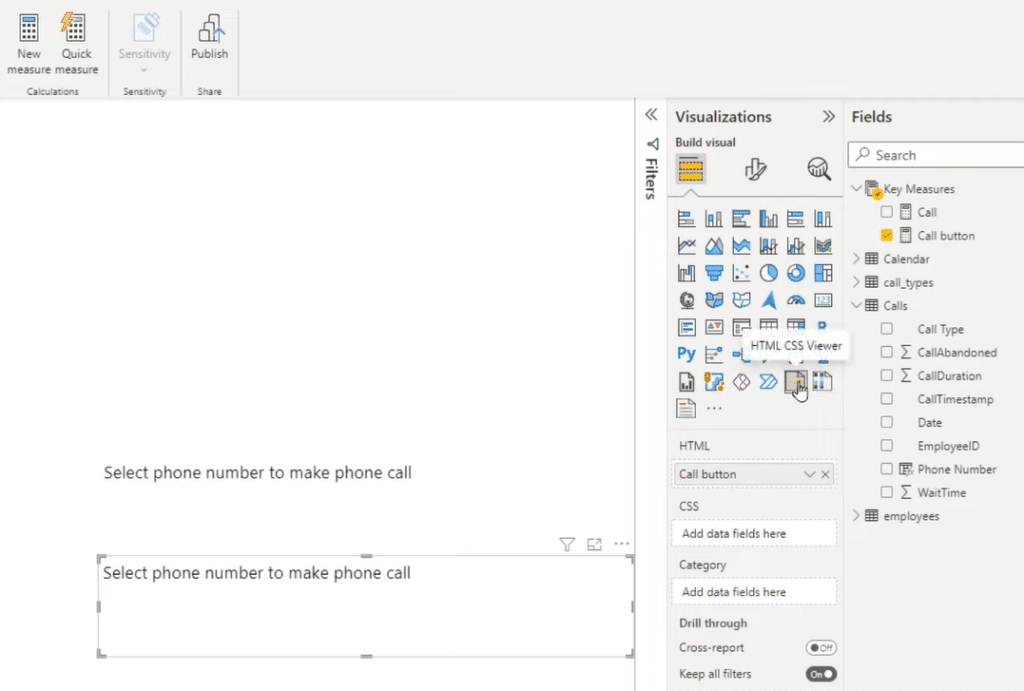
The second visual is the HTML CSS Viewer, which needs a license. There’s a free trial valid for 30 days, and it’s good enough to finish the Challenge.
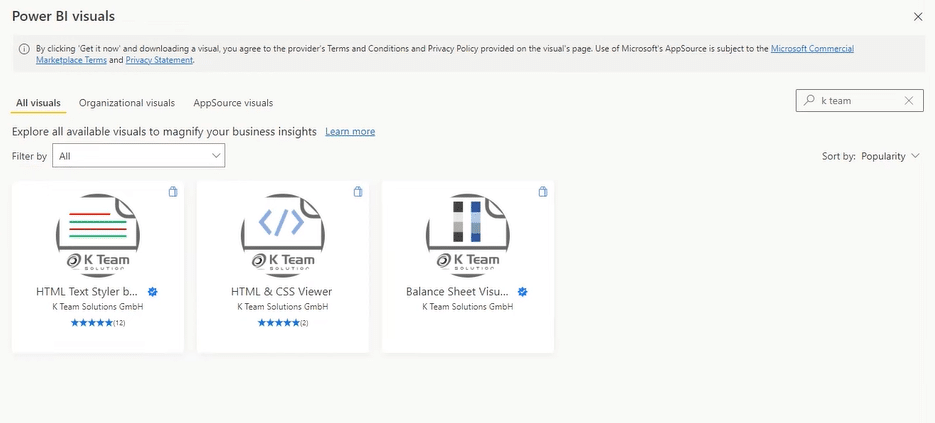
Both are from the AppSource. We can import these by clicking Get more visuals, and then typing in K Team on the search bar.

The “Select phone number to make a phone call” message appears if we have not selected a phone number.
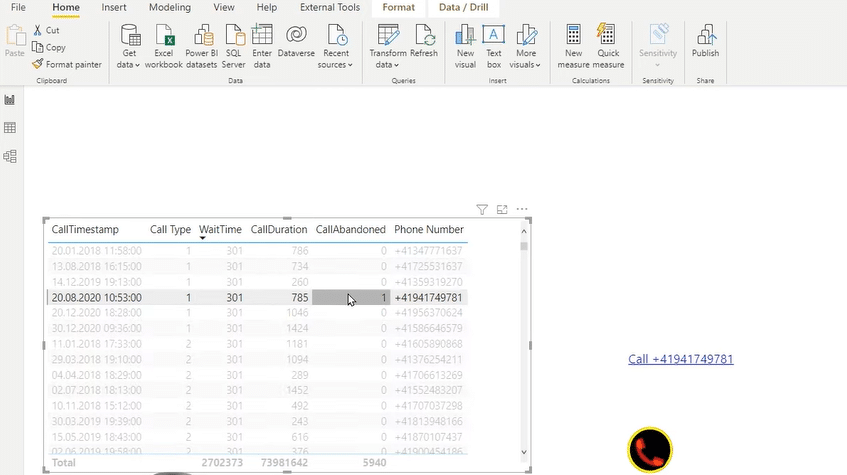
Once we select a phone number, both visuals change. We can now see the hyperlink, and the button to call the number.
The HTM CSS Viewer is used to create websites, and it’s completely dynamic. There are tons of different buttons, hover effects, different colors, and different shape of the buttons.
We can format the text and the button depending on your preference.
Now let’s proceed to the codes for the first visual.
First is to create a variable that returns the phone number of the selected role. If the variable is blank, the “Select phone number to make a phone call” message appears.
At the bottom part is the HTML code. The “a href” creates a hyperlink, “tel” is the hyperlink that starts a phone call.
Then, the “&var_number&”>Call “&var_number&” means that we take the phone number from the variable which displays on the first visual.

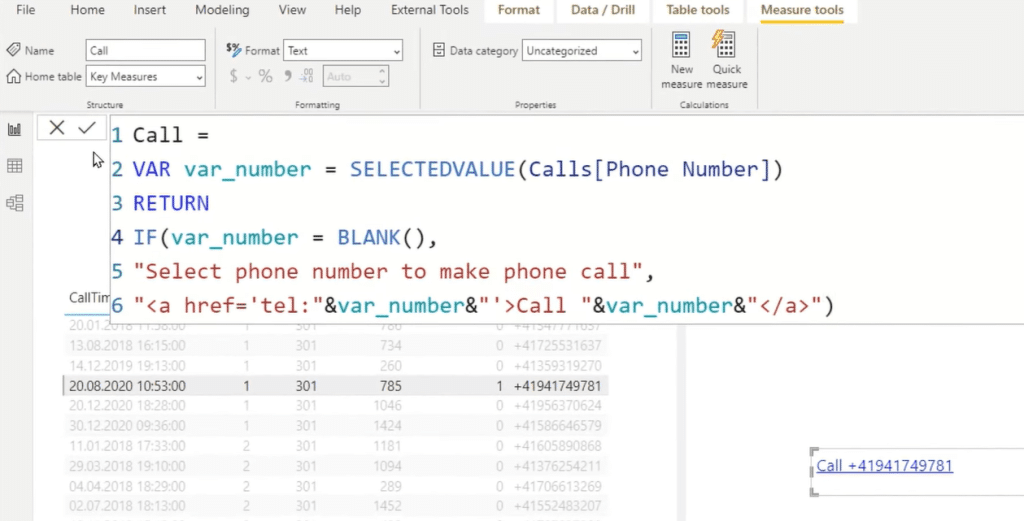
Now let’s click the Call +41941749781 hyperlink.
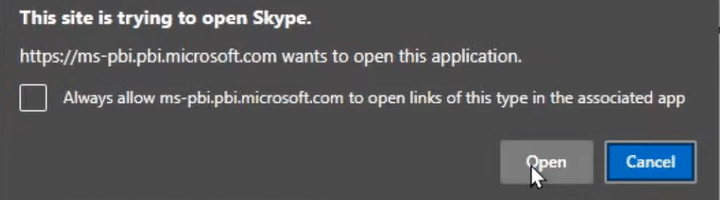
The pop-up shows that a phone call will start using Skype since it’s configured in my Windows settings. If you are using a different phone software, just simply change the configuration in Windows settings.
We also have the option to activate the “Always allow to open links of this type in the associated app” by clicking the little box. For this demo, we skip it, and then click Open to populate Skype.
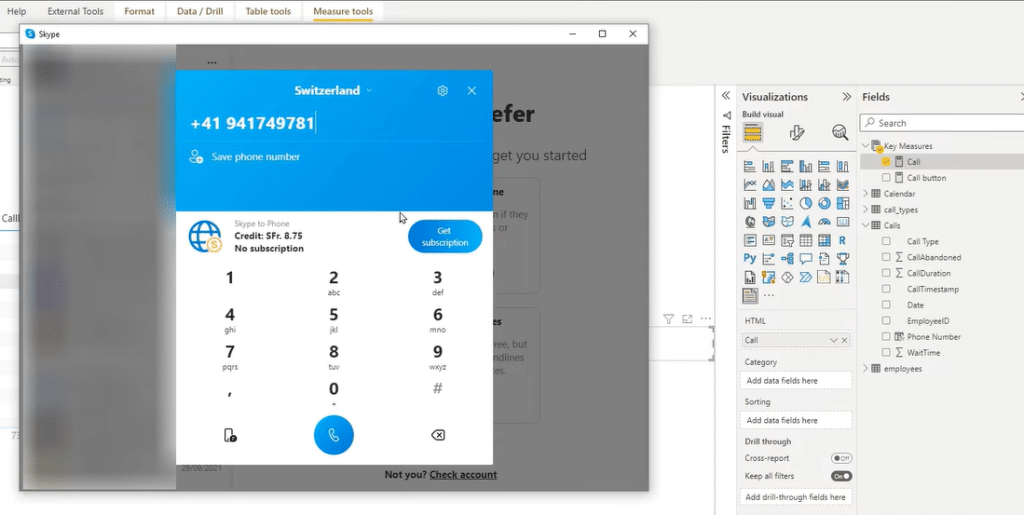
Notice that the phone number that we selected is pre-populated. All we need to do is to press the Call button in Skype to start a call.
The same thing happens when we click the second visual in the report, which is the Call button.
We can use the HTML CSS Viewer for the second visual because we style it differently. In this specific case, we need to add a license key since we need more than 150 characters in our code.
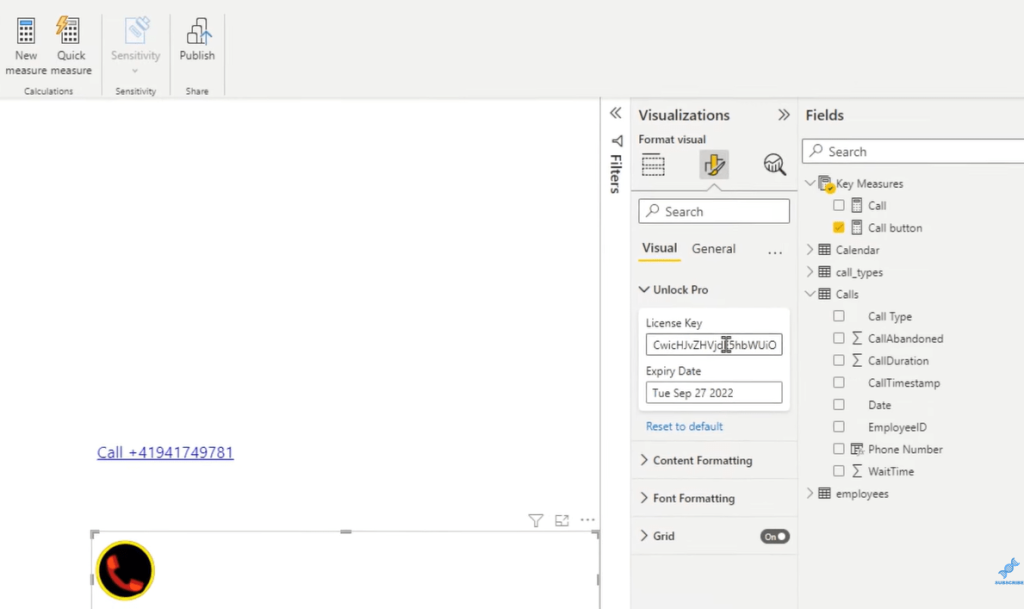
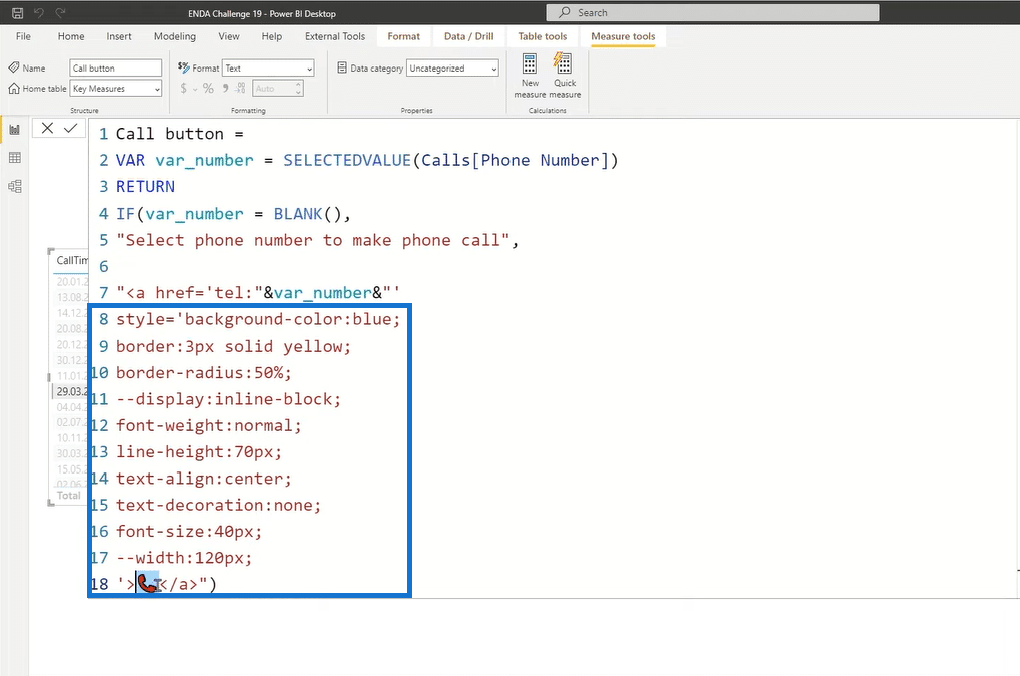
Now let’s move on to the Call button codes.
The overall DAX codes are the same thing. The only difference is the style part, where we define in CSS how the button should be styled.
We can define the background color, change the radius, height or text alignment, and add more styling options.
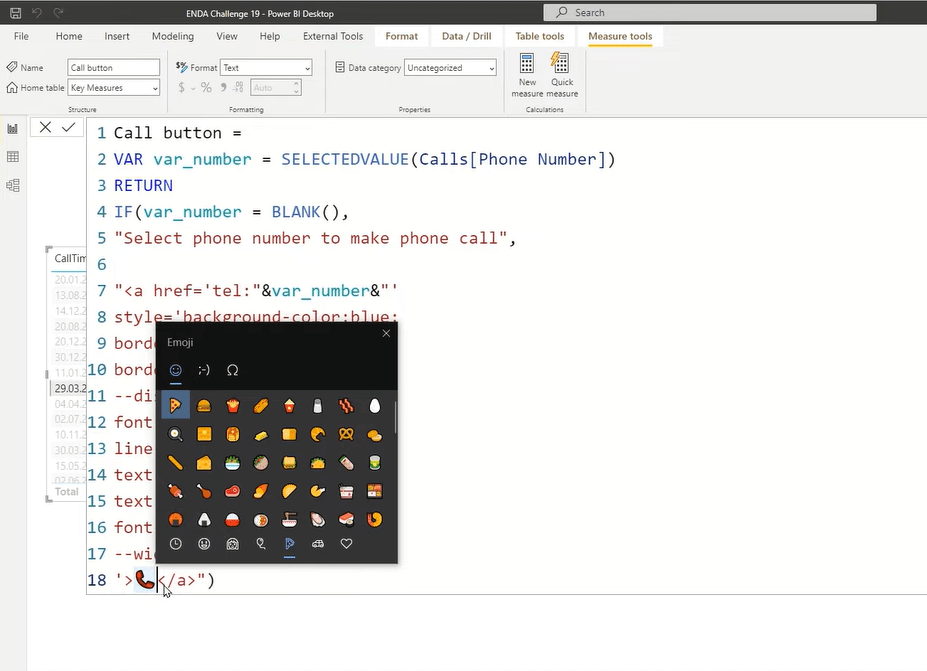
For the button itself, we can add emojis by pressing the Windows Key + Period on your keyboard. It shows the different emojis where you can select your preferred emoji.
For this example, let’s use the phone emoji.
***** Related Links *****
Configure Query Settings In Power BI DAX Studio
Storage Engine – Its Role In Optimizing DAX Queries In Power BI
Create Power BI Report To SQL Server Using R Script
Conclusion
Without a doubt, this real-life Power BI report is very useful for our call center client because they can drill through to a single phone call by simply pressing a button or a hyperlink in the report.
The focus of this tutorial is the specific functionality of how to make a phone call from Power BI. I hope this tutorial helps.
All the best,
Pascal


