In this tutorial, we’ll talk about workflow sharing in Microsoft Power Automate. Sharing a flow with other users in your organization is necessary, especially if you have to collaborate with others on a certain flow. There are two main ways to share a workflow. It all depends on what we aim to do.
This is an example of a flow that I previously created. Let’s first rename it by clicking the Edit link.
Let’s rename it as “My first flow”.
Then, click the Save button.
Two Main Types Of Workflow Sharing
Our flows live on a shared workspace from Microsoft. So, if we want other people to be able to edit, run, and collaborate on the same flow that we’re working on, we can share it with them.
1. Sharing A Workflow By Adding An Owner
For this first method, just click the Share option from the Menu bar.
Then, type the usernames of the people you want to share it with.
There are a few things to note here. The first thing is that when you click Share, you might be asked to buy Microsoft’s subscription or set a trial. I’ve just started a trial that will last for 30 days. I recommend that you do that as well at the beginning, so you can get more familiar with it before you commit to buying.
The second thing to note is if you share it in this way, whoever you share this flow with will also have your embedded connections. When we activate this sample flow, we have to give it permission to use our email. This is because it’s the email that is being used to send emails in the flow. If we share this with someone else and they open this page on their computer, they’ll be able to go into our flow.
They’ll be able to access this and edit or change it however they want. If they run it, it will basically use that same mail connection.
So, that’s one thing to watch out for if we choose to share the flow using this method. Aside from that, once we share a flow with a Twitter connection, they will have access to our Twitter connection as well. Although they won’t have access to our Twitter password, they could use that connection and just change the flow. The flow would use that embedded connection so they can tweet out whatever they want.
You should always be mindful. Whenever we’re sharing these things, we’re essentially sharing our embedded connections as well.
Fortunately, they’ve made some cool modifications to Microsoft workflows that are very useful. We’re working off the same thing, so whatever edits the other users make, it’ll show up here. It’s like working in a Google drive.
2. Sharing A Copy Of A Workflow
The other means of workflow sharing is by sending a copy of it. You can simply click the Send a copy option from the Menu bar.
In the Send a copy panel, you can edit the name and description of the flow you want to share, and specify the users with whom you want to share it.
The recipient will then receive an email stating that you have shared a cloud flow template with them. After that, they can create their own instance of that flow.
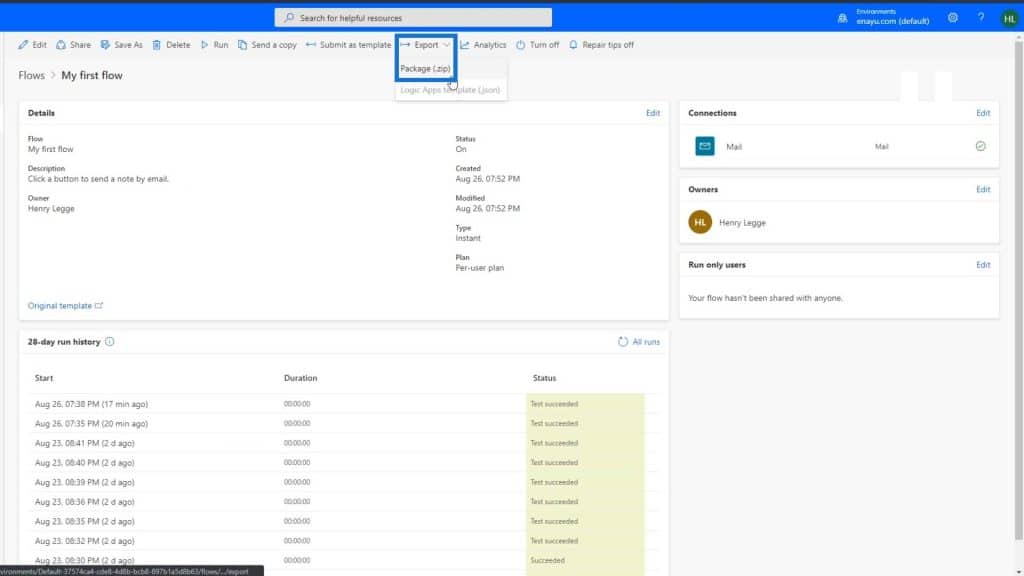
You can also export it into a zip file, then send it to the other users.

In this type of workflow sharing, whatever edits they make and whatever connections you make won’t get transferred over. Each user will be working off their own copy. They’ll have to link it with the connections that they want to integrate as well.
***** Related Links *****
Enterprise DNA May Updates: New Masterclasses, Showcases, and More
Power Apps: Getting Started With This Revolutionary Tool
Using Power Automate To Refresh Data In Power BI
Conclusion
To recap, using the Share method is like editing in a Google document where the users will see each other’s activity. They’ll also be able to share your embedded connections. On the other hand, sending a copy and exporting it to a zip file is like saving the Google document as an MS Word document file, then emailing it to the others.
So, those are the two main ways you can share flows in Microsoft Power Automate. Being able to share workflows with others can certainly elevate collaboration and more people can also benefit from the automation you’ve created.
All the best,
Henry


