In today’s blog post, I’m going to show you a tip on how I create a last refresh date and time so that I can show it on all of my Power BI reports. You may watch the full video of this tutorial at the bottom of this blog.
Most of my clients say that they can’t remember the refresh schedule throughout the day for their Power BI reports.
To help them know when the last time that their data was refreshed, I created something similar to what you’re seeing right now that shows them the date and time of the last refresh of data.

I got this one from the Enterprise DNA forum. I’ll show you the forum post where I found this information.

This was created by Melissa, one of our Enterprise DNA experts. I like to refer her as Agent M not only because her first name starts with the letter M, but also because she is excellent at M code.
If you ever see Melissa’s videos on the Enterprise DNA YouTube channel, make sure to tune into those videos. I learned from those, and I’m sure that you can learn something from them as well. She also has lots of great content here on the Enterprise DNA forum.
We’ll go over some of the posts that she posted on the forum to help us out with the Power BI last refresh date table. You can see the M code in here.

As you scroll down in the forum thread, you’ll see that I did not know that the time that is stored in the Power BI service is not set to your local time zone, but is set to the UTC time zone.
This is very important because when we go back to Power BI desktop and create this refresh table, we’ll need to know how far ahead or behind our local time zone is compared to UTC time.

Let’s go back to the Power BI desktop and show you how I completed this.
Here’s an example of how the Power BI last refresh date looks like on my models.

I’ll usually include this in the top portion of my data models and on the first page of the Power BI report so it’s easier to see.
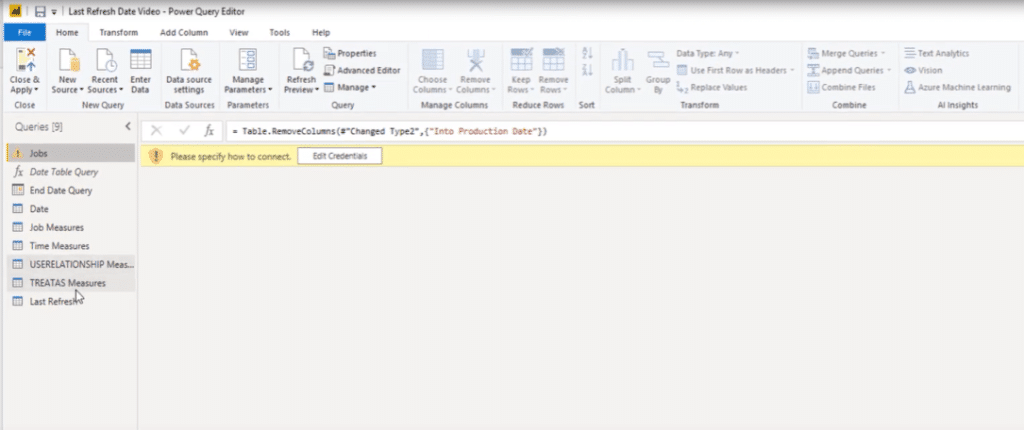
I’ll open up the Transform data tab from Home…

…so we can go to the query editor.
When we click on Last Refresh, we can see that it’s a simple process to set this up. There are only four columns that are included in this table.
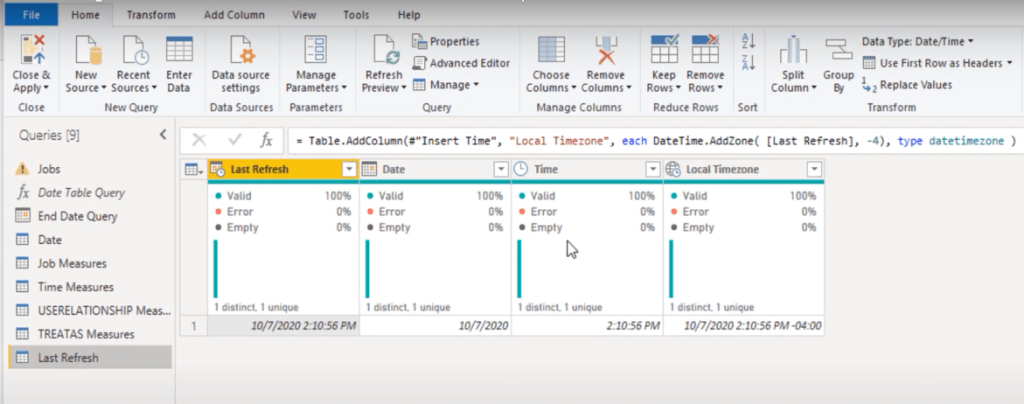
What we’ll do is go to the advanced editor. This is the M code provided in the Enterprise DNA forum thread that was mentioned earlier.

I’ll go over that next, but first, let’s create another one of these as an example so you’ll know how to create it on your own.
The first thing that we’ll do is go to the top ribbon, click on New Source, and choose Blank Query from the dropdown list.
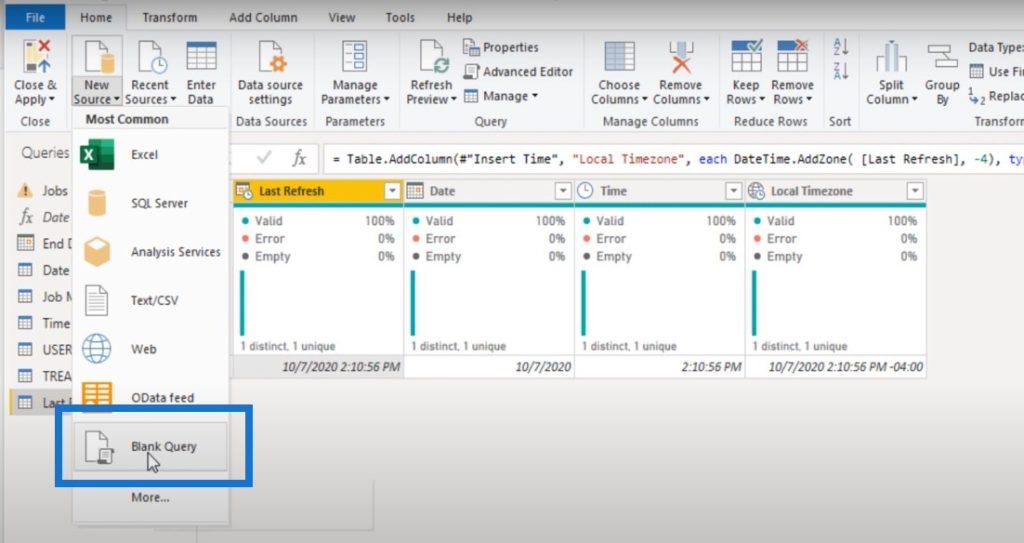
And then we’ll go to the advanced editor.

Let’s copy and paste the M code from the forum into the advanced editor, then click on Done.

You can see it will automatically adjust and format the columns so that they’ll show up correctly on our report page.
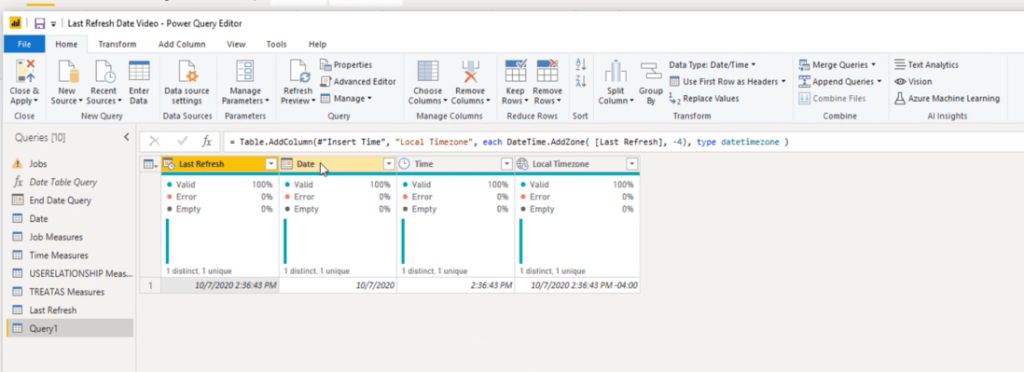
But if we open the advanced editor again, you will see at the bottom line where it says Last Refresh is at -4.

My local time zone is Eastern time zone, which is -4 from UTC time. Keep in mind that if your time zone changes in spring or fall, you will have to adjust this as the time changes.
So right now in Eastern time, we’re at -4, but in the fall we turn the clock back. My Last Refresh will have to be -5 in order for it to show up correctly when all my clients look at their reports.
We can also change the name where it says Name under Properties. We’ll remove Query1 and change it to Last Refresh v2.

Then I’ll just click out of that and then click Close & Apply.

Once that’s done, I’ll just copy this…

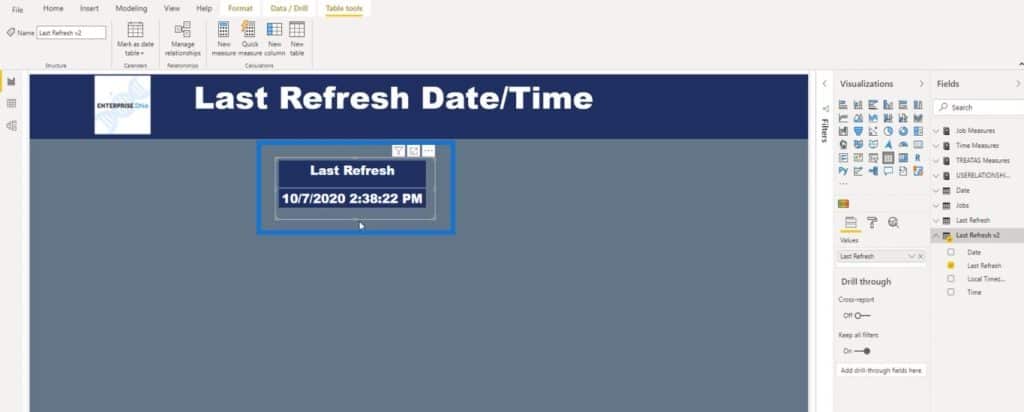
…and go over to another page and paste it. But instead of using the one from the Last Refresh that I originally created, we’re going to use the Last Refresh version 2.

As you can see, this is the actual time right now on Eastern time zone when this tutorial was made.
***** Related Links *****
How To Control The Interactions Of Your Visuals In Power BI
Custom Conditional Formatting Techniques In Power BI
Using Filter Fields & Visual Interactions To Create Compelling Visualizations In Power BI
Conclusion
I hope you have enjoyed this tip today. Make sure that you subscribe to the Enterprise DNA YouTube channel, if you haven’t already. This way, you don’t miss out on any of the great content from the Enterprise DNA team.


