
As we build more complex flows, managing becomes a key factor for fixing issues, testing, and maintenance. In this case, it’s important to group all actions under a certain tool which can also be collapsed and expanded to display the sections of our flow better. And we can do that by using the Scope control in Power Automate.
A scope is a way to organize or group actions and conditions together in Power Automate flows.
Sample Scenario
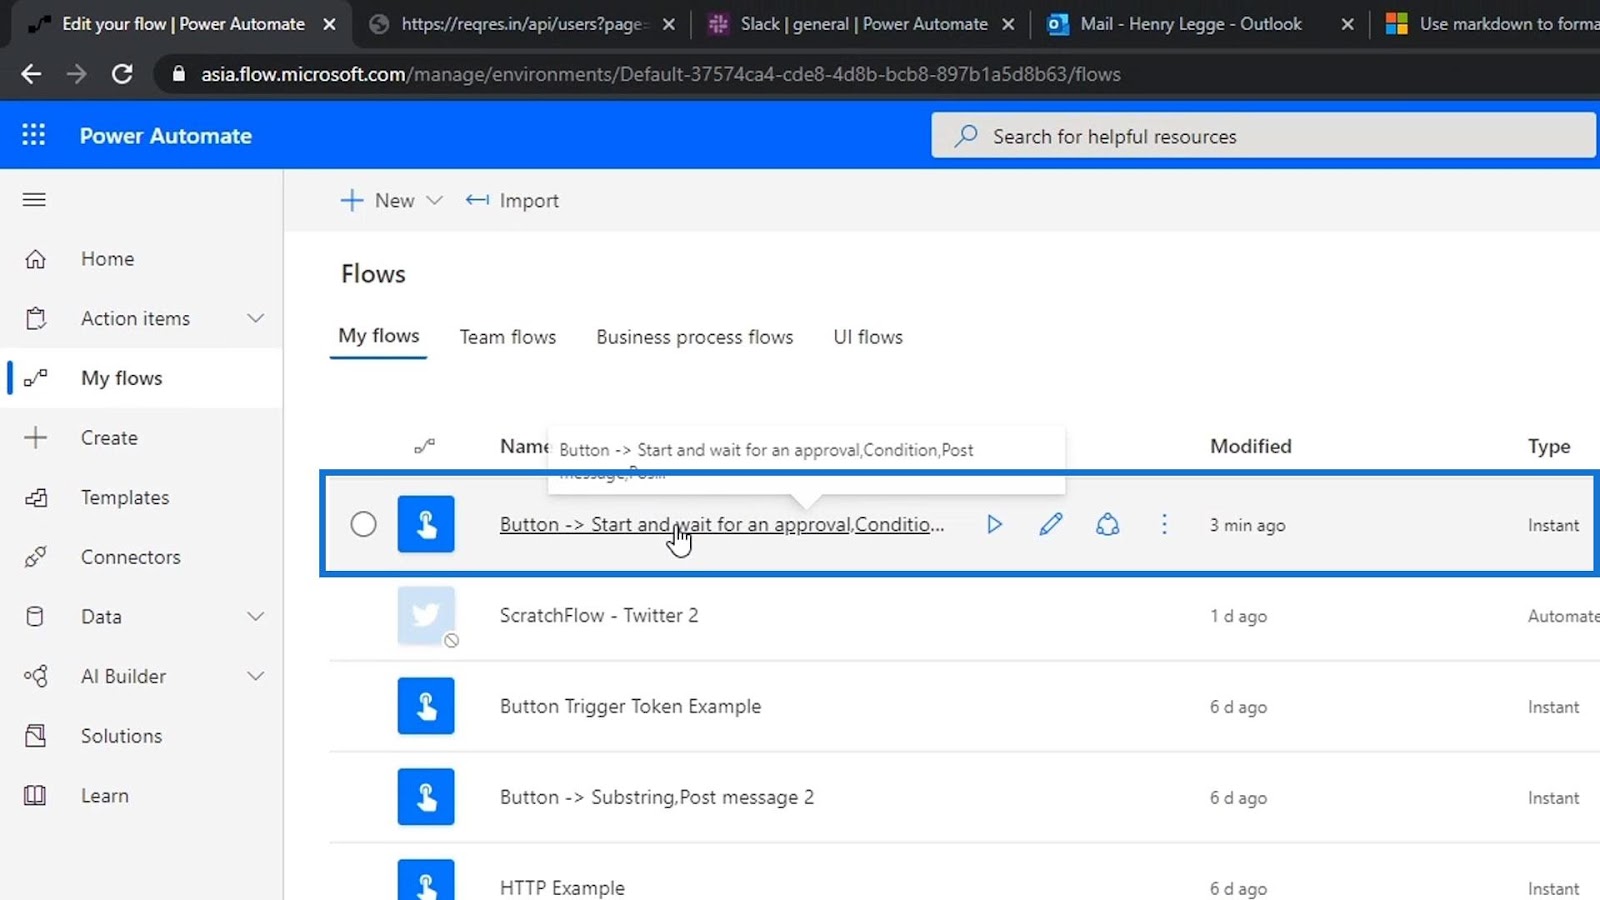
Let’s check out this sample Power Automate flow.

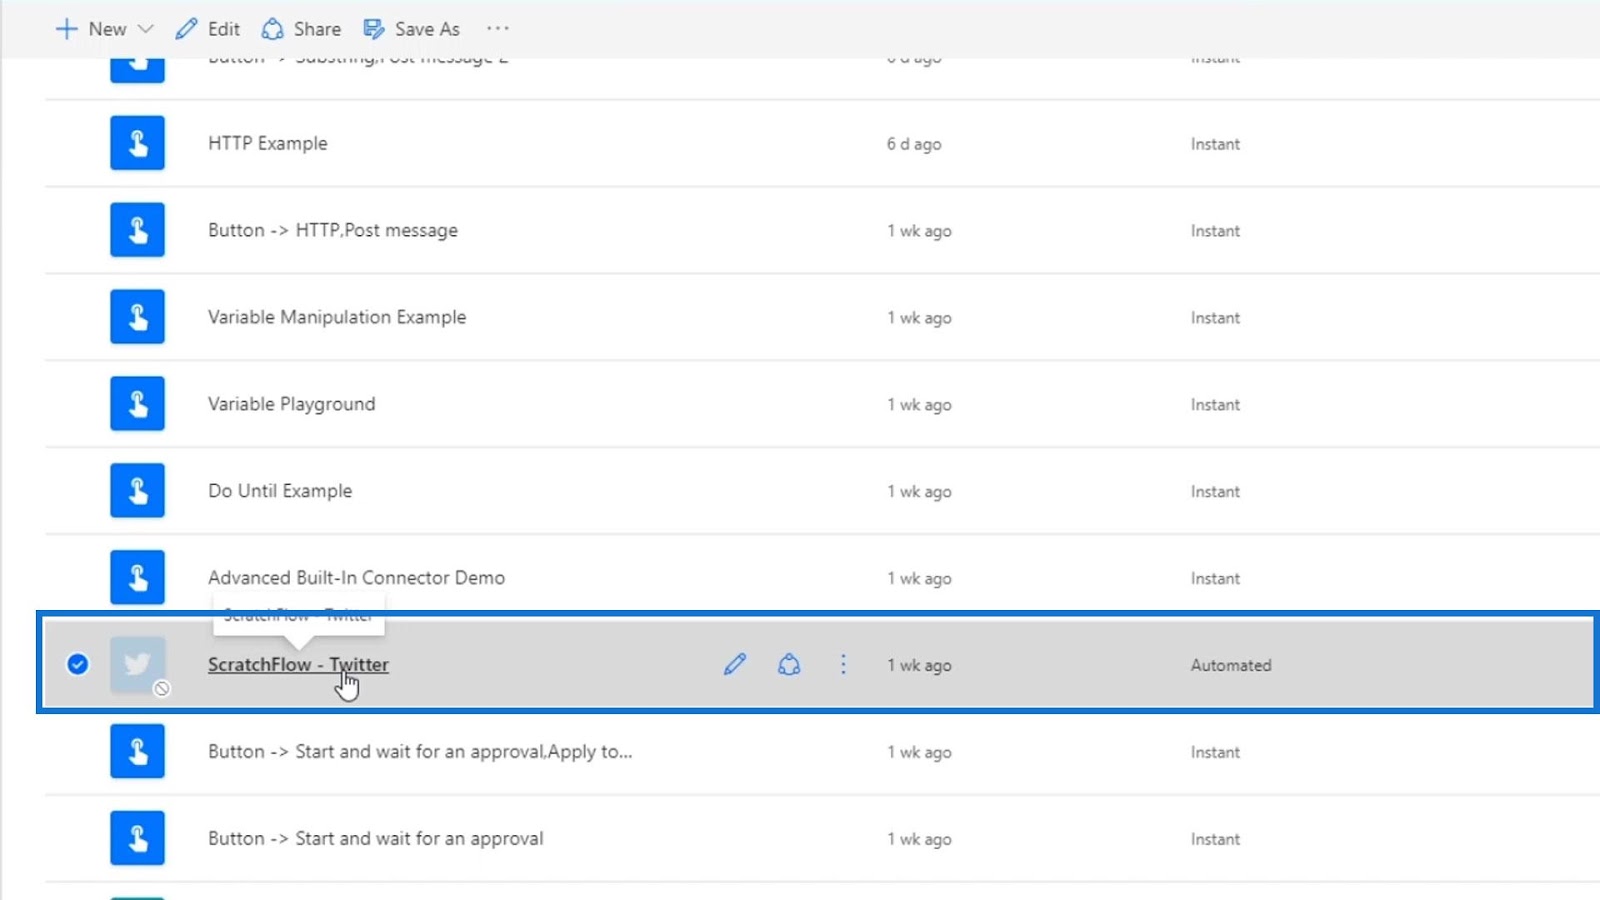
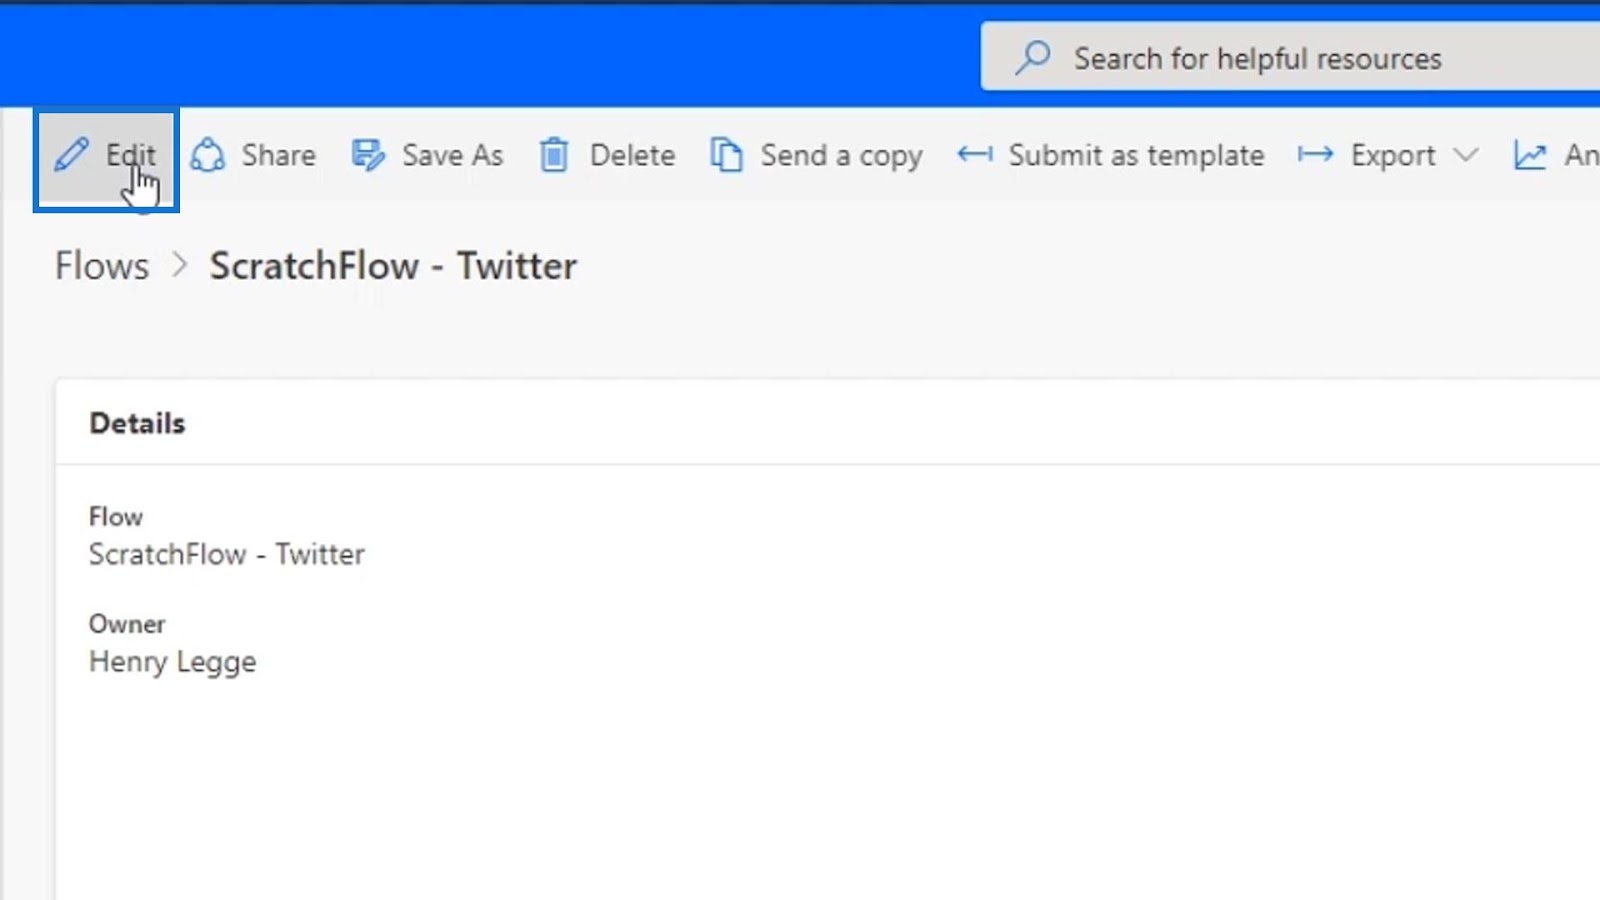
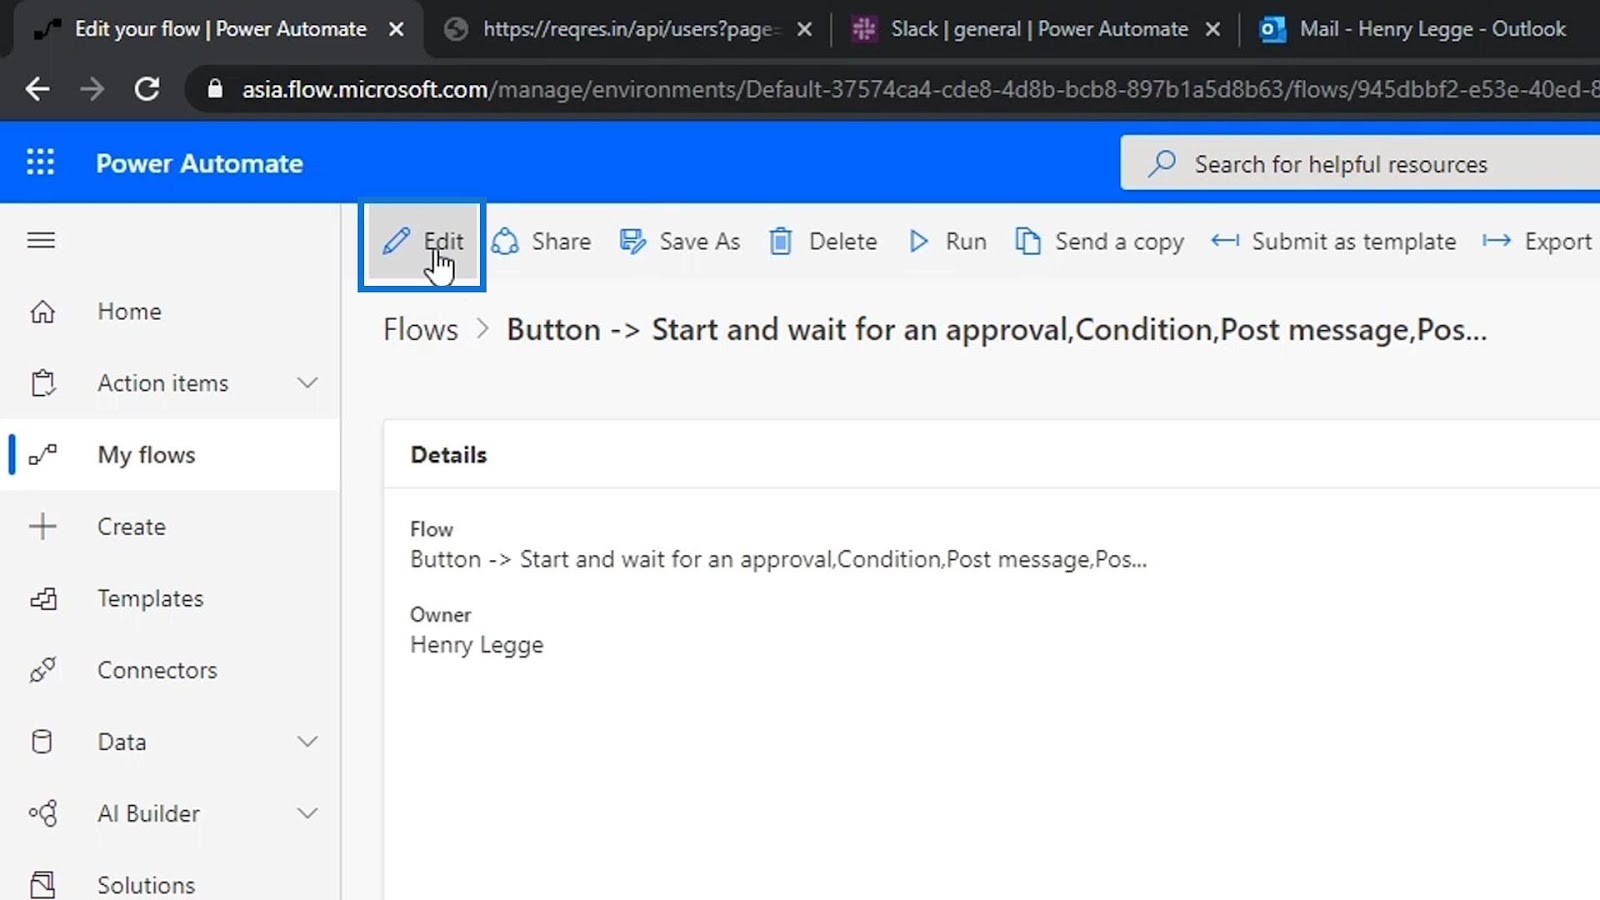
Click Edit.
This flow is quite complicated. When a new tweet is posted, an email will be sent.
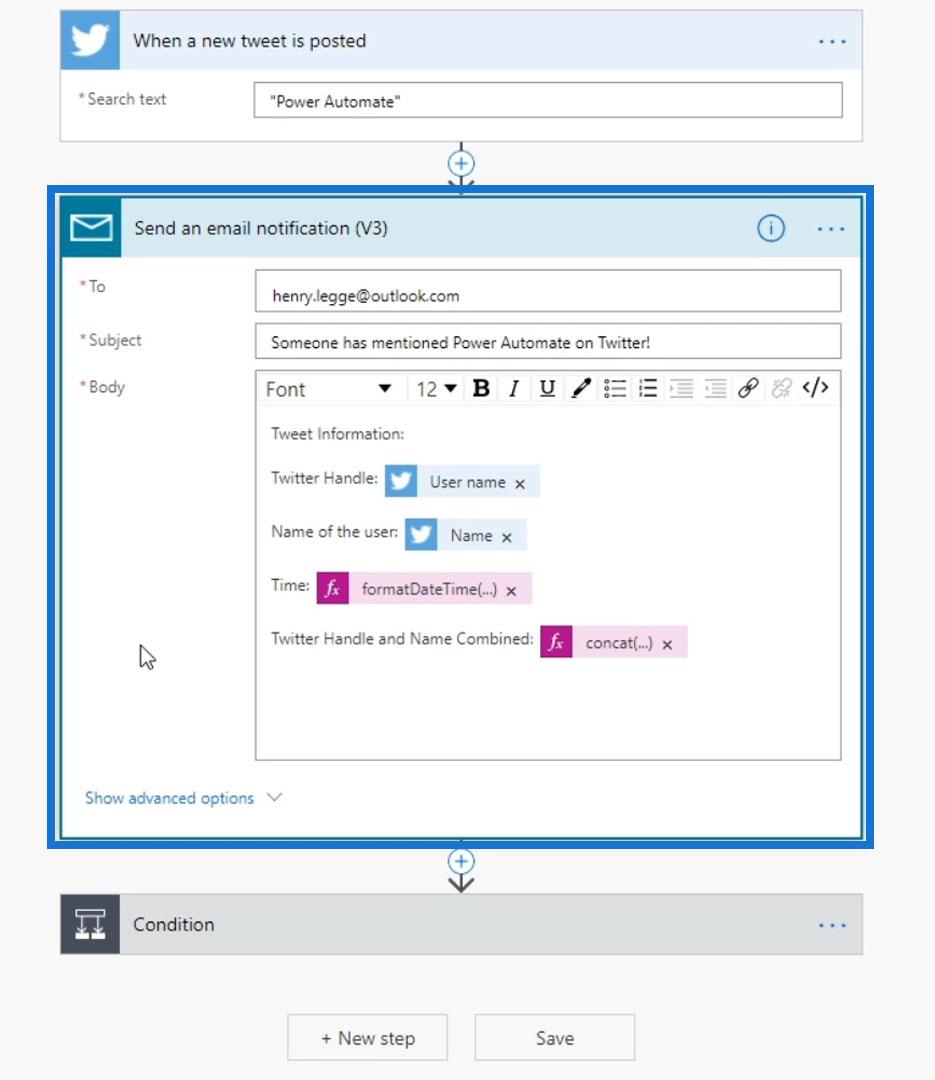
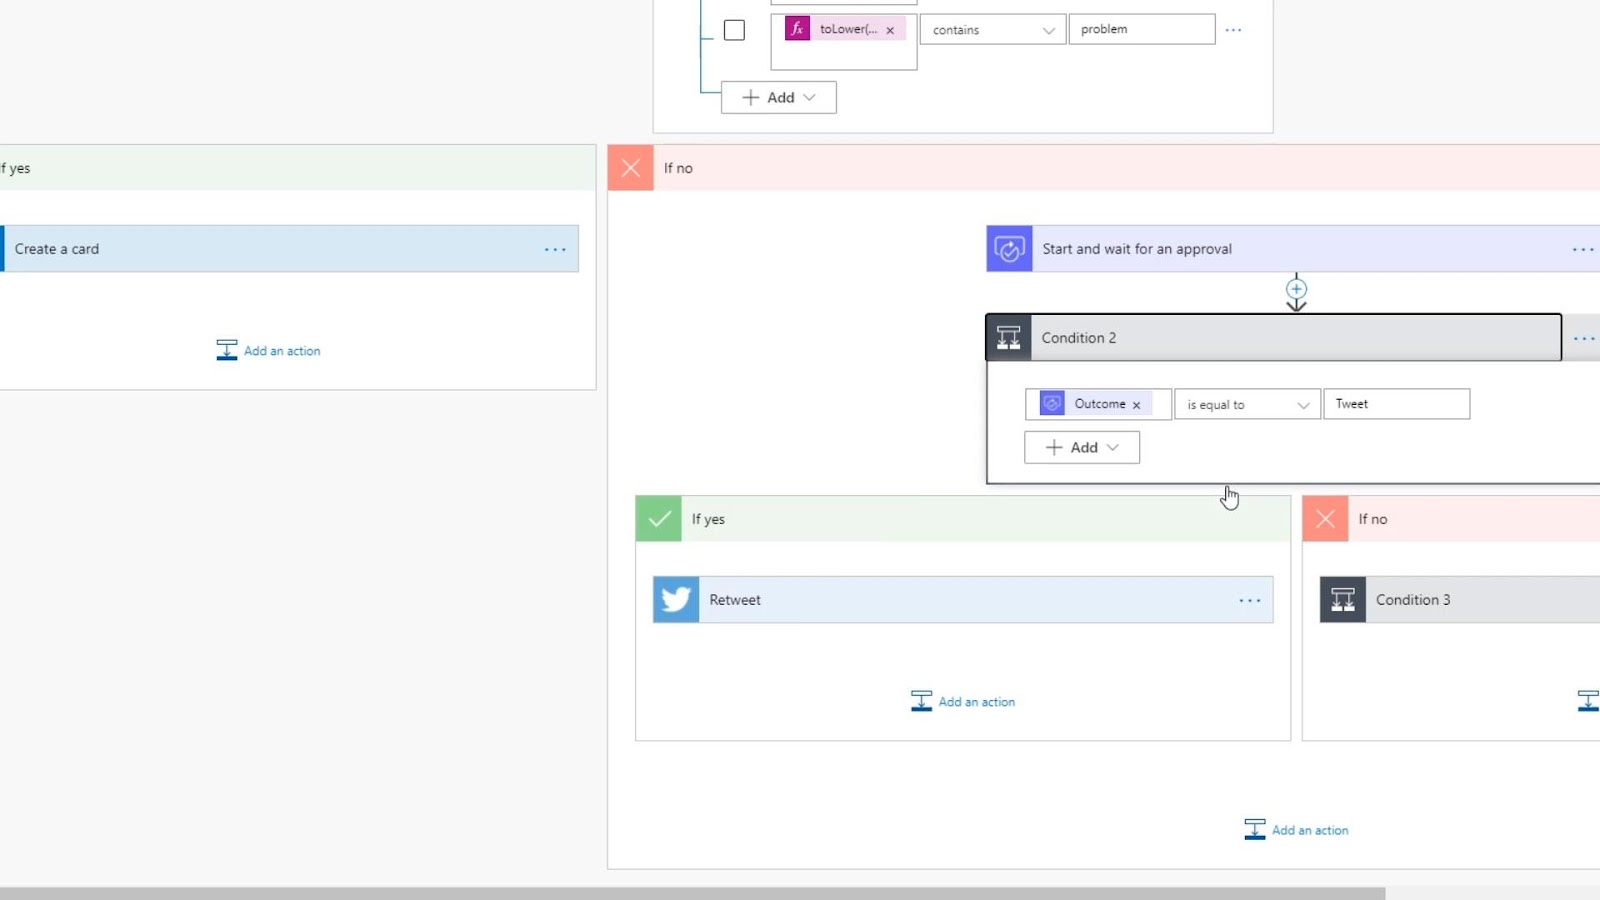
Then, it’ll trigger a condition that has another set of nested conditions within.
What we can do to organize this is to group similar actions into the same scope. We’ll talk about the advantages of doing that later. For now, I just want to go through a sample scenario where it’s useful to group things together.
For this tutorial, we’ll use this simple flow that I previously created. But first, let’s make this a bit complicated.
Click Edit.
Let’s also add another action before the HTTP action.

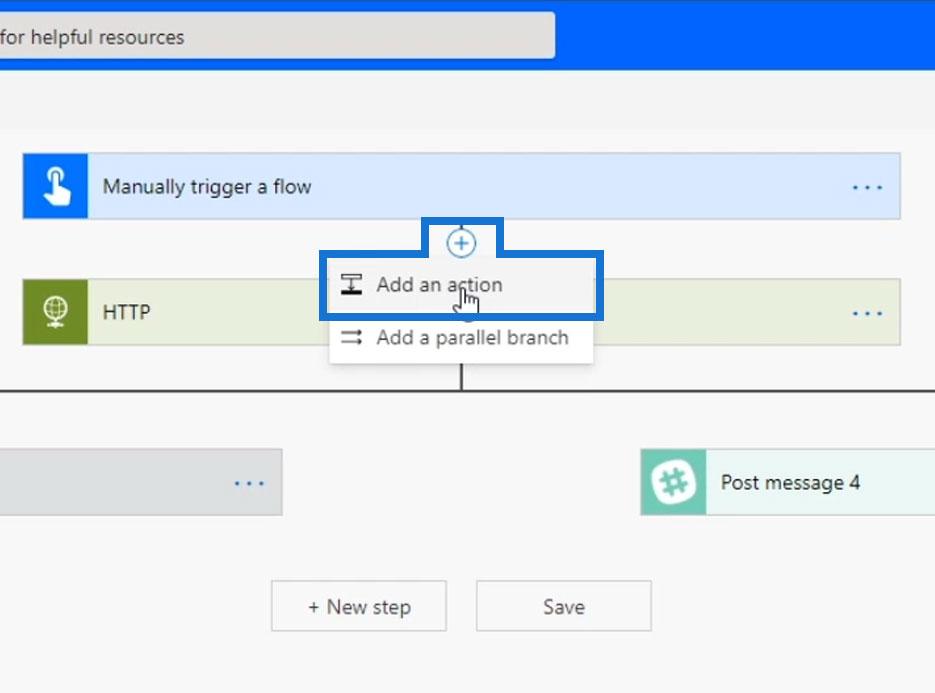
Search and click the Slack connector.
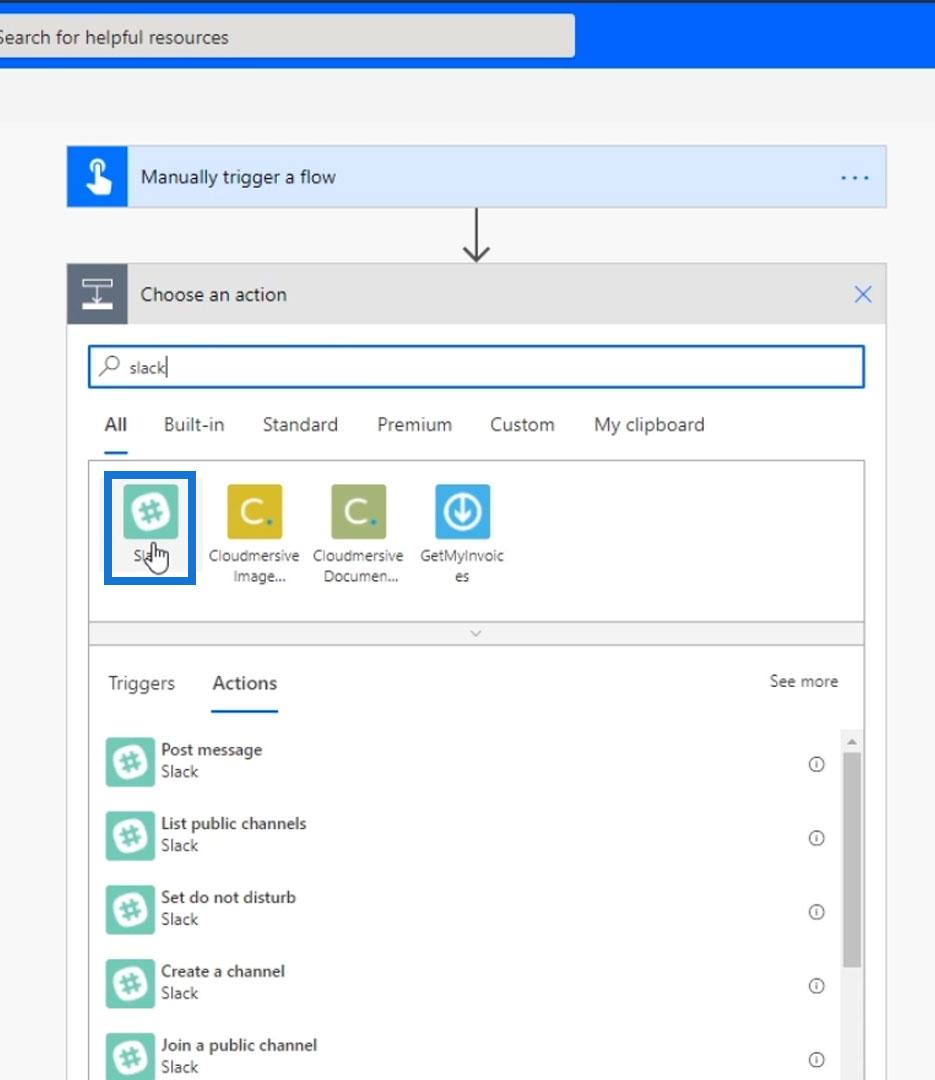
Then choose the Post message action.
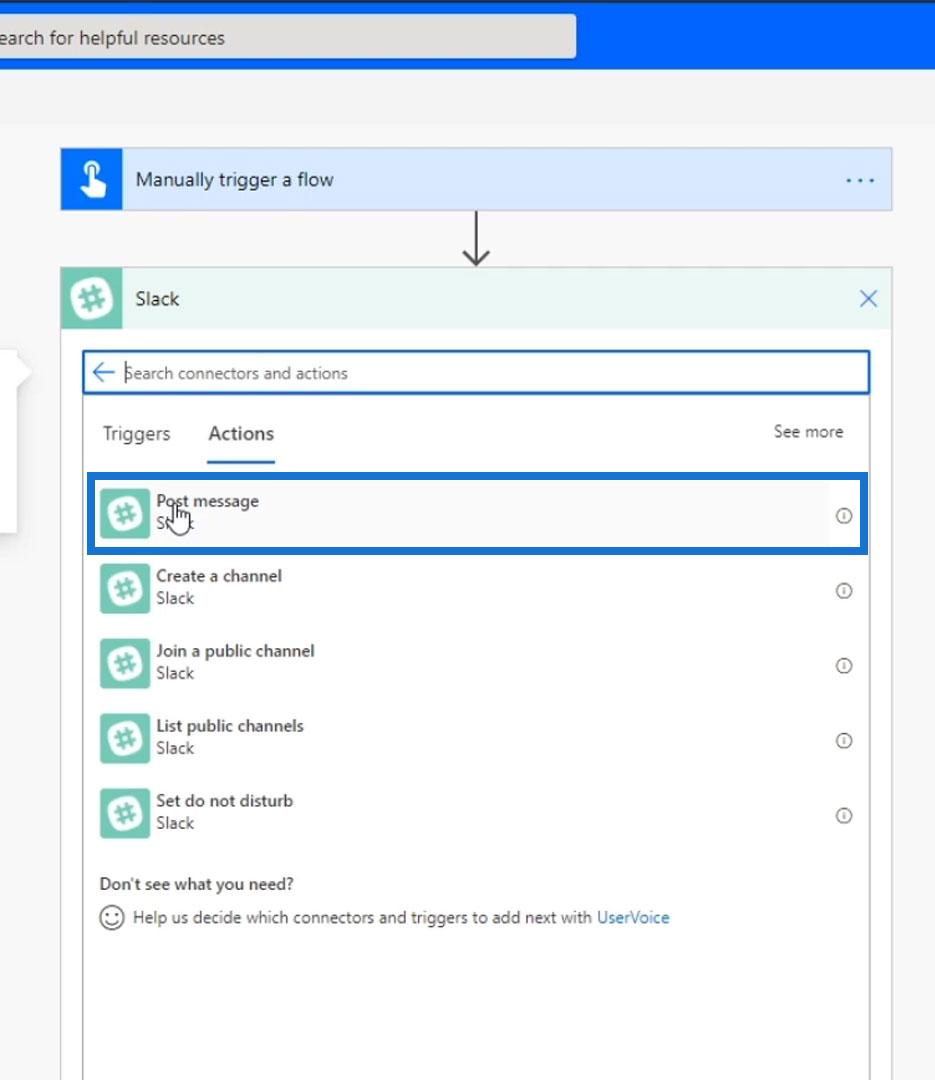
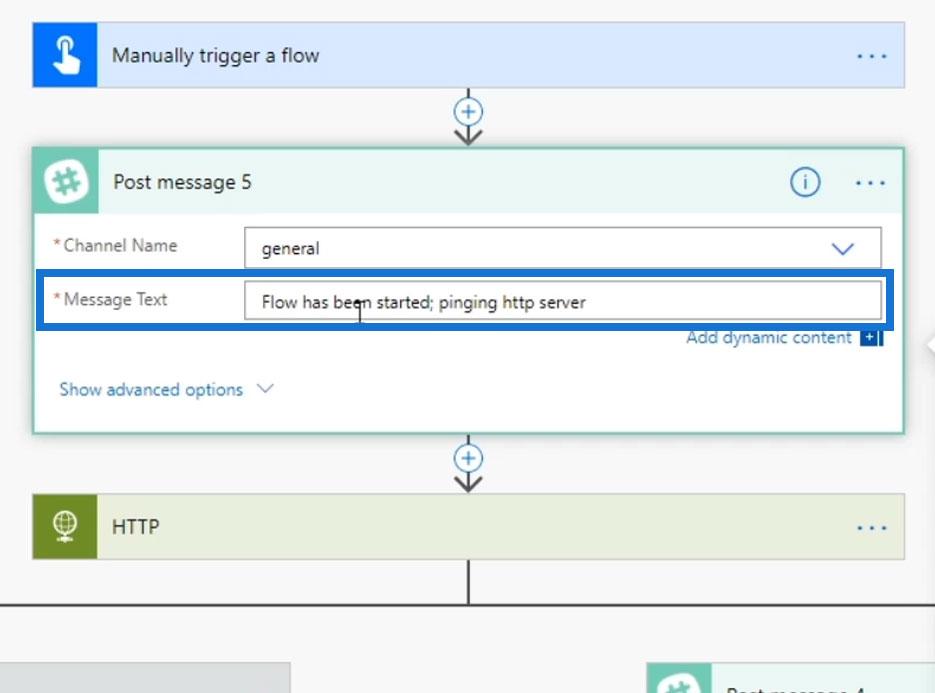
We’ll post a message to our general channel saying “Flow has been started; pinging the HTTP server”.
Using The Scope Control In Power Automate
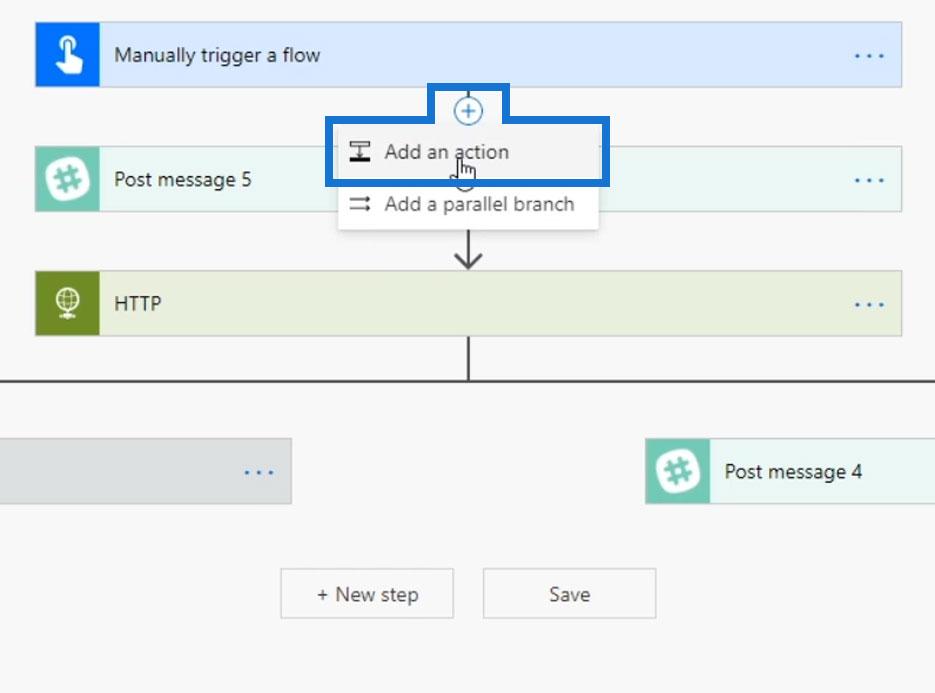
Now, we’ll put these two actions into a scope.

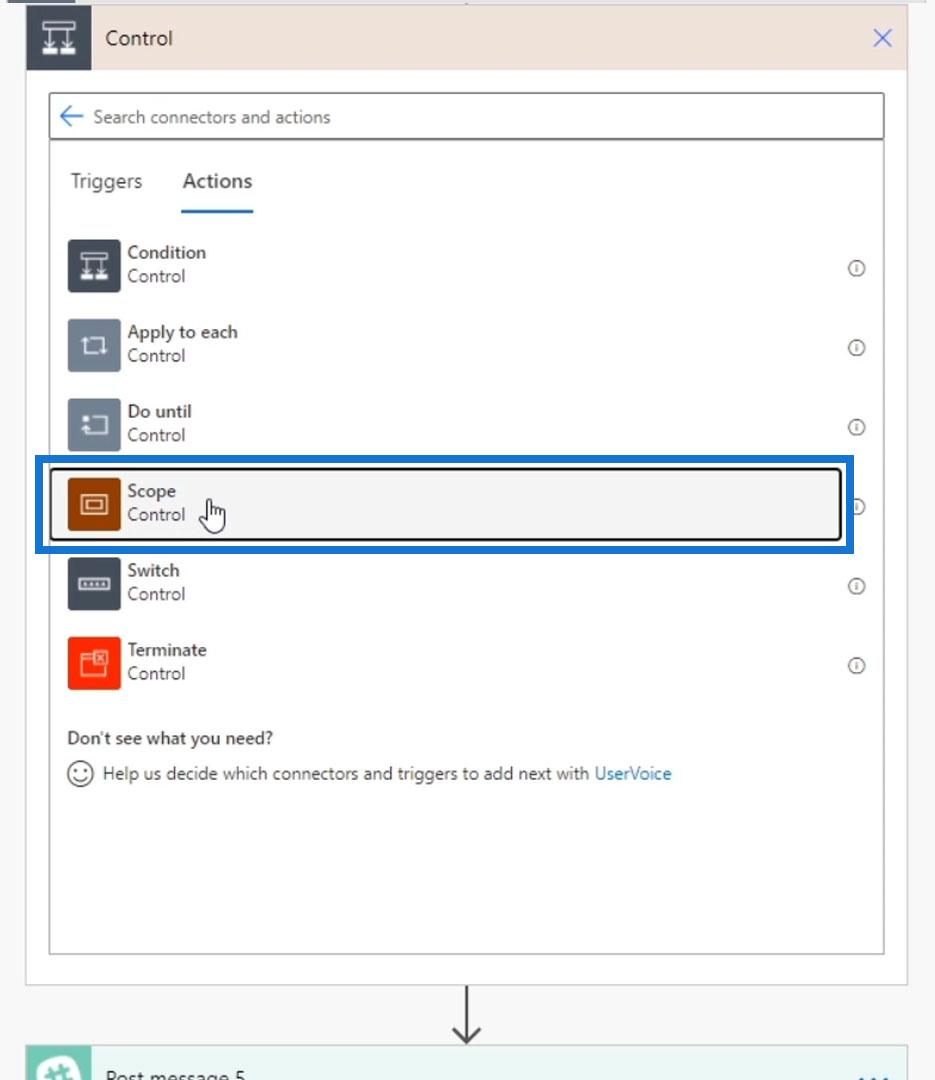
To do that, click the plus icon then click Add an action.
Click Control.
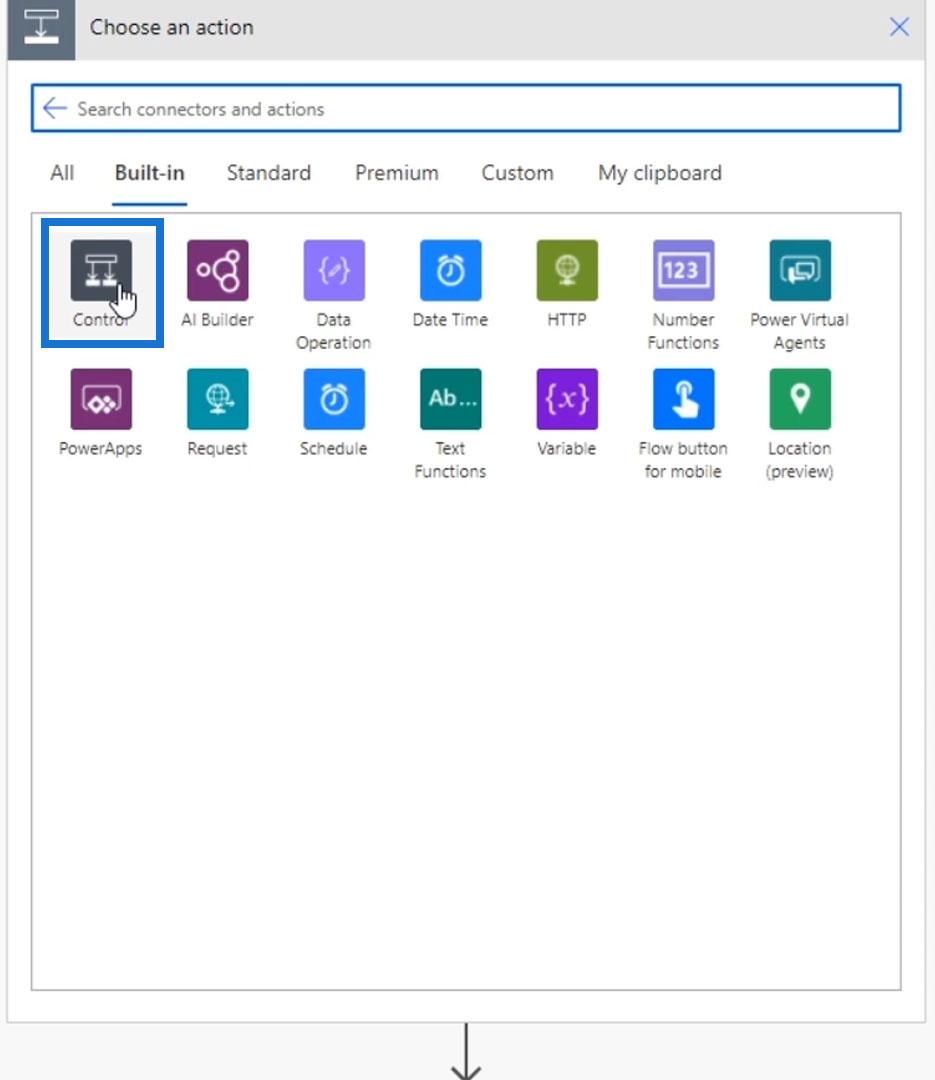
Then click the Scope control.
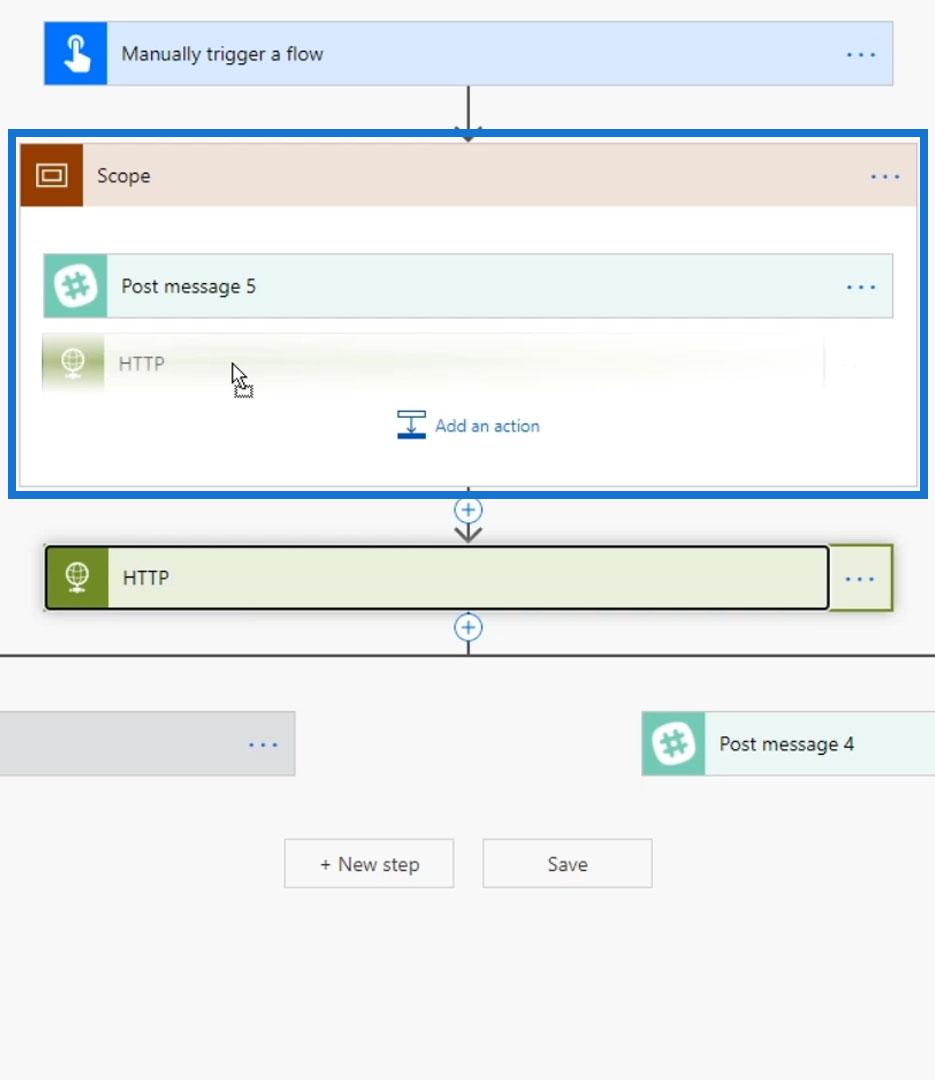
After that, drag and drop the actions that should be in a group. In this example, let’s drag both the Post message 5 and HTTP actions.
Let’s now rename the scope to “Message and make HTTP request”.
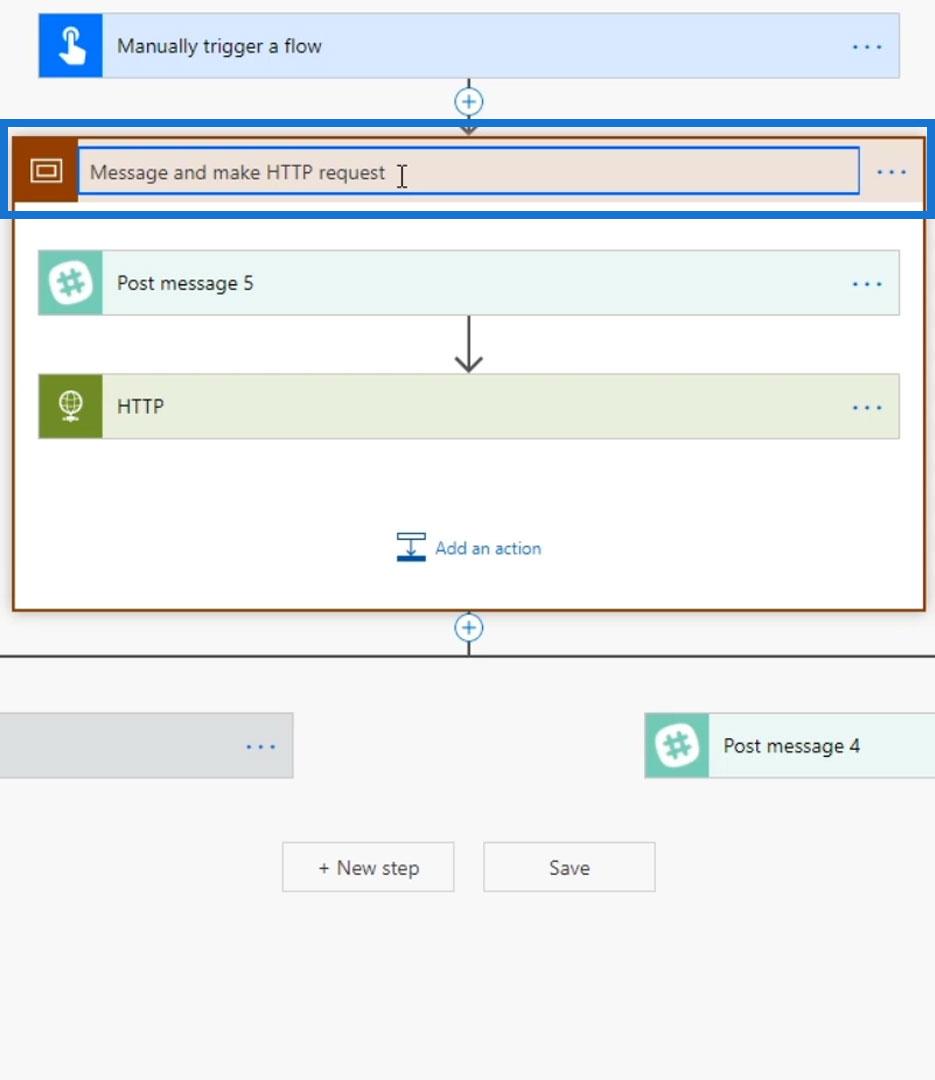
And that’s how we can easily group actions together.
Error Handling Without The Scope Control
Let’s now talk about how we can use scopes for error handling. This is how our flow initially looks like. Just imagine that the scope doesn’t exist.

If the HTTP request succeeds, the flow will perform the Condition action. If it fails, it’ll post a message on the general channel in Slack saying “A flow that you have started has failed”.

However, if the Post message 5 action fails, the flow will just stop. That’s because we didn’t set an error handler for it. What we want here is that the error notification message should still be posted whenever either of the previous two actions fails. Hence, we need to add another parallel branch for the Post message 5 action.
Search and select the Slack connector.

Click Post message.


We’ll post a message to the general channel in Slack that’s similar to what we’ve set in the Post message 4 action.

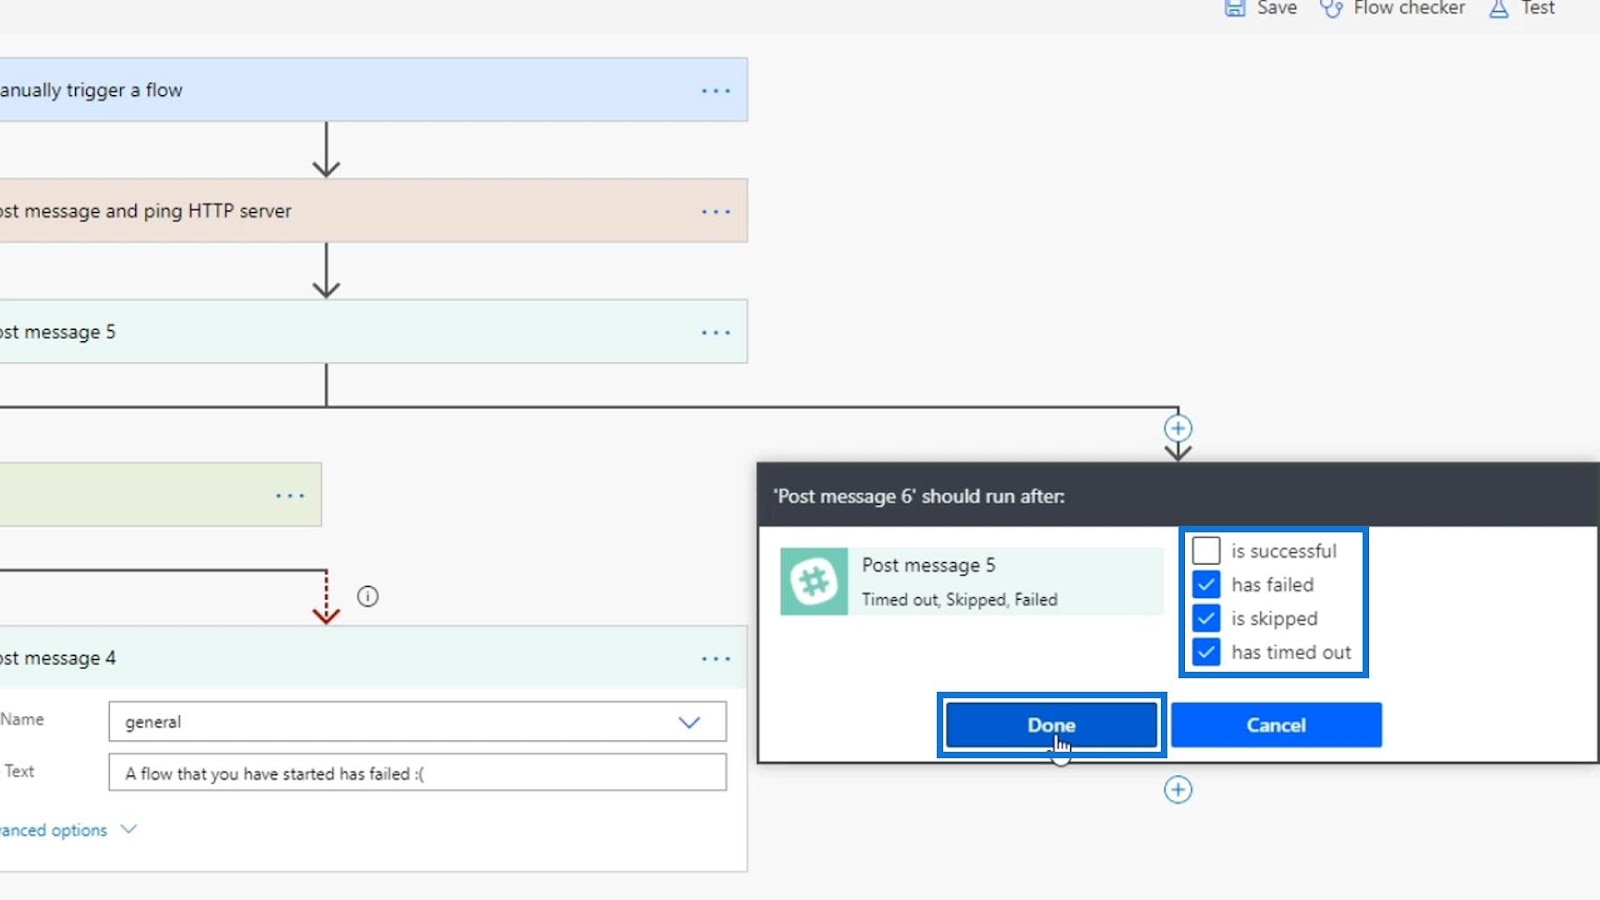
Click the three dots and click Configure run after.
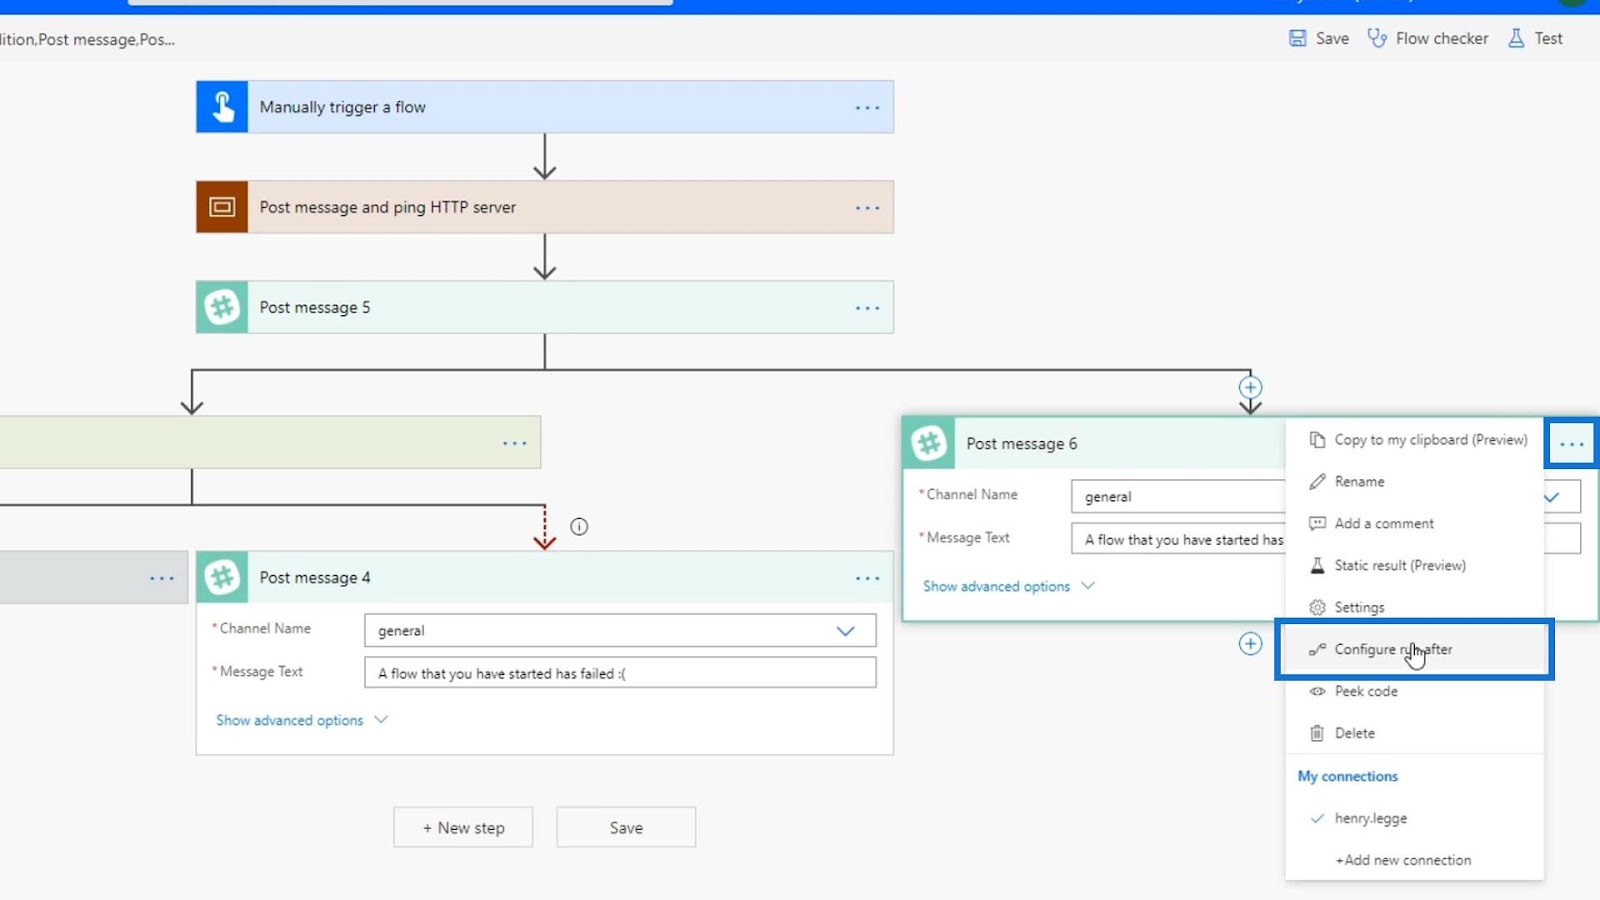
Uncheck the is successful option. Then check the has failed, is skipped, and has timed out options. After that, click Done.
Now we have two error handling steps that make our flow look quite complex.
Error Handling Using The Scope Control
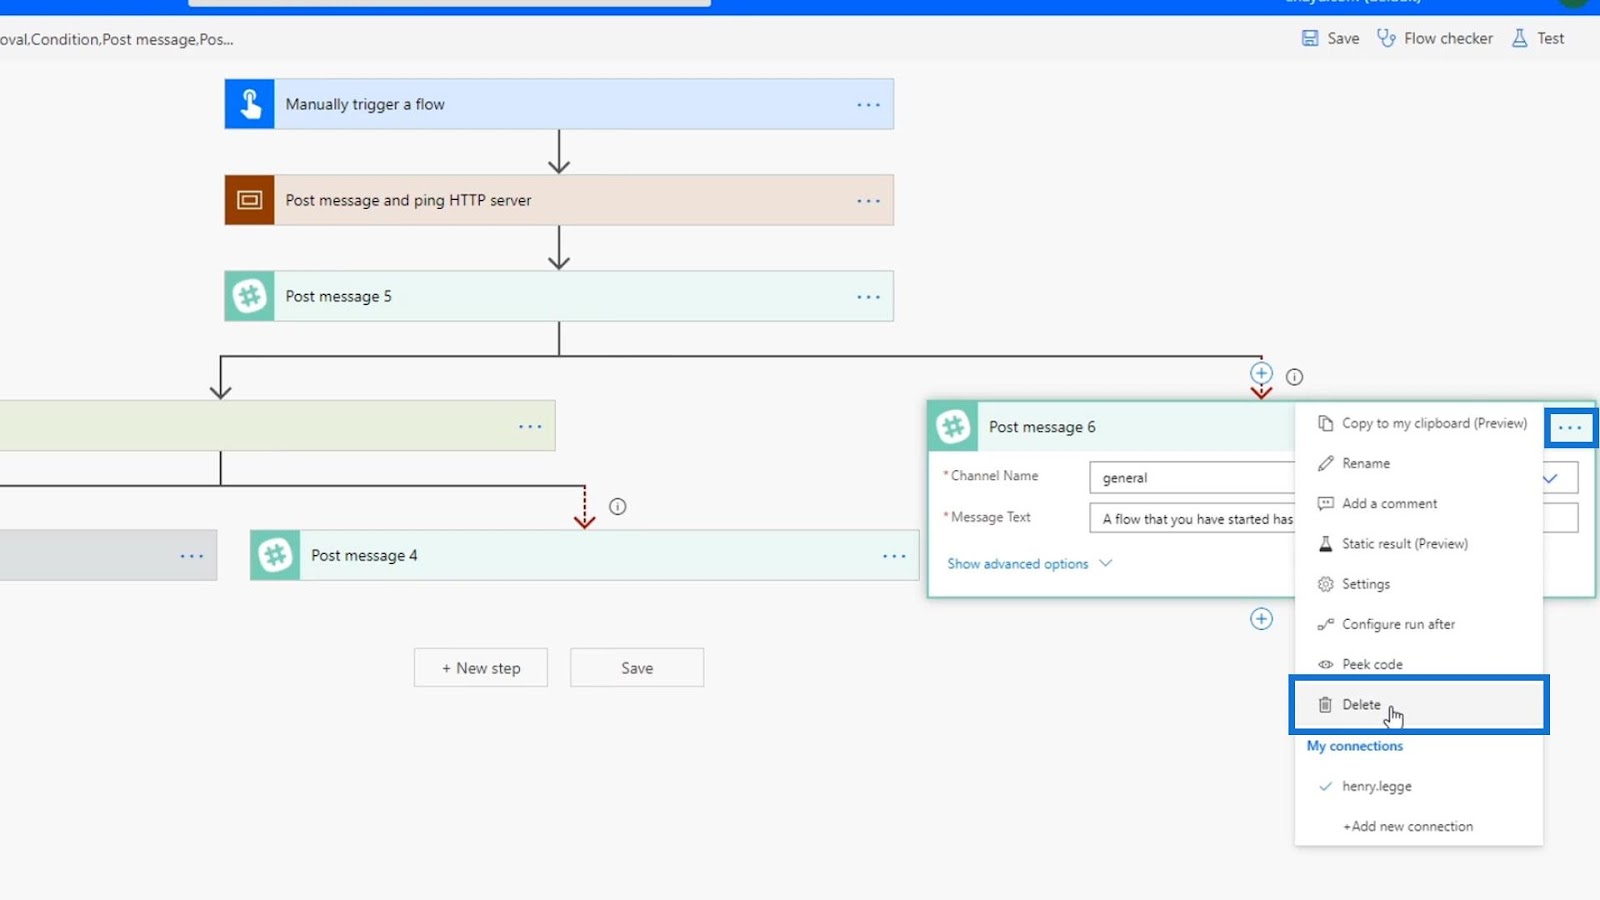
As much as possible, we don’t want every action to have an error handling branch. We want a series of actions for this flow to have a single error handling step. So, let’s delete this new Post message action that we created.
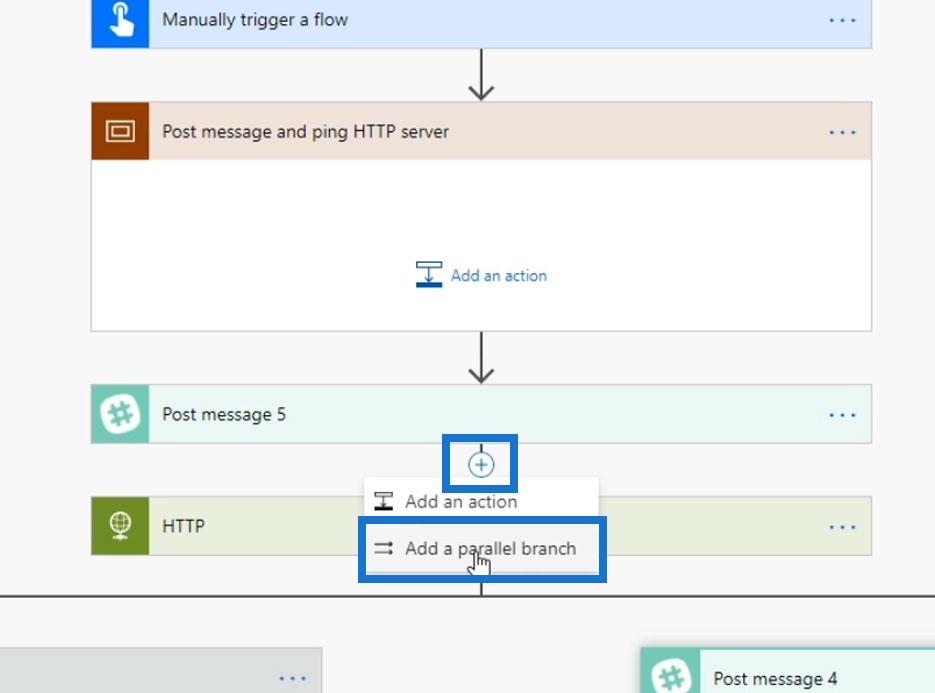
Let’s put these two actions back into the scope.

We need to configure this so that it’ll only run after all of the steps within the scope are complete and either of the two actions fails.
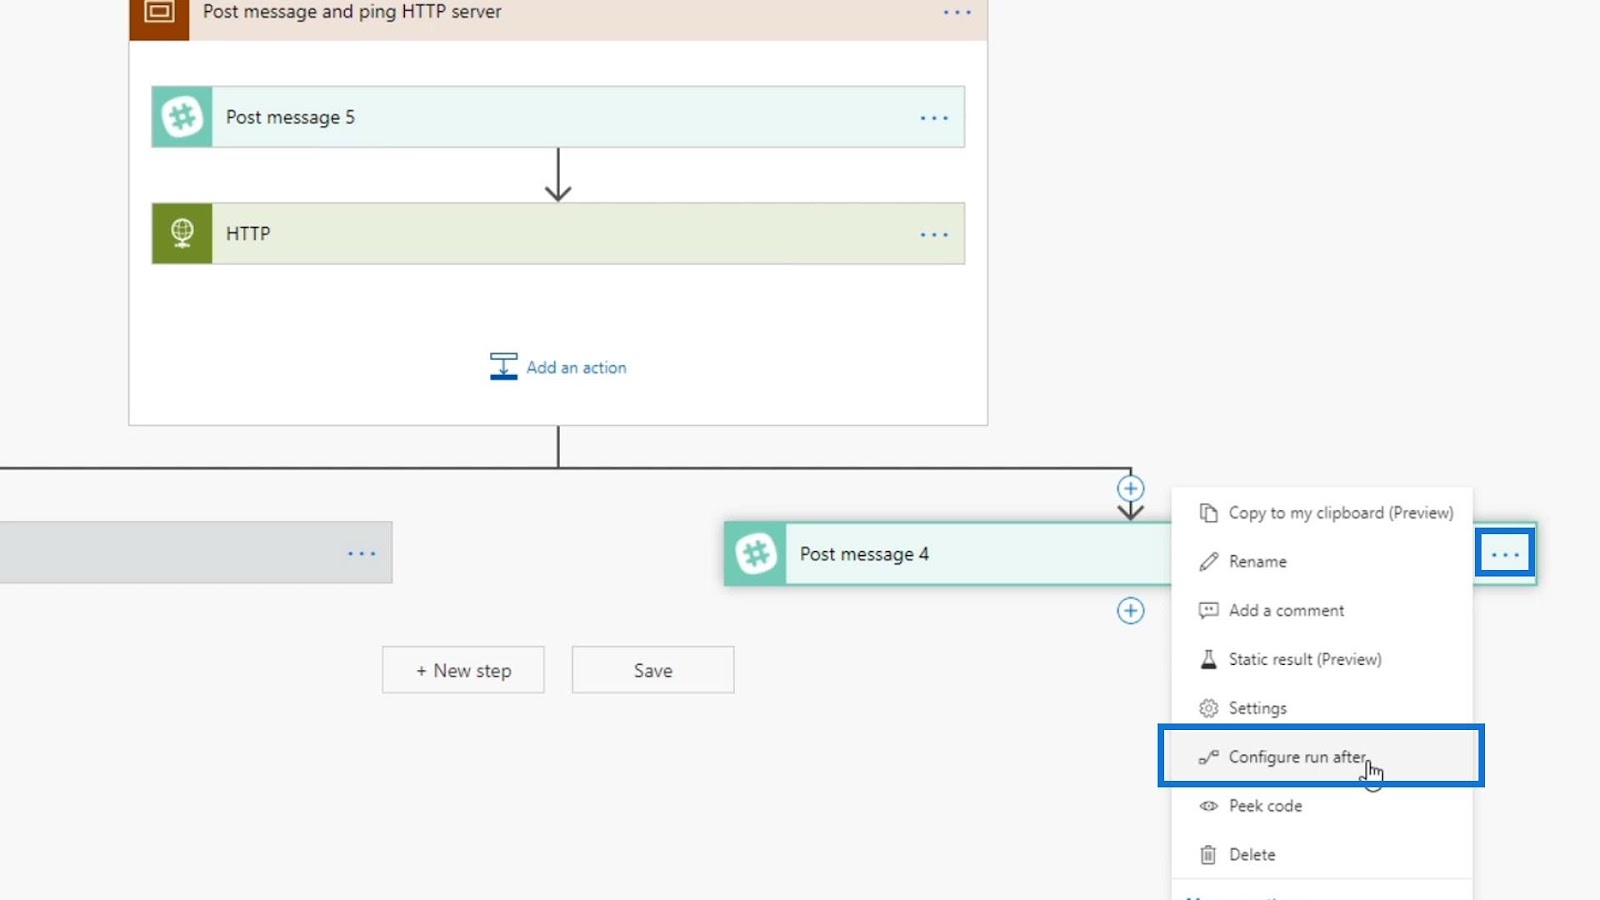
Uncheck the is successful option. Then check the has failed, is skipped, and has timed out options. After that, click Done.

Now, we have a single error handling action that will only be triggered once any action within the Post message and ping HTTP server scope fails.
That’s the big difference when using the Scope control in Power Automate flows.
***** Related Links *****
HTTP Request In Power Automate – An Introduction
Power Automate Flows Creation From Scratch
Workflow Inputs In Microsoft Power Automate
Conclusion
To summarize, scope control is an efficient way of keeping your actions and conditions organized. We can also have multiple scopes with different purposes. Therefore, we can group the actions into different categorical steps or logical units. It’s a really good organization tool from a development point of view. Using scopes in complicated flows just makes things a lot easier.
It’s also a more preferred way of error handling in your flows. You can combine all error messages from all actions using the Scope control. So you don’t have to set up individual error handlers for each of the actions. You can just use a scope as an error management block for your flow.
All the best,
Henry


